
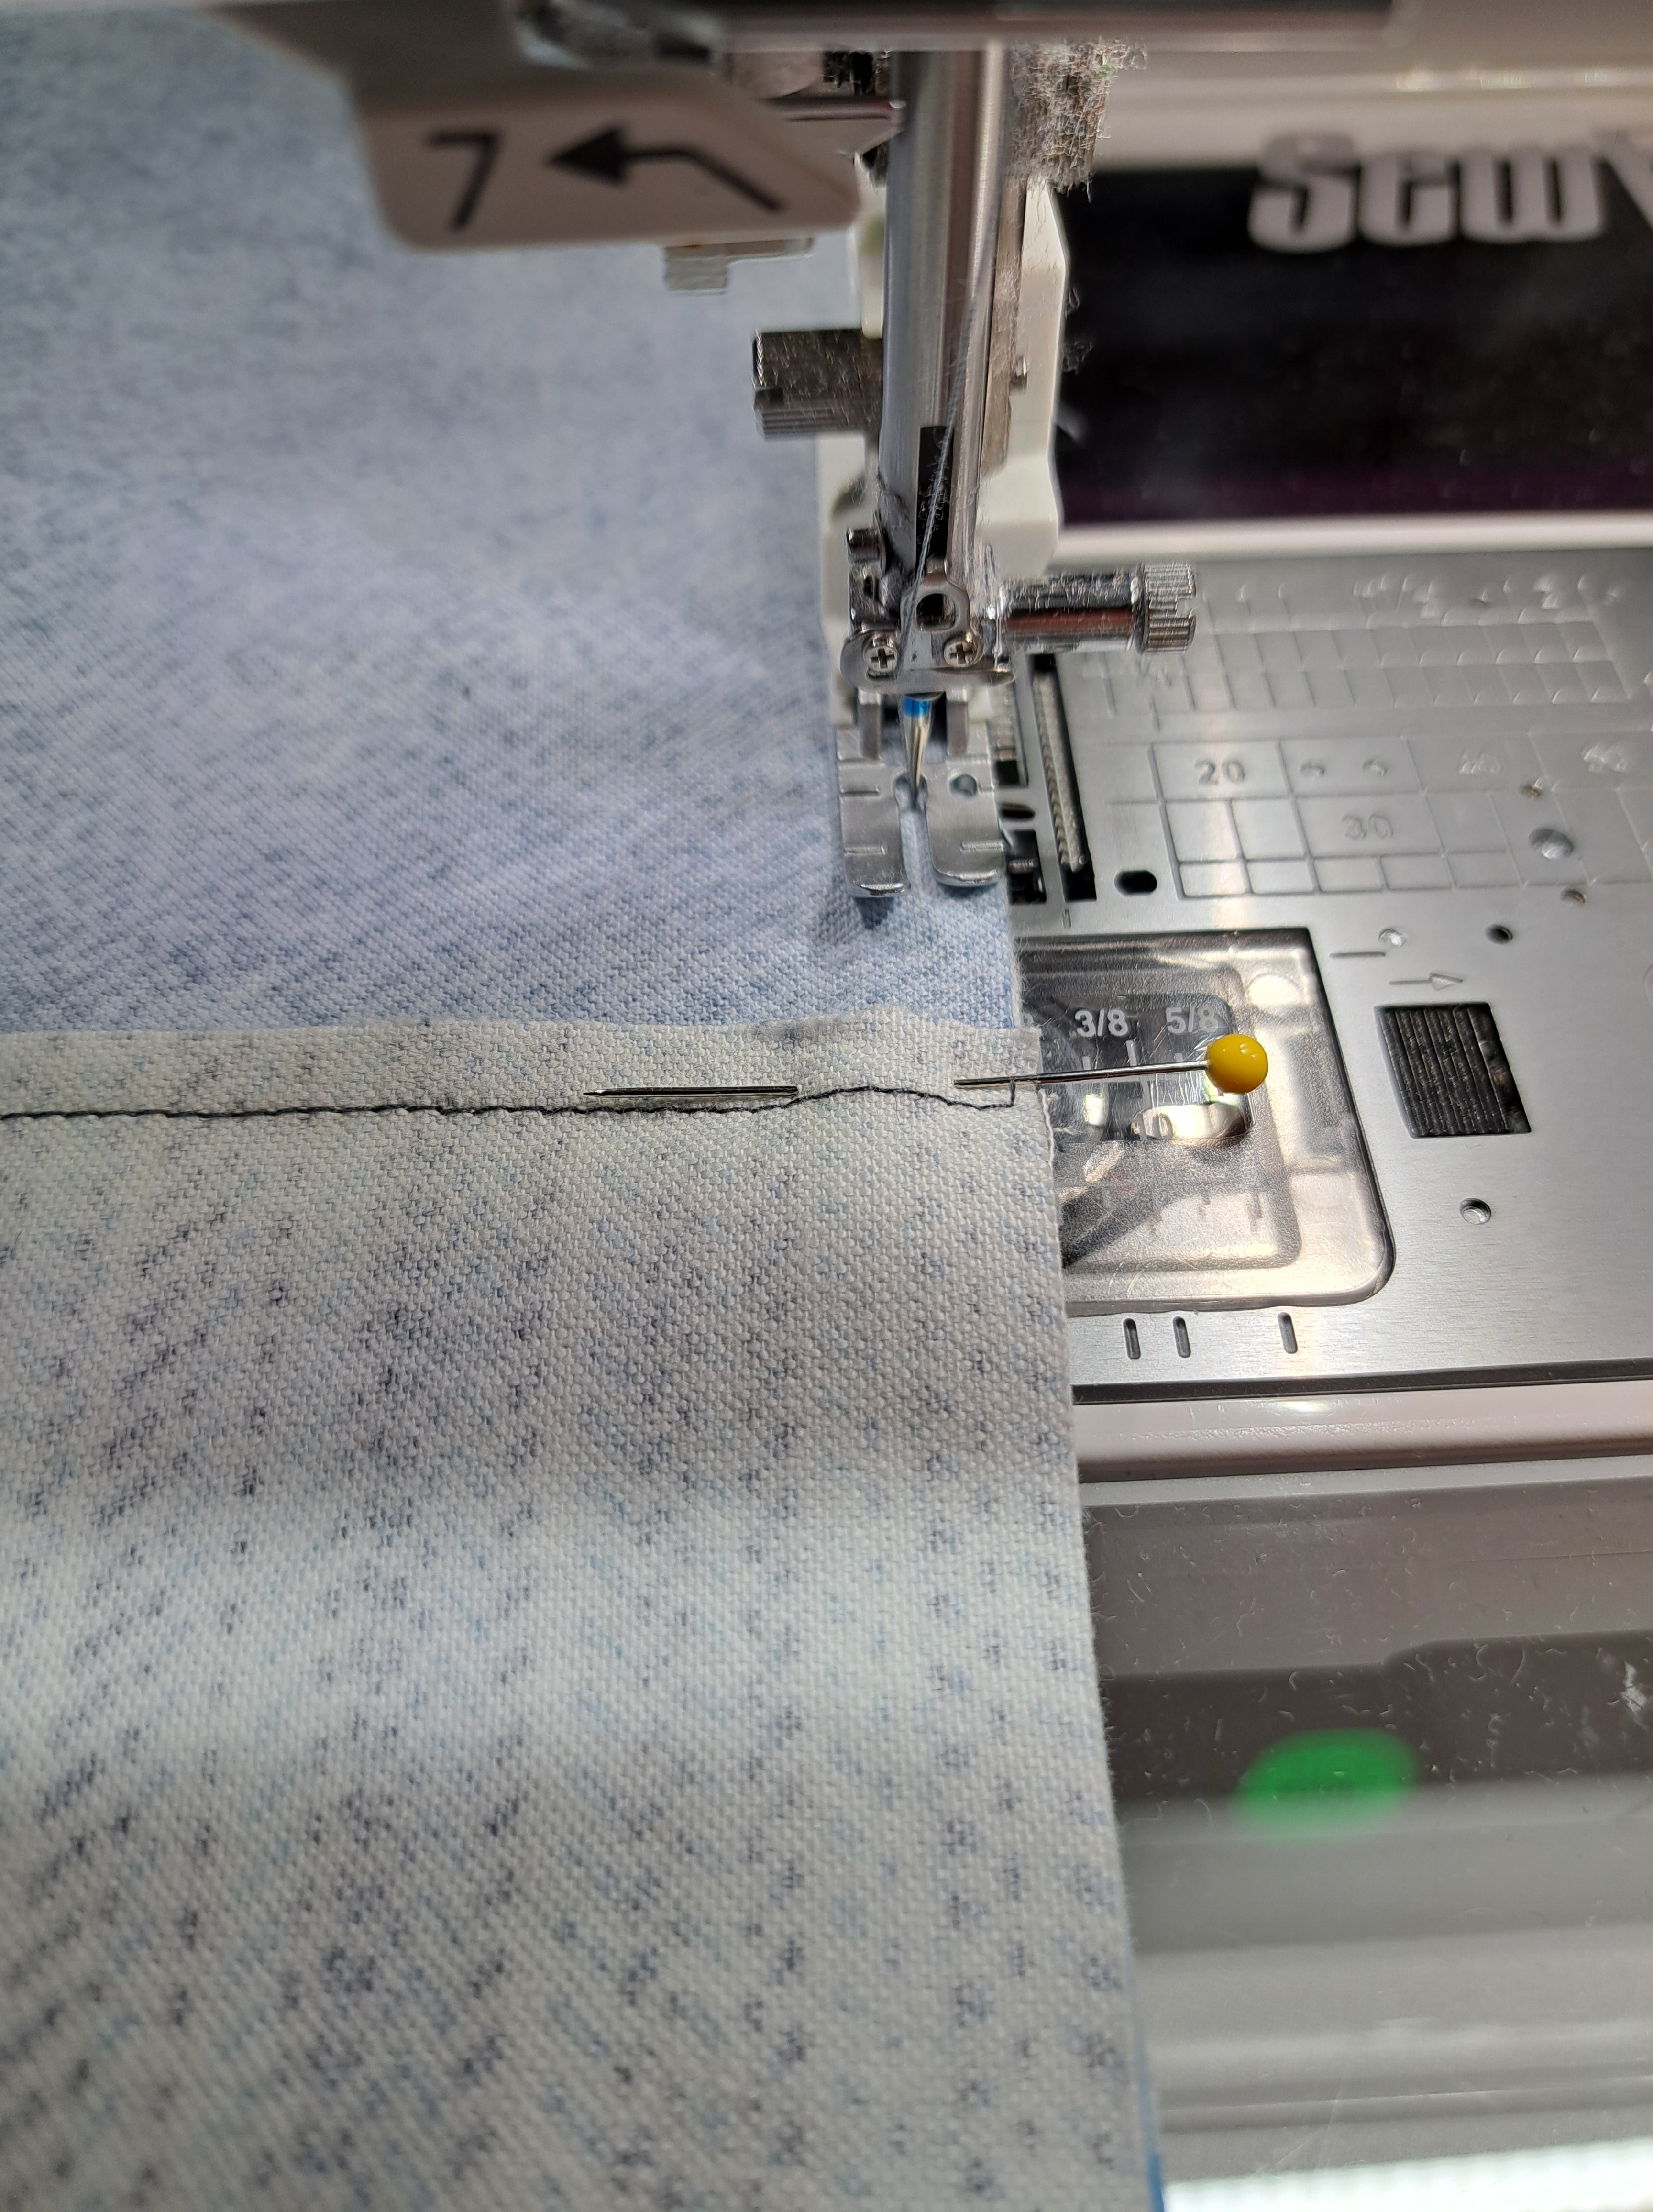
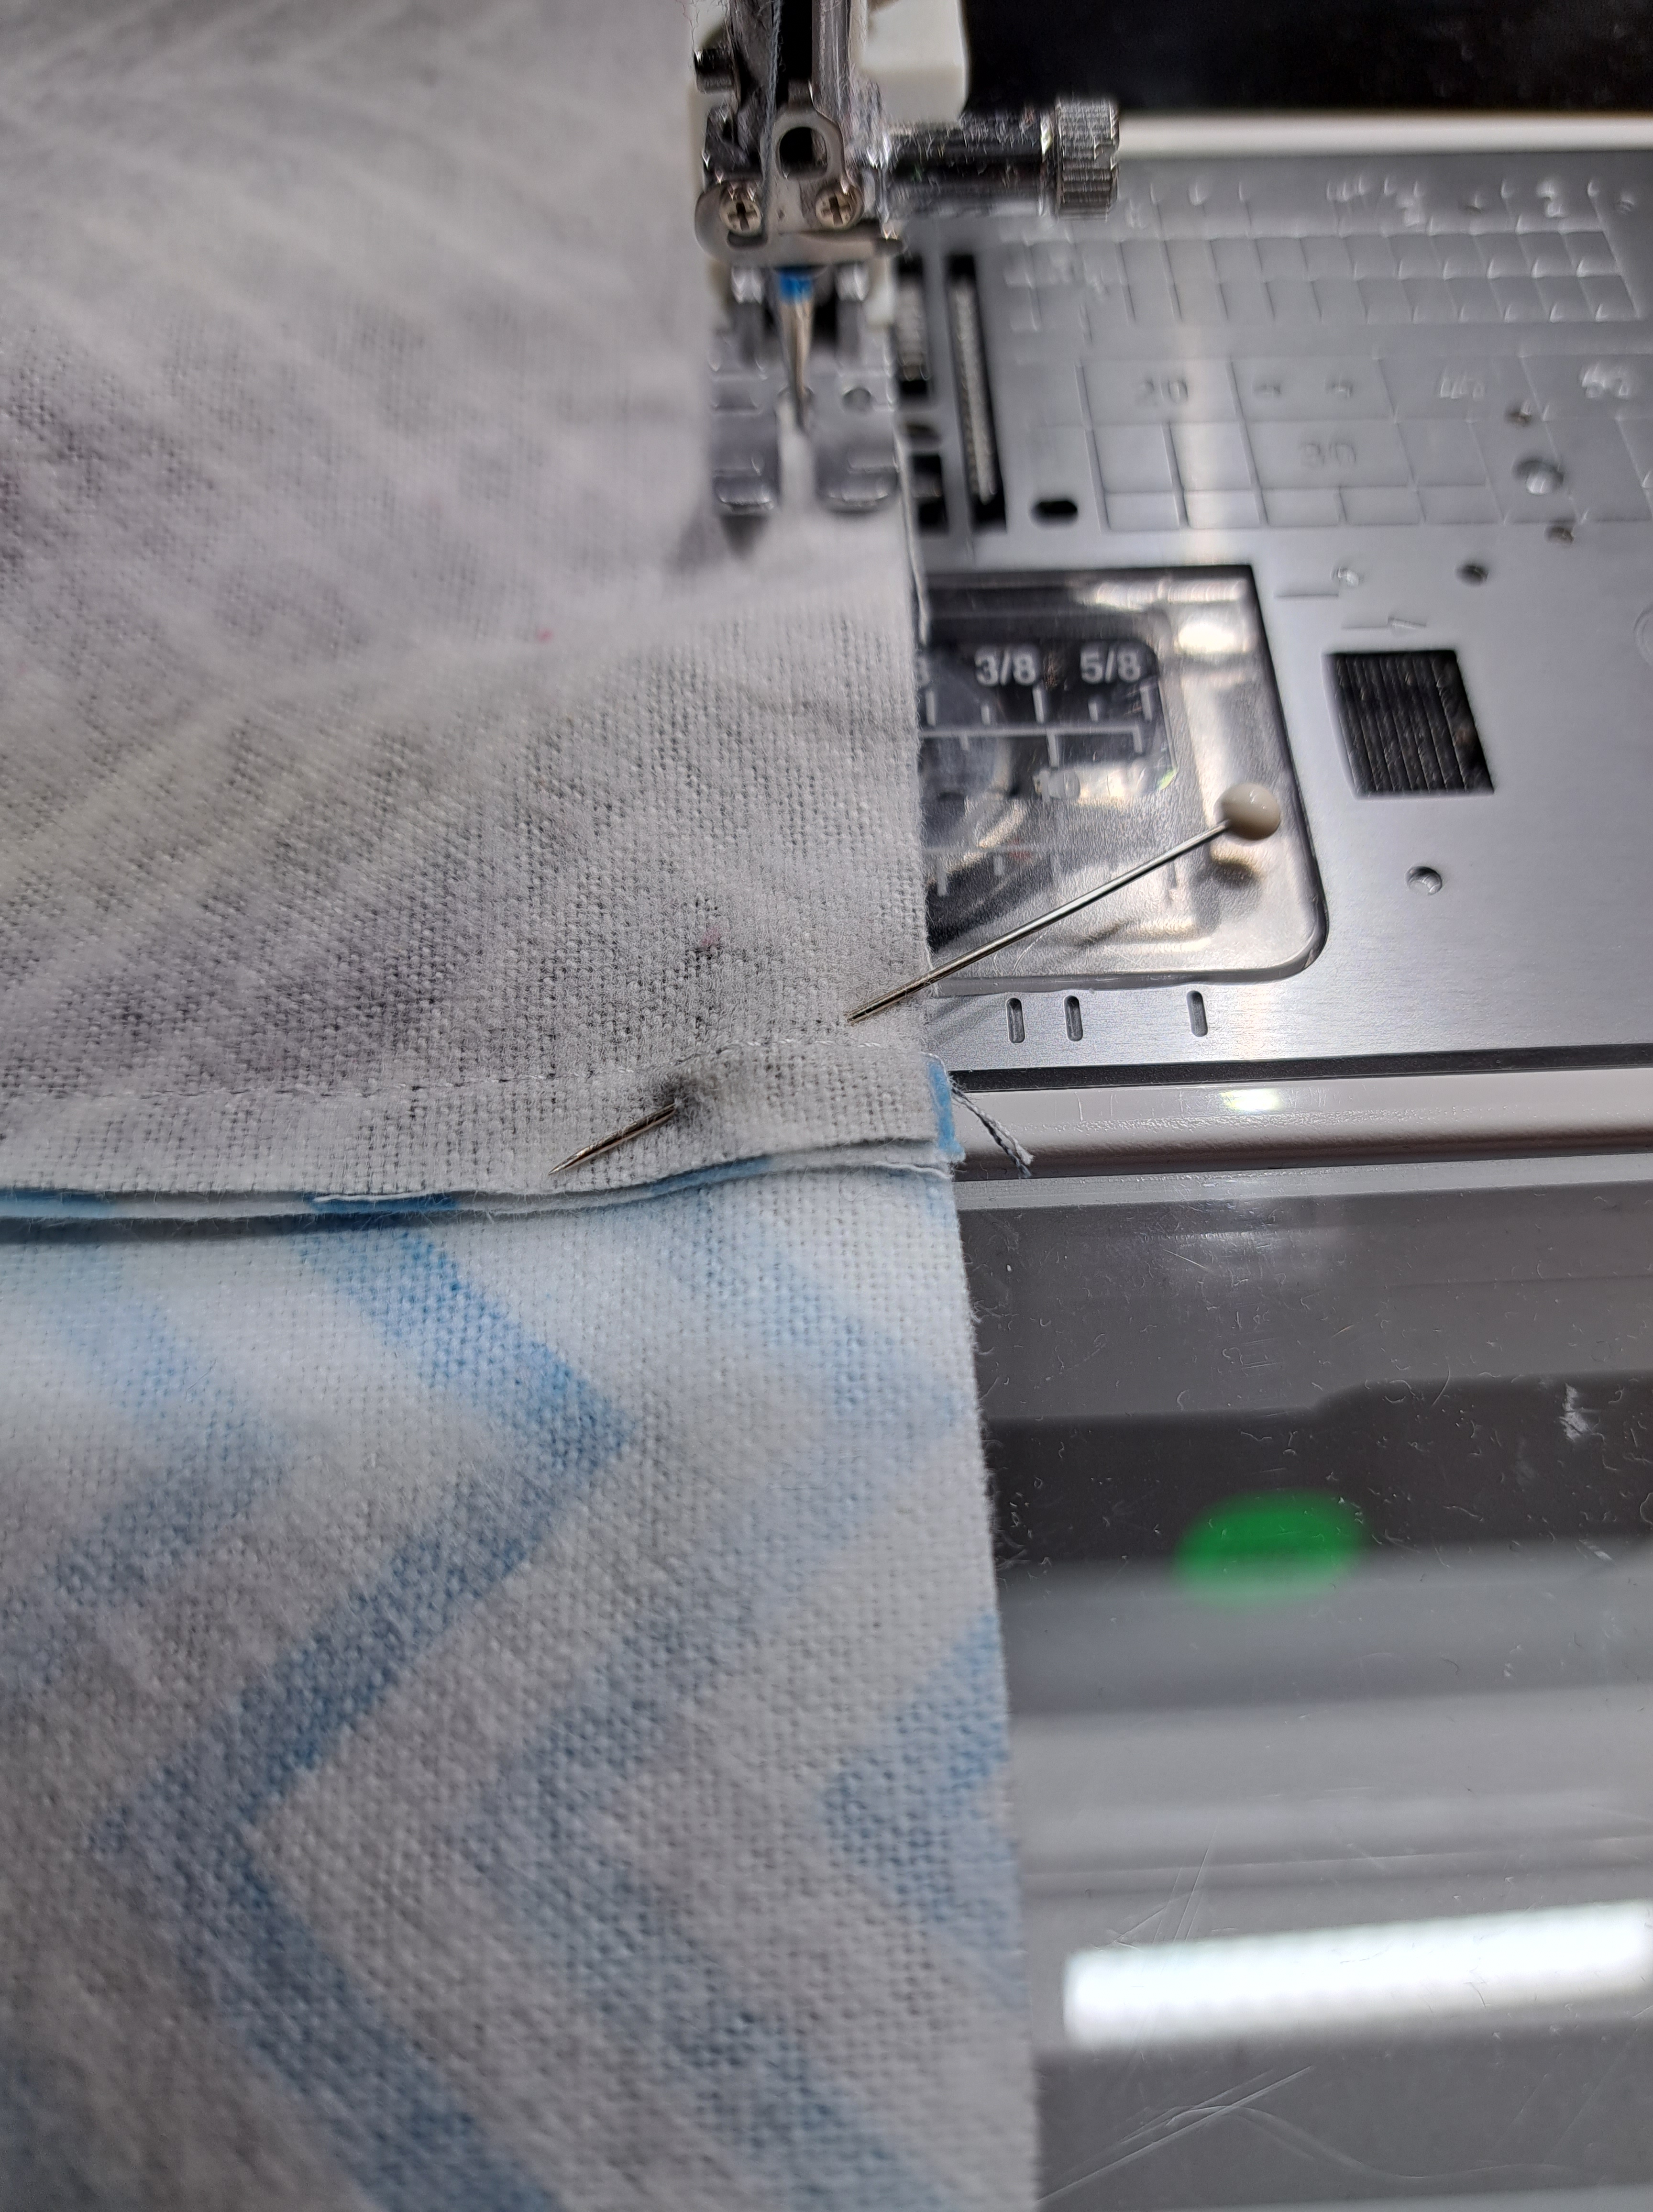
Heading into another project! I have a new great nephew, actually a couple months ago. So, that means a quilt needs to happen. As I was pinning rows together, I realized I do things automatically. I alternate my seams to reduce bulk when sewing rows together. When pinning those seams, it depends on which seam is on top as to how I place the pin. If the seam allowance on top is before the seam. I place the pin in that seam straight after nestling the seams. If the seam allowance before the seam is on the bottom, I put the pin at an angle to catch that underneath seam allowance and the seam allowance beyond the seam, catching both at the same time. See the photos below.
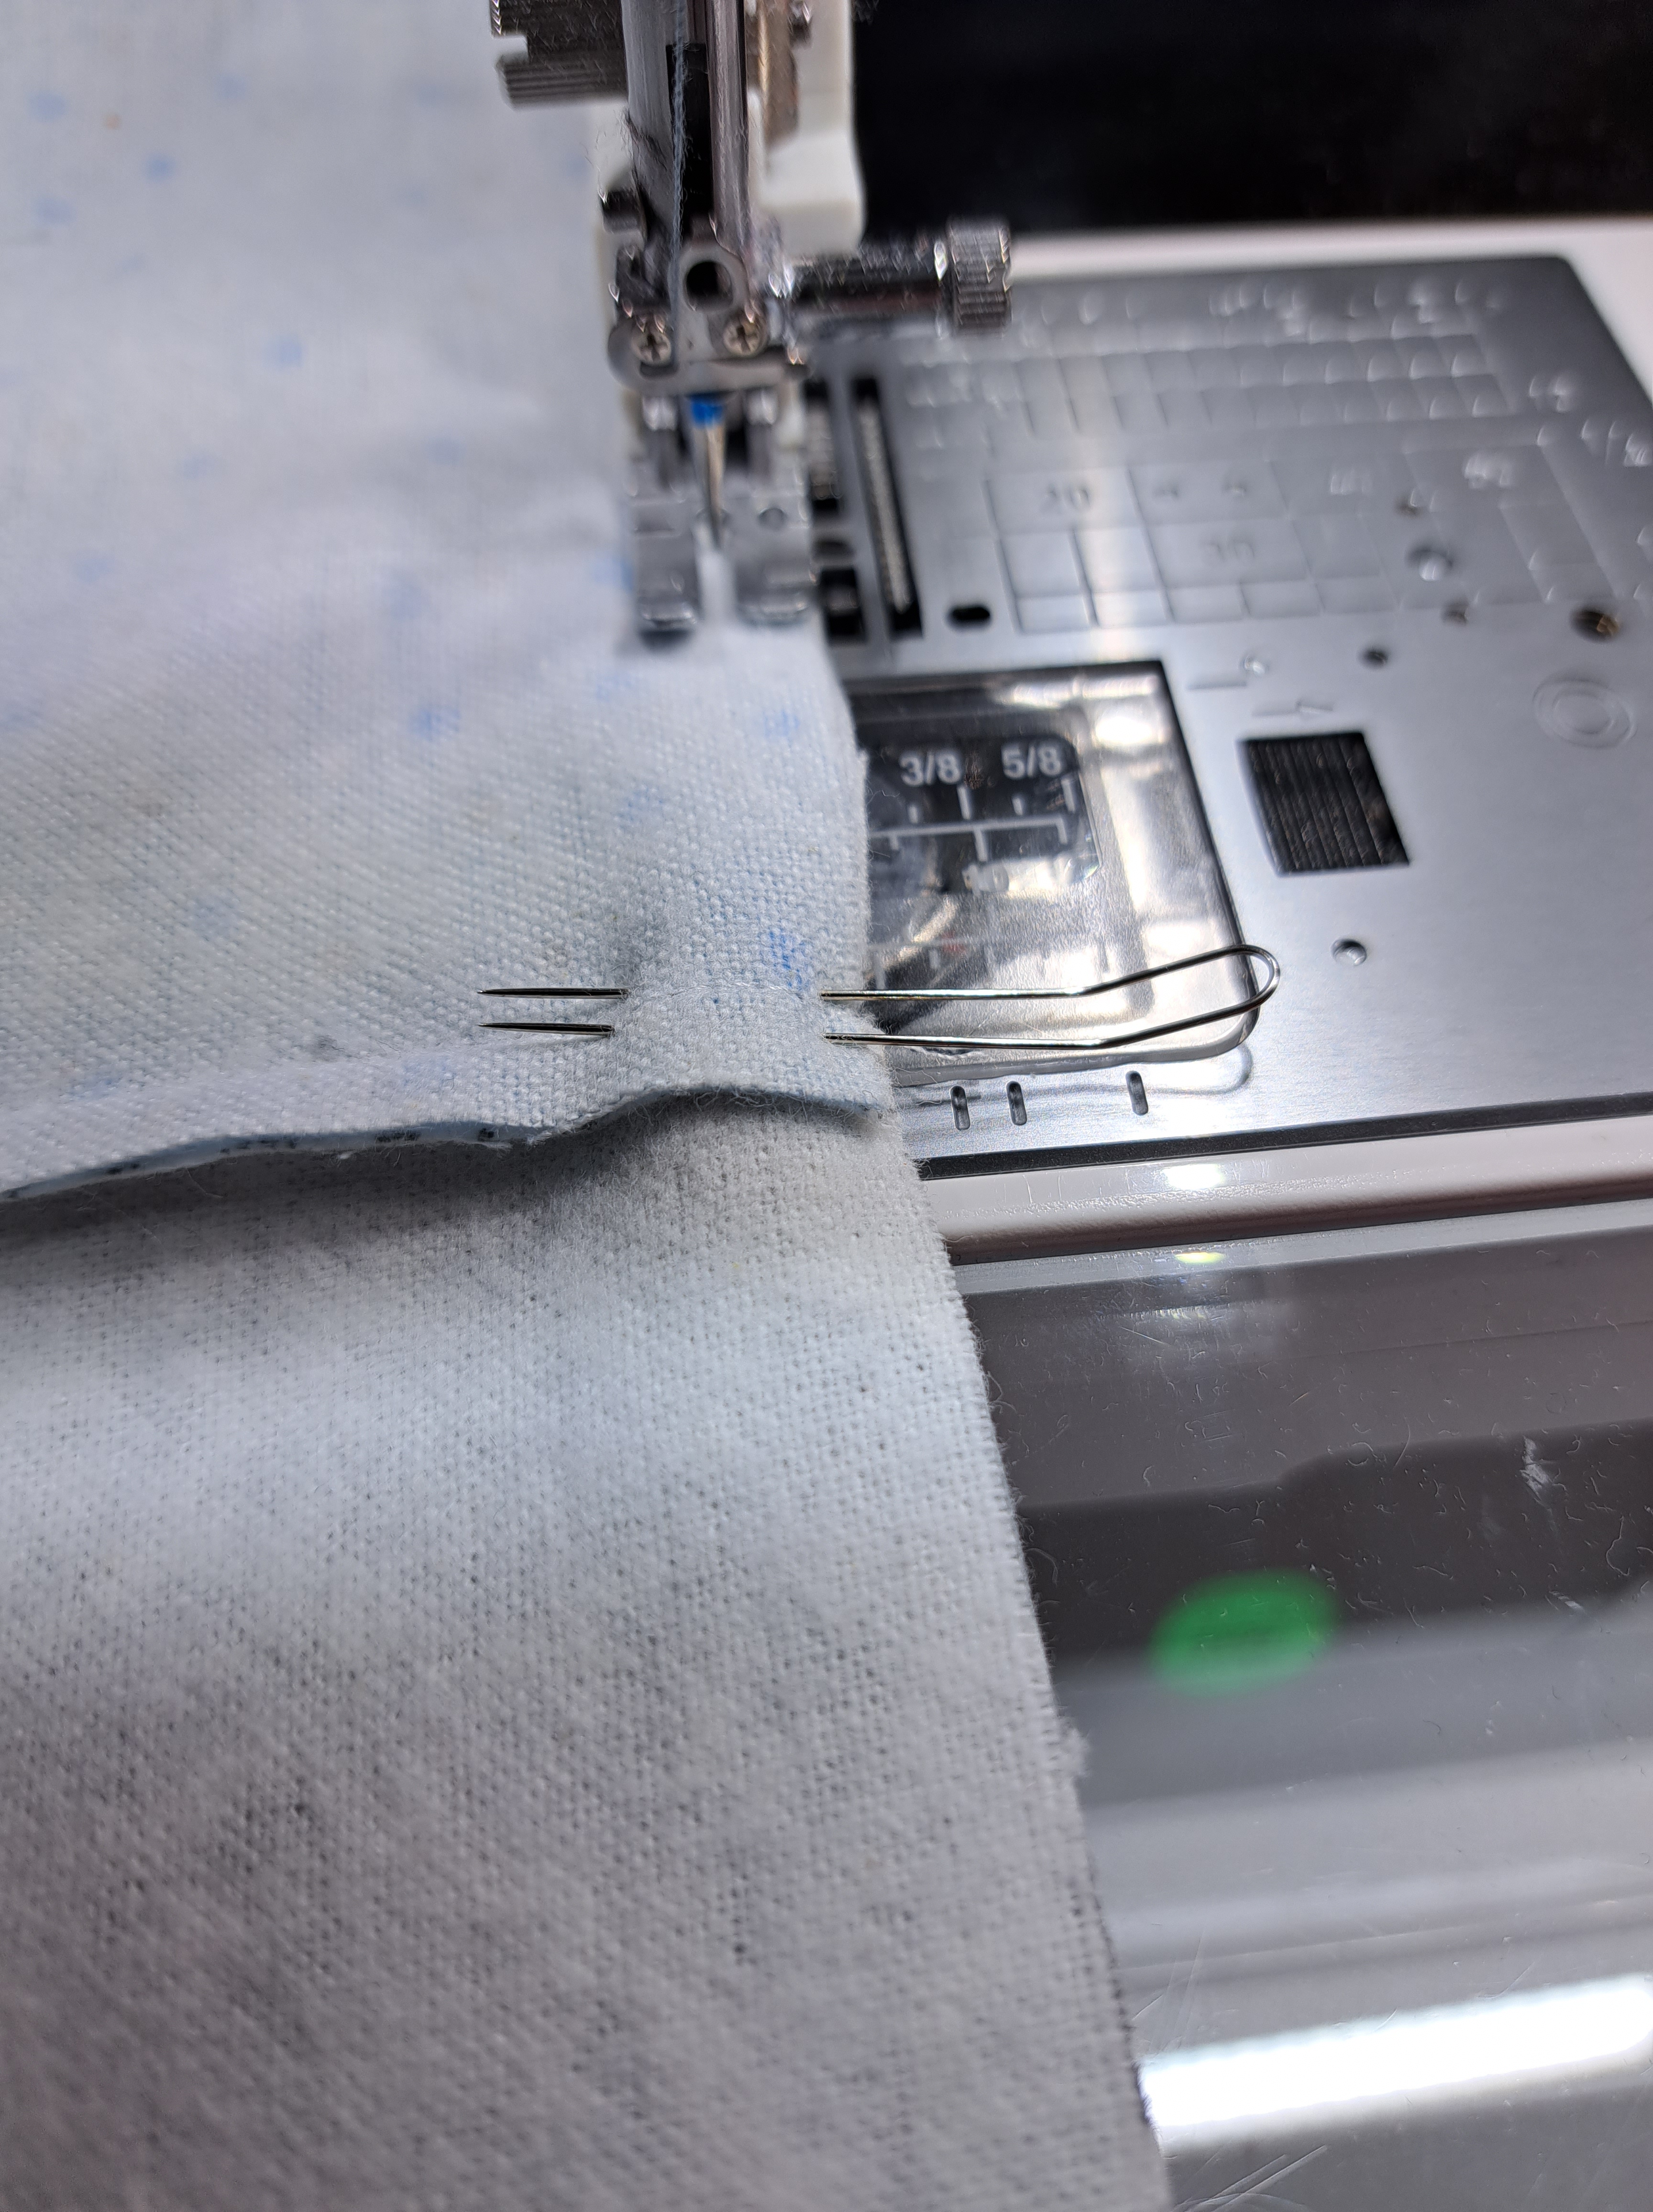
There is a new pin that allows you to pin both seams at once. The pins are “Fork Pins” by Clover. I have tried them a few times. I think I am so used to “my way” that they seem awkward. They will take some getting use to. See that pin in action below, it is like using two pins at once!
Here is the result of of a couple of those seams. YAY!
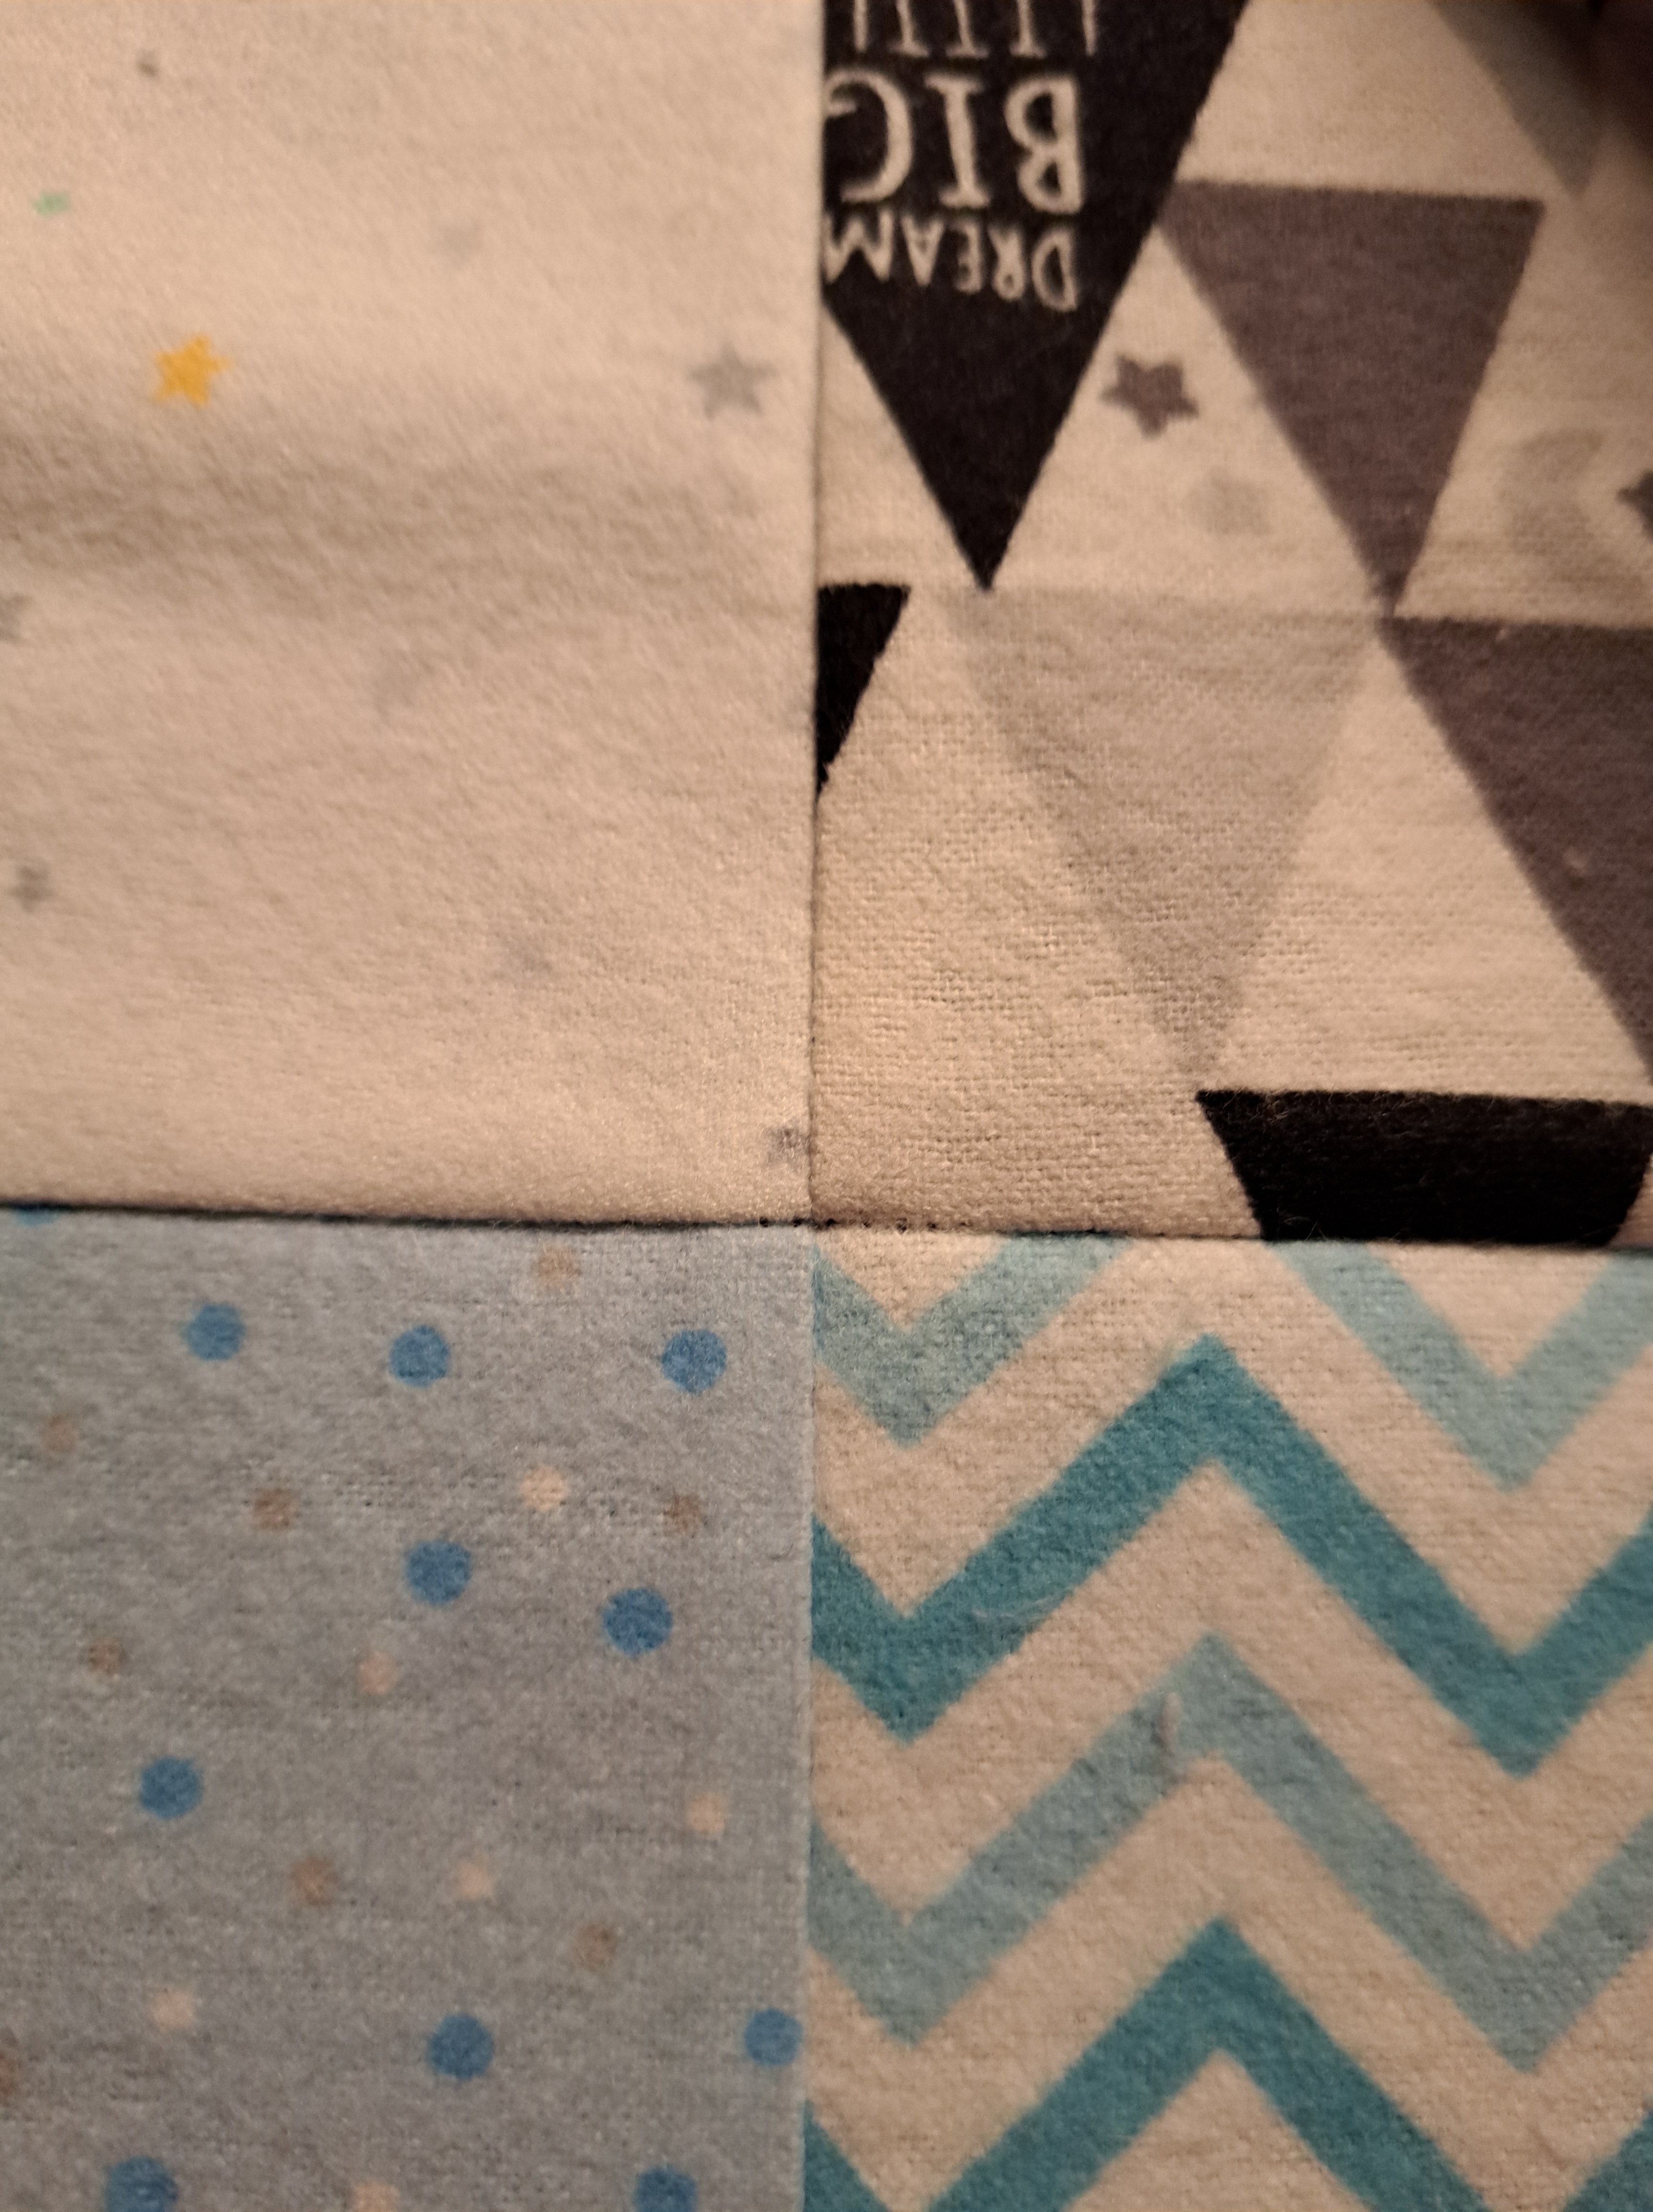
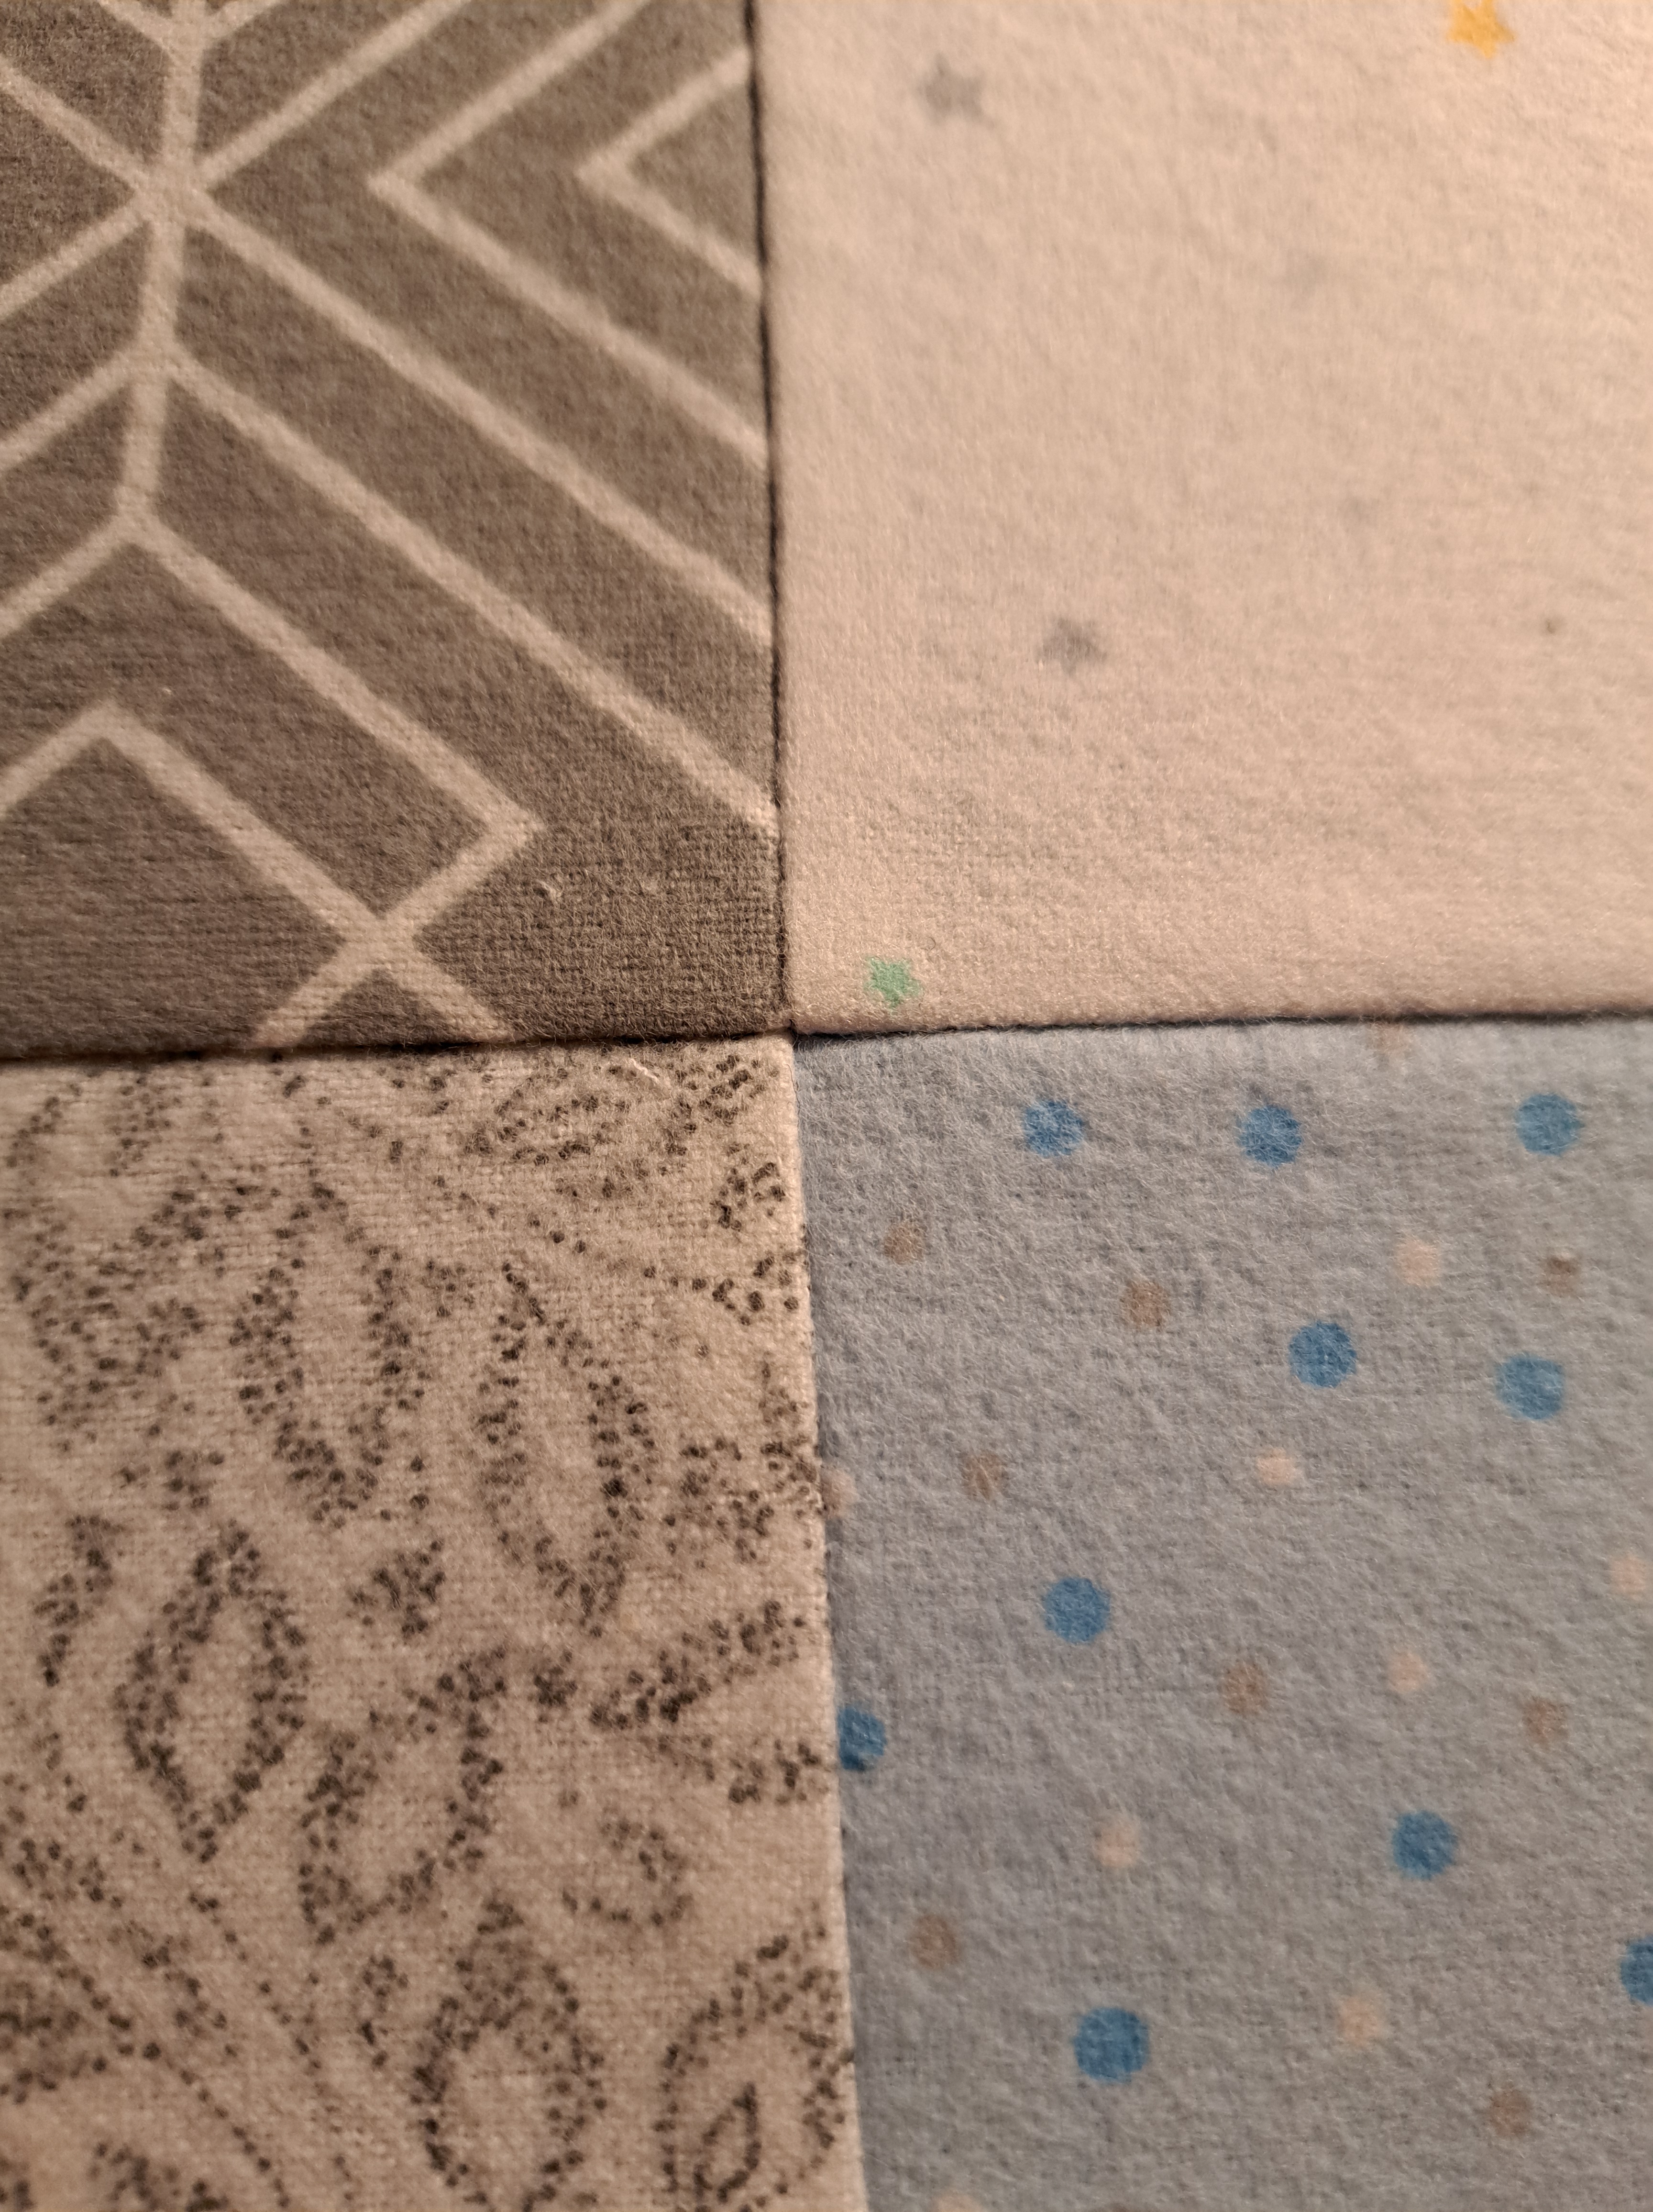
The idea is to make sure the seams nestled together do not separate as you sew. Keep them snug for nice seam intersections!
#1 – Try the new forked pins to keep seams in place when sewing rows together.
#2 – Pin seams to keep them from flipping the wrong way as you sew!
I’ll share the quilt I’m making… after it has been given!!
in quilting,
Debbie
