
The Thimble Pleasures quilt Show is just over a month away. We are finishing up quilts, quilting, adding labels and sleeves. Plus we are continuing to make items for our Special Project (donations to be given to the Doug Flute Jr. Foundation for Autism). We have a Raffle Quilt, a Boutique of gently used and newly made quilting items, a Silent Auction and Raffle Baskets. We will have a room full of local vendors and even a spot to grab a quick snack. The show is March 16 & 17 at BVT (Blackstone Valley Regional Vocational High School) in Upton, MA. 10-4 each day. With all of this preparation, lets talk about adding a sleeve to a show quilt.
There are many ways to hang a quilt. In a quilt show, a sleeve is required. Most quilts are hung by a rod from “show poles”. These rods are fed through a sleeve on the back of the quilt. You can google different ways to add a sleeve to your quilts, but I will share one way that one of our members has been adding sleeves to her quilts for years. My friend Michelle C. re-uses her sleeves from show to show. Once the show is over, she removes the sleeve if the quilt is a bed quilt.
First she has her sleeves labeled with the size. Smart idea to keep track!
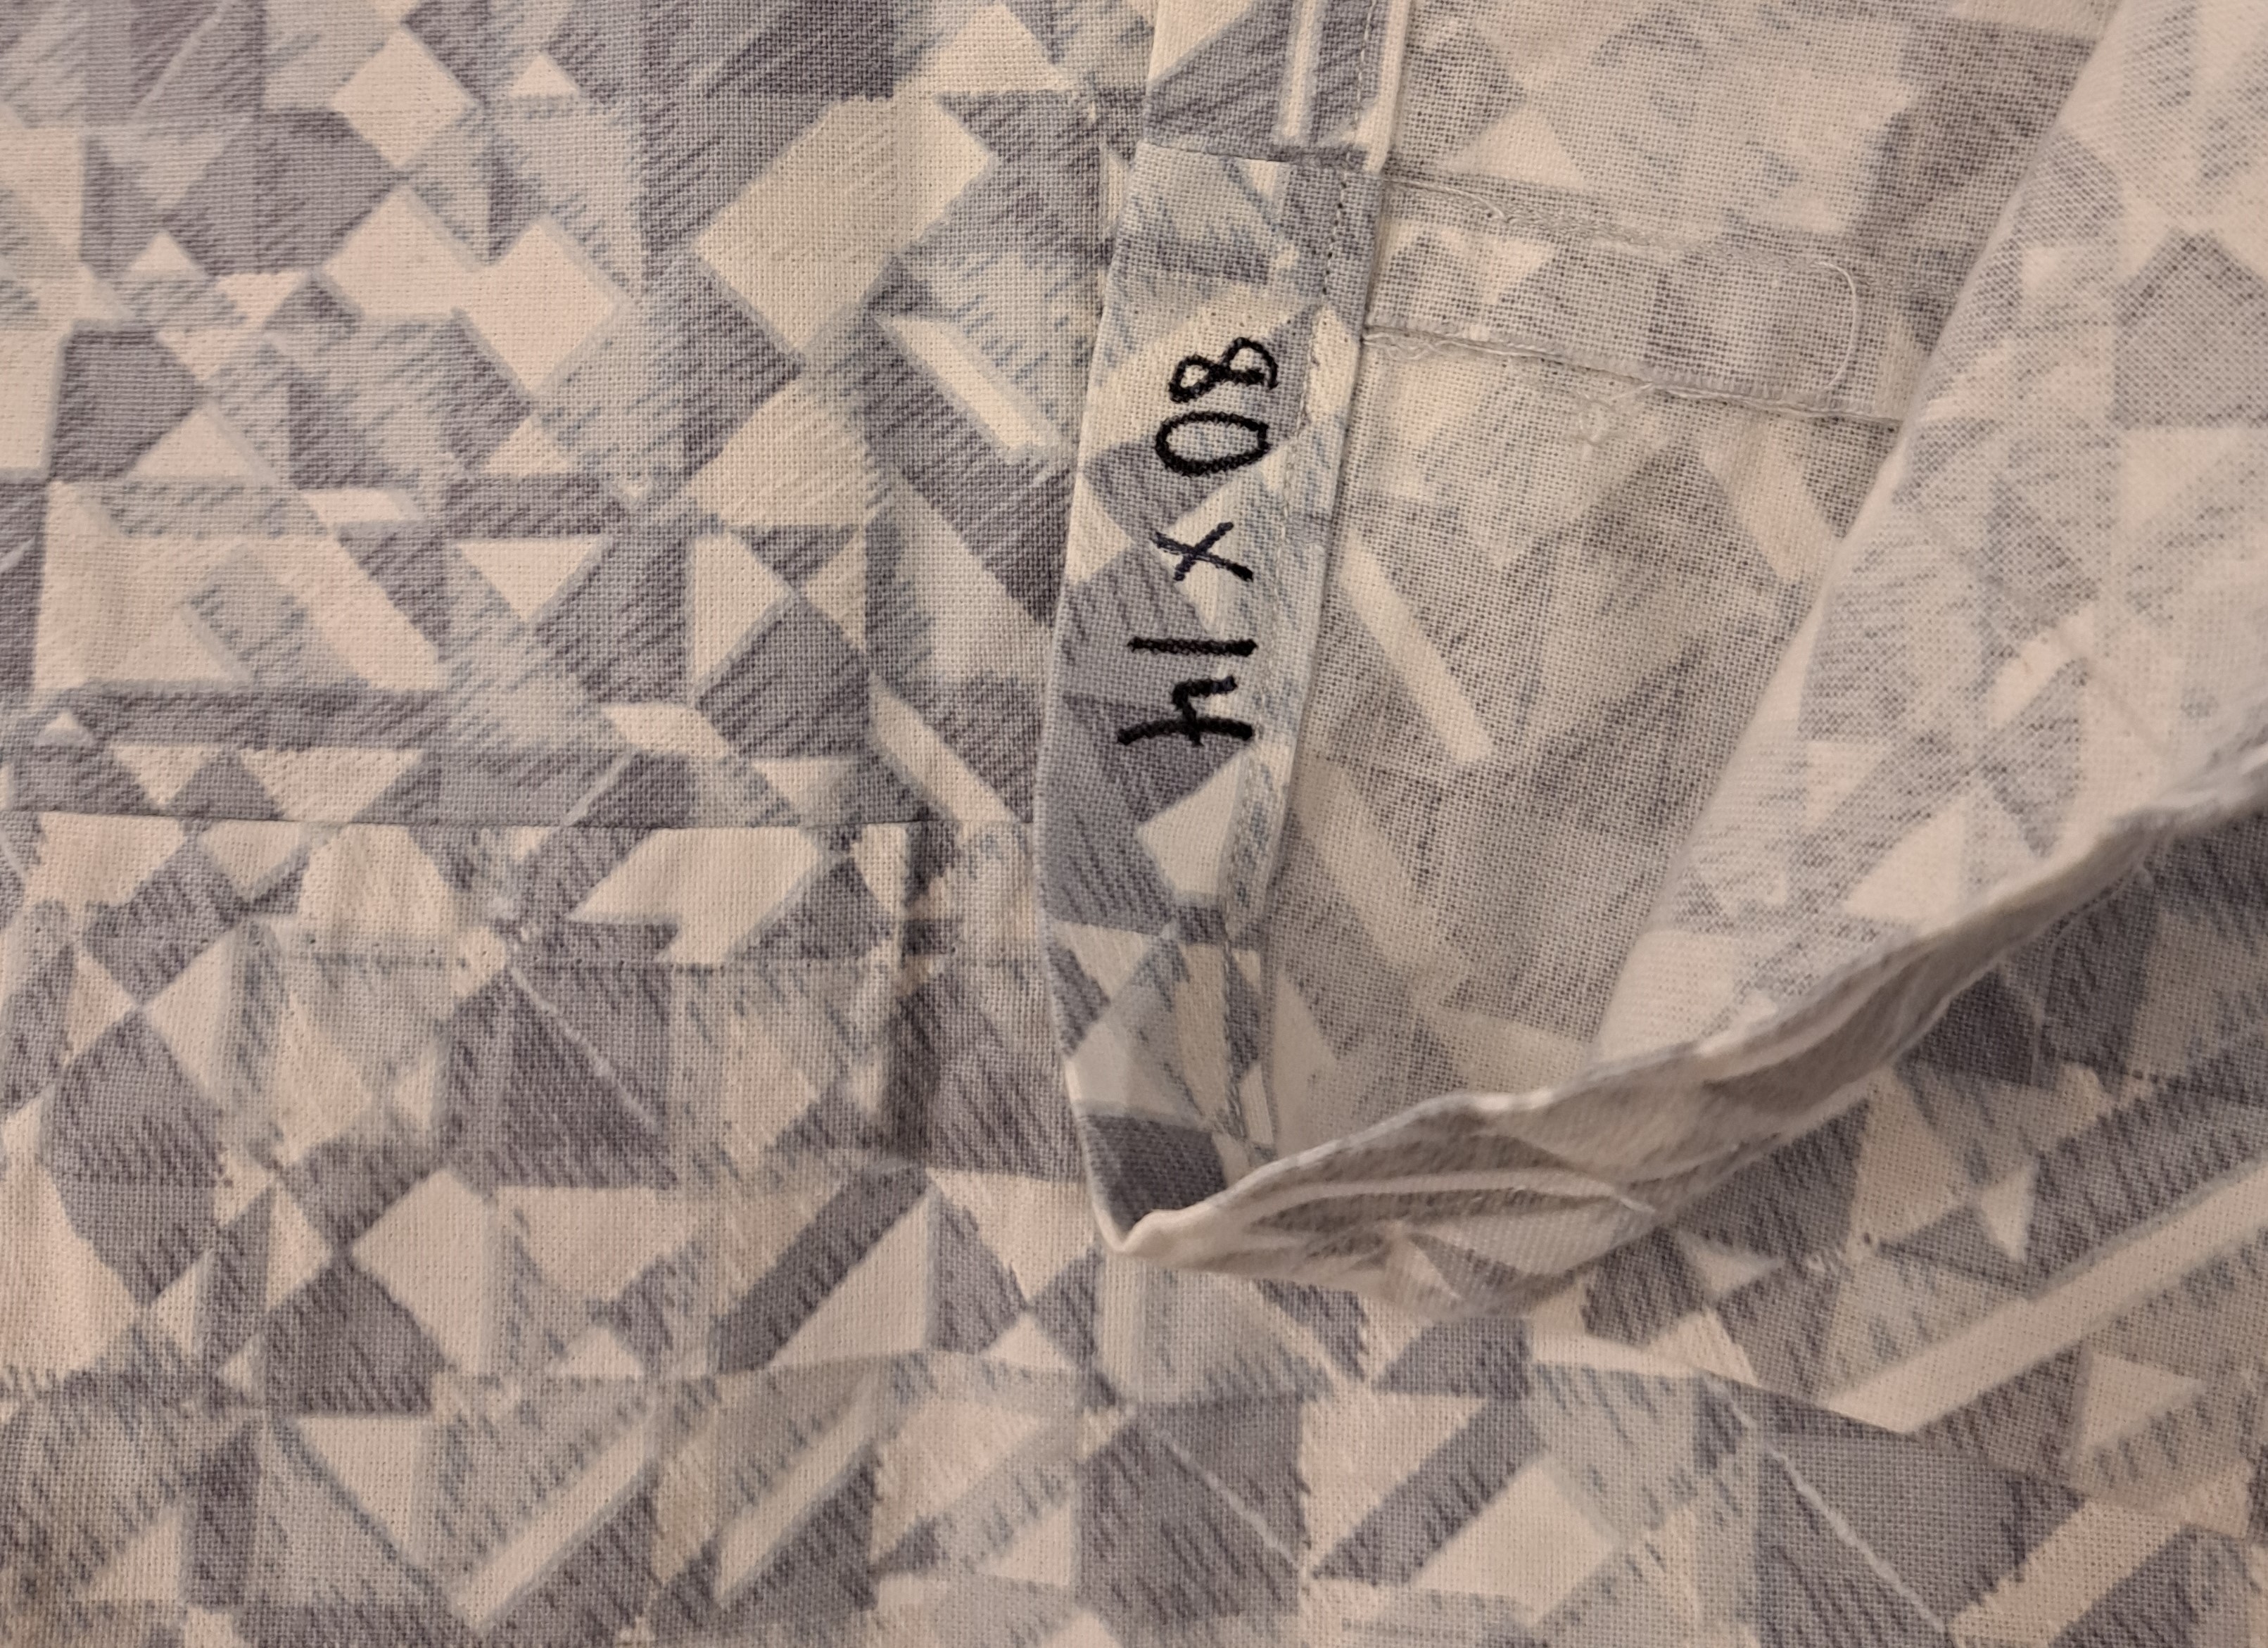
Second, she may need to adapt the sleeve if it is not a perfect fit. Her sleeves are extra wide because she uses a top border seam as her guide to attach her sleeve by machine with monofilament thread! Brilliant!!
And now for Michelle’s process…
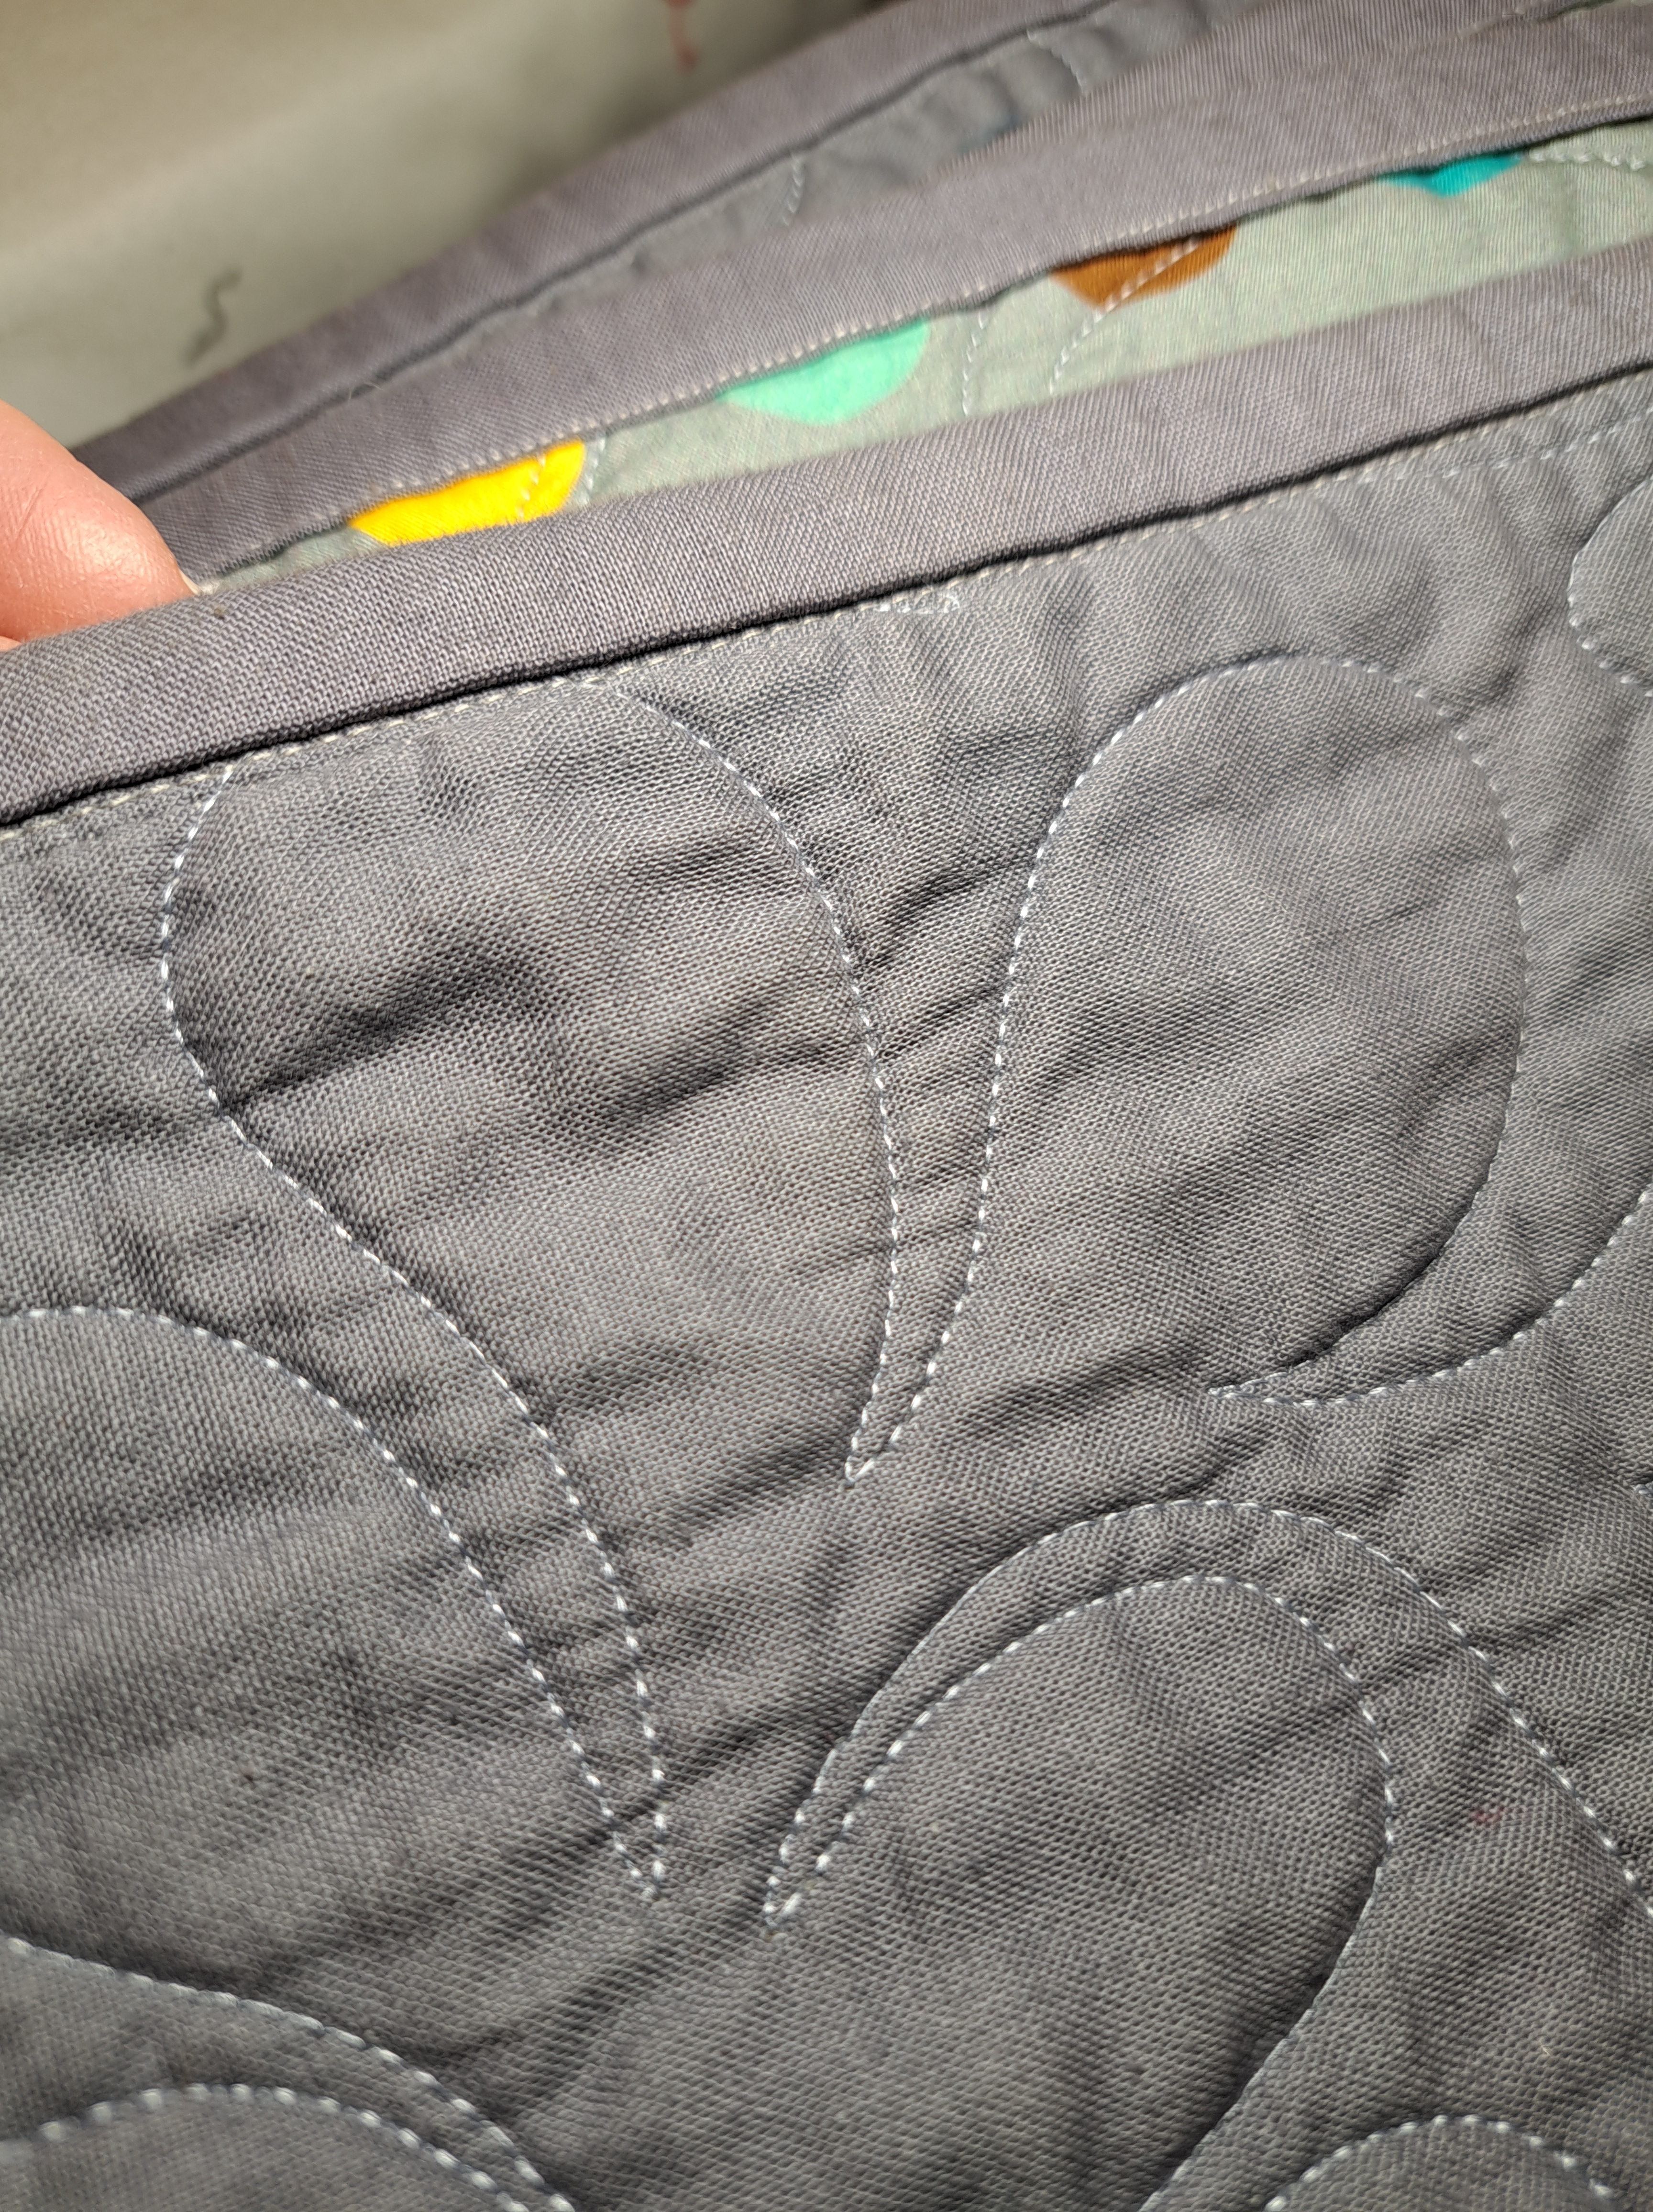
She adjusts the length of the sleeve (width of the quilt) if needed. Then she attaches the top of the sleeve just along the bottom edge of the binding. Sewing through all layers of the quilt with monofilament thread in the top and regular thread to match the sleeve in the bobbin. The line of stitching on the front of the quilt is shown below right along the machine sewn binding. She sews her bindings on like I do…stitching the binding onto the front of the quilt, turning the binding to the back and stitching in the ditch from the front to catch the back of the binding!! The monofilament thread of the sleeve stitching line is barely visible! The gray thread you see is the binding stitching line.
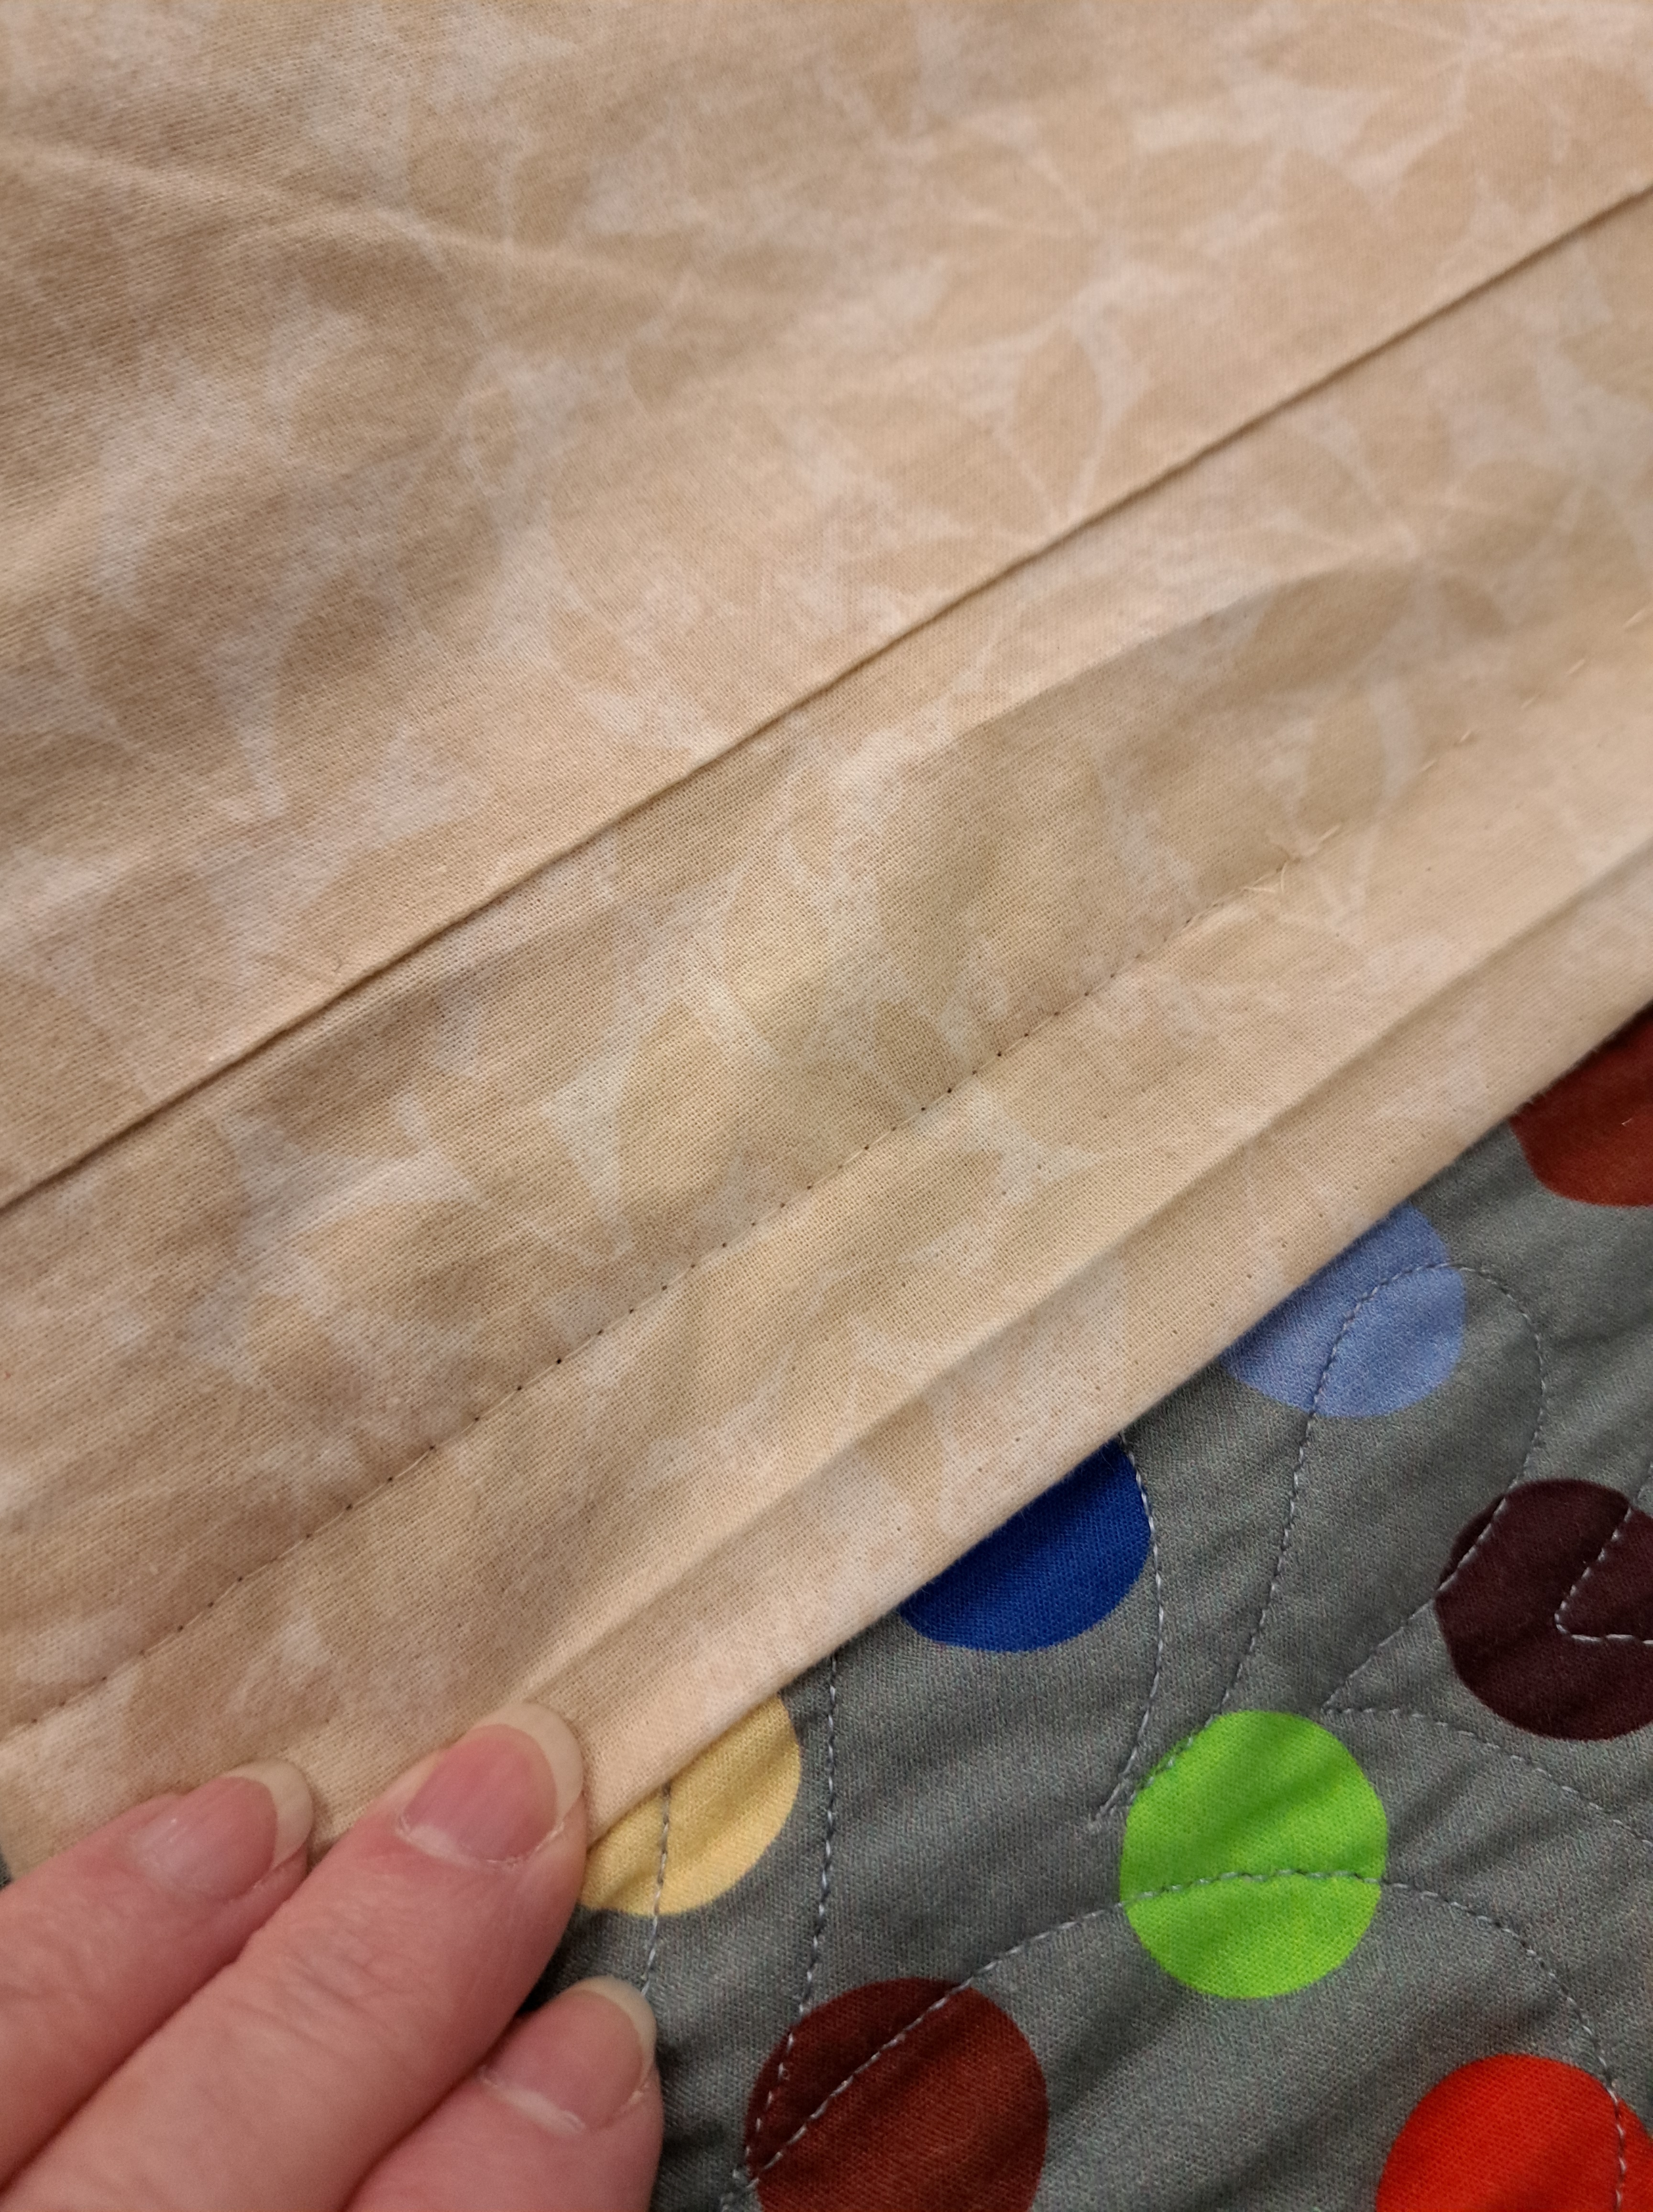
The quilt will hang better if there is a gap in the sleeve to allow for the space the pole takes up. After that gap (or tuck of about 1/2″ or so) she finds the top border seam and pins the sleeve in place. Then she sews the sleeve to the quilt from the front…stitching in the ditch of the border seam. Again, monofilament thread is used on the front and matching thread still in the bobbin. The first photo below is the top border seam with the sleeve stitched on. The second is showing what the stitching looks like from the back on the sleeve.
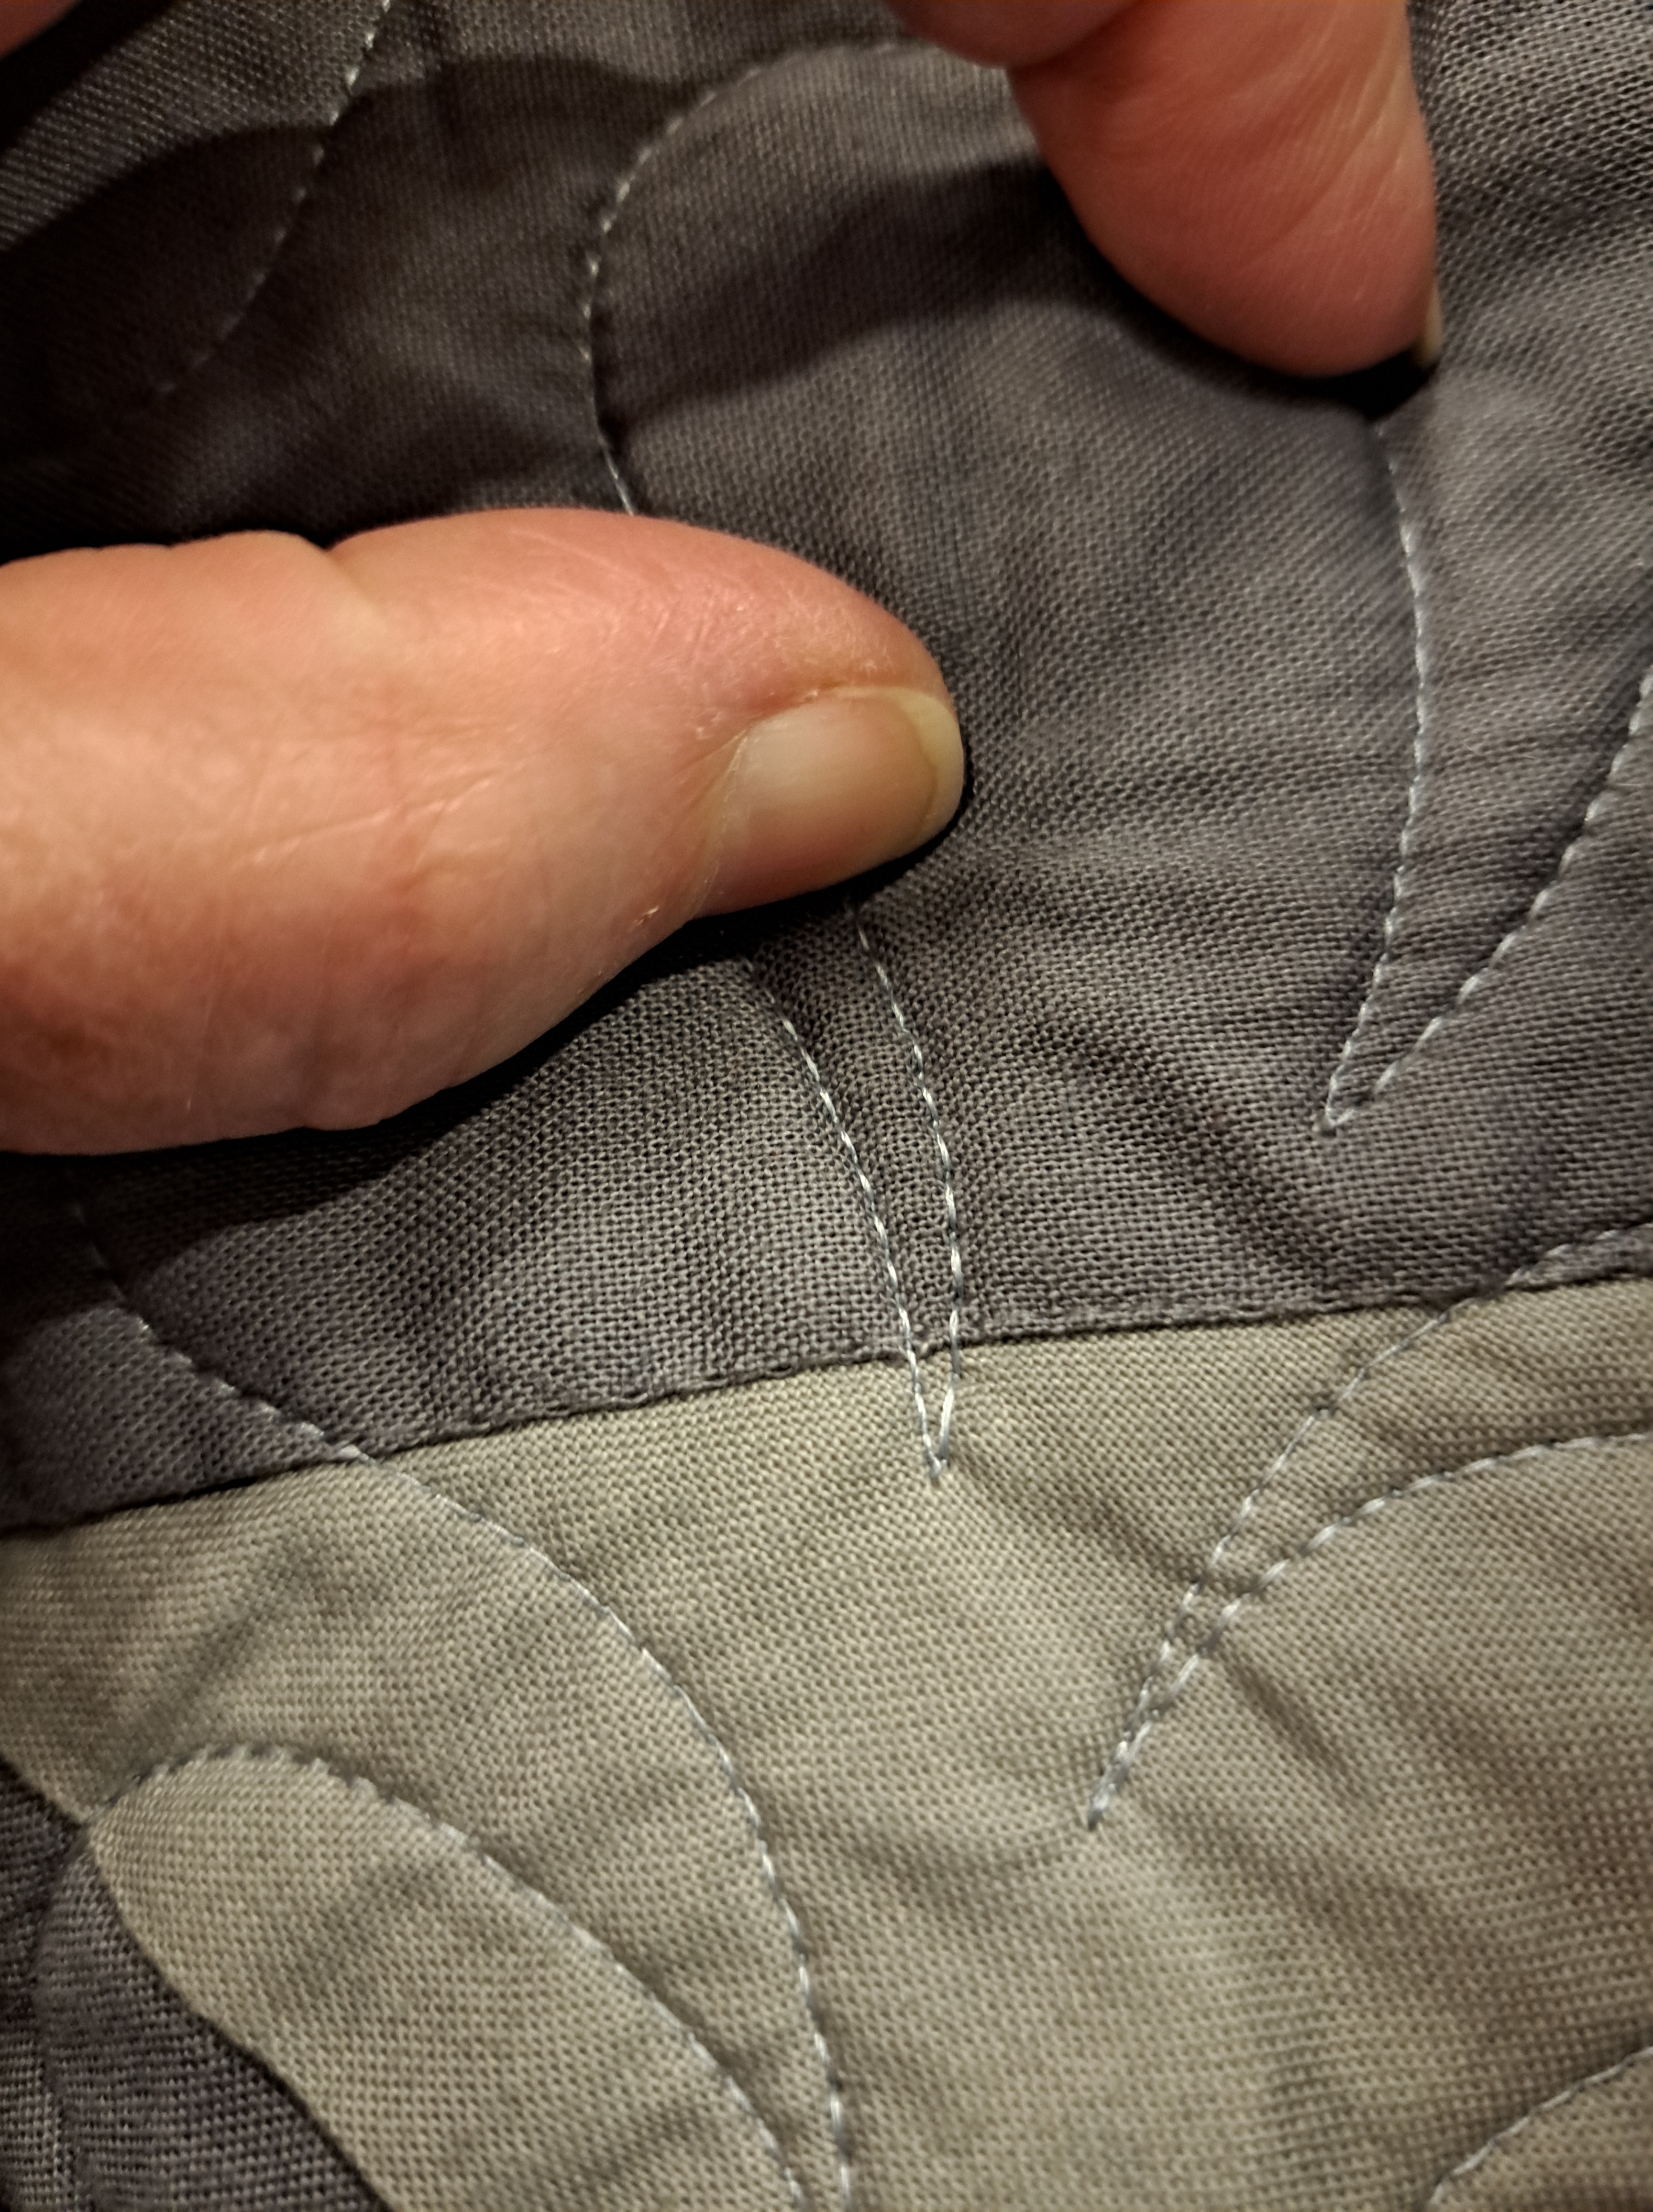
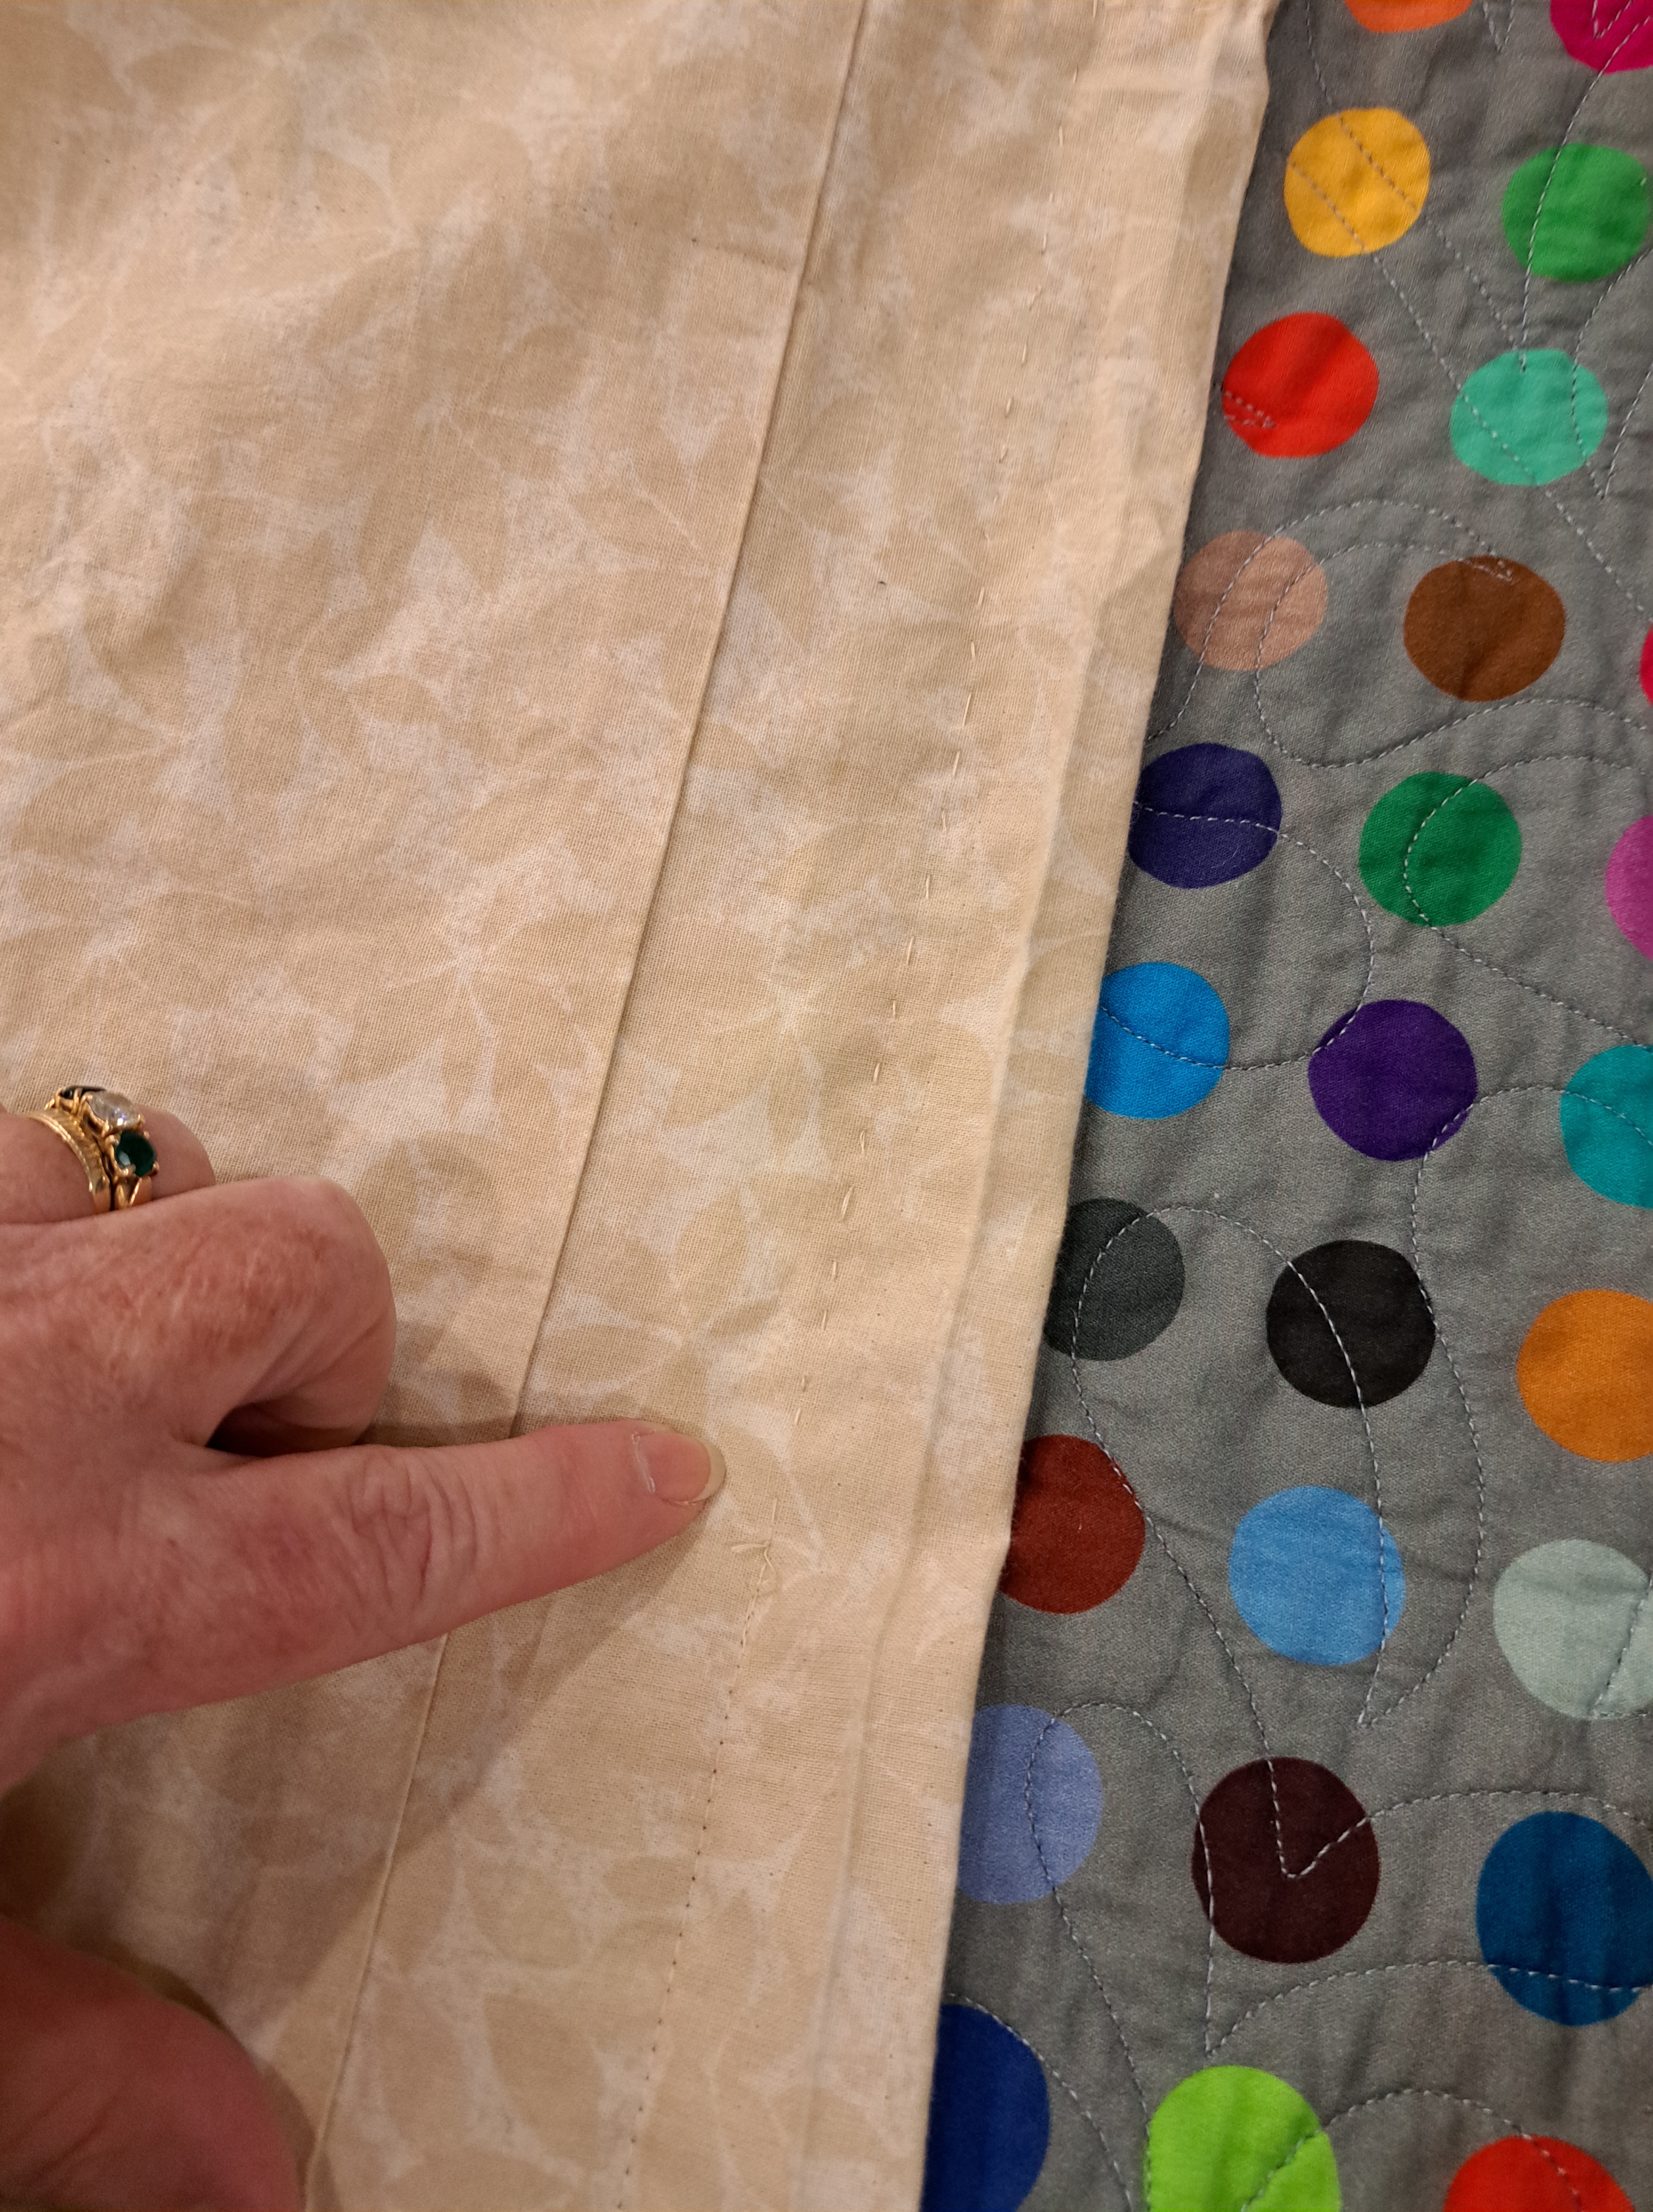
This particular quilt has a mitered border, so she carefully hand sews the sleeve with hand stitches across the mitered section to the edge of the quilt where the border seam meets the miter. Hand sewing shown below above my finger, while the machine stitching line is below my finger. Brilliant!!
The side edges of the sleeve are sewn by hand to keep the pole IN the sleeve NOT AGAINST THE QUILT!

I am so impressed by her sleeve technique and HAPPY she allowed me to share her technique with you! Now I need to get my sleeves on my show quilts! I hope you enjoyed all the tips she has used to attach her sleeves to her show quilt! (There are sure more than two tips this week!!) Her quilt will be at our Thimble Pleasures Quilt Show!!!
in quilting,
Debbie
