
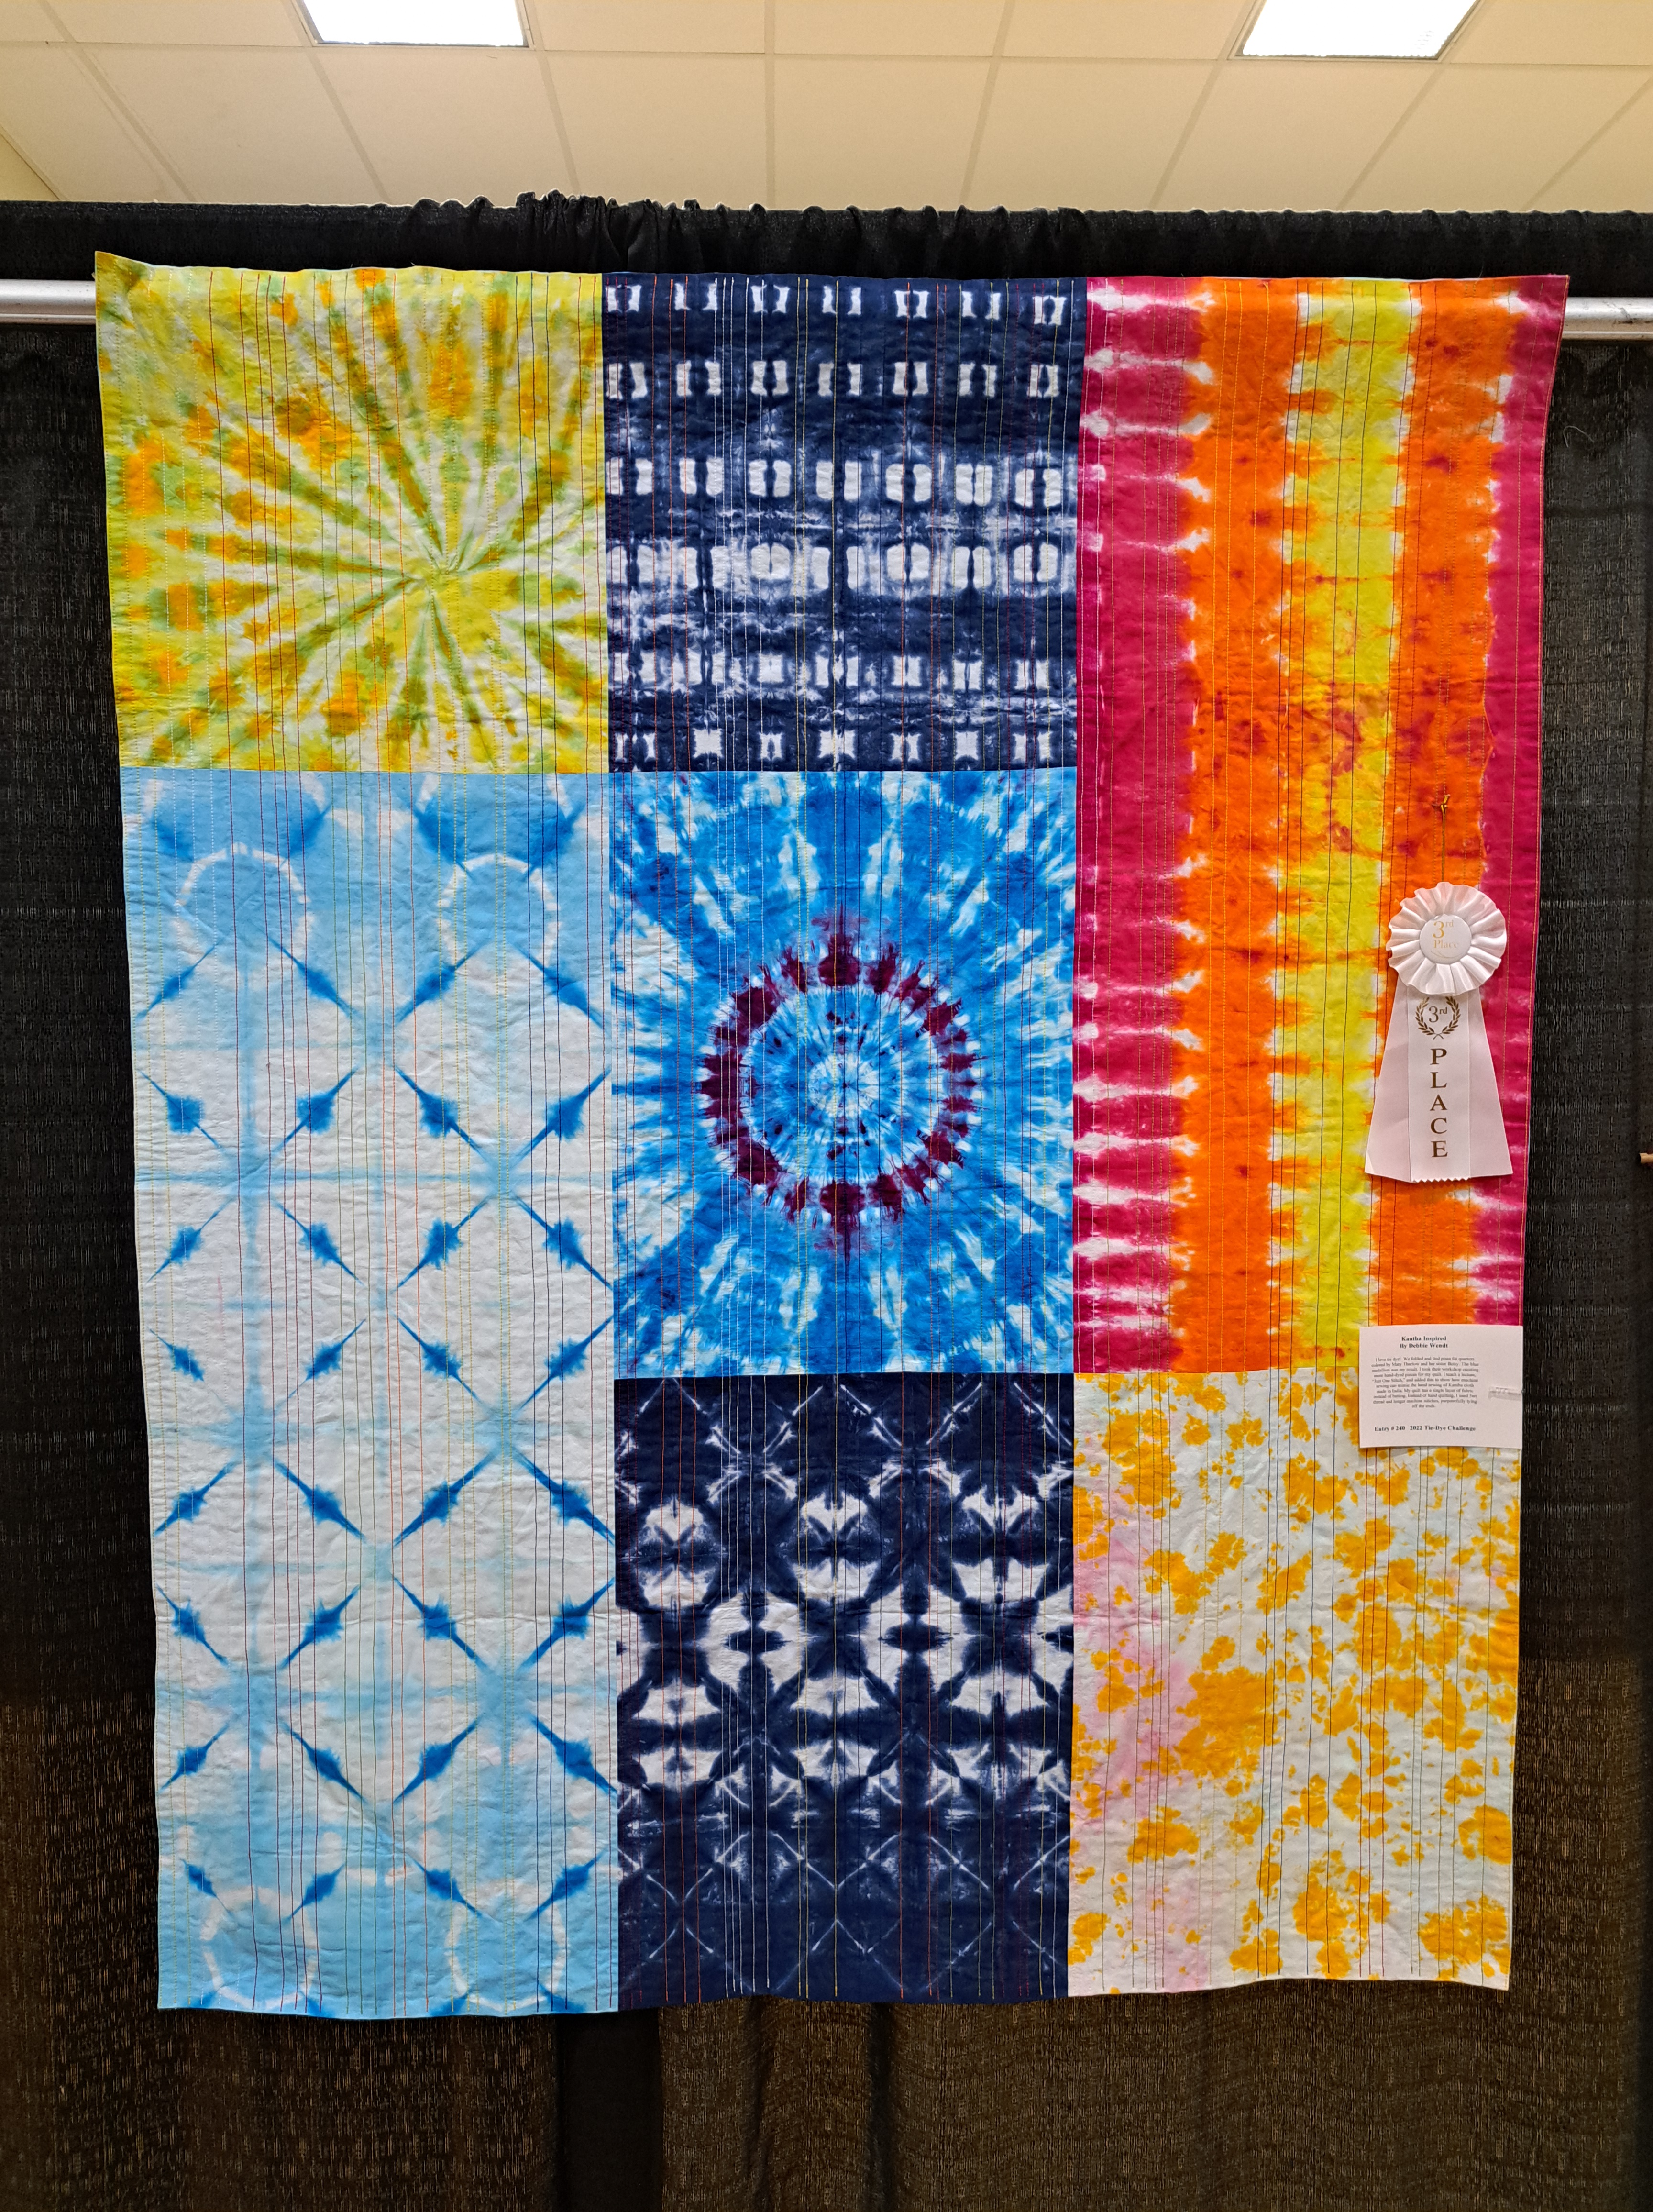
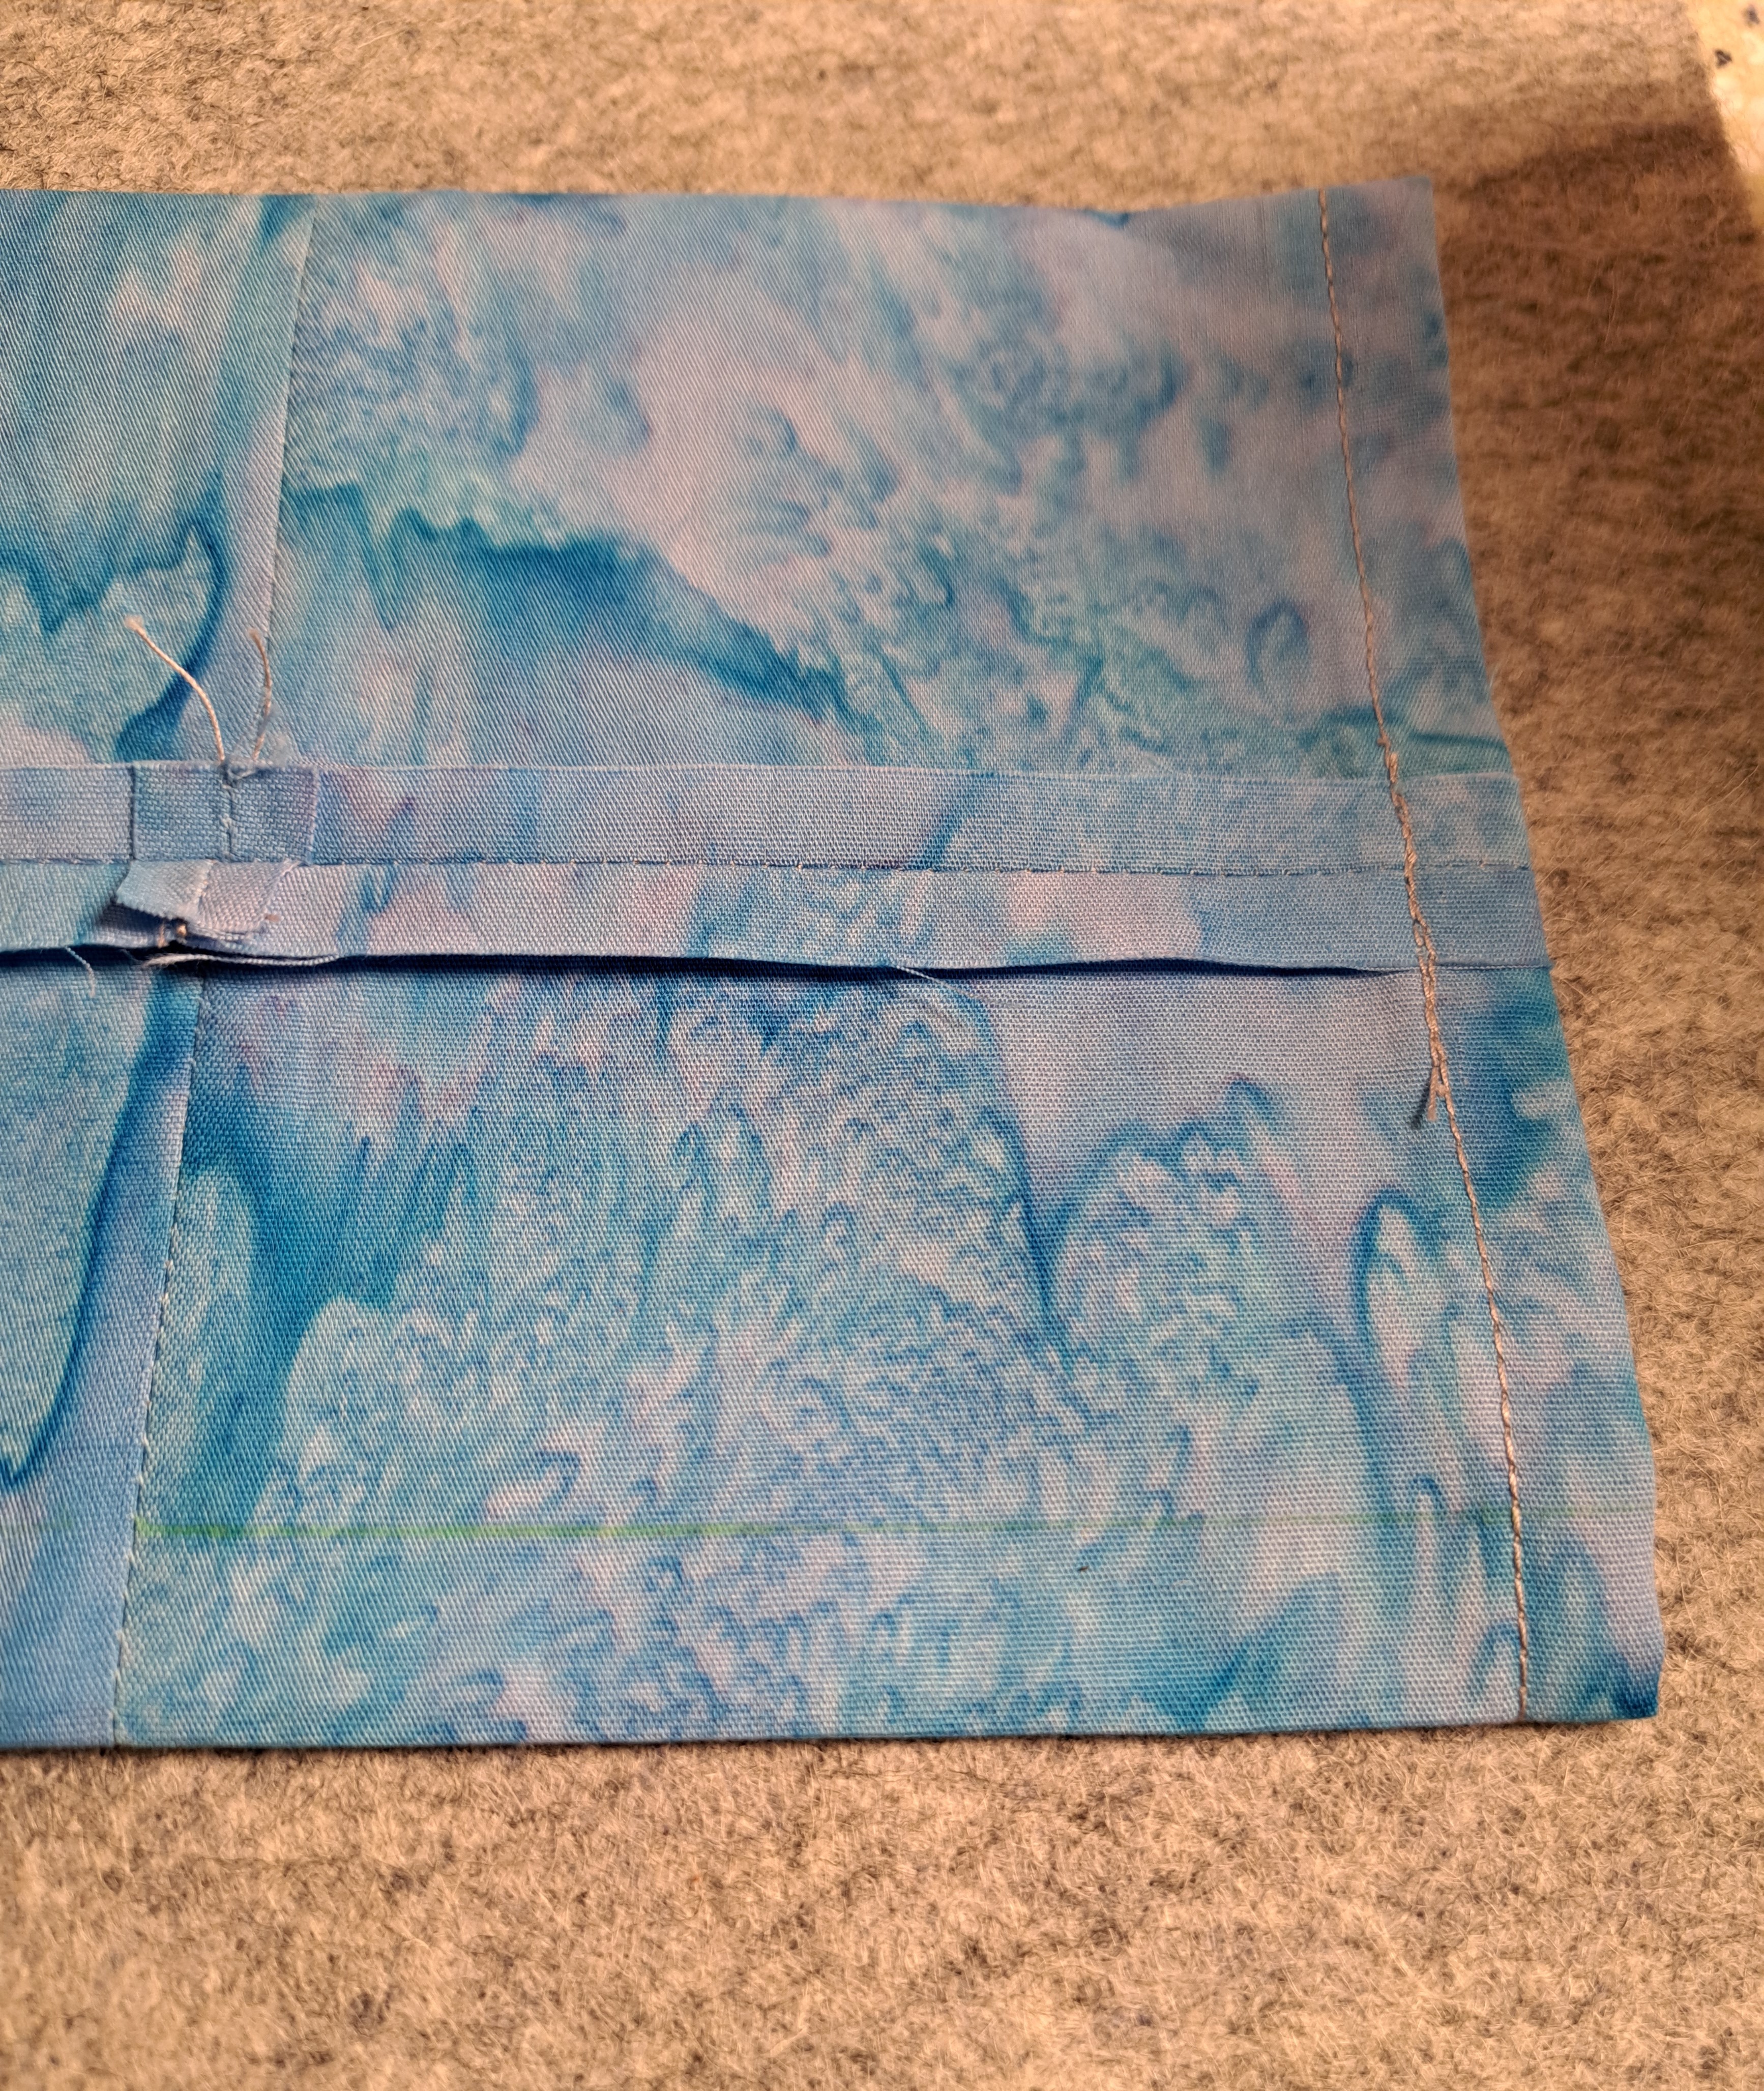
When putting a quilt in a show, you need to add a sleeve to your quilt. I will explain the process I used when I added a sleeve to my Kantha Inspired quilt. The quilt does not have a traditional binding. I turned the edges in and took my stitching lines all the way to the outside folded in edges. I purposefully tied the ends of the stitching lines with knots that would show on the quilt. Below is how my quilt was hanging at the show. These steps will include your tips for today!
First, I cut my fabric into a strip 11″ by the length I needed across the top of the quilt. I did need to sew to pieces together to get the length (this the seam.). I usually cut the length of the strip so it fits just inside the edge. This time, I made it a couple inches shorter. I told this strip in half and sew a 1/4″ seam, creating a tube/sleeve.
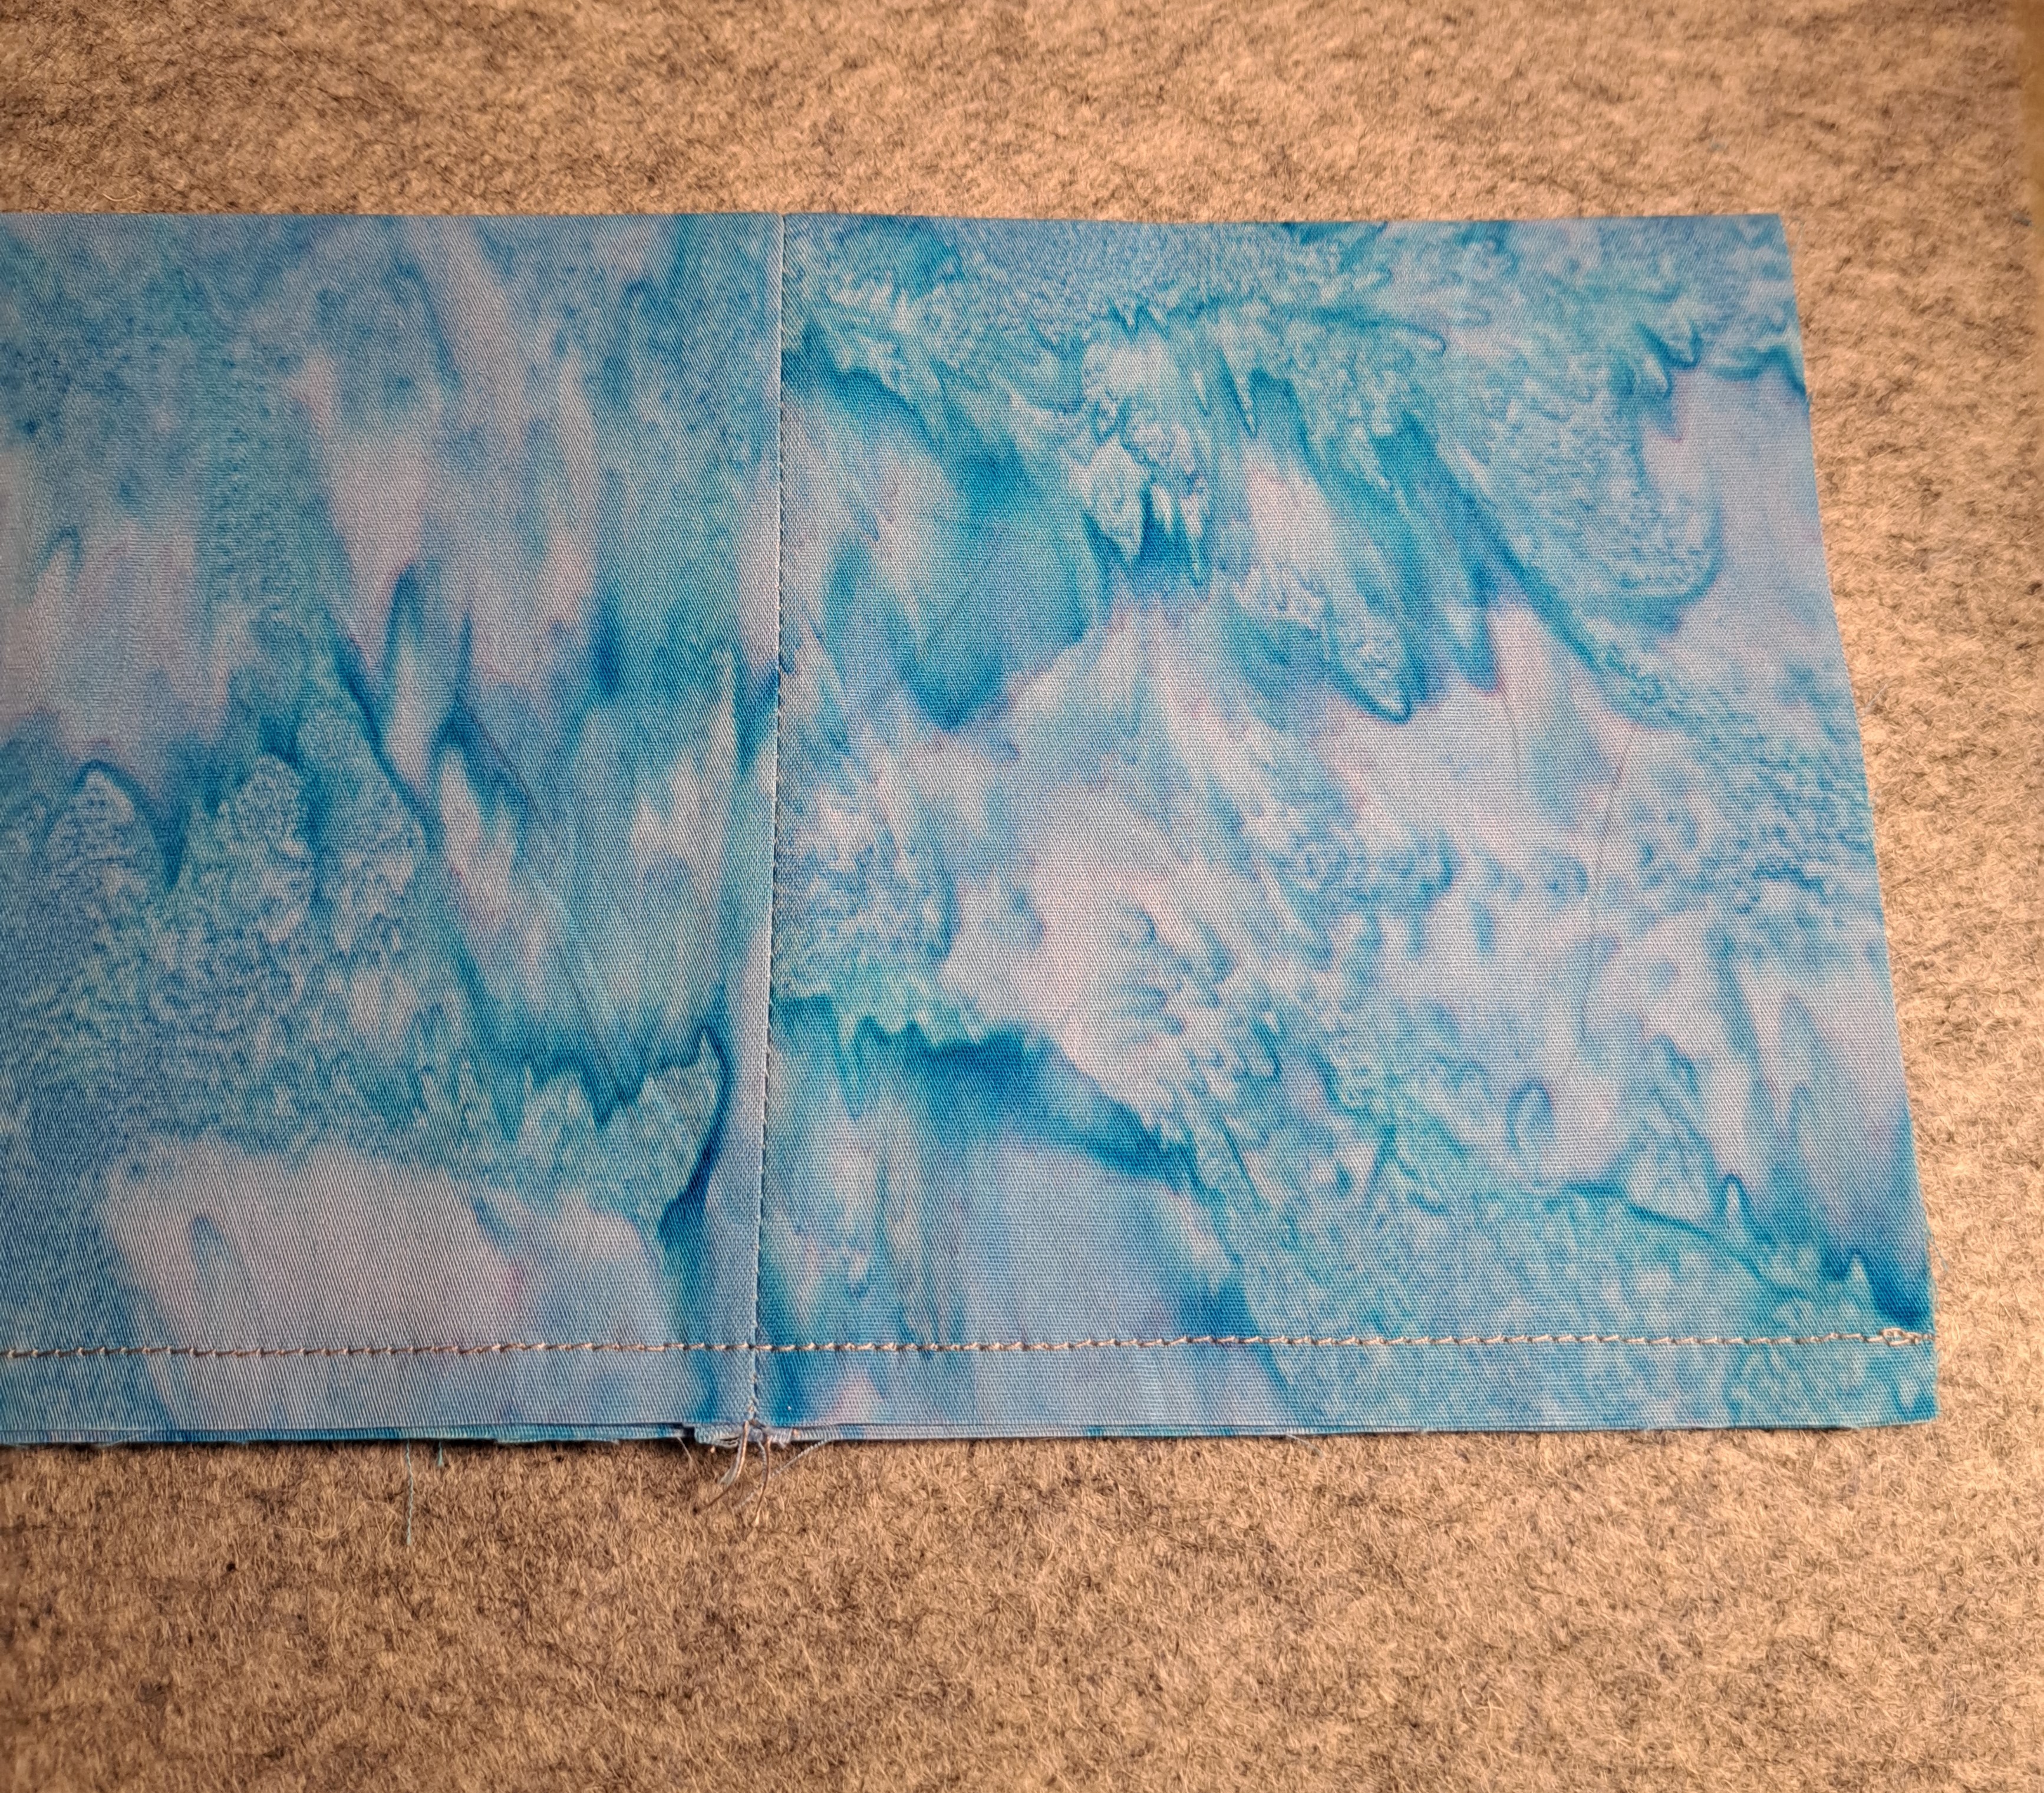
Then I press that seam open and place it roughly in the center of the tube I created. Also, give it a good press along both edges.
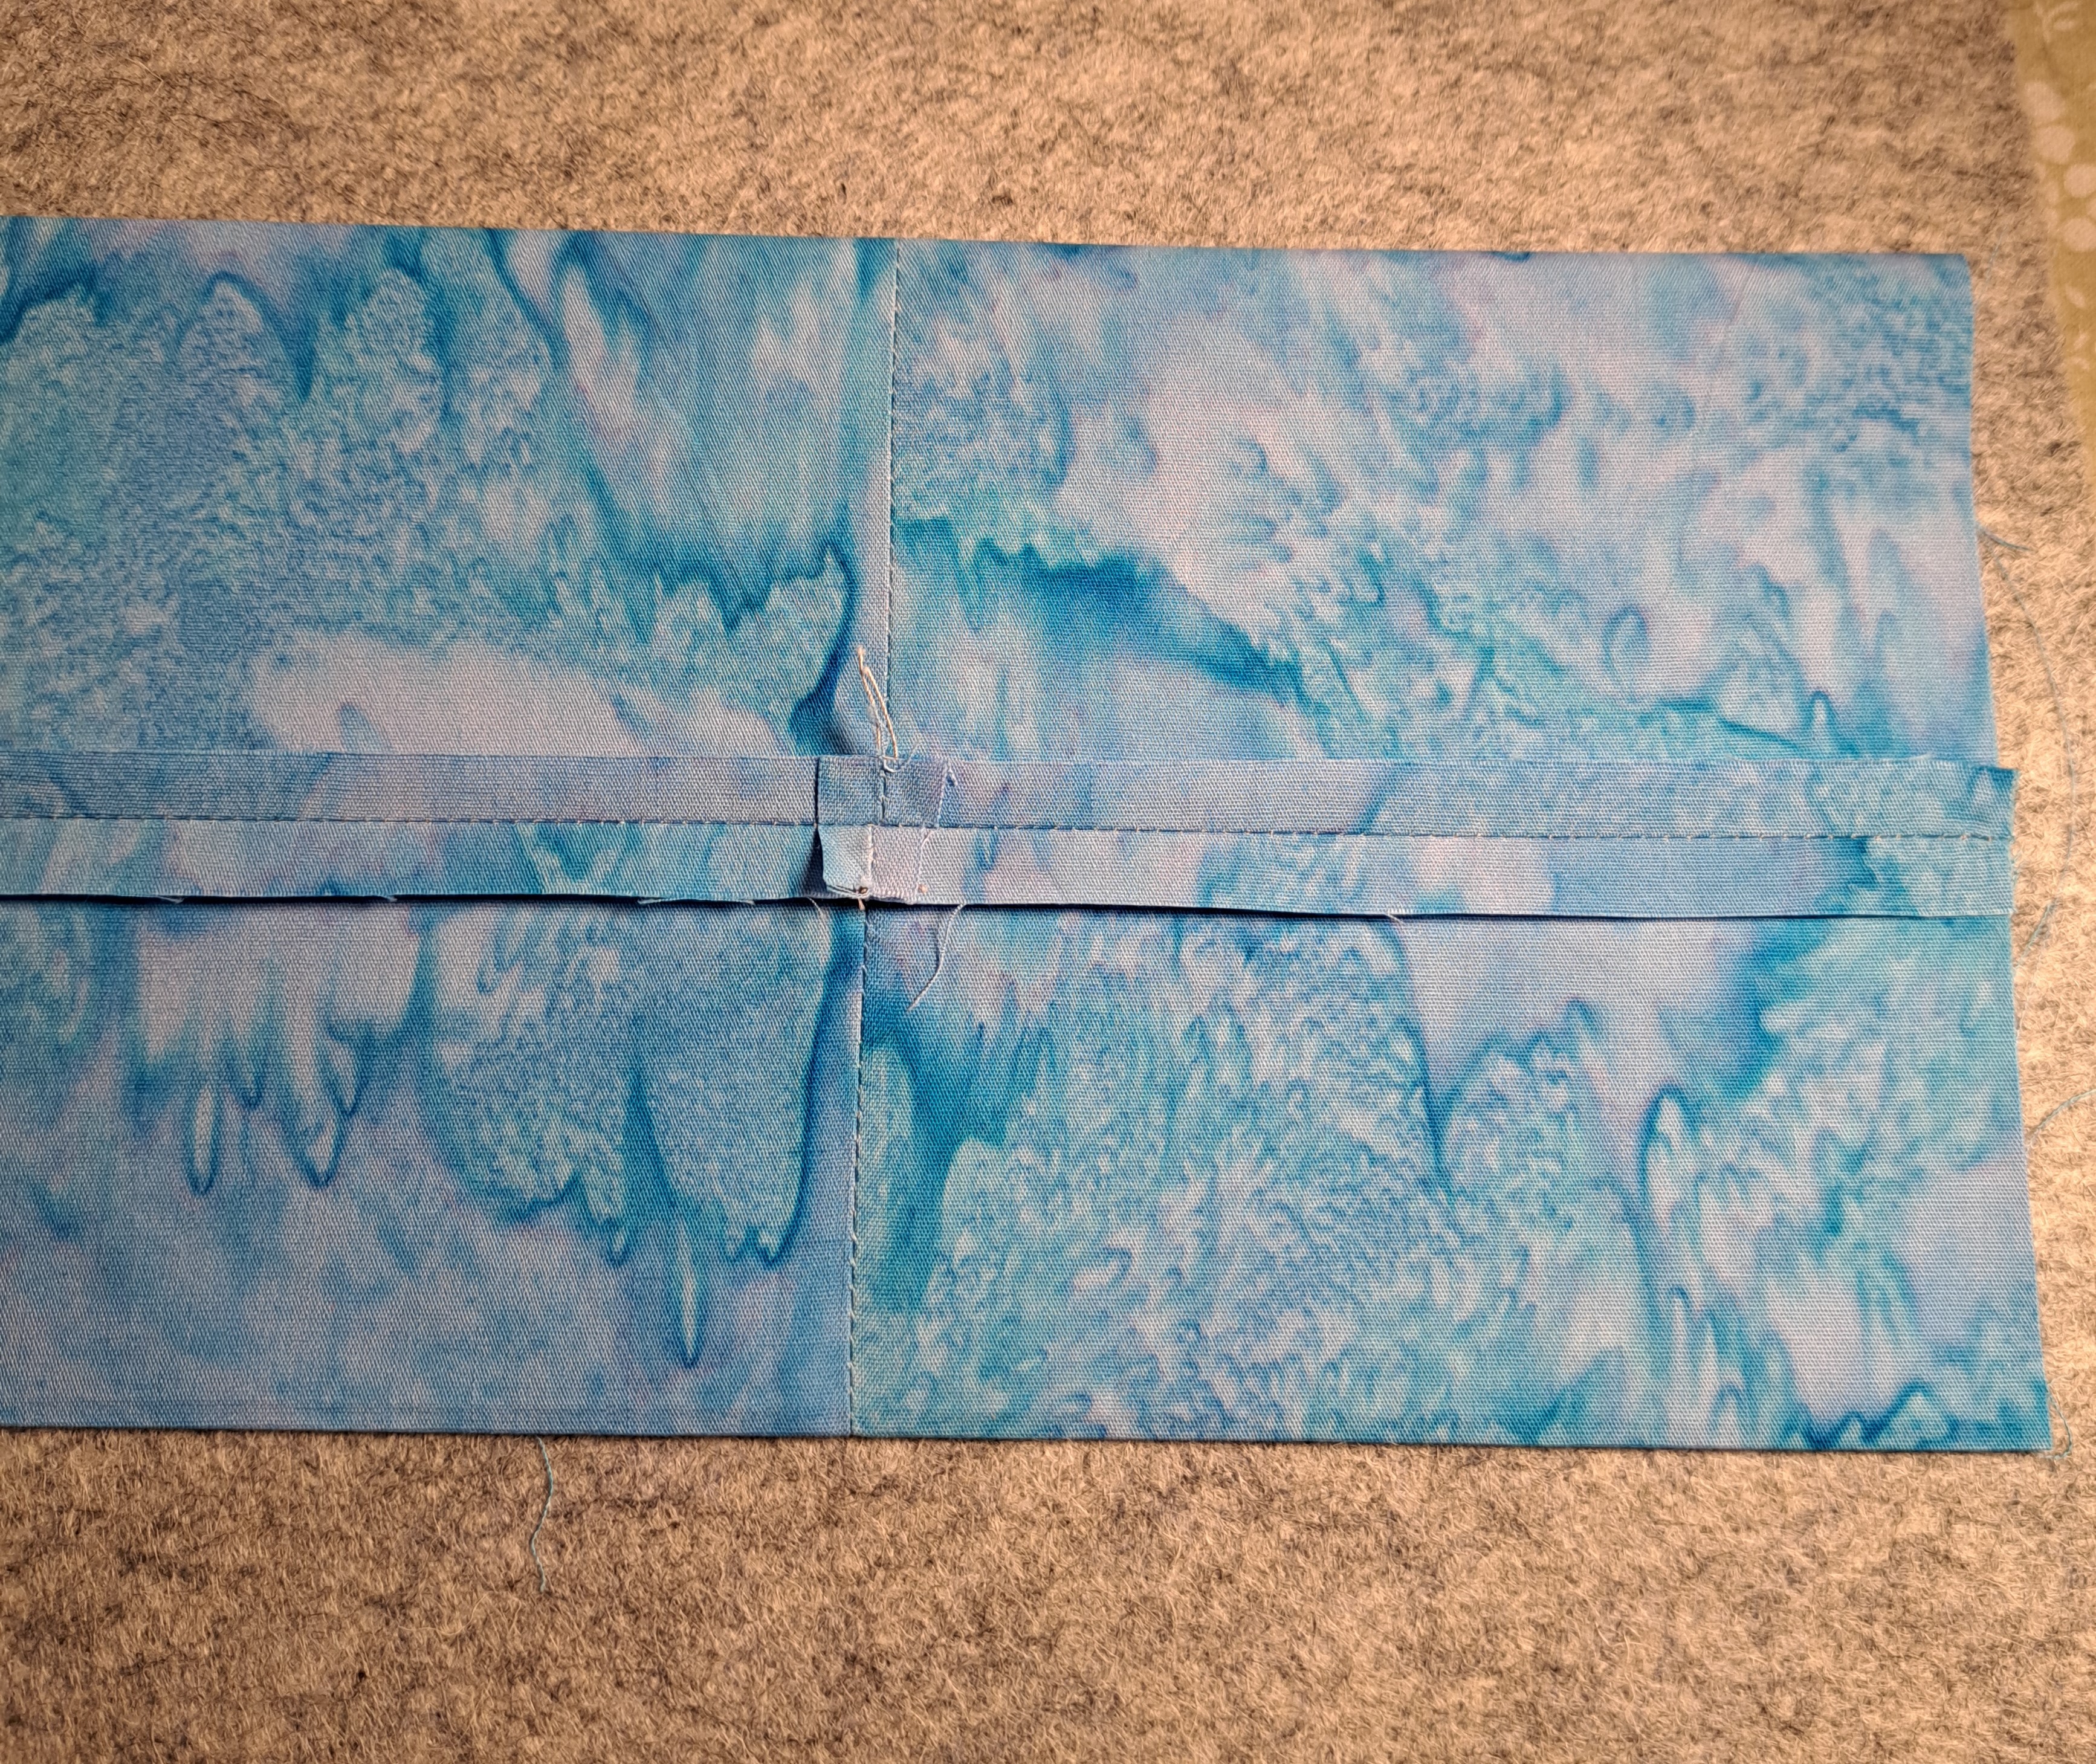
I turn in the raw edge ends of the tube to hem both ends. (only one end shown below)
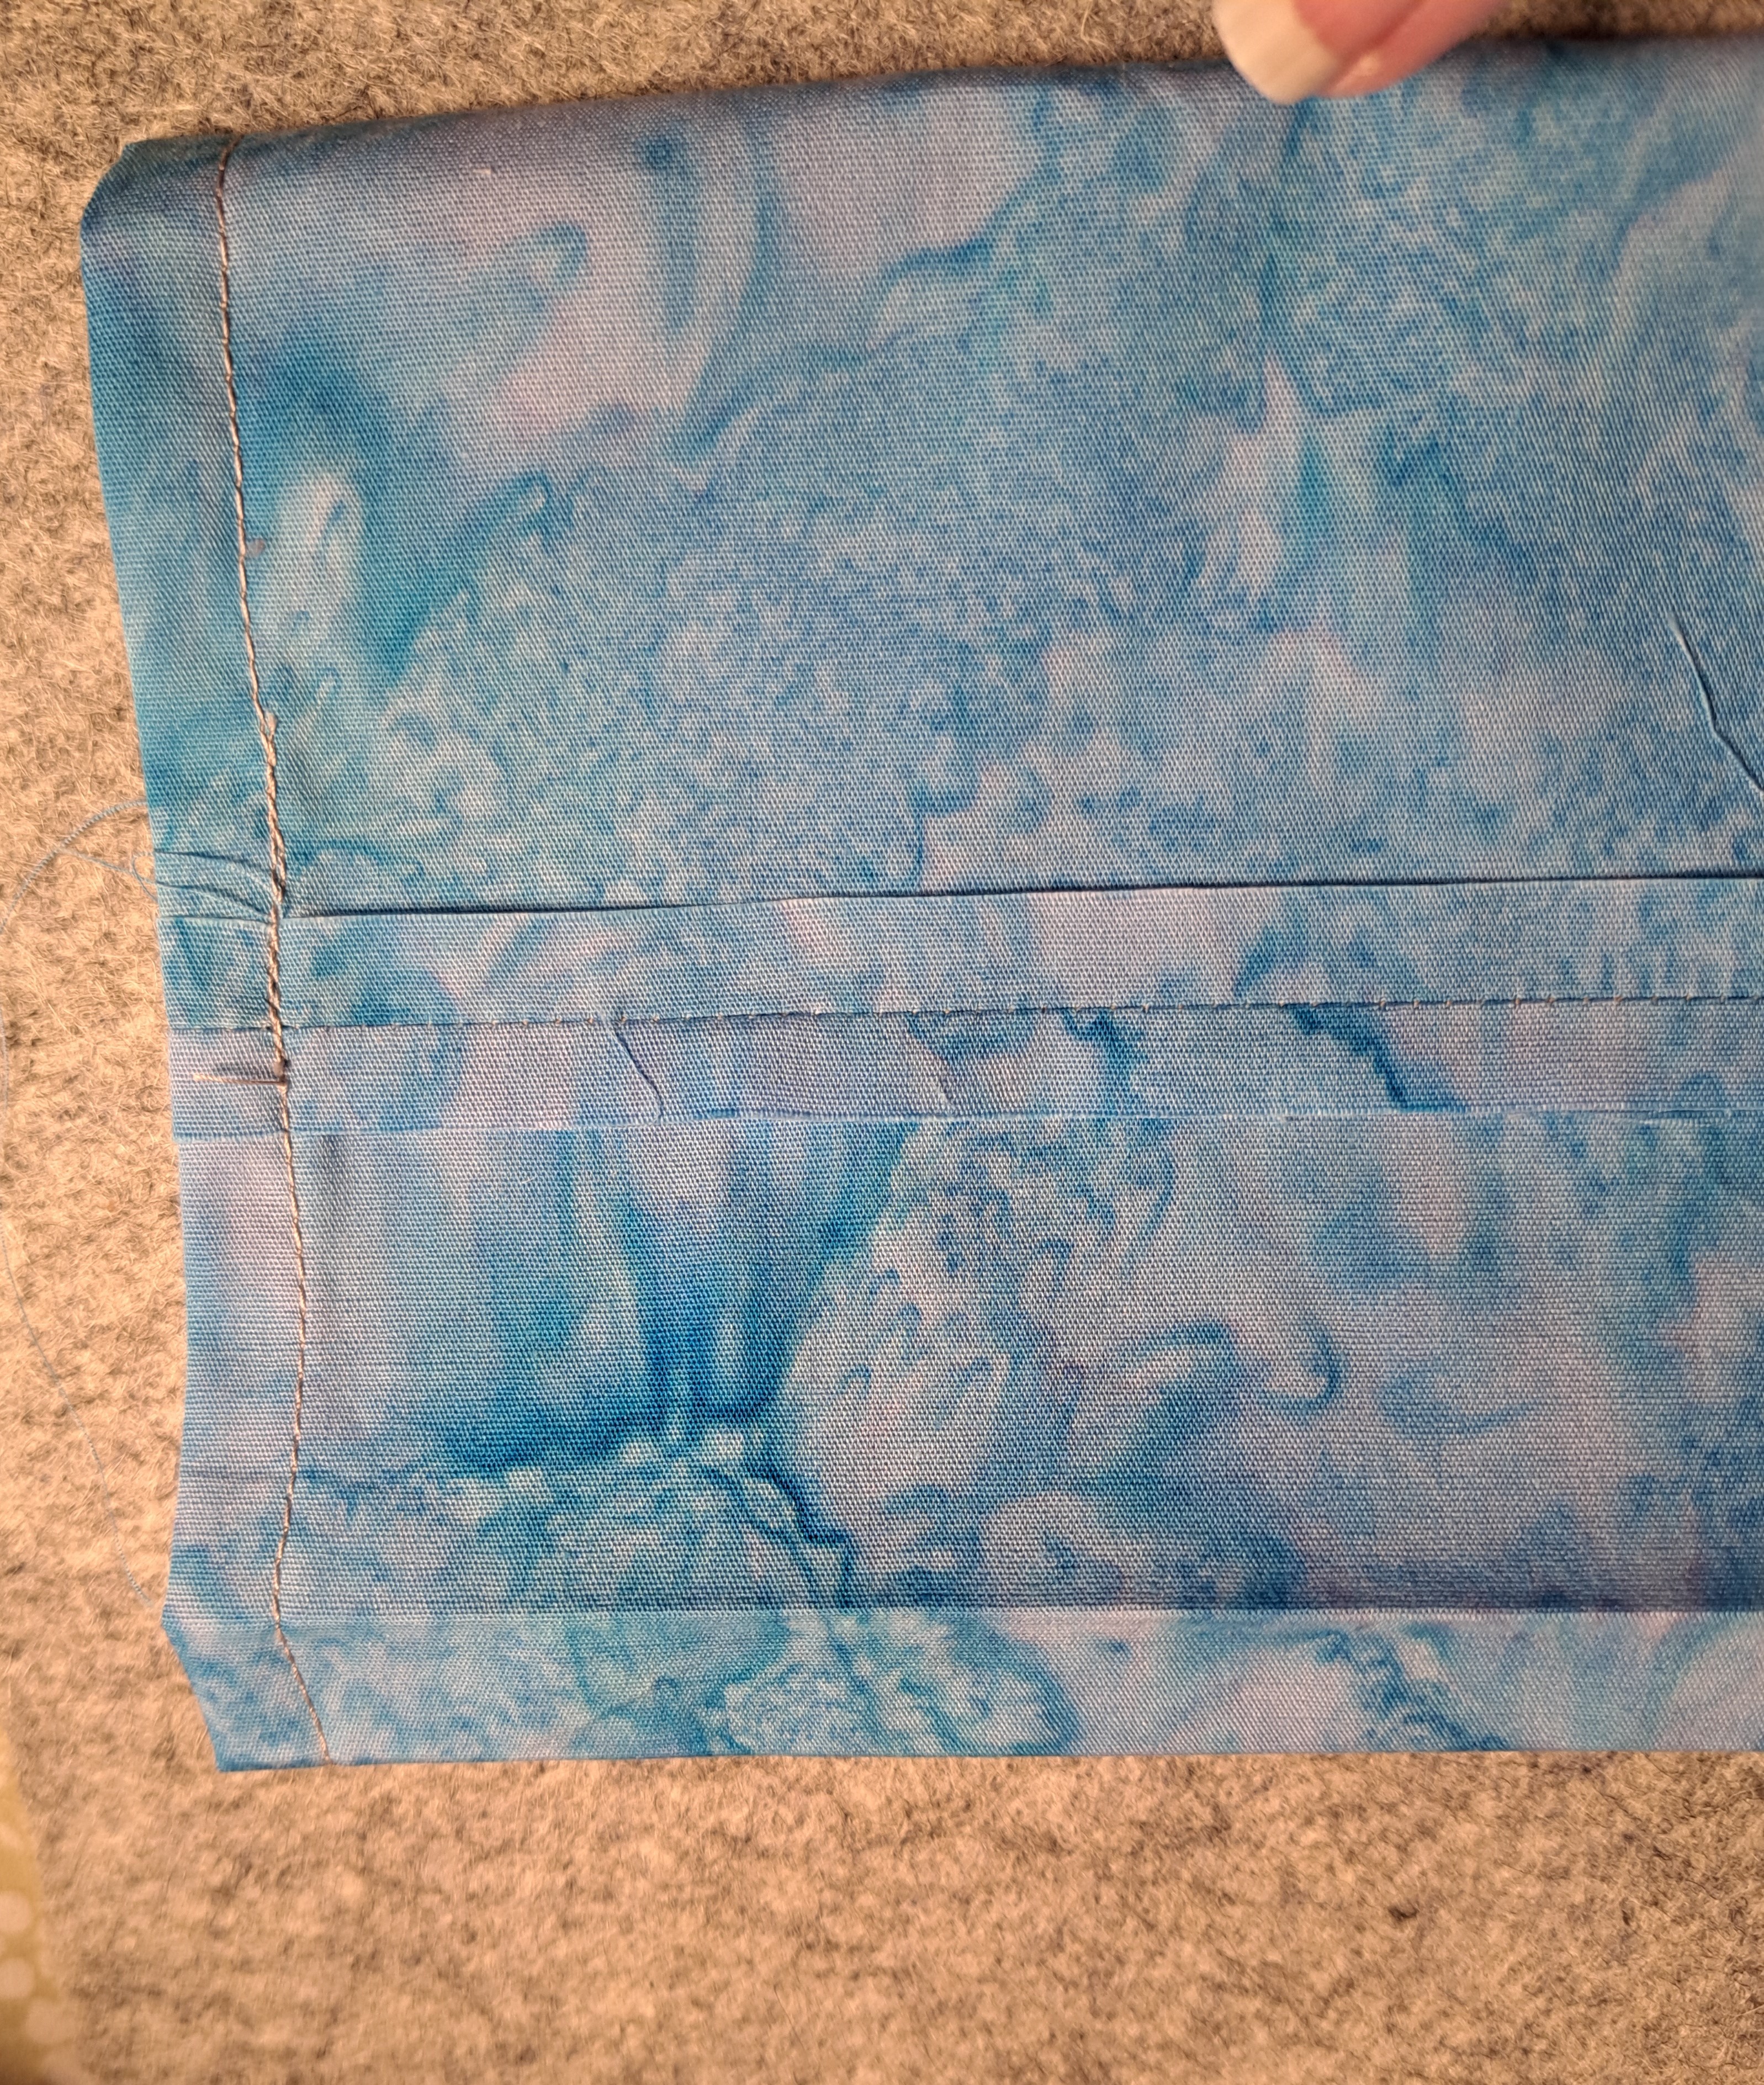
I marked a line 1/2″ above the long edge of the tube. Shown with a green line on the fabric.
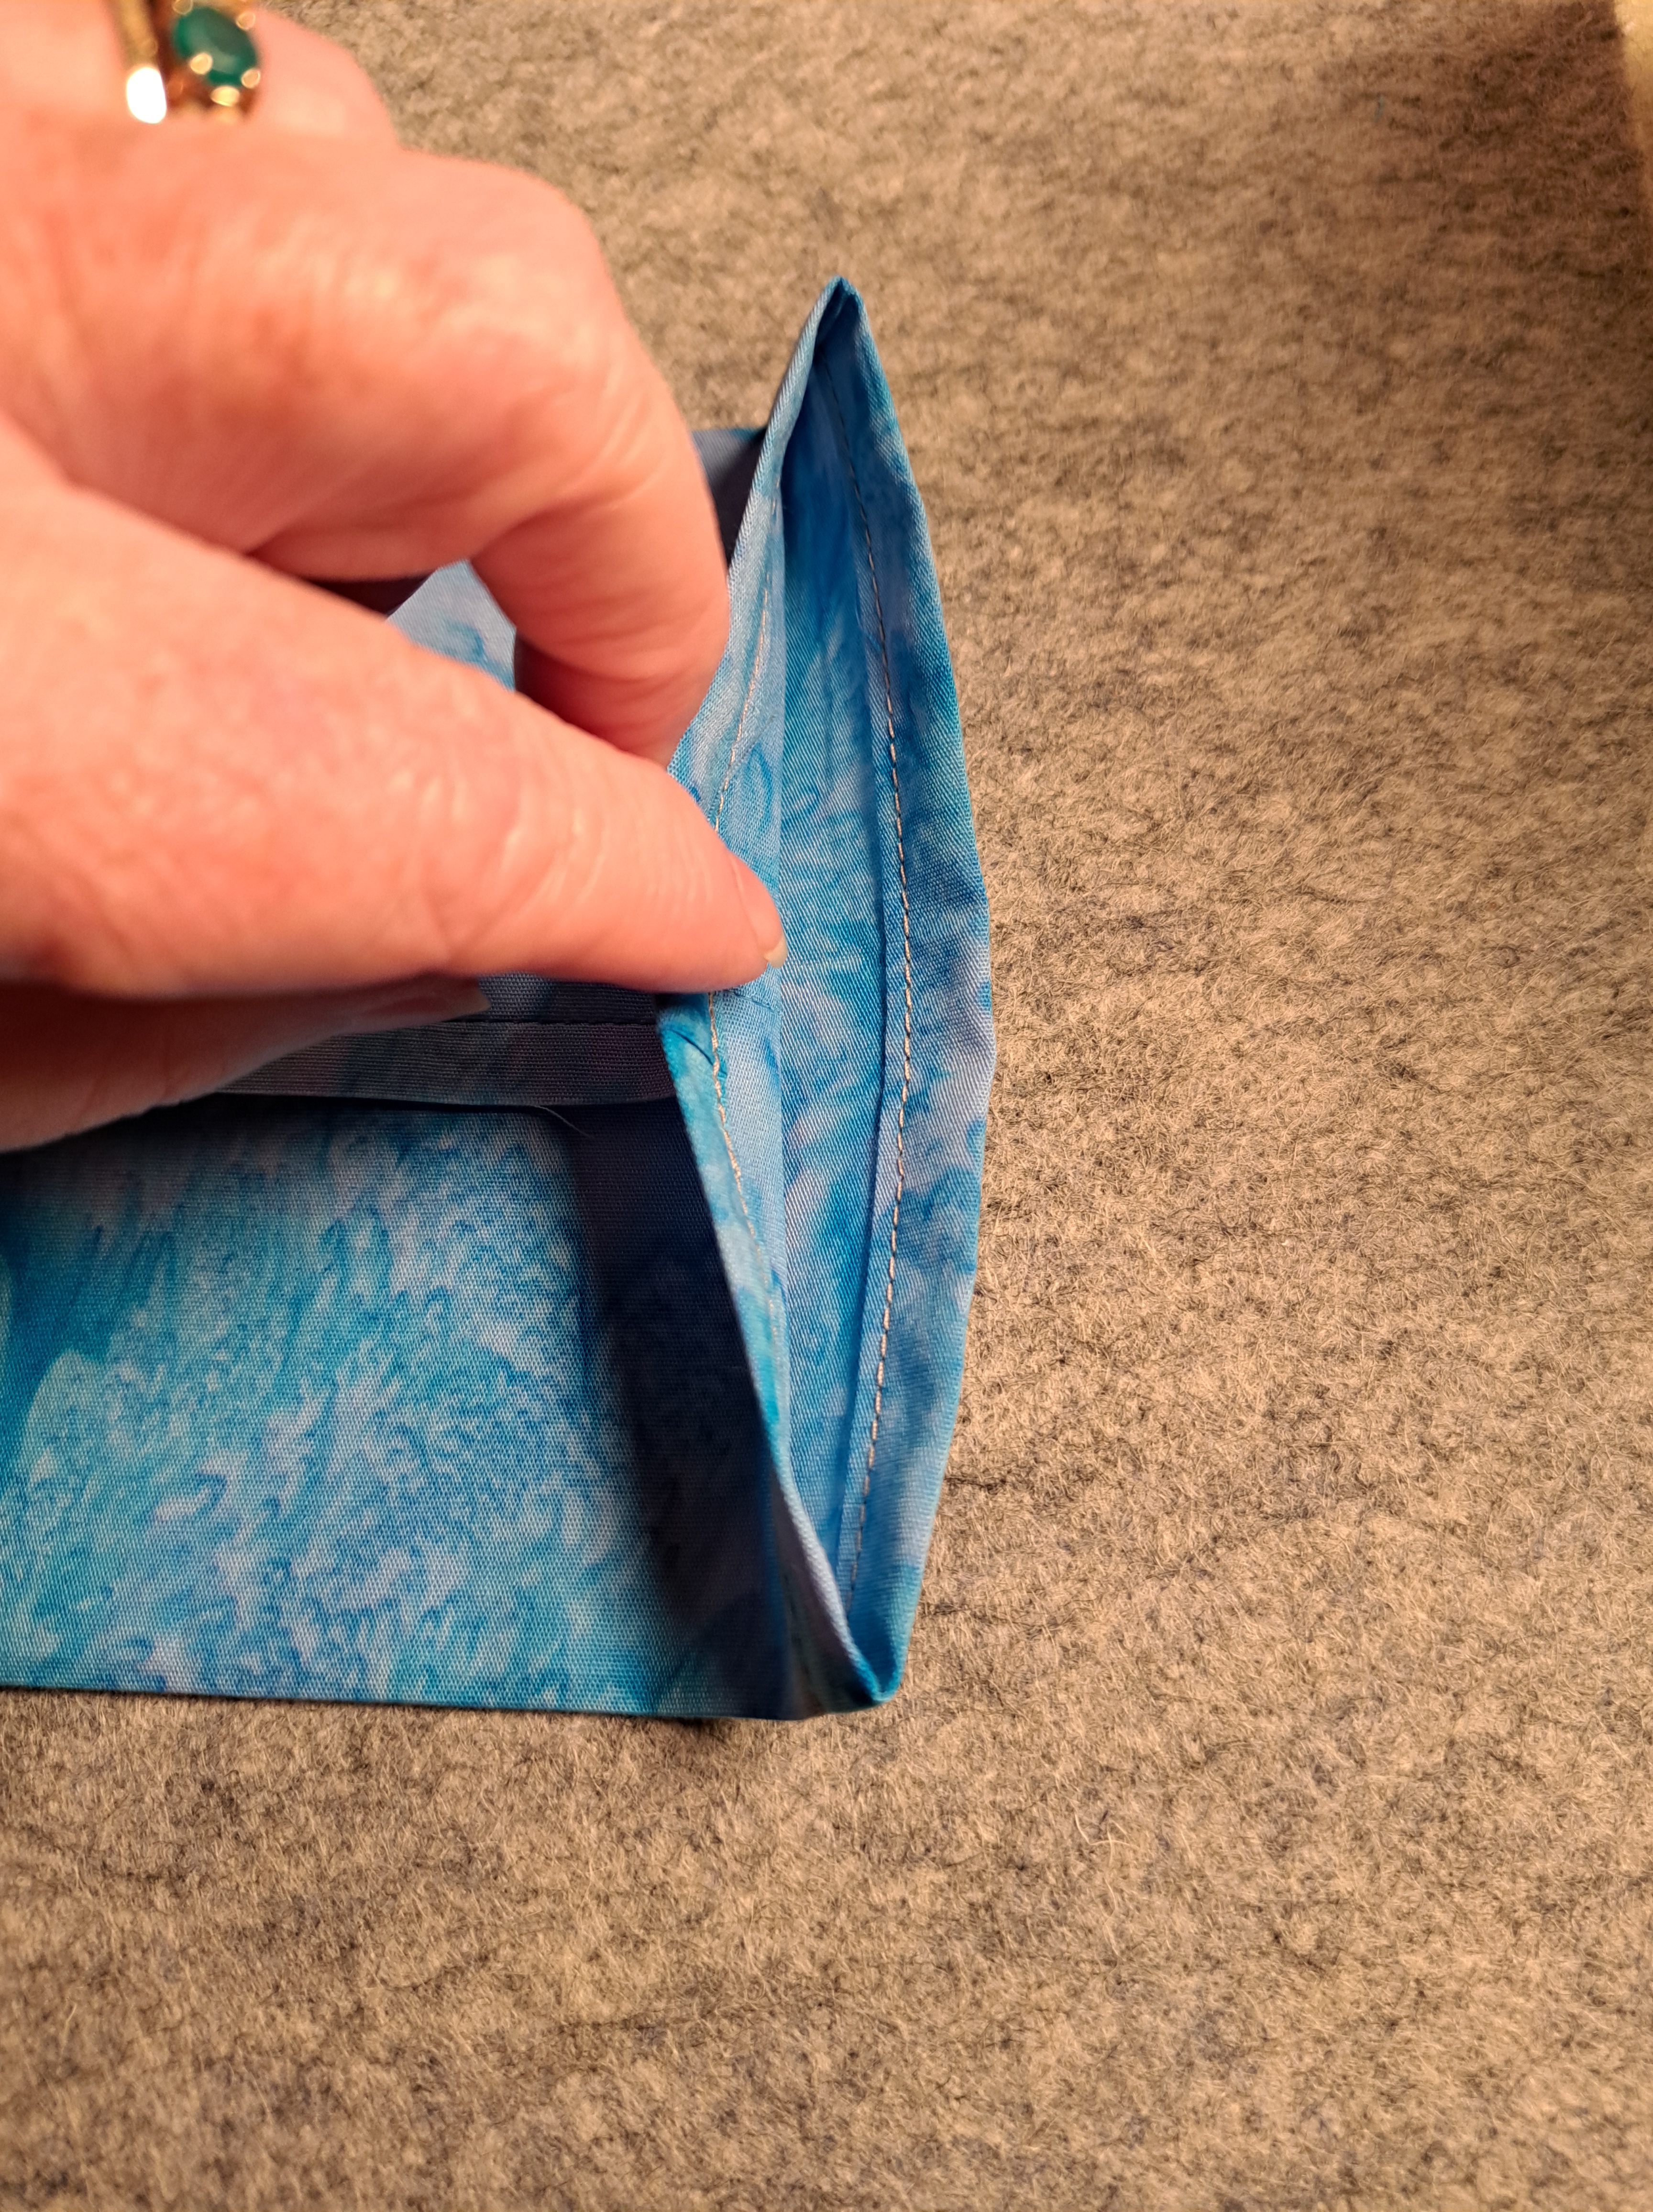
Carefully press along this drawn line, being sure you do not “un-press” the original folded in half crease.
Place the sleeve about an inch below the top edge of the quilt. Pin in place. The seam you pressed open will be touching the back of the quilt. this allows a smooth inside of the sleeve to not interfere with a pole being place inside the sleeve.
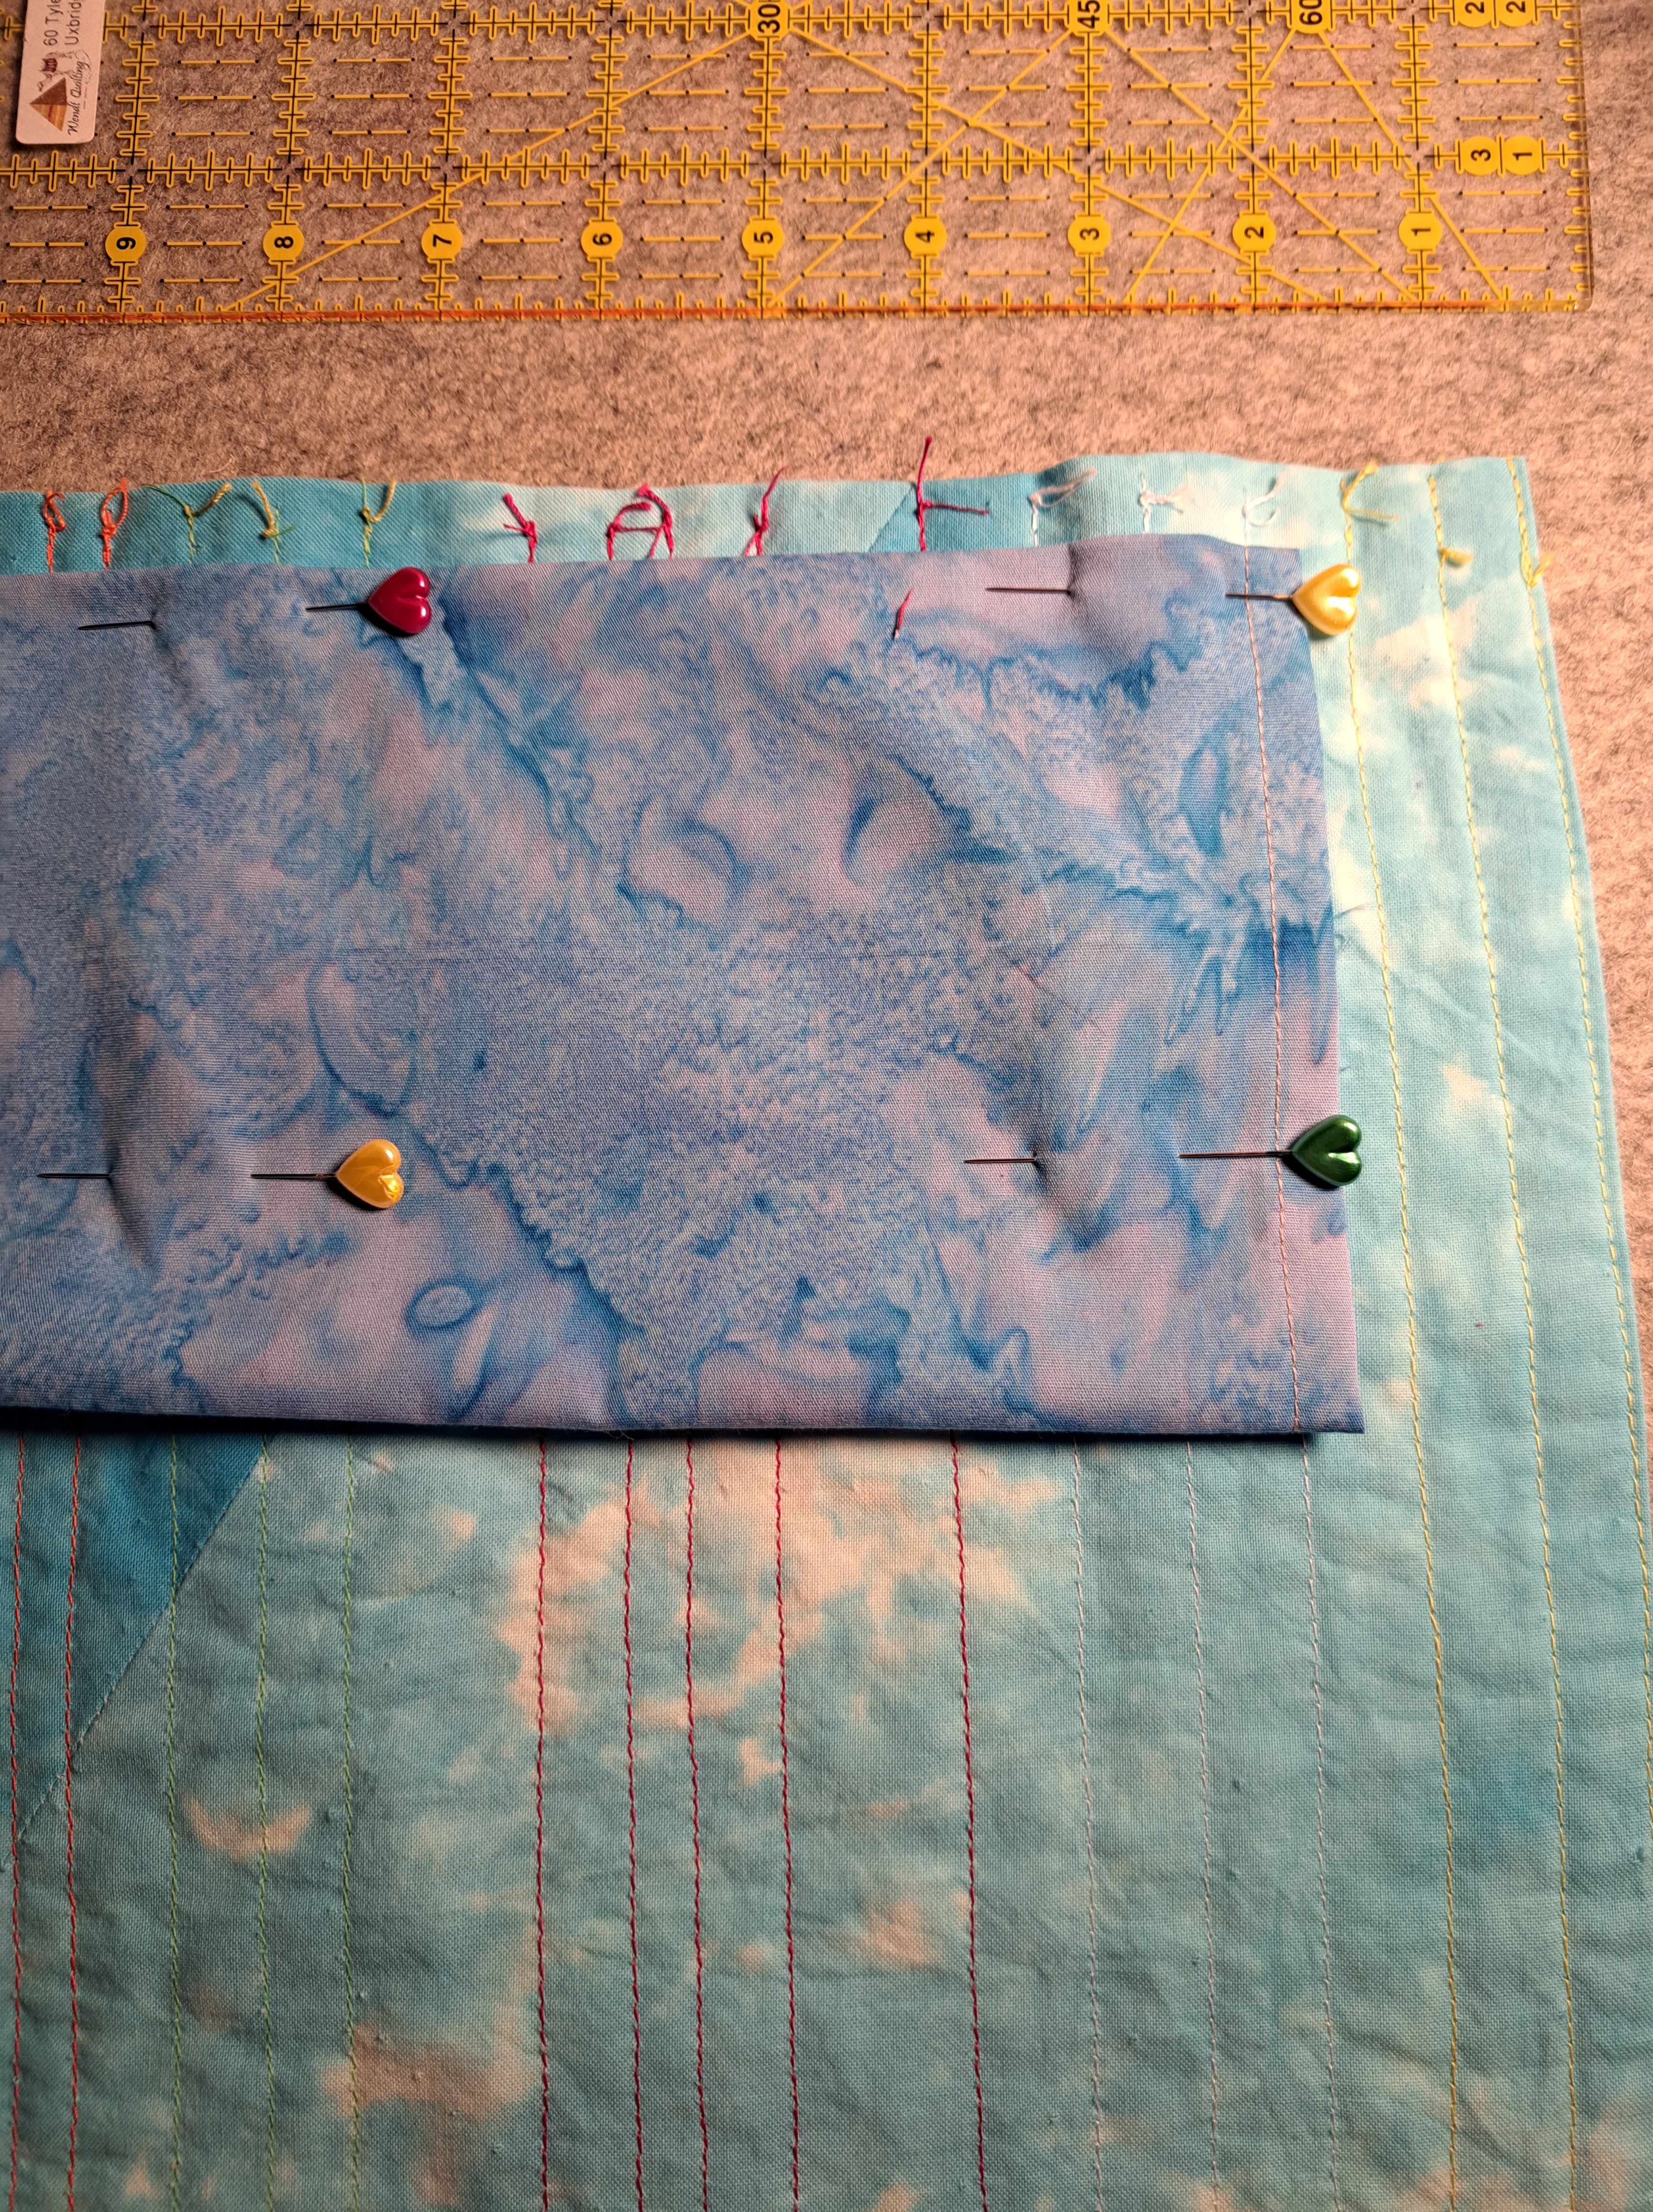
Hand sew across the top of the sleeve to secure it to the back of the quilt. Also sew the outside edge of the sleeve that touches the back of the quilt in place. this give the actual opening of the sleeve where the bar will go to hang your quilt.

For the bottom edge of the sleeve, lift it up so you can find the crease you created earlier when you marked the 1/2″ from the long edge of the tube. Sew the bottom of the sleeve along that 1/2″ crease across the the length of the sleeve. This will allow for a gap in the sleeve for the hanging pole. Note I’m showing you the crease to sew along. It has not yet been sewn.

Ta Done once it has been sewn! I hope you followed my simplified explanation of adding a sleeve to the top of your quilt.
in quilting,
Debbie
