
It is the time of year where so many seniors take their walk across stage to receive their diplomas and make those next steps into thoughts for their future! I have had the honor of being called “Aunt” (yes, very midwest, think “ant”) by my dear friends daughter. When you live far from family, like we do, it is nice to be included into a local family. It has been a privilege to watch Hannah all these years. Now graduation, honors, a scholarship (from her mom and my quilt guild!!), and making university decisions. PLUS a QUILT from me, her “Aunt” Debbie. See, she has an Auntie Deb. So my midwest claim to “Aunt” worked well.
I asked Hannah at the awards ceremony what her current favorite color was…Deep Burgundy Red! So off to one of my local quilt shops (Appletree Fabrics) in Auburn to make my fabric purchases. I found two that went perfectly together. One is Batik, the other is not. NO problem in my book! I know some of you will shudder at the idea of not putting all batiks in the one quilt, but I’m totally fine with it when they work well together!!! I used my favorite design of a strippy quilt (it goes together so fast) and quilted the Feather Strippy Bar pantograph by Kathie James. This is my go to for graduation quilts and I have done several over the years! The strips are cut 7 1/2″ wide x the length you want the quilt. Arrange in the order you prefer and you have a quilt top in a couple hours. I based my number of strips by what be a good width for a Cuddle Minky backing. Plus, I like to roll the Cuddle to the front for a back to front binding for a yummy soft edge. The outside strips were cut 5 1/2″. I added Hobb’s 80/20 batting since it is lightweight and will add that quilty feel. The fabrics were purchased on Wednesday and the quilt given on Saturday, with a bunch of breaks and meals. YES, it is that fun and fast to make. So, here is the result…
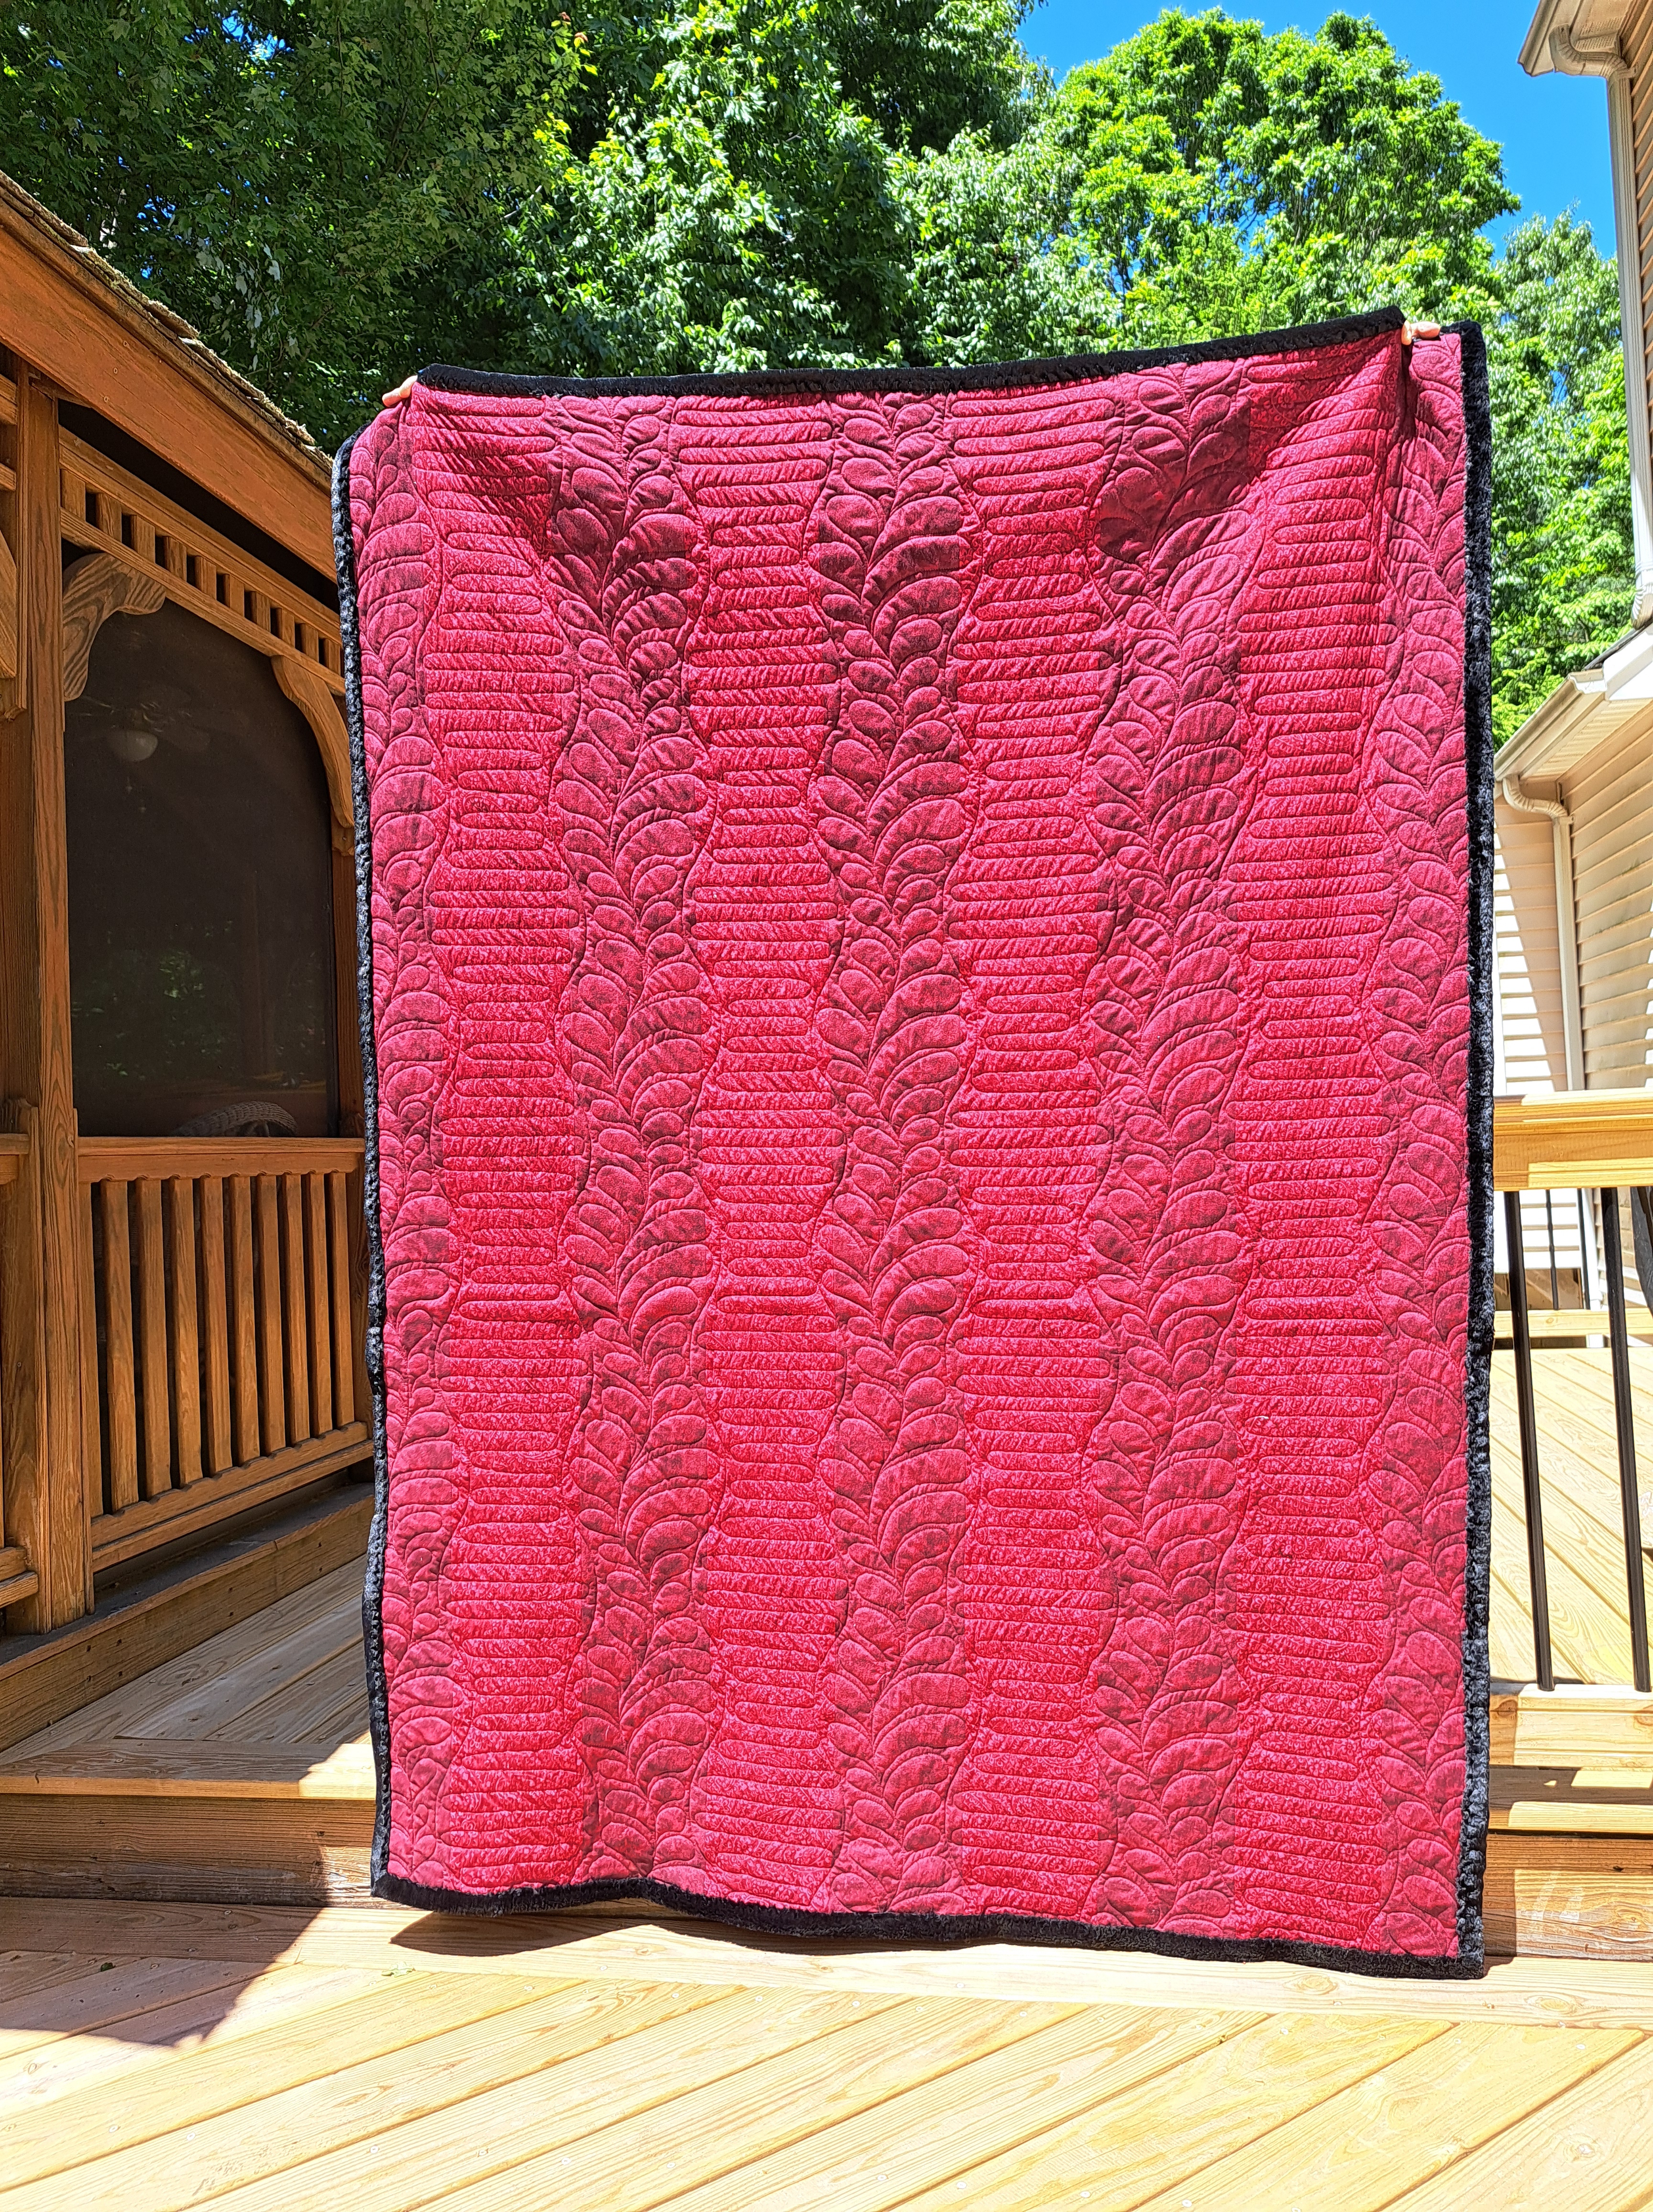
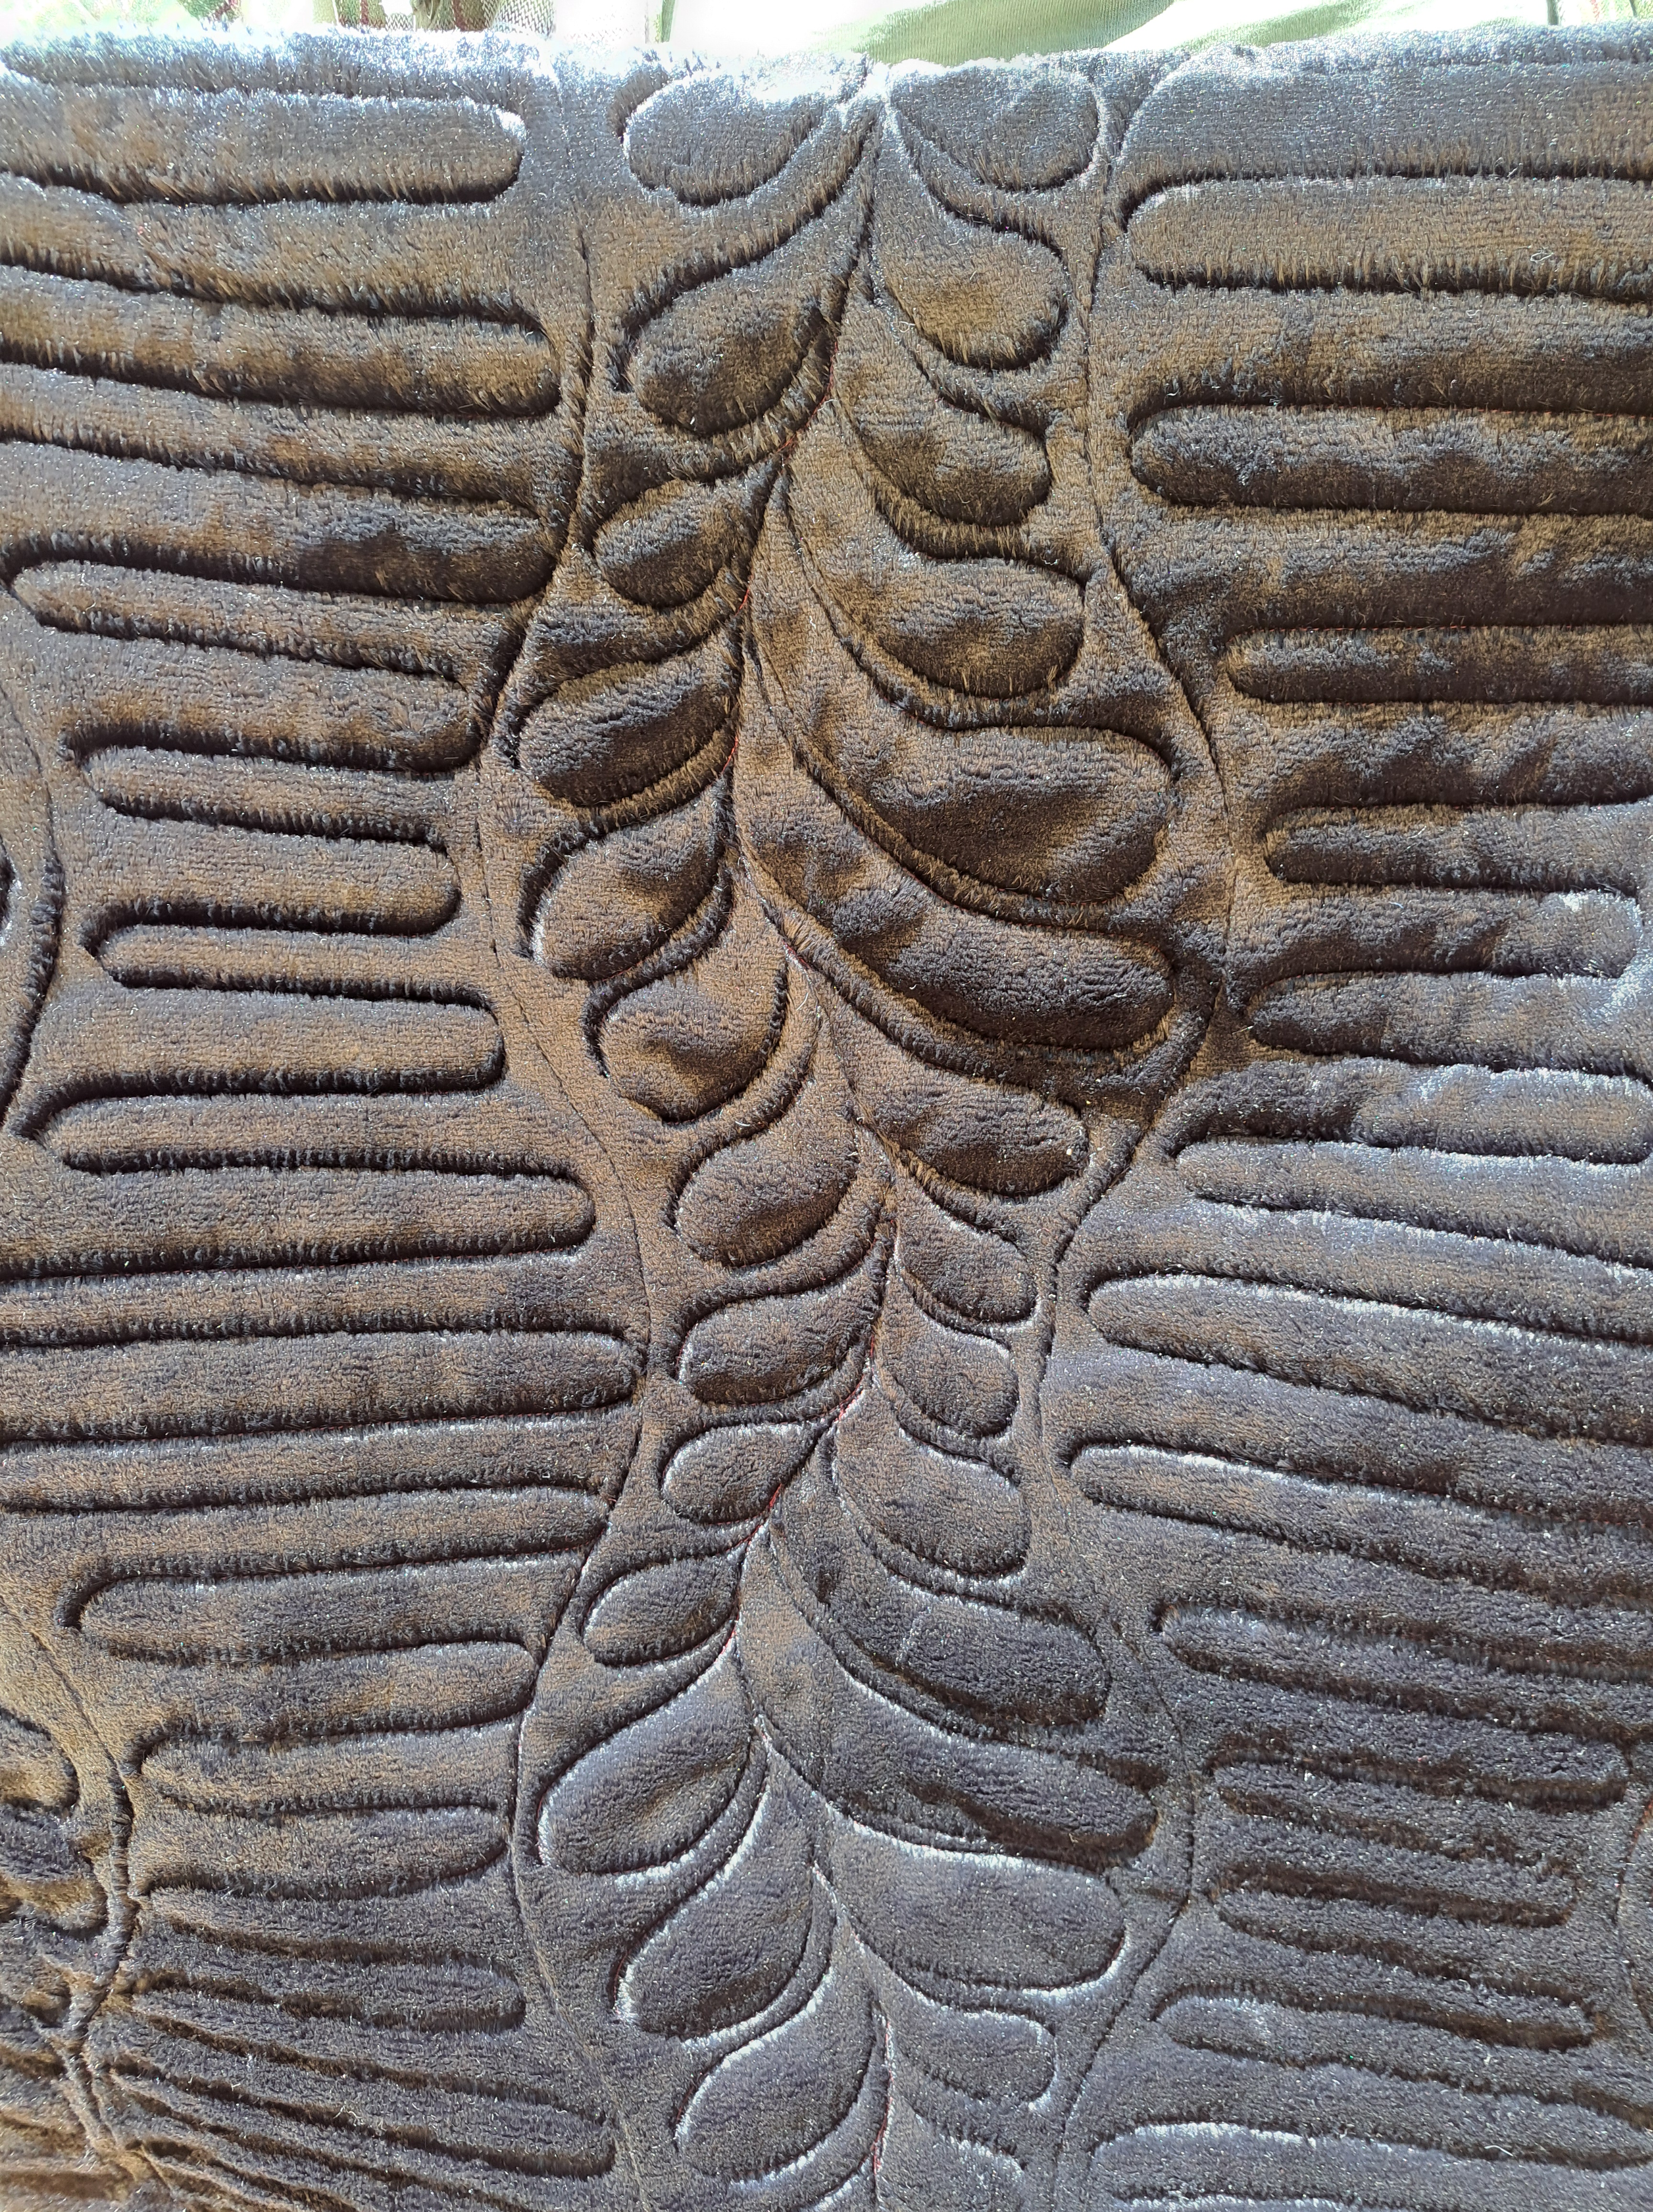
I love the definition of the quilting on the Cuddle backing and a luxurious Cuddle binding edge!
A back to front binding is so easy, just a bit time consuming. I used a serpentine on my Janome and a wooden skewer to keep tabs of the nap of the cuddle at the edge of the Cuddle. The serpentine looks much nicer than a zigzag and a bit dressier than a straight stitch.


Why a wooden skewer? It helped “grab” the nap of the Cuddle. Plus if I hit it with the needle, it has some give and the needle would not break. Sure the needle could break, but the wood skewer is much softer than a metal stiletto.

The back to front sewn miter corners are a favorite to make.
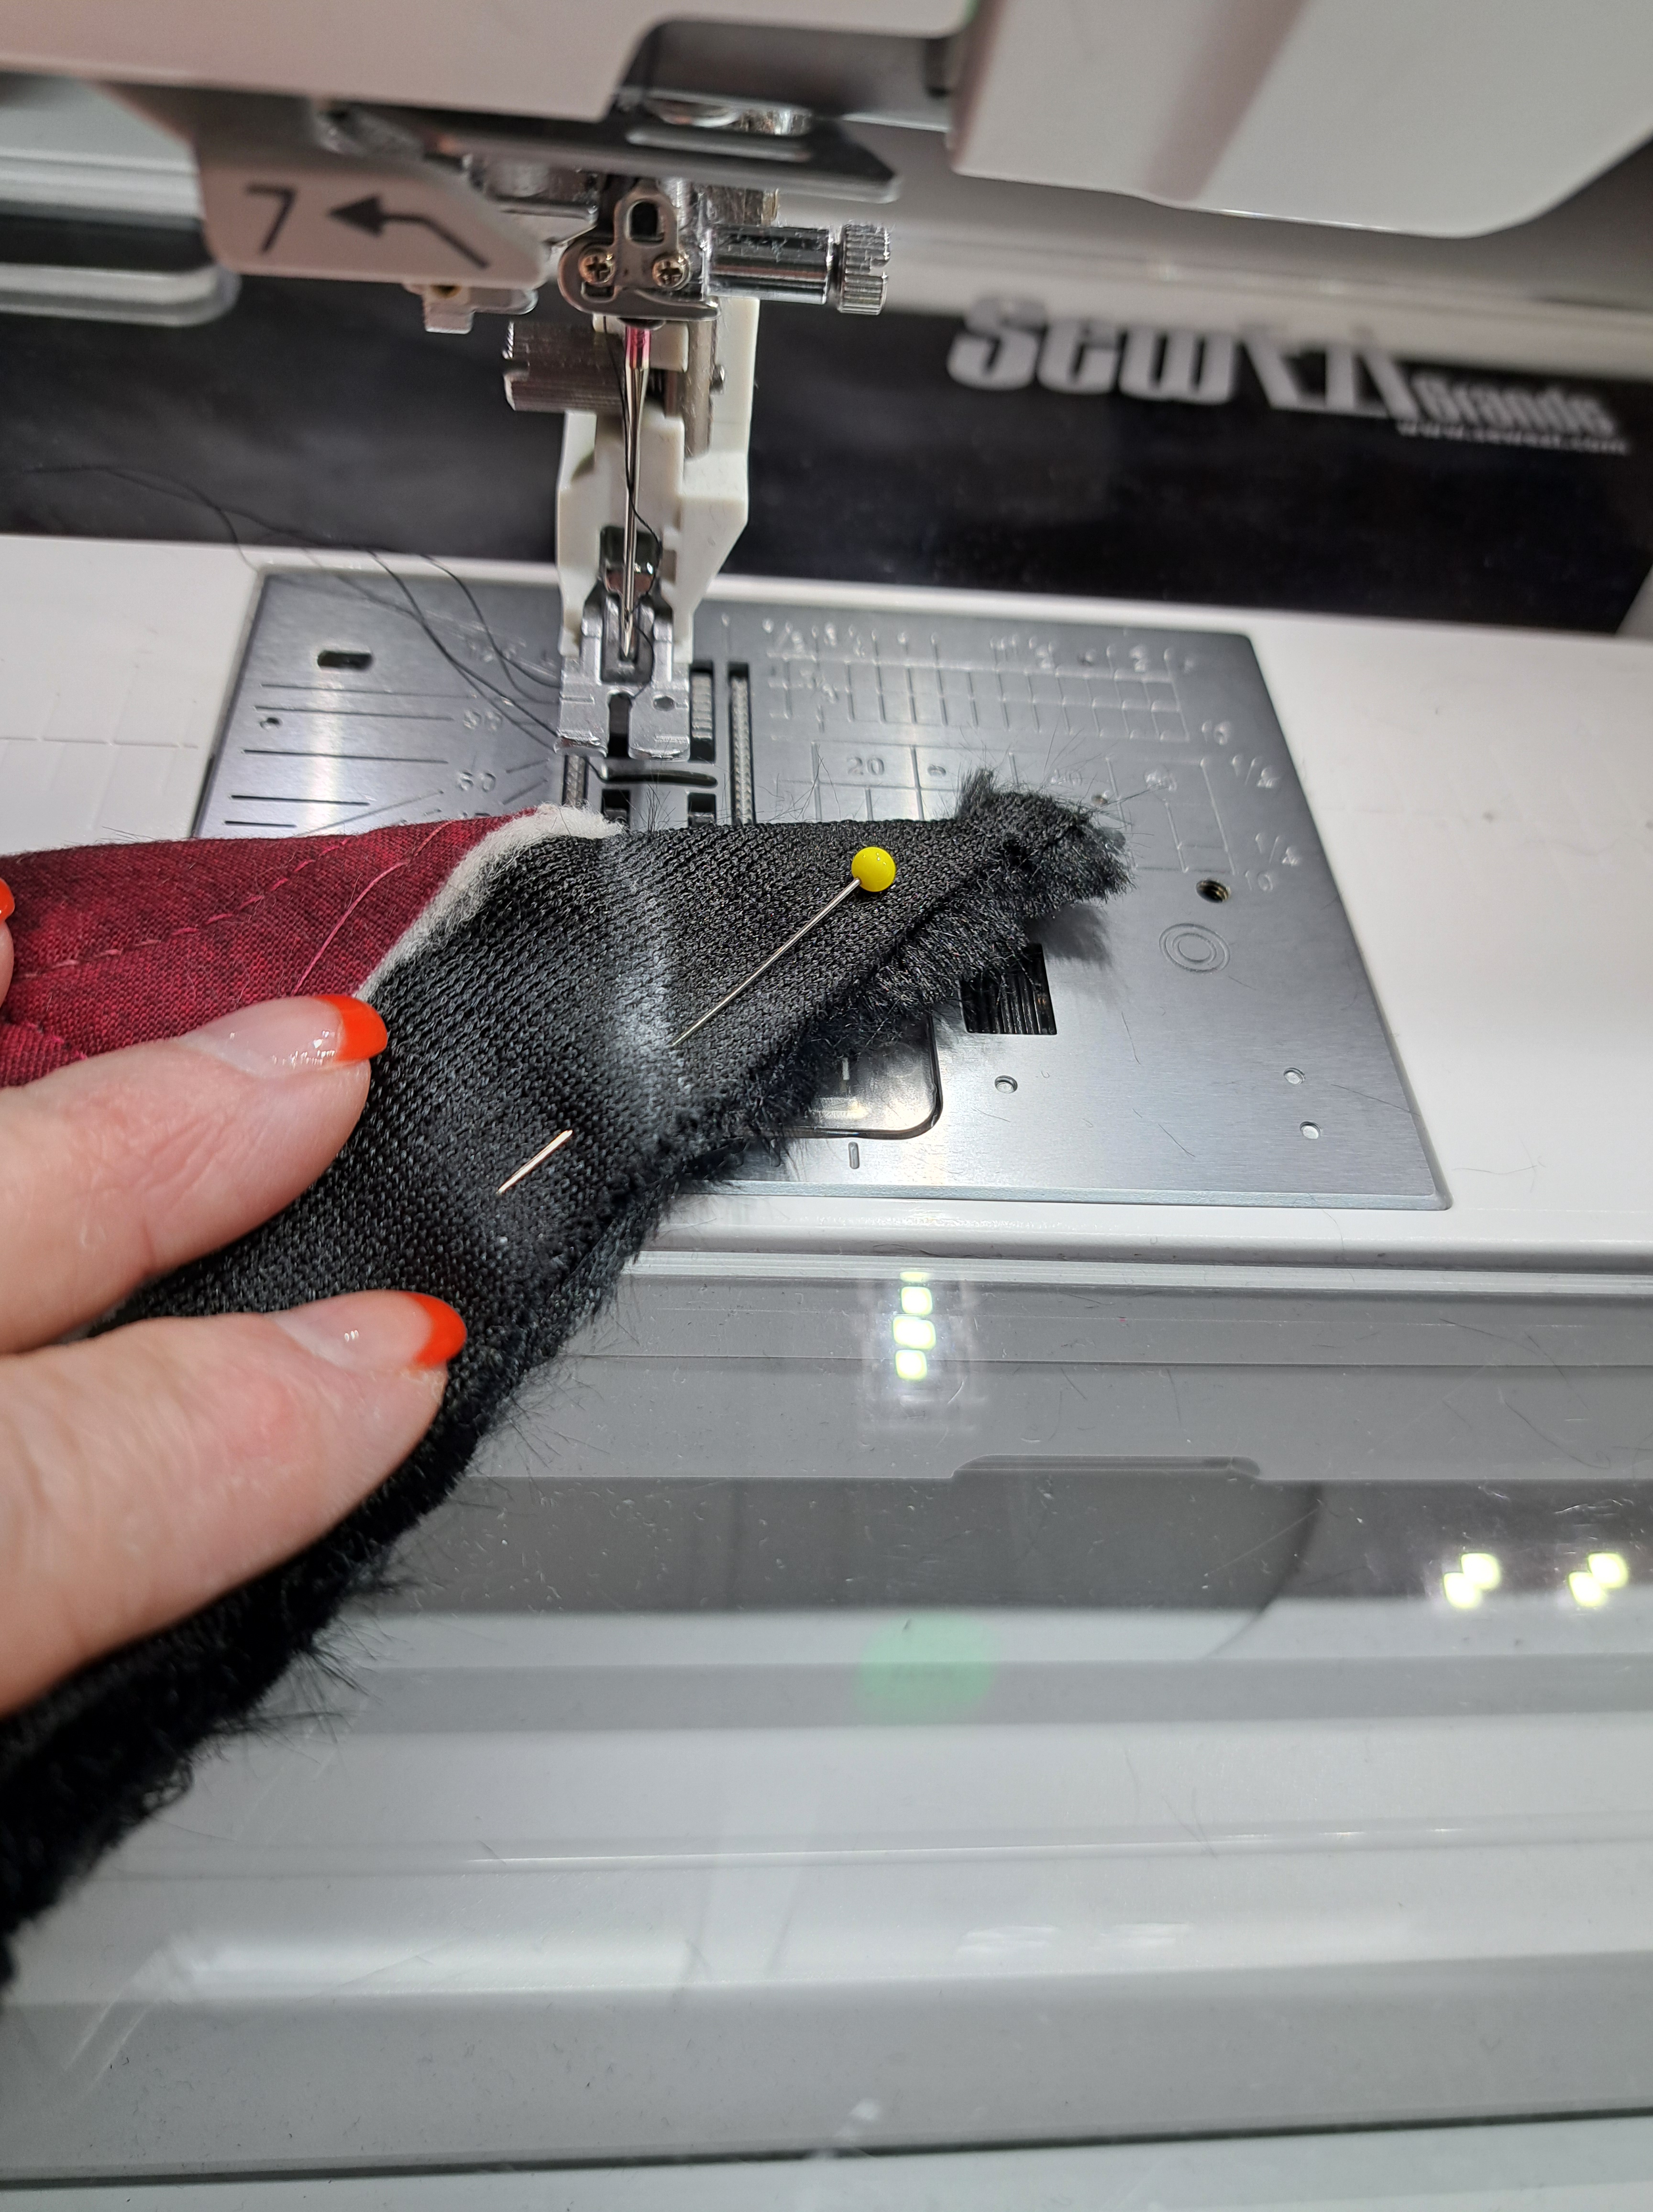
- Draw a line at a 45 degree angle to the edge of the binding at the corner of the quilt top. My Brilliant Bindings tool works perfectly by placing the 45 angle edge of the tool along the outside edge of the binding. I did leave 1″ of backing beyond the quilted top.
- Fold the quilt diagonally right sides together at the corner and match up the drawn line. Pin in place
- Stitch on the drawn line and trim seam allowance.
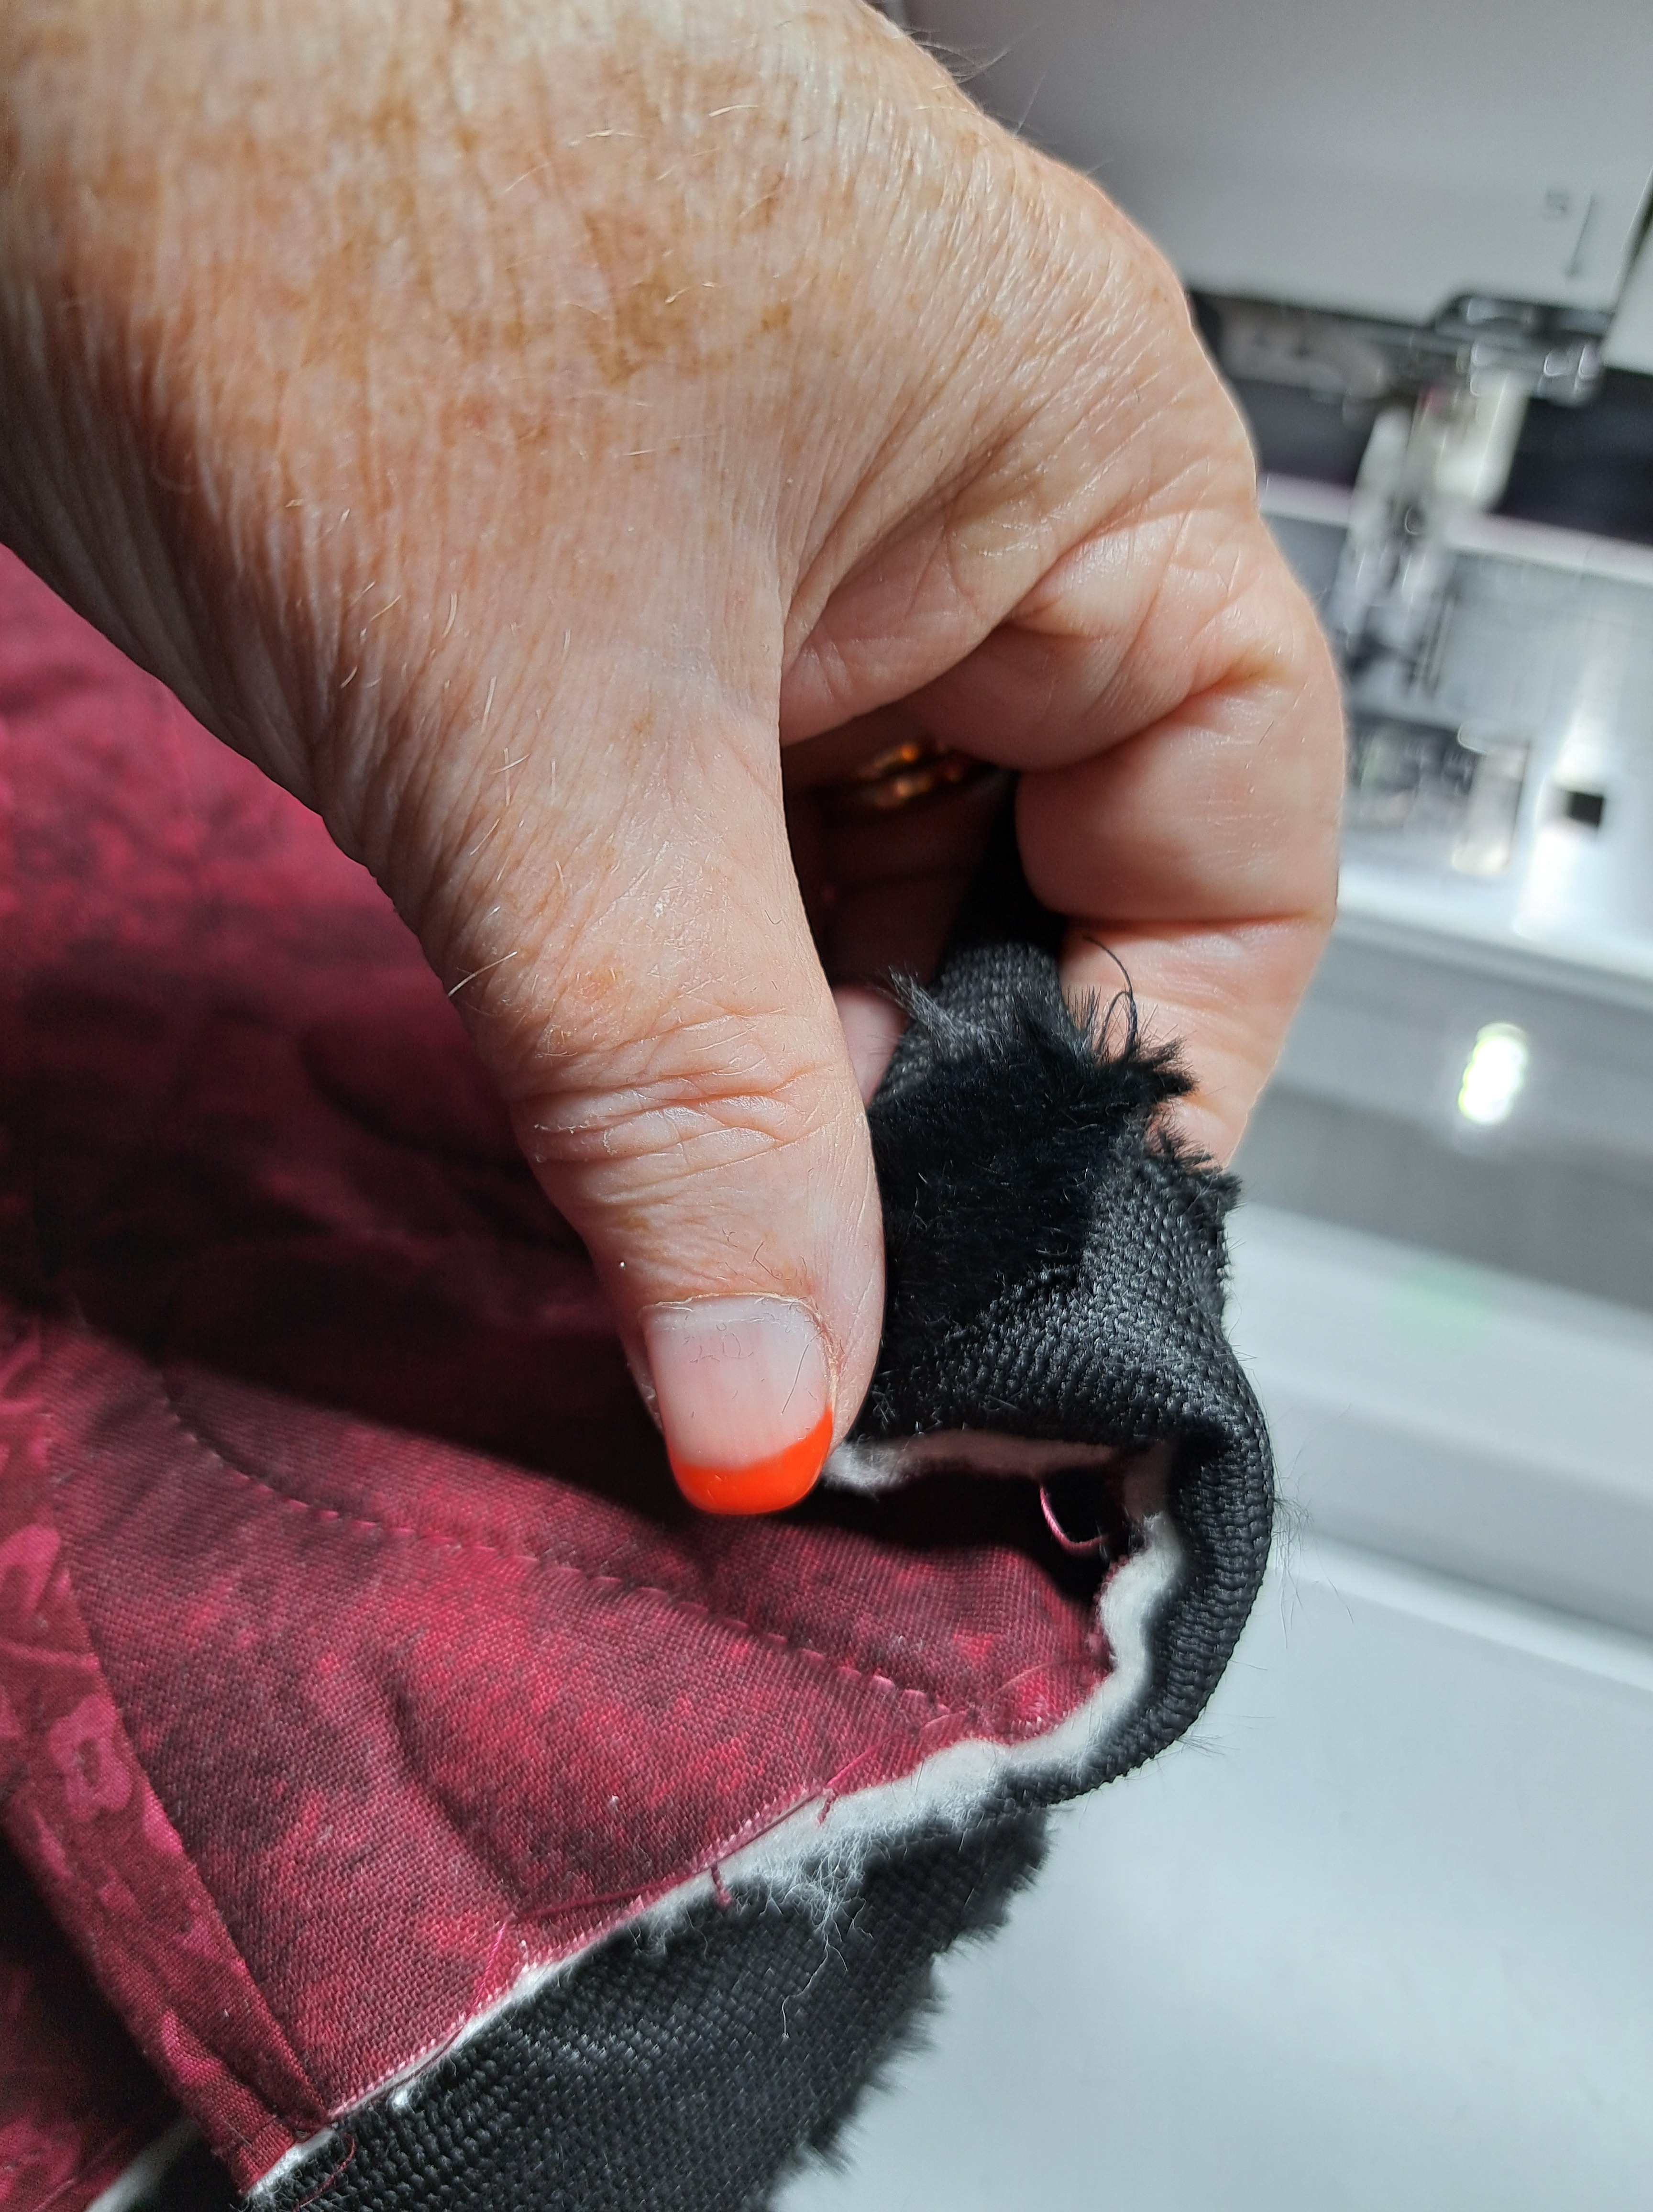
- Use your thumb at the corner to turn the sewn miter around the corner.
- Gently push corner out.
- And arrange into place!


As, I said above….I love making these strippy quilts and back to front bindings! I hope you found some tips in my steps of sharing my process.
My focused tips from above…
#1 – Try using Batiks and regular cottons together, especially if they are perfect for each other!
#2 – The extra wide width of Cuddle (58″-60″) makes a great backing (and binding). Not only do you only need one piece of fabric, but the Luxe Cuddle is so amazing soft and not difficult to work with.
The biggest takeaway…
They grow up so fast….enjoy every second!! Hannah I am so proud of you!!!
in love and quilting,
Aunt Debbie
