
I’m putting the binding on a long awaited quilt. I still can’t show the whole quilt (not until it is given!), but I’ll share a bit about the binding. Due to only a limited amount of fabric for the binding….and it is flannel….and I made the first cut too narrow…and……. I decided to make a single fold binding. Flannels can be thick and make a very THICK edge on a quilt if using a double fold binding. So, a single fold is often better! With the above mentioned items, it worked well. What did I do? Let me show you!
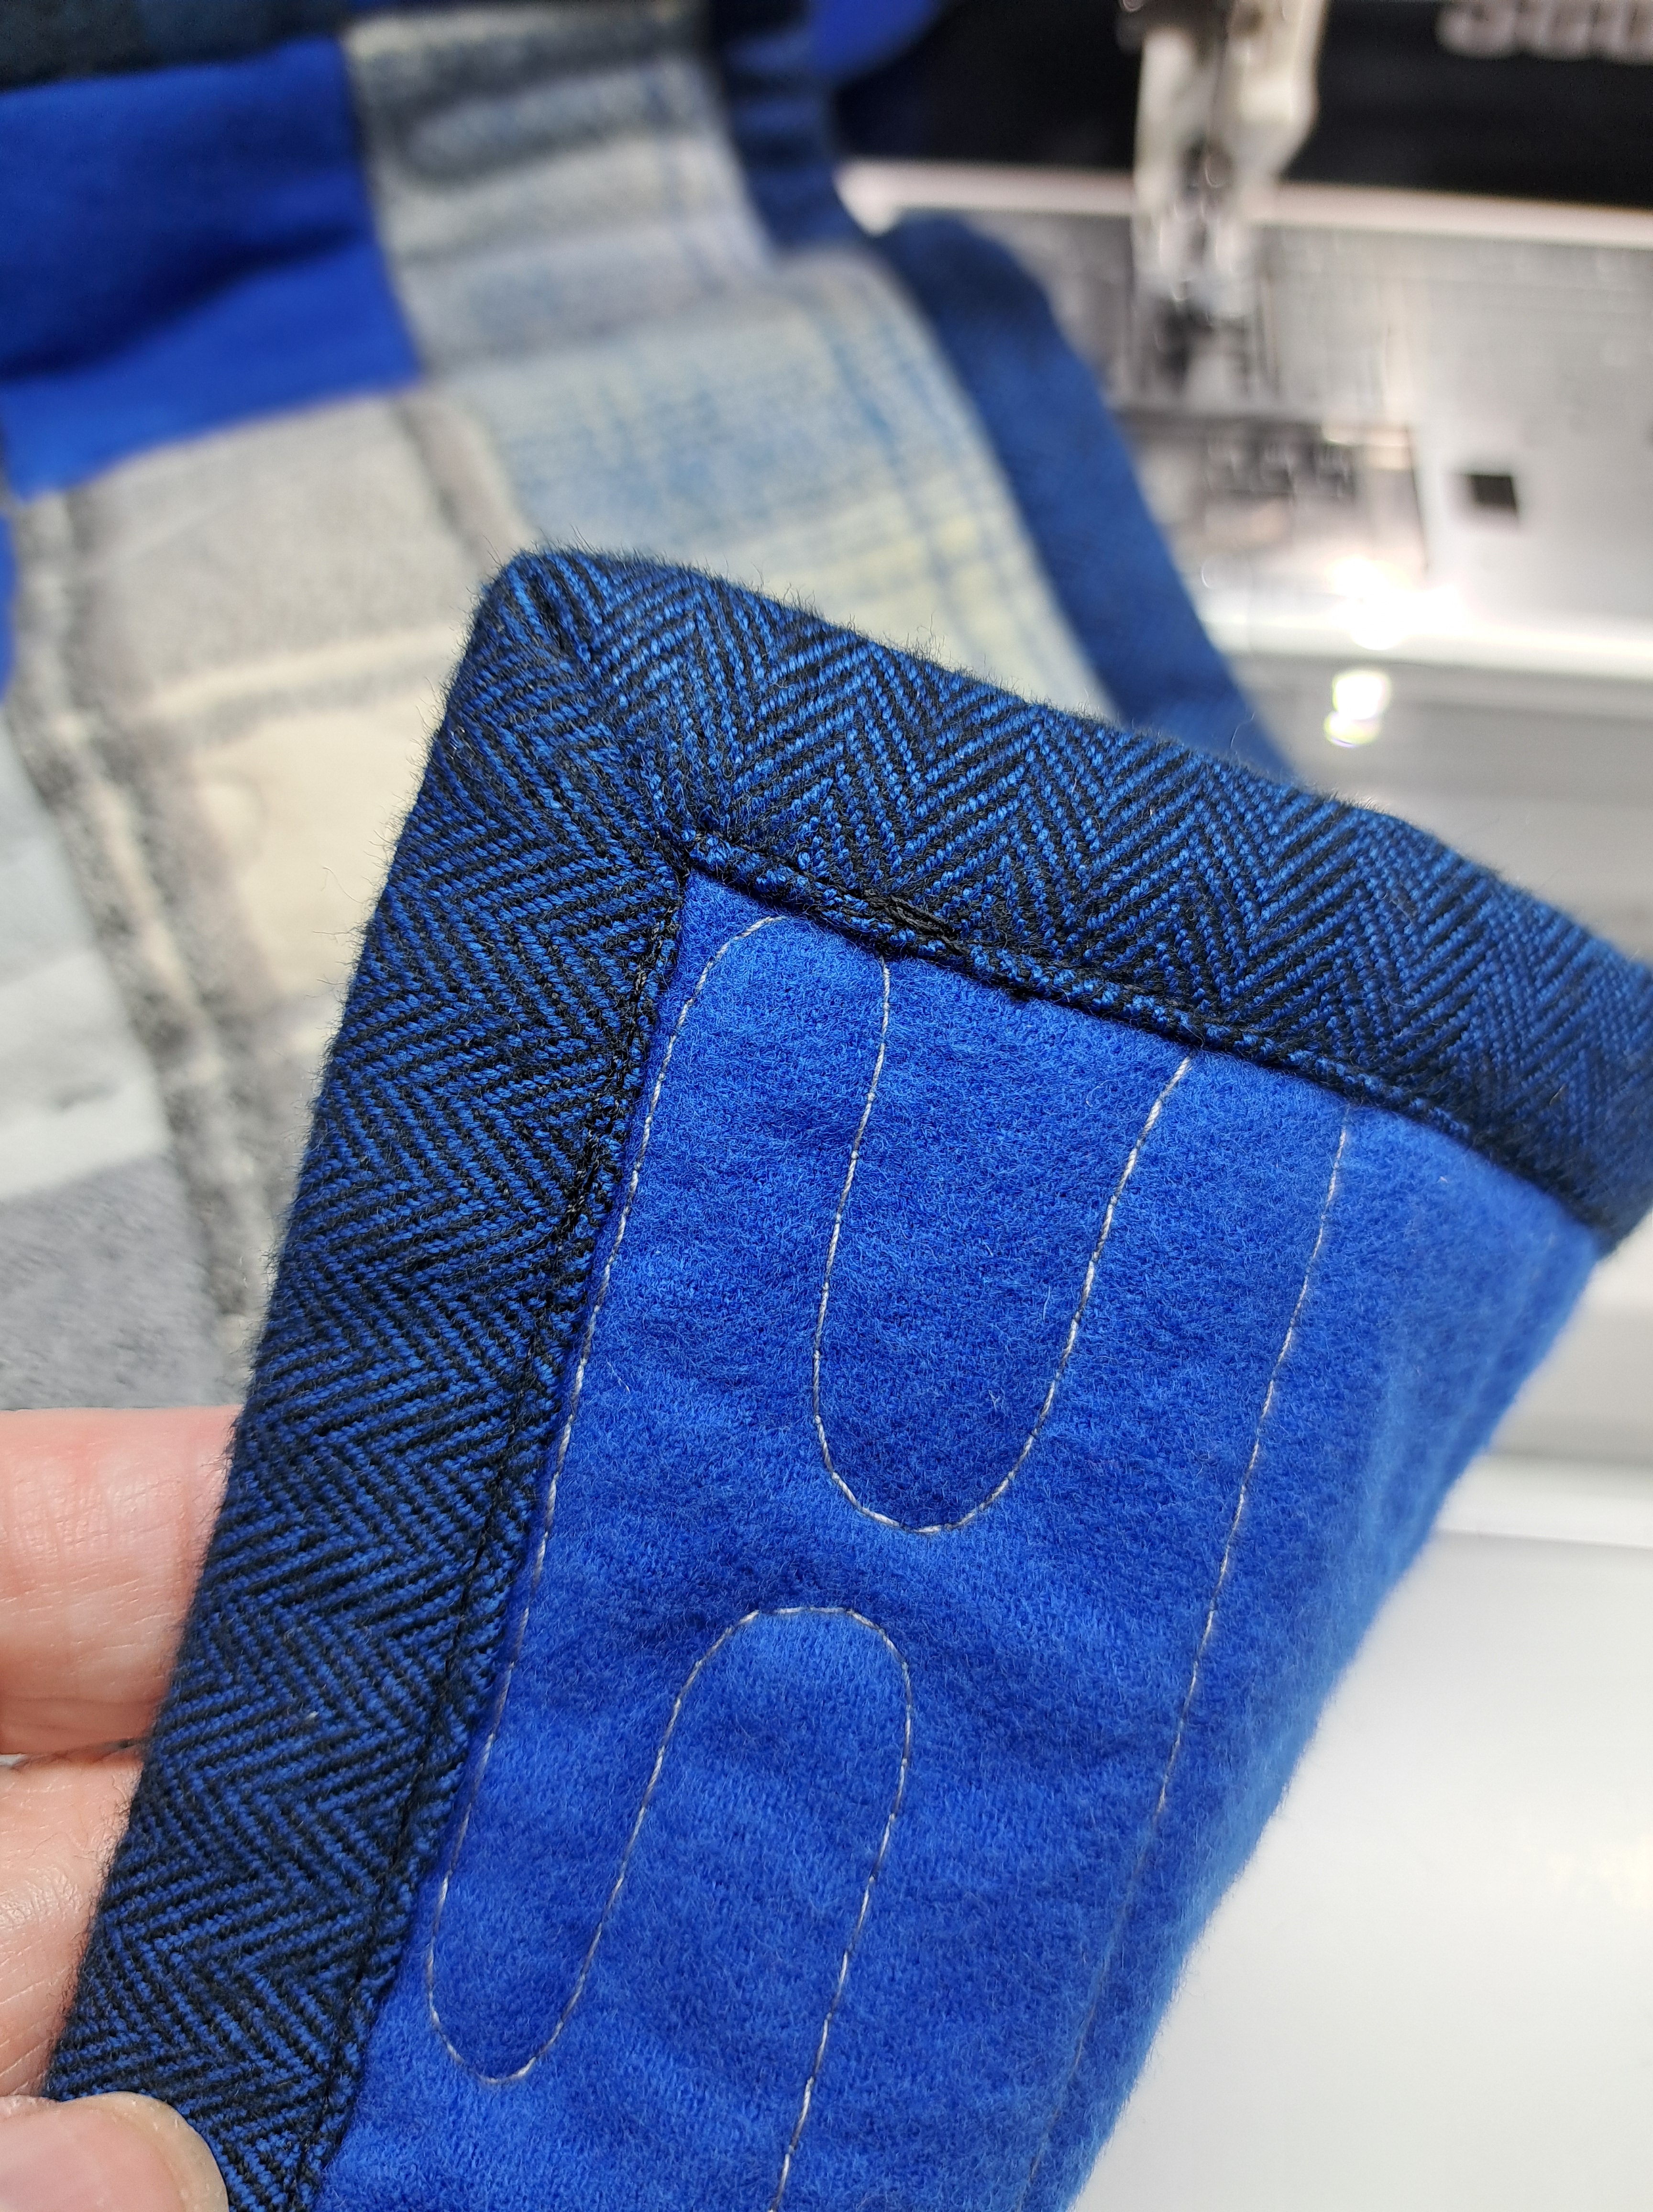
I cut the binding strips at 2 1/4″ wide. (YES, this is typically what I cut for a double fold binding of regular cotton.) I decided I wanted a wider binding to give some “umph” to the edge of the quilt. This width worked well to have a 1/2″ finished binding. With the thickness of the flannel and all the layers and wanting a wider binding it worked great!! Here is the mitered corner. I put the binding on the front and turned it to the back. I stitched in the ditch from the front to catch the back of the binding. My FAVORITE method of binding (and what I’ll be teaching in Houston for the International Quilt Festival….we’ll make it double fold though) I did hand stitch the miter since it is a wider binding after machine sewing to finish for a pretty miter.

And the back!
I don’t worry about whether I catch every single inch. I check it after I have gone all the way around the quilt. I only had a few spots that I missed. Oops! No worries, it is an easy fix!
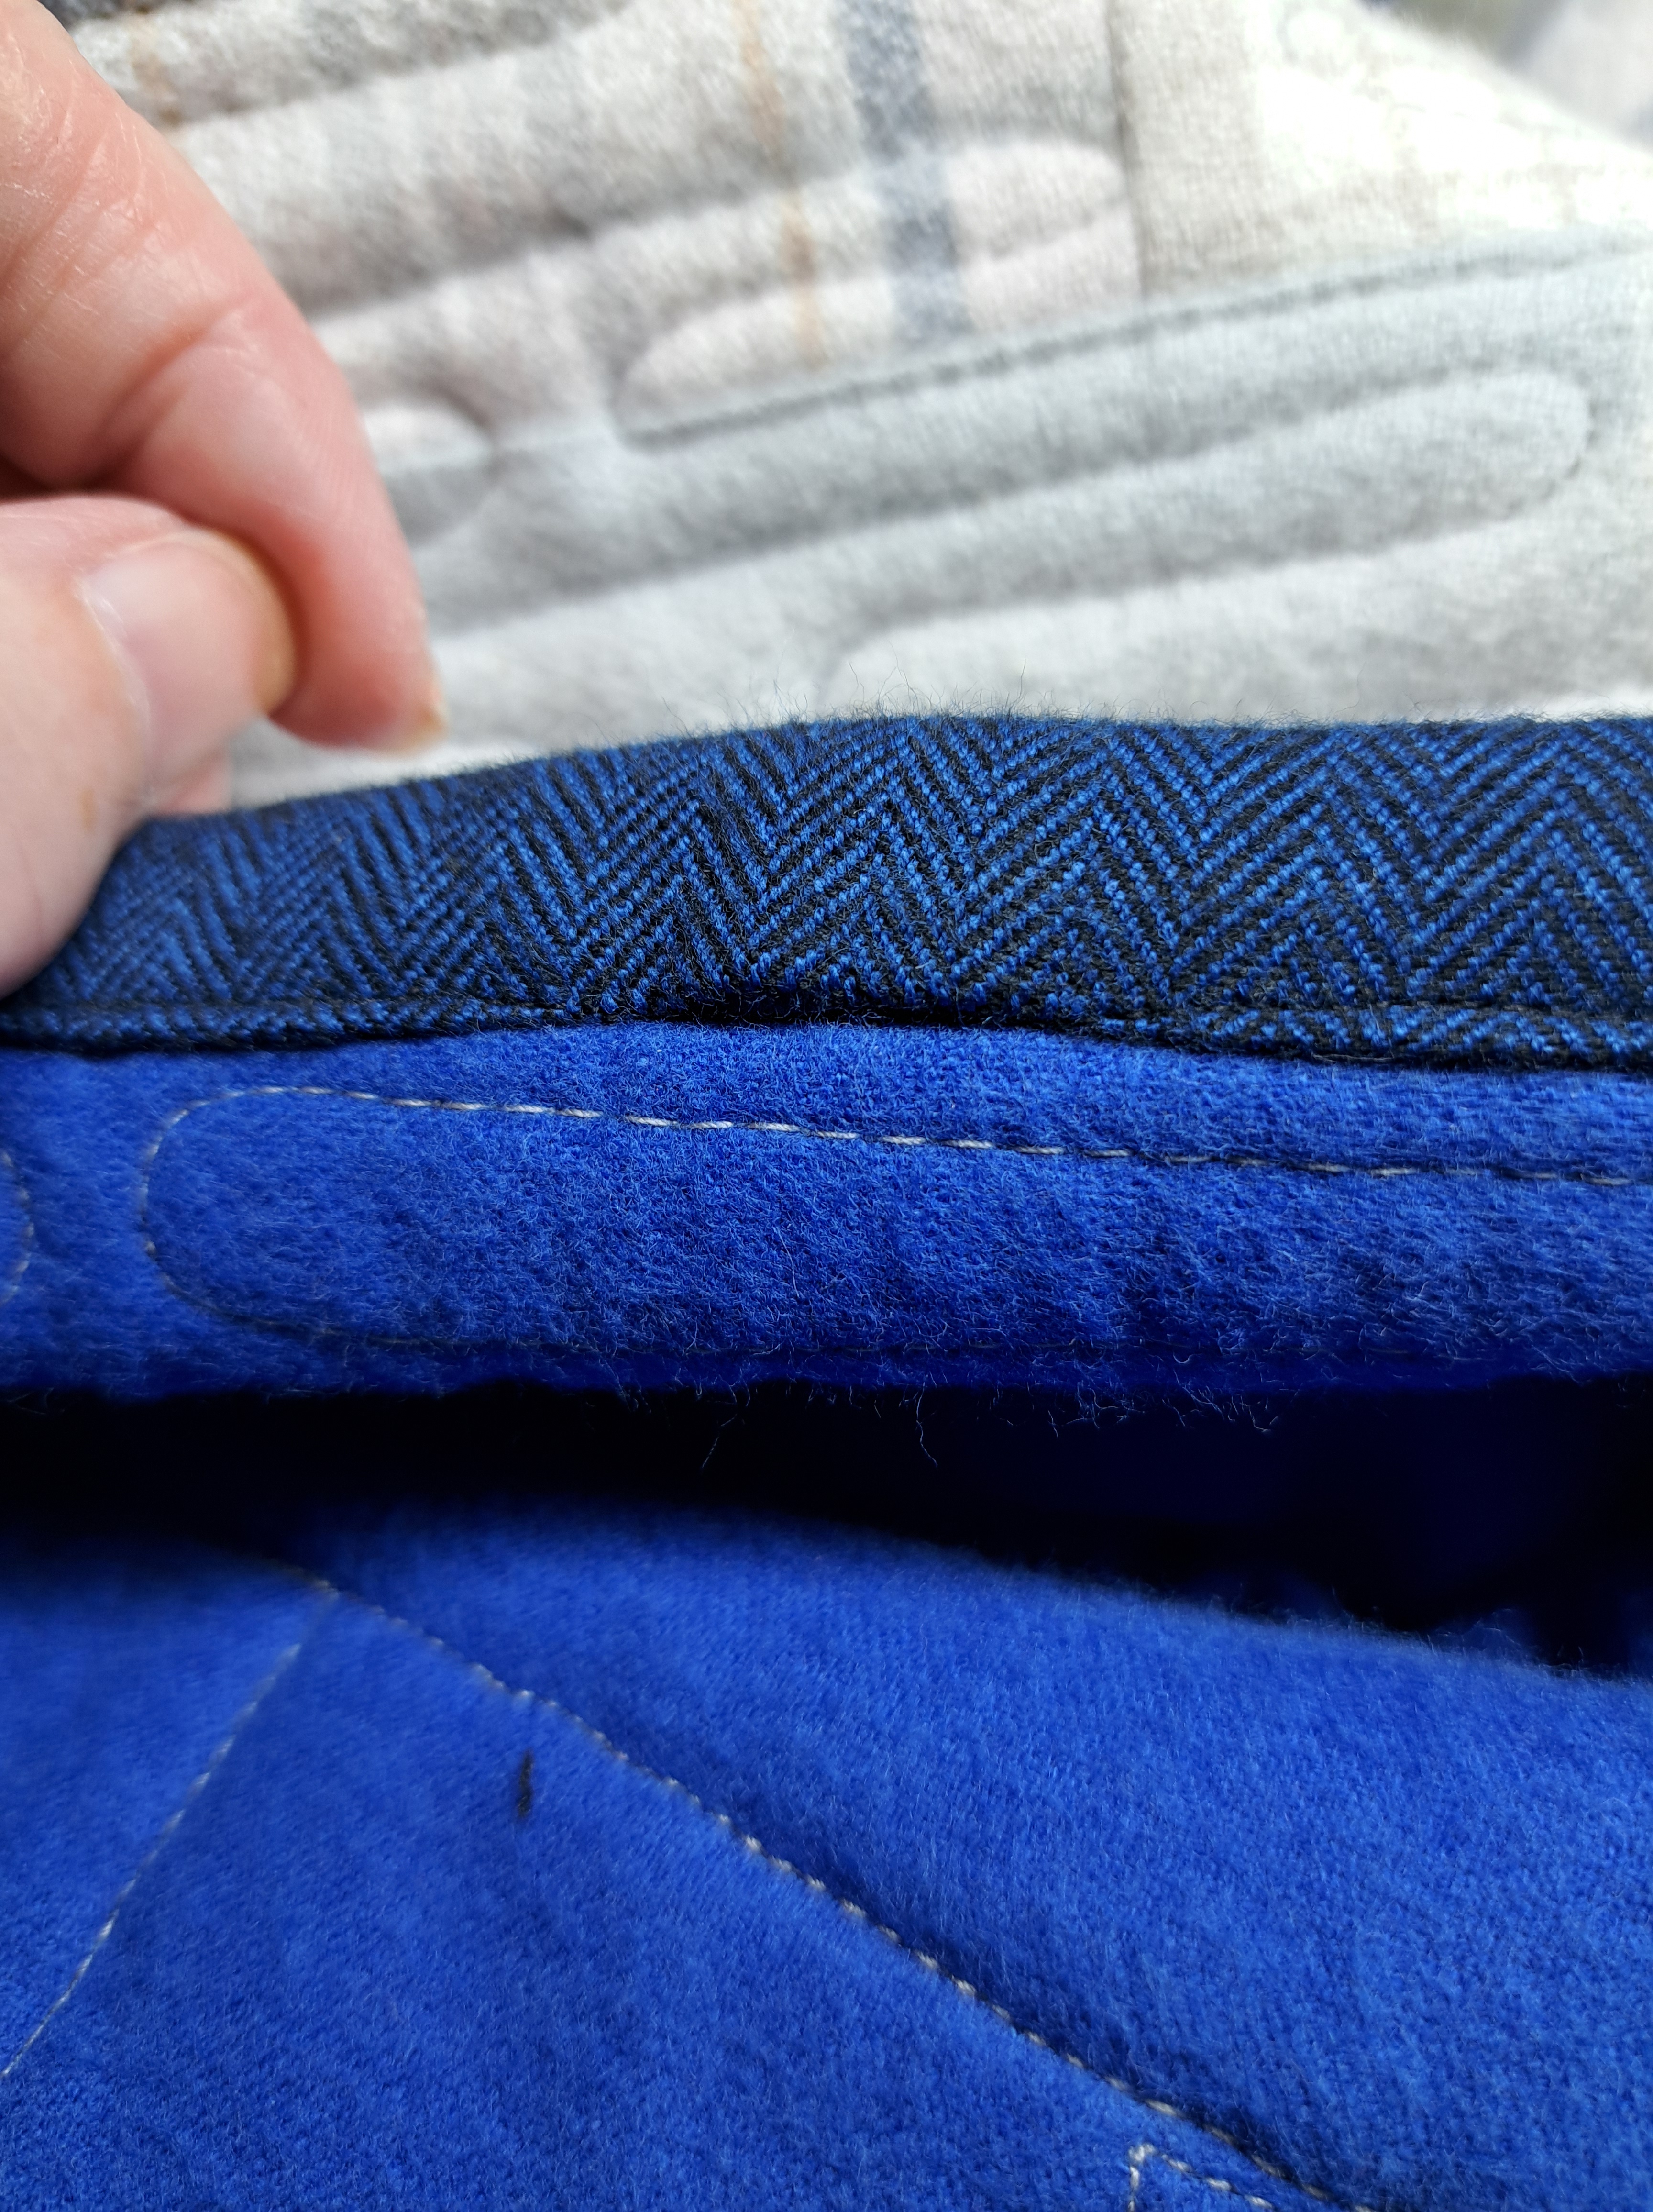
After finding the missed spot, I use a seam ripper to open up a little before and after the missed section…

Reposition with pins to hold it in place…
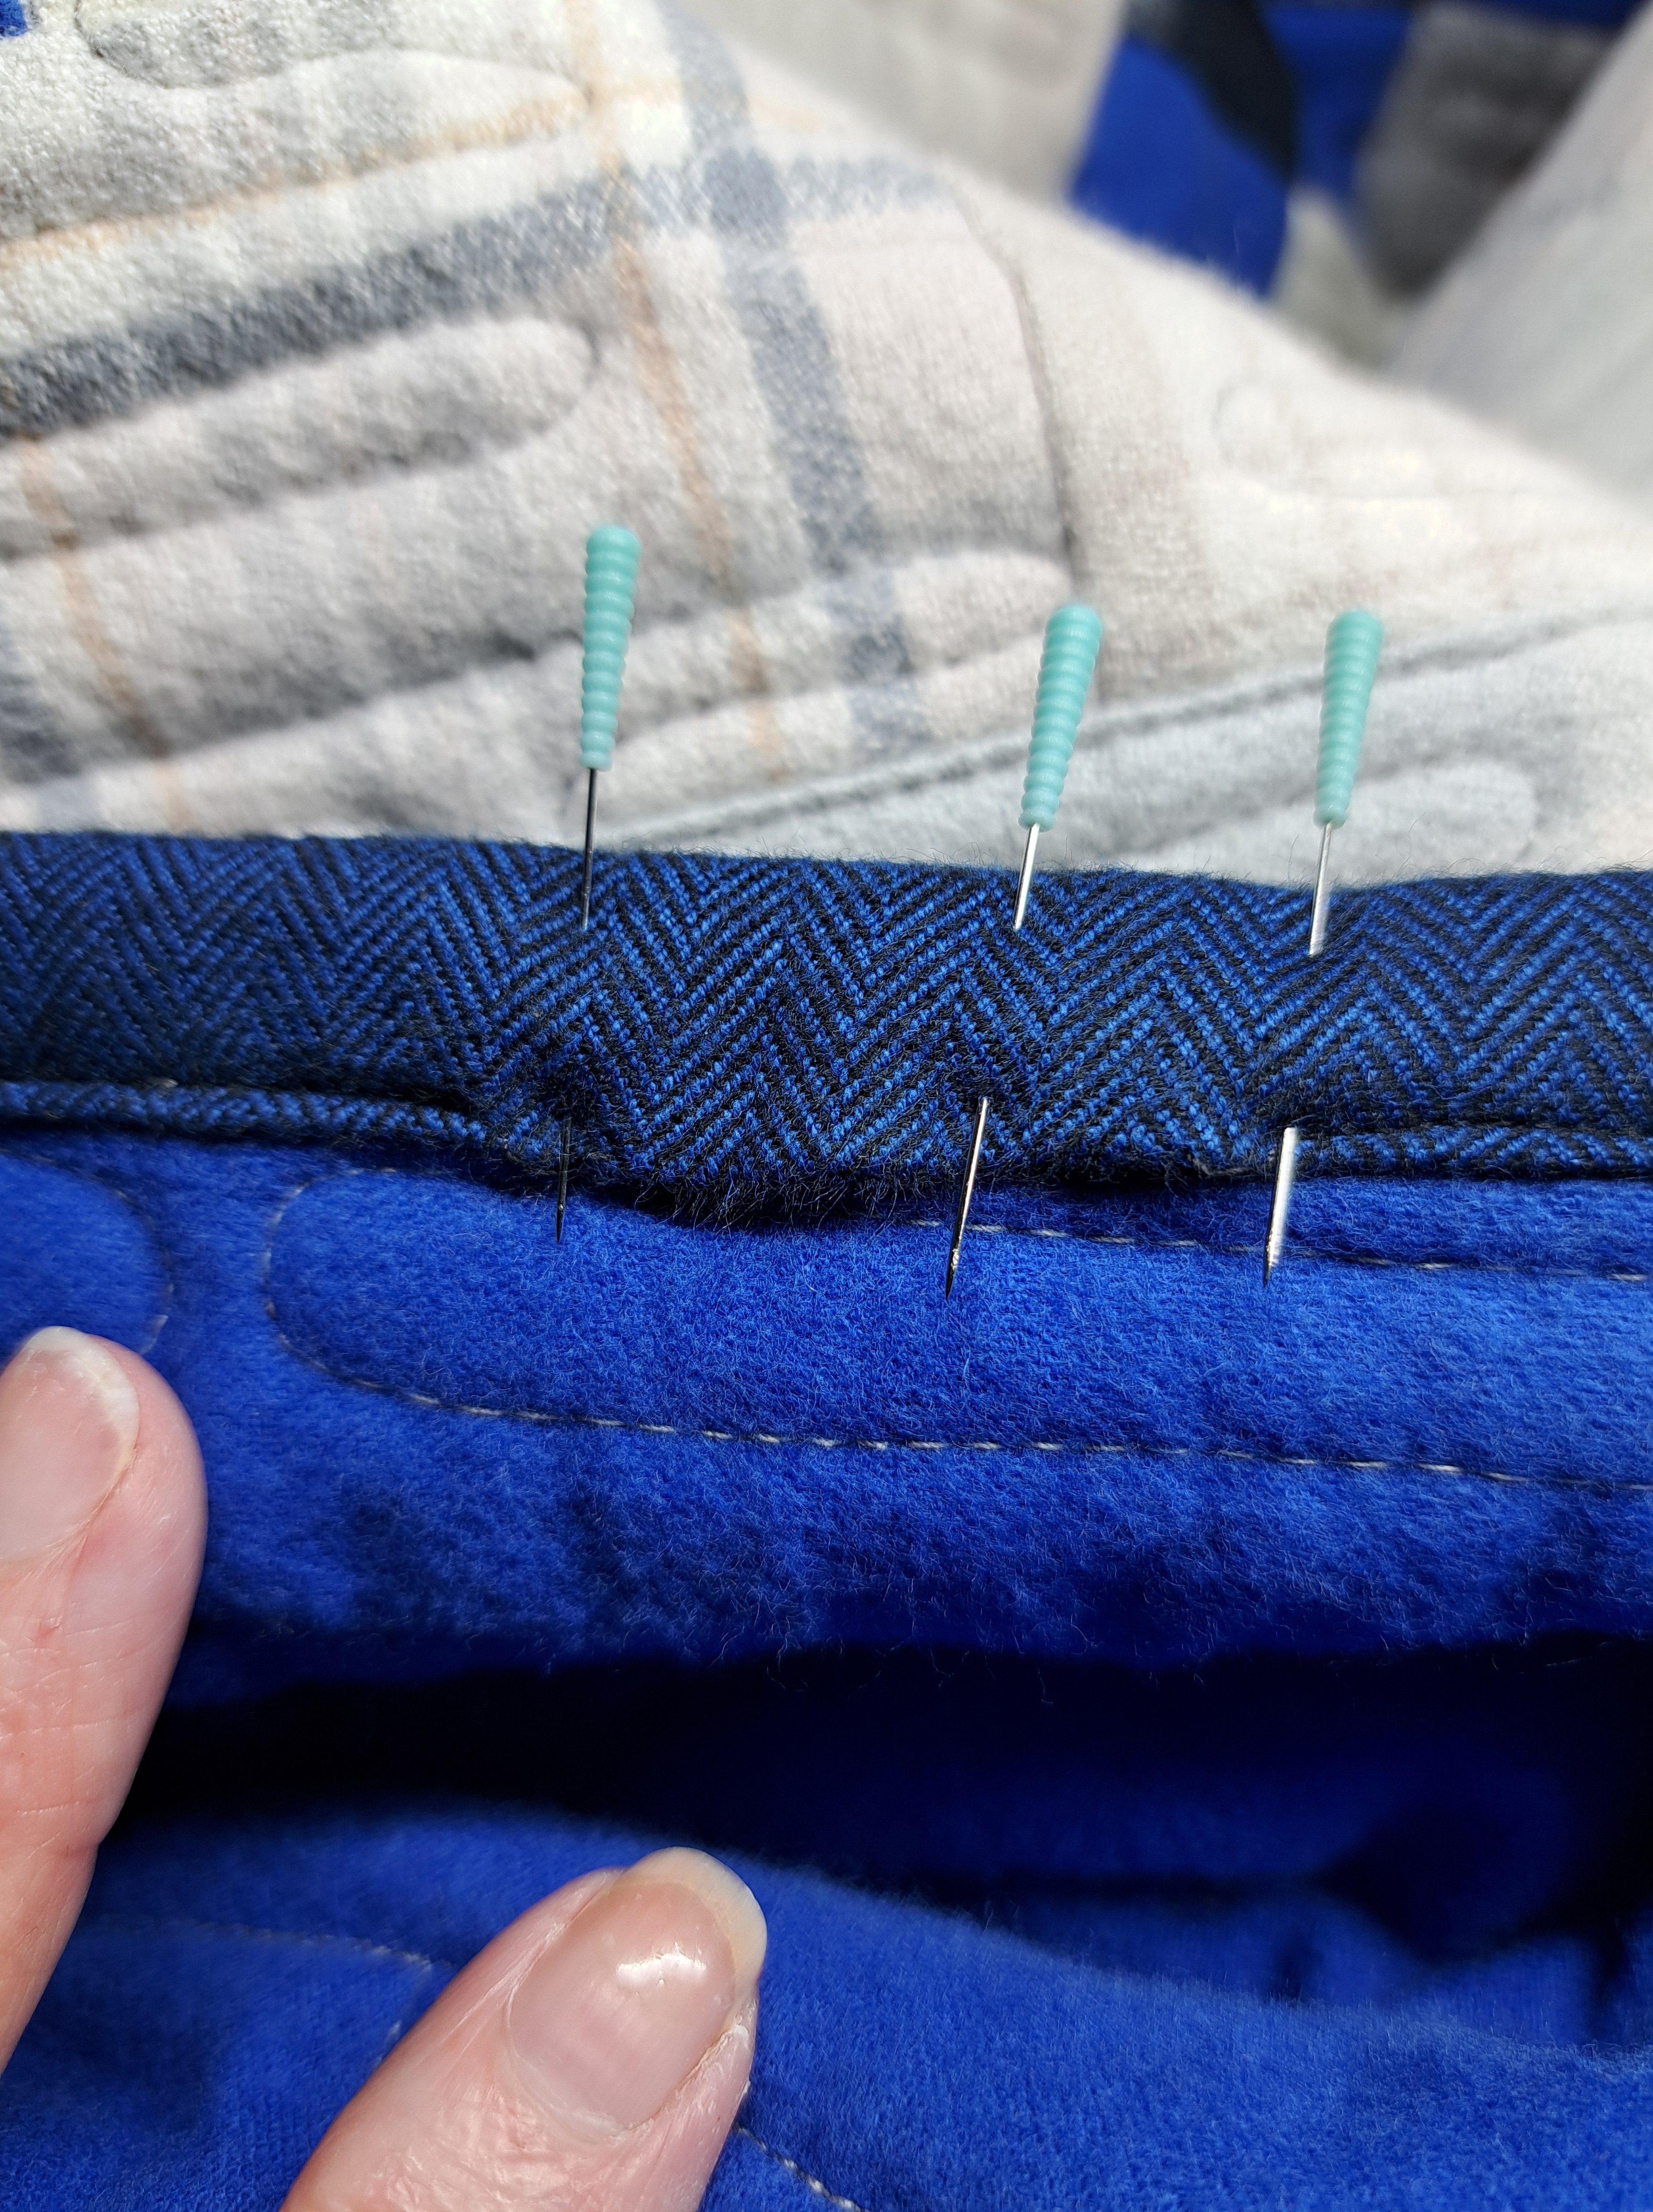
Turn it back to the front to stitch in the ditch…
Take a look at the back. I’ll trim threads and it is as good as if you did it the first time!!

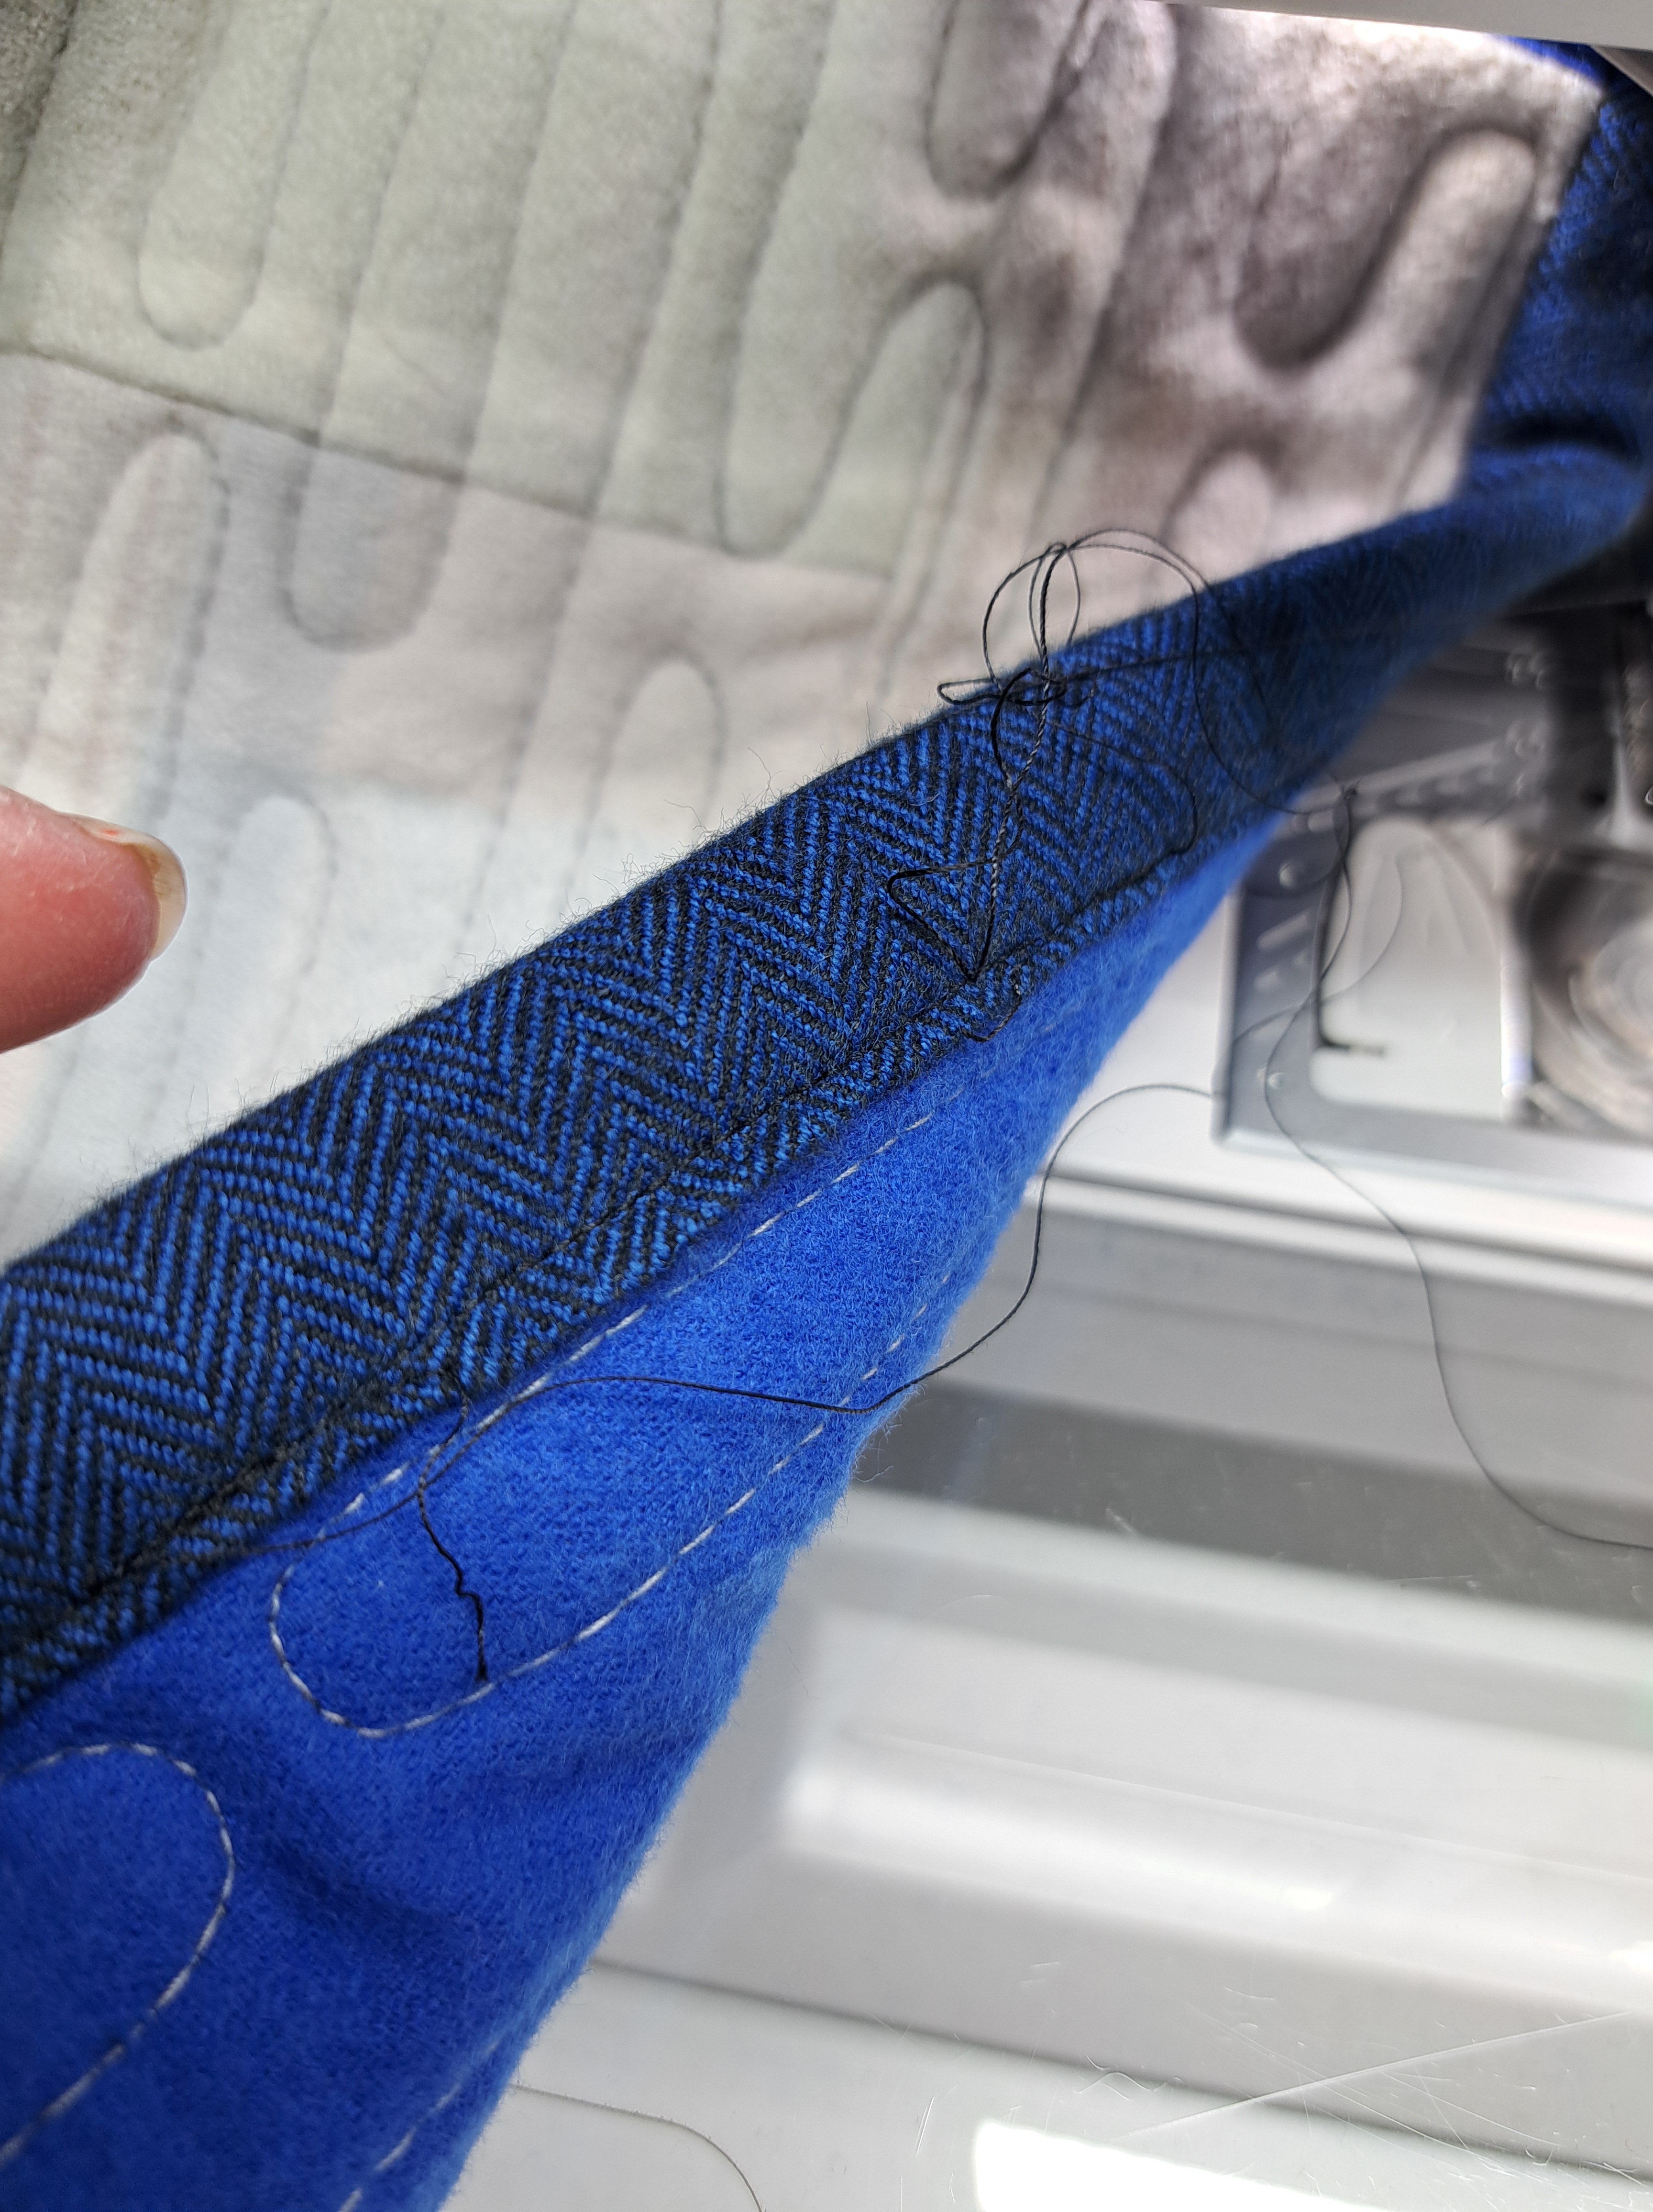
I love using this technique. I usually hand sew the binding on the back if I make a single fold binding. It was fun to do it by machine! Give it a try!
Tips #1- Use a binding that works best for YOUR quilt. In this case, a wider binding was perfect. And a single fold worked better for flannel!
#2 – Don’t worry if you miss anywhere the first time around. Pin or use clips and stitch in the ditch. In case any area slips, go back AFTER and fix any missed spots.
in quilting,
Debbie
