
I’m working on a few new samples for my Machine Sewn Bindings class in Houston later this month. I’ll be teaching and vending at the International Quilt Festival!!! My Machine Sewn Bindings class is a favorite to teach. I have several samples but decided to make yet another. This sample has a binding using a stripe-ish fabric. You’ll see it in the photos below. I say “stripe-ish” because it is not a hard line of a stripe but rather a soft uneven design. Some stripes are worth matching, this one is no different. Besides having a stripe-ish look it also has leaves going in the same direction. It is a good subject to discuss here!
I have put the steps below of making sure the stripe-ish design continues along the binding.
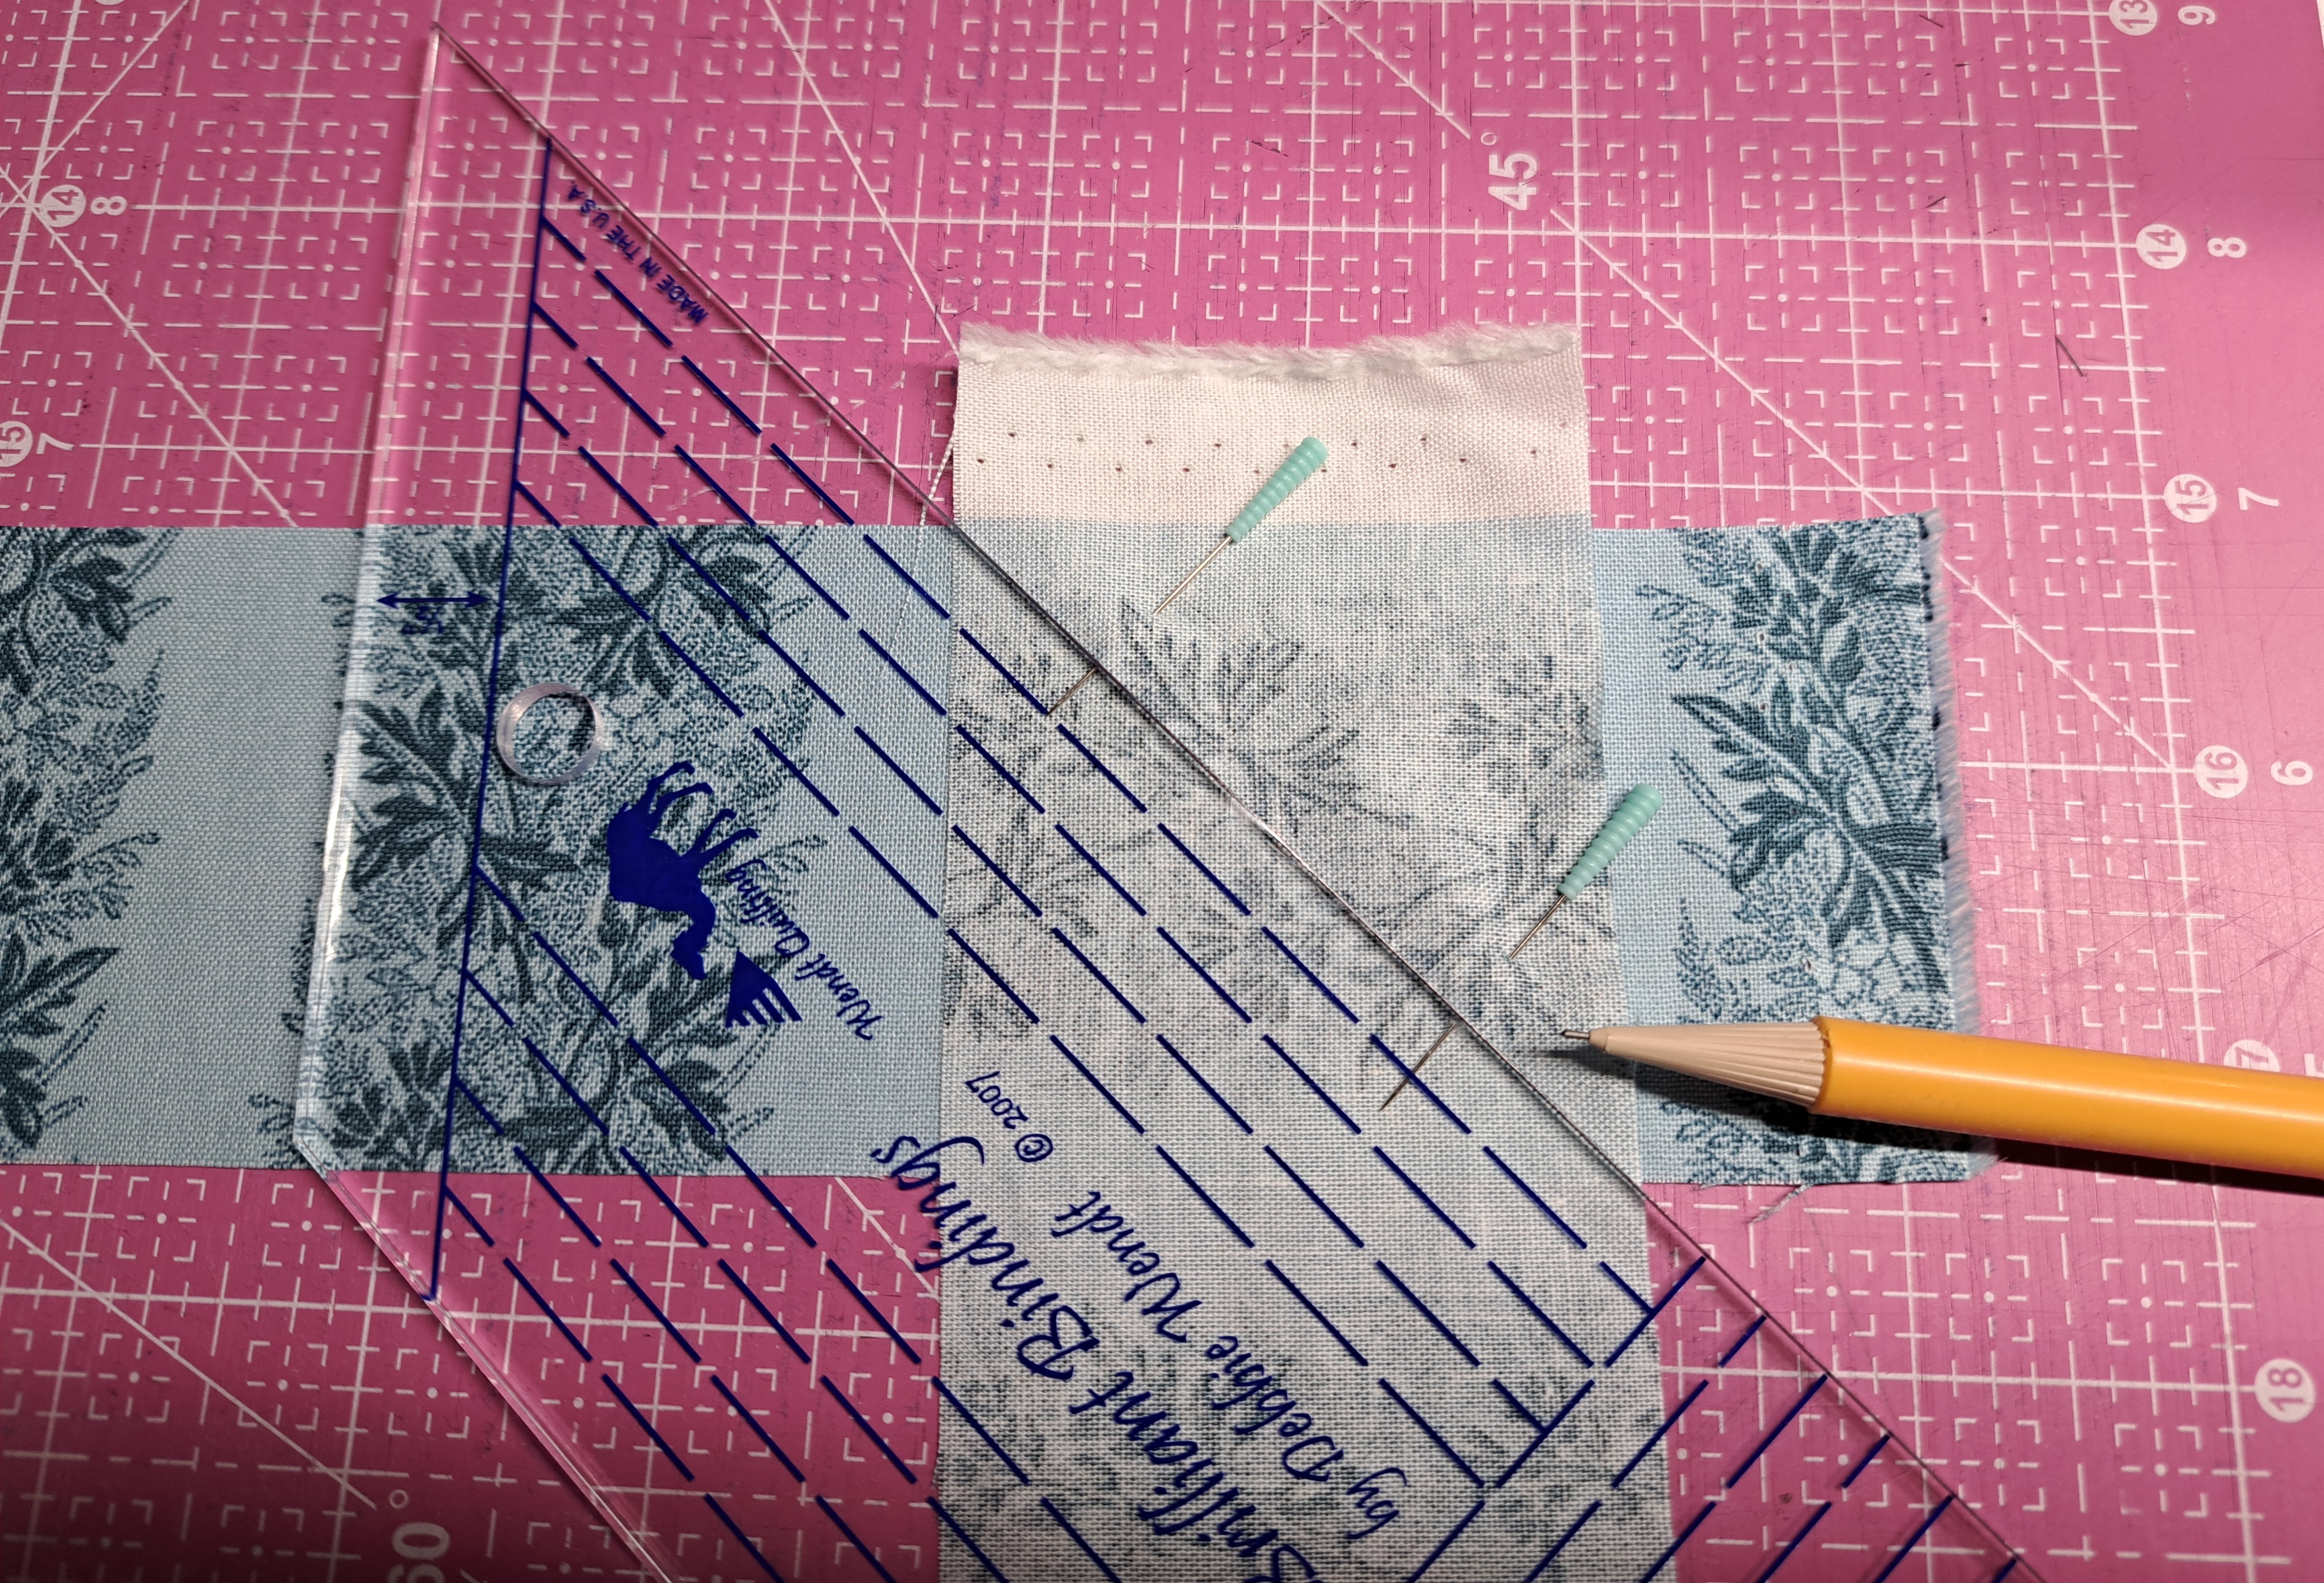
First, I lay out the binding strips to make sure the leaves are all in the same direction. I then flipped one strip on the other, right sides together. I guessed the alignment and put a pin to simulate the seam line. Then check to see that it will be reasonably lined up.


Second, I pin the strips and mark my seam line. Brilliant Bindings is great to mark this line. Since you will be using it for the perfect mitered corners and finishing the tail ends, this adds to its use! Then sew the seam on the drawn line.

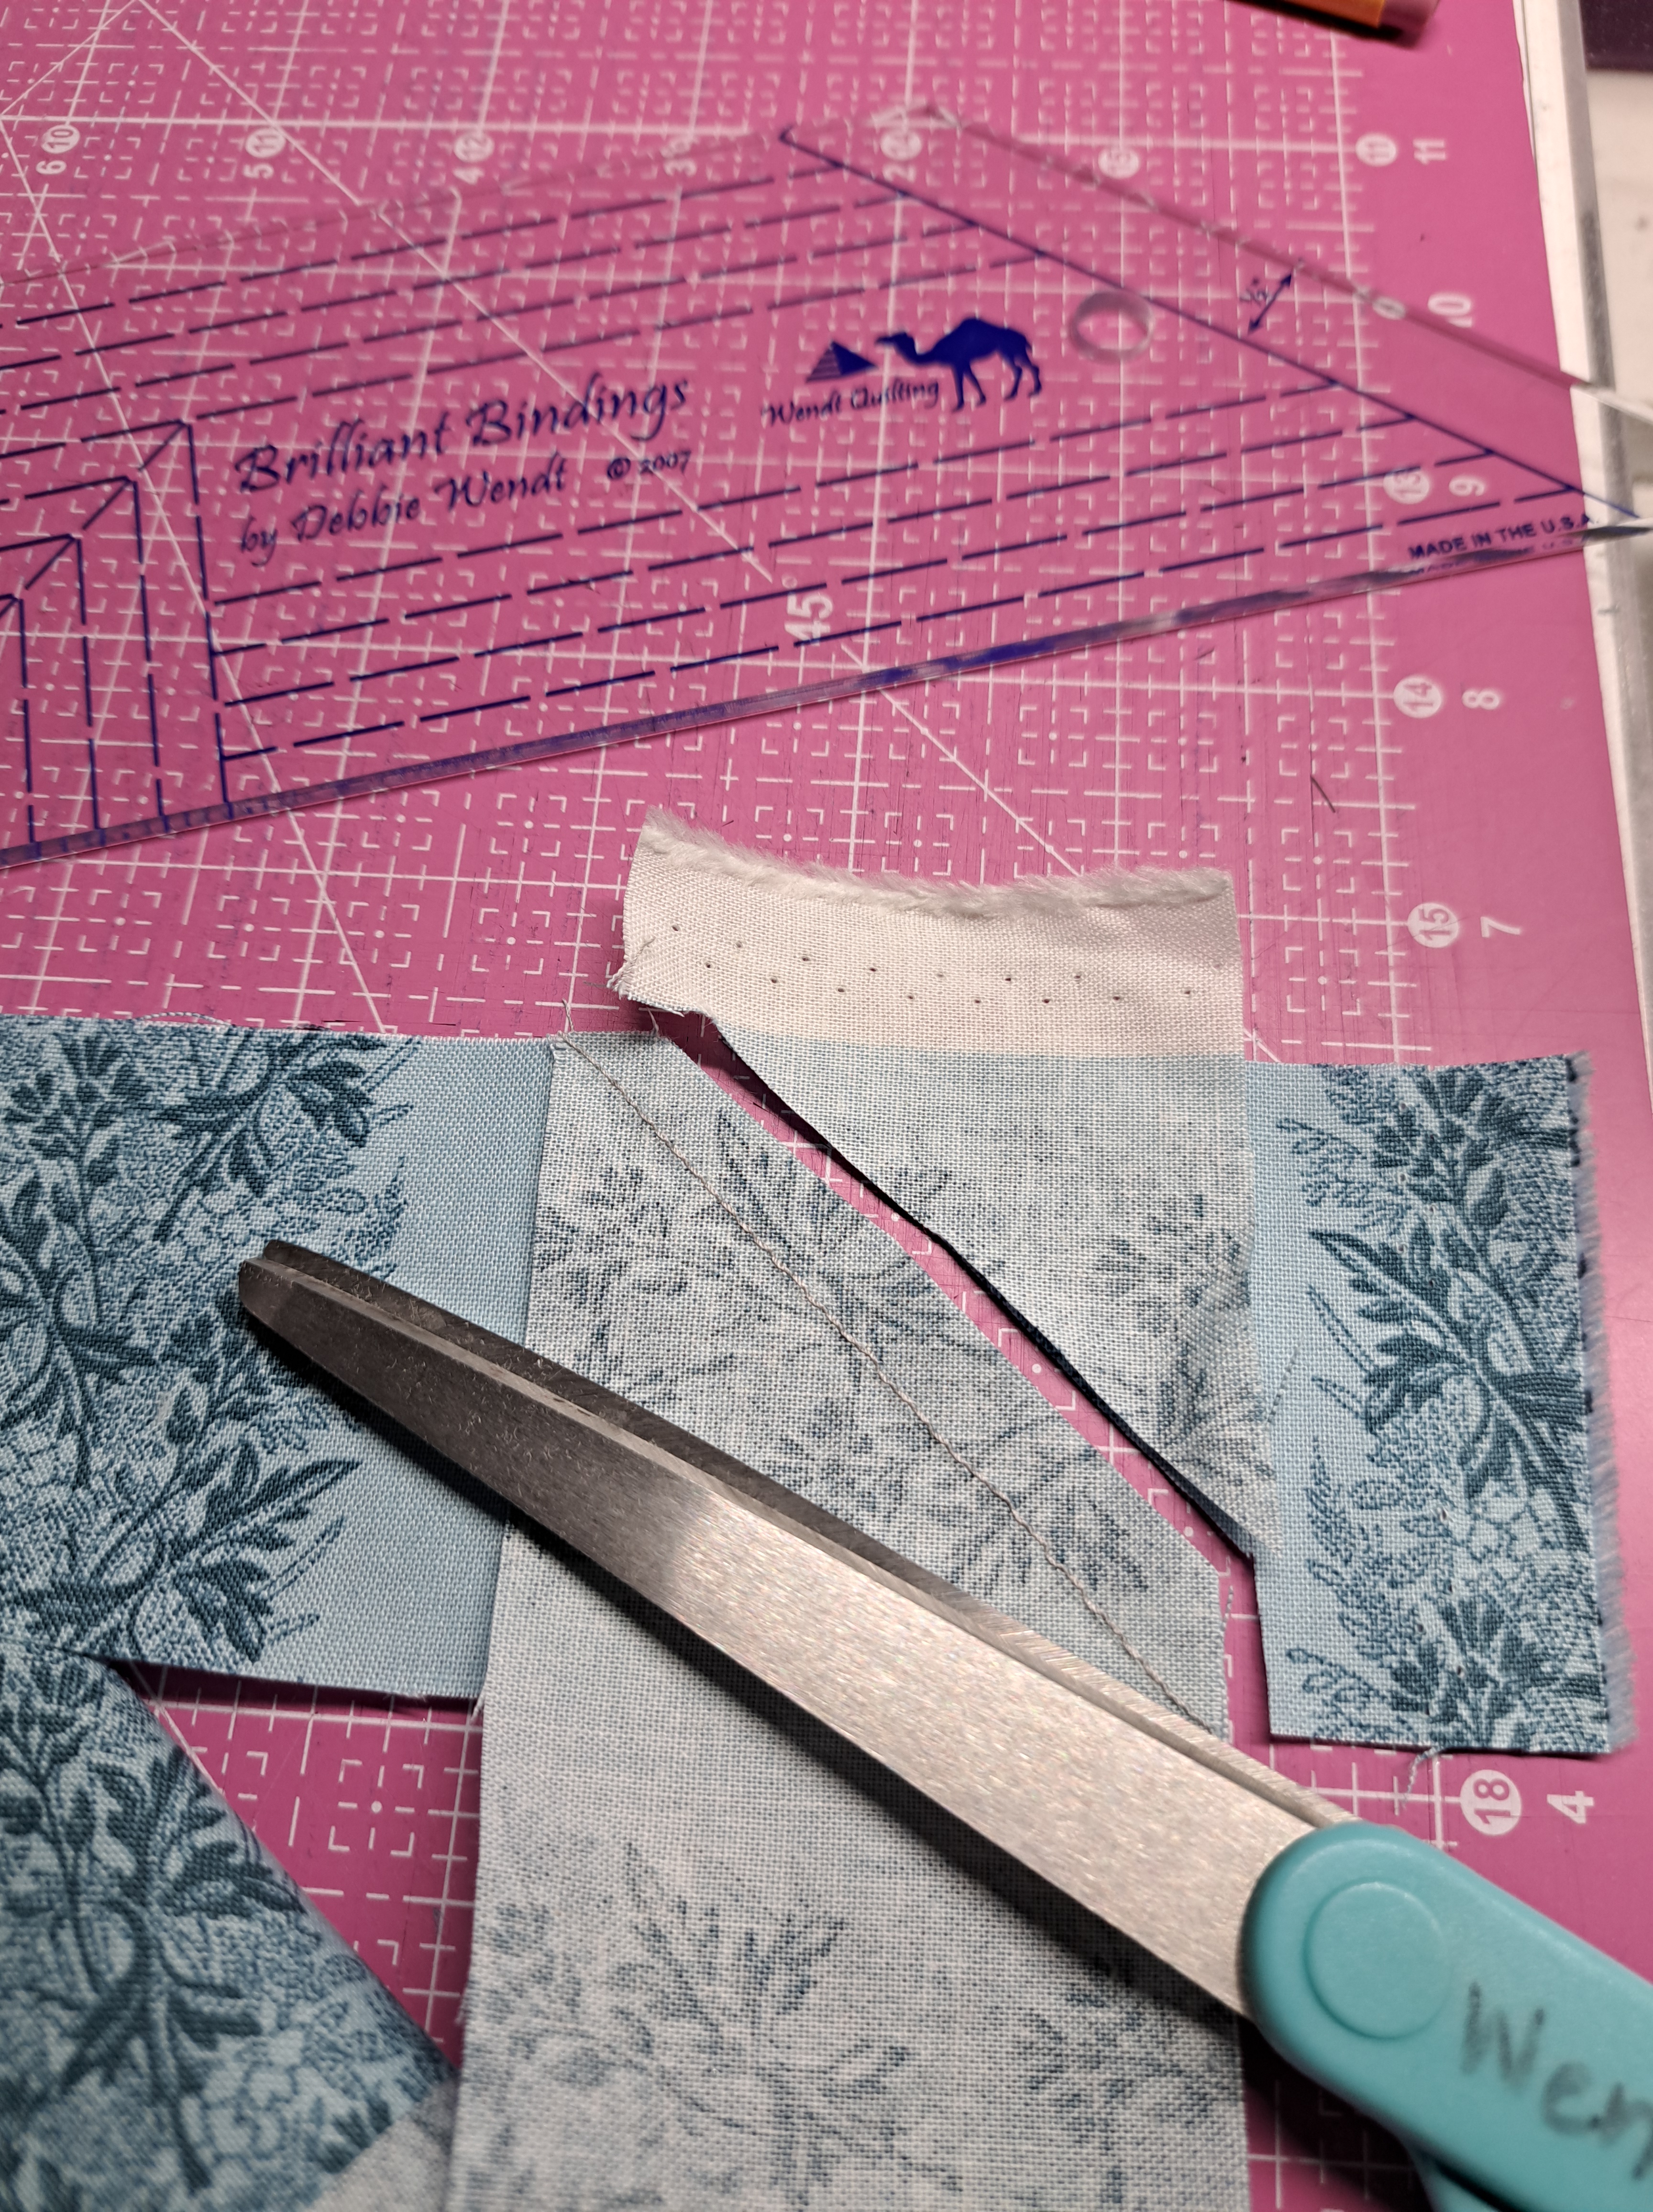
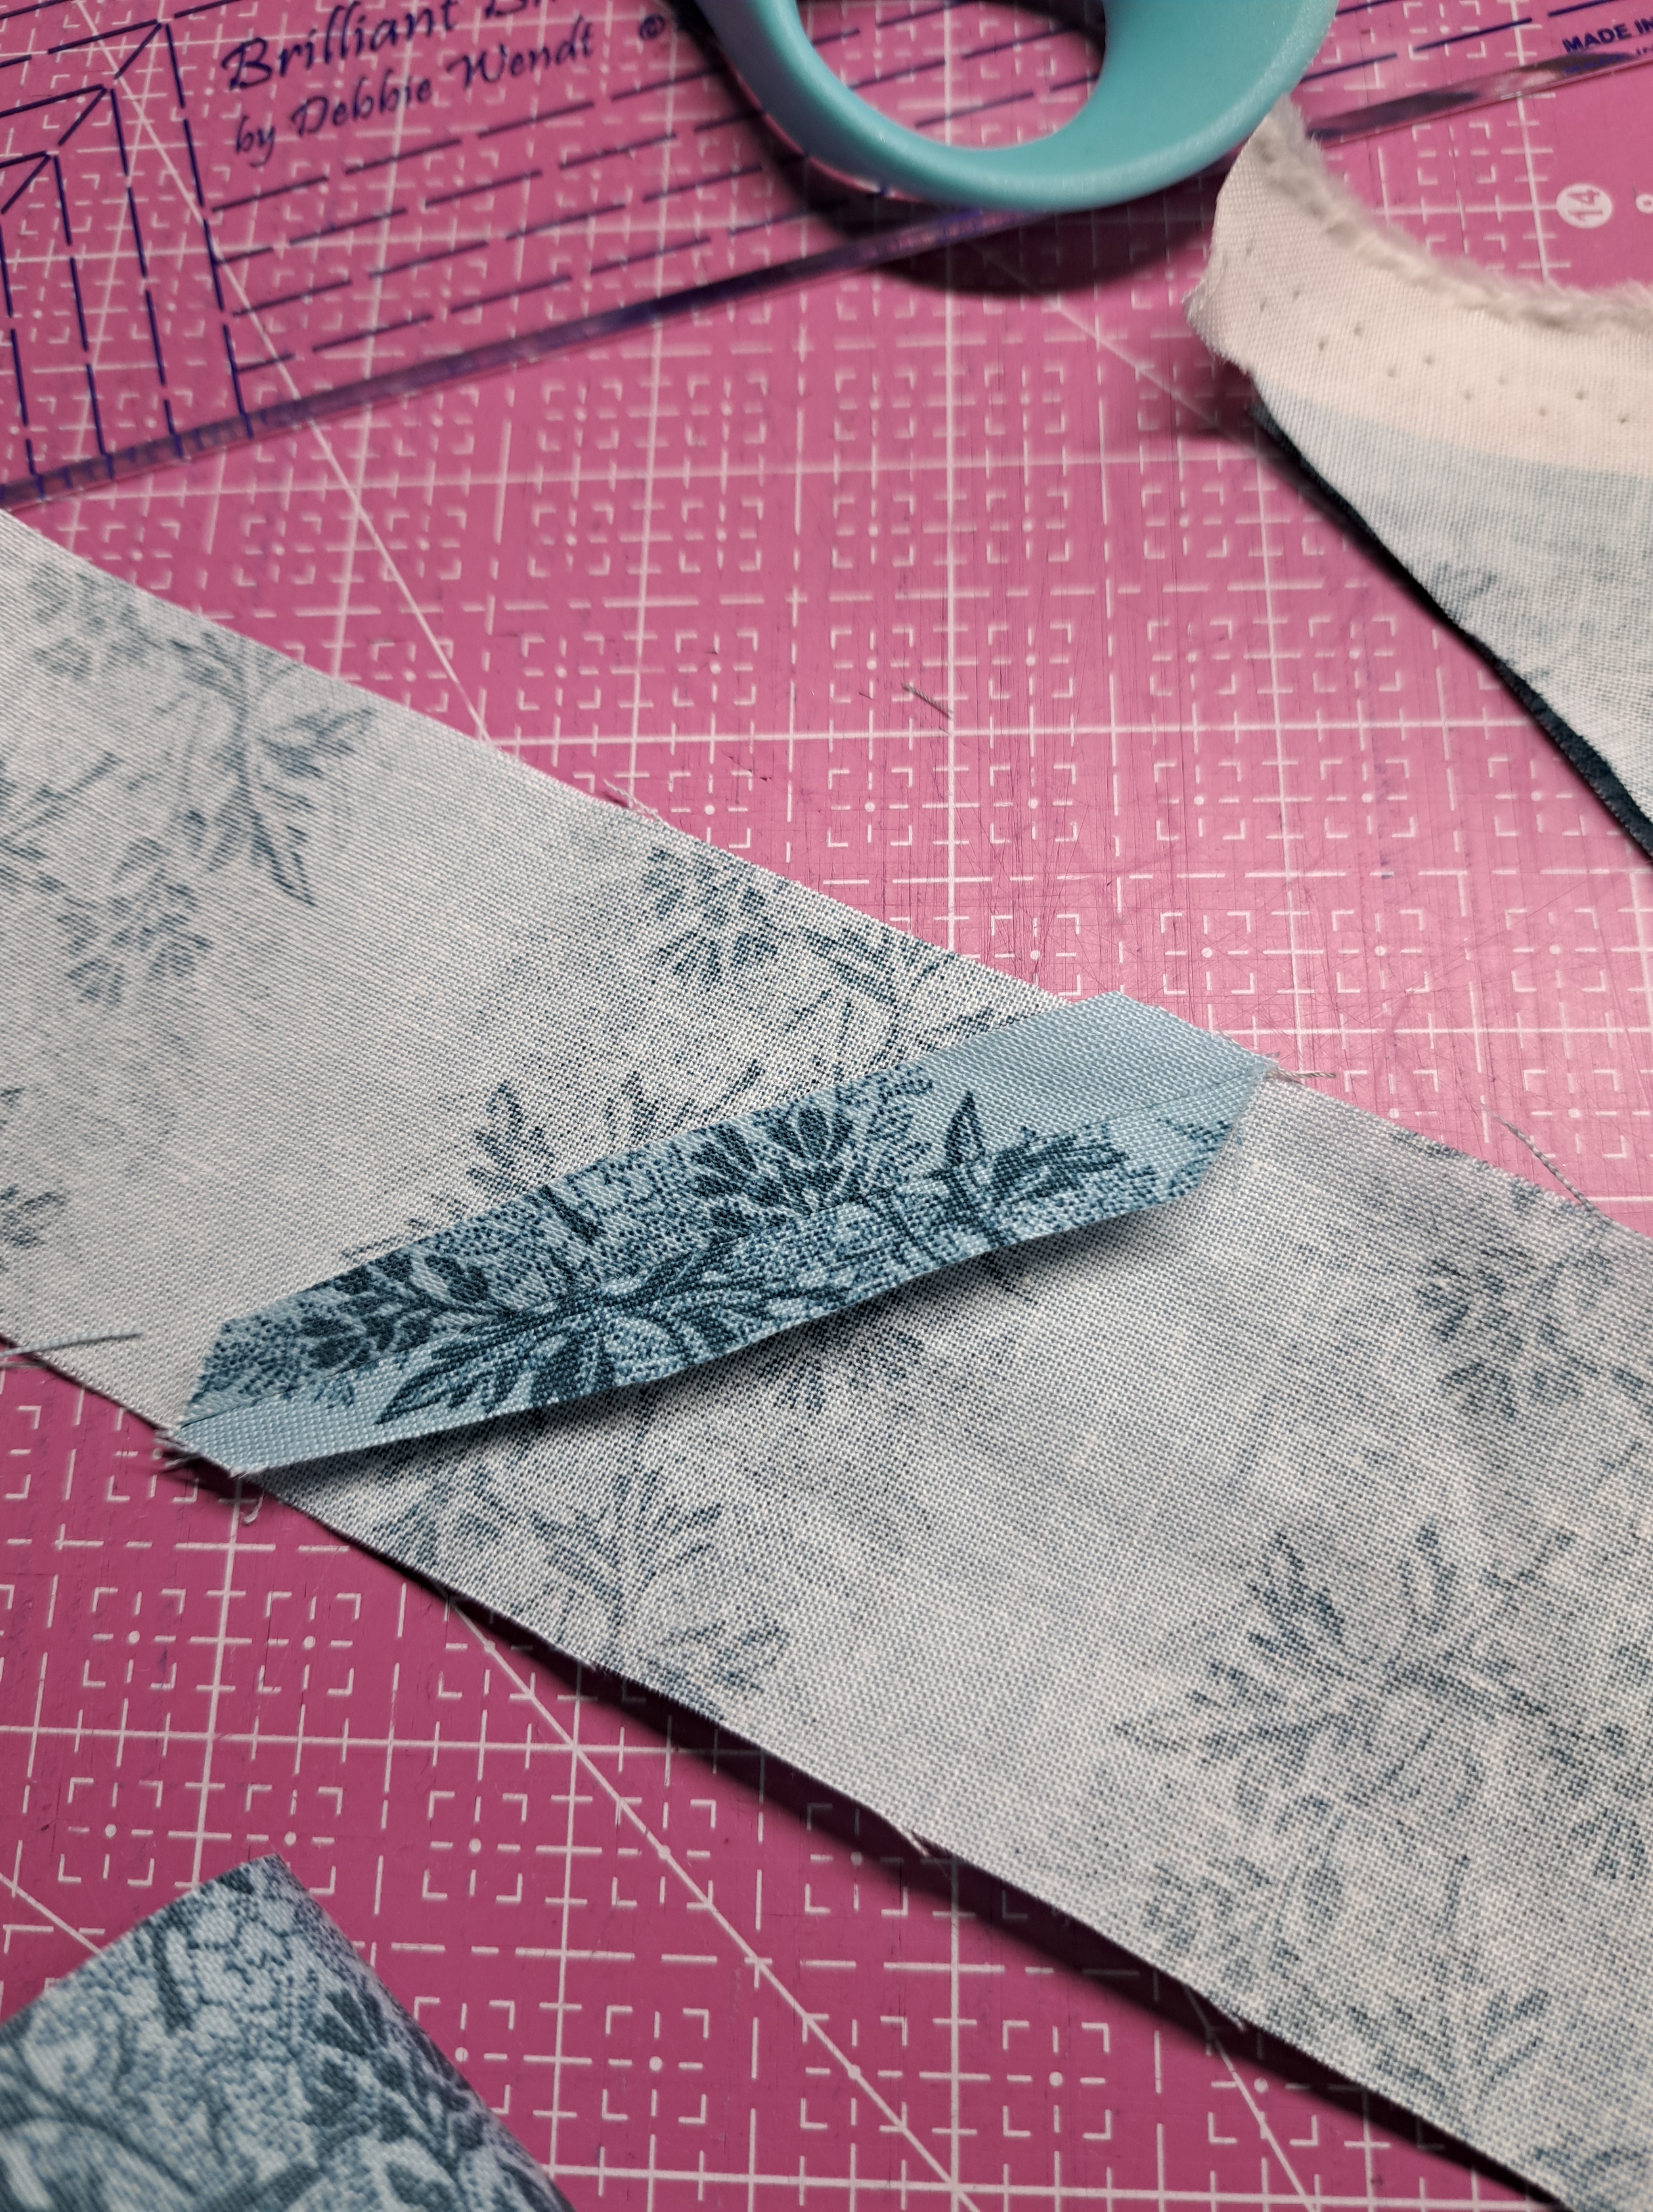
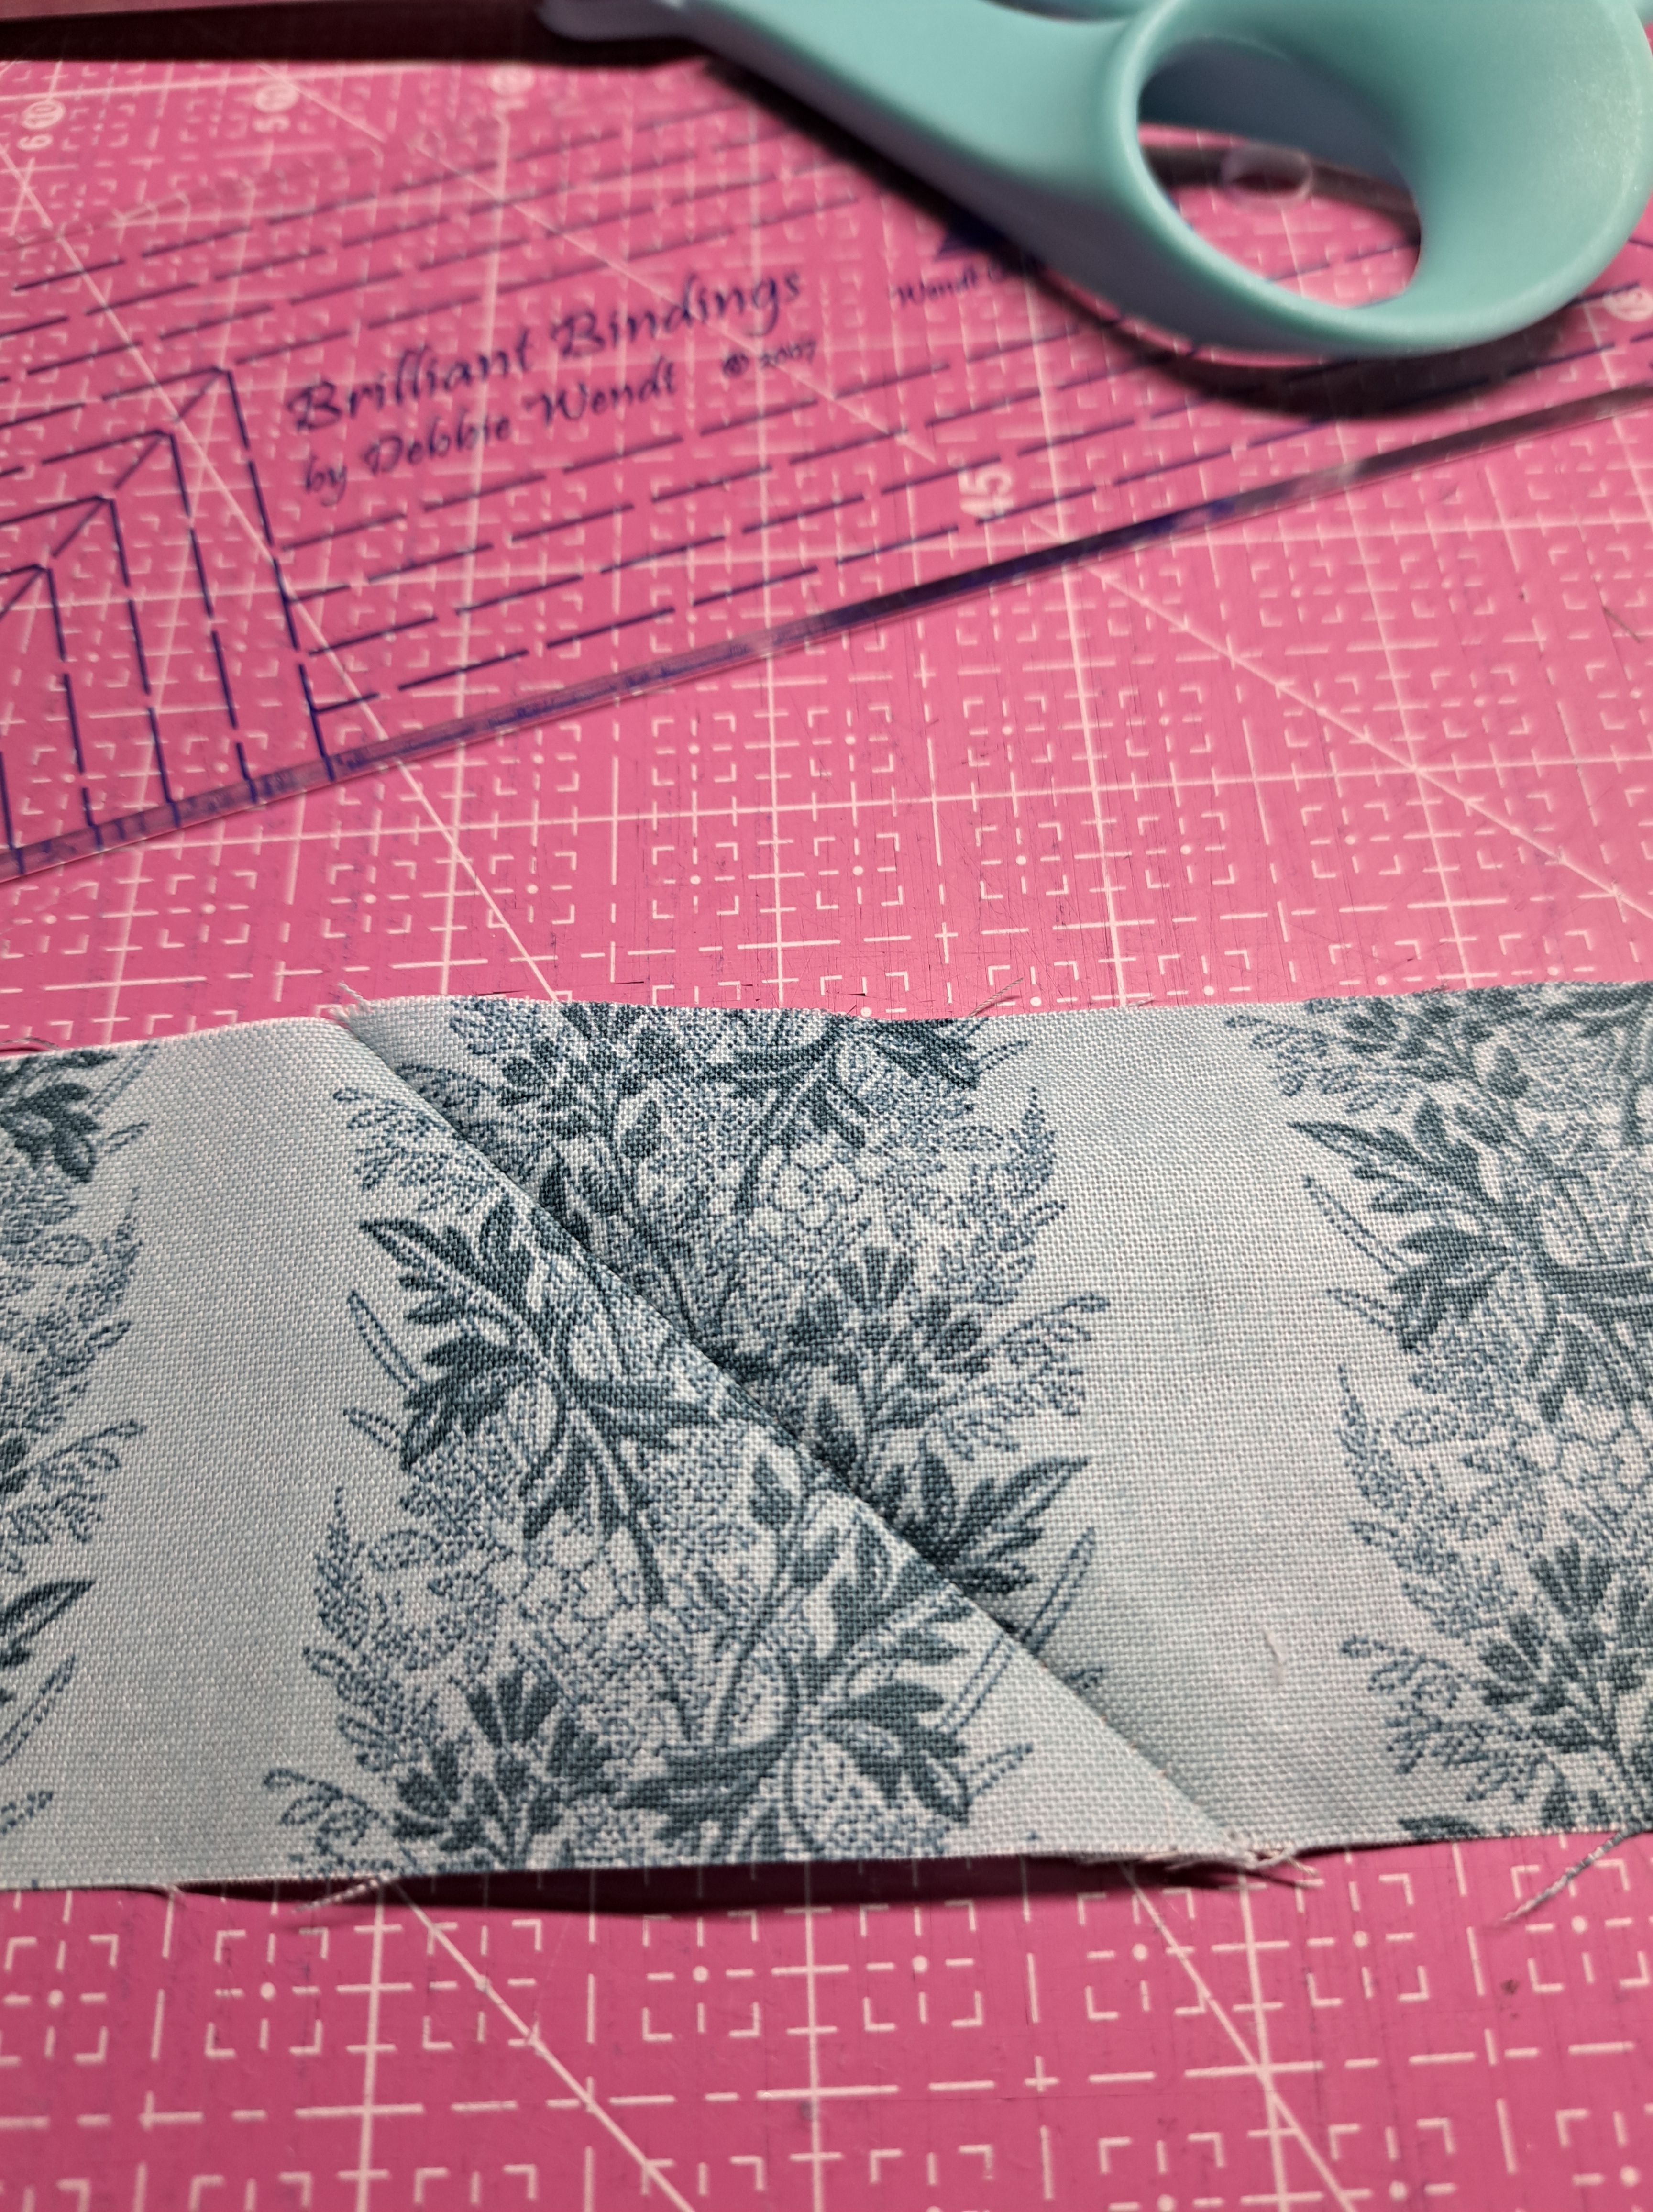
Third, trim the seam to 1/4″ seam allowance. Finger press the seam open. Admire the front side! Is it perfect, almost. I could have spent extra time lining up each leaf, but I did not. The overall look is good! Now it needs a good press (It really is even and straight, I promise.)
When I’m ready to sew the binding onto the quilt, I always TEST the seam. I make sure the seam is wide enough to have a nice “full” binding and cover the stitches on the backside. See all my sewn test lines. Then a check that the seam line is covered when I roll the binding around to the back of the quilt. A “full” binding means there is not a gap of empty space in the binding. The seam allowance of quilt/batting/backing FILLS up the roll over of the binding!


Tip 1 – TEST, test, test! Test the seam when sewing stripe or stripe-ish binding strips into a continuous binding.
Tip 2 – TEST, test and test some more! Test the roll over of the binding around the edge of the quilt. You want a “full” binding to give it structure and help is wear better over years of use.
in quilting,
Debbie
