
Today I would like to add more information about the method I used for making the Double Wedding Ring quilt for my nephew and his bride. I used Quiltsmart’s Double Wedding Ring fusible interfacing. Since I have made a couple other Doube Wedding Ring Quilts, I choose Quiltsmart since I did not have to sew curves. Can I sew curves? Absolutely! But, I had limited time and wanted to try Quiltsmart’s technique. Cutting square background pieces was easier than curved arcs and centers. The technique has you cut wedges, sew them together into an arc, sew the arc on Quiltsmart fusible interfacing, trim, turn fusible side out, fuse to the background squares, stitch (zigzag) arcs in place and continue! I will show the basics but do not want to give away any of Quiltsmart’s instructions. Mattie Rhoades Haines (owner/designer of Quiltsmart) has some videos over on the website and YouTube if you want to see her go through the steps. Their website is Quiltsmart. Took a look and shop!
My fabrics cut into wedges in the lid to keep them together and in reach.

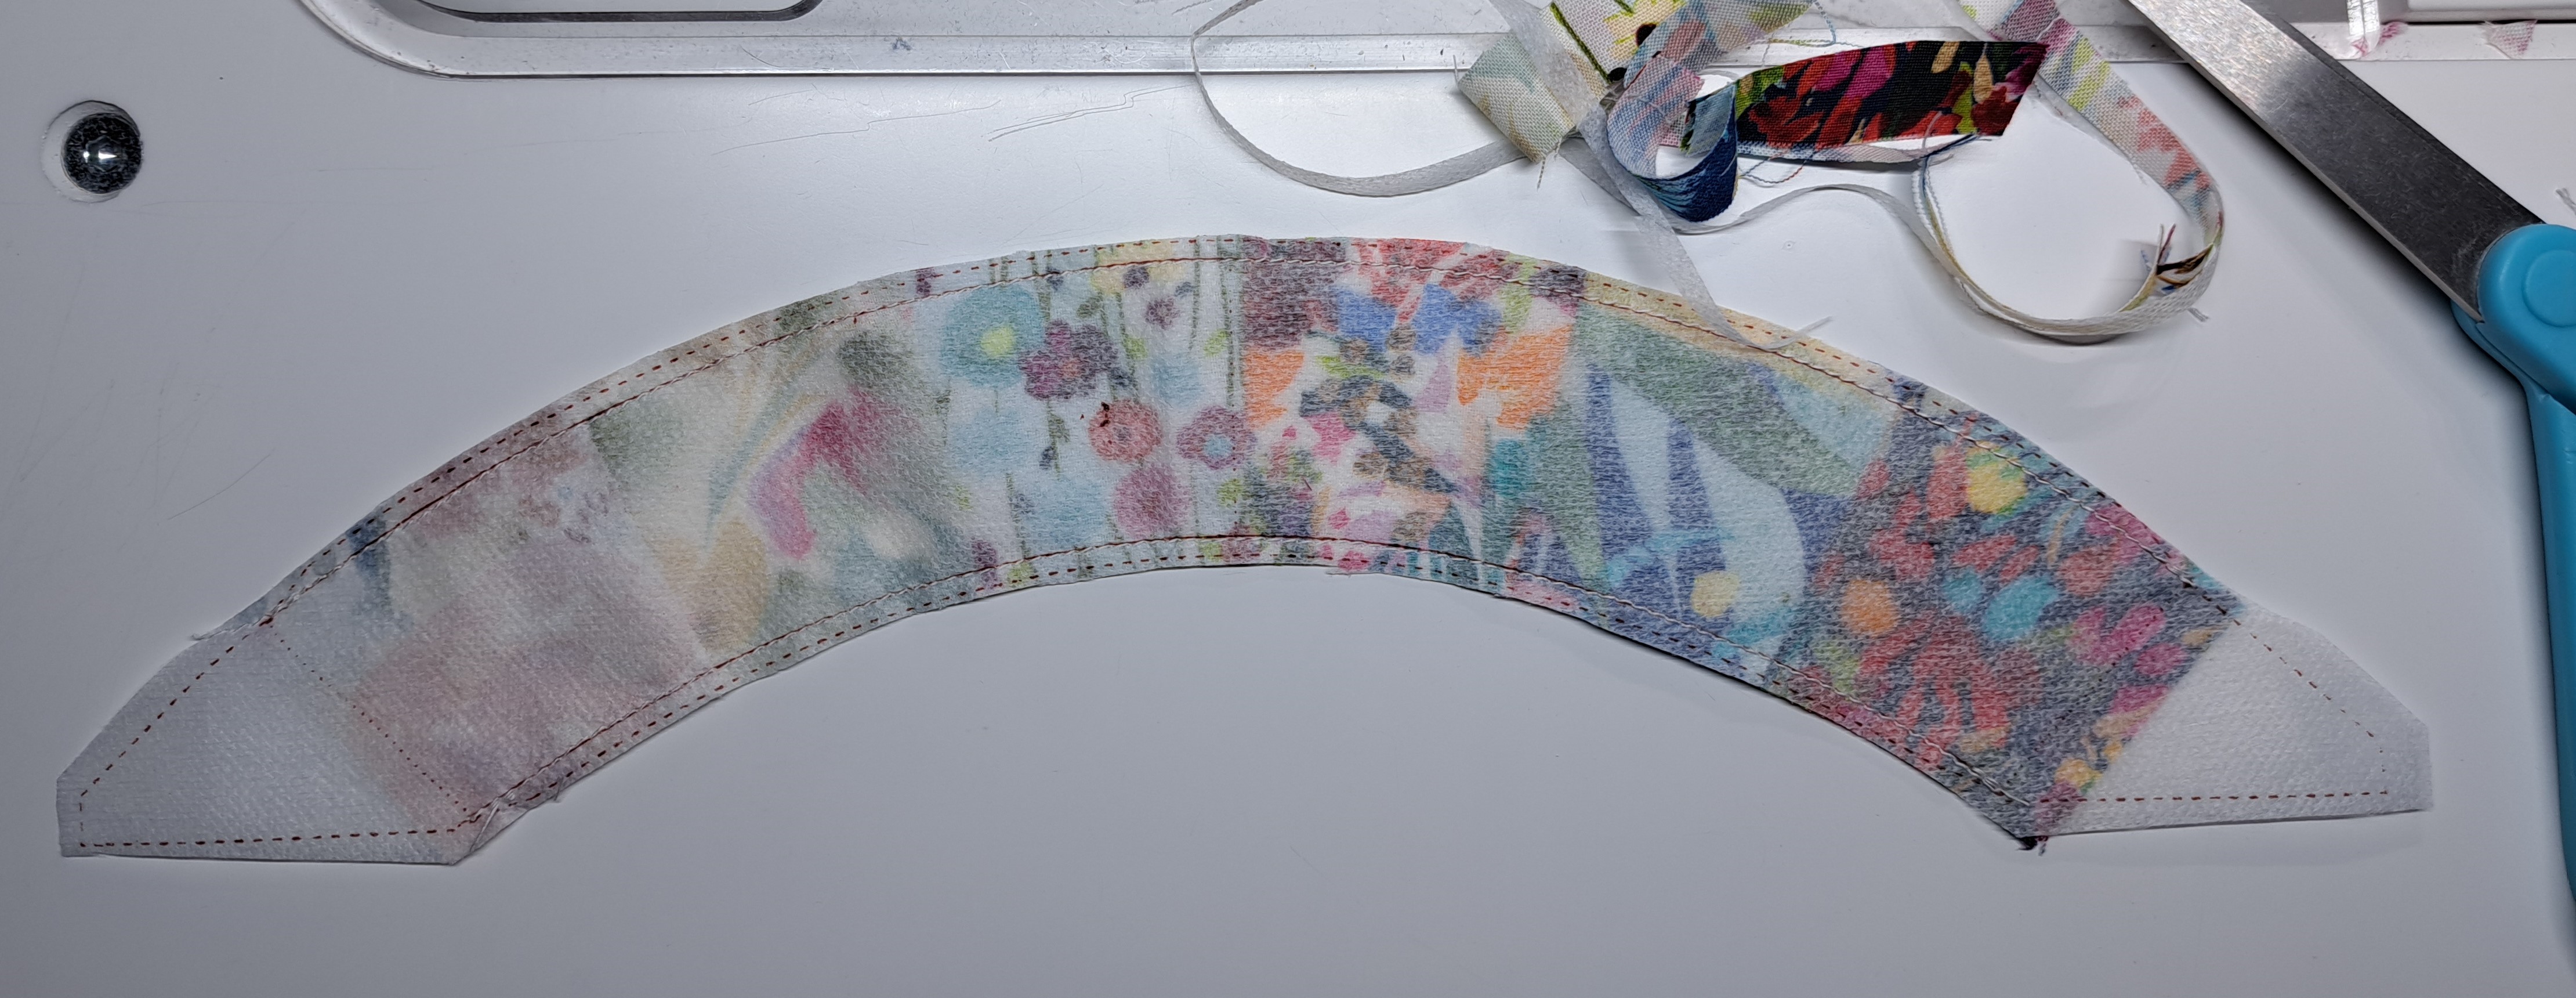
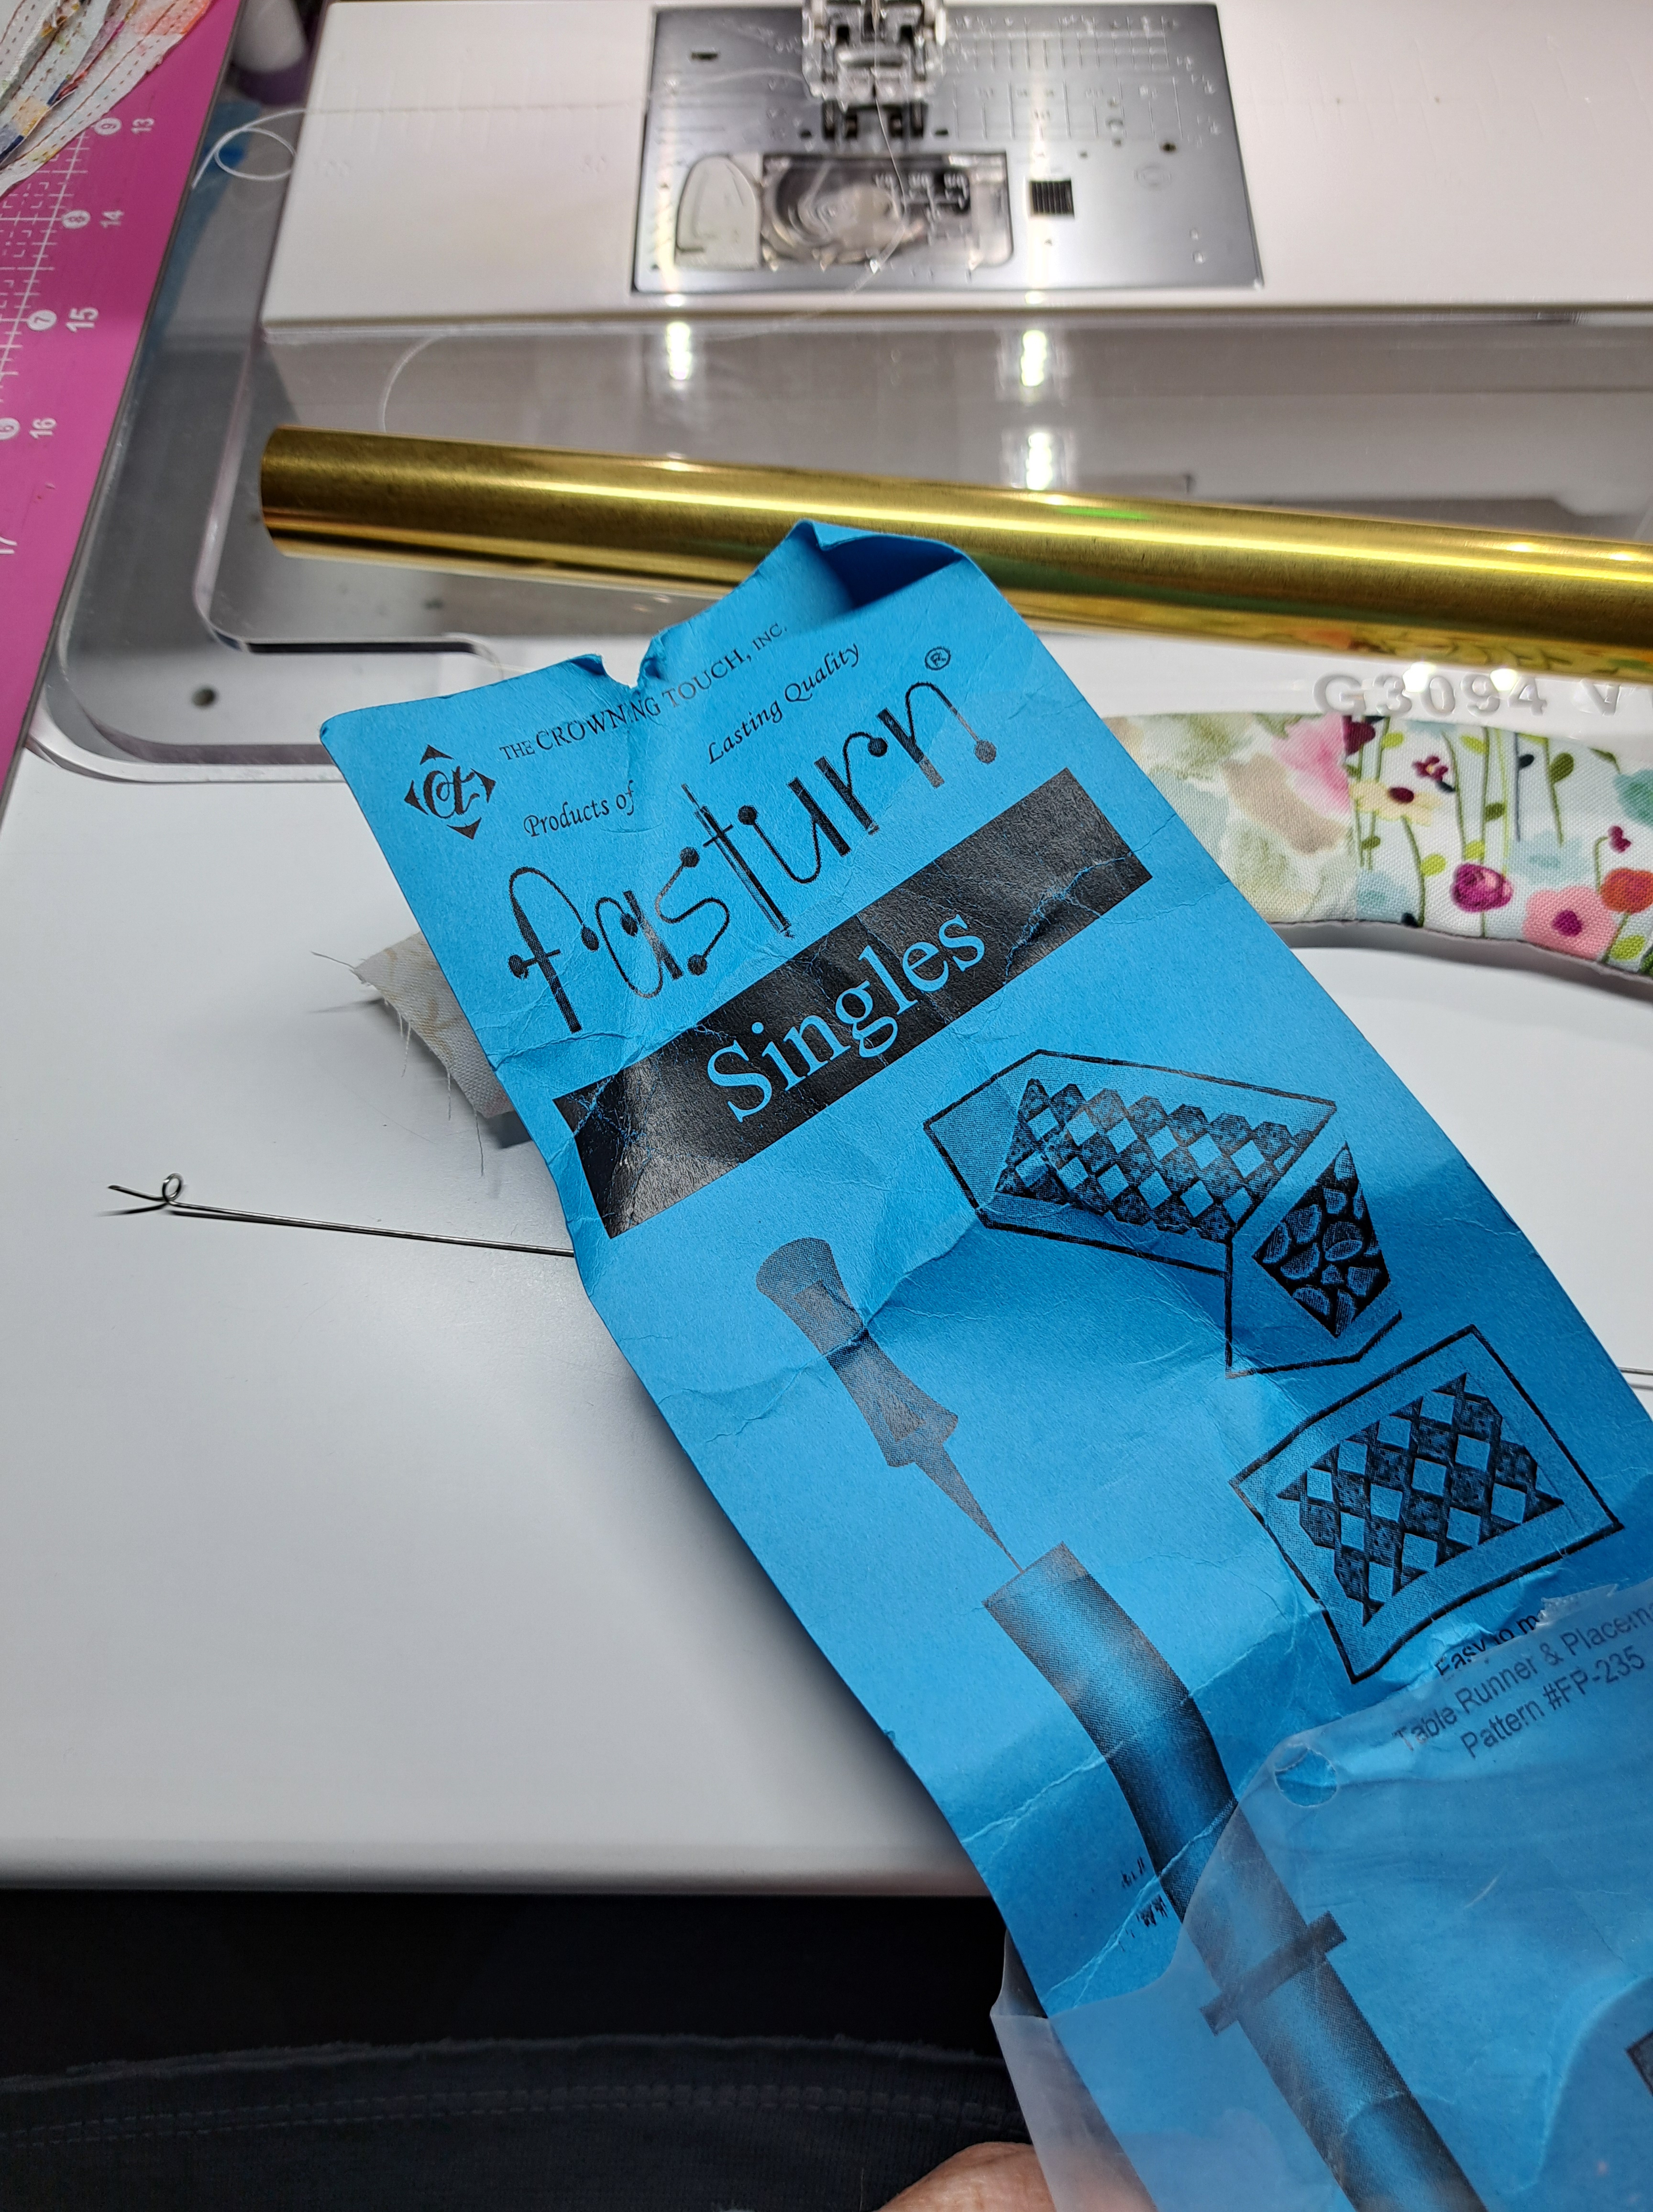
Sew wedges into arc and sew Quiltsmart onto arc. Turn fusible side out. I used the tube turner (Fasturn by The Crowning Touch) to easily turn.


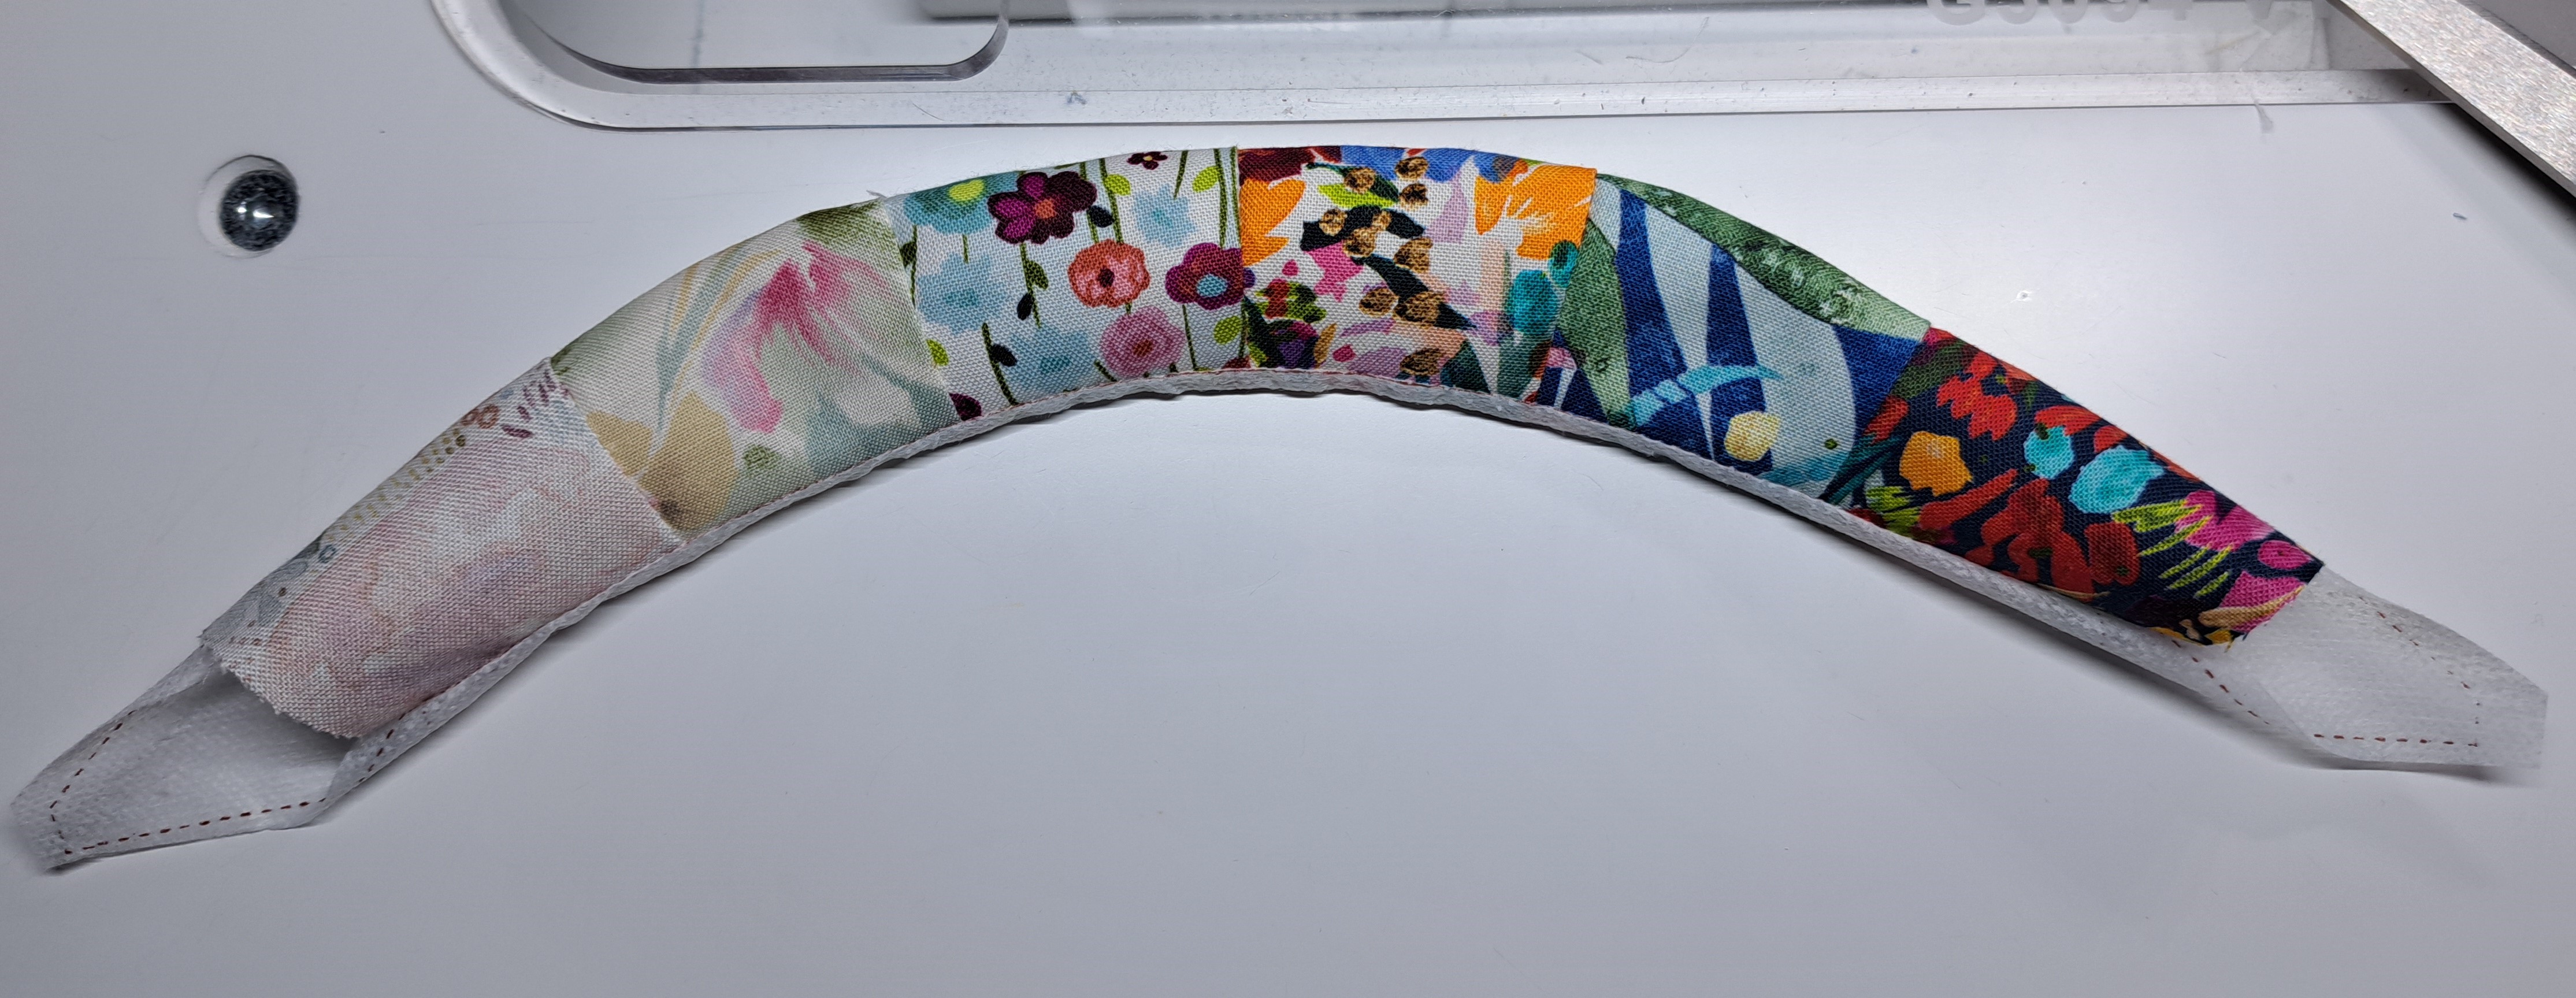
Finger press (no iron….remember the interfacing has fusible!) Arrange on square background. Now you press in place. Zig zag to attach arcs to the background. Repeat for all four sides and all blocks!


This is a fun technique. It was less stressful than sewing curved seams. Give it a try!
#1 – Keep pieces organized in a box lid!
#2 – Finger pressing is necessary in some projects with fusible. No iron until the pieces are in place.
in quilting,
Debbie
