
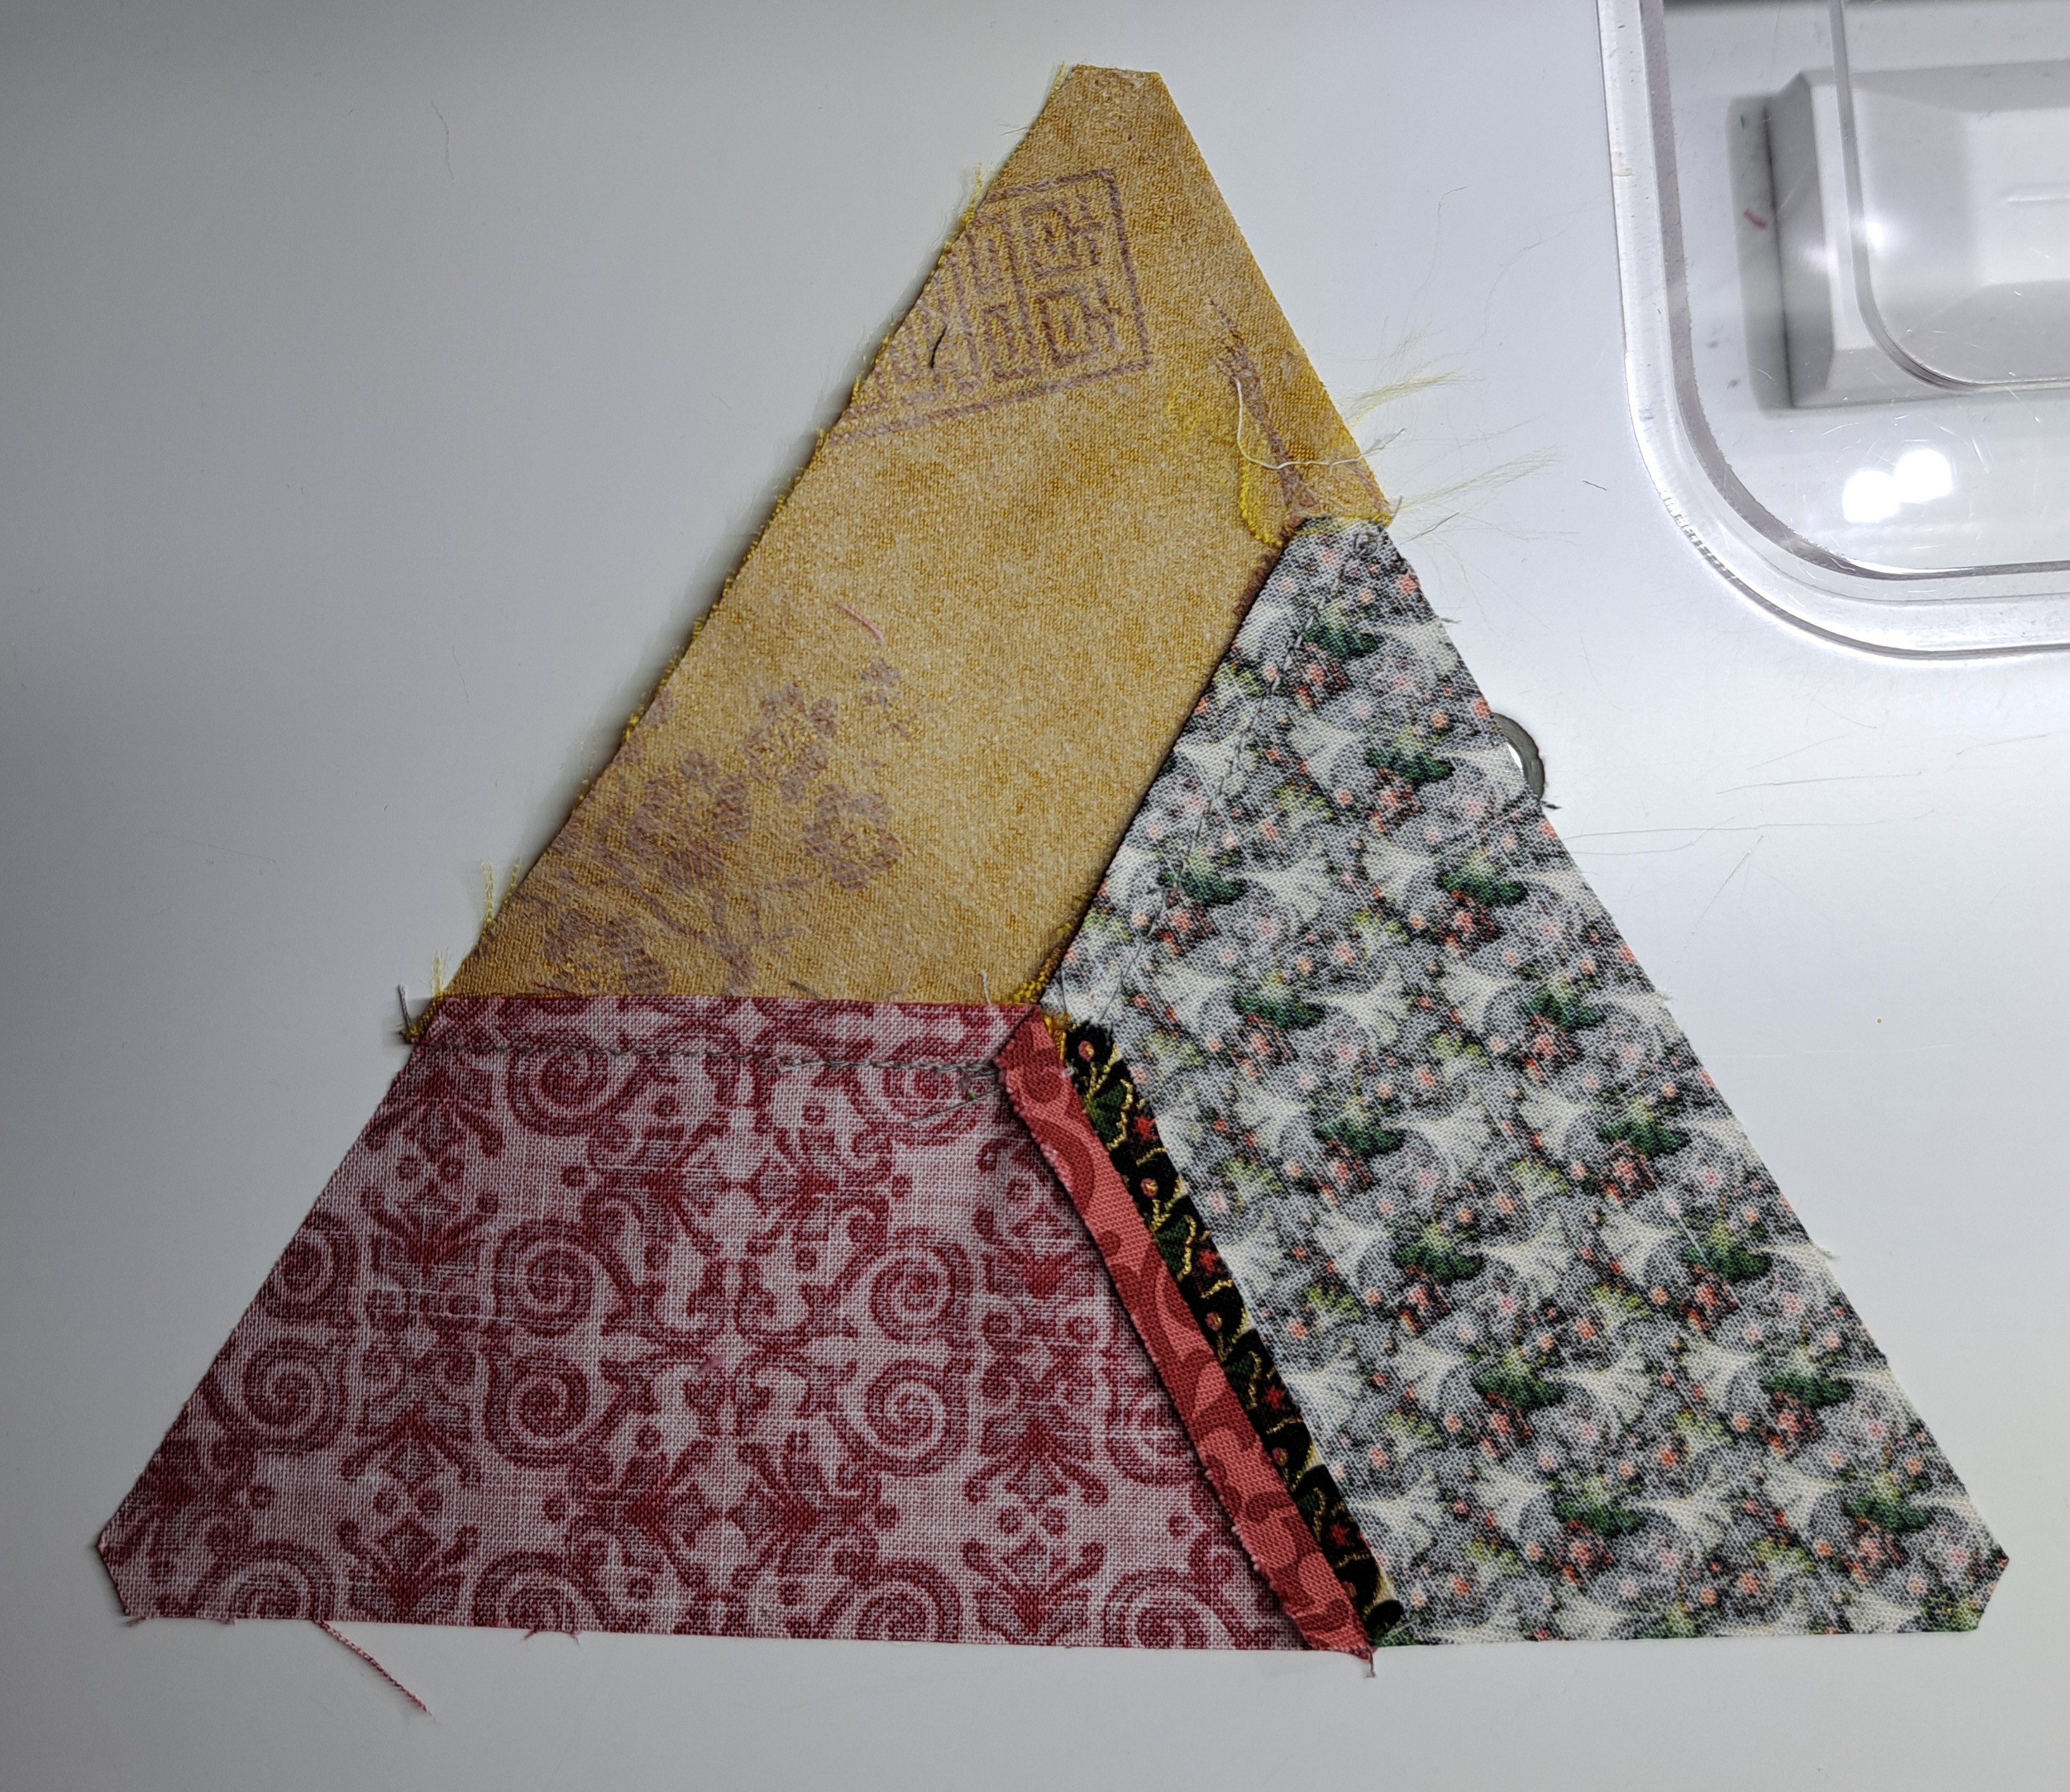
I gave myself permission to play with some fabric and Hex Jr. for a couple days. I decided to try a tessellations idea my friend Faye made from Hex-a-ma-jig a few years ago. Instead of using Hex-a-ma-jig, I decided to use Hex-a-ma-jig Jr. (Hex Jr. as I nicknamed it!) I cut 2 1/2″ strips from three different fabrics and used Hex Jr. to cut half hexagons (hexies). This is the arrangement I started with. I’ll share my progression on this project for the next few weeks. I’m taking notes as I go, so a pattern will be in the works for fall!! Here is the first “block”. Side Note: When using hexie shapes blocks don’t need to be square to be a block in a quilt!
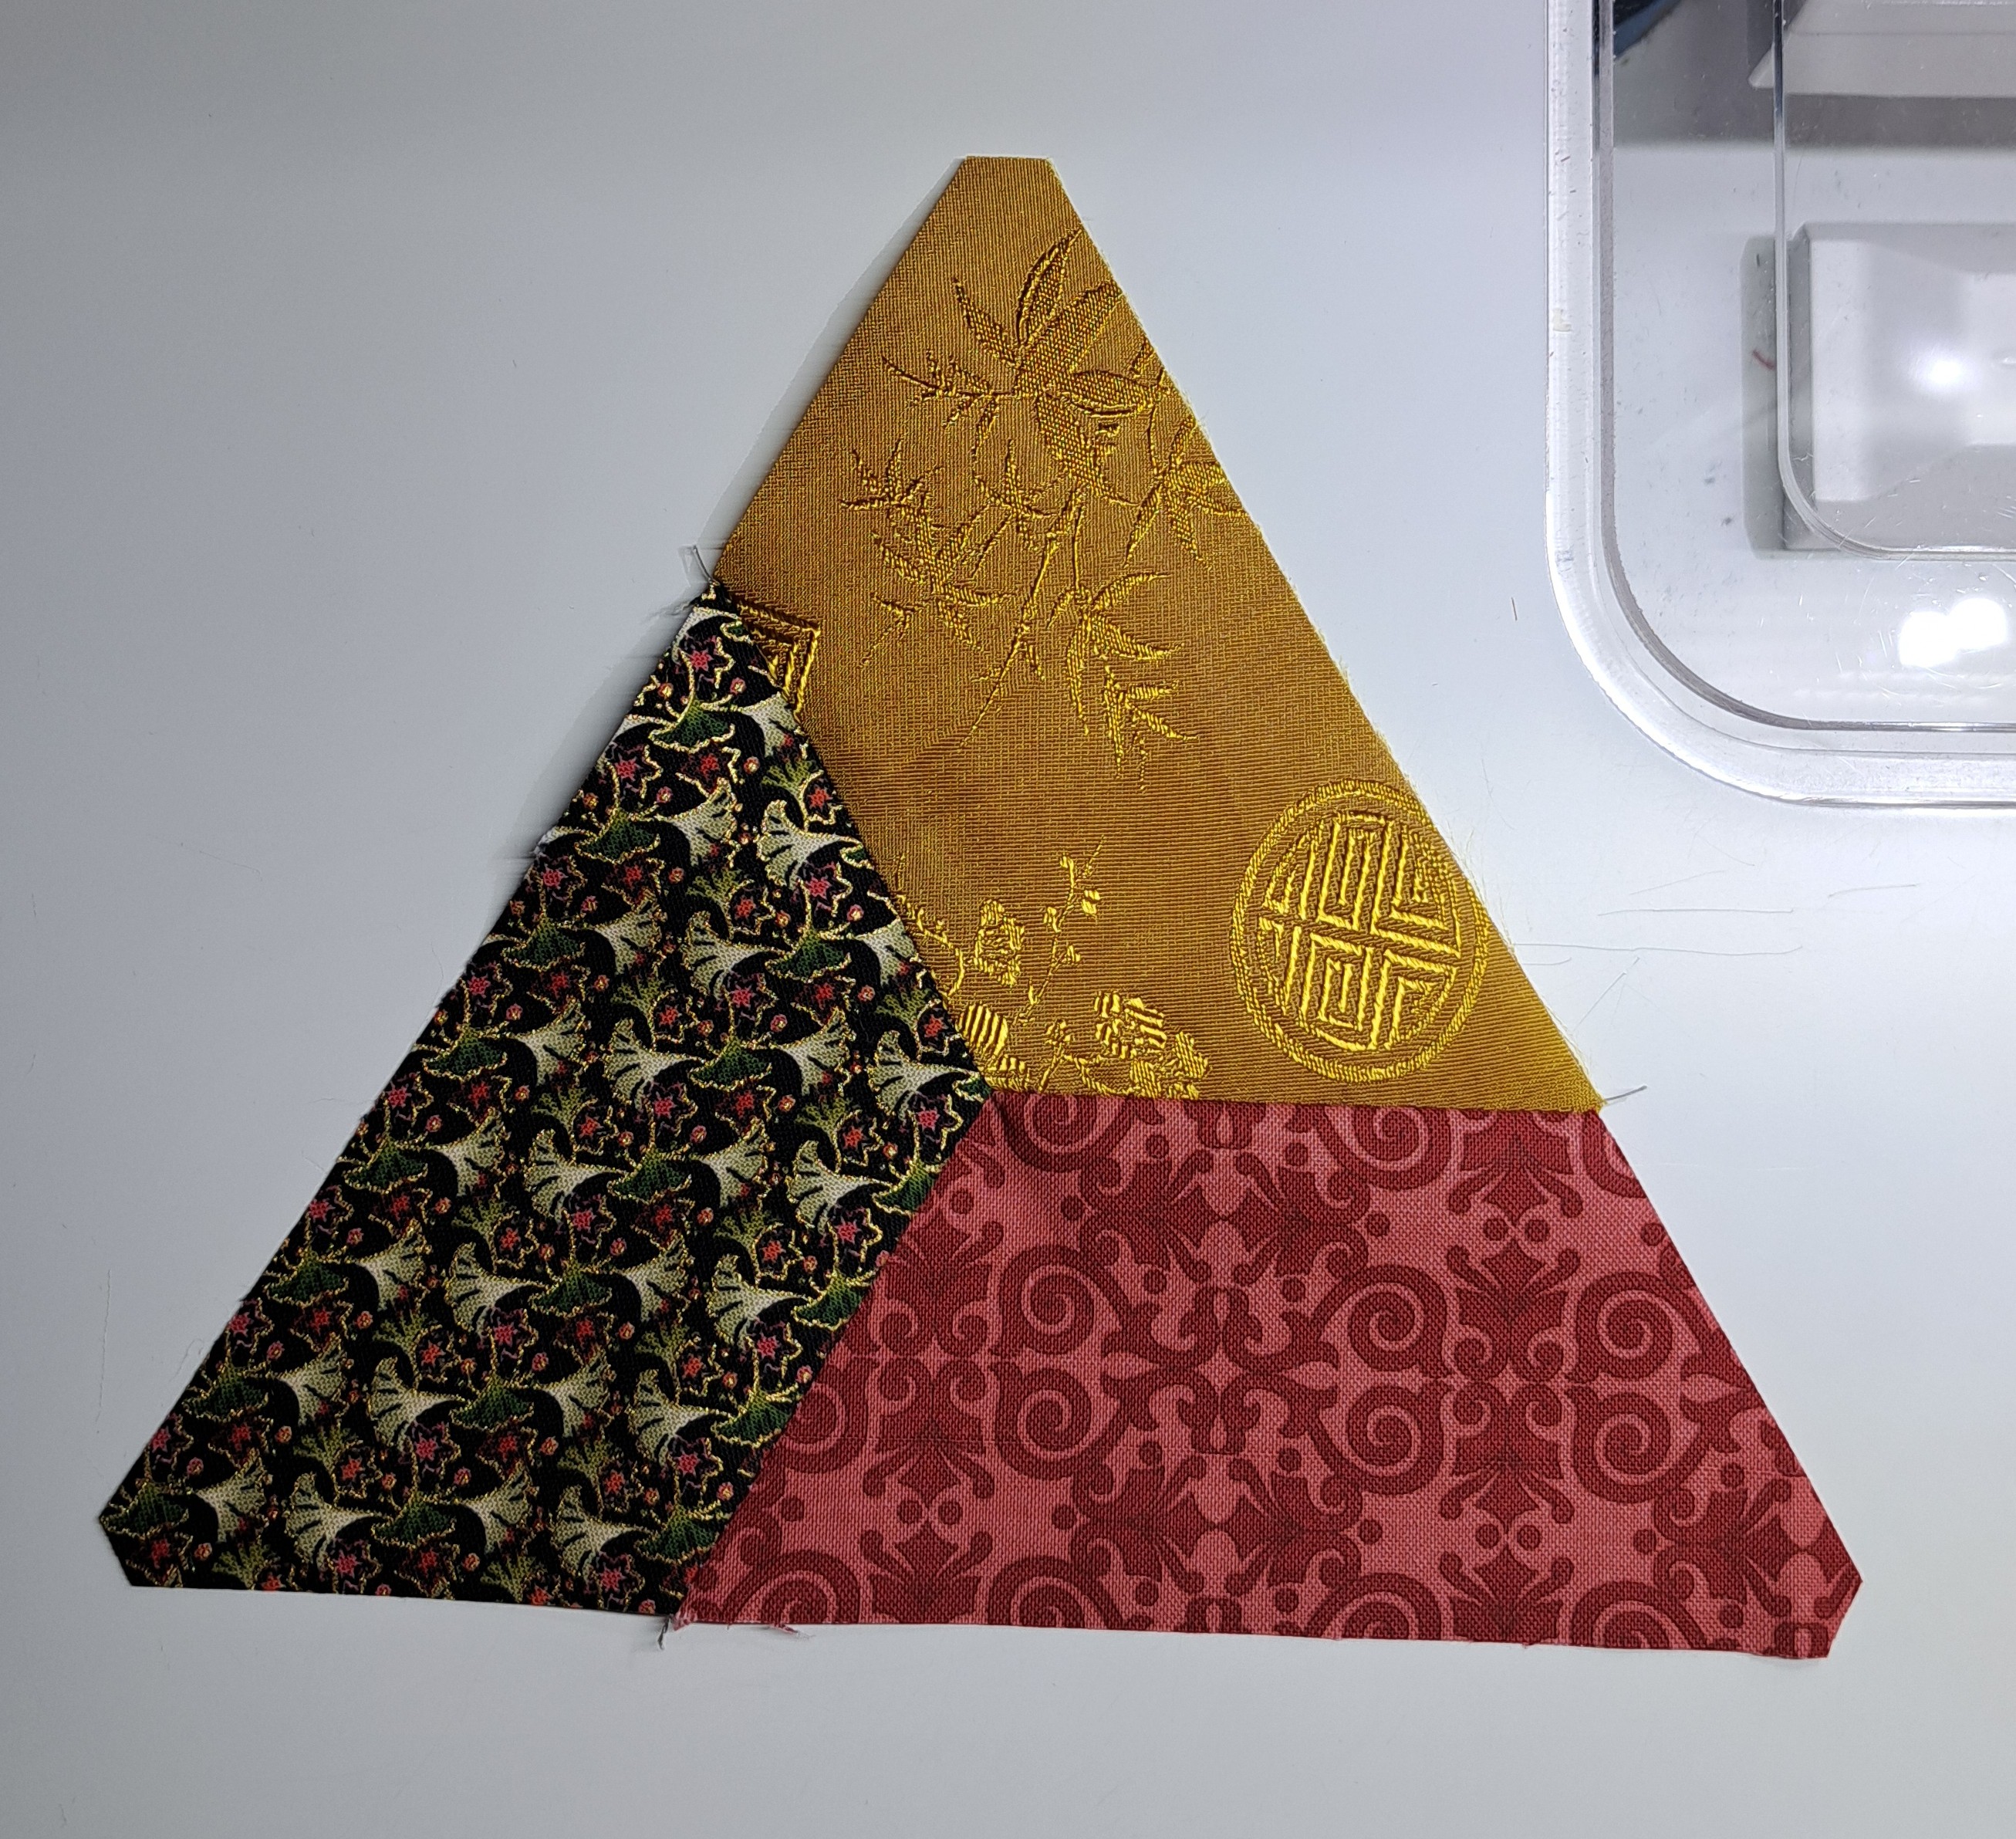
The gold fabric was purchased in Vietnam when I visited a number of years ago. Knowing that it ravels….really bad!….I used a fusible interfacing on the back of the fabric before I cut my half hexies. so far it is behaving really well.
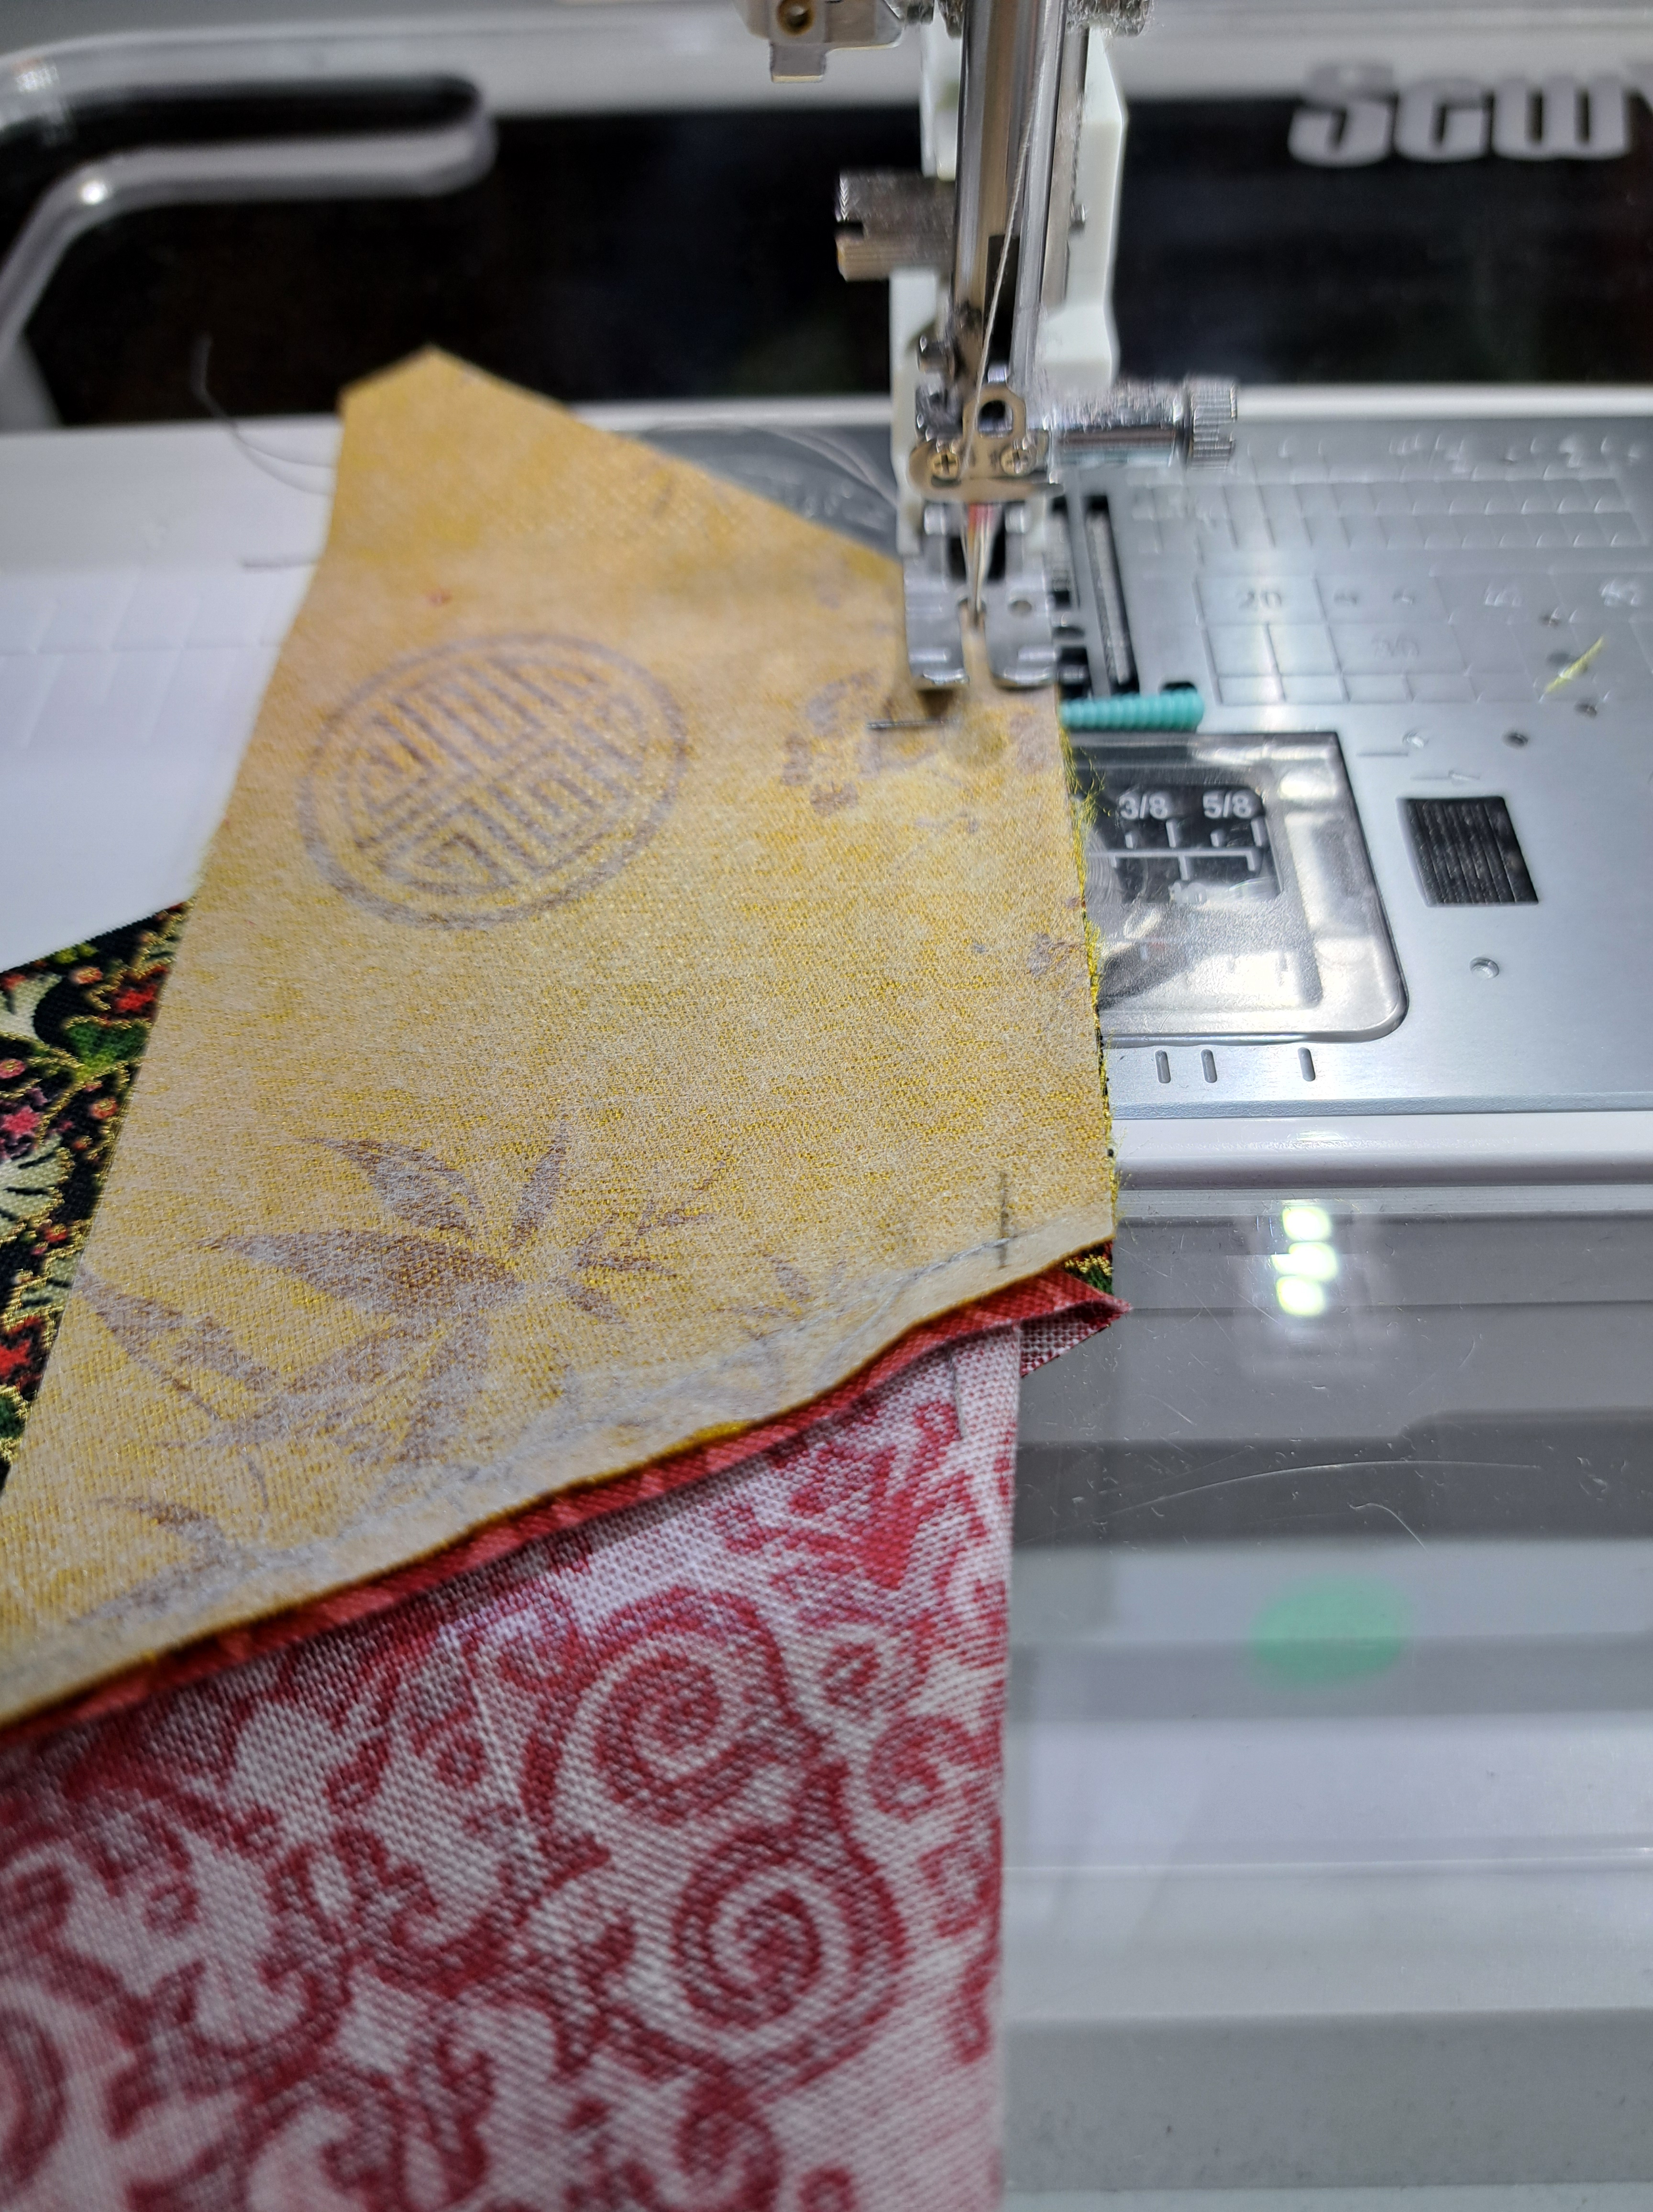
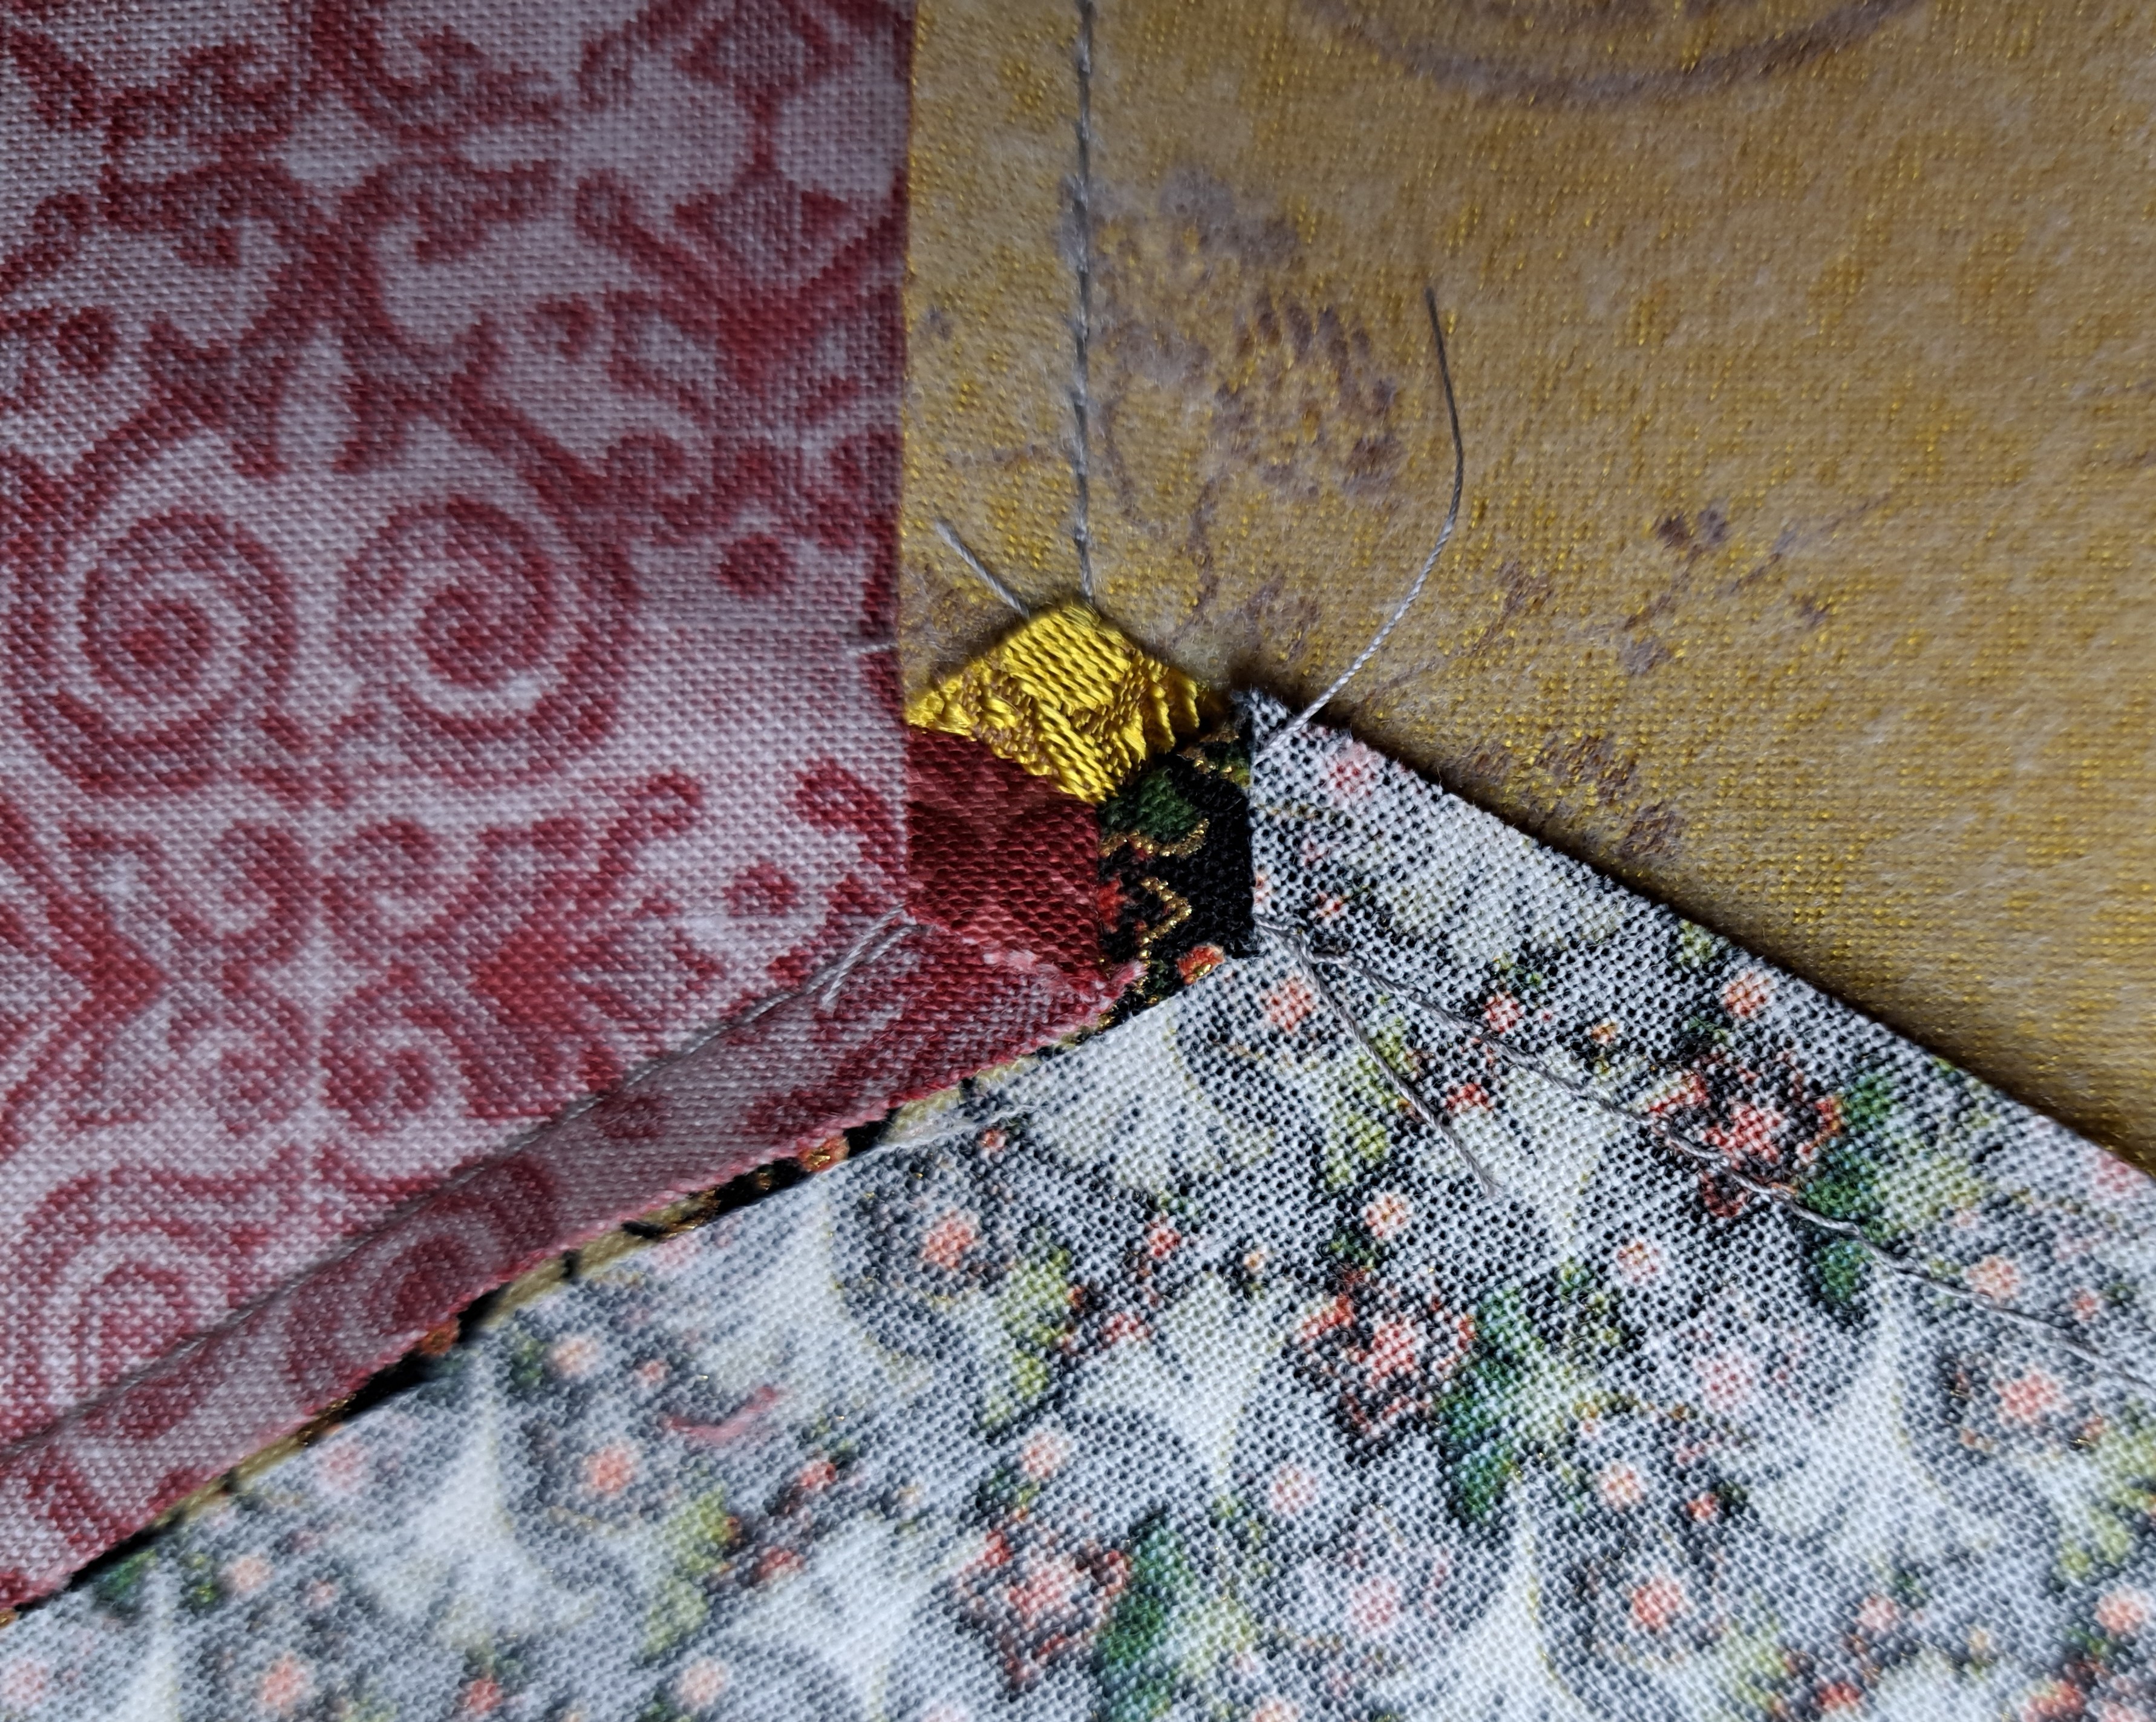
The block shown above has a set-in seam…also known as a “Y” seam. NO they are not difficult….it just takes marking the 1/4″ seam line at the corners. You sew to and stop ONour mark and it fits wonderfully well. The photos below show sewing the final seam of the block and approaching the corner intersection.

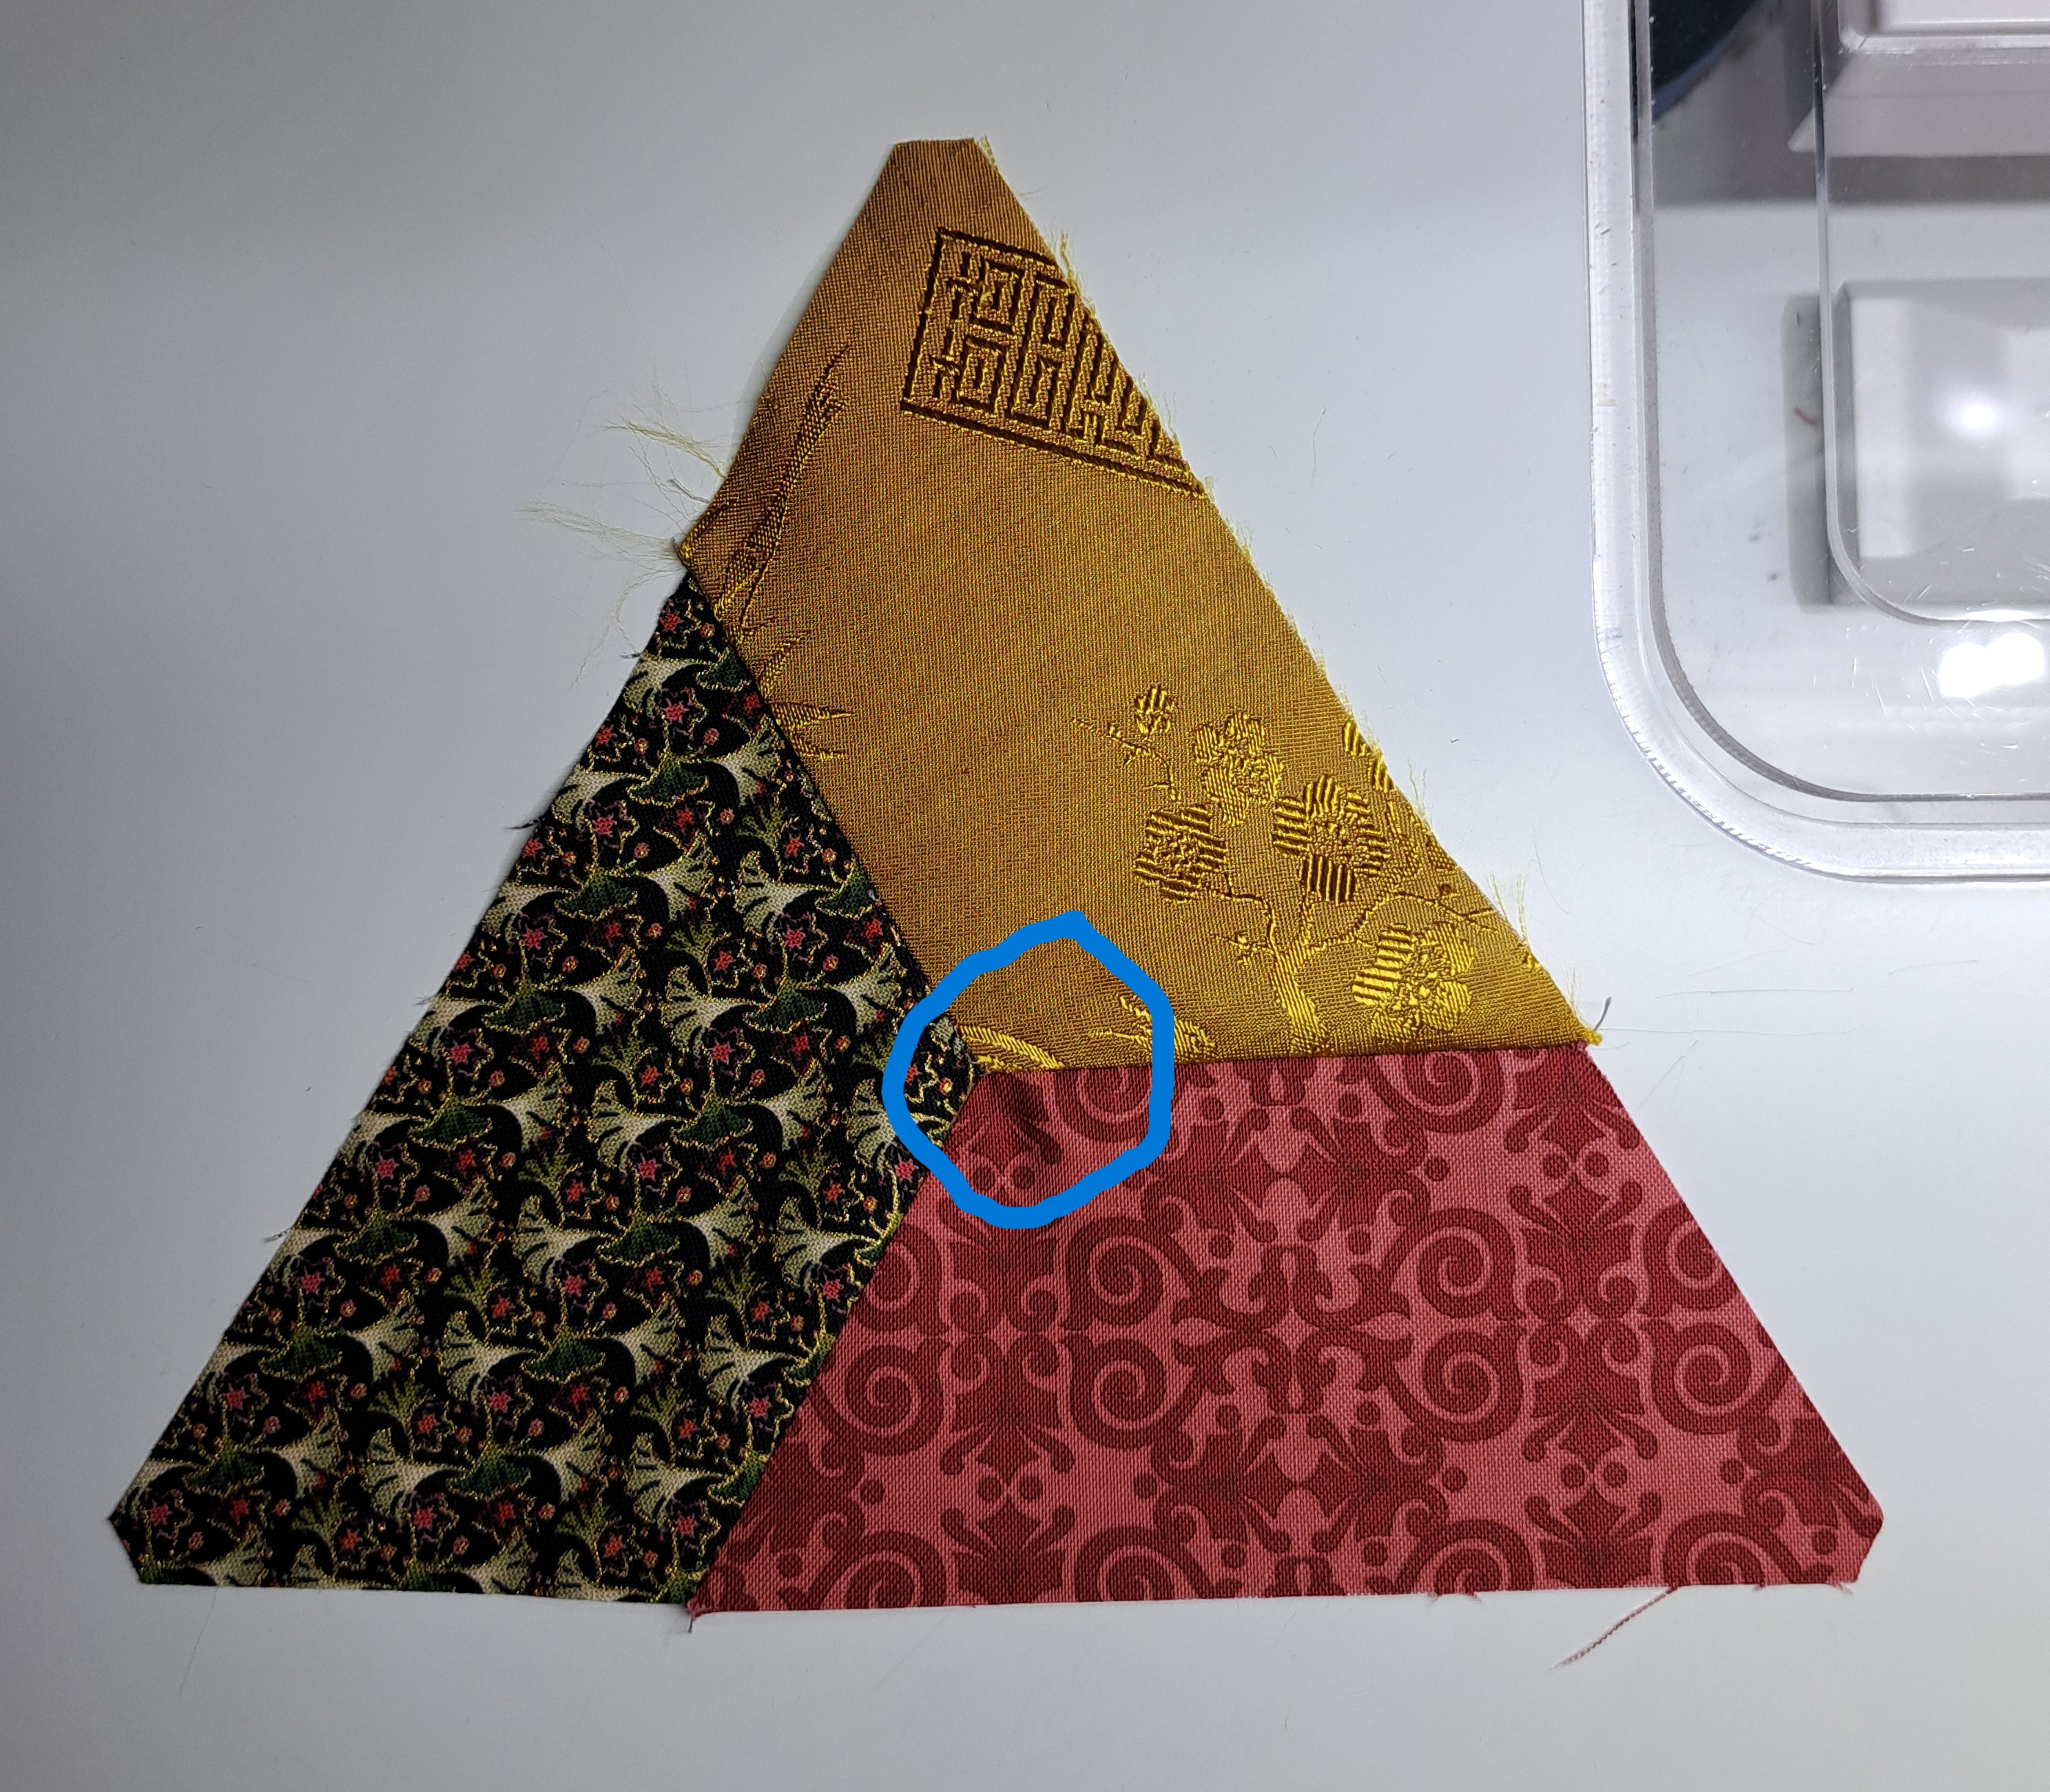
This is what happens when you overshoot your mark. A little tuck at the intersection. Oops! Time to unsew one stitch to hit the mark!
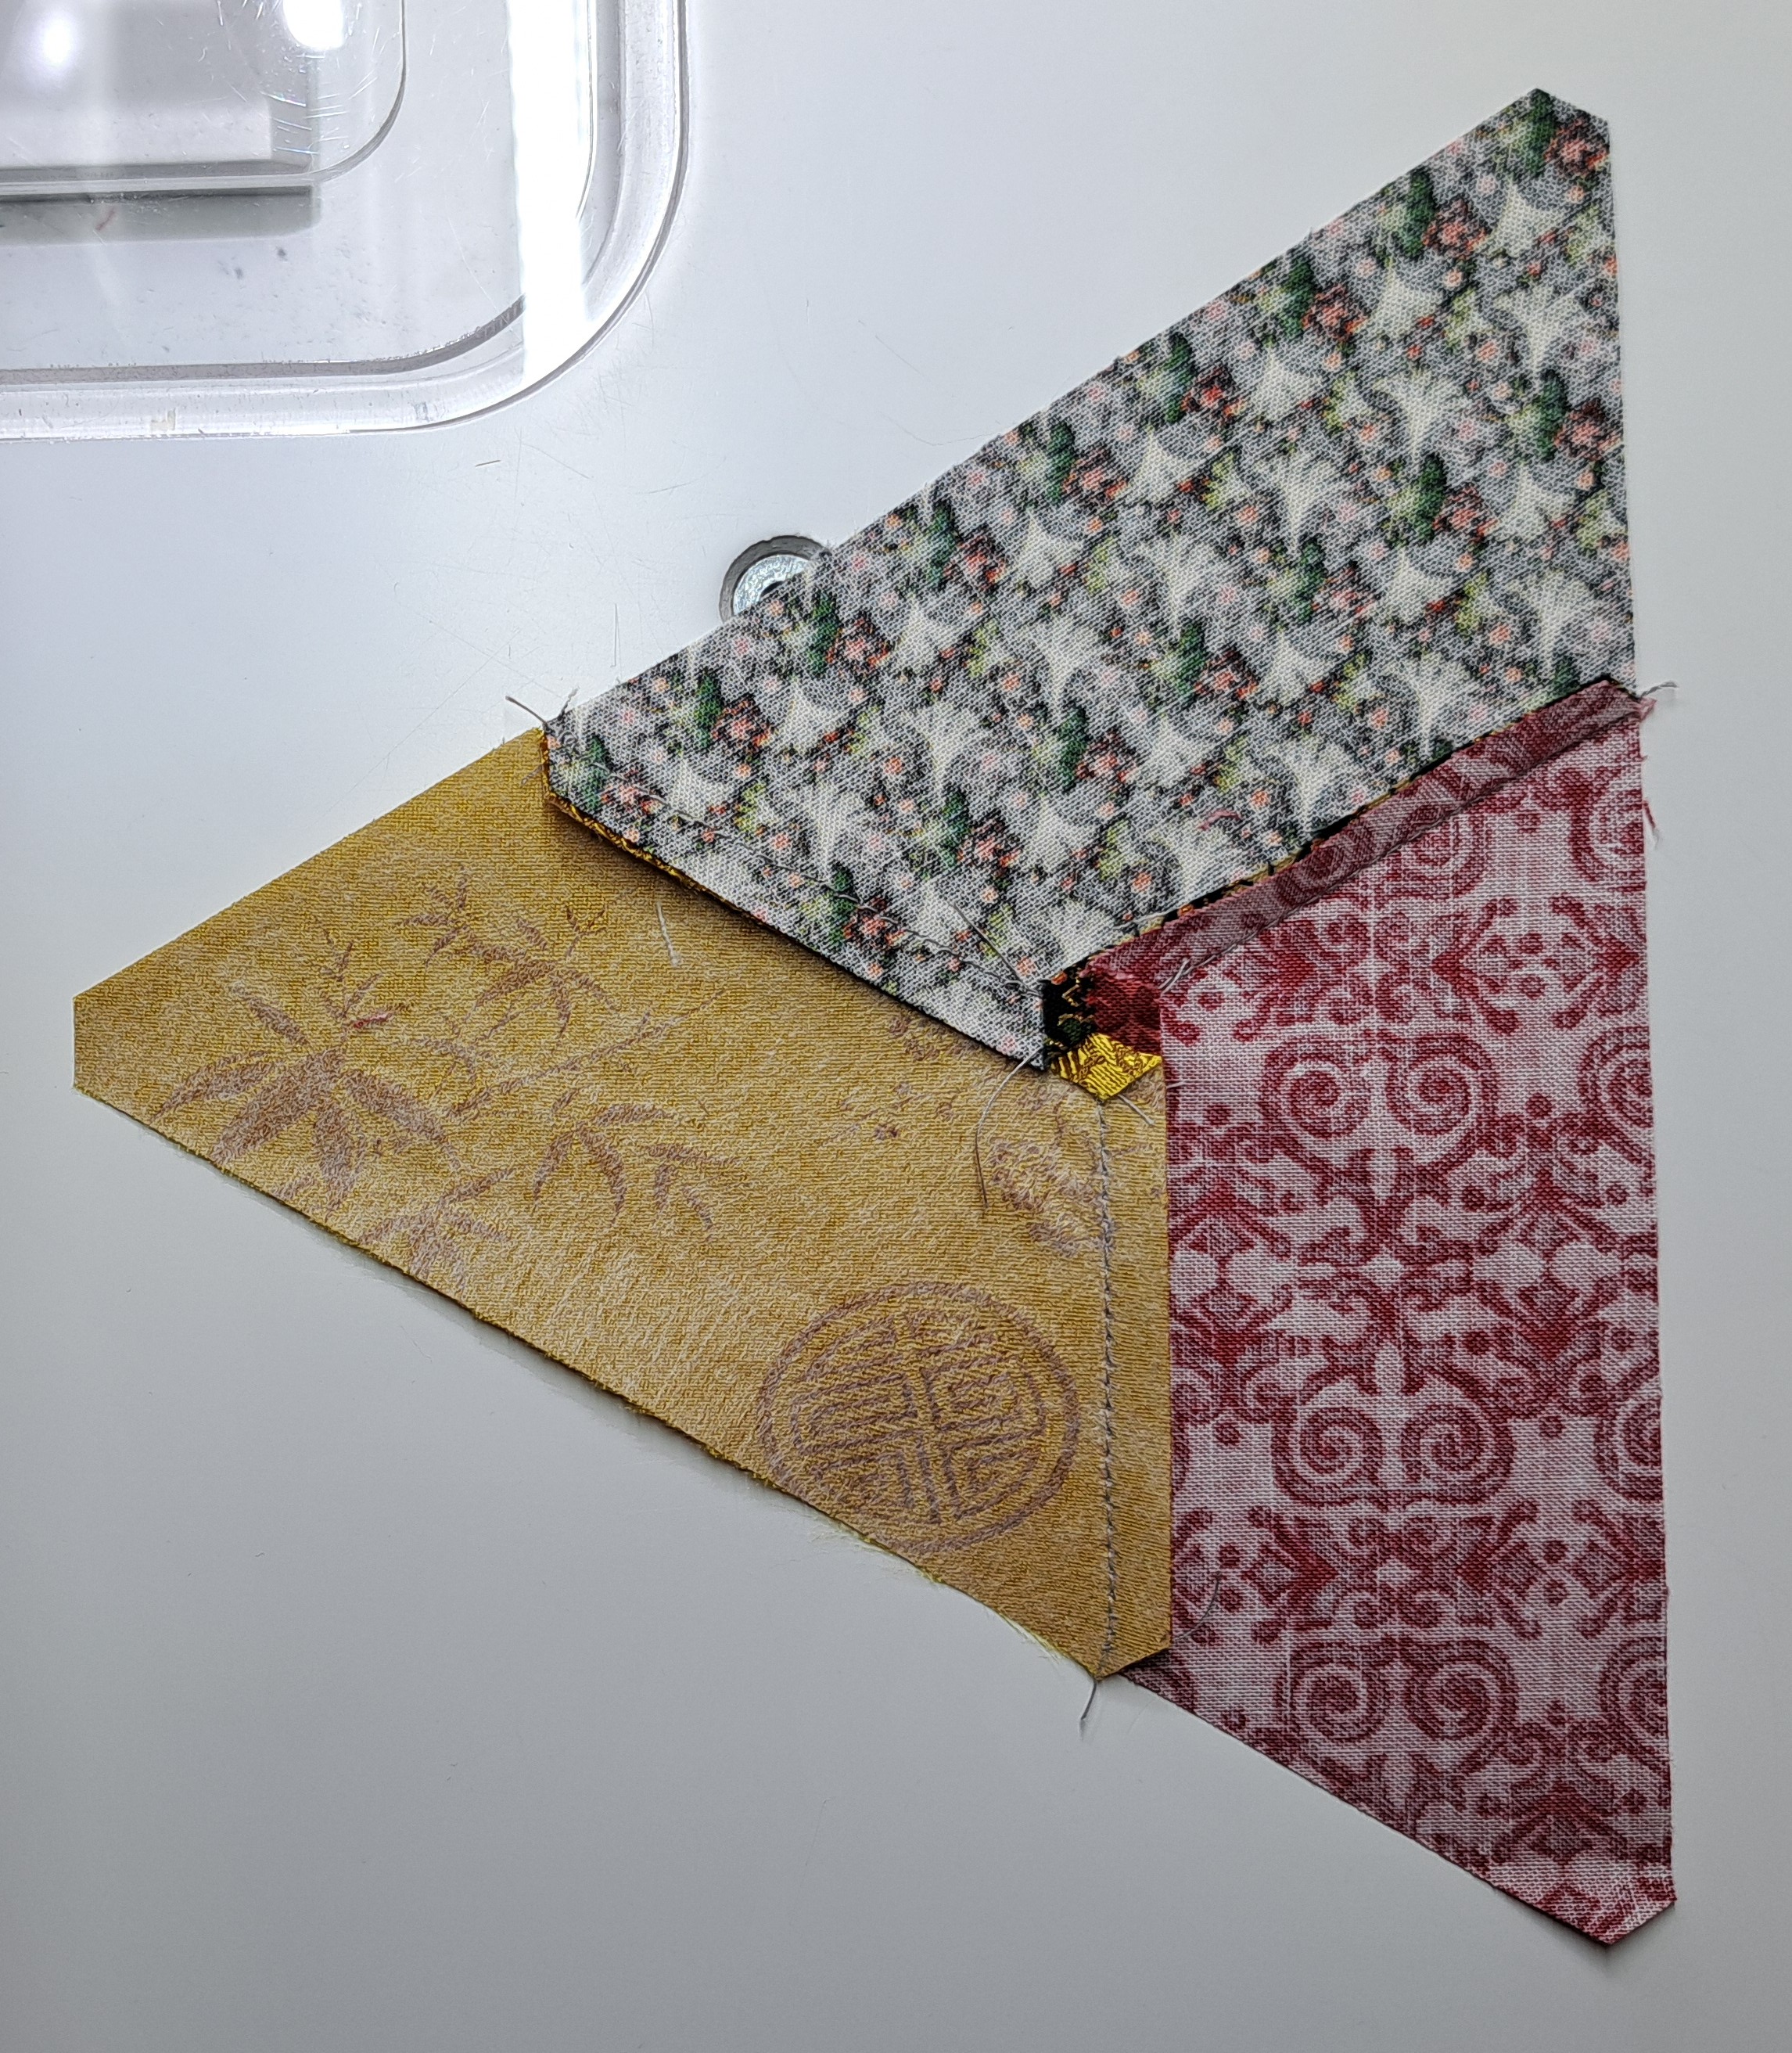
A decision I needed to make was to press the seams open or to one side. The pictures below are of the last seam pressed open.
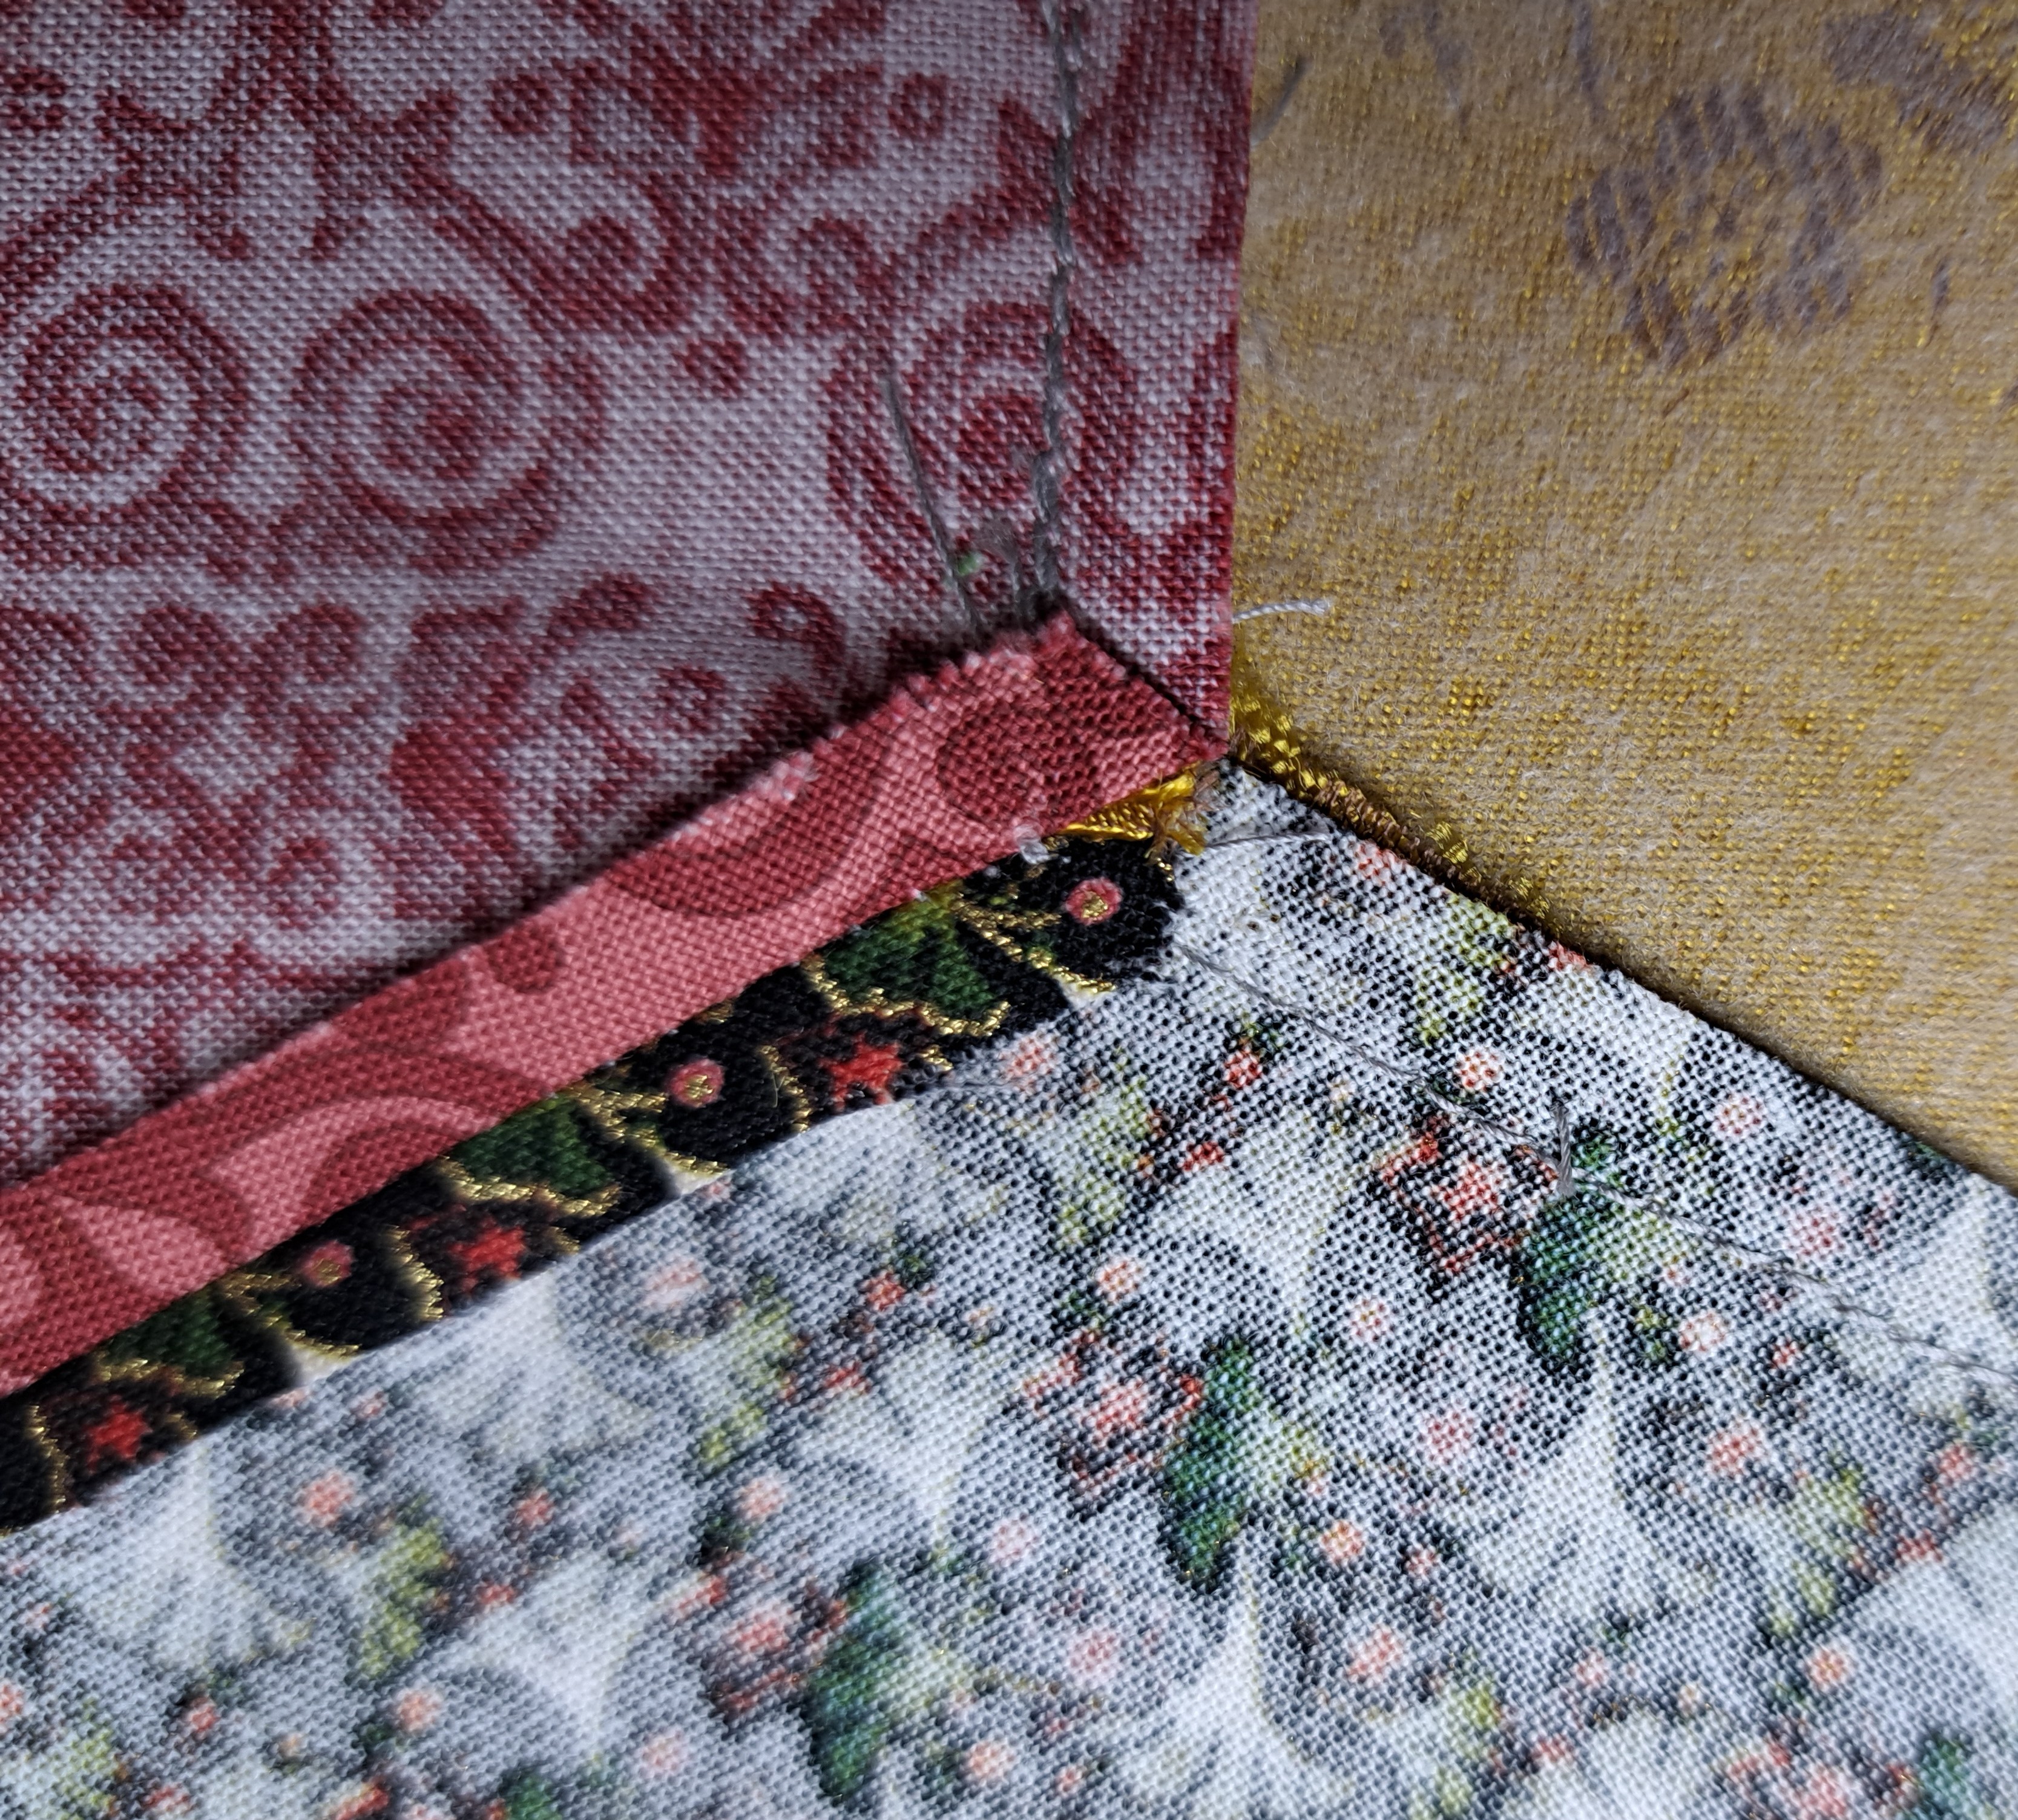
I decided to press in a Pinwheel fashion to create a nice flat center. Also the decision was based on the fussy gold fabric. I wanted the seam to be protected and I felt pressing to one side would help accomplish this. I’m loving where this little block is going. Stay tune for more progress next week!
#1 – Stabilize unusual/thin/slippery fabric with lightweight fusible interfacing. It will help keep edges from fraying and keep the fabric from shifting.
#2 – “Y” seams are easy to sew! Mark your 1/4″ seam line corner intersections and STOP on your mark. If you undershoot the corner you will create a hole at the intersection. If you overshoot your mark, you will end up with a tuck at the intersection. Stop ON the MARK!
Bonus – I like to start at the outside edge and work my way to the intersection. Some say to do the opposite (start at the corner point). I find I have a better view of my mark If I approach the intersection from the outside edge. Give it a try!
in quilting,
Debbie
