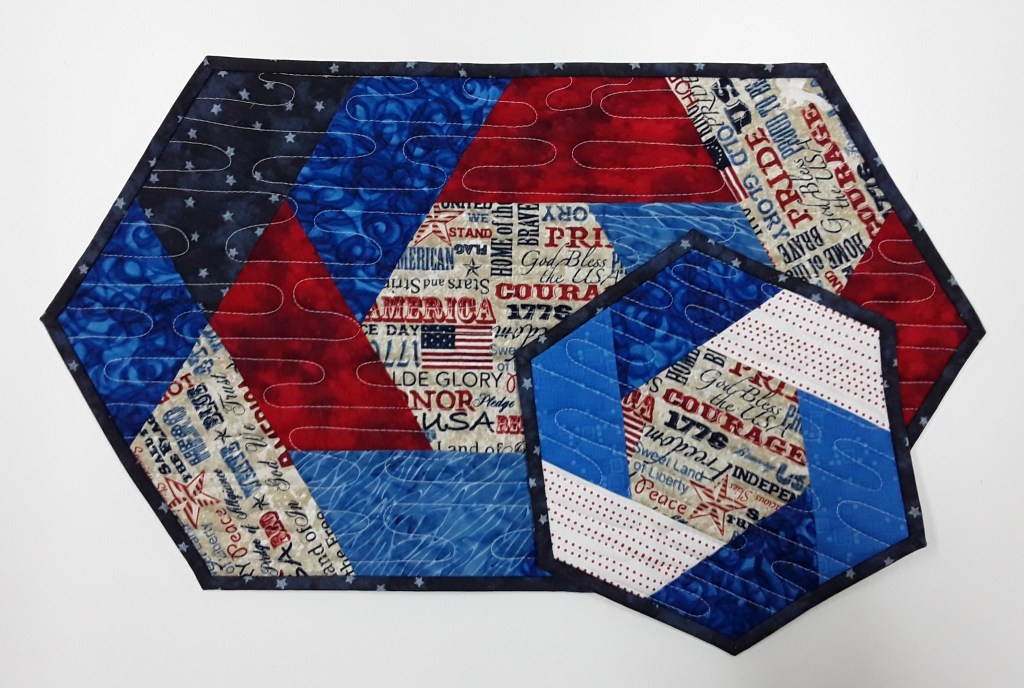
Have you had trouble working with contrast in a quilt? It is easy to have color and contrast mix things up and around. A color like gray can get placed next to white and look very dark. But that same gray placed next to navy blue can look light. It is FUN to play and “make” colors work to your advantage. Take the Log Cabin blocks below…. The gray used on the “light” side of the Log Cabin has a medium value. Yet when placed next to a navy/royal blue in another block, it looks lighter. Yowza!!

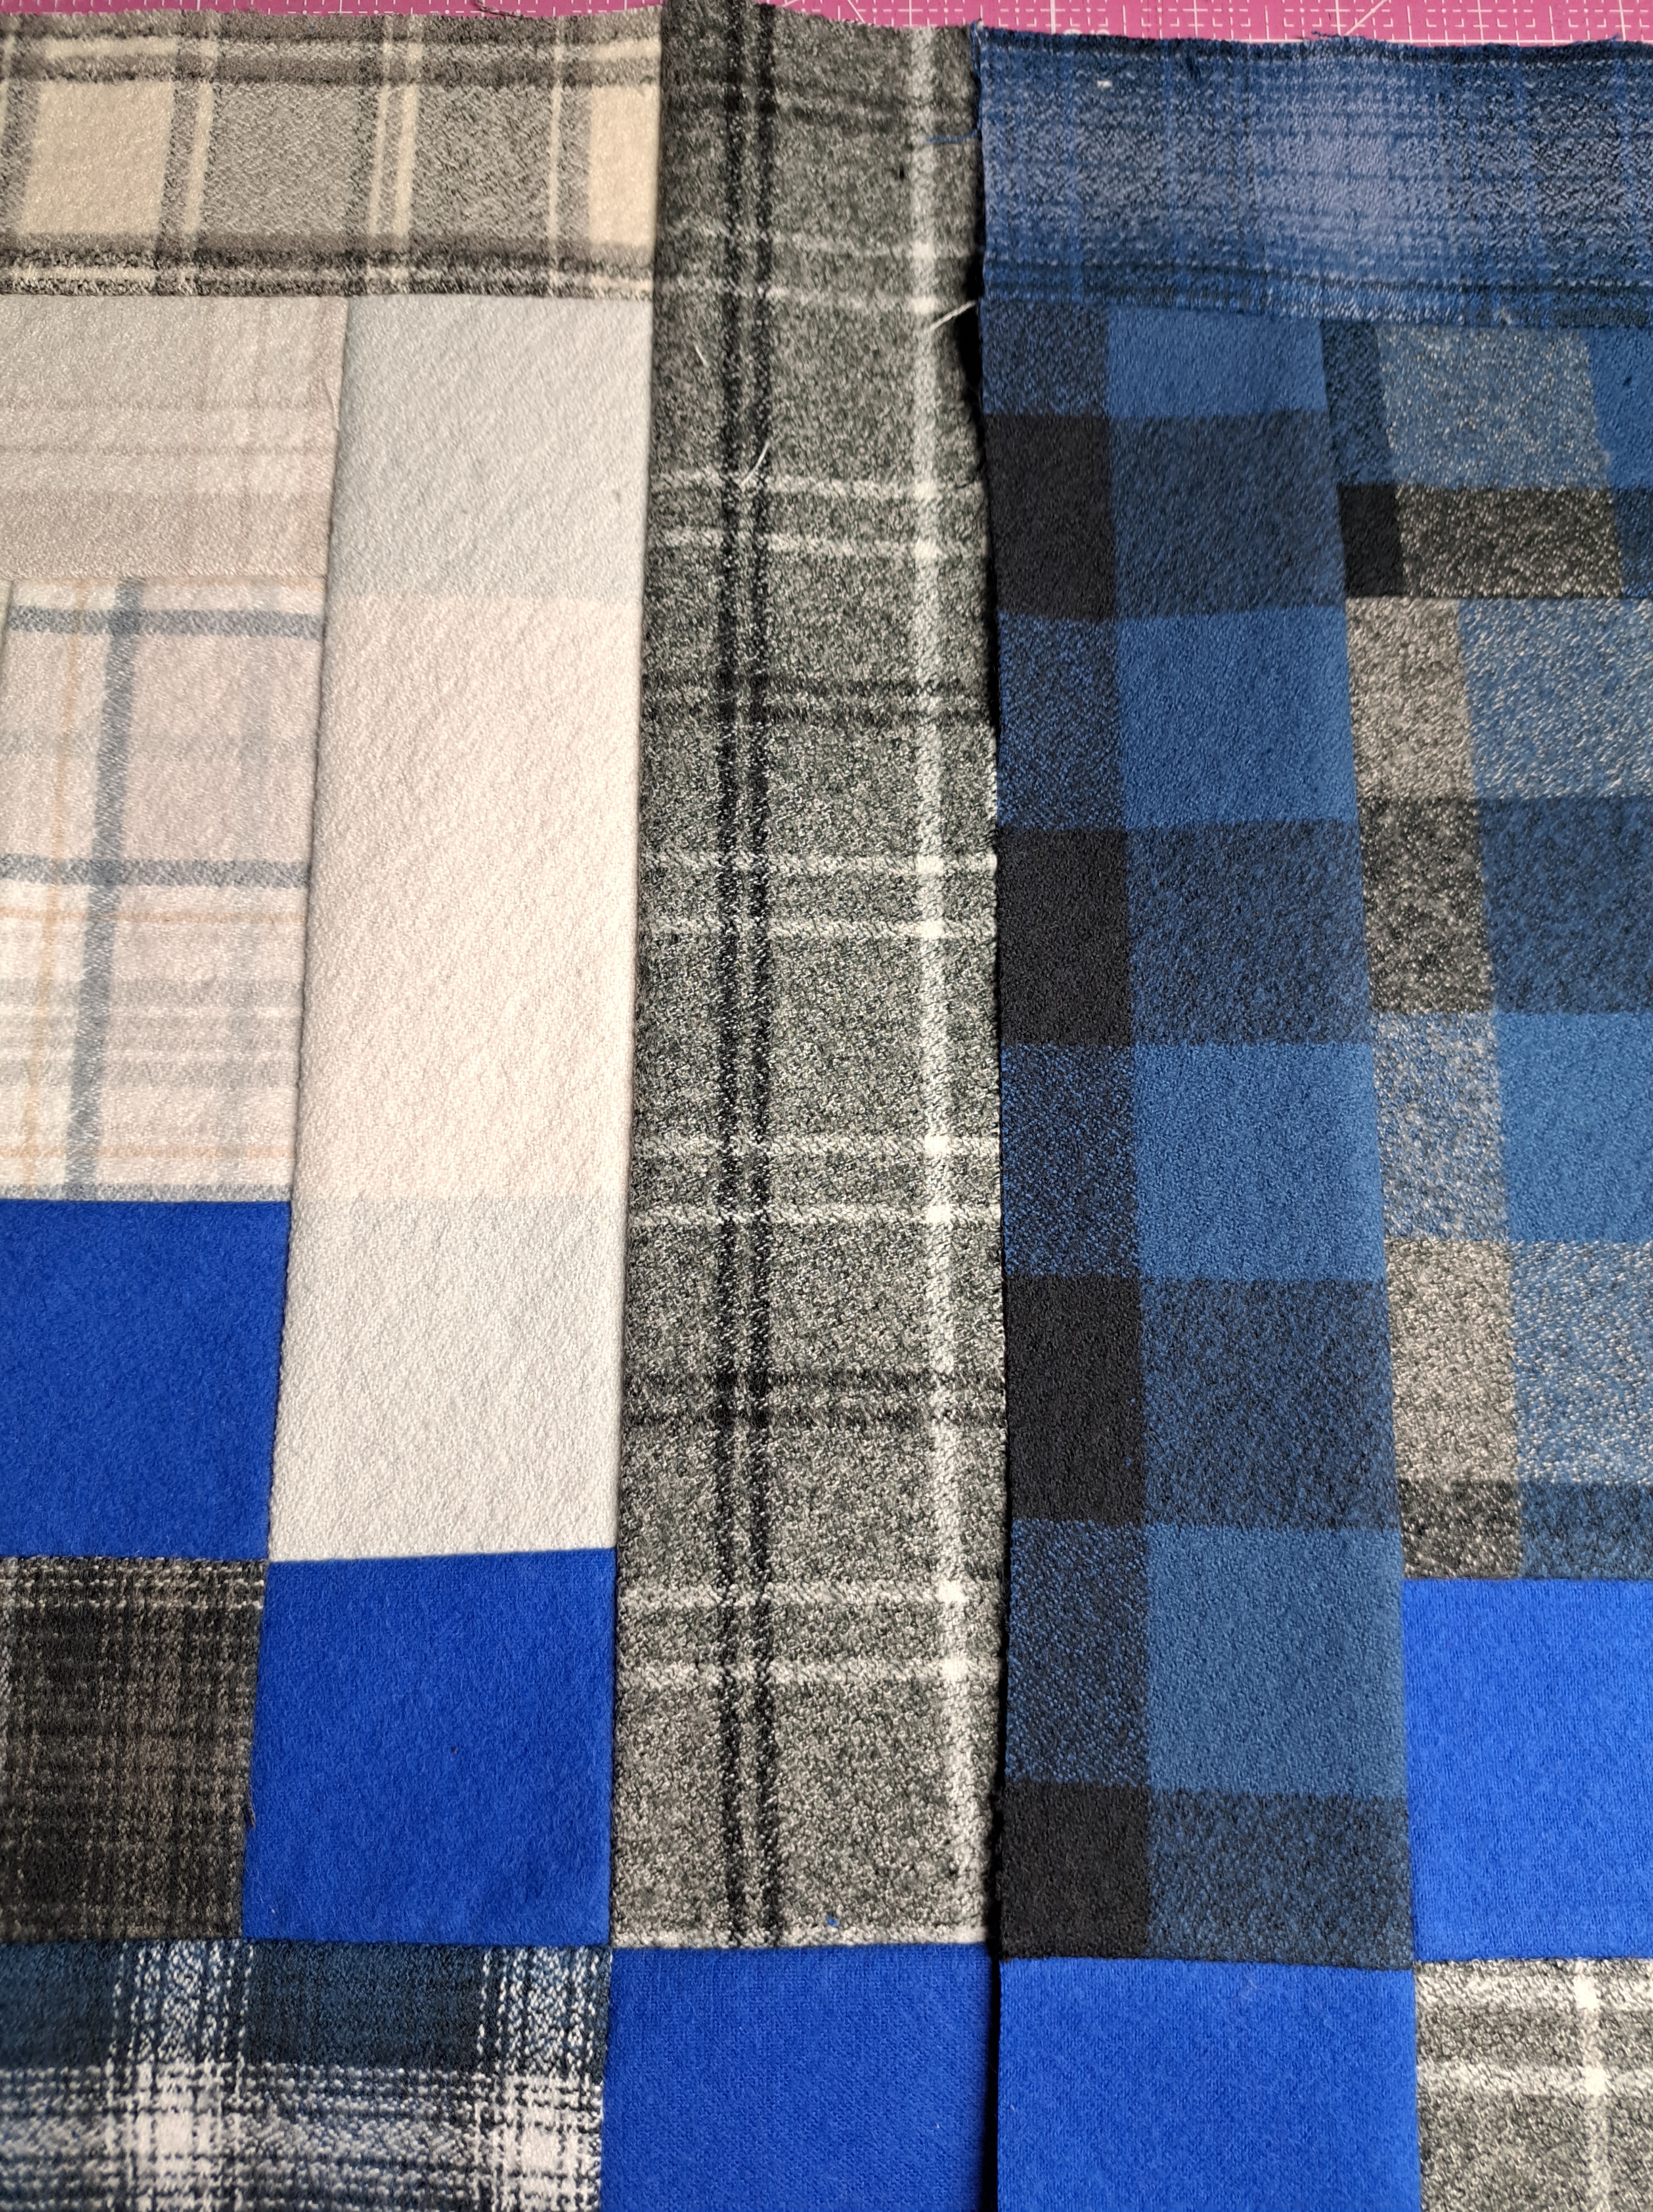
No need to worry! YOU have the power to make it work in your favor….whichever direction YOU want to take it. The block below is a good example of how all those “mediums” are used for the “light” side of the Log Cabin block. Does it work? Sure!! Could there be alternatives? SURE. You get to decide!
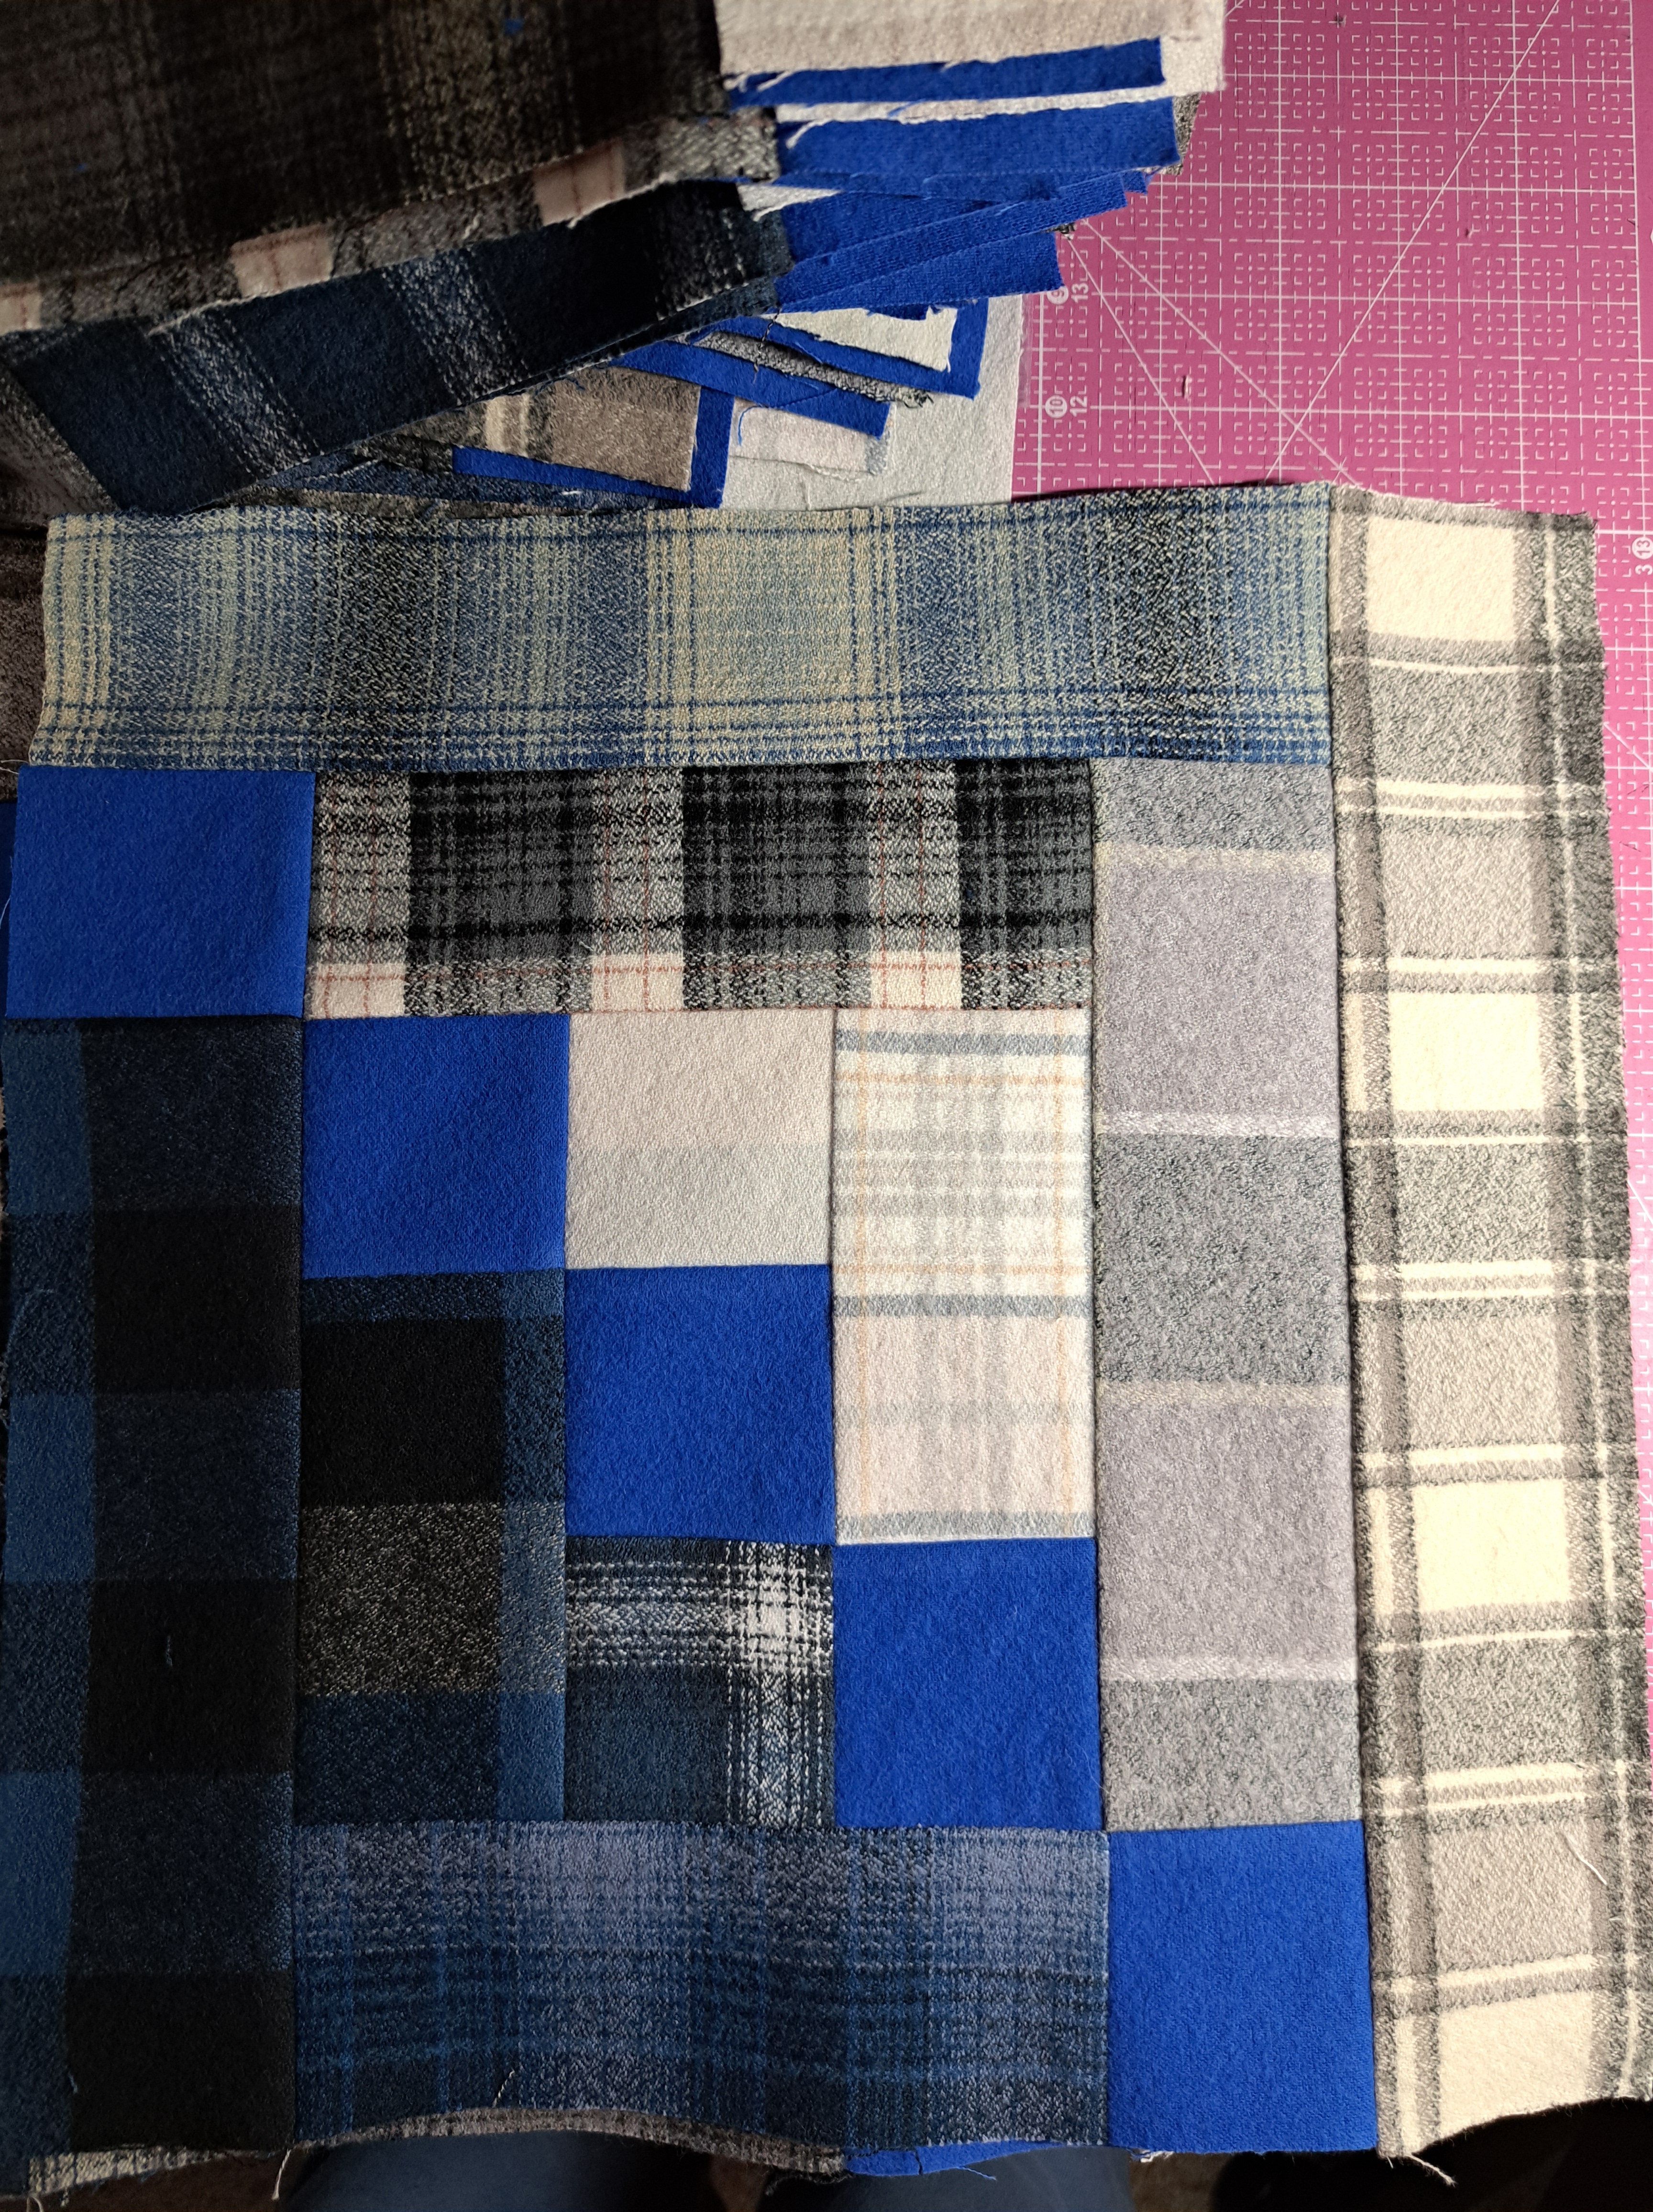
Look at how the “mediums” in this arrangement below have a “lighter” feel to them!
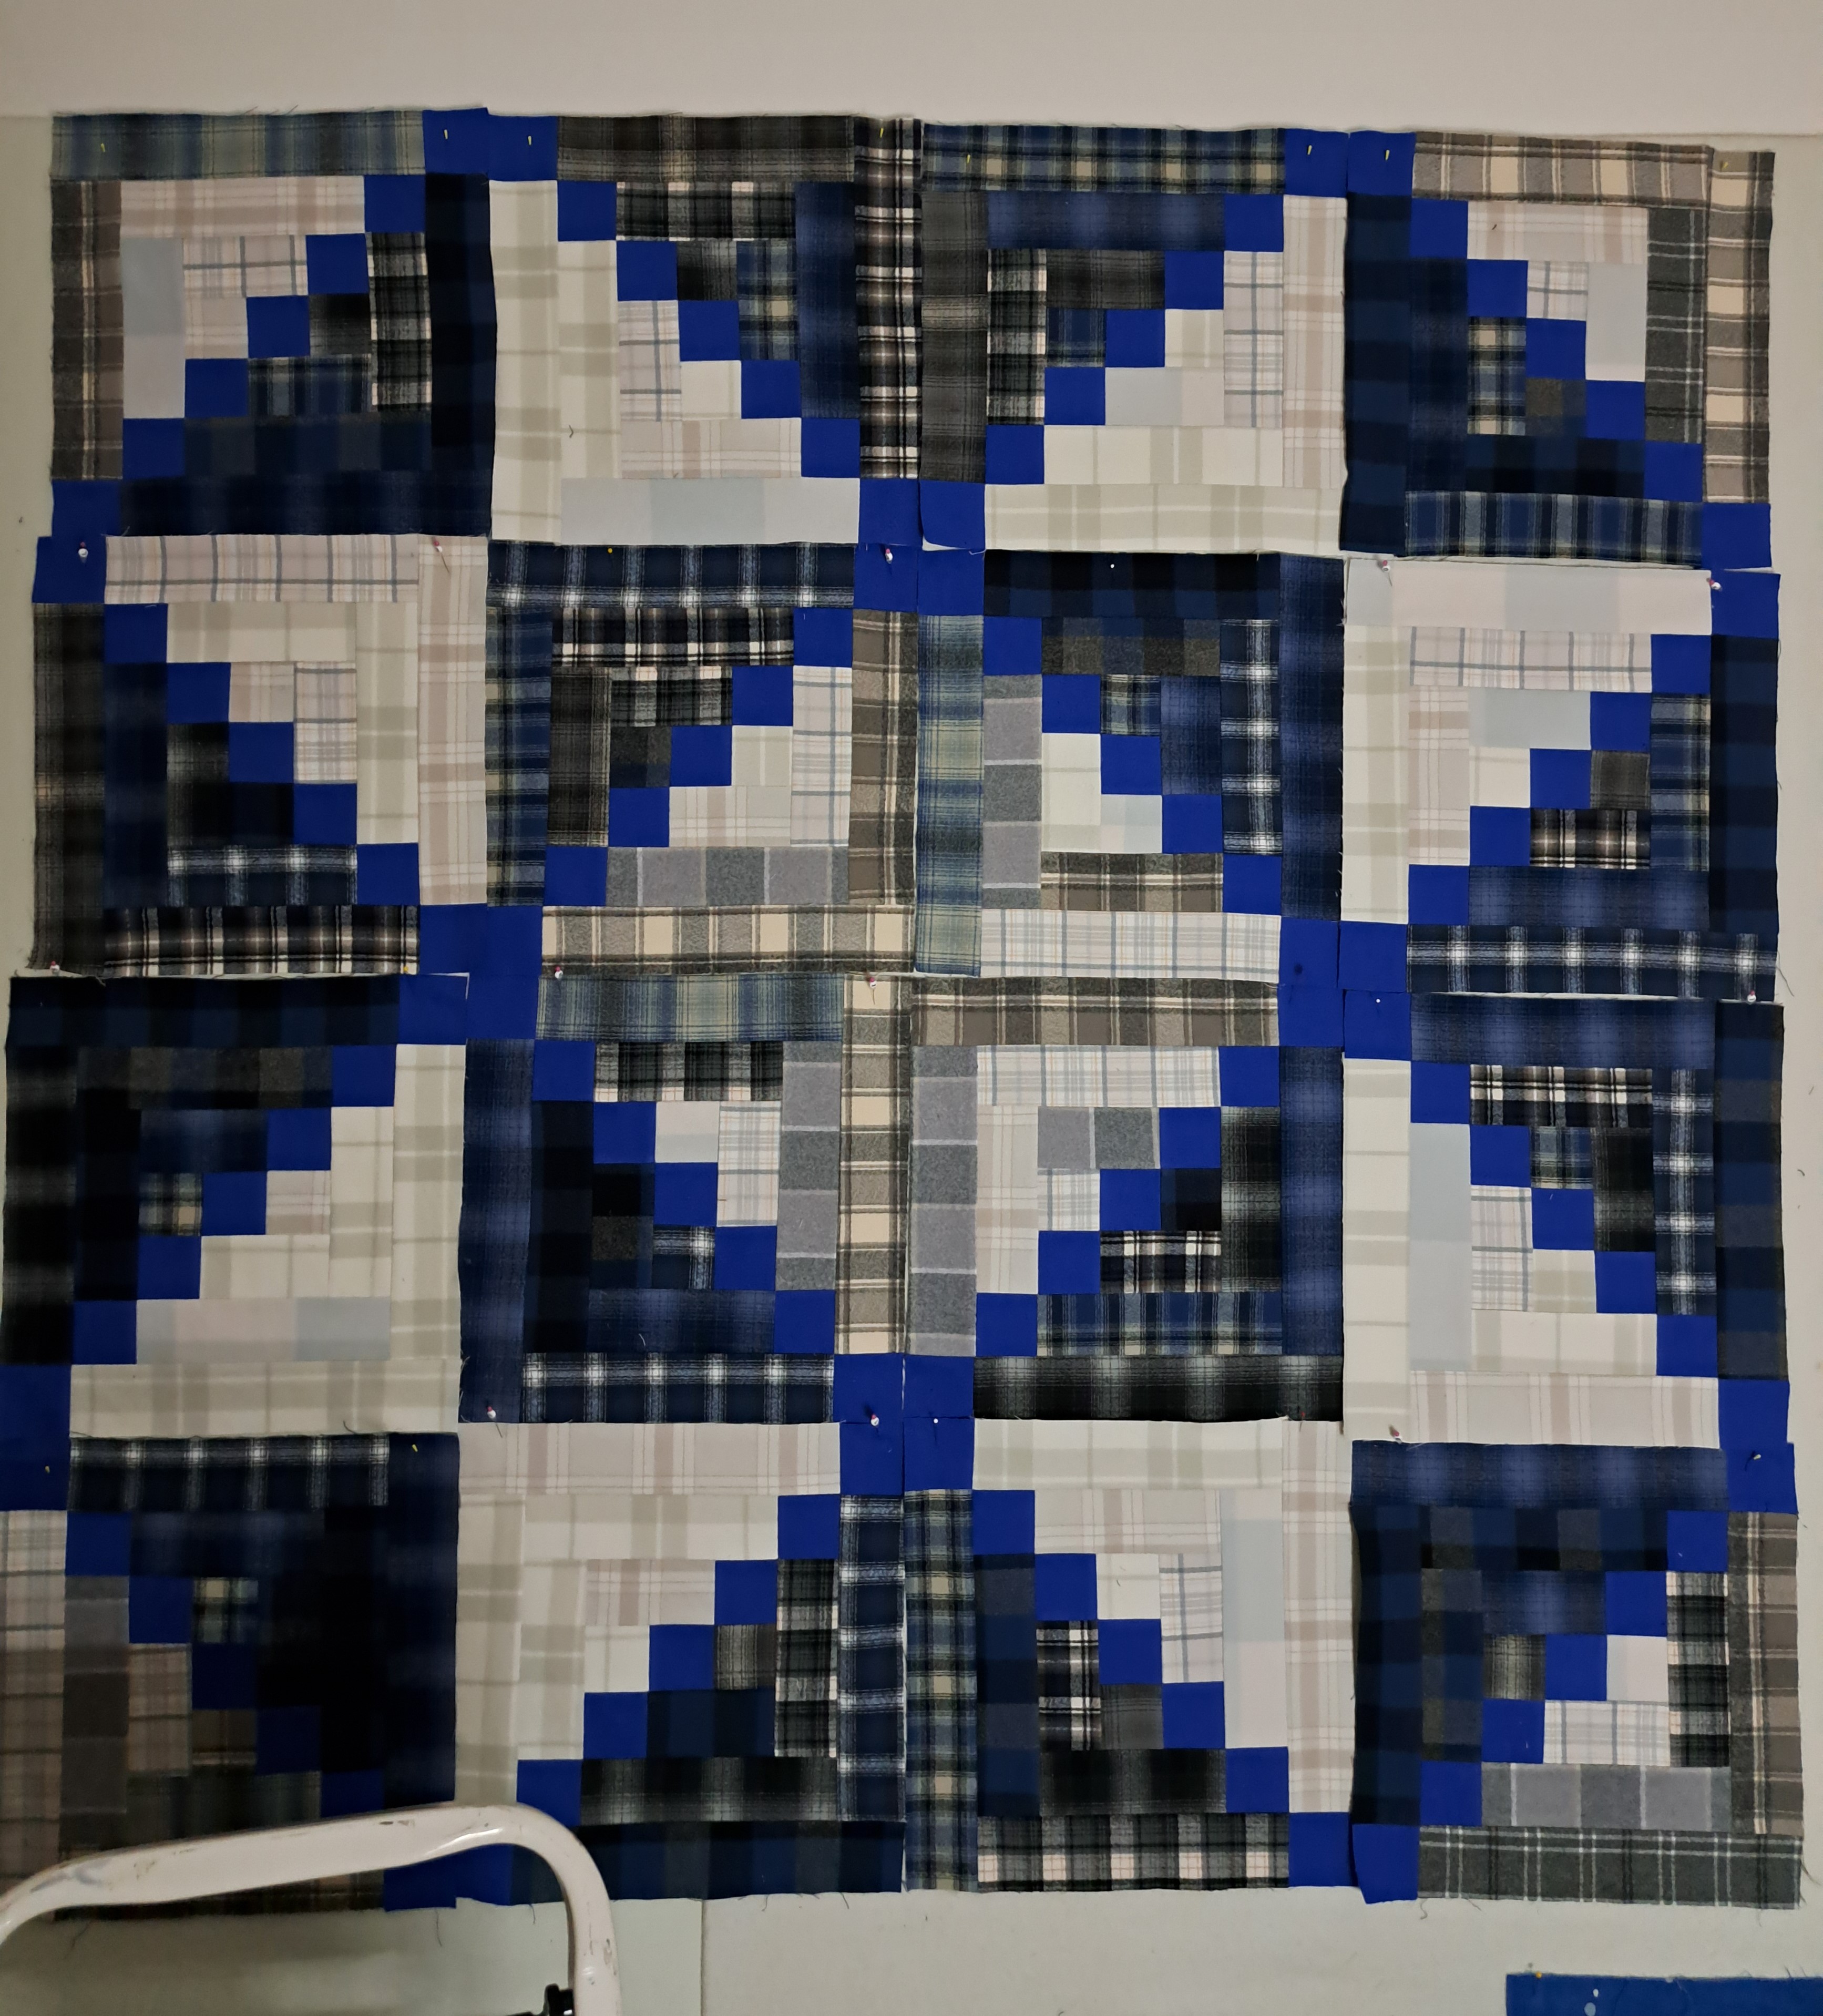
In working with Log Cabin blocks they are just like working with Half Squares. There is typically a light side and dark side. Any awesome arrangement you do with Half Squares can also be done with Log Cabin blocks! Look at the star that I created ABOVE. I’ve been playing with layouts and this may or may not be the final. (Yes, I need a step ladder to place blocks on my design wall!) It is fun to see all the possibilities before I get to decide! Now, back to arranging and REARRANGING!!
Tips…
#1 – Play with contrast. Color can add some interesting variations. Plus try putting chosen colors next to something darker and something lighter….watch them change! Does it work with the look you are going for? If not, pick another fabric.
#2 – This is why I love playing with color! You have the power to INFLUENCE your fabrics to “make” them into something else. Wow! Magic!
in quilting,
Debbie