
Last week I shared a few of the blocks my students made in the Twirl-A-Tool workshop. This week I thought I would share a few of the “ah ha” moments and tips they found helpful.
Twirl-A-Tool uses half-square triangles in a couple areas of the block. One square is cut 5 1/4″ and the other 5″, then cut diagonally once. You can see how these will be very similar in size. I had all my half-squares in separate clear zip bags. Part of the way through piecing a block several understood why I had them separated. A couple of people had used the wrong size. Good to have a seam ripper as a friend!

#1 – Label pieces! Especially when they are similar in size.
A second good use of a seam ripper is to open up seams. The twirl block has eight seams that come together in the center of the block. By opening up a couple stitches in the middle, you can manipulate the seams into a spiral. This will distribute the seam allowances and help the seams lay flatter in the block.
#2 – Manipulate seam allowances to distribute thickness of seams.
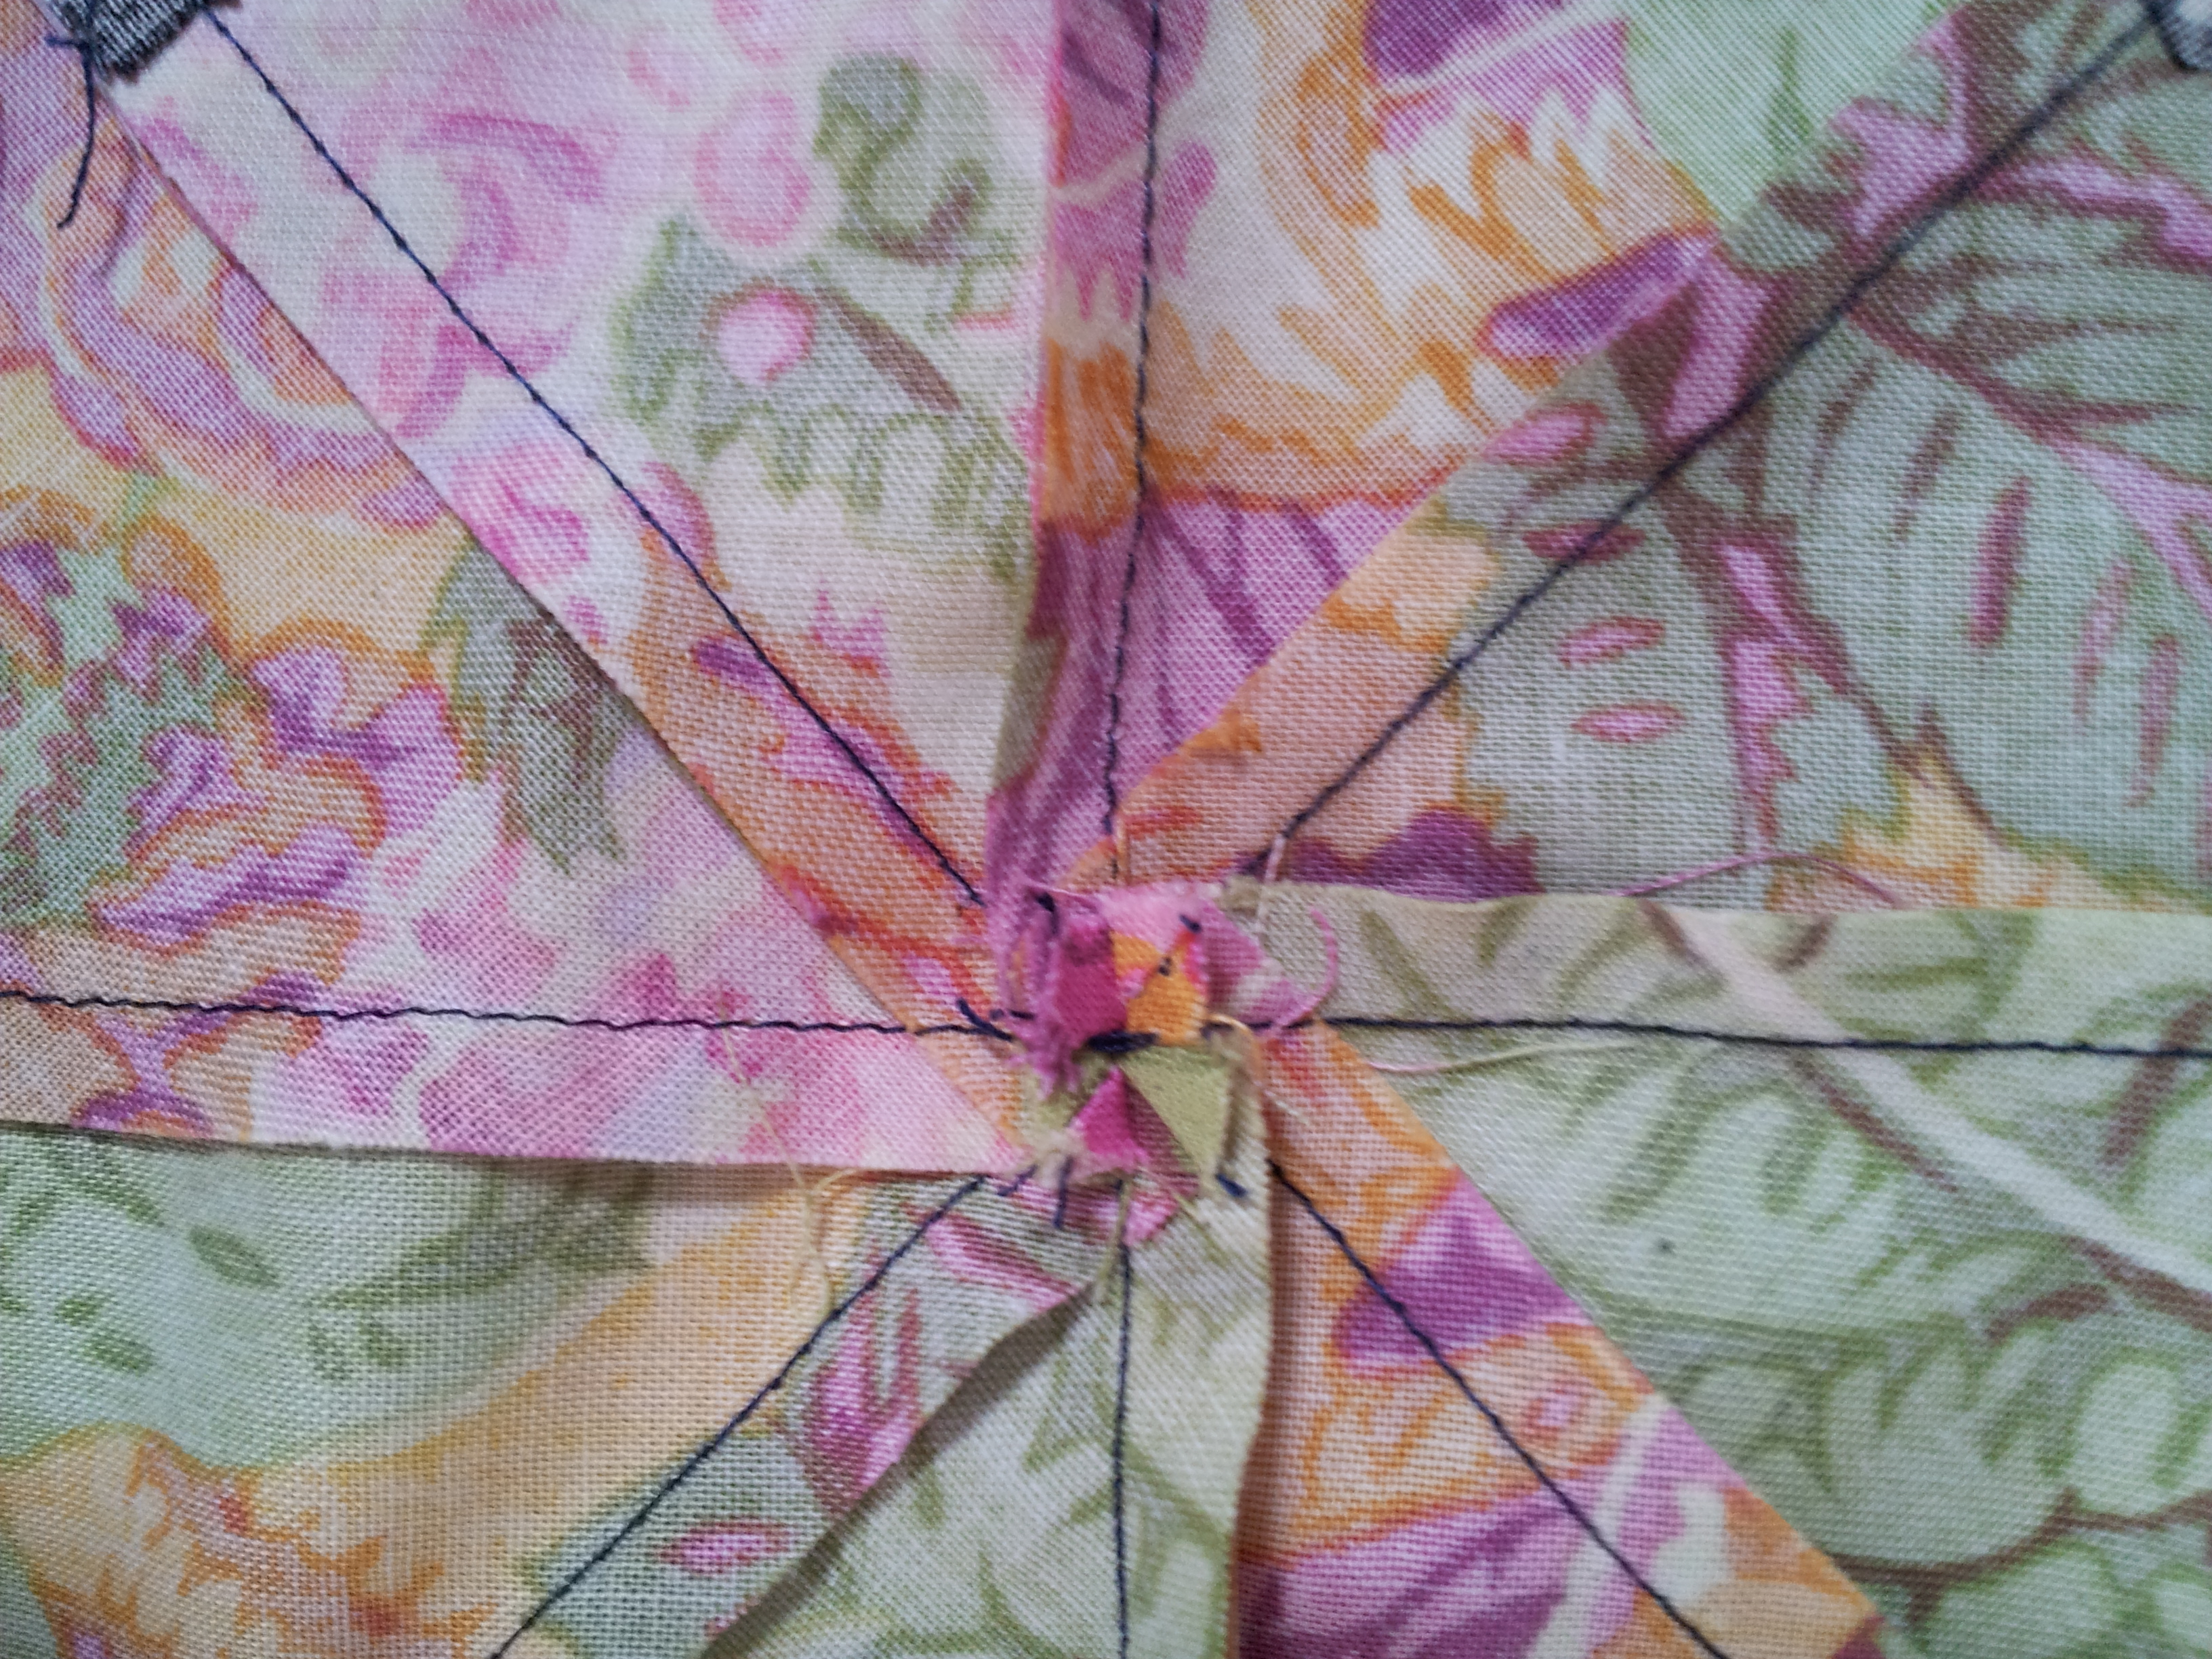
Center seam pinwheel
I’m really looking forward to seeing my student’s finished Twirl-A-Tool quilts! I’ll be sure to share them with you as soon as they share them with me. (how about that for pressure?!)
in quilting,
Debbie ~ Wendt Quilting
