
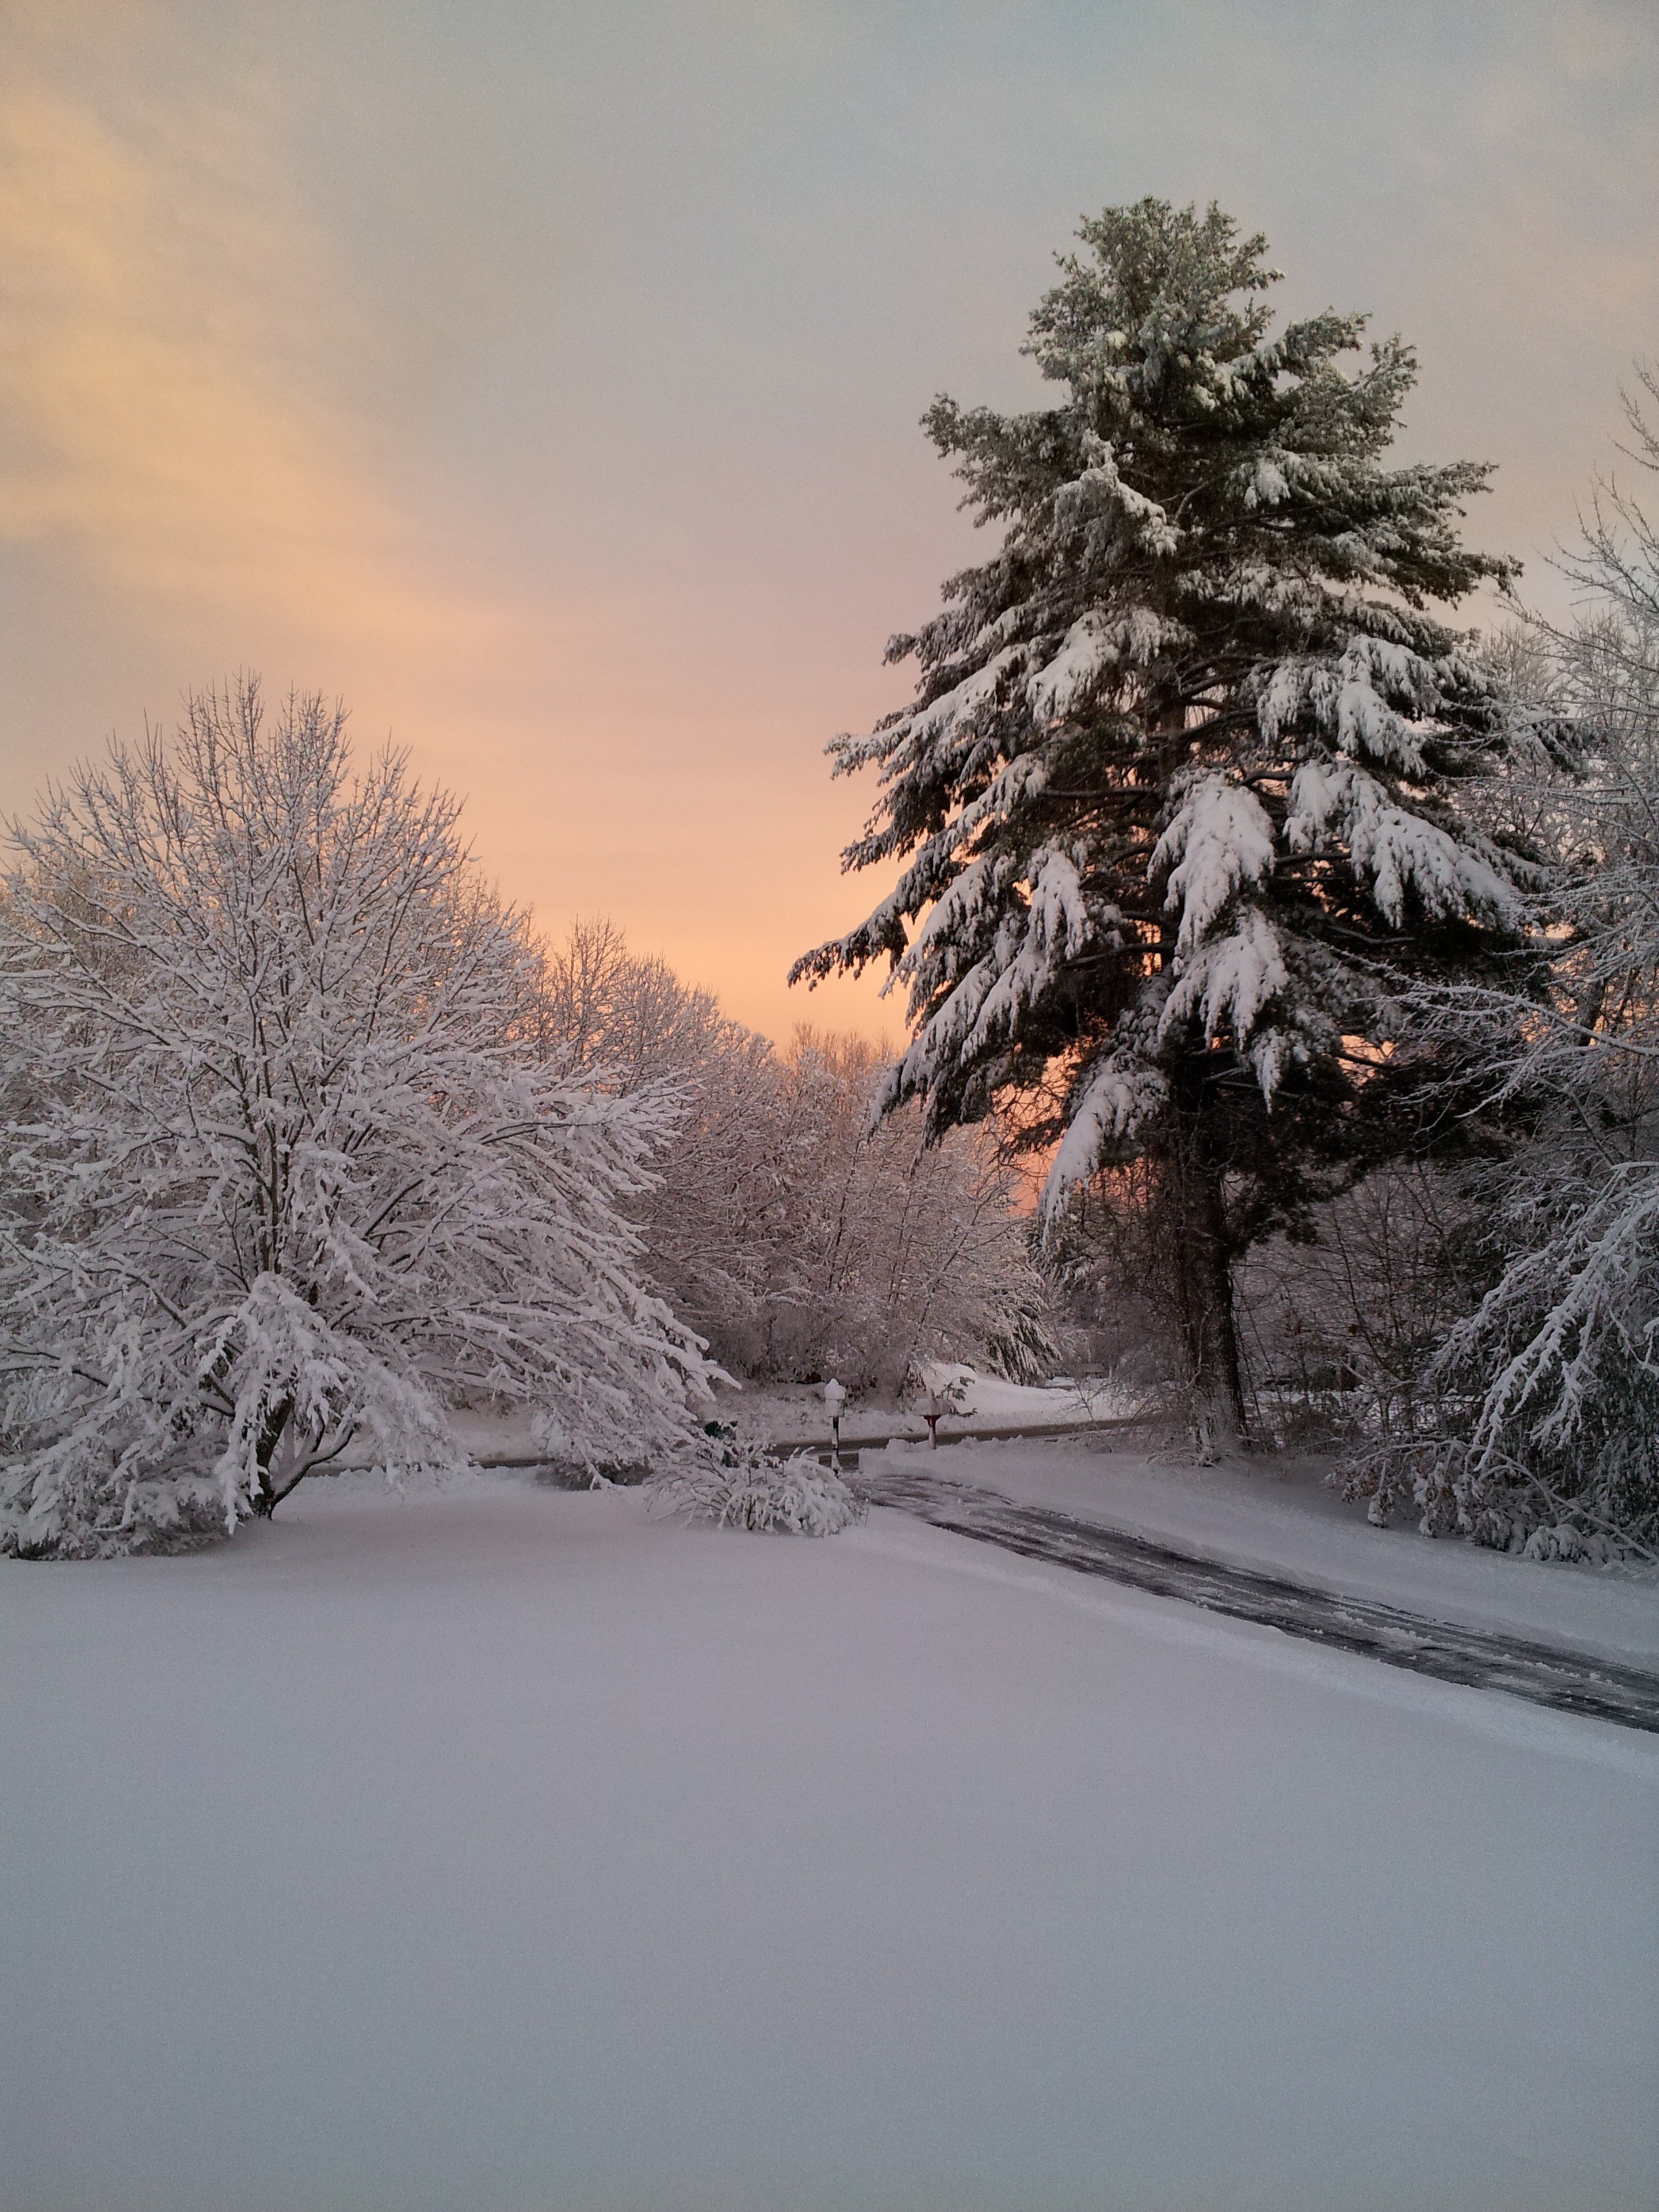
More snow and more sewing. If you have been following for a while, you know I love snow. It seems silly to talk about the weather, but I had to share the amazing pics I got during the snow event on Friday. While snow blowing the sun came out!

Saturday I did something for myself…I took a class! Beth Helfter of Eva Paige Quilt Designs taught a class for one of the guilds I belong to. We did her “Kickin’ Stash” pattern. Talk about FUN!

Eva Paige Quilt Designs, “Kickin’ Stash” Quilt
And boy, do I have a stash! I realized I buy yardage. (I already knew that, but it hit me as I went searching for the color I wanted to use.) I haven’t saved loads of little bits, so I pulled from my big bits and started cutting on Friday. AND Happy to check the snowfall every couple hours with my cutting ruler!
Beth is also a participant in the Block Stock Hop. Be sure you check out her website, Eva Paige Quilts . She has a fun block to share with purchase!
As I am happily sewing away on my blocks in class, I remembered a tip that I don’t think I have shared before. We needed to join our smaller 6″ sections together to form the 12″ block. We were aiming for a perfect match of our seams in the center of the block. The girls at my table were discussing opposing seams and how they pinned. I am not much for pins, but at an intersection I PIN! I have found if you have the top seam allowance pressed up (toward the top edge as you are stitching the seam), it snuggles into the center nicely. If you have it opposite… the top seam allowance pressed down (bottom seam allowance is up) it tends to push itself away from the center…even if you have pinned. And just a little bit of shift will show.
Explanation of top seam UP in photos below!

Center seam, top seam allowance “up”

Top seam allowance toward beginning of seam line, bottom down.
#1 – Top seam allowance pressed toward the end of the block you will be sewing from.
#2 – Pin the intersections to HOLD in place! (I typically only put one pin and rework it if needed as I sew across the intersection. Some like two pins, one on each side of the intersection.)
May all your intersections be matched!

Good Match!
And some of my blocks, PROGRESS!

Some of my “Kickin’ Stash” blocks
in quilting,
Debbie

Love the snow pictures…there’s no business like snow business….