
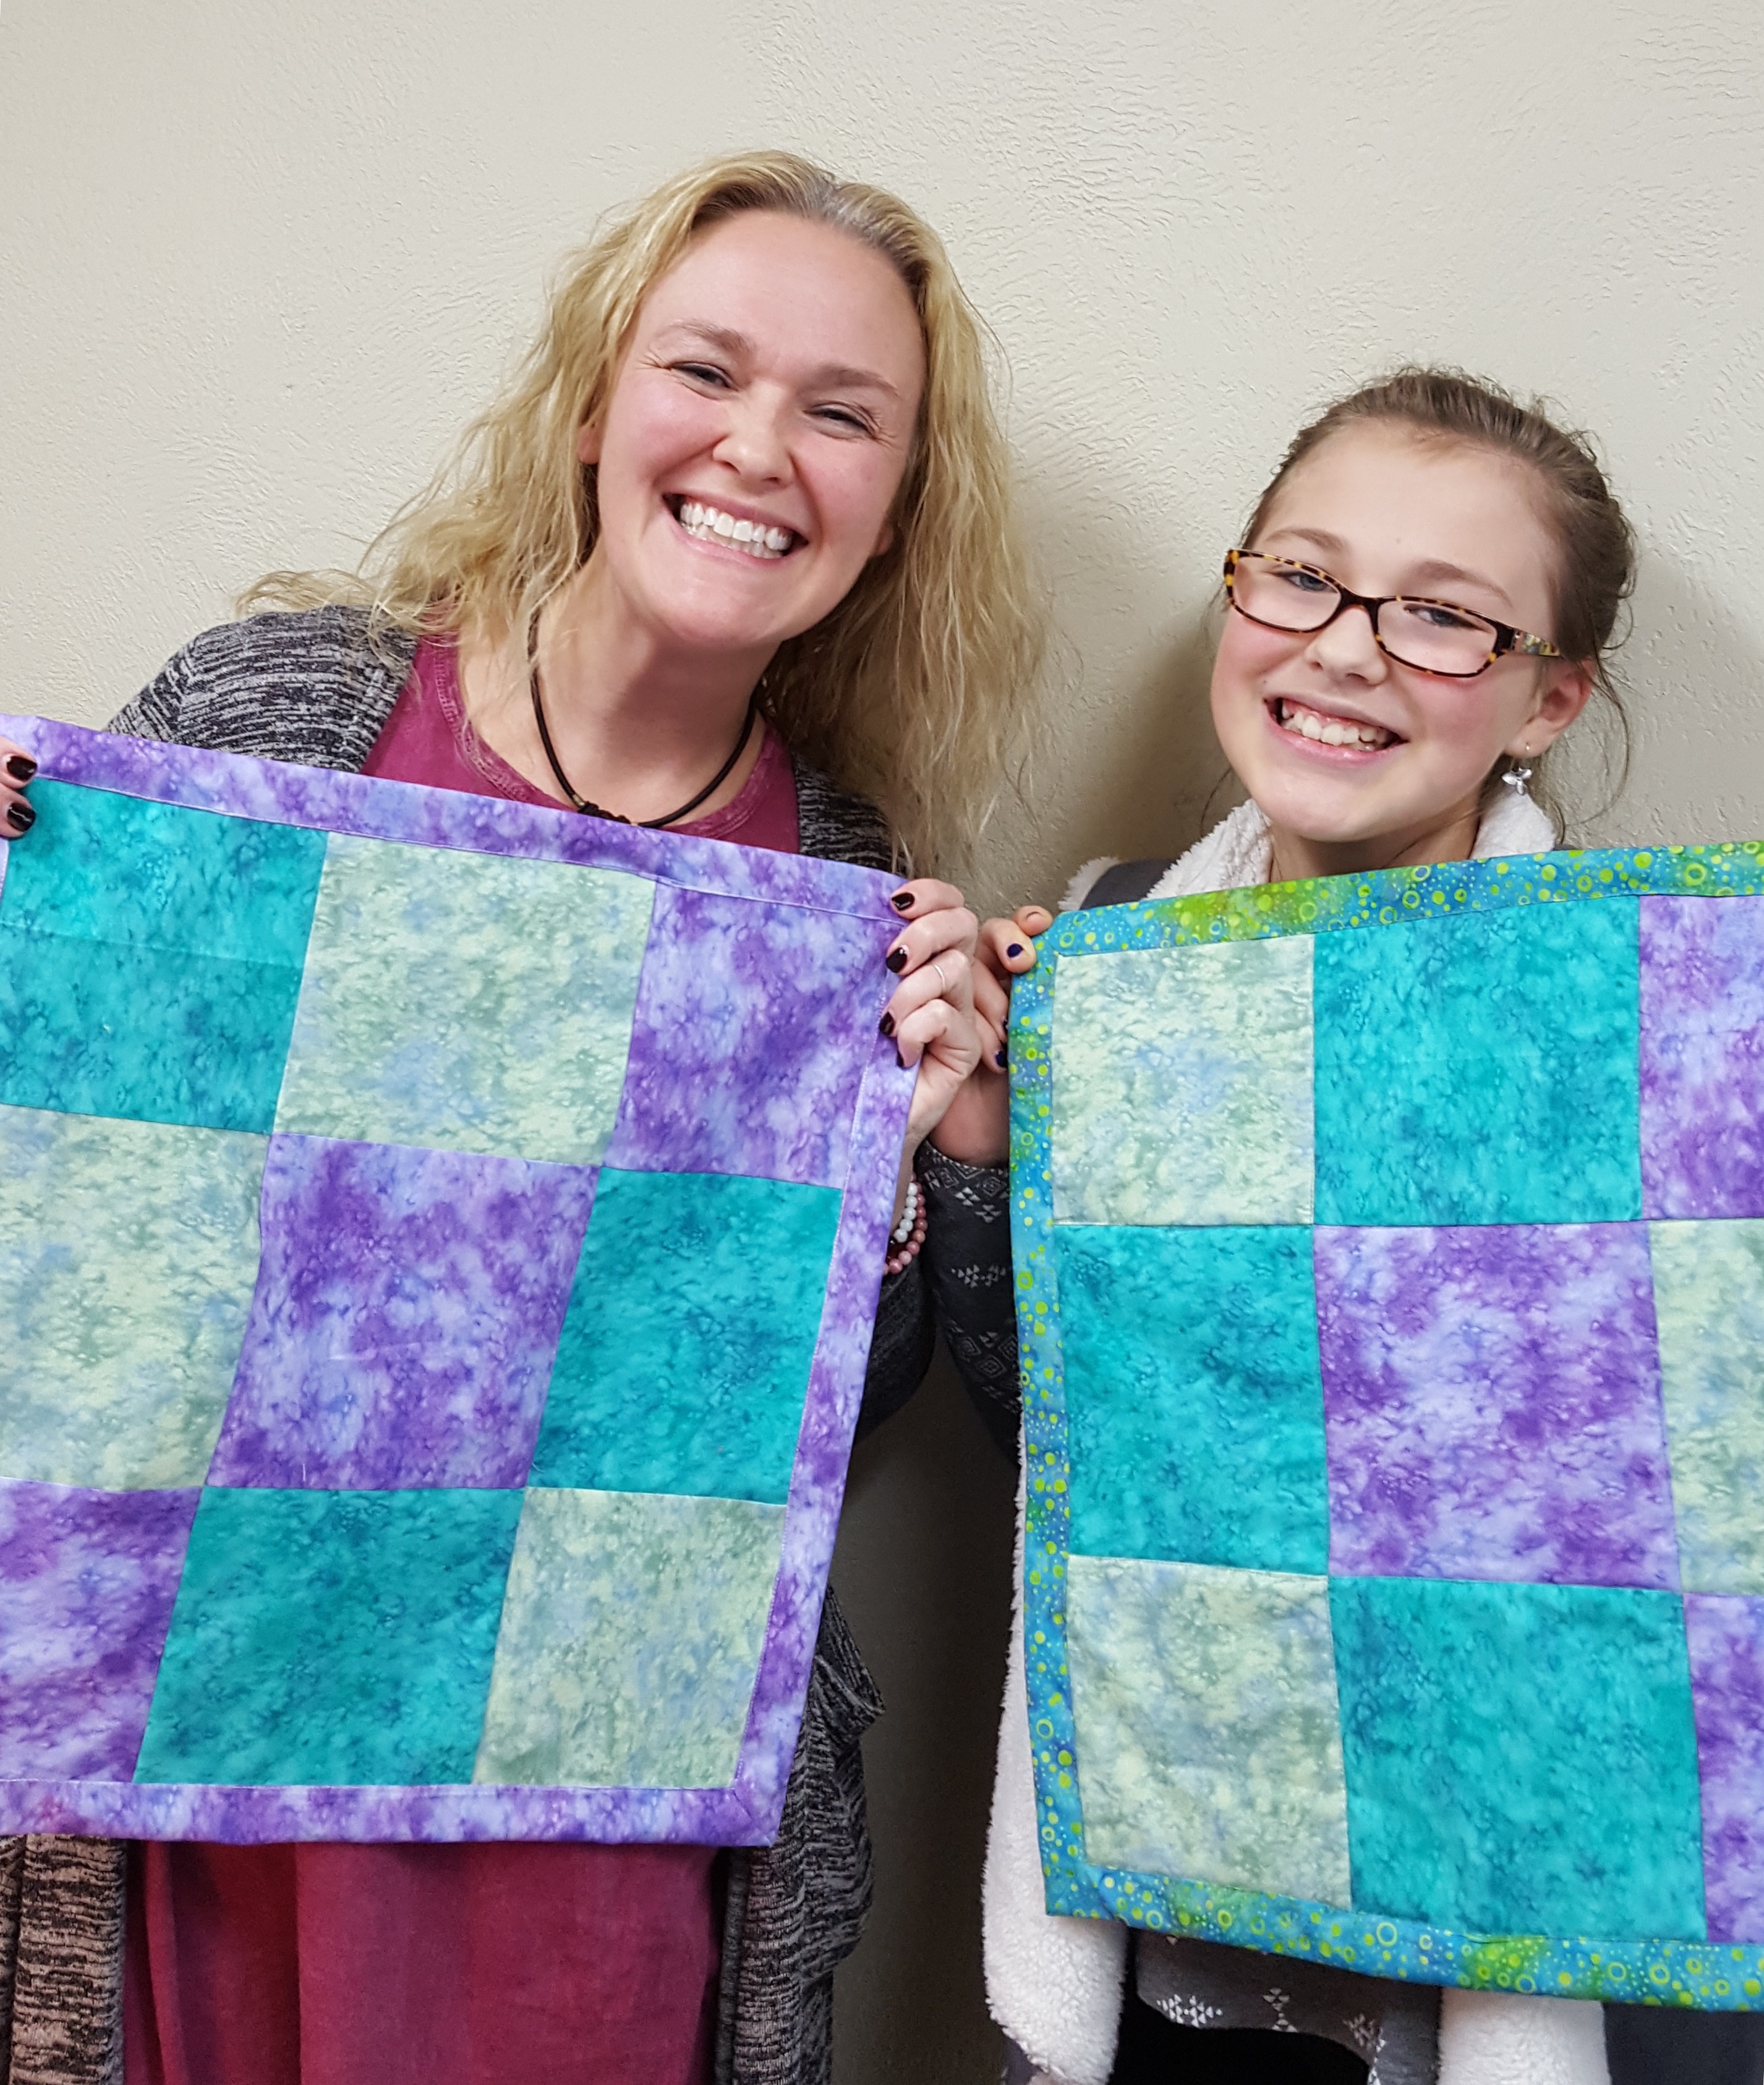
It has been a rewarding week of teaching. First a mom and daughter! They were SUPER excited to get their first lesson. A comment to share…”Mom, this is so relaxing”. I’m thrilled to have two more peeps to share my passions of sewing and quilting. Look at those smiles!!!
Next class, the “Four” Dinner placemats for one of the guilds I belong to, Blackstone ValleyHeritage Quilters. A lesson is stacking, cutting, rearranging and sewing angle seams. Also, tips on simple machine quilting. And finally, Back to Front Binding! They enjoyed it all and were thrilled to go home with at least one finished placemat.


I didn’t give them a chance to pose, so don’t mind the “not ready” for camera looks.
Along with the placemats, they got to practice the back to front technique by making a napkin. It was fun to hear ideas of what they will do with theirs…. Bread Basket liner, mat for centerpiece, wrapping for gift and its intended purpose of napkin.
#1 – Think about possibilities…a napkin can be a bread basket liner! Perfect for the holidays and a great way to practice a new technique.
In discussing quilting of the placemats, one student wasn’t crazy about seeing the starting points of the quilting lines. Several had options to try…..
How about quilting the placemat with only the top and batting.!? Brilliant way to hide the stops and starts. Or add a “regular” binding to hide the stops/starts in the binding. Not the back to front binding, but an option none-the-less.
Another student, was keen on using decorative stitching….perfect!
Marilyn’s placemat is shown below. She quilted with a decorative stitch, through only the top and batting. Then layered the quilted piece with the backing and finished with a back to front binding. See her steps/results below.

“Four” Dinner by Marilyn

Marilyn’s backing

Close up of decorative stitching!
#2 – Add decorative stitching as the quilting! Pretty and functional!
in quilting,
Debbie
