
Where did Tuesday go? It slipped right past me. So here are my tips for Tuesday on Wednesday. (It happens!)
I did my Sneak Peek #2 over on Instagram on Monday. It was the front of the pinwheel that I showed you last week. You got a sneaker, before Sneak Peek!! The Reveal will be next week!
So, about yesterday, I worked on this binding. I can’t show the whole quilt as it is a gift for a new bundle of joy. It is a flannel quilt with bamboo batting and a flannel back. So SOFT! I had a double fold binding cut and tested it on the edge. It made a hard edge and that is not what I wanted for this soft quilt. So, I put that binding aside and cut a SINGLE FOLD binding. Yes, a bit old fashioned but I like the softer feel it gives to the edge of this quilt. And why not? It works really well. Because of the thickness, I cut the binding width at 1 1/2″. Pressed it in half and pressed one of the edges to the center line. This gave me a good starting point with deciding on how wide to sew the seam of the binding and will turn to the back easier being pre-pressed. Steps shown below…
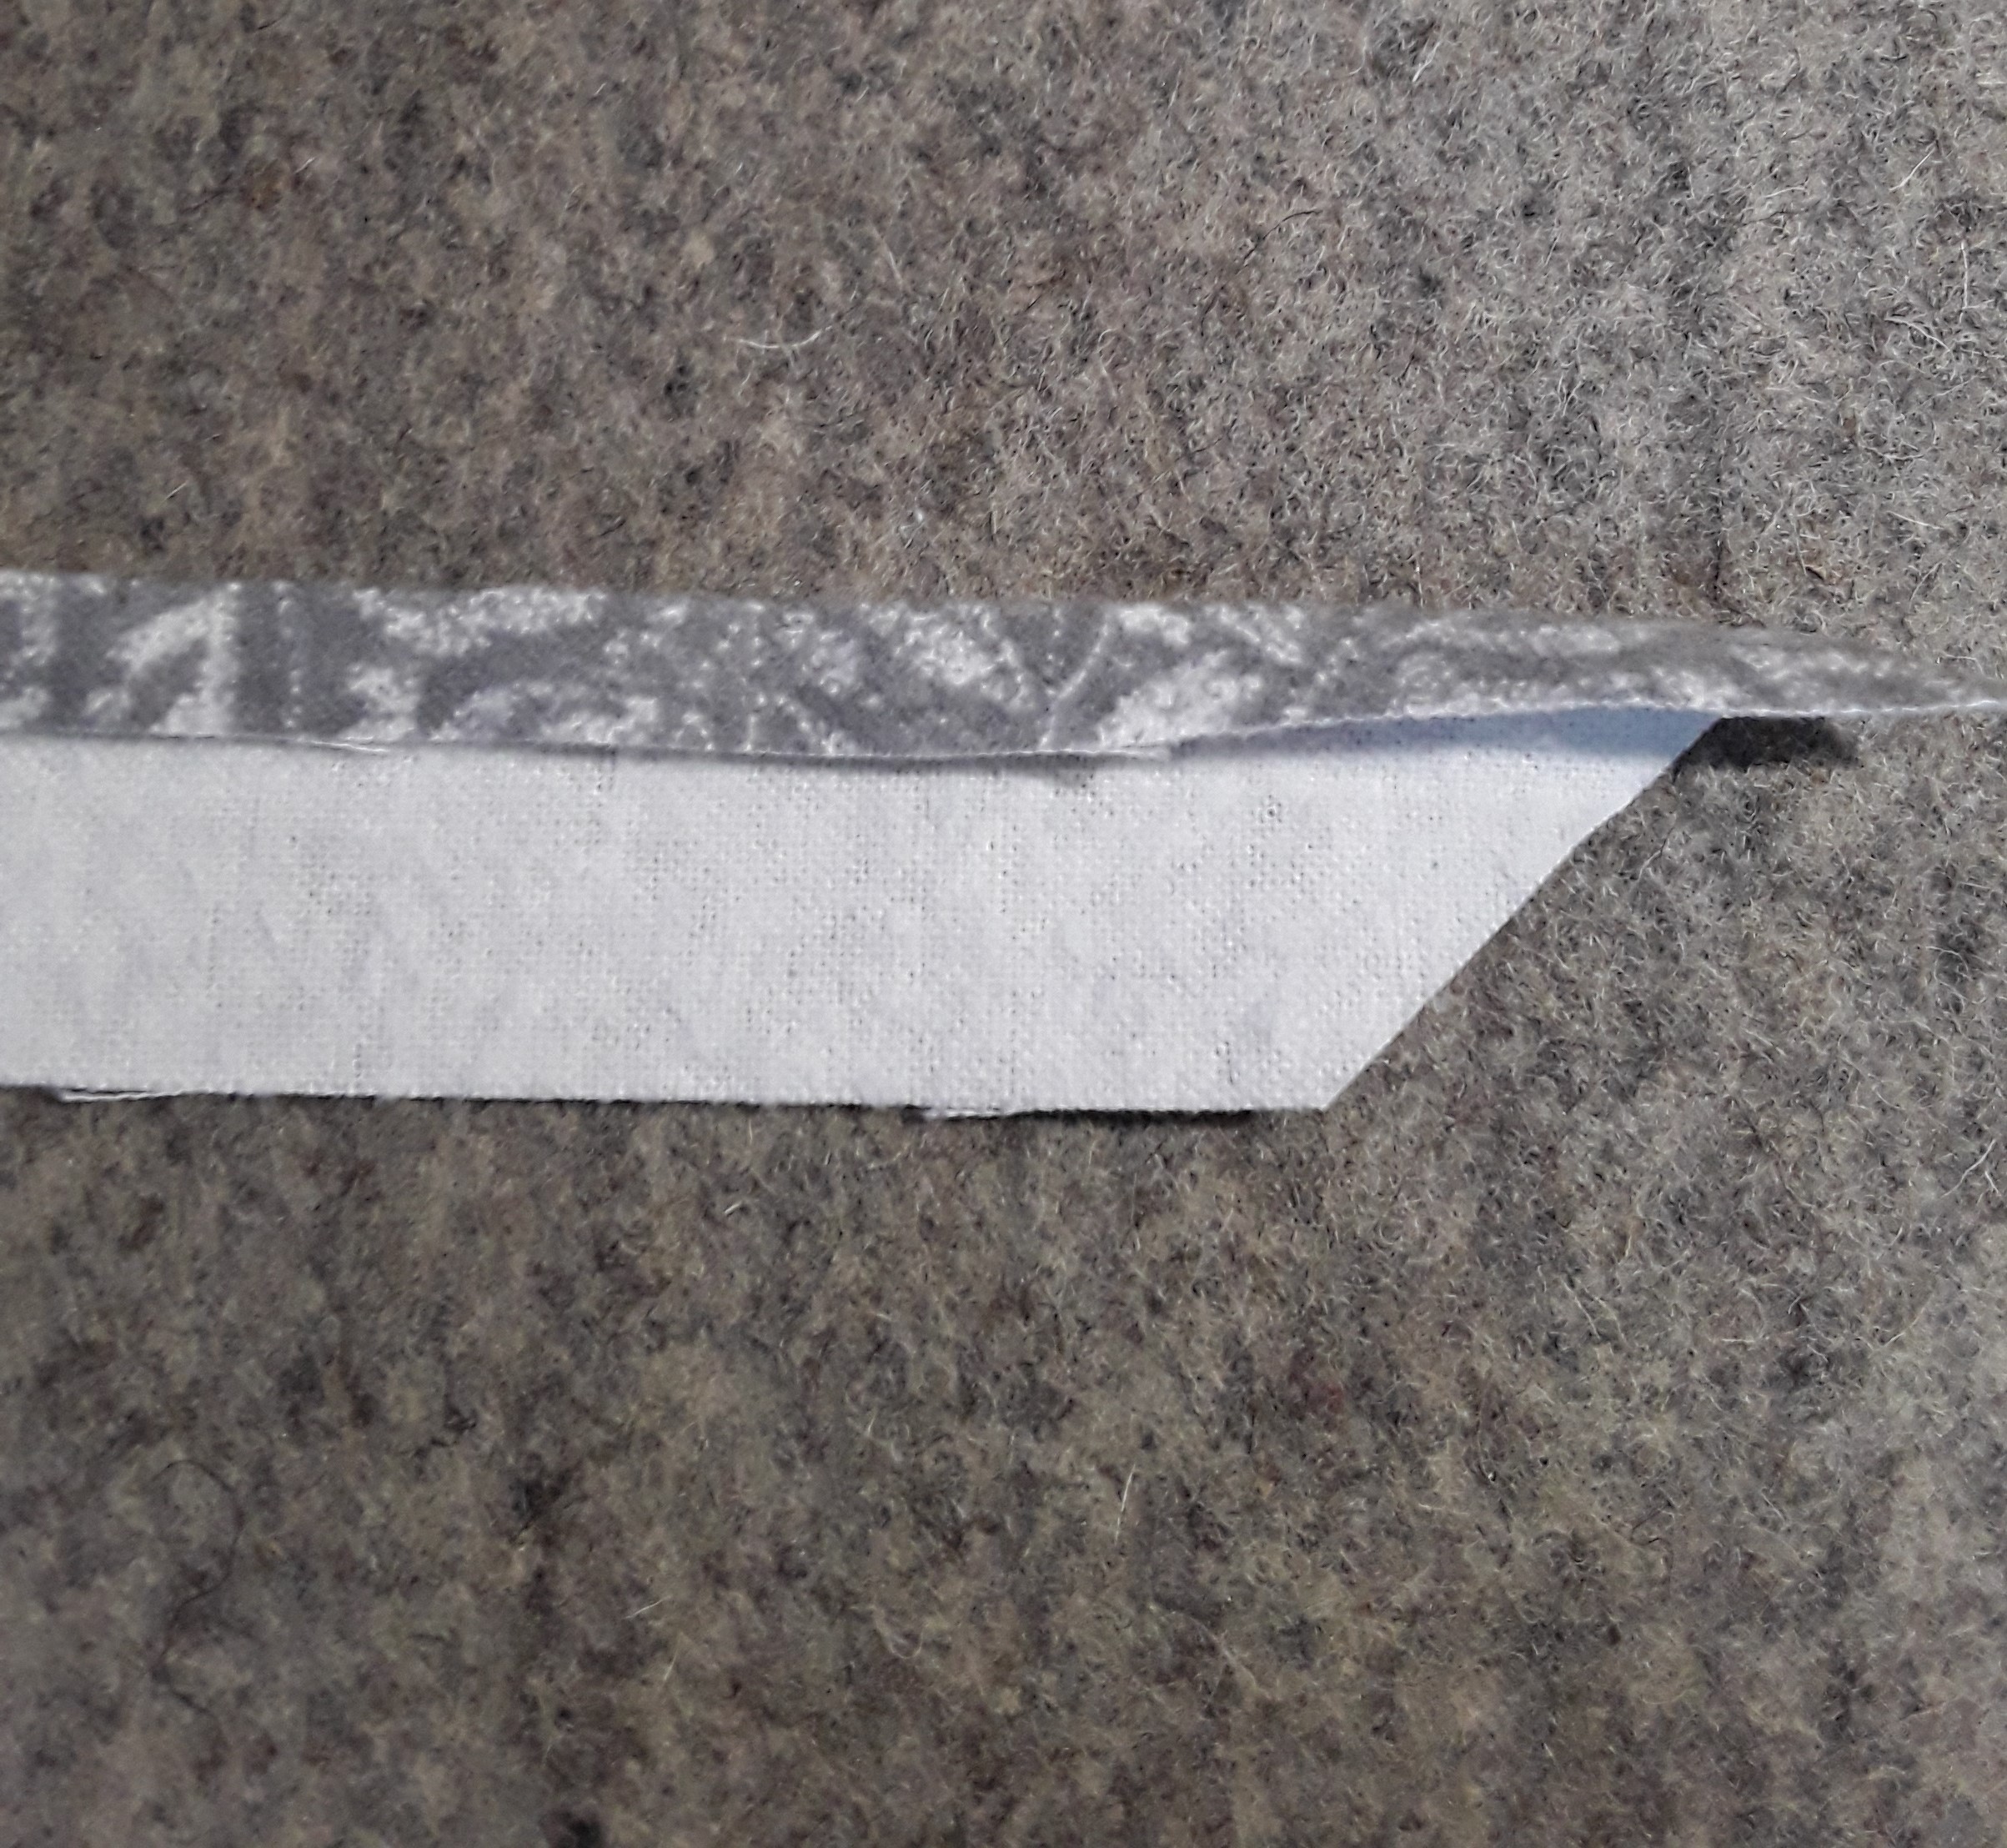
First Row Left: One edge of binding folded to center.
Center: Binding sewn to quilt with chunky 1/4″ seam.
Right: Fold on binding meets raw edges of quilt.
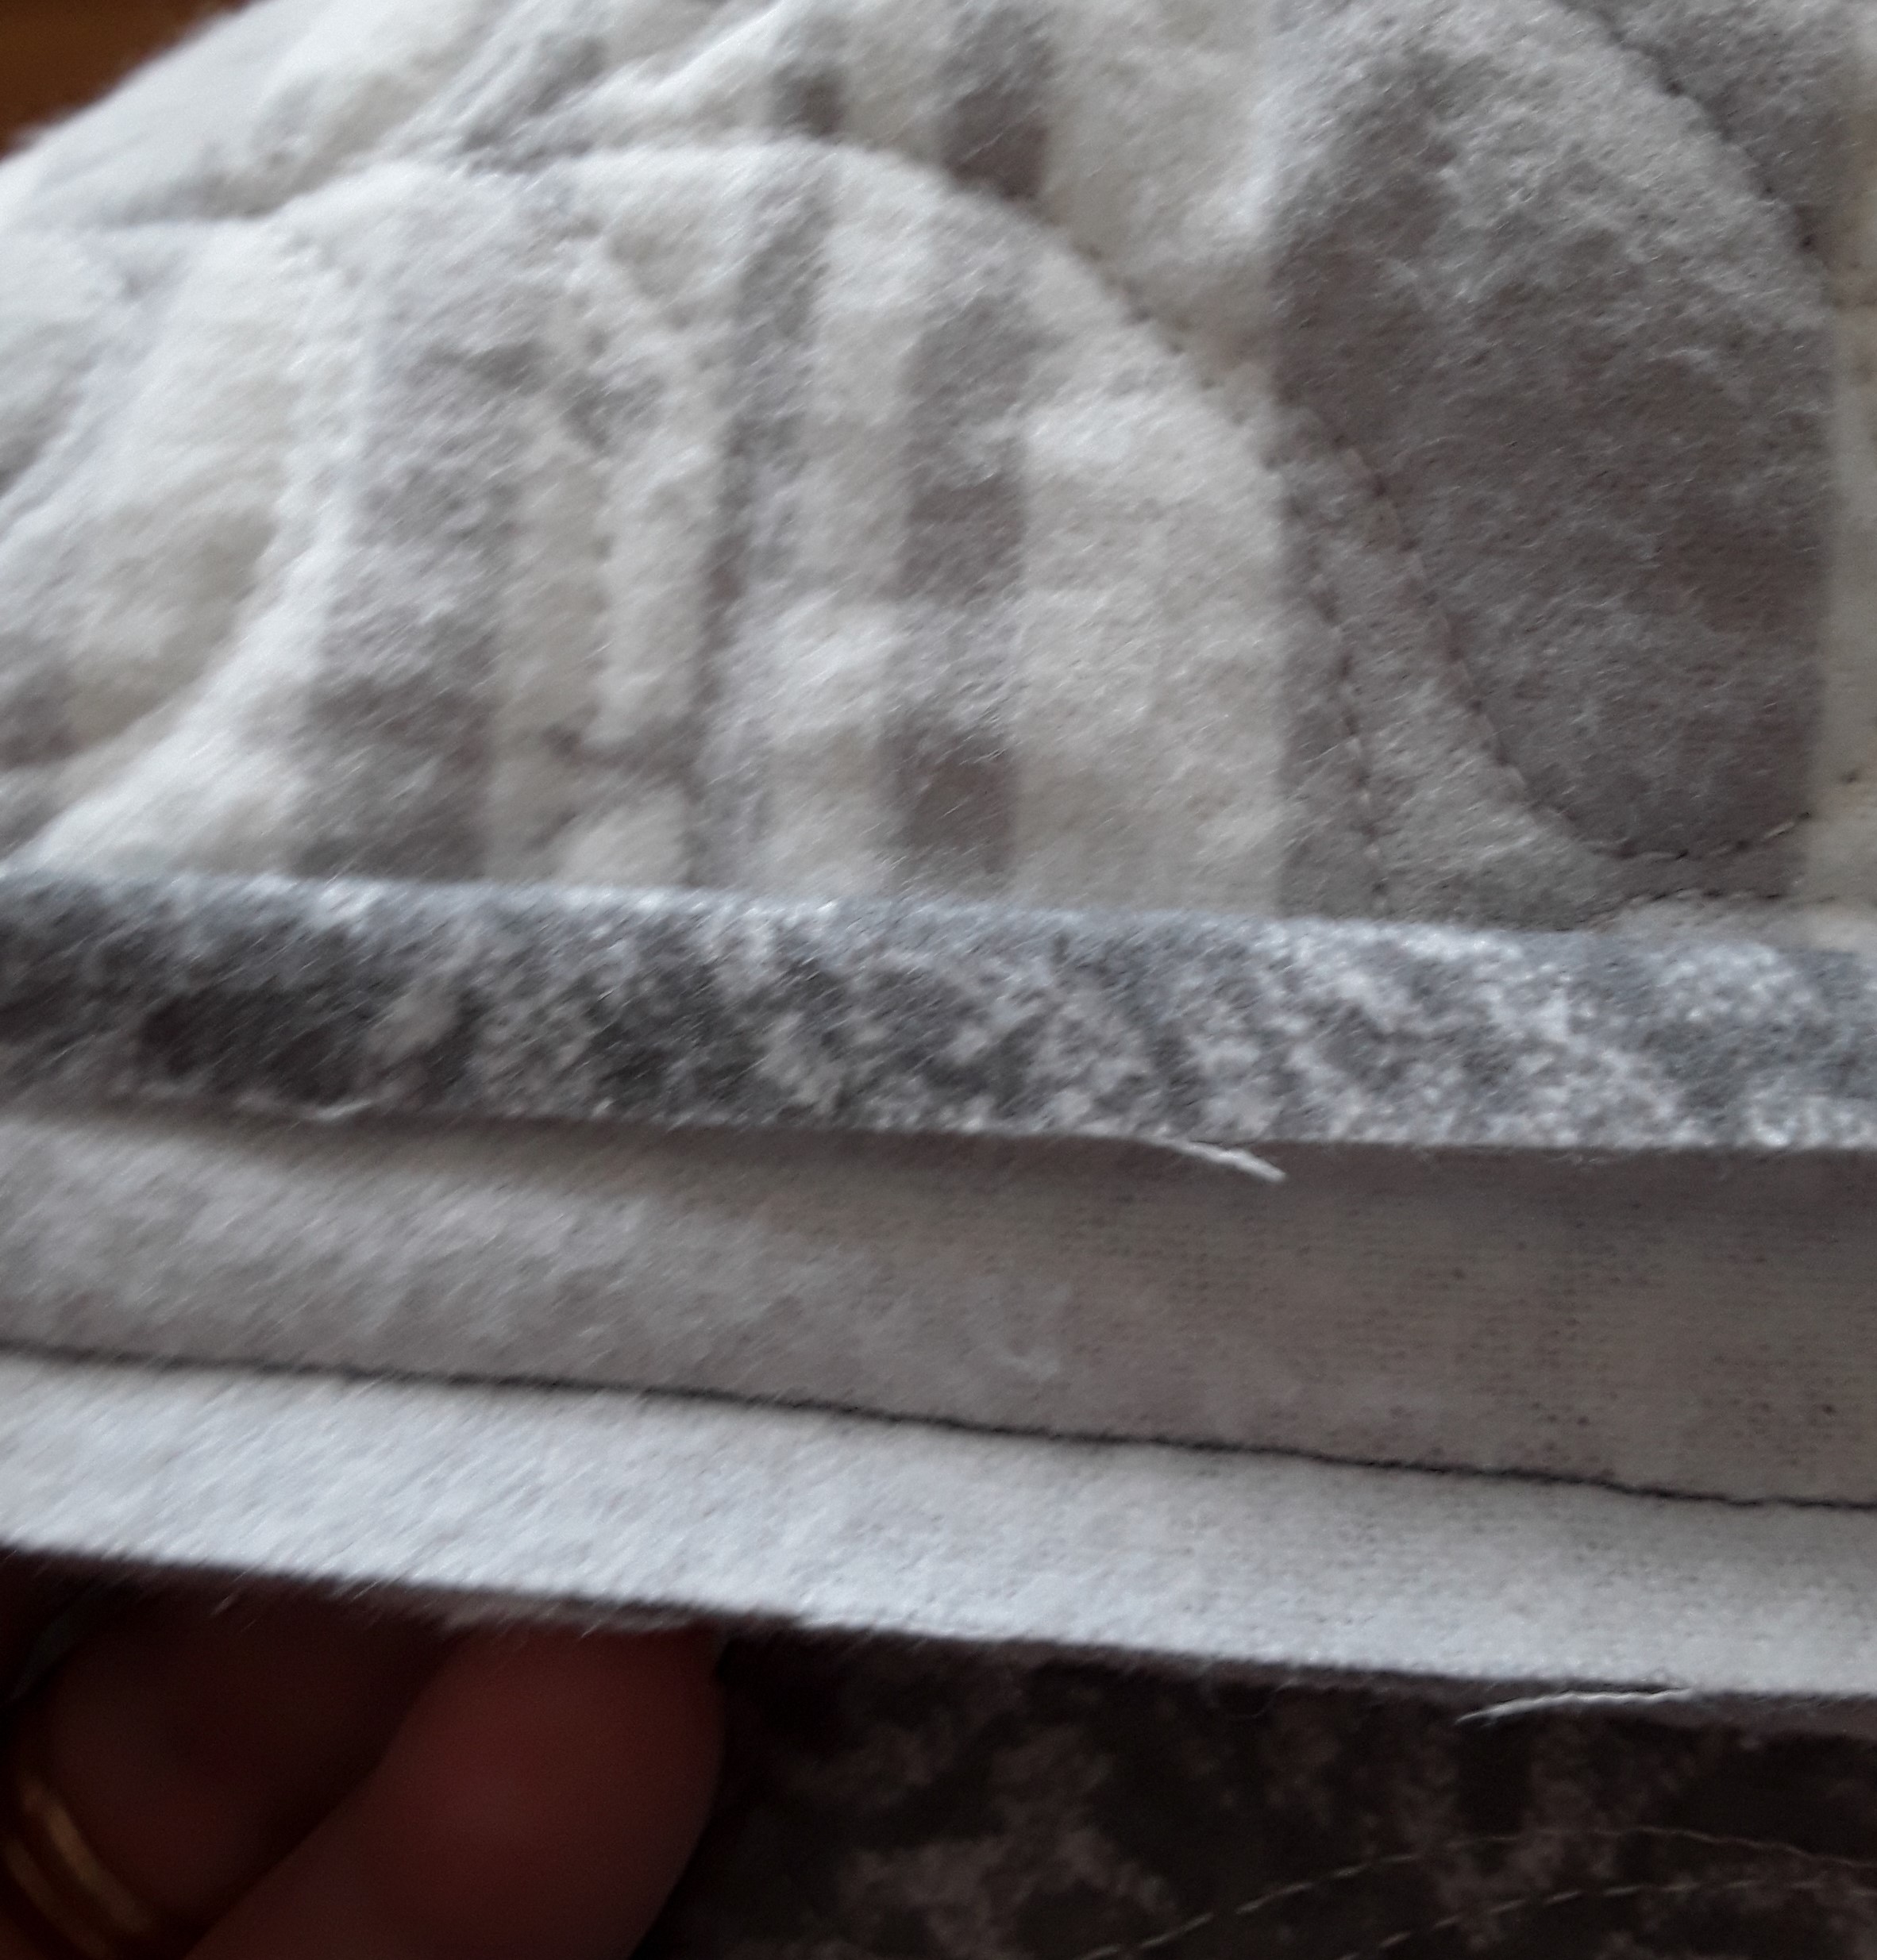
Second Row Left: Edges of quilt that get covered with binding.
Center: Binding folded over edges to back of the quilt and covers the binding seam line.
Right: Pretty mitered corner.

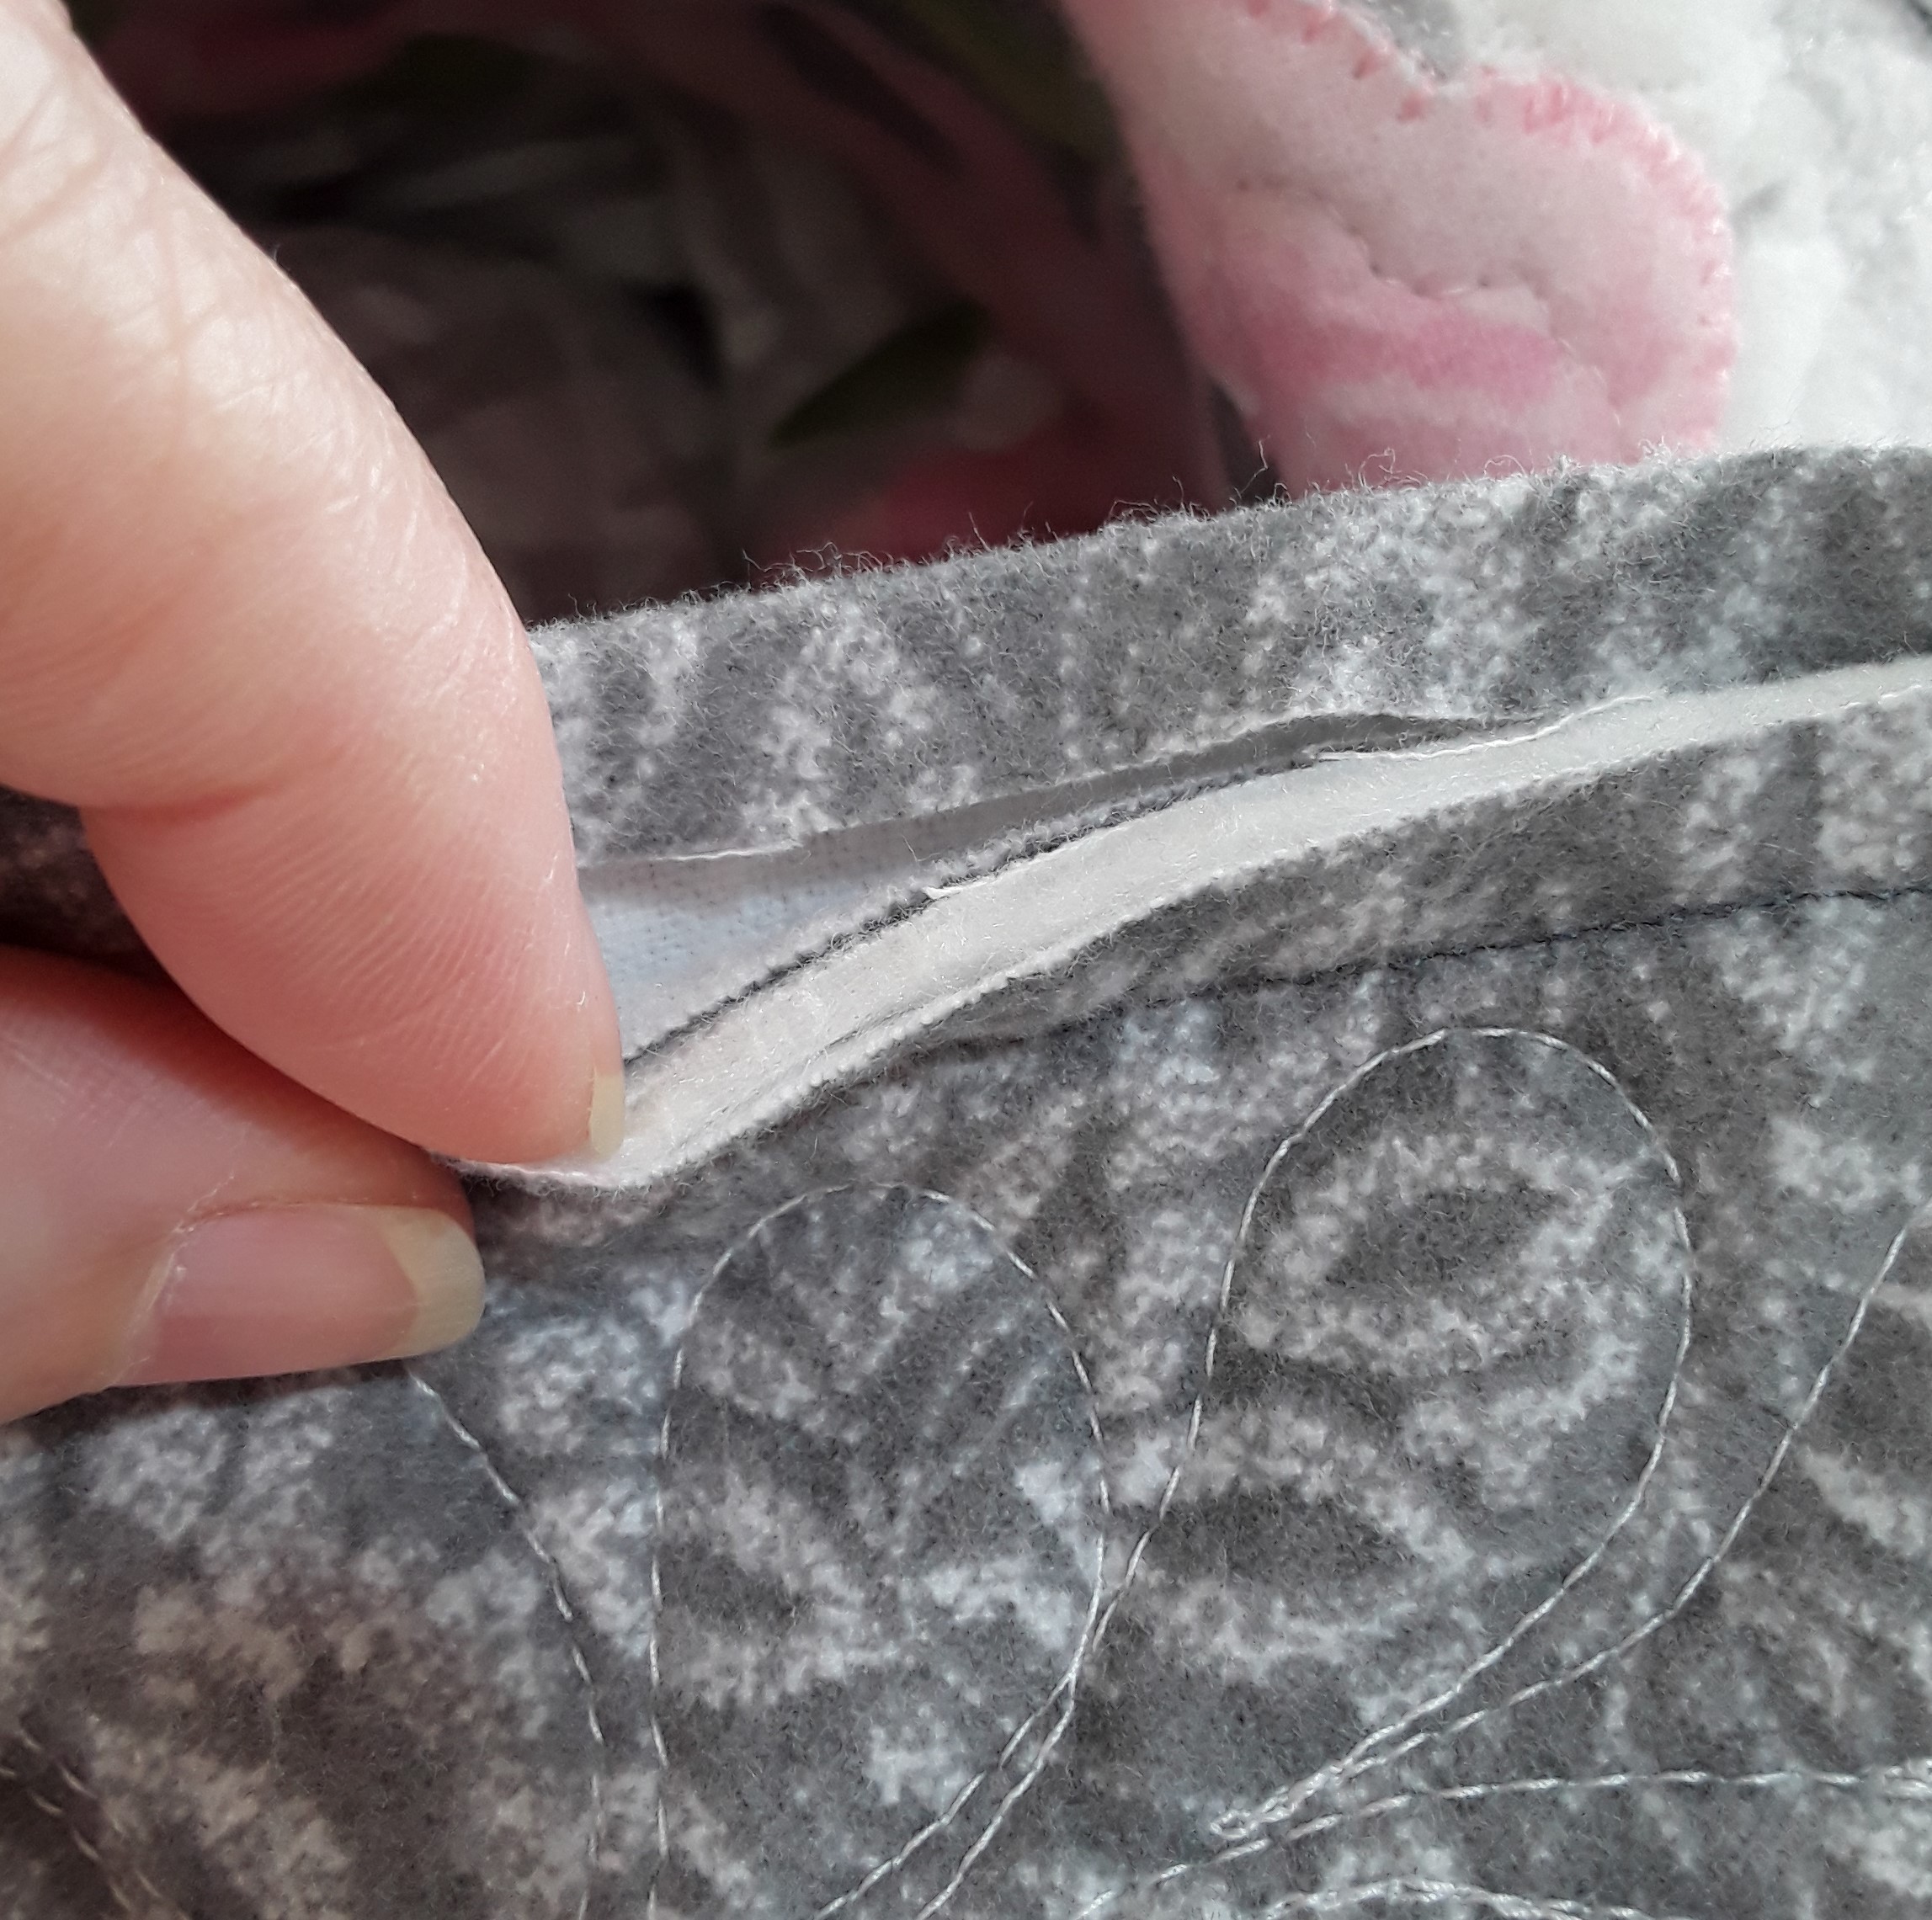


Typical SINGLE FOLD bindings are cut 1 1/4″ (at least that is the “norm” I usually see and use). With the thick fabrics, I needed more to work with, so the reason I cut the 1 1/2″ binding I used.
#1 – Try a single fold binding for a softer edge of a flannel quilt. Double fold felt too firm and bulky to me for the quilt in the photos.
#2 – Pre-press the binding before adding it to the quilt’s edge. Sometimes I have sewn it on and then fold it as I hand sew it. I find it behaves better if you pre-press!
#3 – BONUS….always test your binding. Sometimes a single fold works better than a double fold. Other times a double fold is the way to go. Testing the width of your seam is also a must in my opinion. I want a FULL binding with no extra room. The difference between a scant 1/4″ seam, a 1/4″ seam or a wide/chunky 1/4″ seam can really make a difference!!
DID YOU KNOW….I’m teaching for Virtual VERMONT QUILT FESTIVAL…3 classes and 1 lecture. YES! I’ll be teaching bindings!!!!
Become a Brilliant Binder on June 21st (3 hour class)
and Bindings a World of Options on June 25th (1 hour lecture)
Plus Twirl-A-Tool on June 22nd (3 hour class) and 4-3-2-1-DONE with Fat Quarters on June 23rd (3 hour class)
Visit VQF.org for all the details and to sign up for my classes and lecture. I hope to SEE you in class. (“SEE”, these classes are online. Join me from your own quilting studio!)
in quilting,
Debbie
