
Need a quick gift? How about placemats? The photos below will take you through making a simple place mat using the backing as the binding. Sometimes called back to front binding.
Trim the batting so it is even with the quilted top. The backing is trimmed to twice the desired binding width. I used 1″, so the binding finishes to 1/2″.
Draw a line across each corner at a 45 degree angle to the top.
Trip #1 – use your Brilliant Bindings tool to make the corner, placing the 45 degree edge along the edge of the backing!

Fold The backing in half, so the raw edge is along the edge of the top. Press. This is like folding a hem.
Open and mark where the fold intersects the drawn line.

Fold backing right side together at corner. Match marks and diagonal line will be on top of each other. Pin in place.

Sew on line from Mark to folded corner leaving the outside edge open.

Trim to 1/4″ seam allowance.

Using a point turner (purple thang Or end of a mechanical pencil with the lead turned in) Gently push corner right side out.
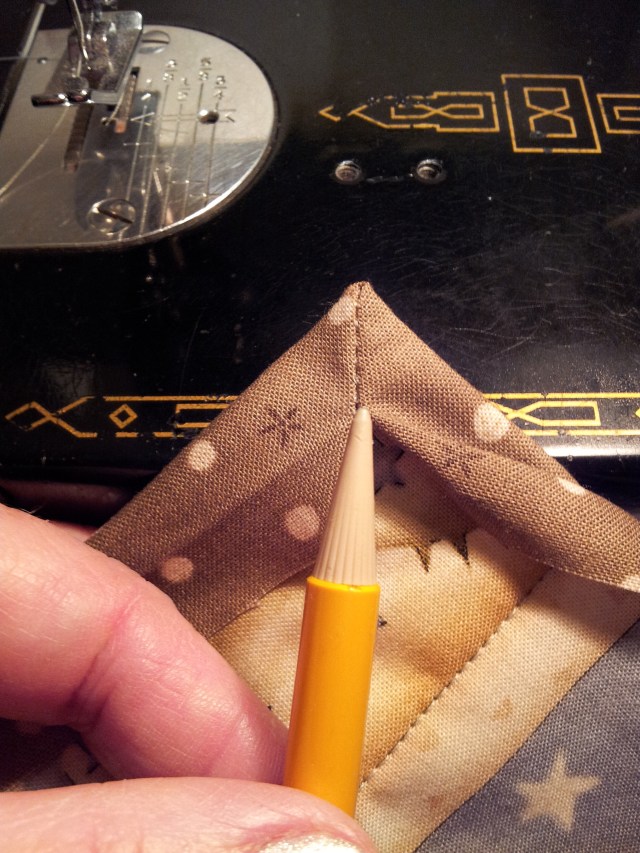
#2 – a mechanical pencil is great for turning pointed corners. Leave the lead in so it does not poke through the fabric.
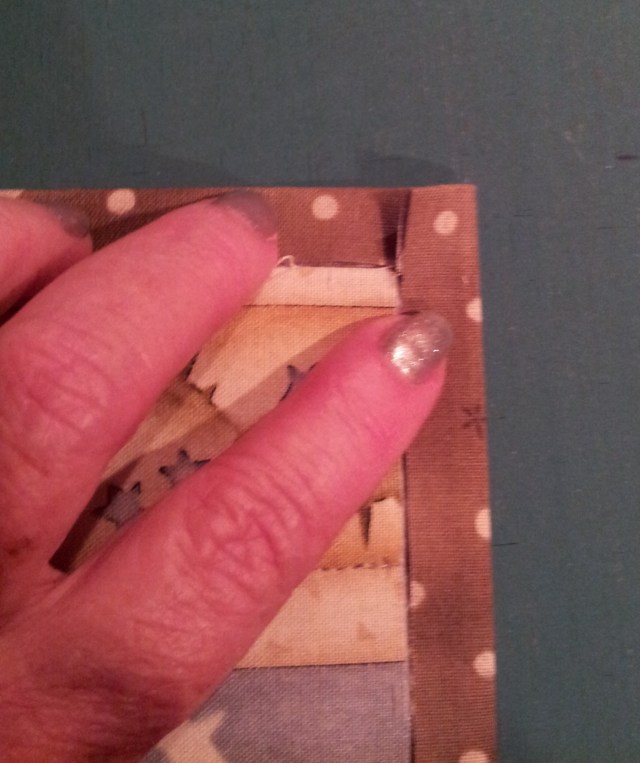
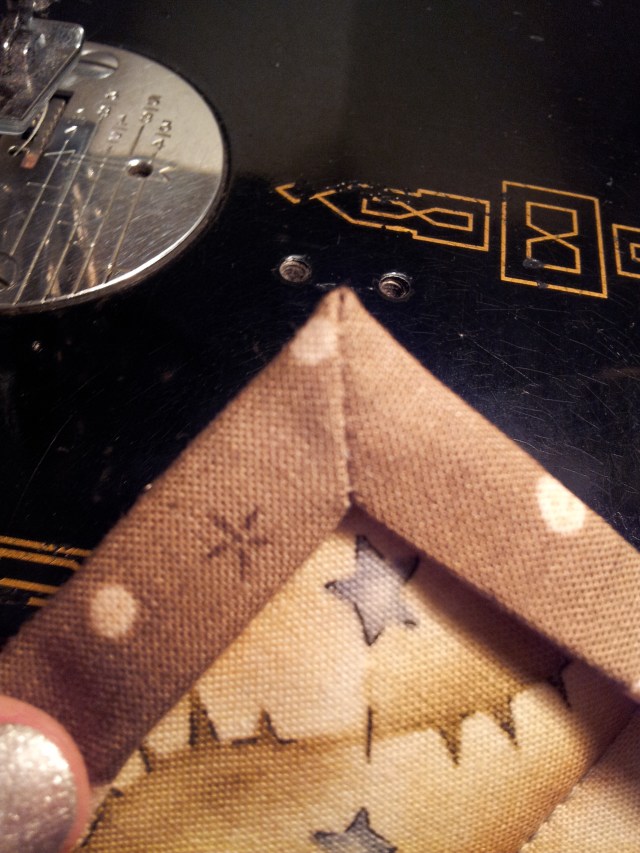
Carefully fold raw edge in.
REPEAT for all four corners!
Top stitch along inside folded edge.
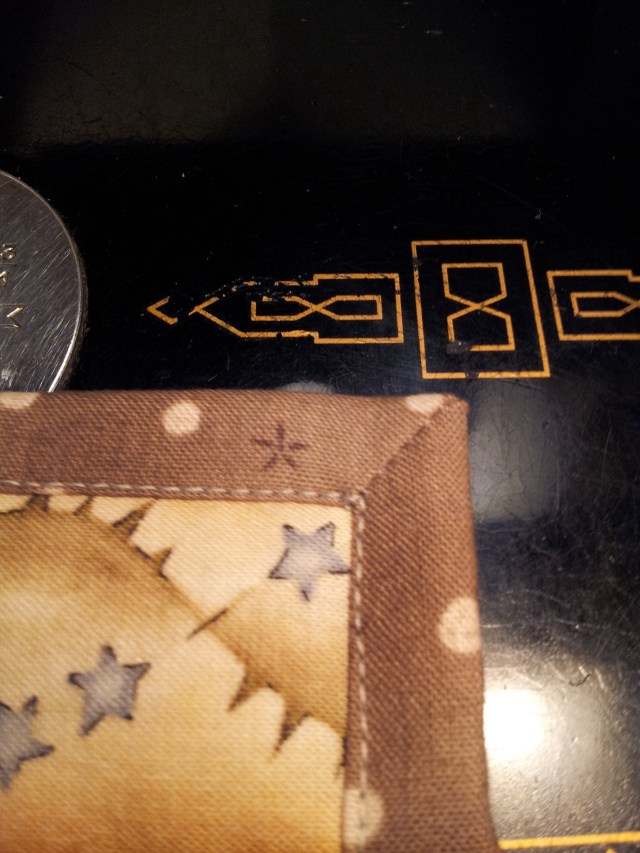
Ta Da a quick easy placemat! Perfect for a last minute gift!
Merry Christmas!
in quilting,
Debbie
