
Do you get the Nancy’s Notions catalog? I’m in it again! A dear friend texted me the page, see below. Mermaids and Whales are hot right now! What is not to like about a snuggle bag in their shape? Of course, I’d love for you to purchase direct from my website (wendtquilting.com). If you purchase it from Nancy’s Notions or a quilt shop you are still supporting me. AND I thank YOU! Don’t forget the Block Stock initiative is still running through the end of April. Make any purchase on my website or in my booth at a show and you receive my Brilliant Ribbons block pattern, free! Hurry before time runs out.
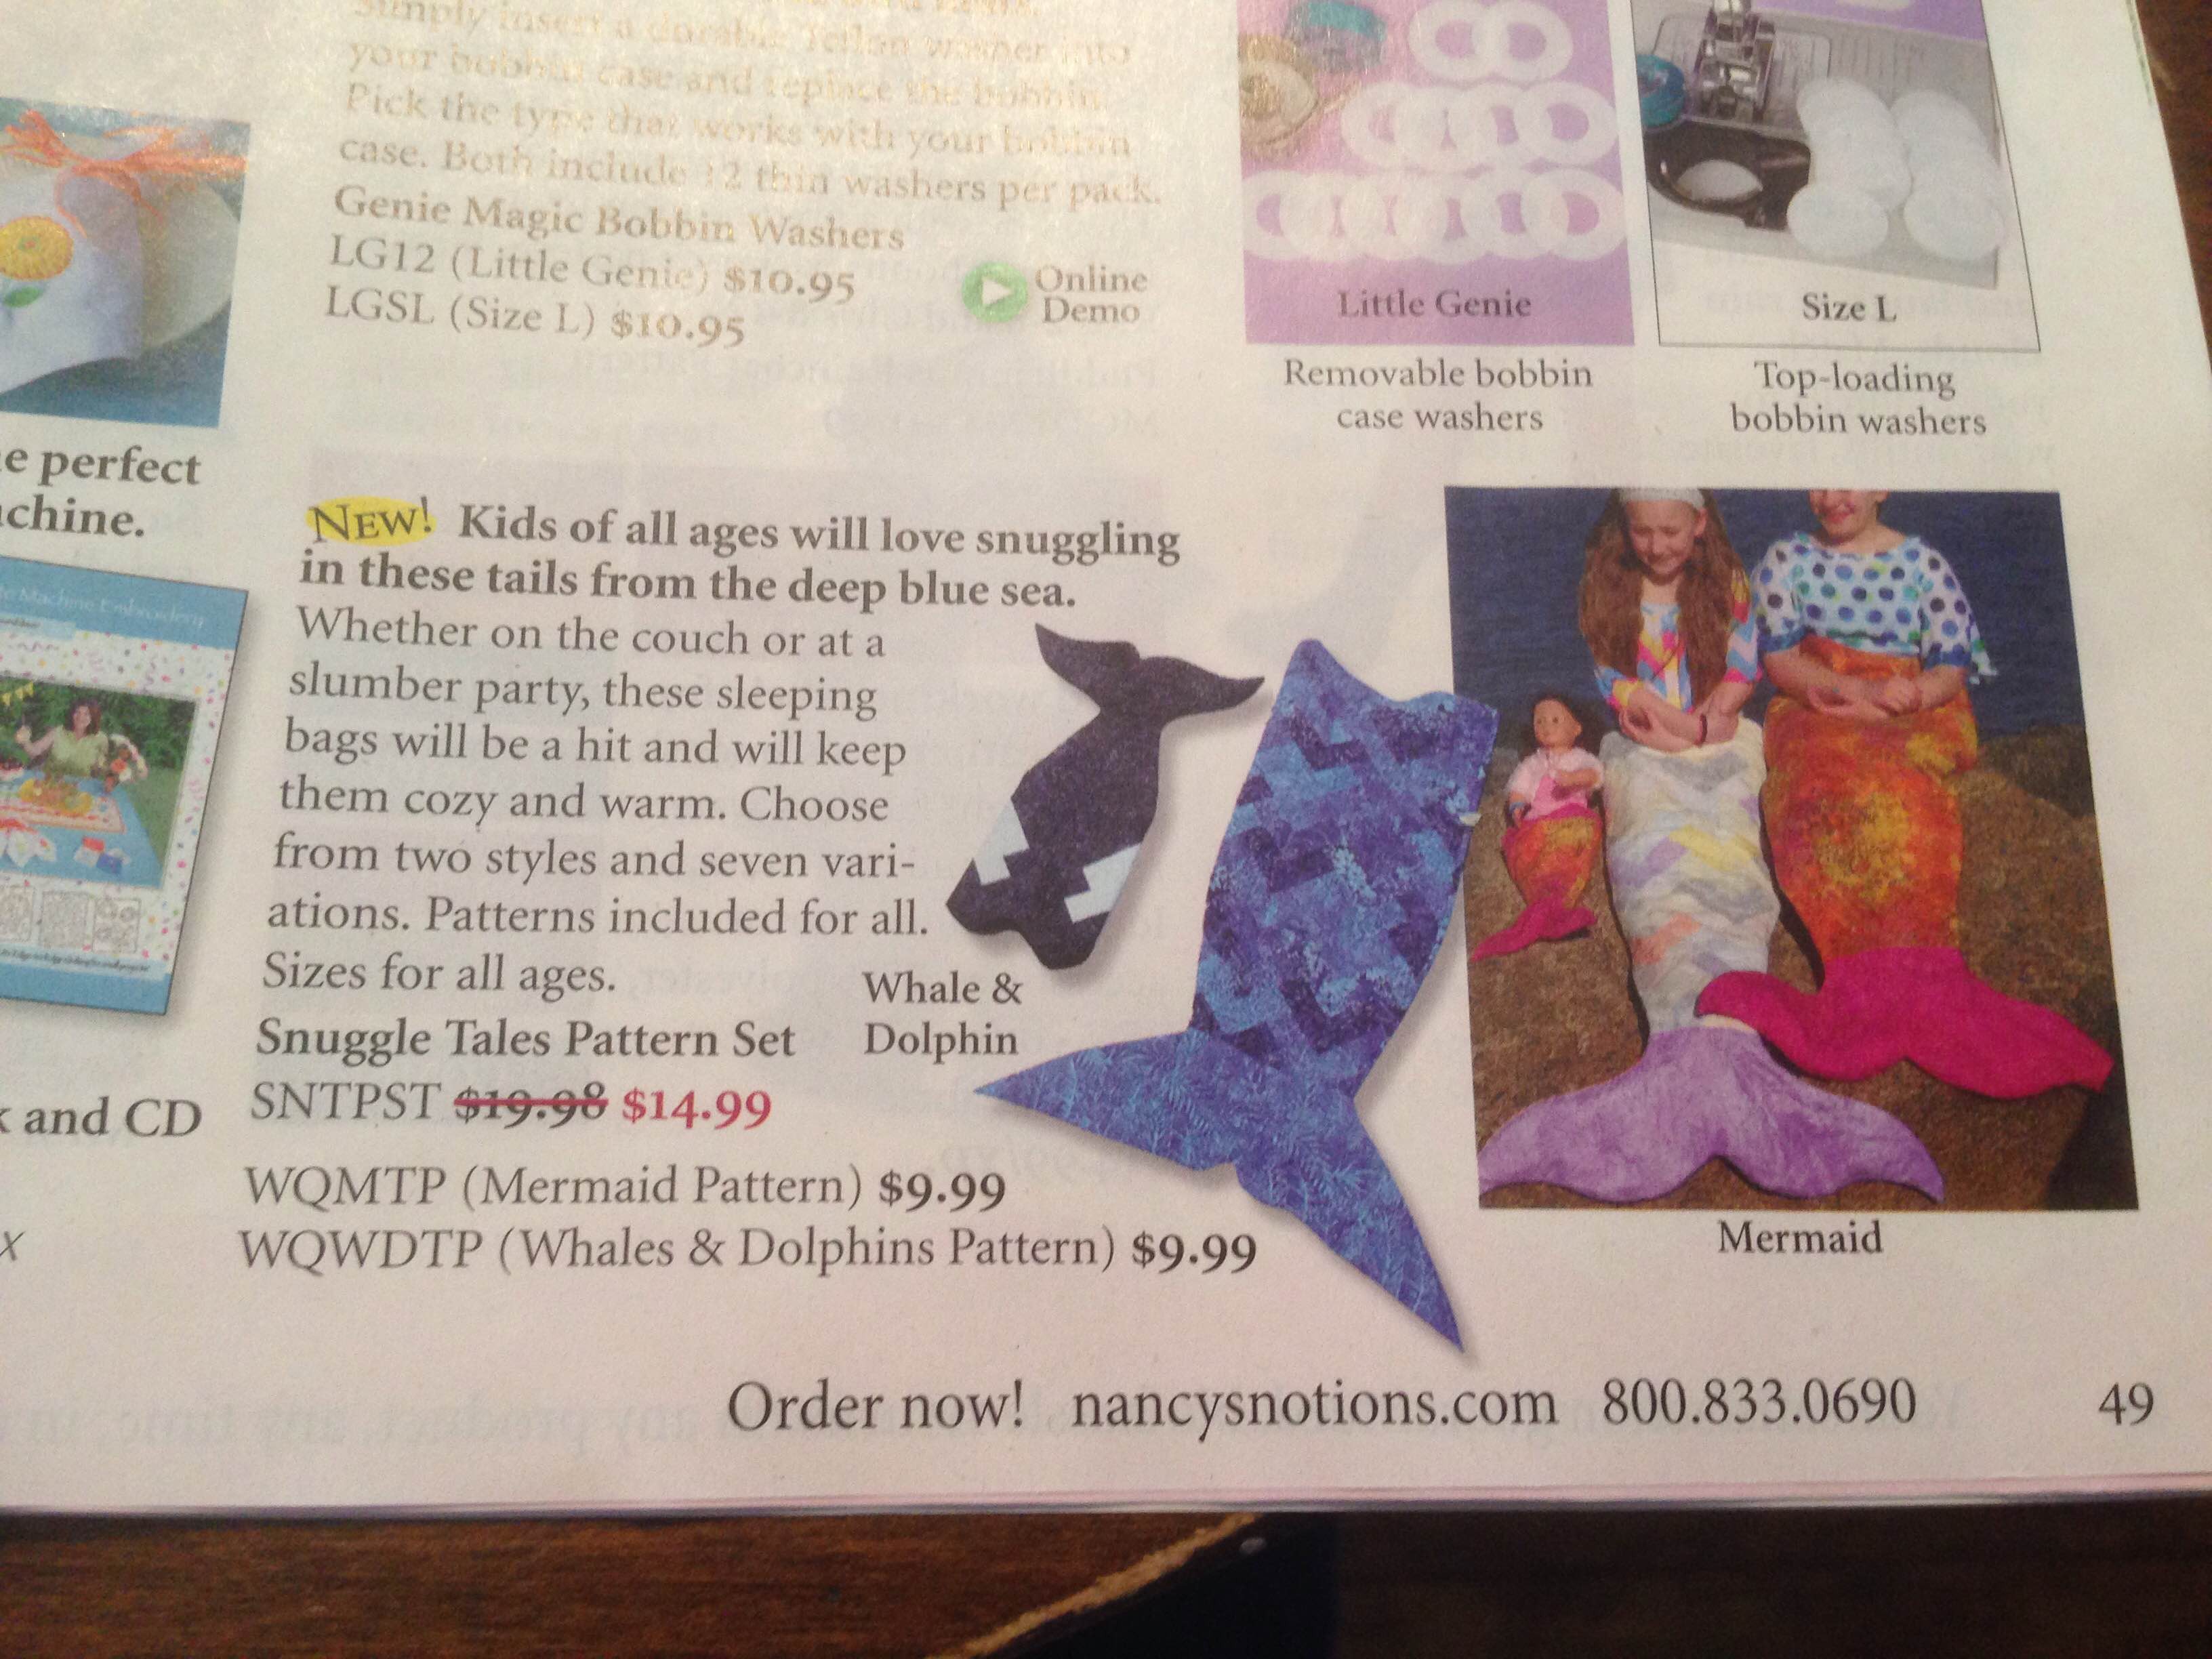
Snuggle Tails in Nancy’s Notions catalog
Quilt show season has started. I will be helping in Sturbridge Quilting and Sewing’s booth and Willow Leaf Designs at MQX next week. (Please note: these are not my personal booths, I will not have the Block Stock blocks with me) Stop by and say hi!
I have been working on new patterns and Sturbridge Quilting will have them in the booth!! One of the quilts has a mitered border. (Check out my mitered border instructions on my website under free patterns.) And this quilt has a double border. I’ll give my TIPS in telling the process I use to miter a double border.
First, to simplify the process, you can sew both borders together.
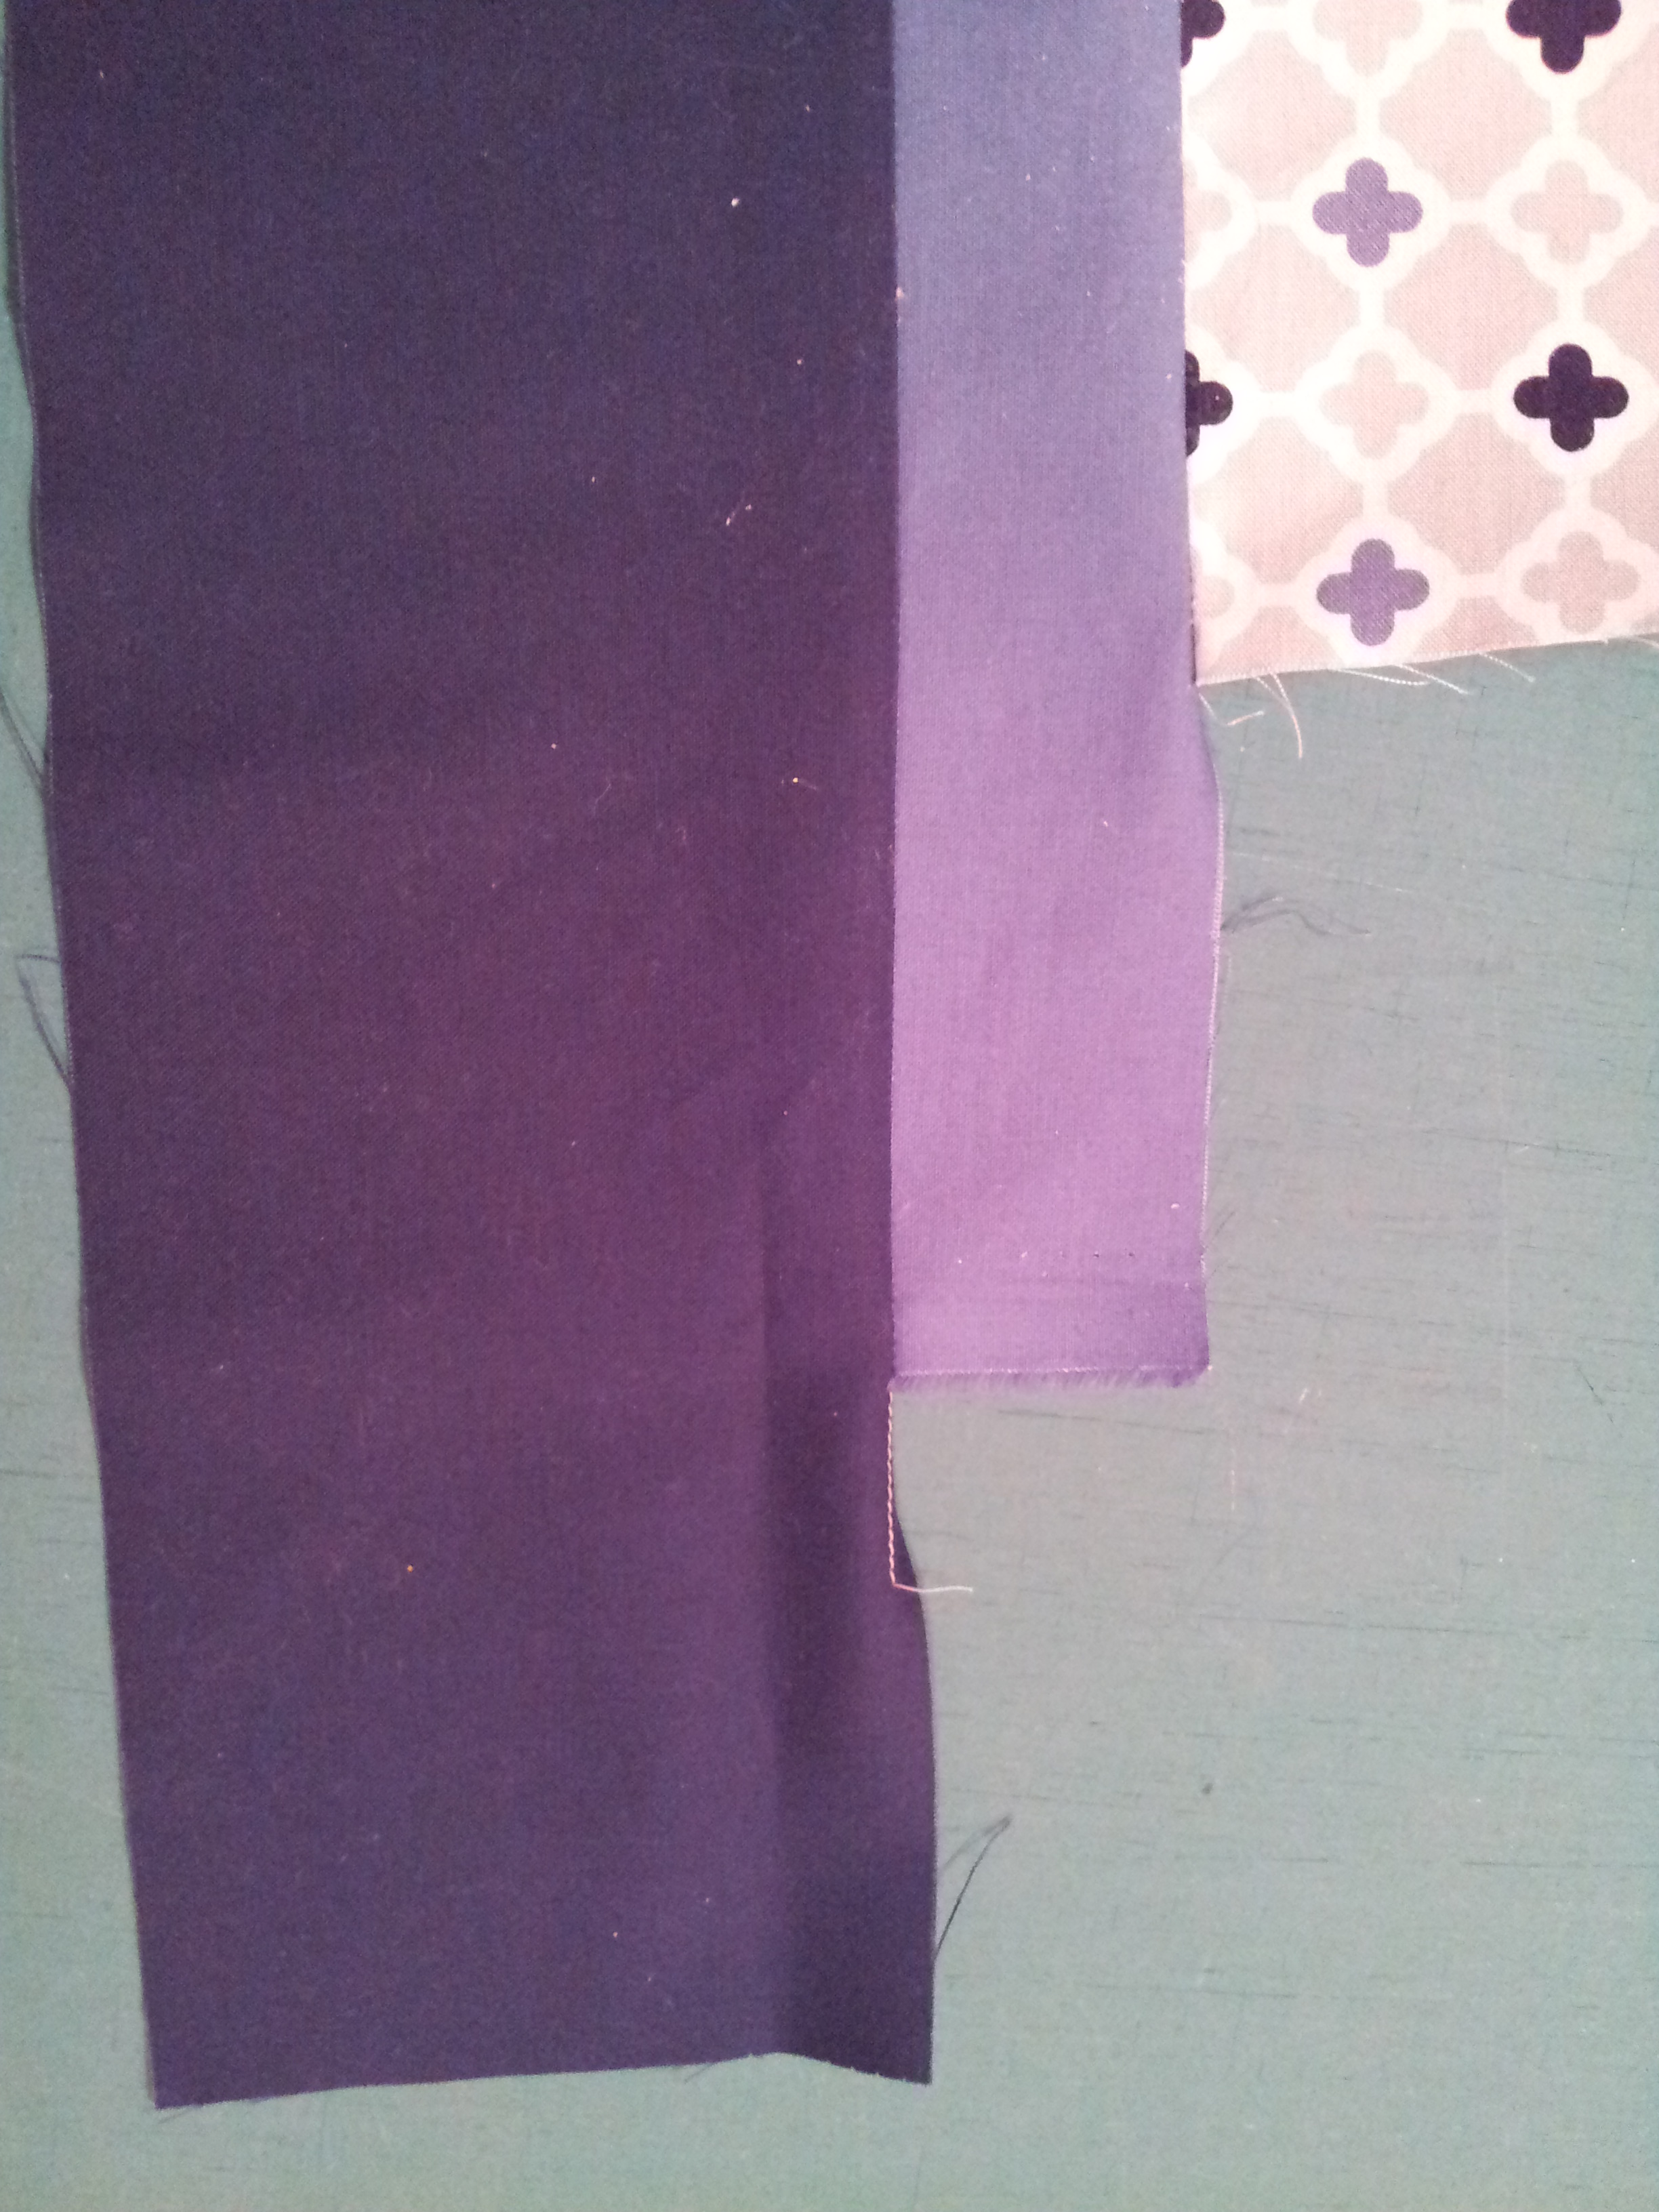
Both borders sewn together and sew onto quilt stopping 1/4″ from corner.
Find the center of the quilt and sew pieced border onto the center of the quilt. Stop sewing 1/4″ from each end. It is good to backstitch! I take several measurements and make sure I do NOT stretch the border as I sew it onto the center of the quilt.
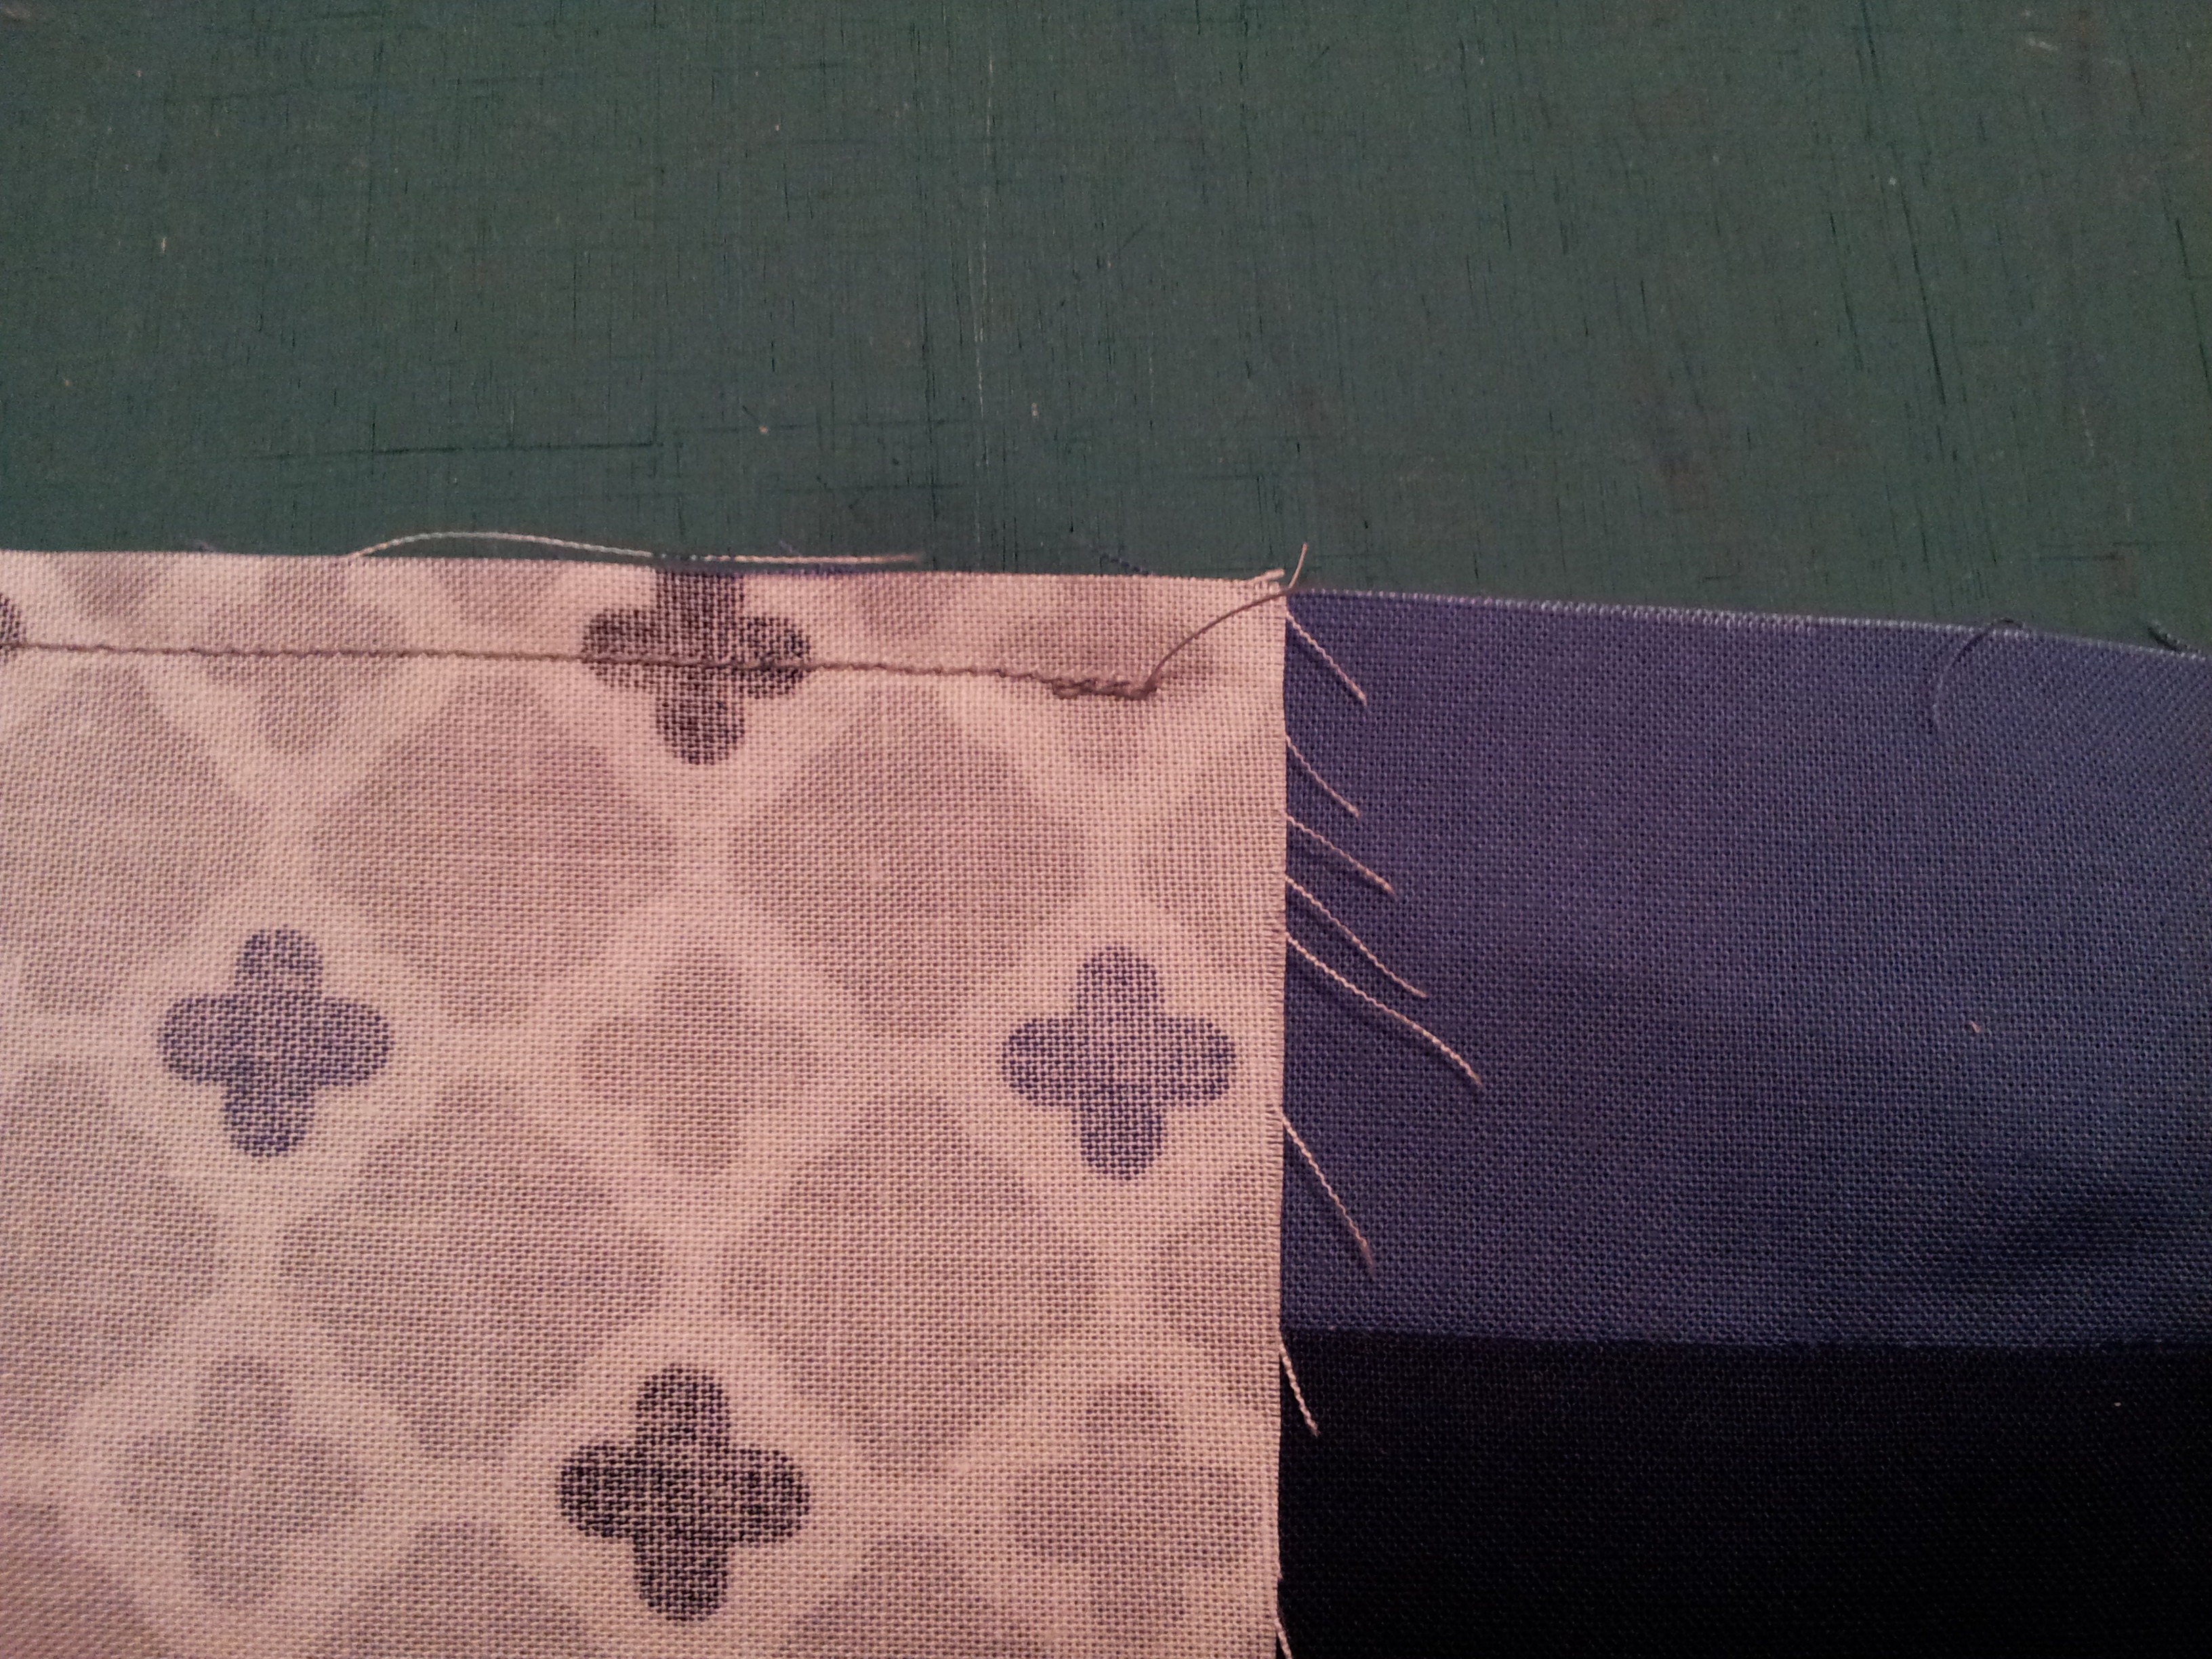
1/4″ stopping point at corner.

Adjacent edge also has 1/4″ stopping point at corner.
Sew the adjacent border on the quilt. Also stopping 1/4″ in from the corner of the quilt.
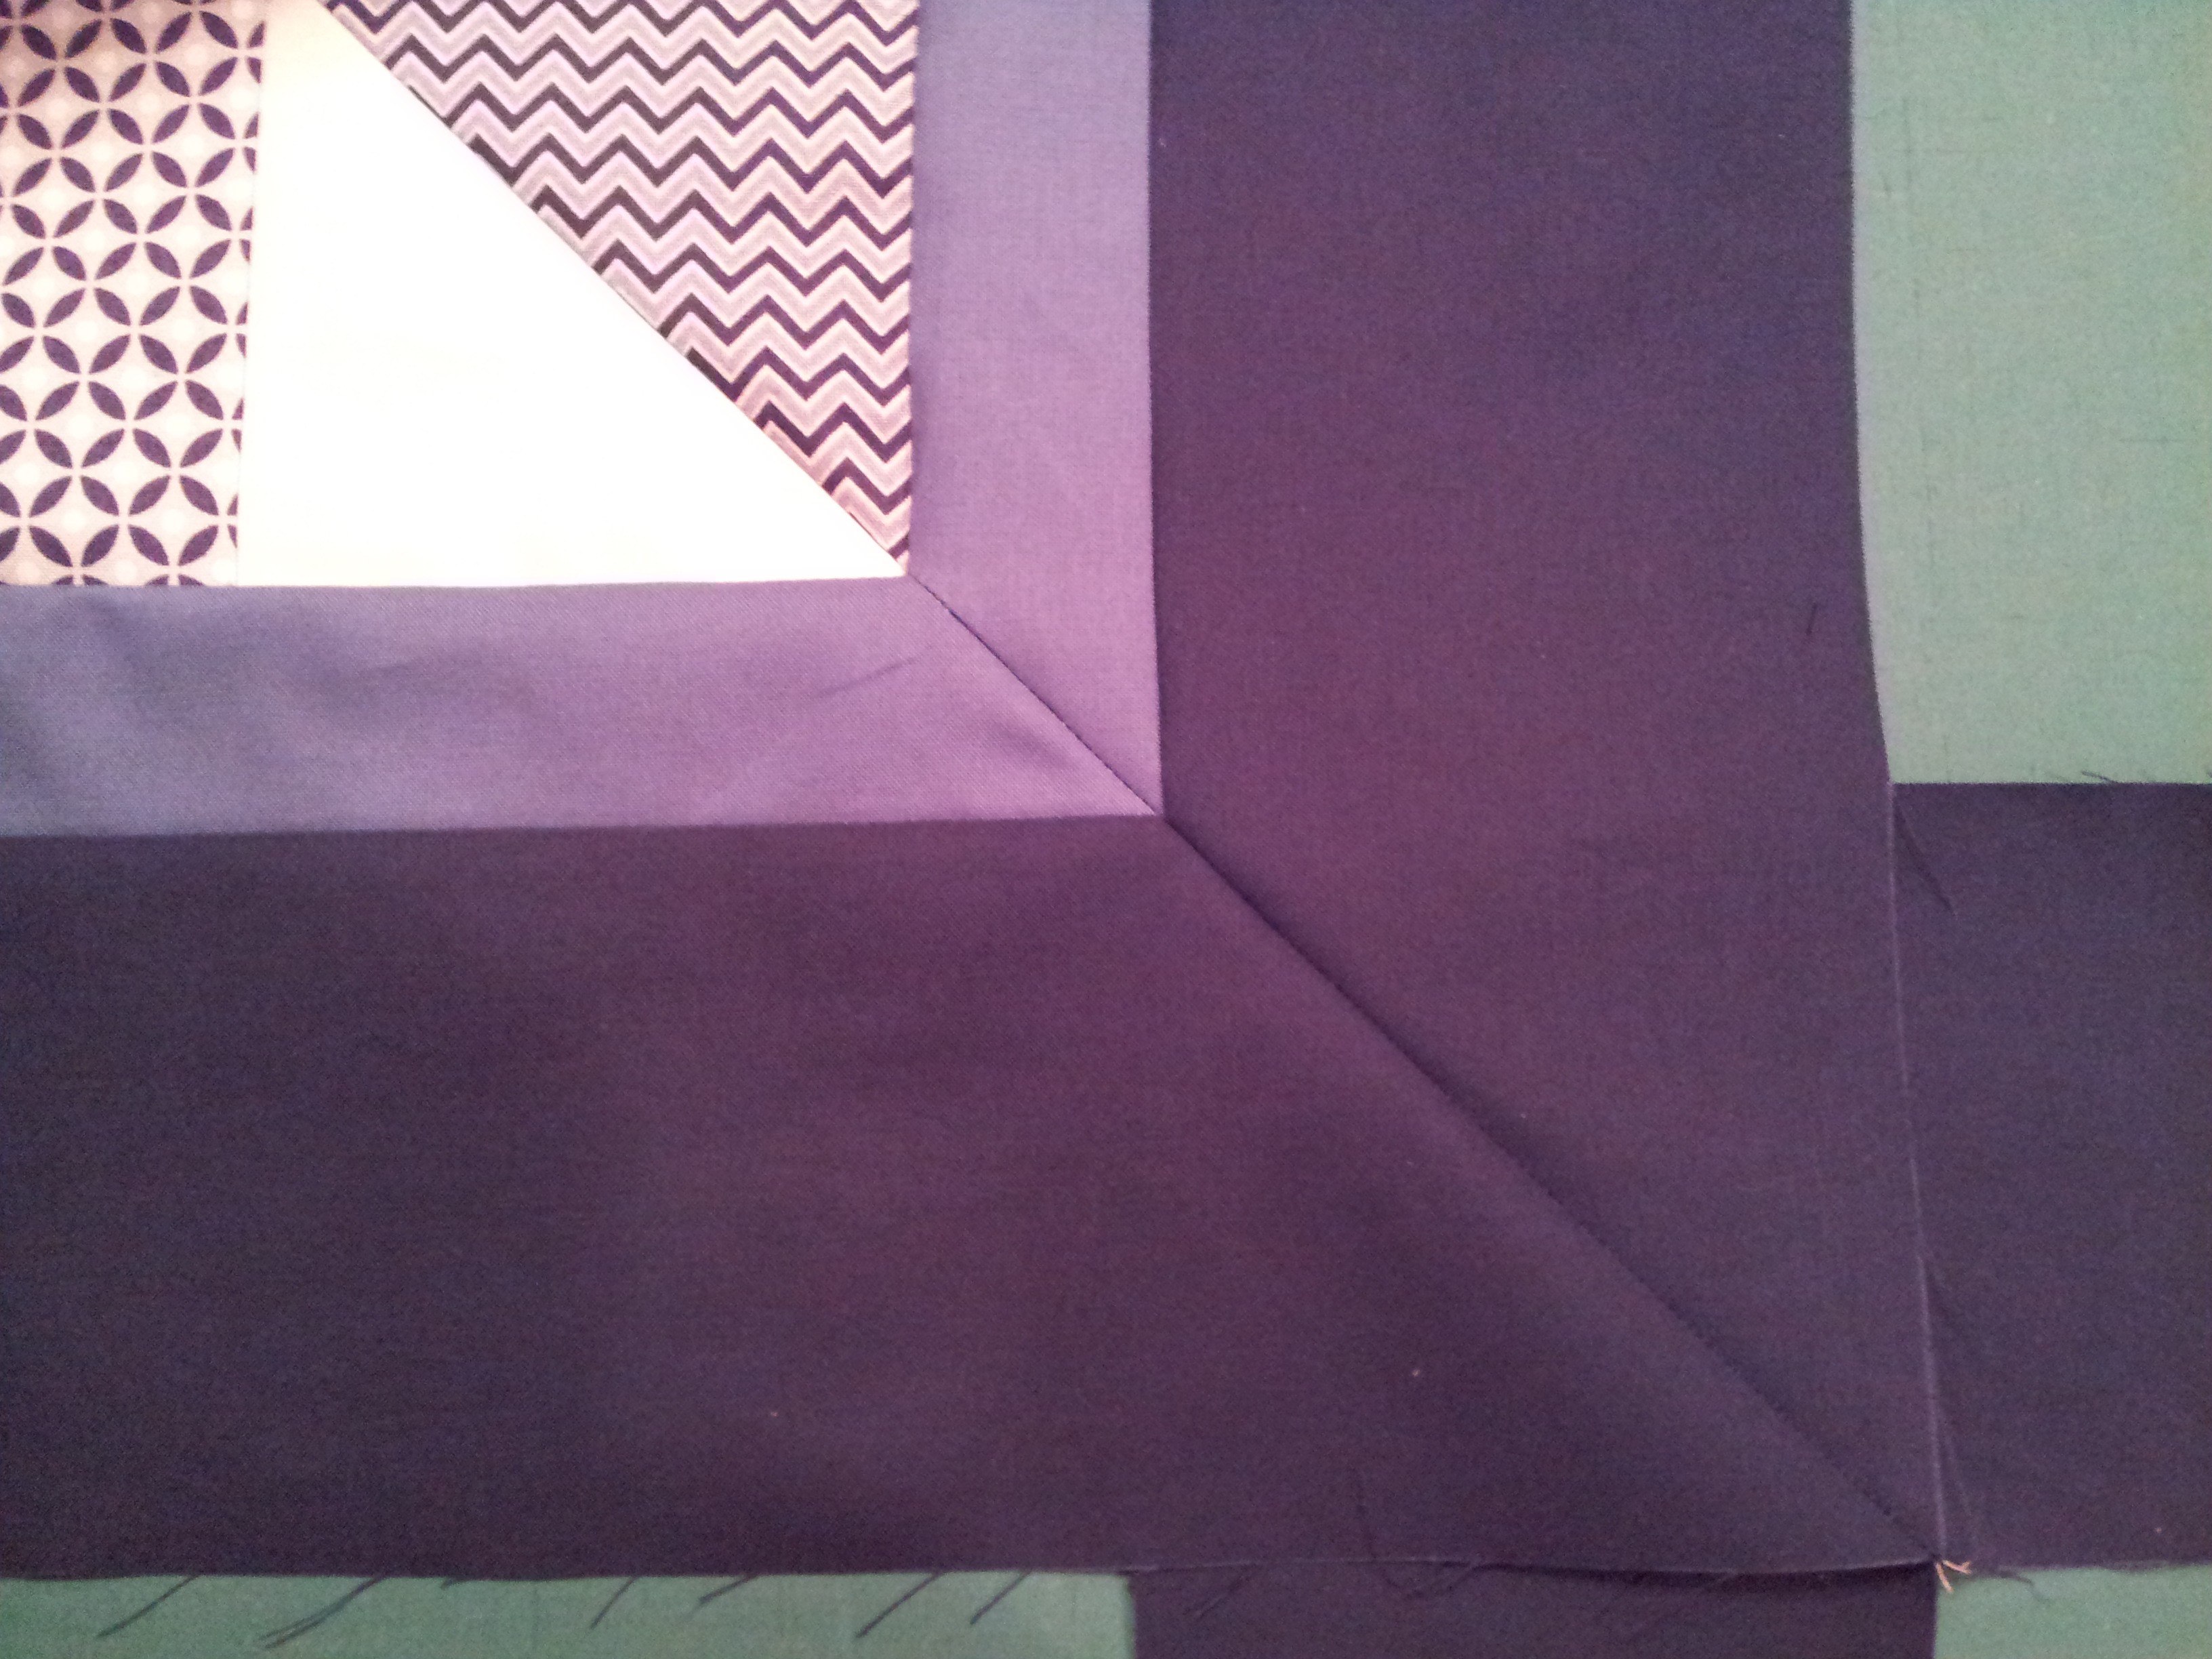
Fold the adjacent borders on top of each other. Align outside border’s long edges, seam lines between the borders and 1/4″ stopping points at the corner. Place a ruler so the straight edge of the ruler is along the diagonal fold of the quilt and the 45 degree line is on the outside border edge. Draw a line along ruler. Pin. Take to the machine and sew directly on the line. Begin at the 1/4″ corner points and stitch to the outside edge.

45 degree line on outside edge. sorry for overhead lighting glare 😦

Straight edge on center of quilt, runs across 1/4″ stopping points.

Ruler placement. Note the diagonal center seam of quilt is on the edge of the ruler. Halfway along the edge the seam flipped under.

Chalked sewing line.
Mitered double border.
Press seam open and ta da…a mitered border!! (trim seam to 1/2″, it lays better! This step was not done for the photo.
in quilting,
Debbie

That’s my girl, love you.