
Have you ever just wanted to sit and sew? I’ve been itching to just sit and hear the hum of my machine. With my husbands shoulder replacement done and recoup in progress, I was able to spend some time with fabric, rotary cutter and my machine last night!! Ohhhhhh, the sound of my little featherweight makes me so happy! I decided to make “back to front napkins” (double sided napkins). See original post on Dec. 23, 2015 for back to front binding instructions. These red/white/blue napkins will go to my Thimble Pleasures Quilt Guild’s special project for our upcoming quilt show. The special project will raise monies for the Fisher House, who supports military and veteran families. The Thimble Pleasures show will be March 17-18, 2018 from 10am-4pm at the Blackstone Valley Regional Technical High School in Upton, MA. Mark your calendar!!
Back to sewing….But first, I needed to give the machine a good clean. I used a hand made cleaner from a coffee stir-er and pipe cleaner. I got this from Kathryn, owner of Dragonflys Quilt Shop in Bellingham. (thanks Kathryn!)
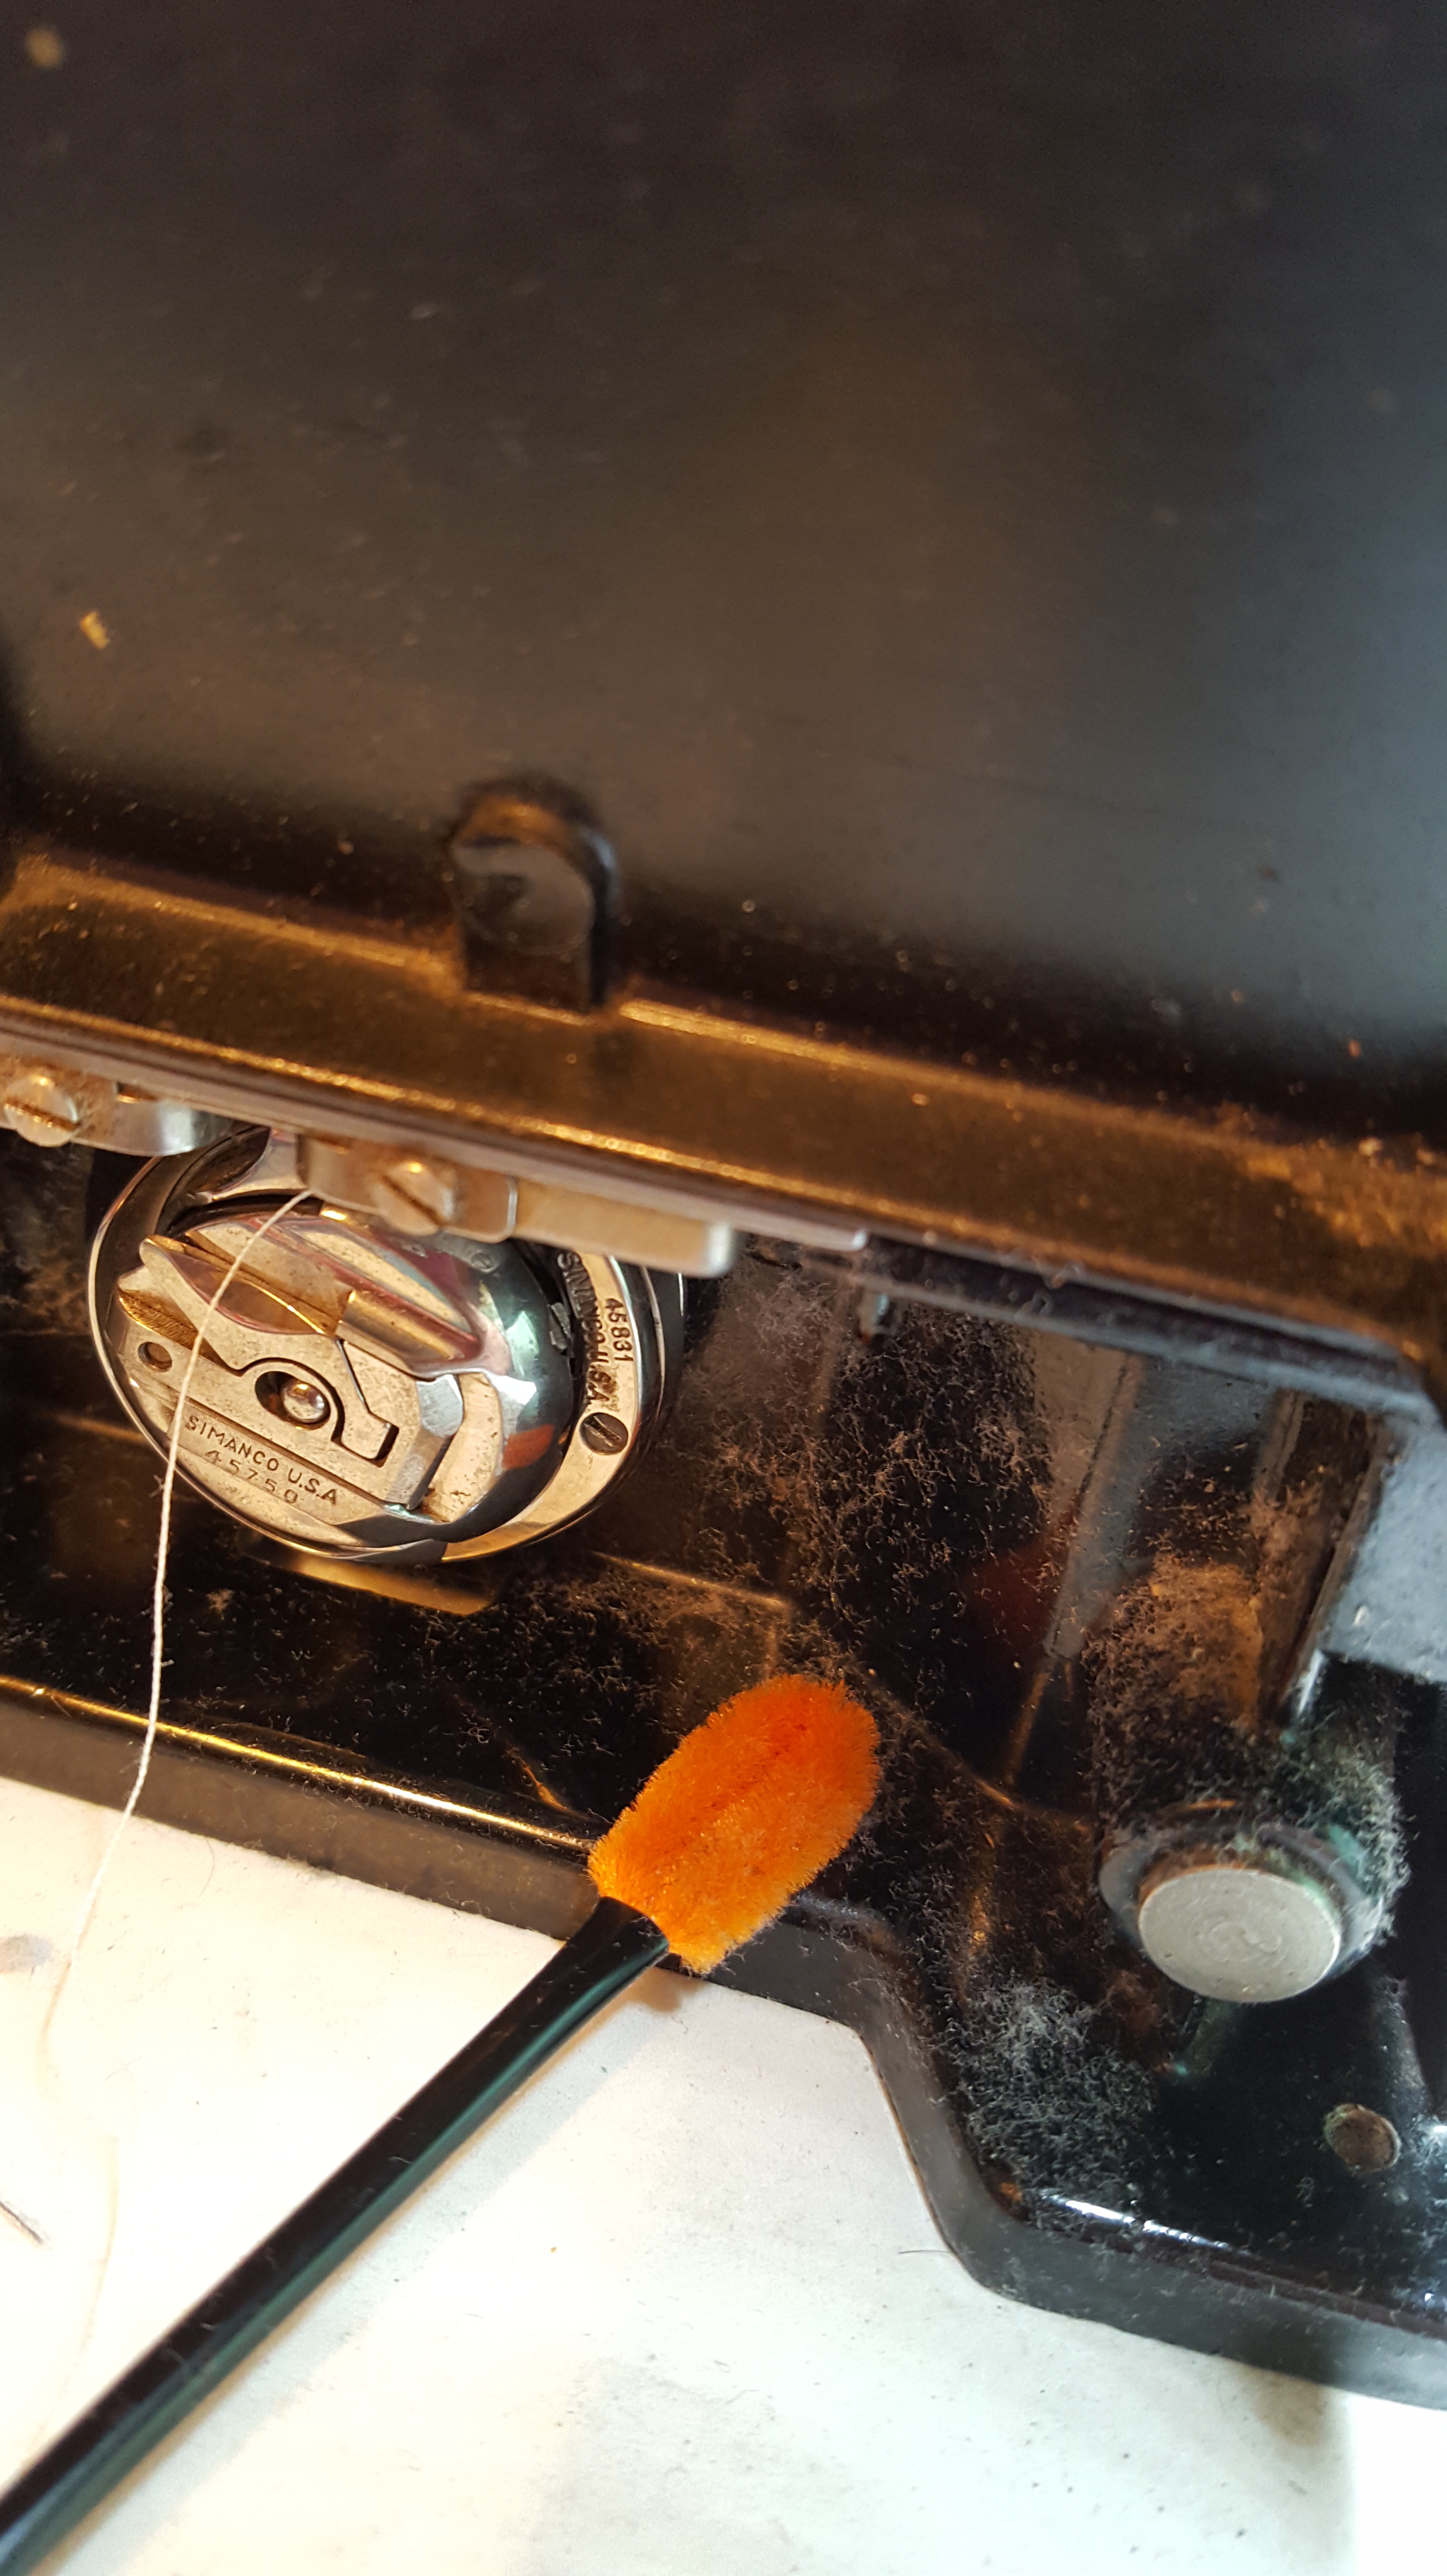 #1- Clean your machine! A homemade tool of a coffee stir-er/pipe cleaner works well to clean the lint from the bobbin area!
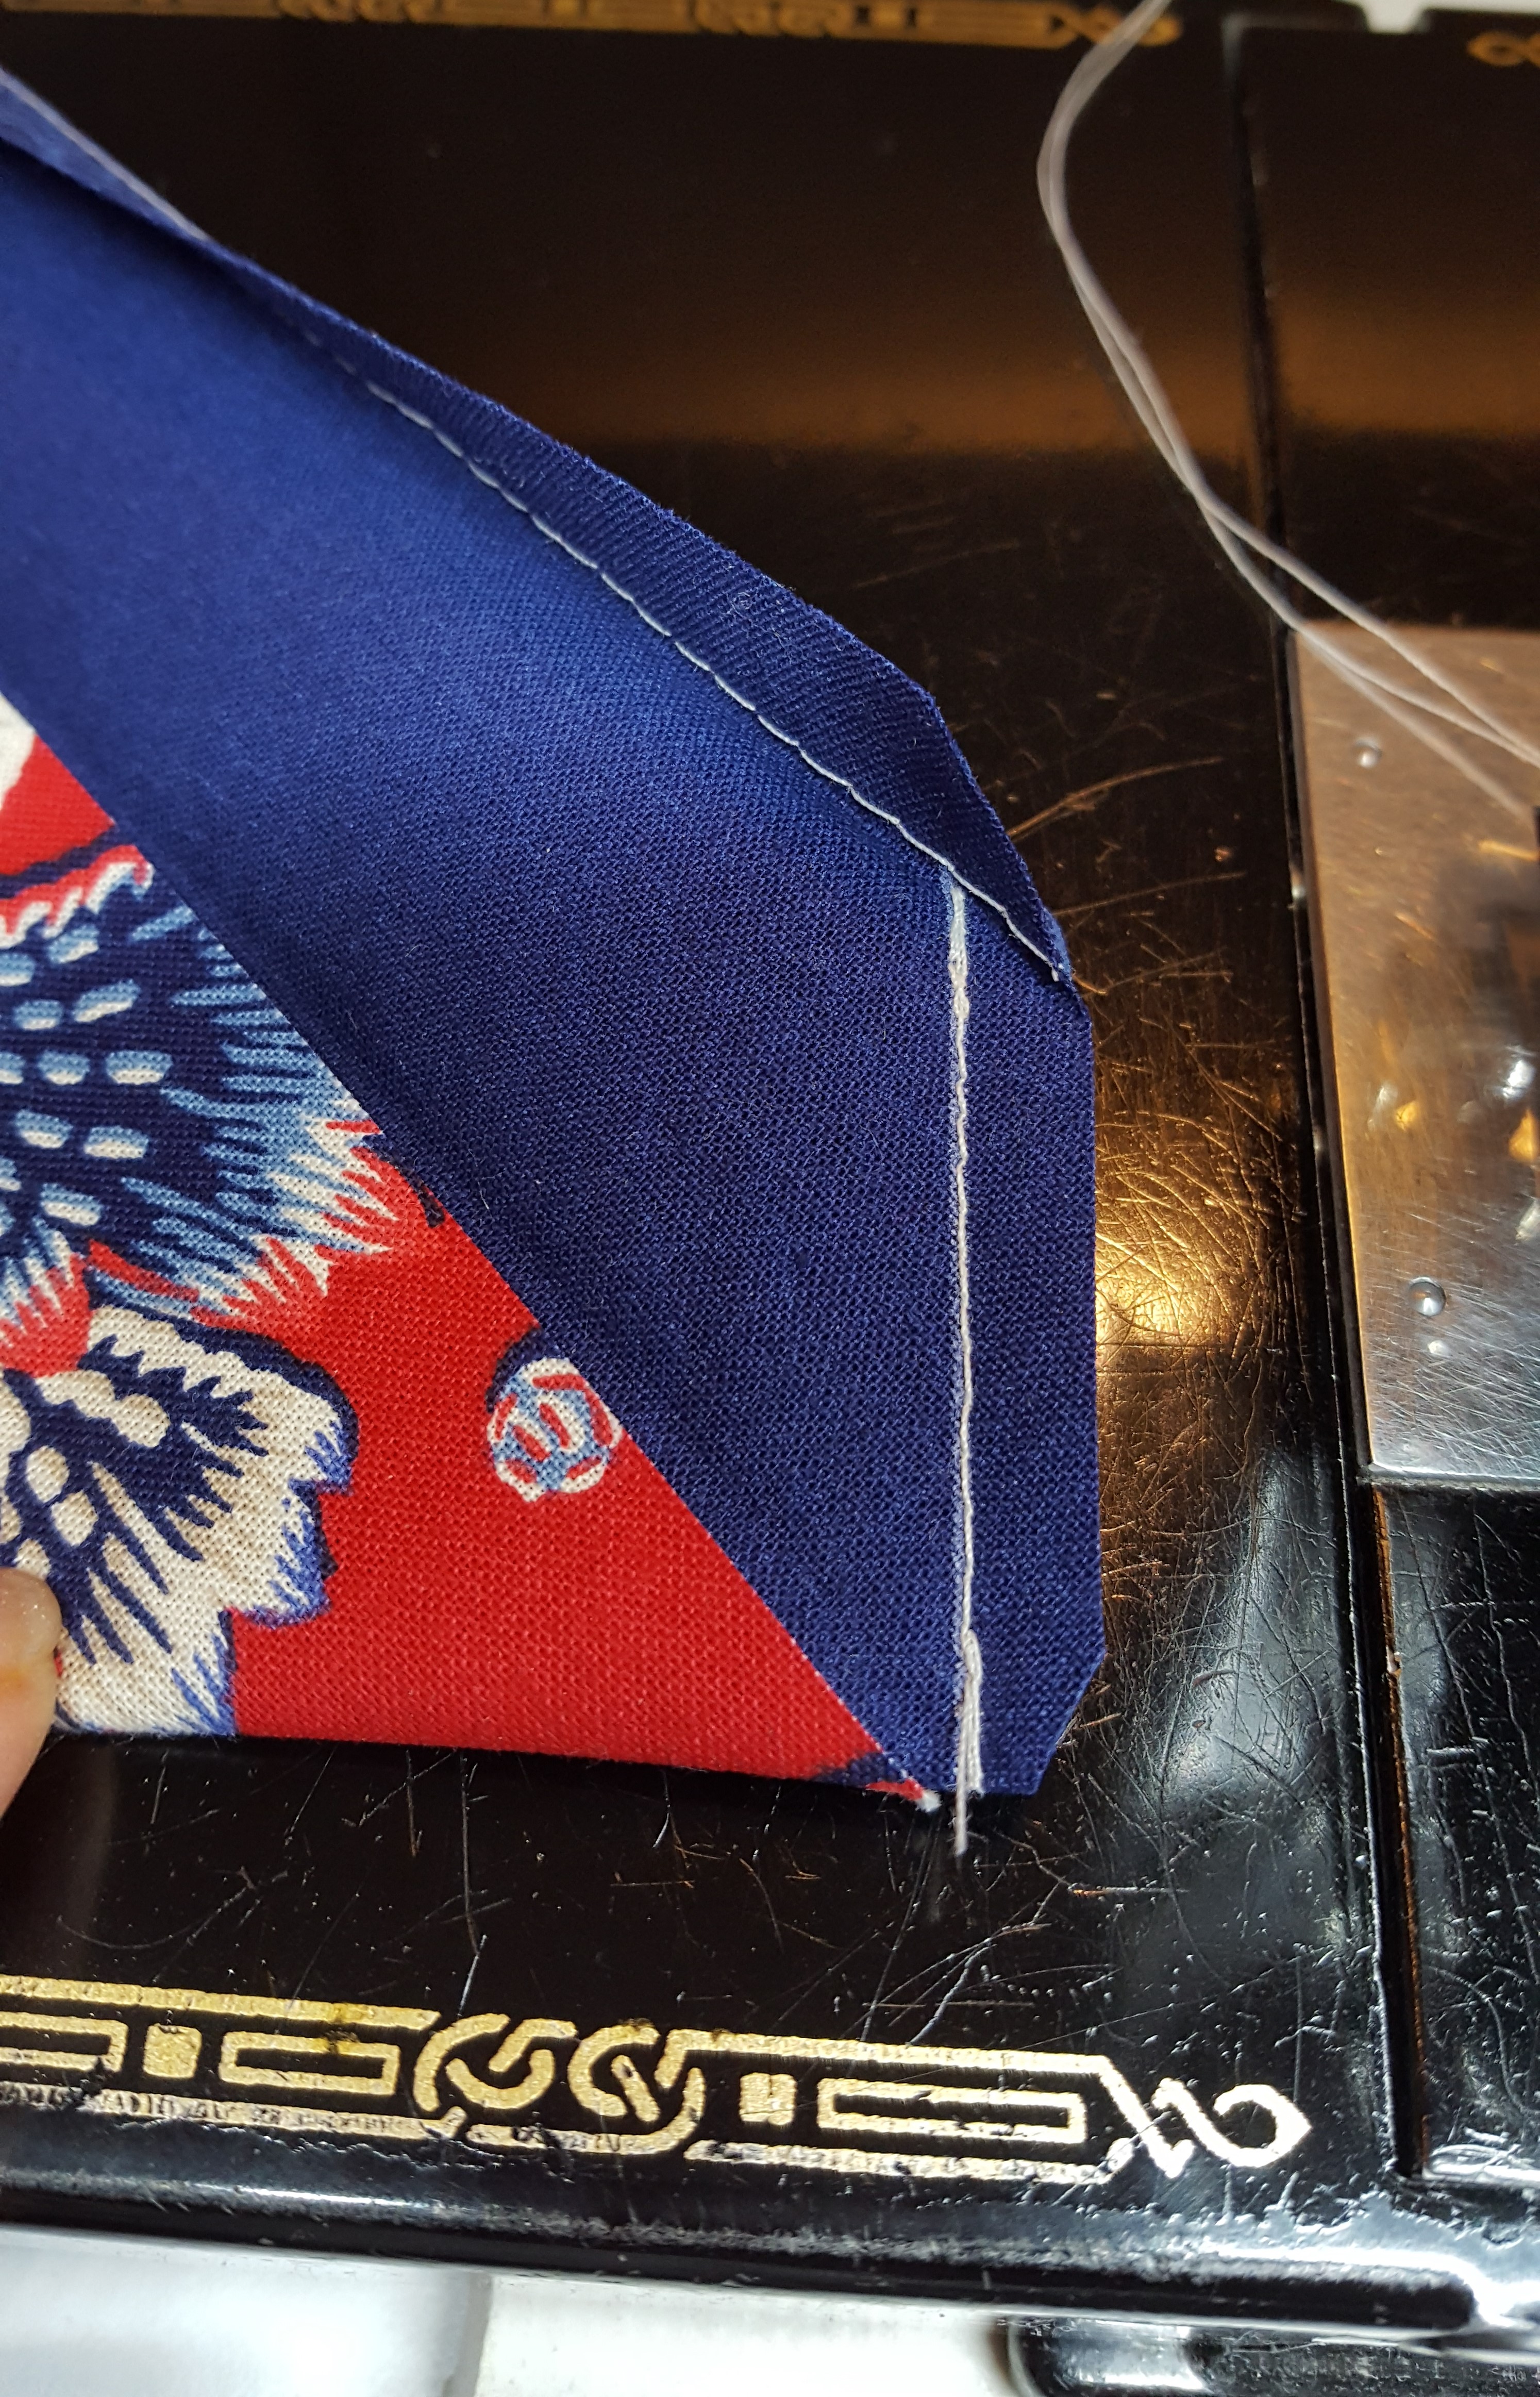
On to sewing napkins… In preparing the back to front napkins, you typically fold the backing even with the top piece of the napkin and then over again. But, I wanted to make the napkin as large as possible and had limited backing fabric due to the width of the fabric used. I cut 20 1/2″ squares for the backing and 17″ squares for the tops. In order to get a larger finished rolled over edge, I did not fold the back even with the top and then again on top of itself. I made the first fold 1/2″ and then folded over the top even with the top’s cut edge. This way I got a larger rolled over hem. Now to make that first 1/2″ press, I could have eyeballed it, measured as I pressed or drew a line. But, I choose to do it an “old” way of sewing the 1/2″ and then pressing on the stitching line. I did this a LOT in my “dress making” days. Especially for a pants hem or facing hem. As I mentioned earlier, I love to just sit a sew. Comfort in sewing that silly little 1/2″ line!! The photos below shows how I “hemmed” (back to front finish) for the napkins I’m making for the guild’s special project. It gave me a wonderful even 1/2″ fold and I got to relax while sitting and sewing! Win, win!
- Sew a 1/2″ line from the outside edge of the napkin back.
- Fold along the 1/2″ line and press.
- Fold over again along the cut edge of napkin front.
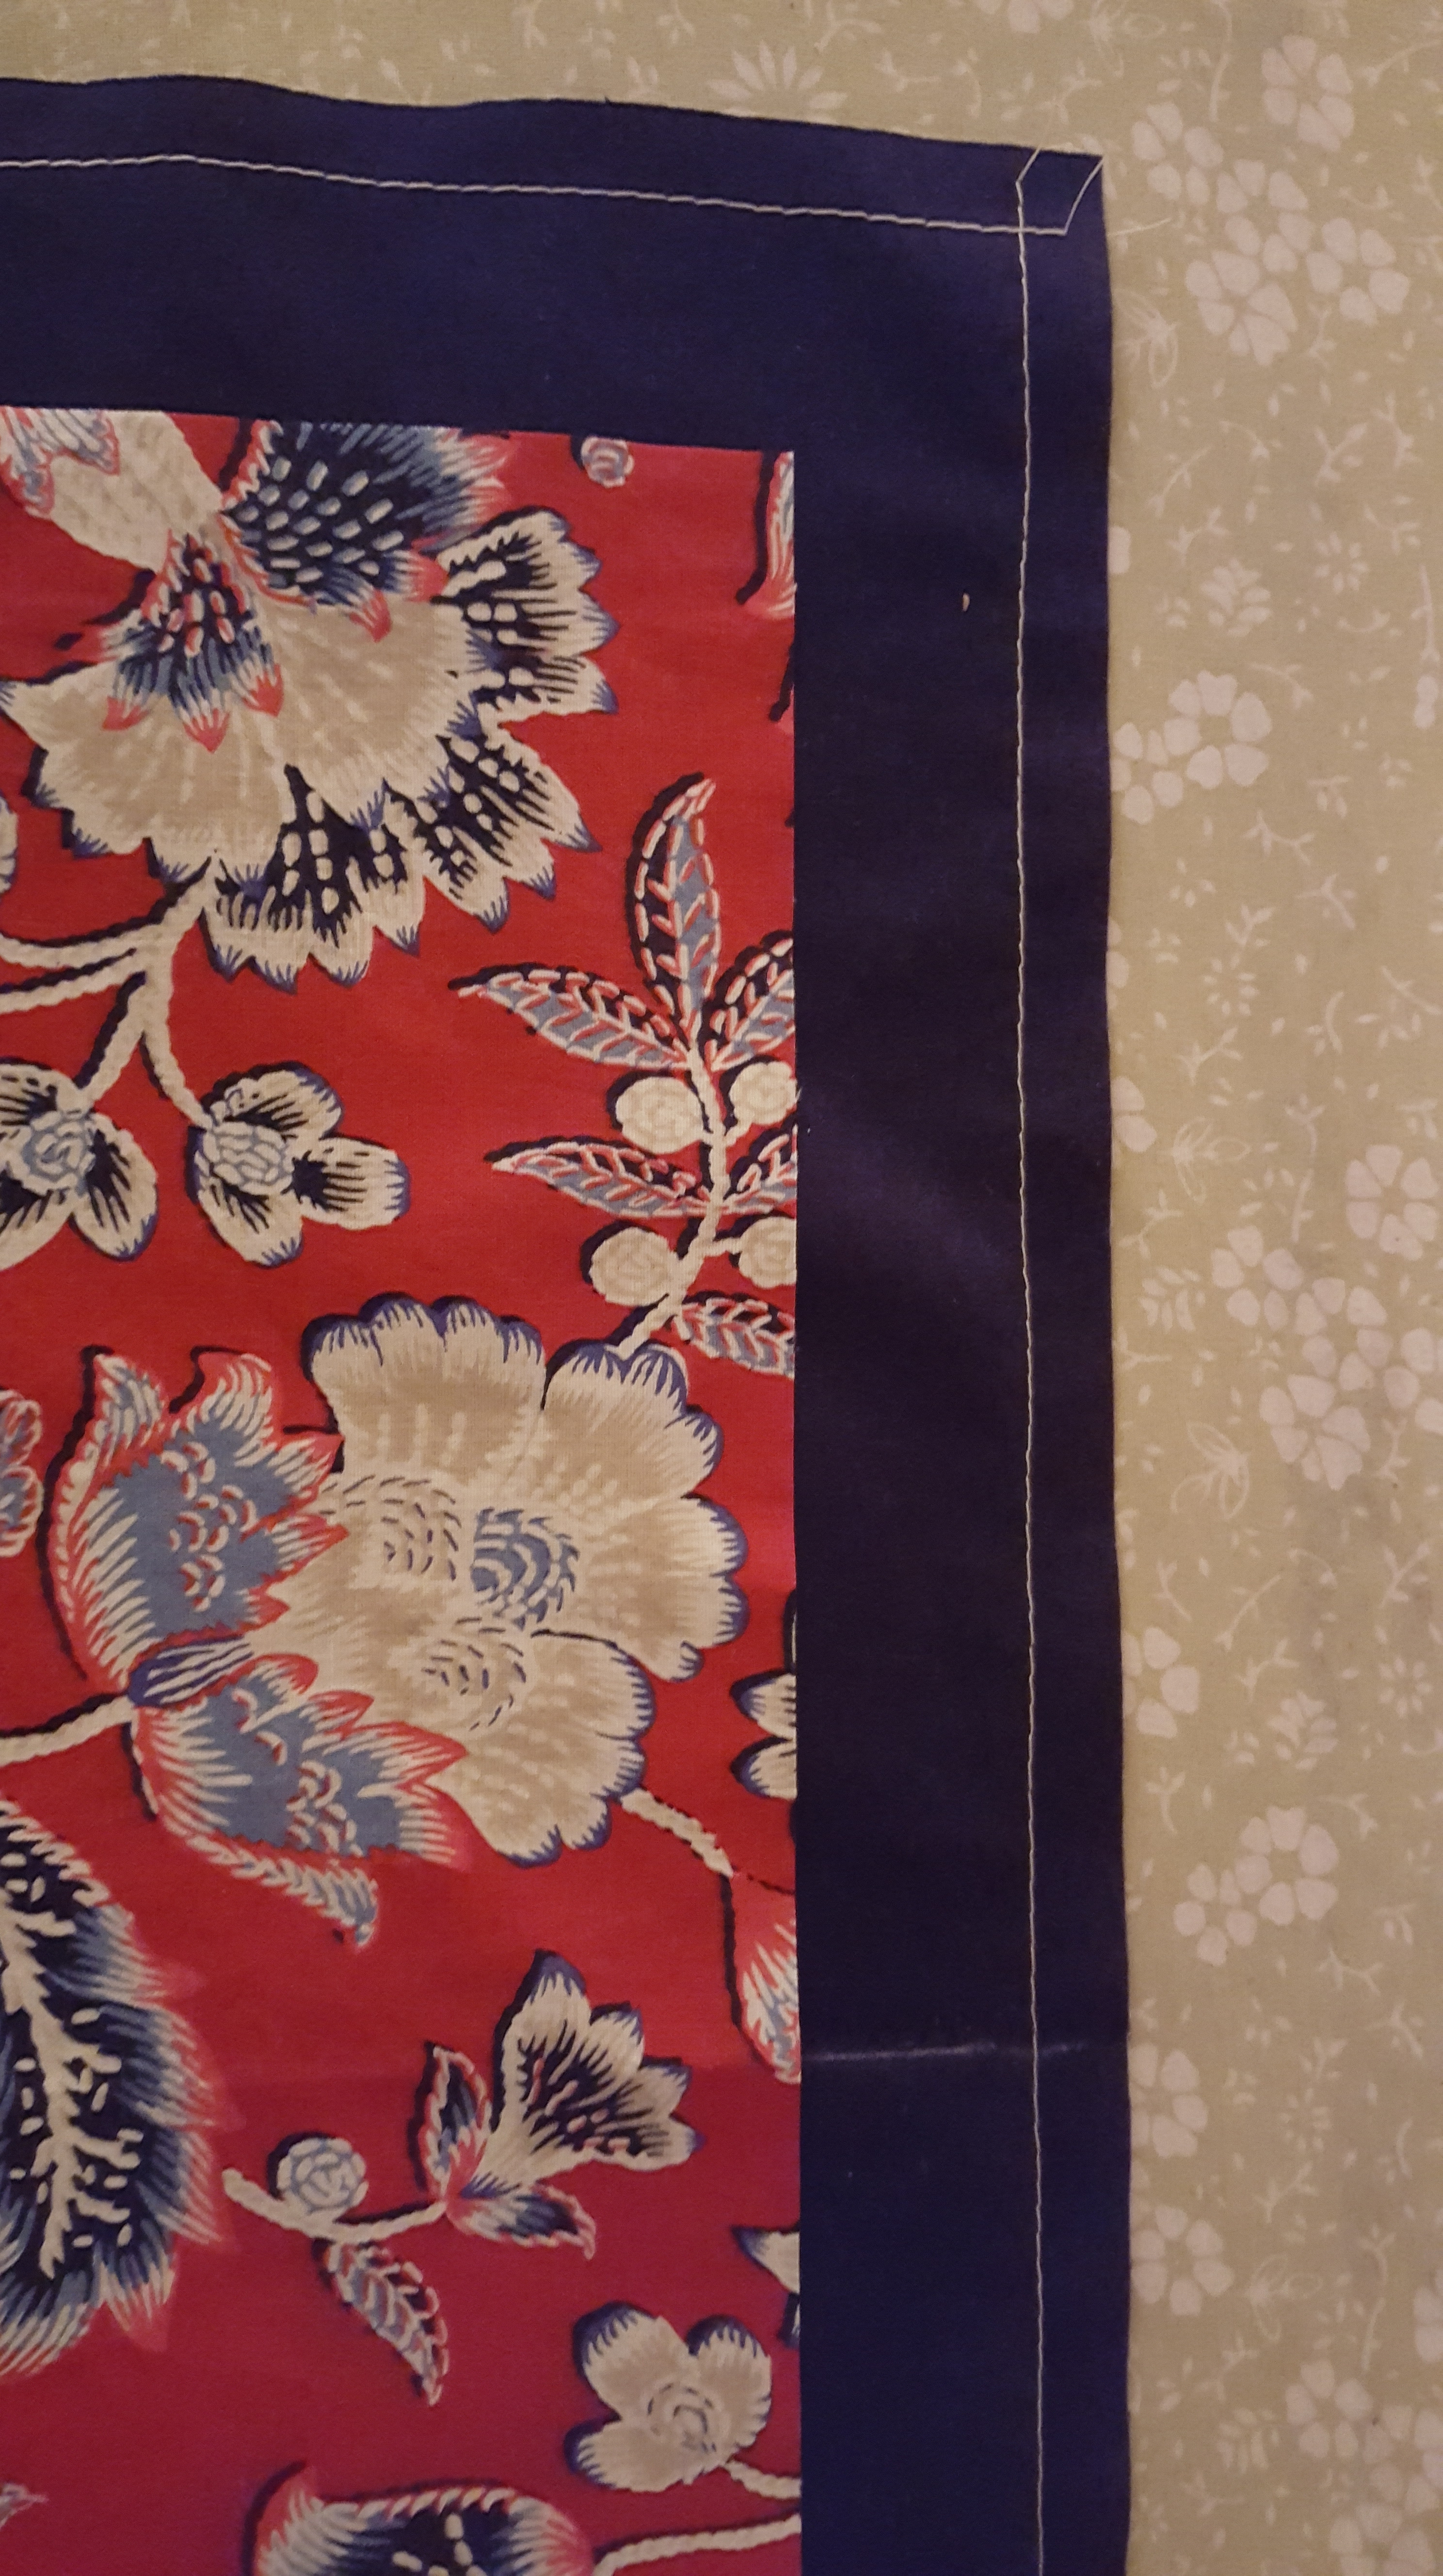
1. Stitching line 1/2″ from
backing edge.
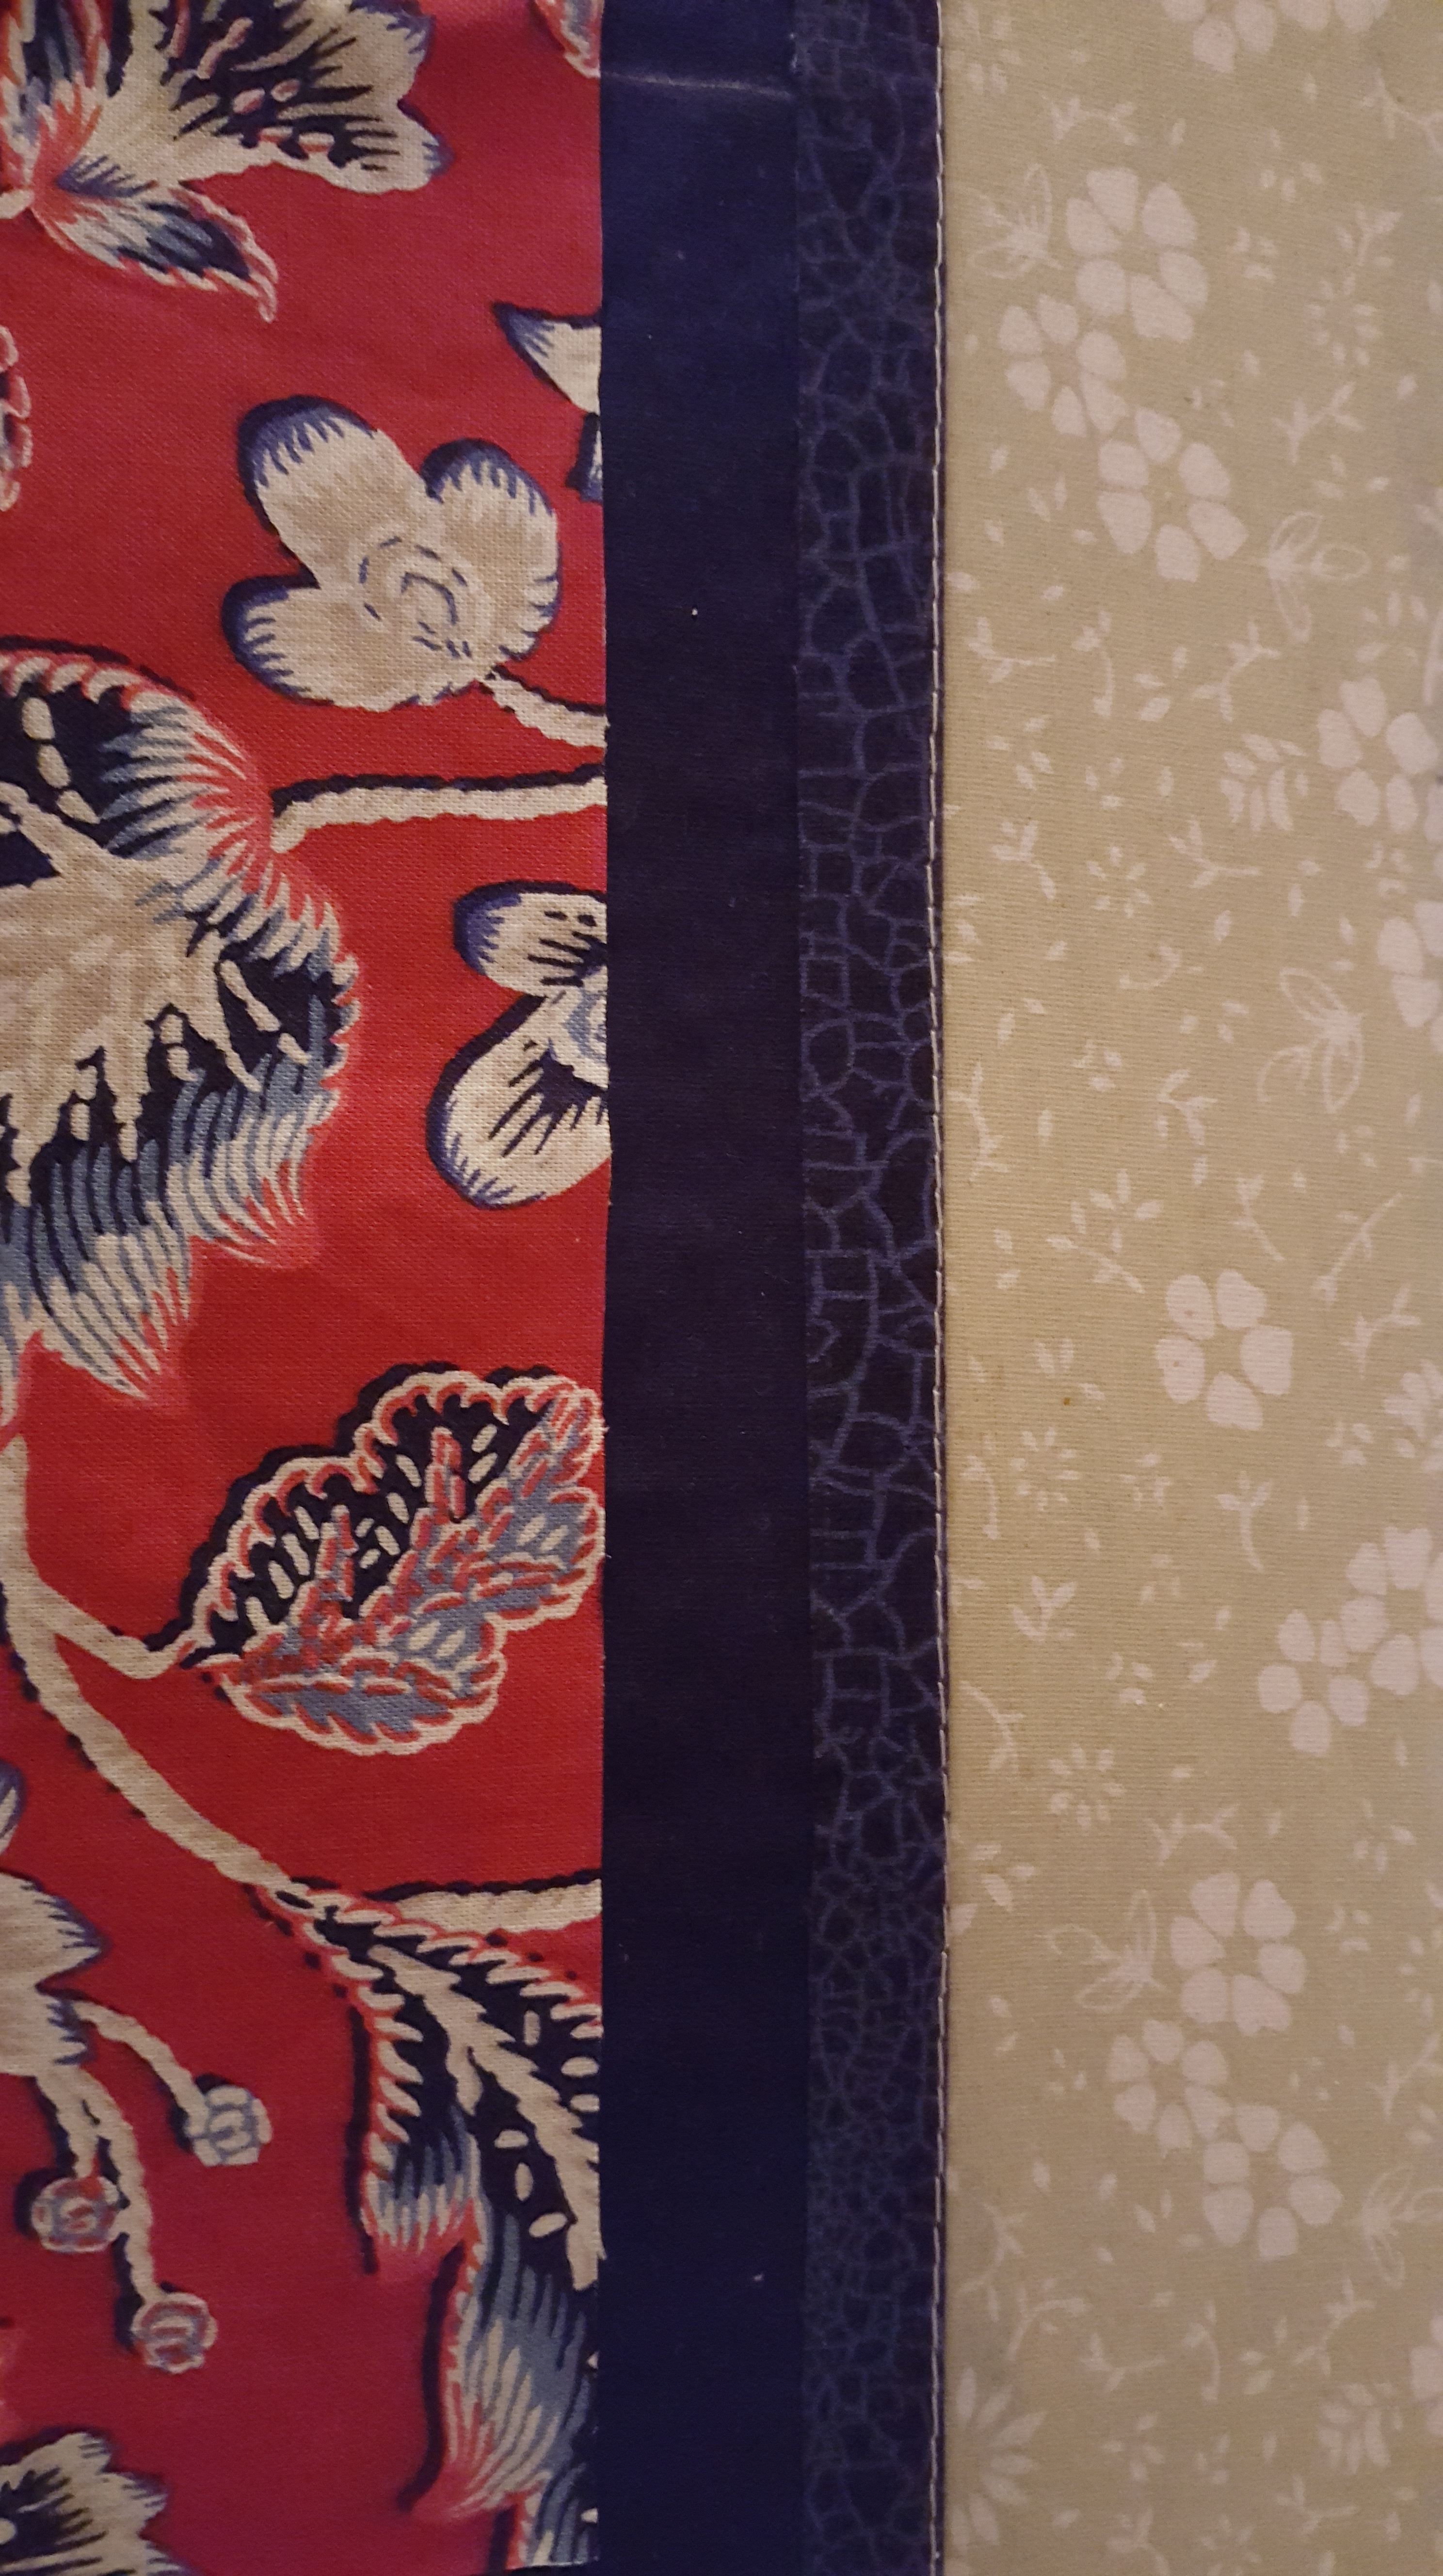
2. Folded and pressed along stitching line. Note stitching on outside edge.
3. Second fold over napkin front.
#2 – Sew a line for your fold line instead of marking or eyeballing!
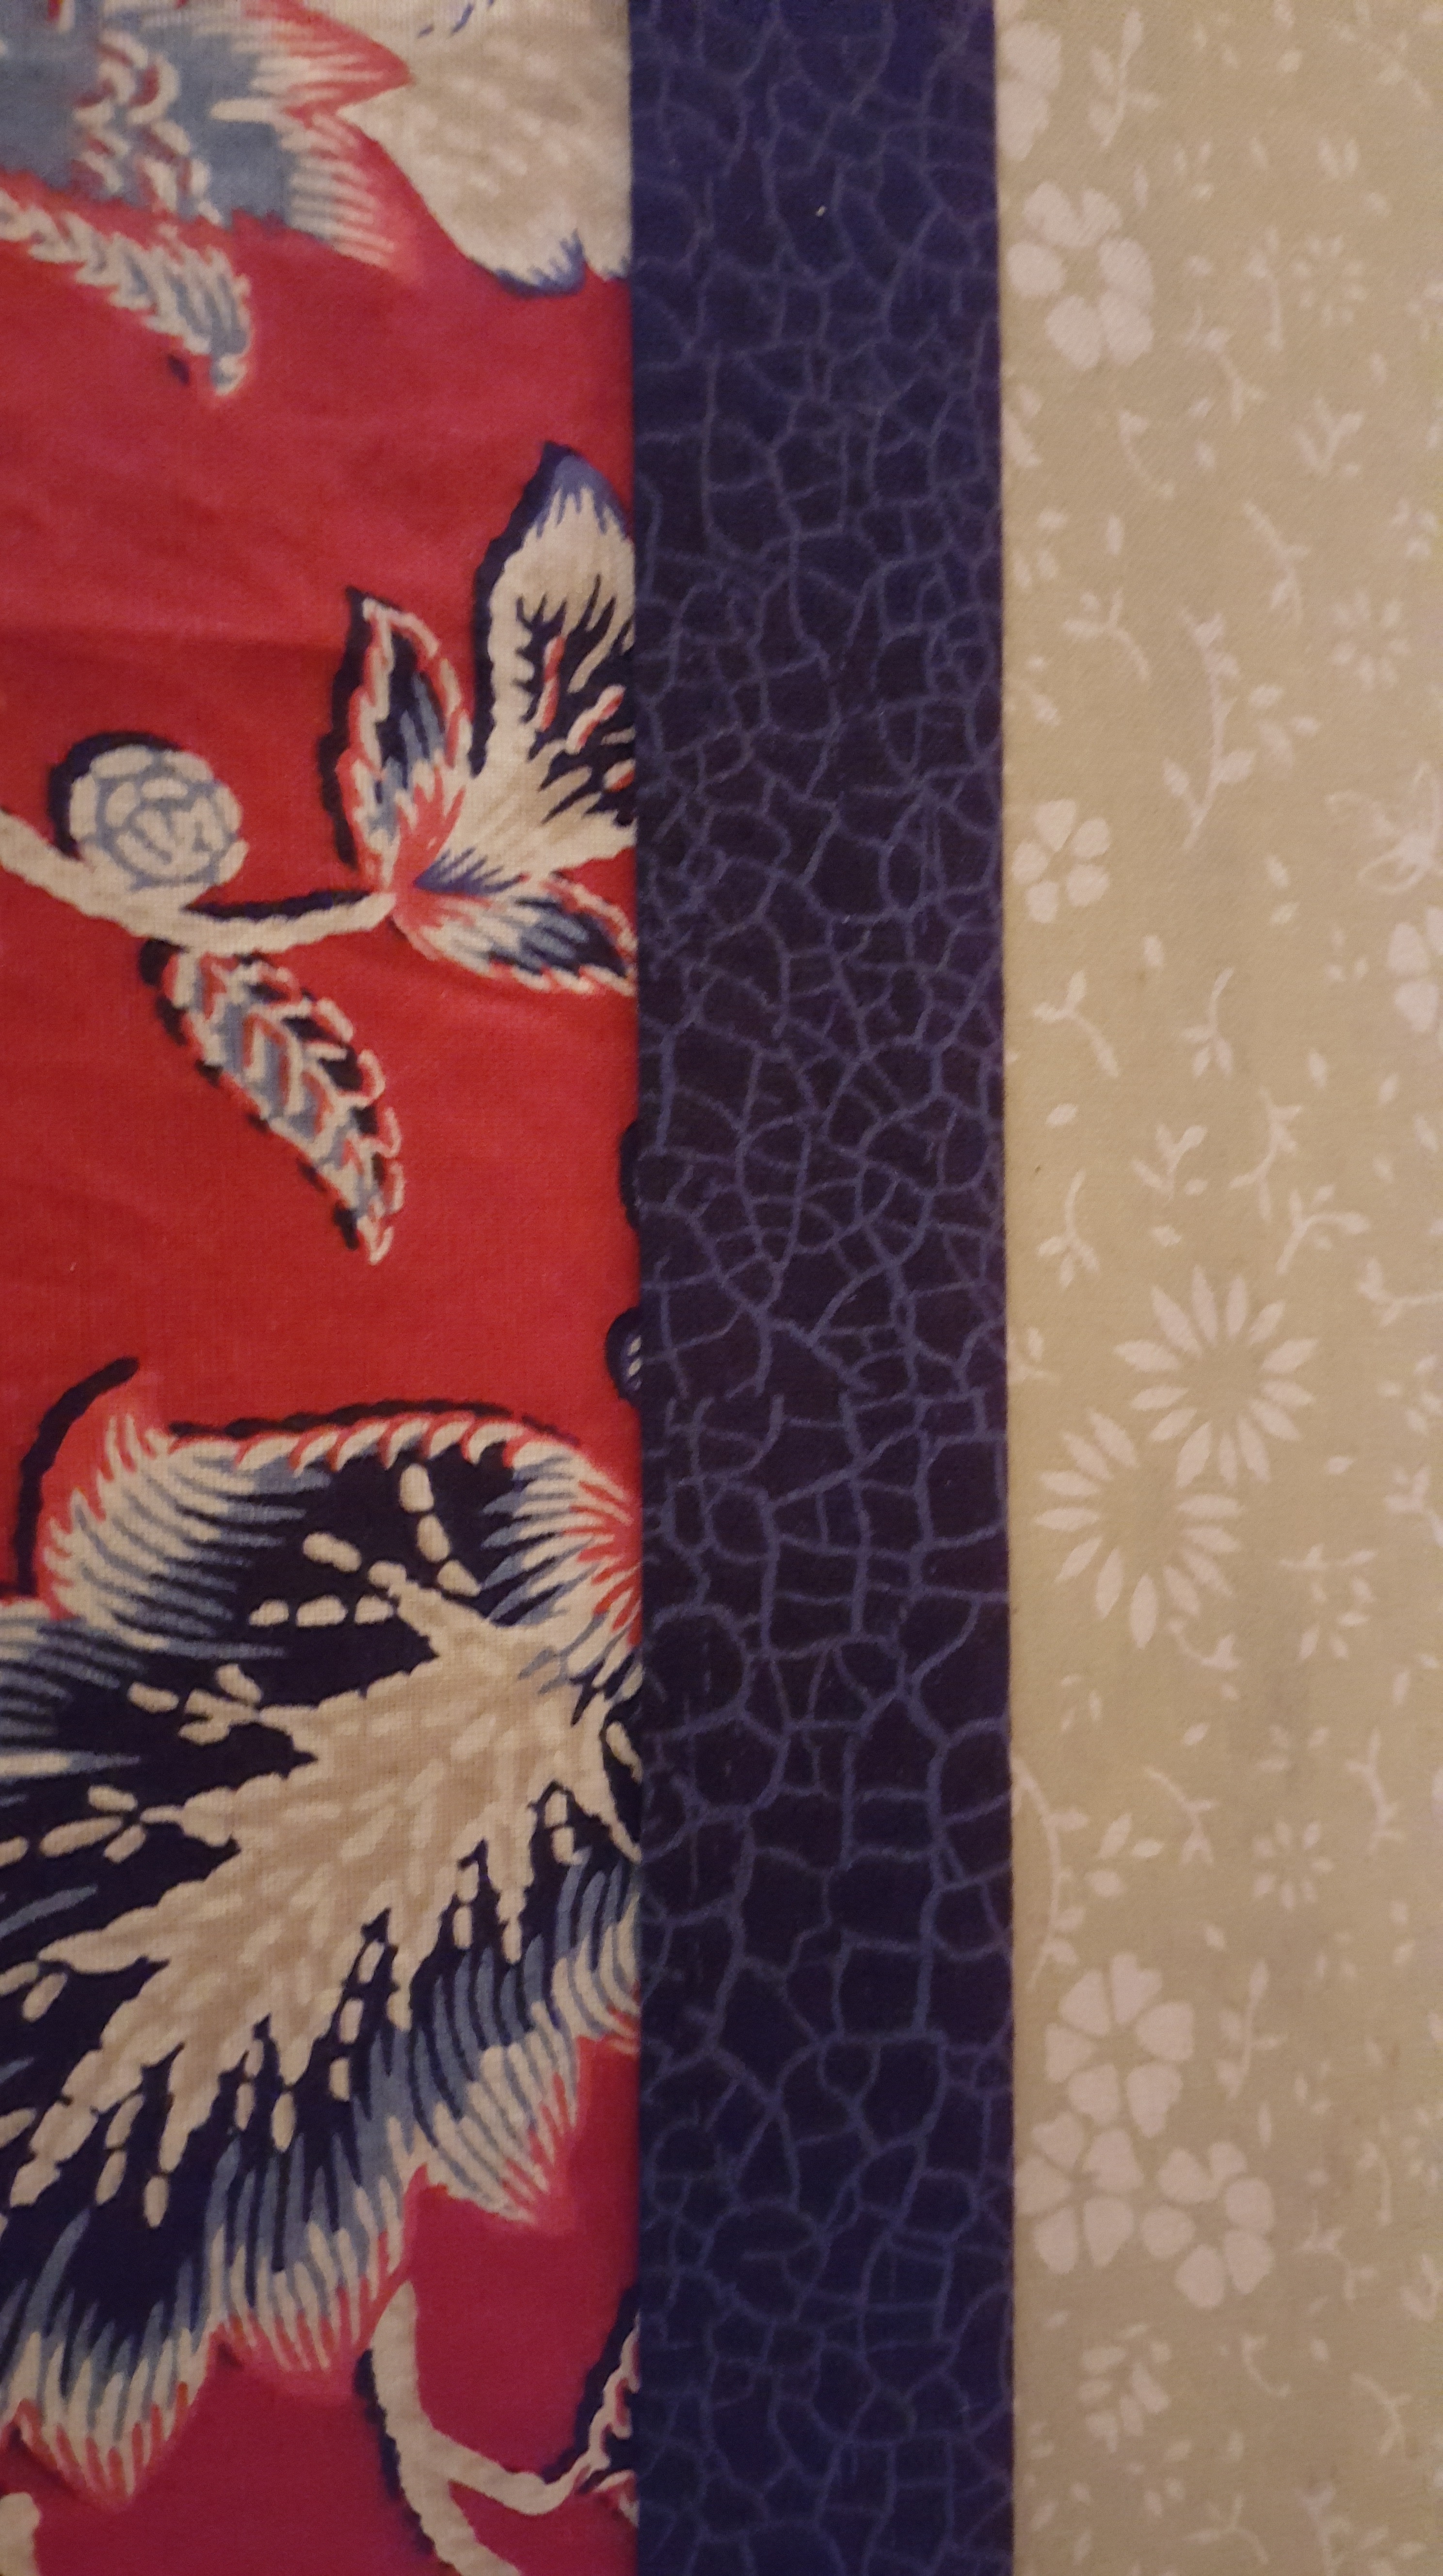
Ta Da! Ready for the back to front miter finish on the corners. I’ll add photos of how I finished these, since the original directions have the back to front fold even.
Back to Front Mitered Corner with shorter first fold.

1. Fold in half diagonally. Mark 45 degree line from fold line to corner.

1a. Ruler moved to show line.

2. Stitch on drawn line.
3. Trim to 1/4″ seam.

4. Finger press mitered seam open.

5. Roll miter over corner point.

5a. Mitered corner in place.

6. Top/edge stitch along inside fold.
#3 – BONUS TIP….”Lickety GRIP” helps on dry hand days!

in quilting,
Debbie
