
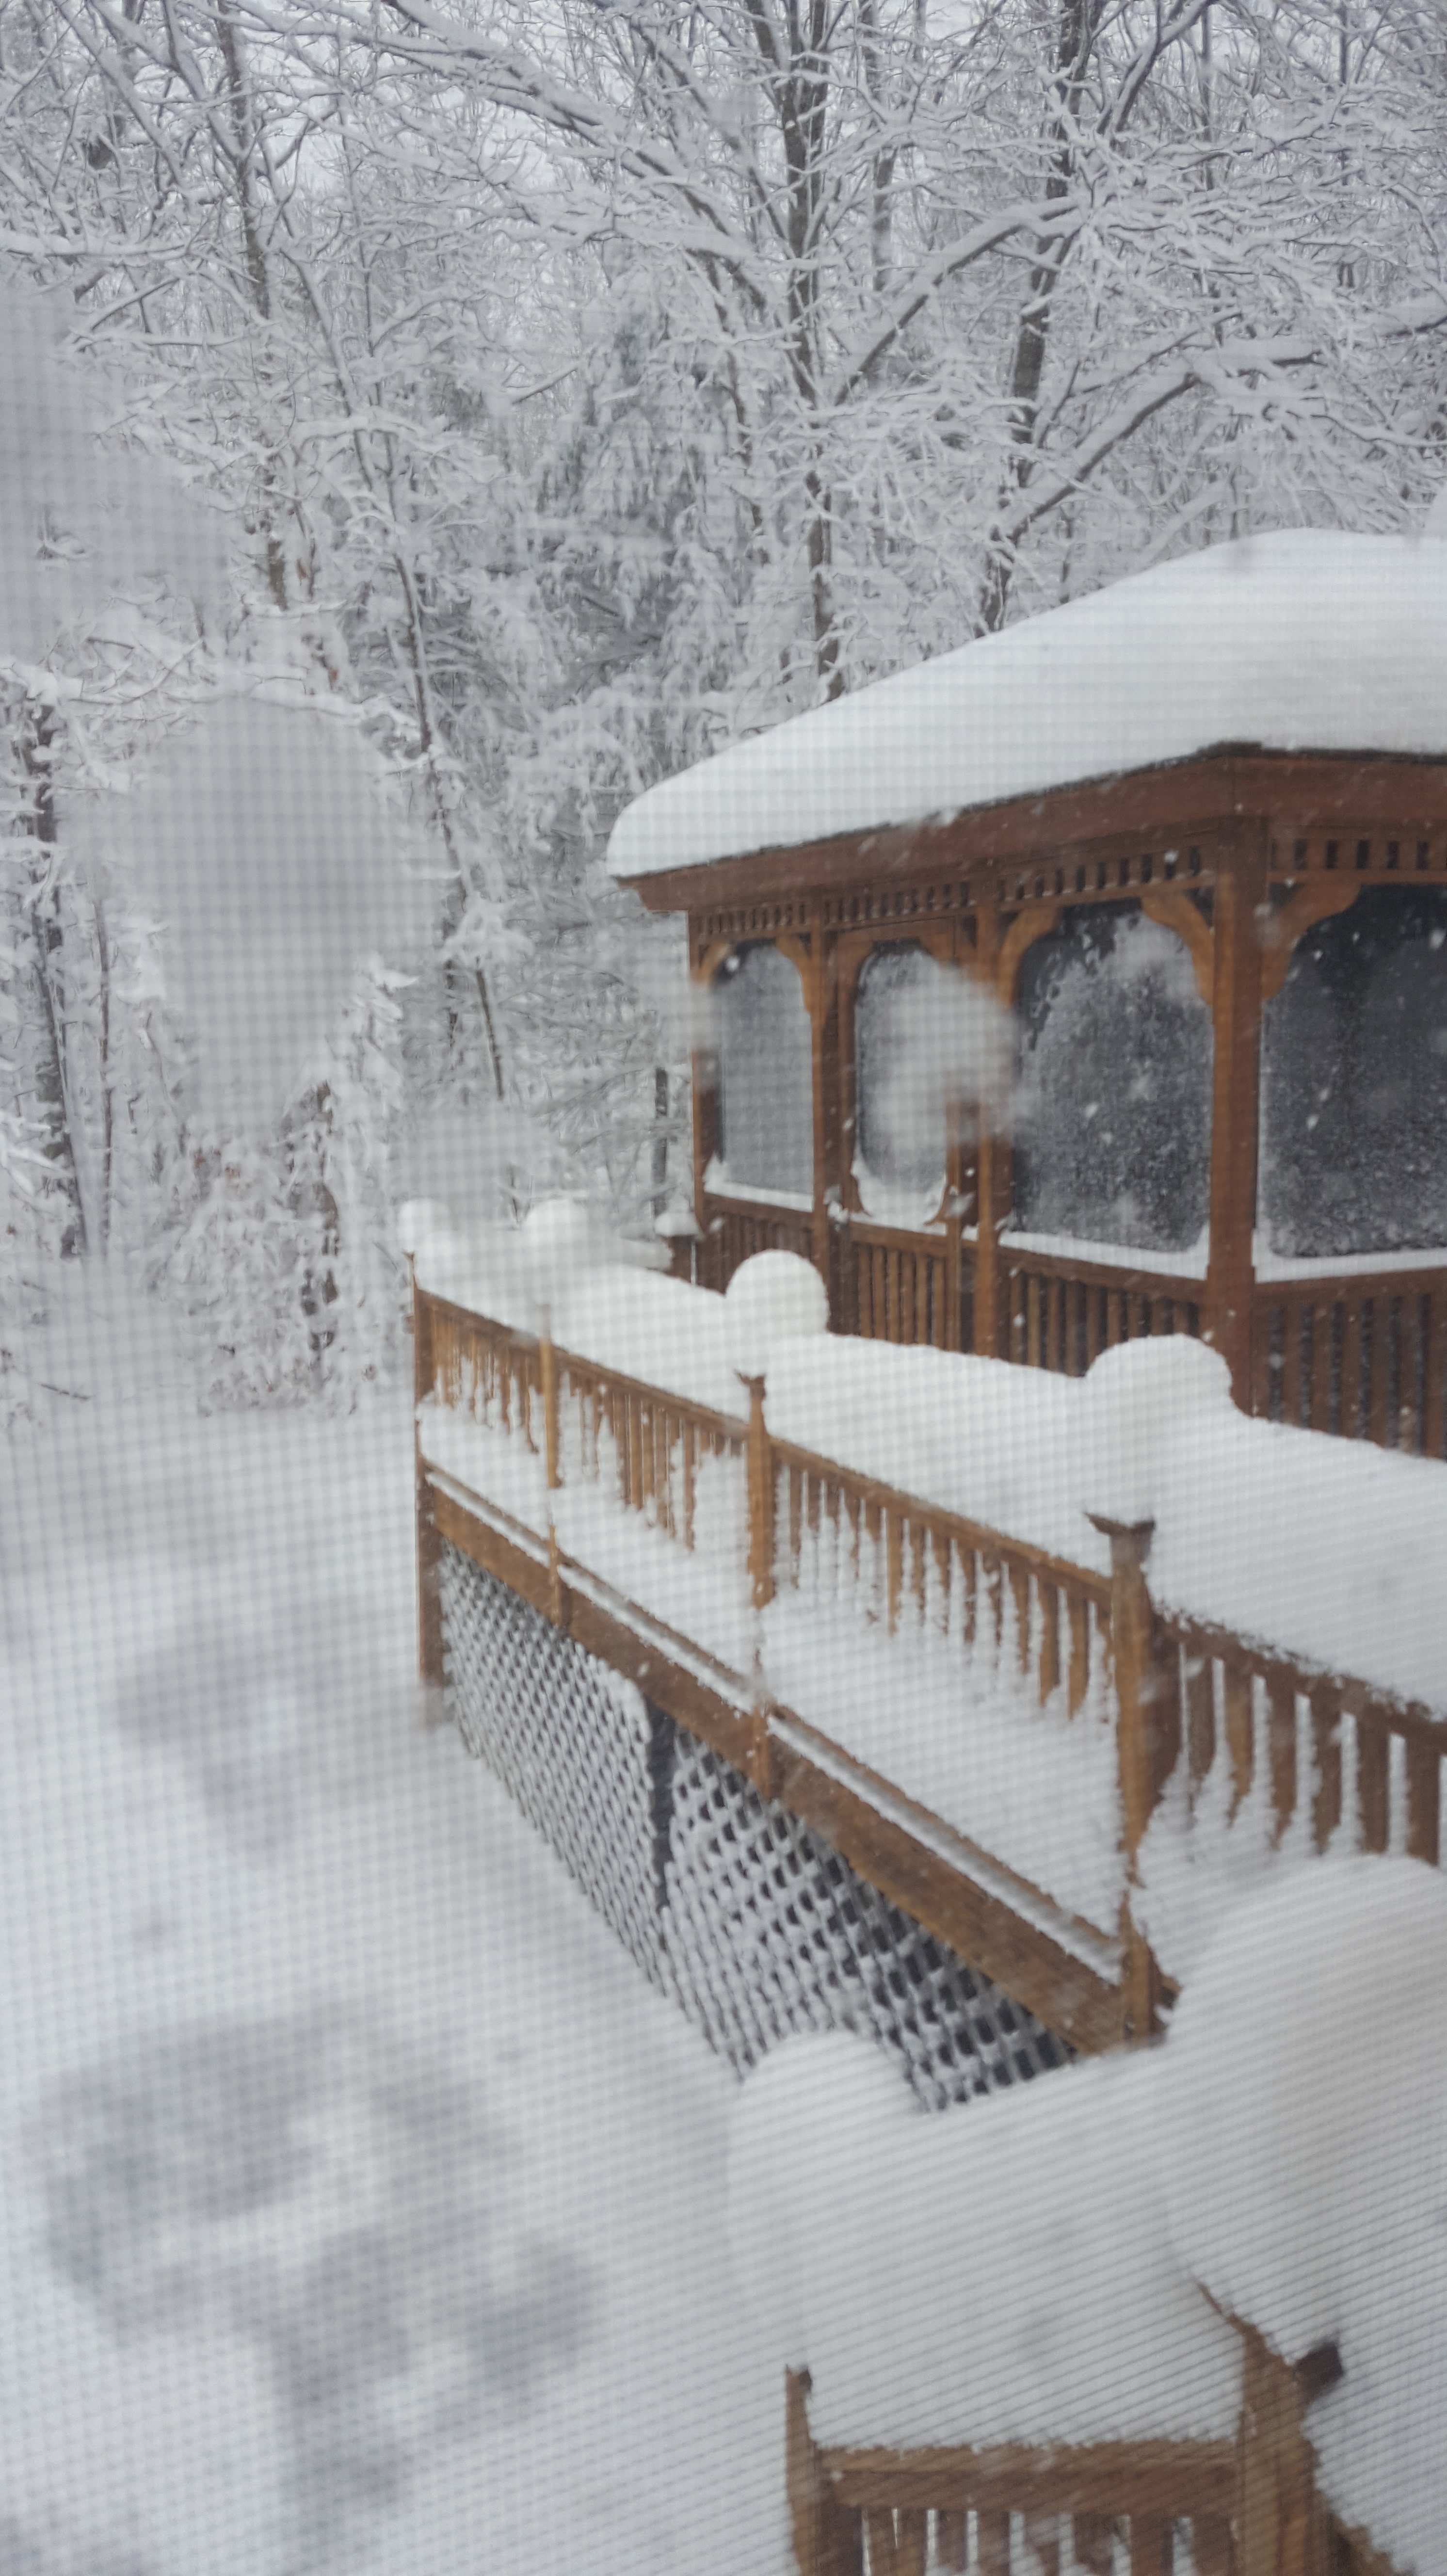
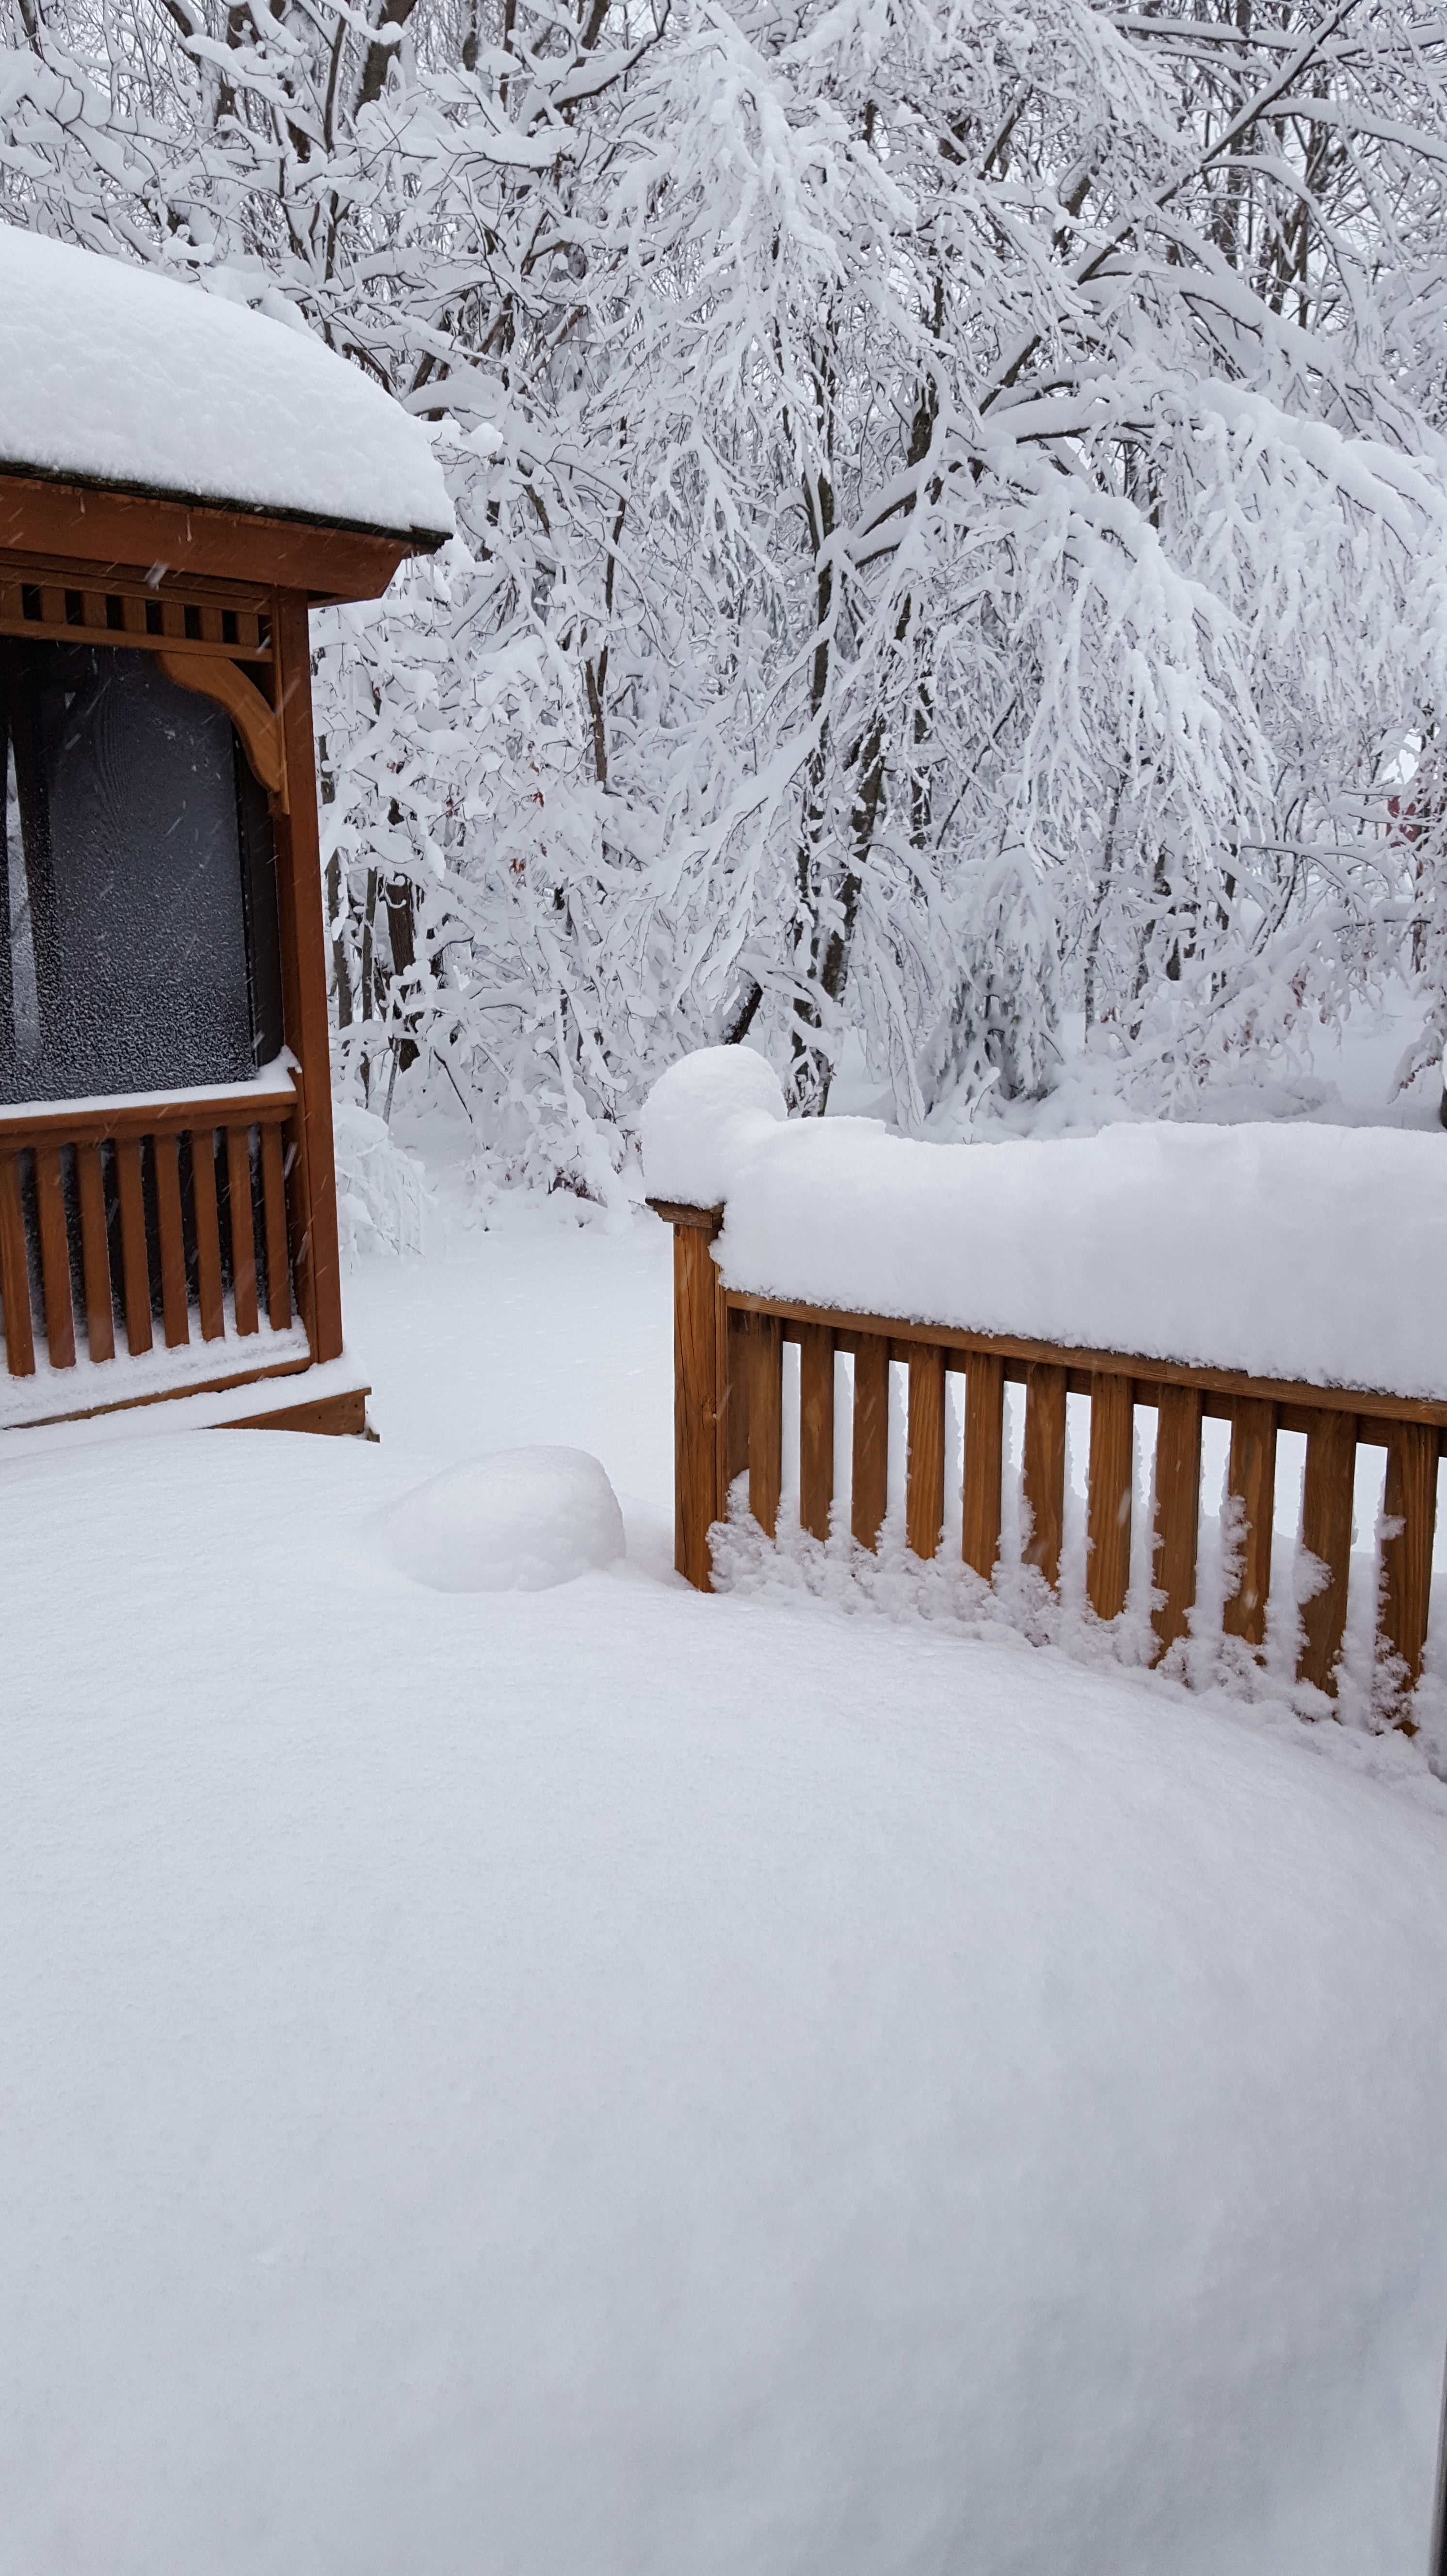
This is my view today! 22″ at 6pm and it was still coming down.
I’m in the final steps of finishing up some quilts that will be entered into my guild’s show this weekend. Thimble Pleasures show will be March 17 and 18 at Blackstone Valley Regional Technical School in Upton, MA. Join us from 10-4!! Admission is $7/adults and children under 18 are free.
I’m attaching sleeves for hanging my quilts at the show. I’ll share some steps below.
1 – First our sleeve requirement is 5″. I cut a piece of fabric 11″ wide (twice the width needed and a bit more for seams). The length of the sleeve is the width of the quilt or just inside the binding.
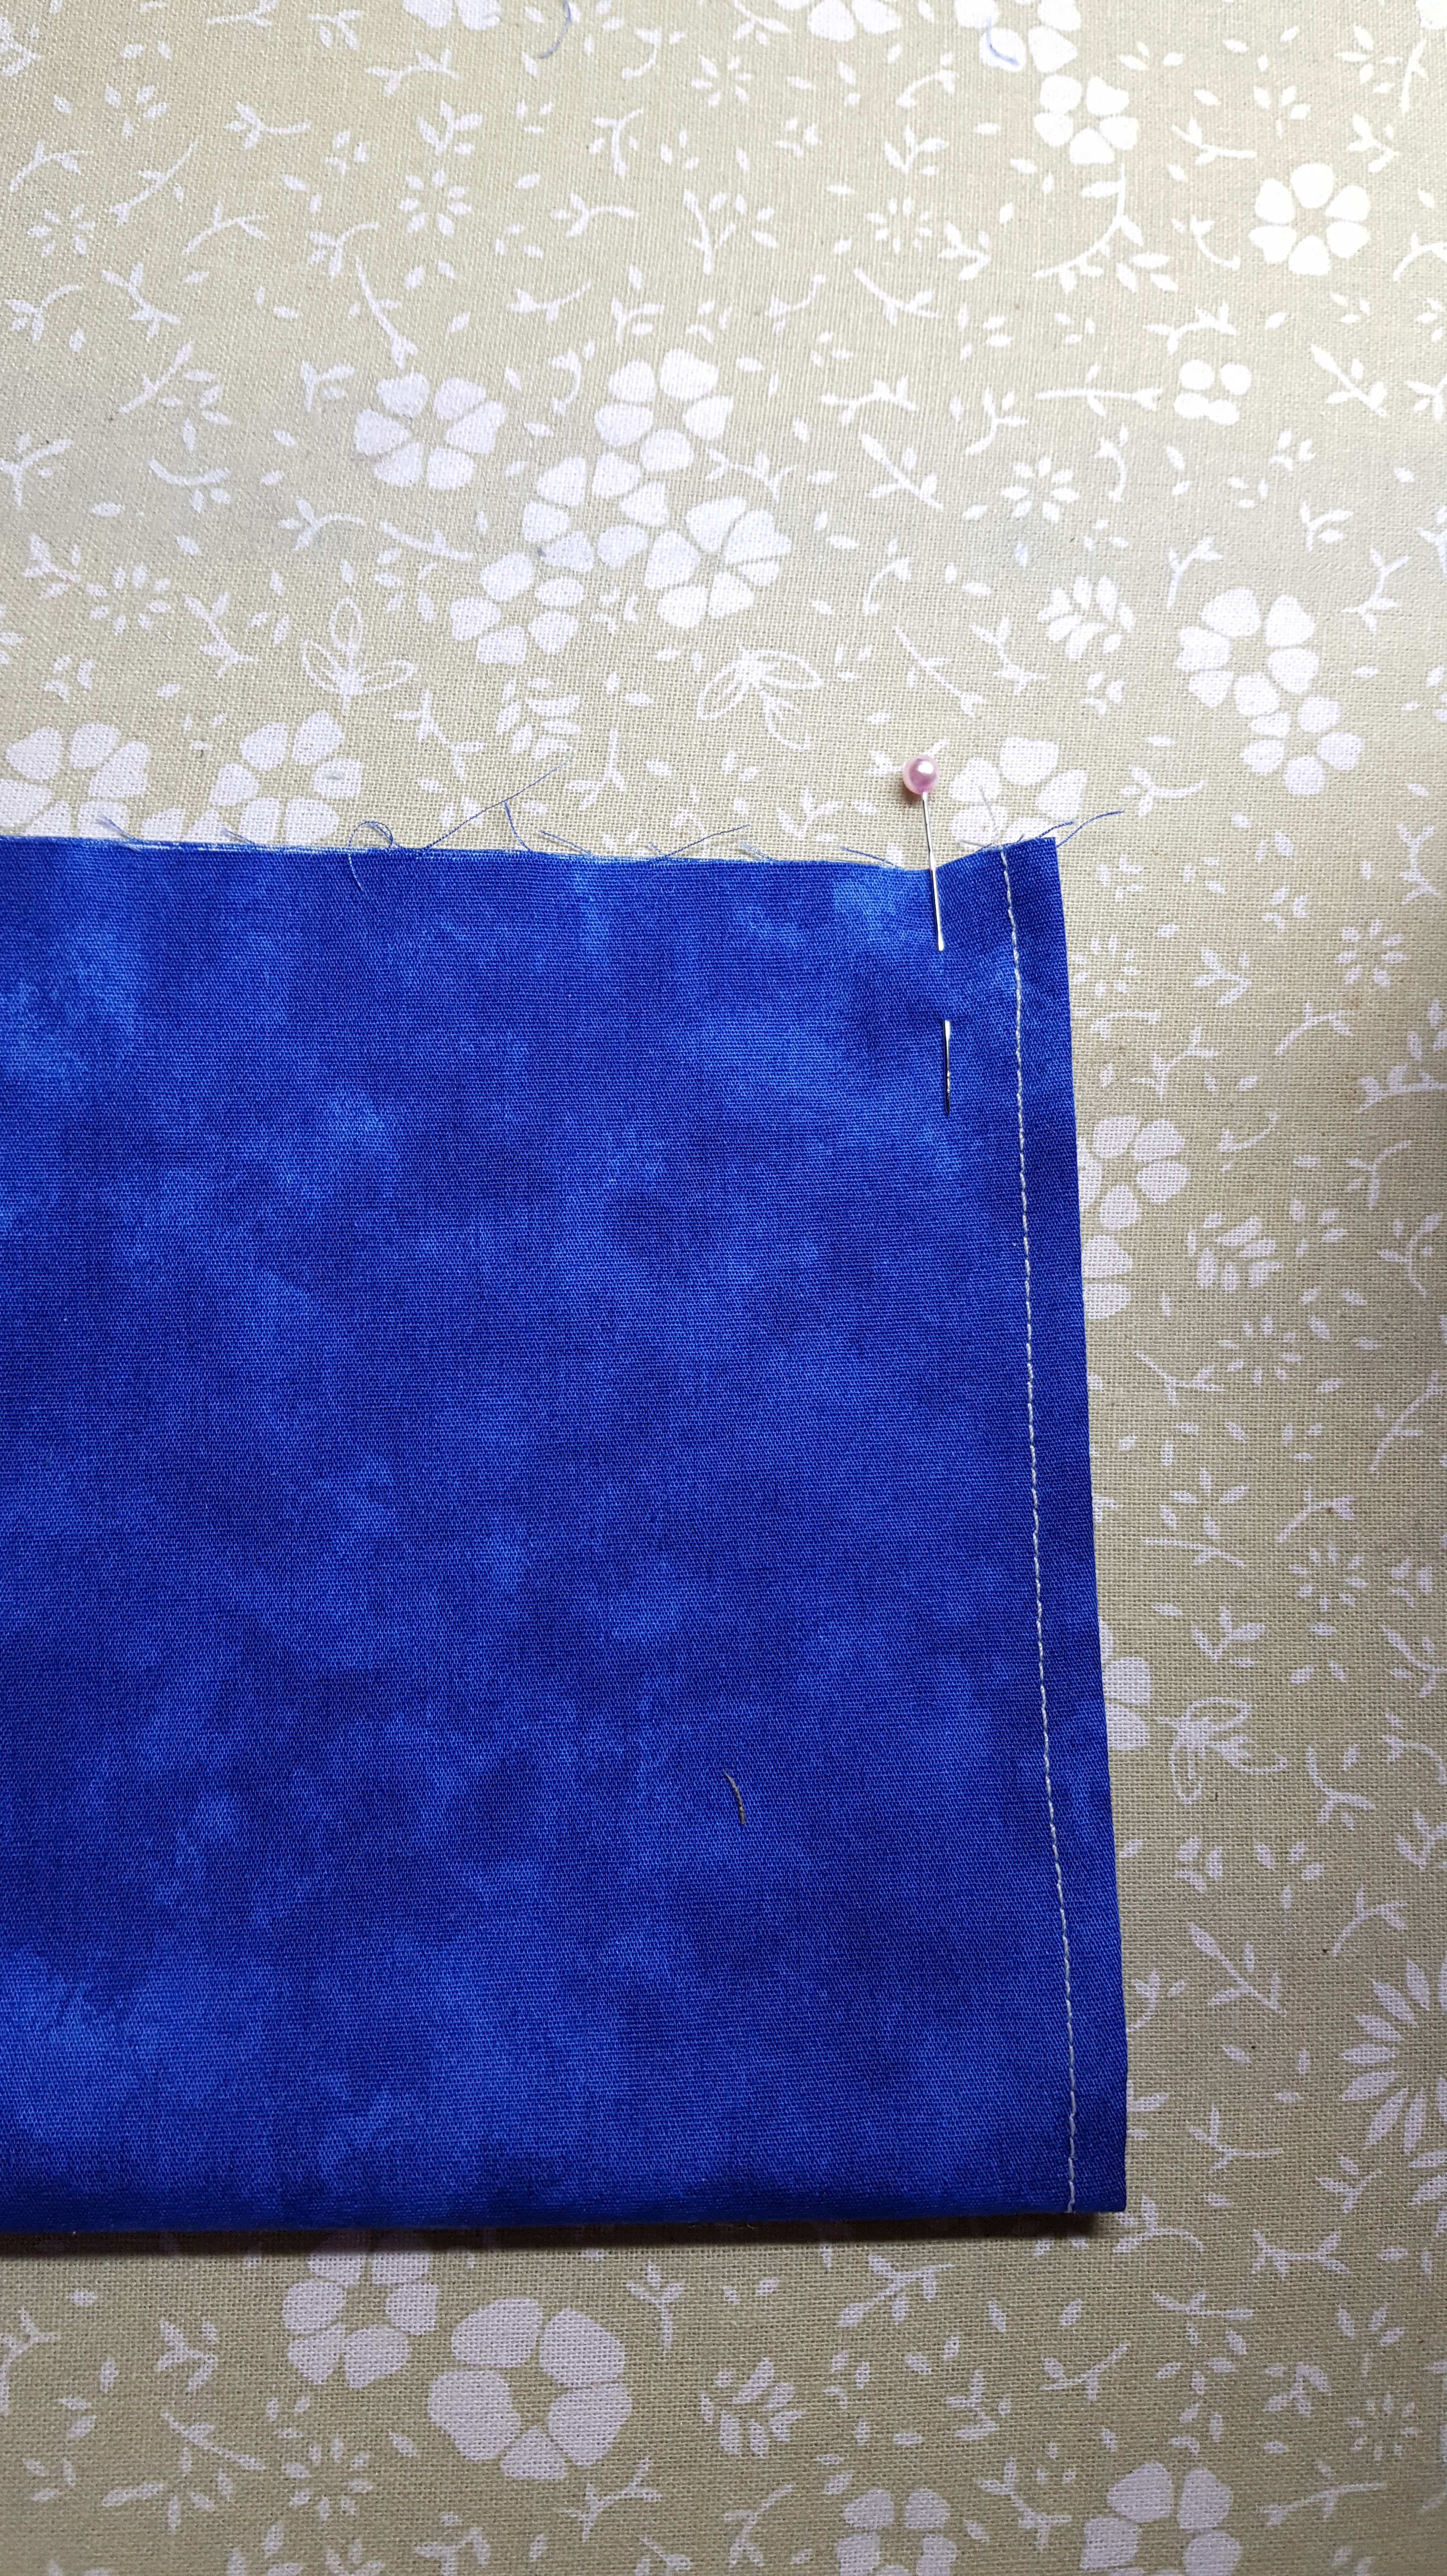
2 – Hem both short ends, folding over 1/4″ and fold over again. Stitch. (Tip: This will bring the width inside the binding so it does not show from the front. Oh, and I was a bit long so it sits closer to the binding than I like.)
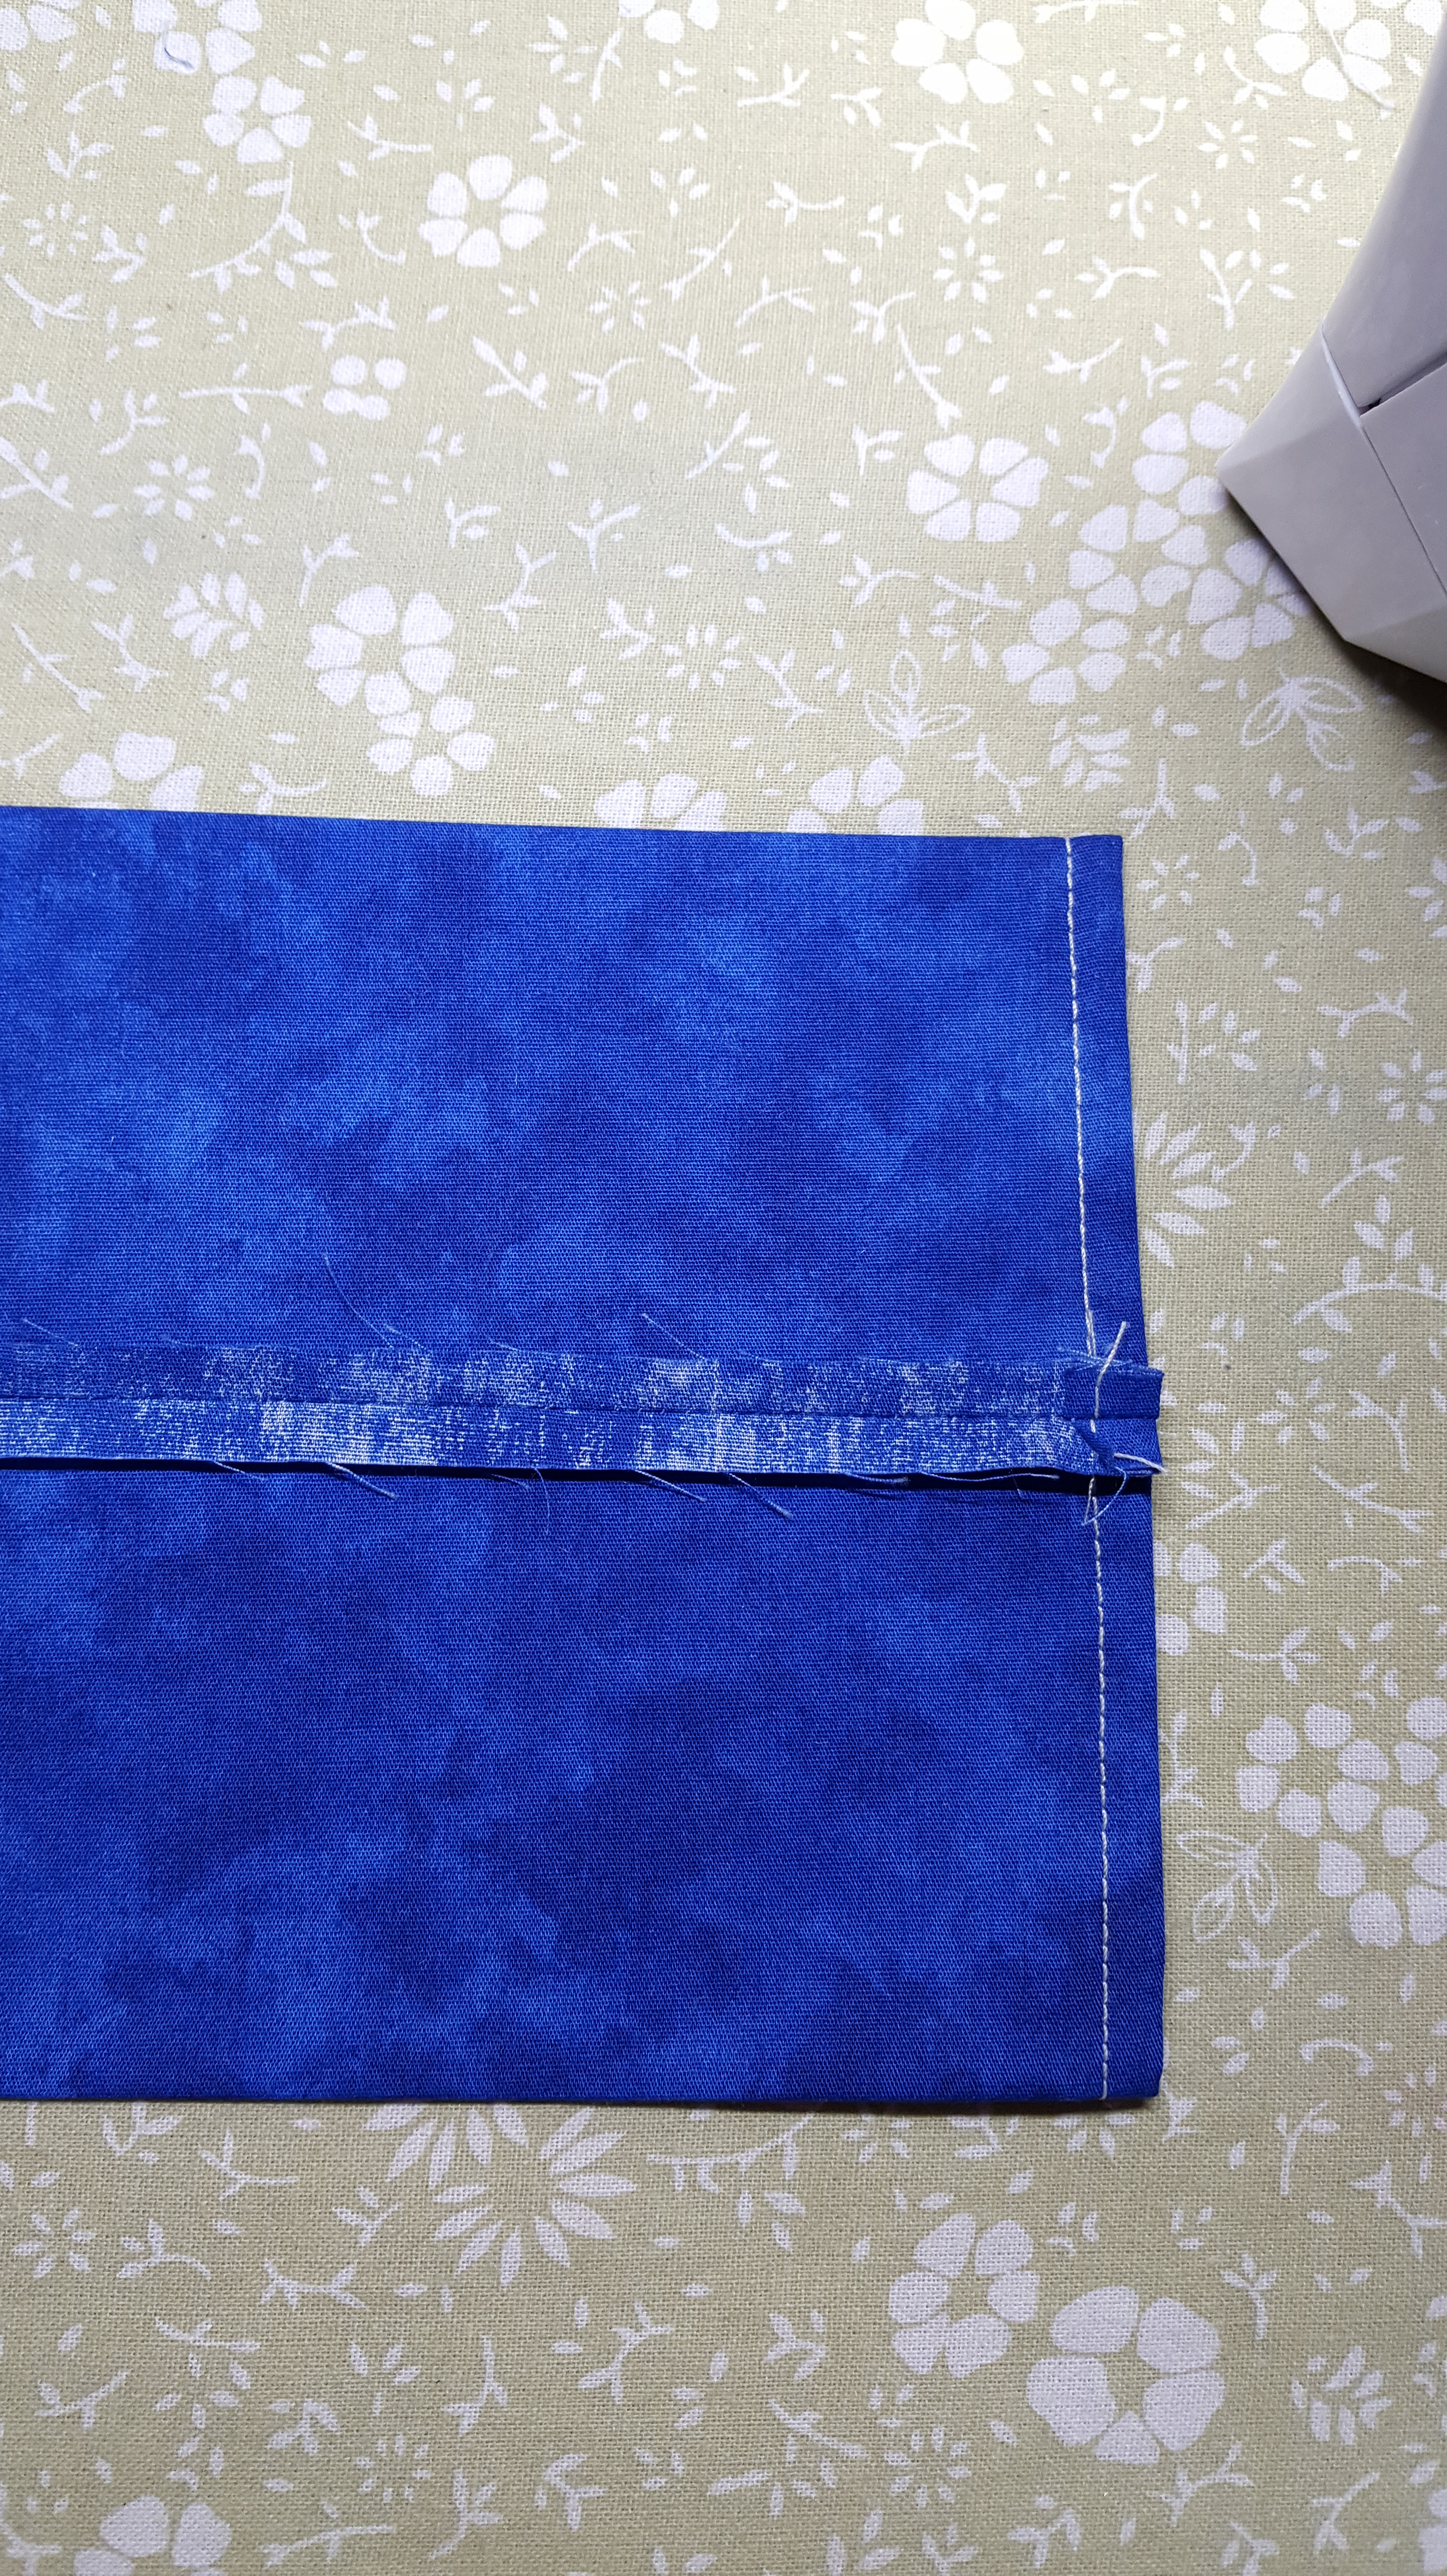
3 – Fold wrong sides together along length of sleeve. Stitch a 1/4″ seam. Press seam open and center in the middle of the sleeve. Press sleeve edges. (Tip: The seam will be hidden, so no need to turn inside out.)
4 – On one long edge, fold back 1/2″ from fold line and press a crease. (Tip: This allows for the thickness of the of the hanging pole.)
5 – Attach to the top of the quilt, just inside the binding. I make sure it is about 1/2″ from the top of the quilt. Hand sew in place. (Tip: this keeps the sleeve from showing above the quilt!)
6 – Smooth sleeve and pull back the sleeve to the second crease you pressed. This is the edge that is sewn to the quilt. (Tip: again, this allows fullness for pole!)

Step 2
Step 3

Step 5 and 6
Also Step 3
I added my label and it is ready to be hung in the show! Now, to get some good sleep to I can snow blow all that snow in the morning!!
in quilting,
Debbie
