
My Hex-a-ma-jig quilt I showed last week now needs a binding. I will be going to Paducah next week for AQS Quilt Week! I’m really looking forward to the show and seeing quilting friends! Because I’m busy packing quilts and patterns and tools, I will take the next two weeks to give some tips on sewing the odd angle binding of the Hex-a-ma-jig quilt.
Today I will show the outside odd angle corner…
I have made a continuous binding, 2 1/4″ wide, folded in half for a double fold binding. The quilt has been trimmed and I basted a scant 1/4″ line around the entire edge of the quilt. My binding seam will be a “chunky” 1/4″ seam.
As I approach the corner, I mark the stopping point. Since I am sewing a “chunky” 1/4″ seam I mark both edges with a “chunky” 1/4″ line from the outside edges.
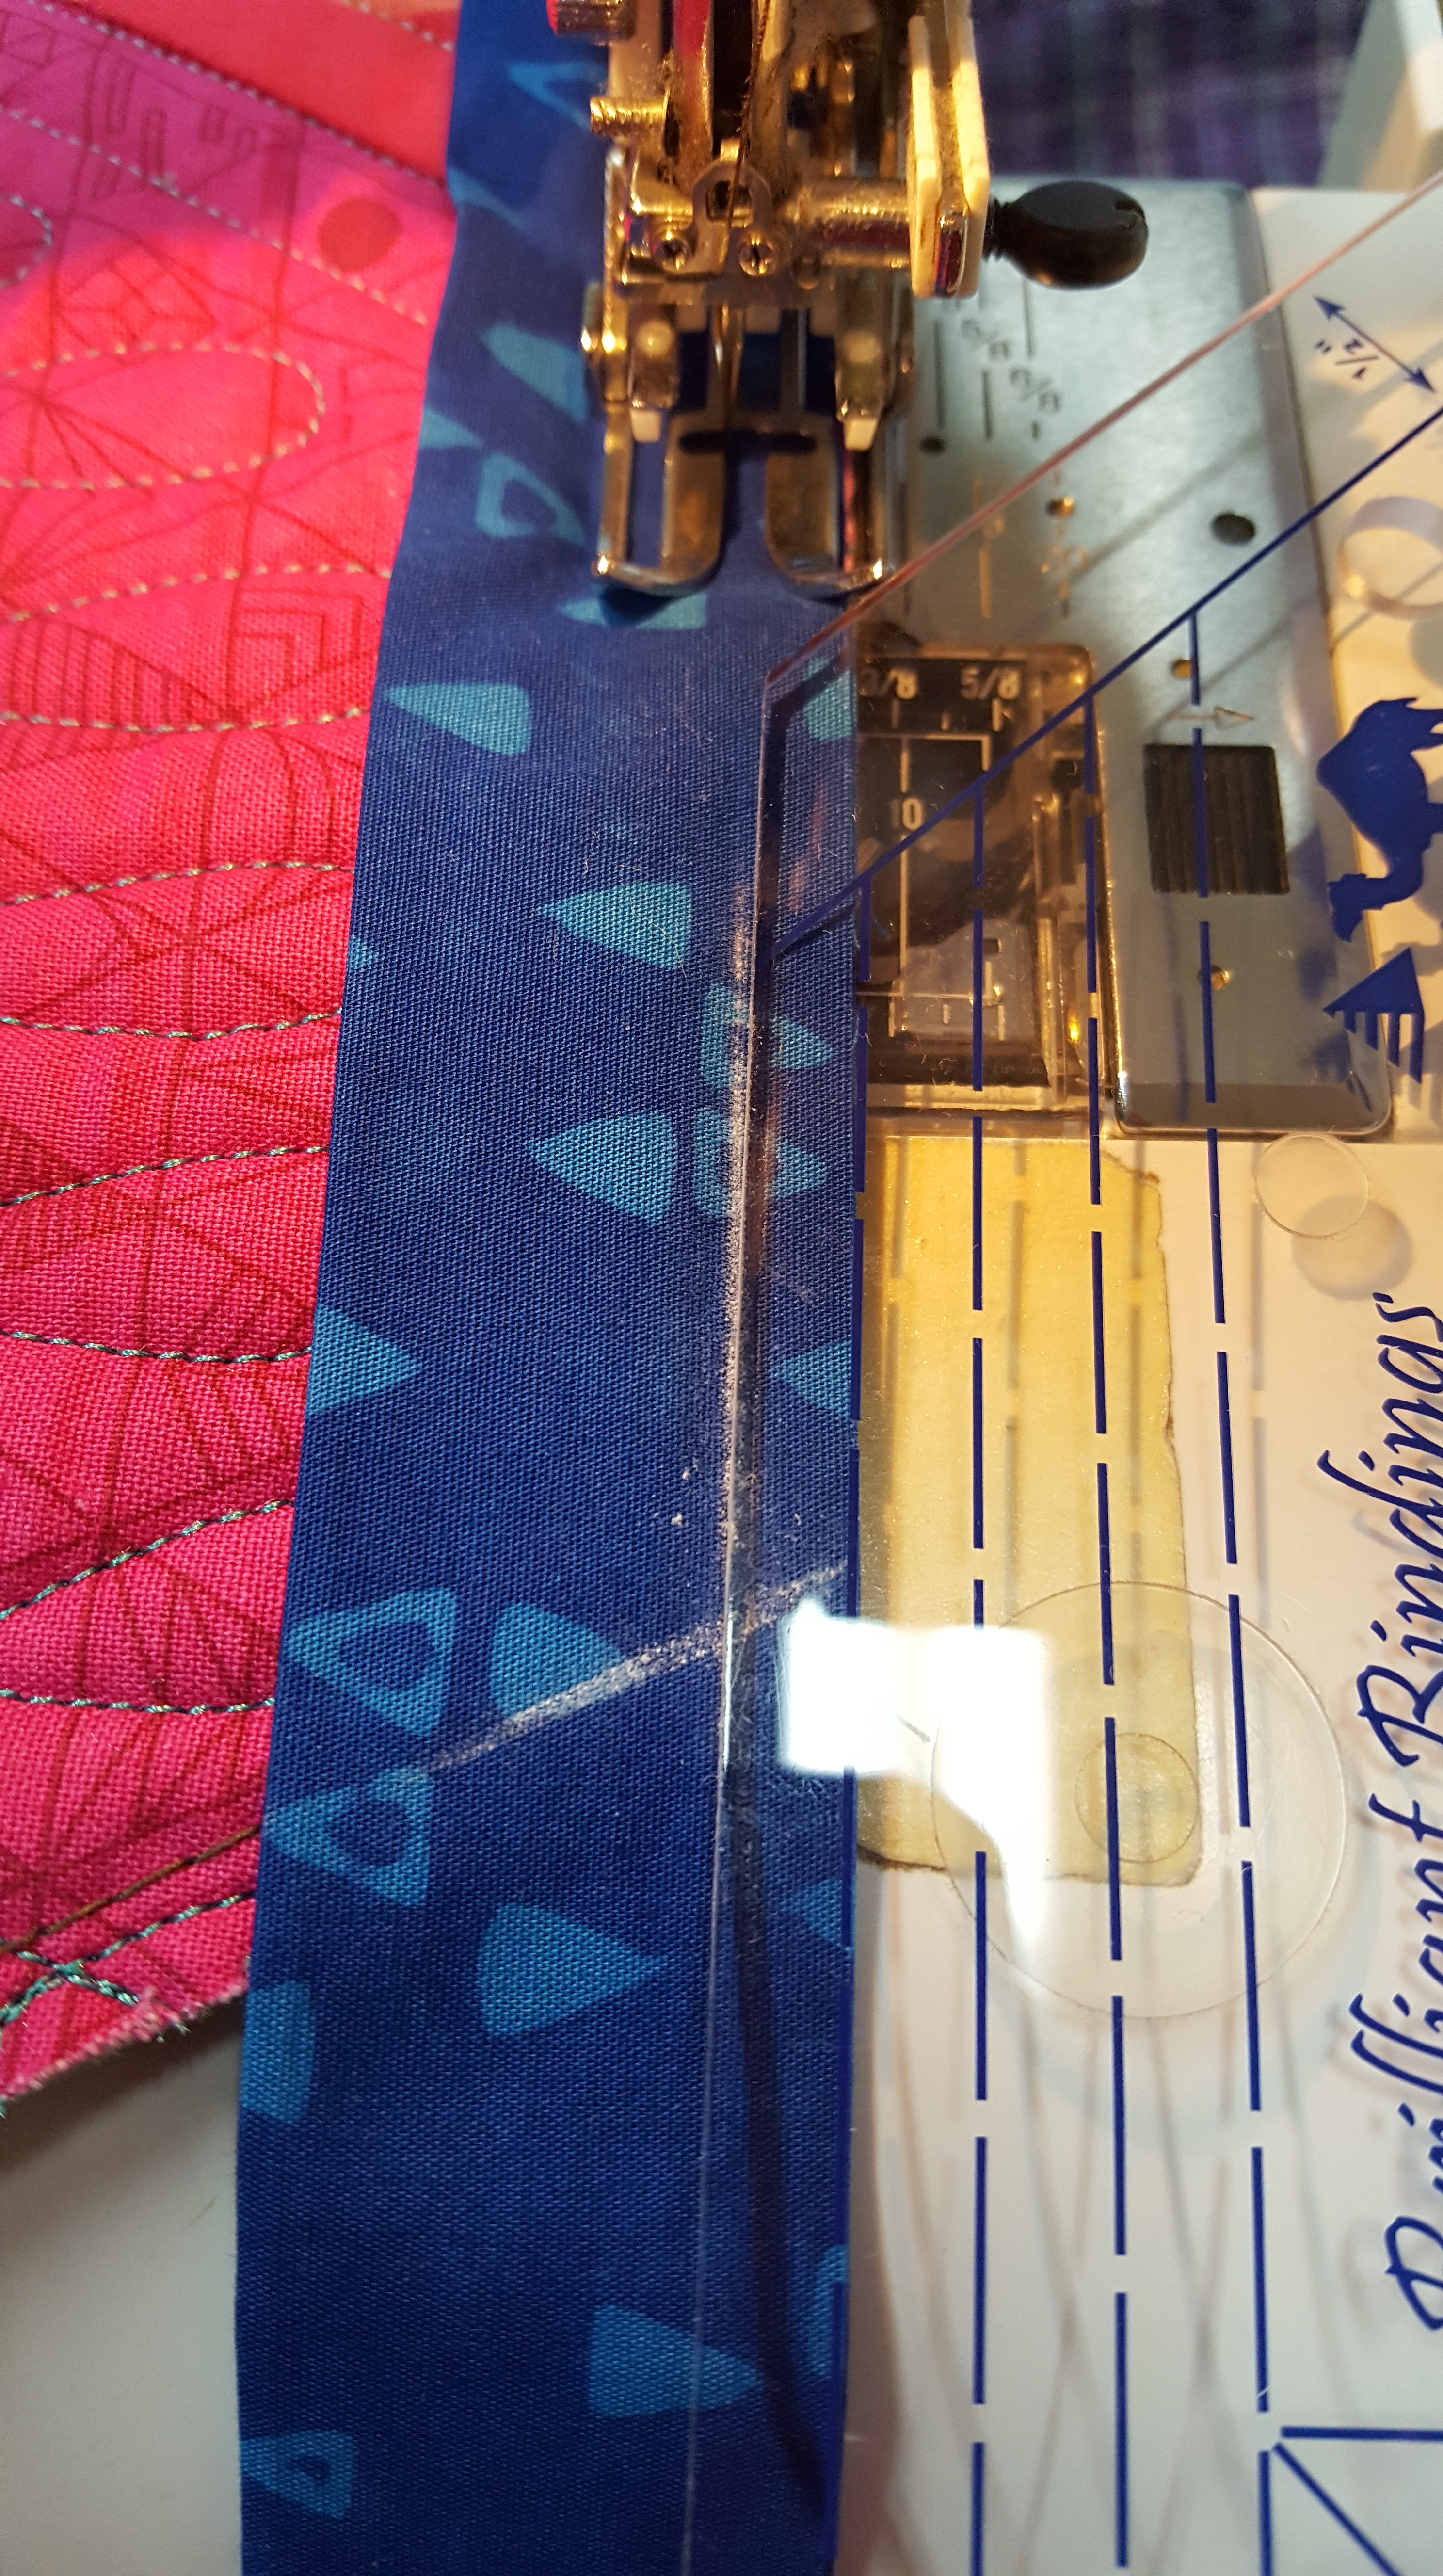
Mark “chunky” 1/4″ seam

Mark “chunky” 1/4″ seam
Marked corner stopping point
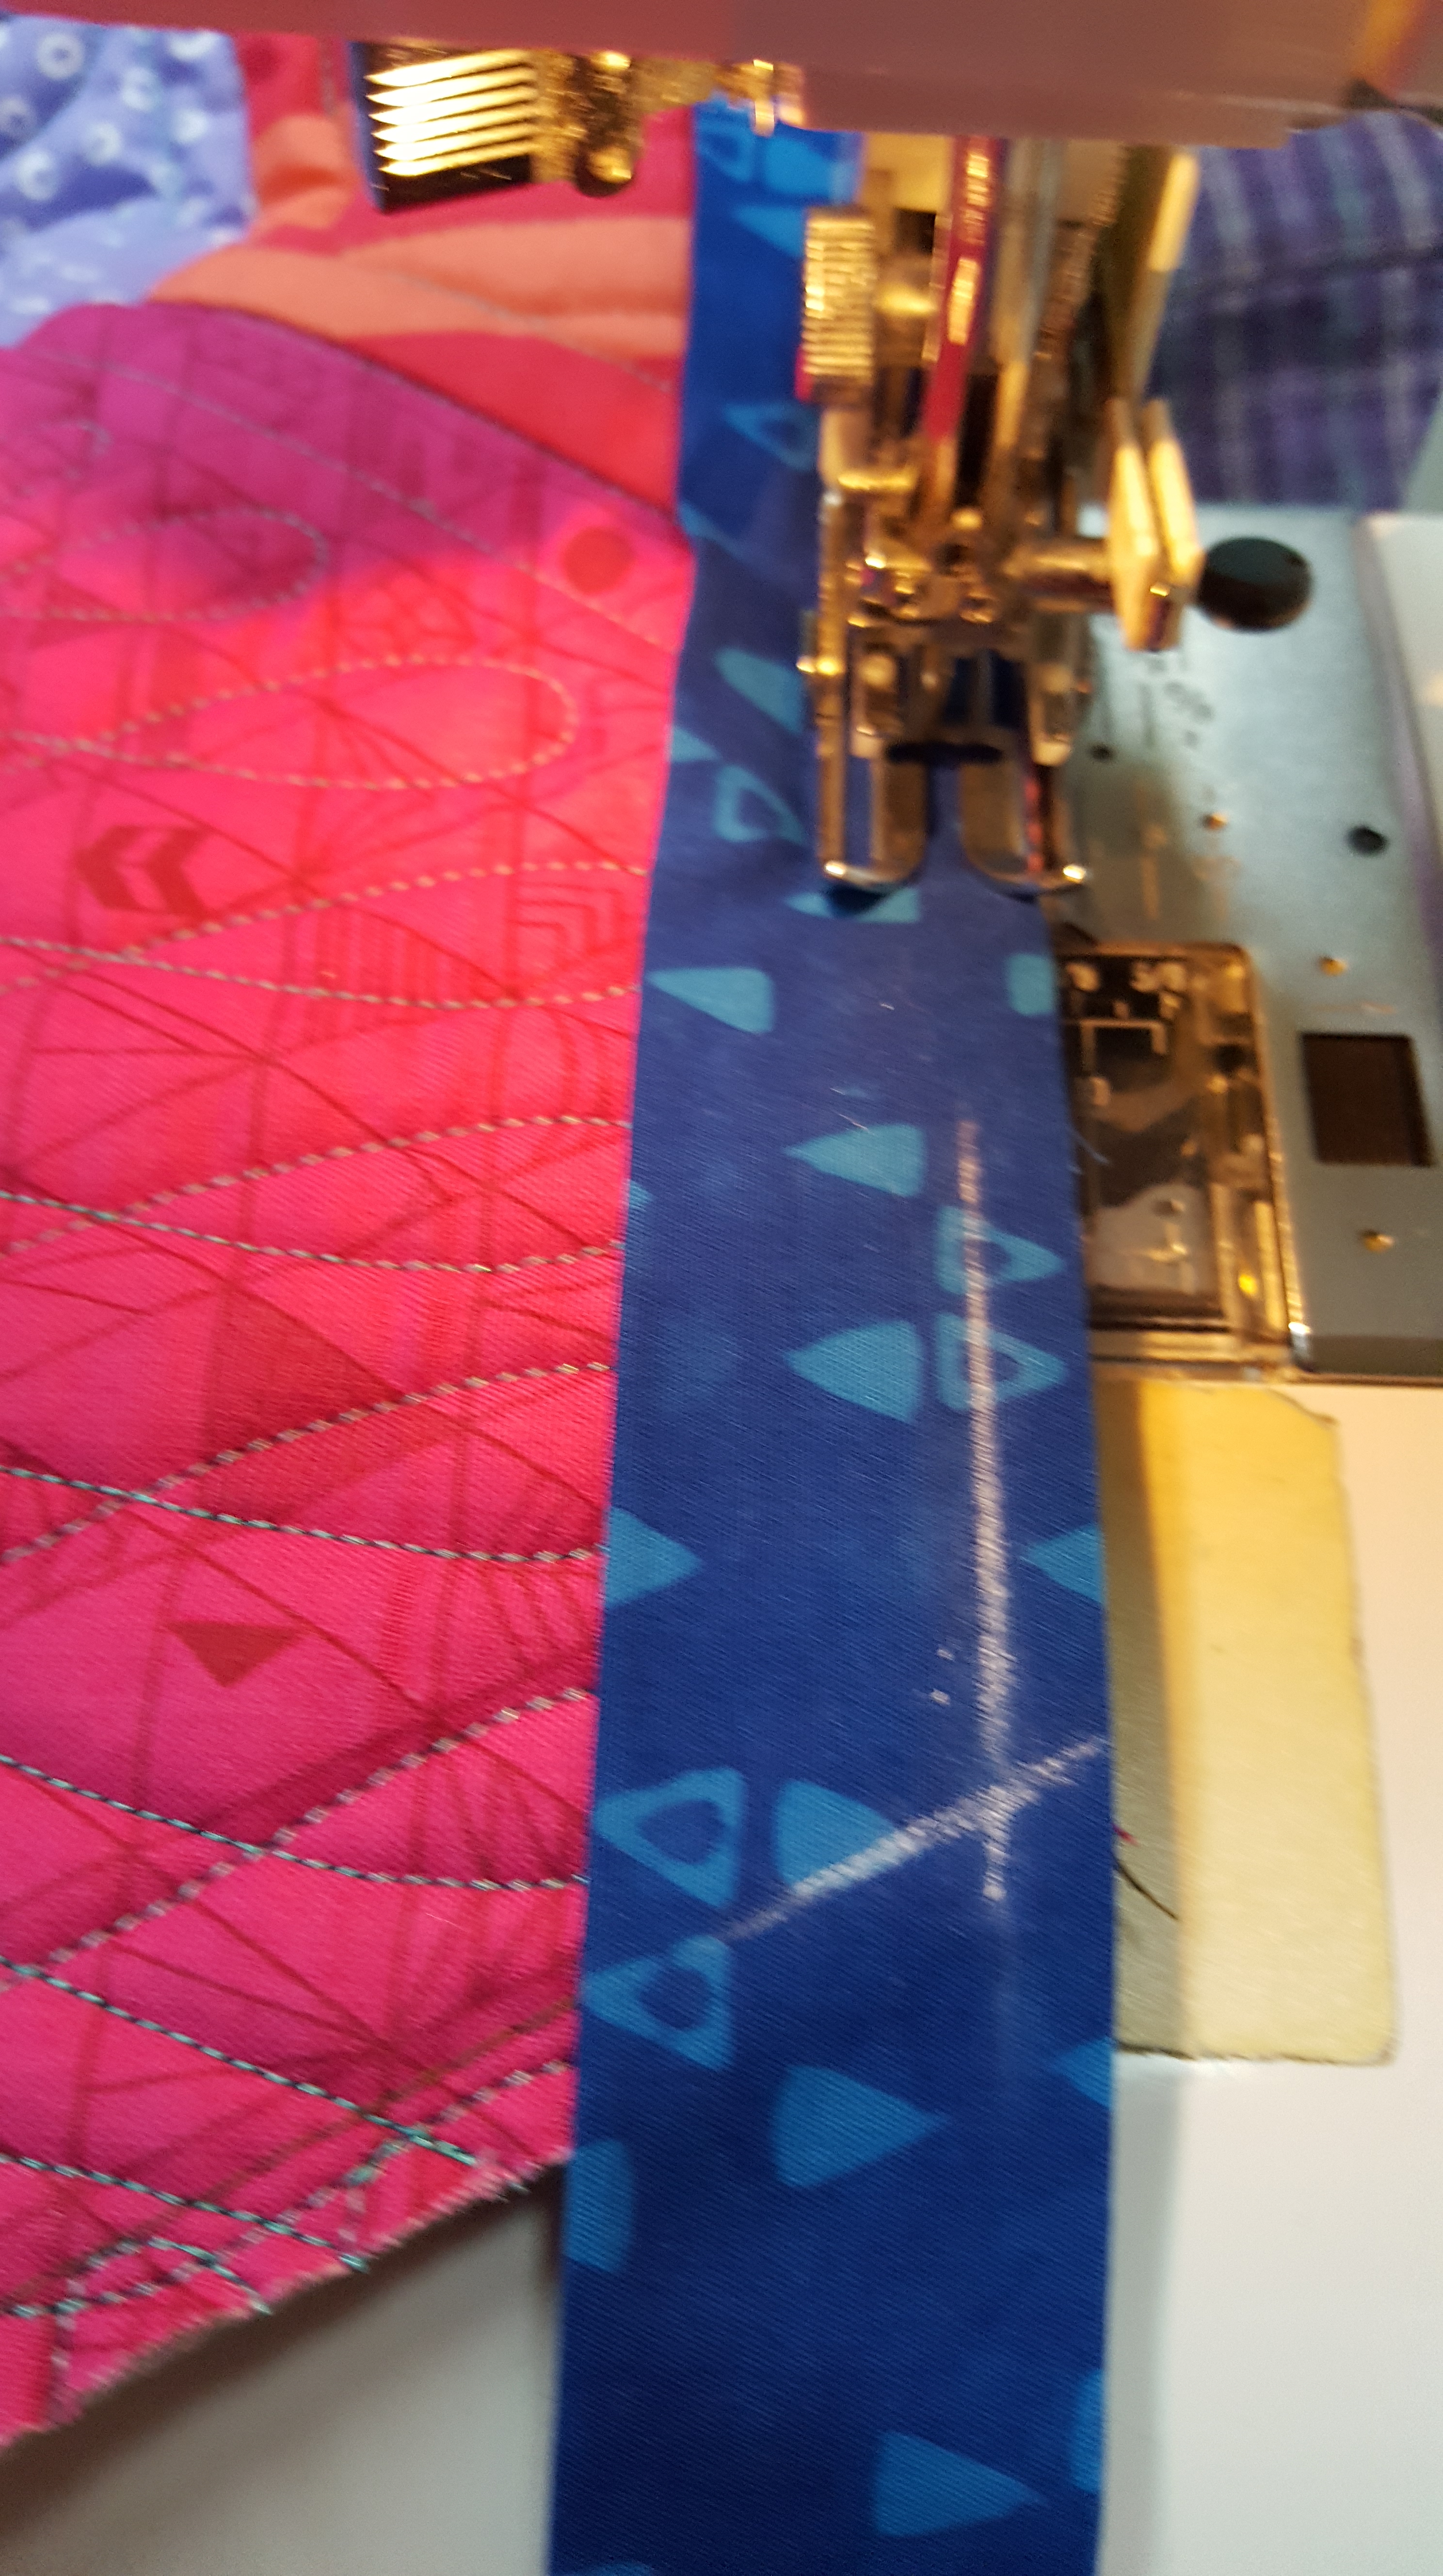
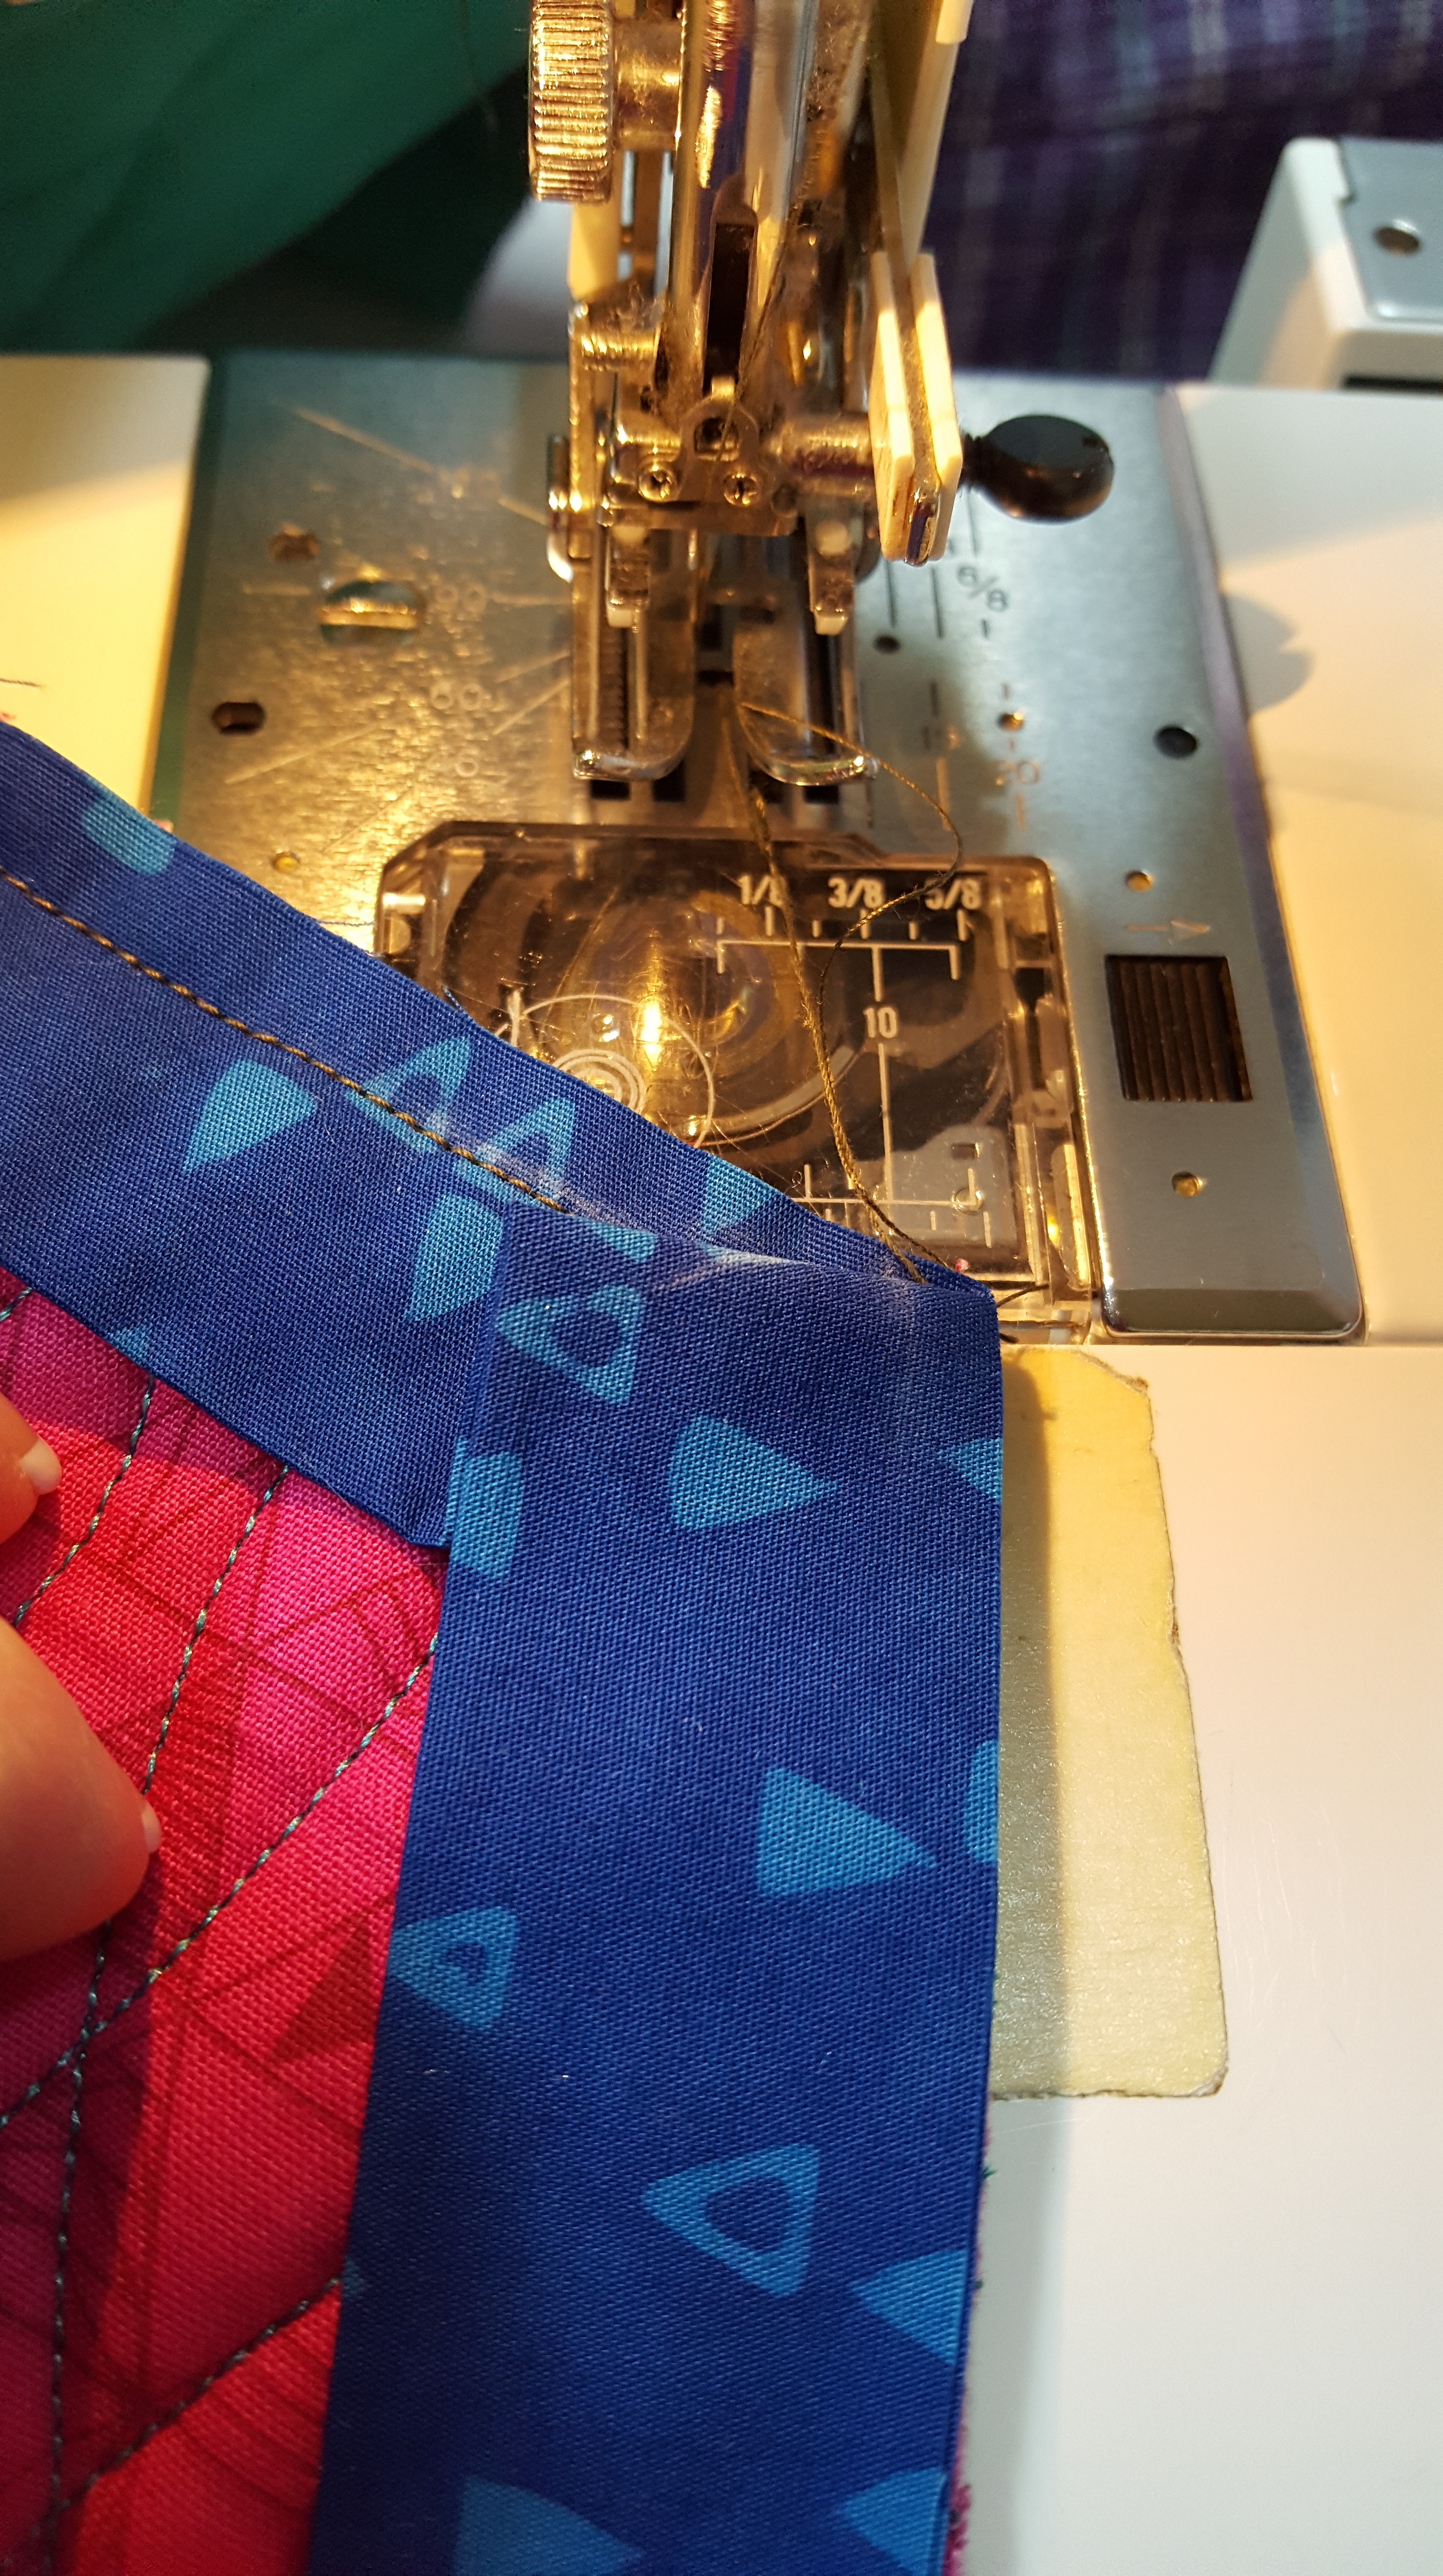
Leaving the needle down at the marked corner point, raise the presser foot, turn and sew off the corner. I love this tip of sewing off exactly to the corner. It helps create the perfect miter. The binding is flipped back, keeping the raw edges straight in line with the upcoming edge. Then flopped in the new direction creating a 90 degree fold from the corner point. I call this the “miter flip-flop”!! Each step is shown in photos below.

Needle down at corner point

Turn and sew to corner
(look closely, corner is peeking
between walking foot toes)

Miter flip
(keeping straight in line
with new edge)
Miter flop
(fold at 90 degrees to new edge)
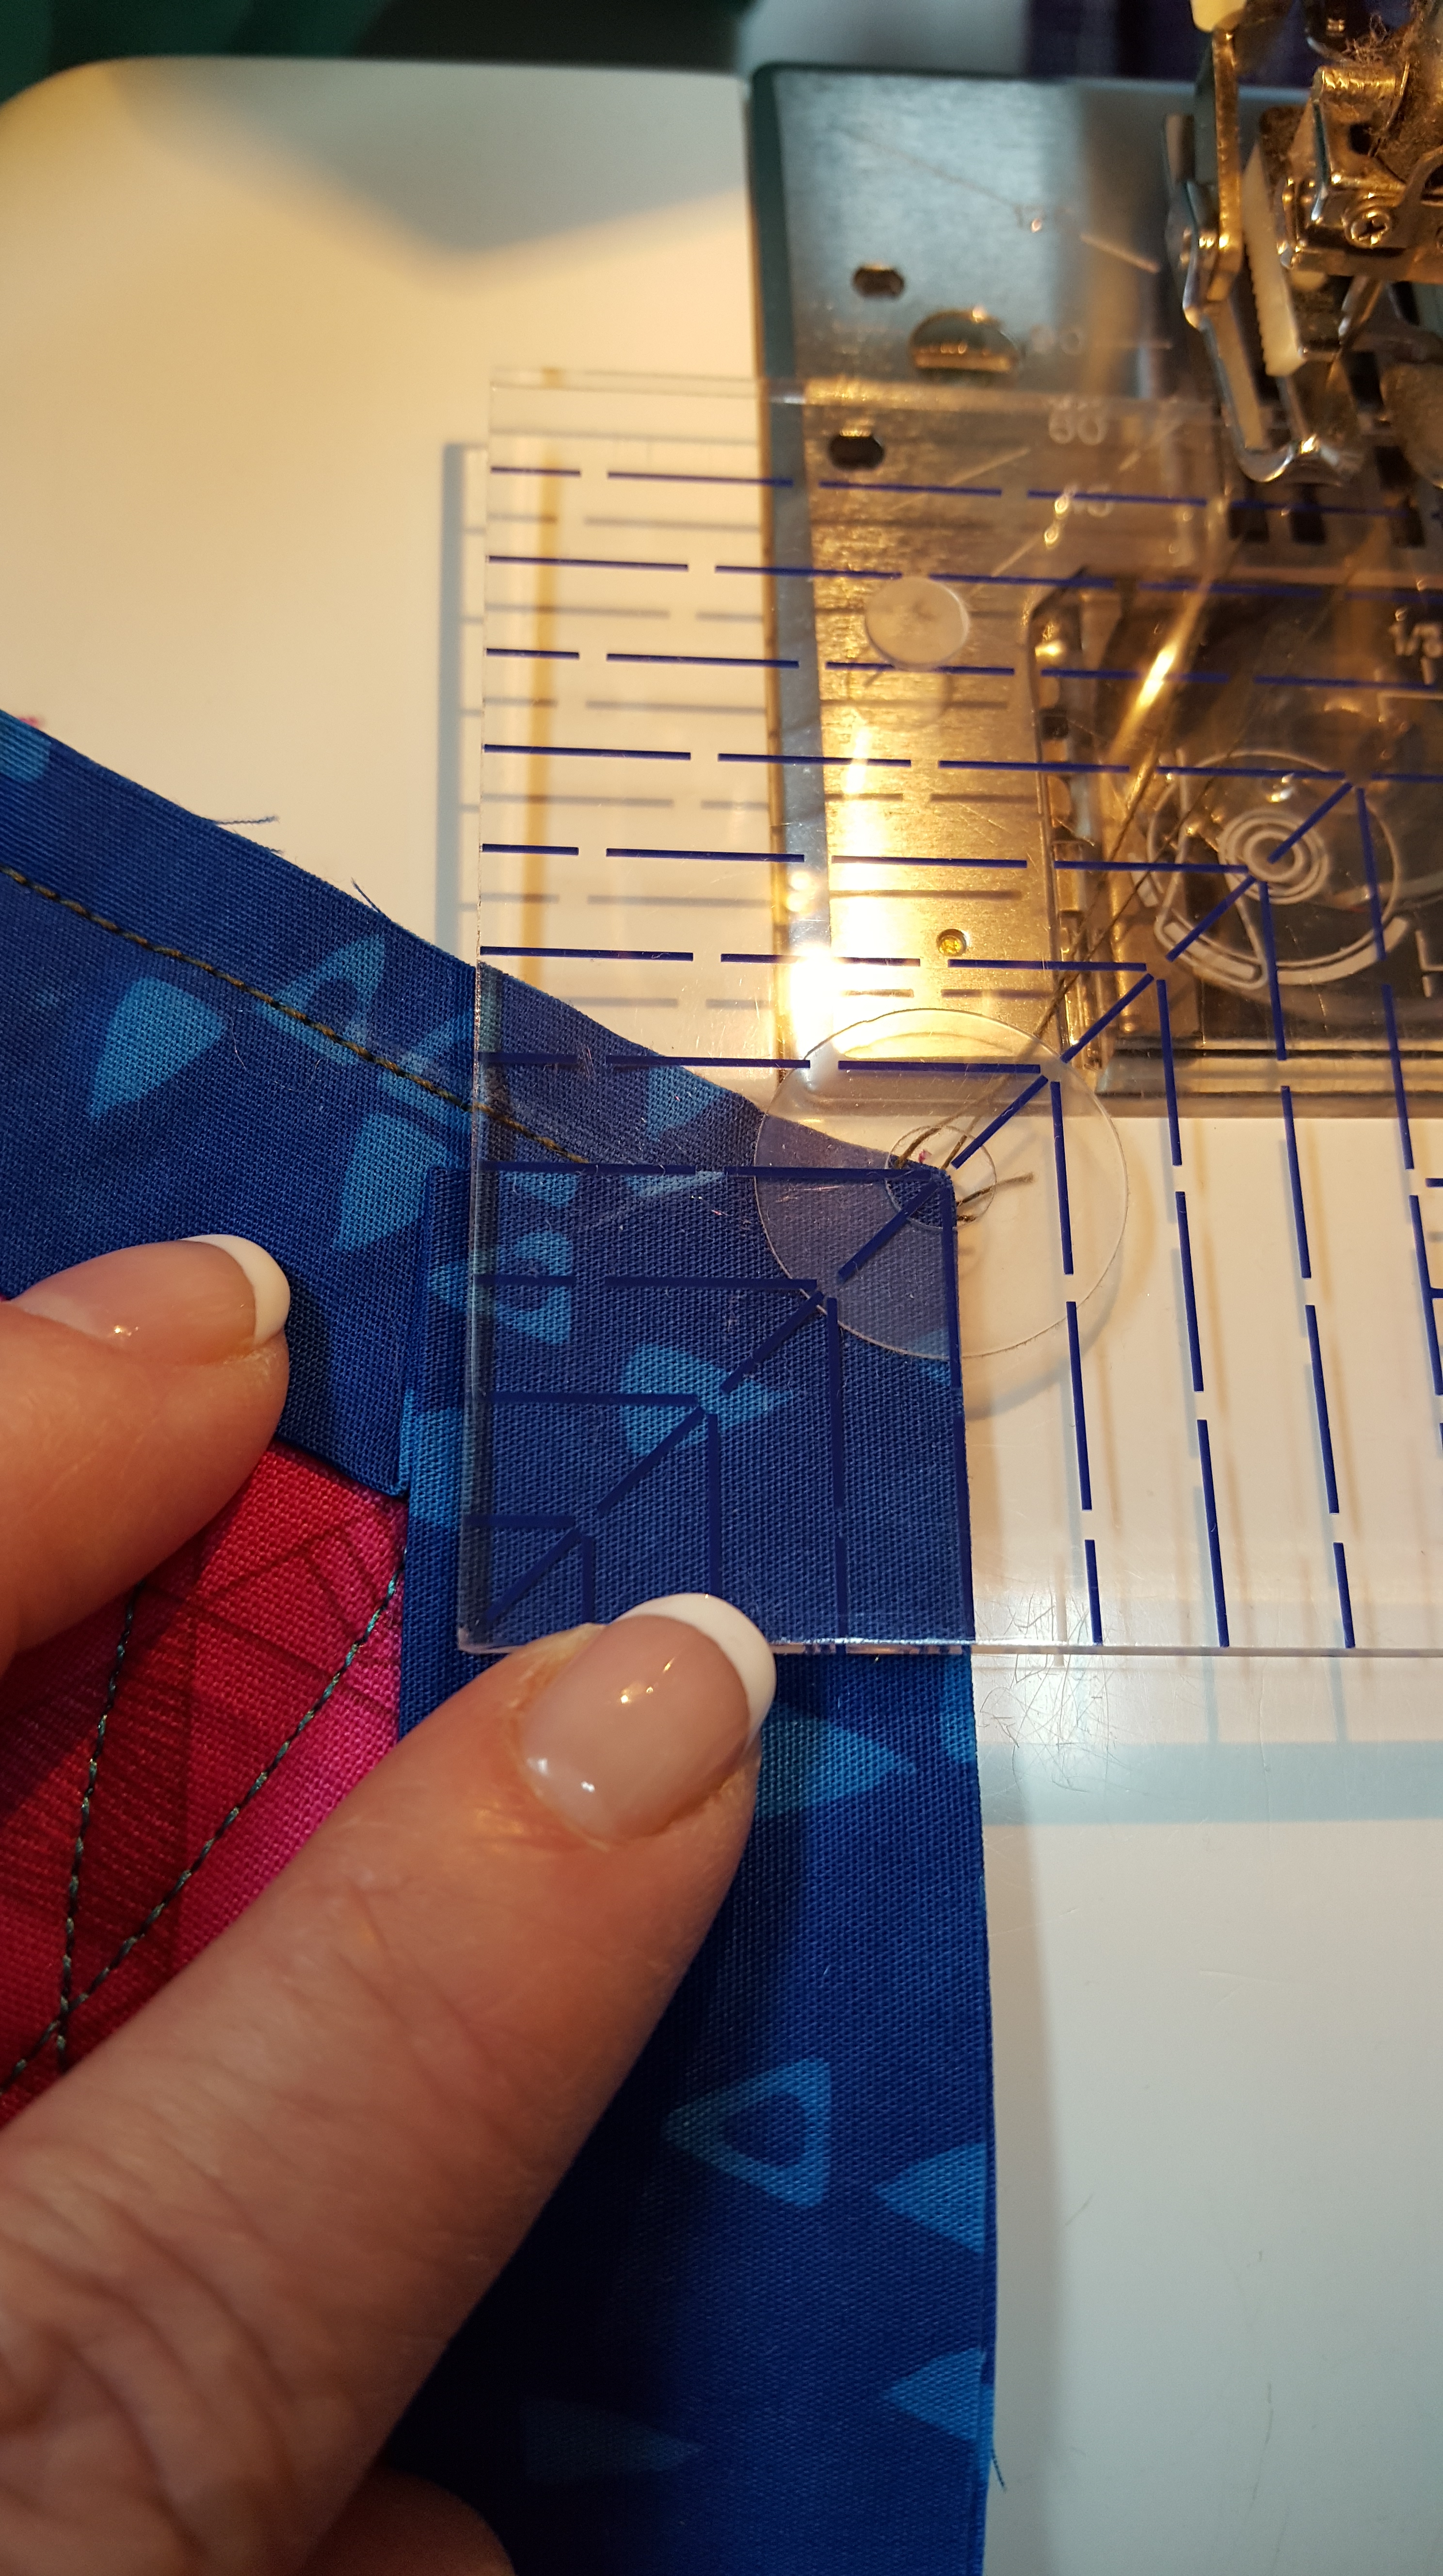
Checking 90 degree of
“miter flip-flop”
Continue sewing in the new direction on to the next corner or in this quilt’s case inside corner point. Join me again next week for a detailed look at sewing the binding on an inside corner.
Take away tips…
- 2 1/4″ double fold binding is a great binding width.
- Mark your stopping point for the perfect miter, don’t guess!
- From the marked stopping point, turn at stitch off exactly at the corner.
- Learn the “miter flip flop” for successful mitered corners.
- The “flop” of the binding must be at 90 degrees from the corner.
in quilting,
Debbie
