
Today, I’ll finish the odd angle binding instruction. Paducah got busy last week, grin! And I was not able to get back to my computer. The inside angle of an odd angle binding is just as important as the out side point. There is a couple thoughts about inside corners. One is to stitch up the miter, the other is to not stitch and leave “open”. I will show how to machine stitch the binding to the front and hand sew to the back.
For the best results, I like to staystitch just inside the seam line around the entire edge. Add the binding sewing a 1/4″ seam (or as wide as you want your binding).

Inside binding corner
As you approach the inside corner, clip to but NOT through the staystich line. Also mark the stopping point on the binding.

Clip inside binding corner
Stop with the needle down at the inside corner point. Open up inside corner, where it has been clipped and align the binding and continue sewing. NO turning needed.

Inside corner, open clipped corner

Mark stopping point
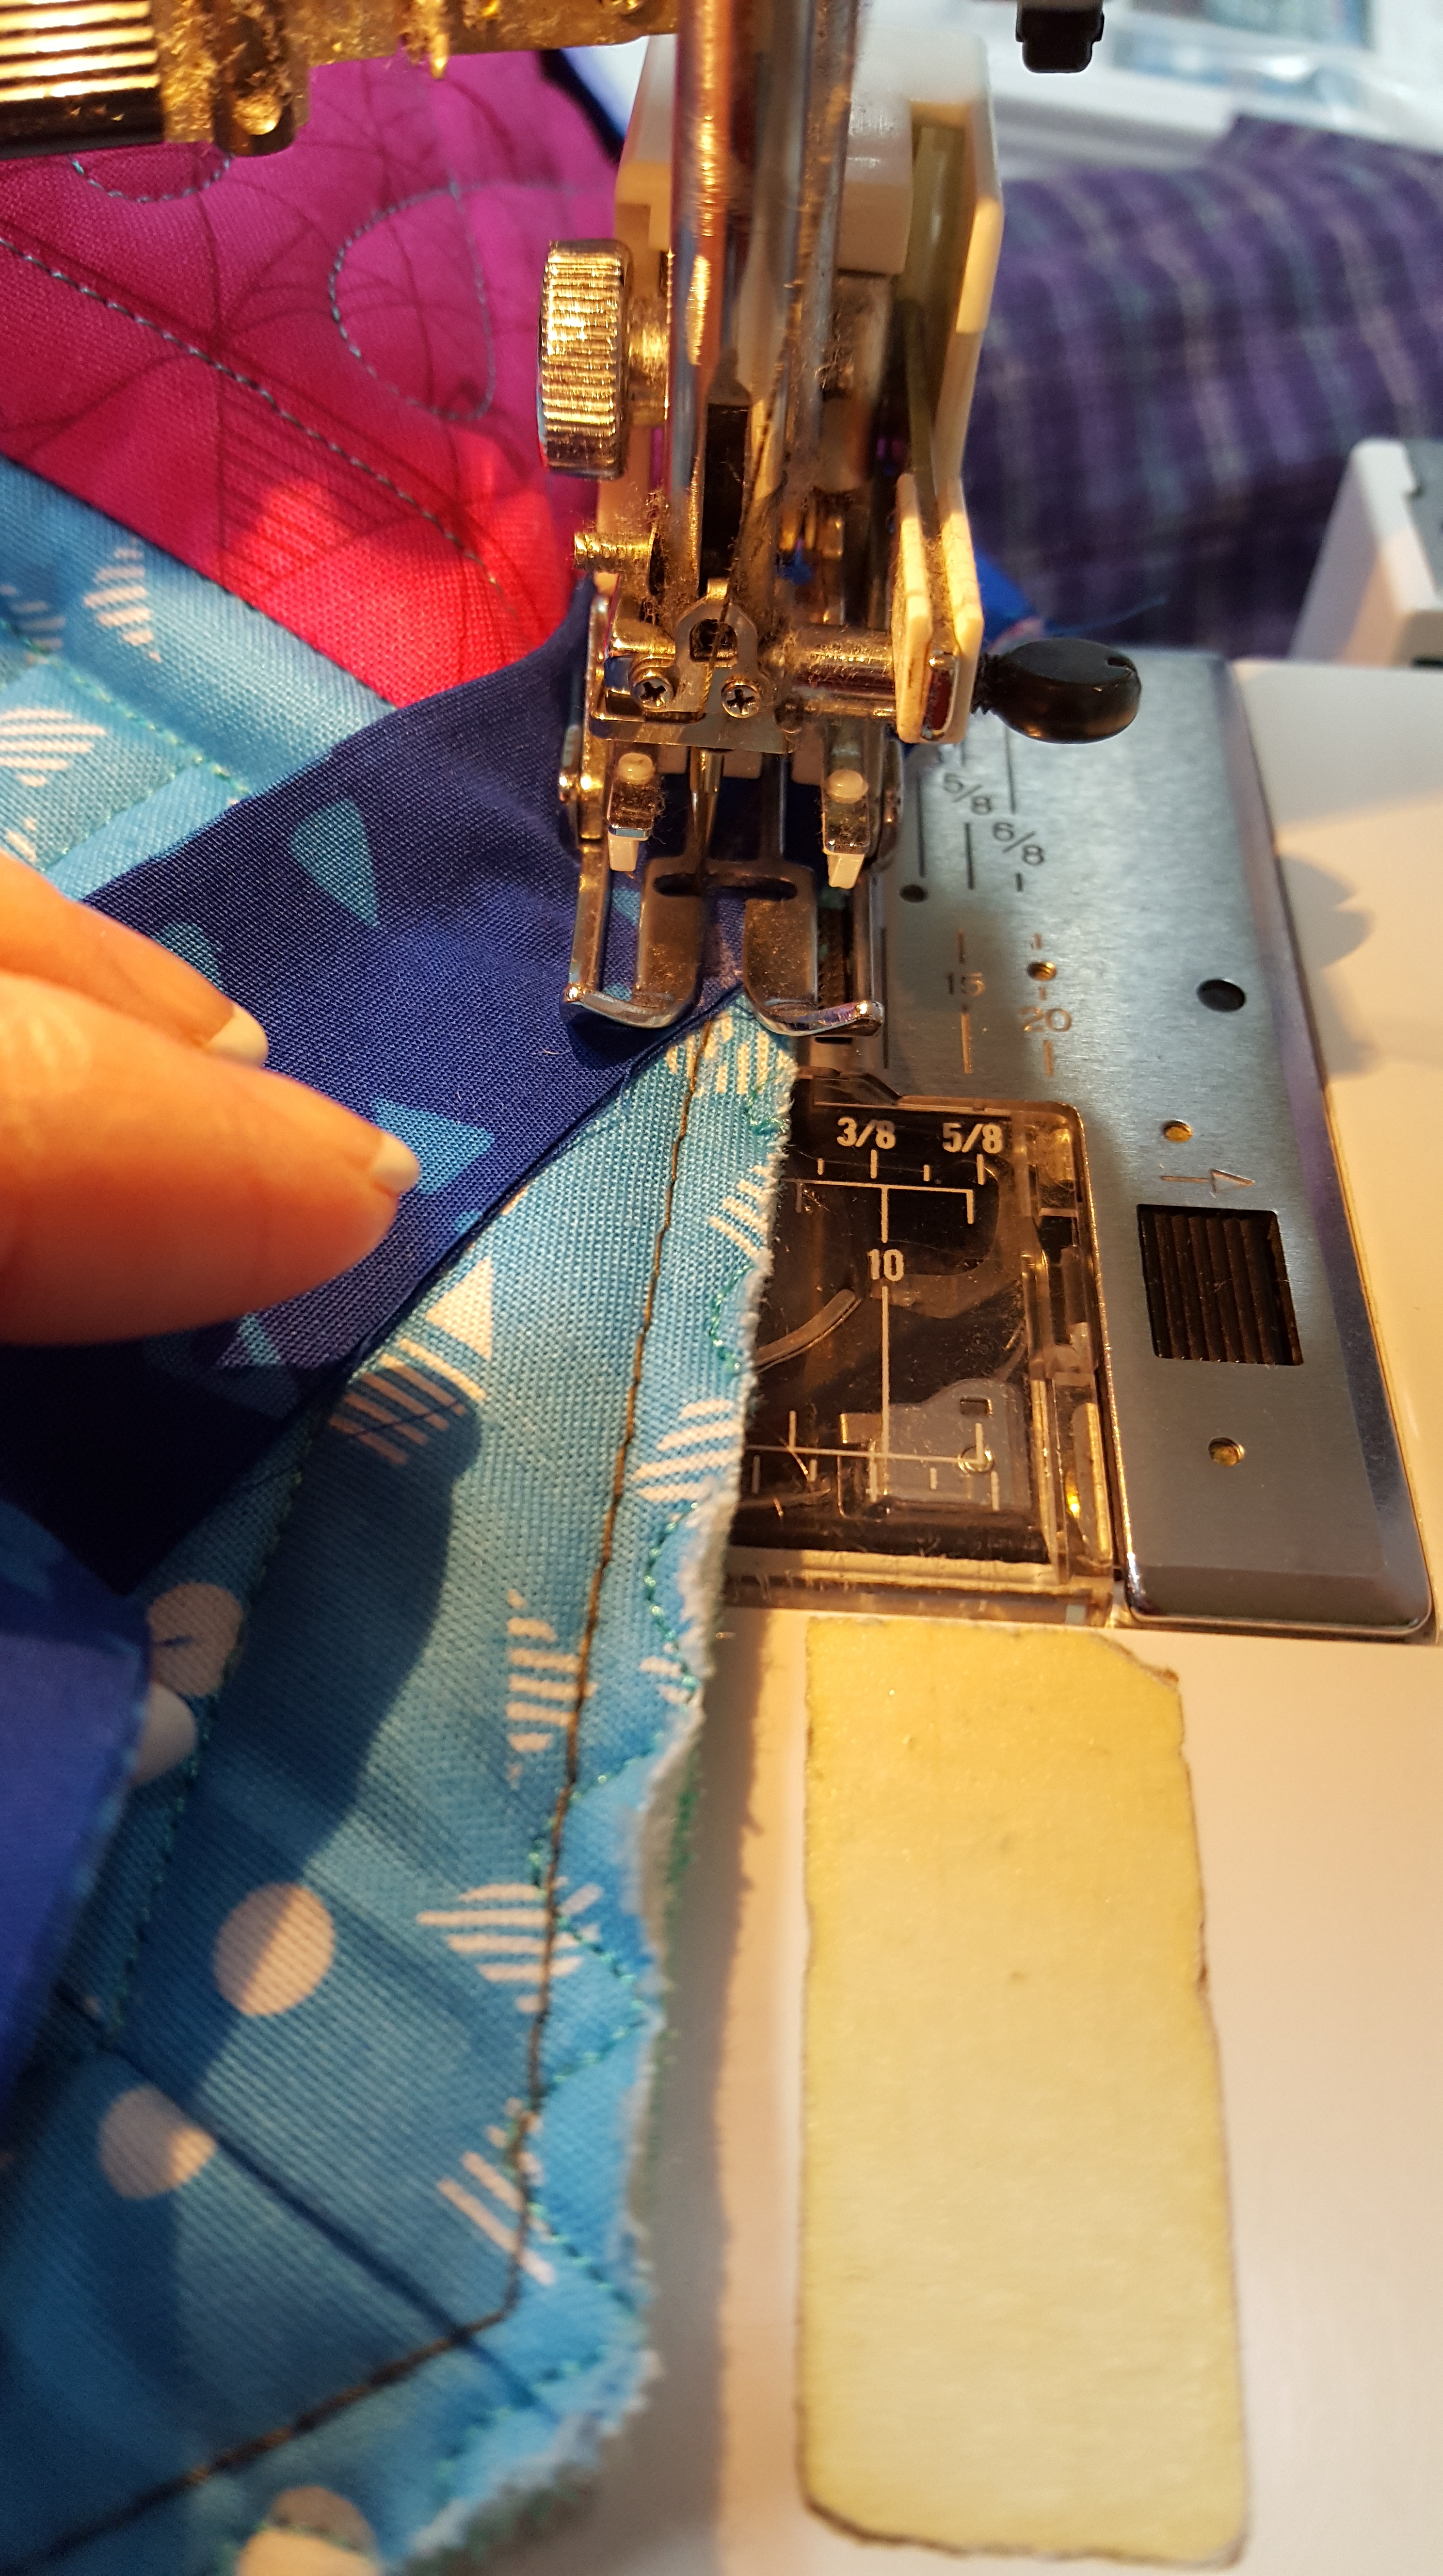
Stop with needle down
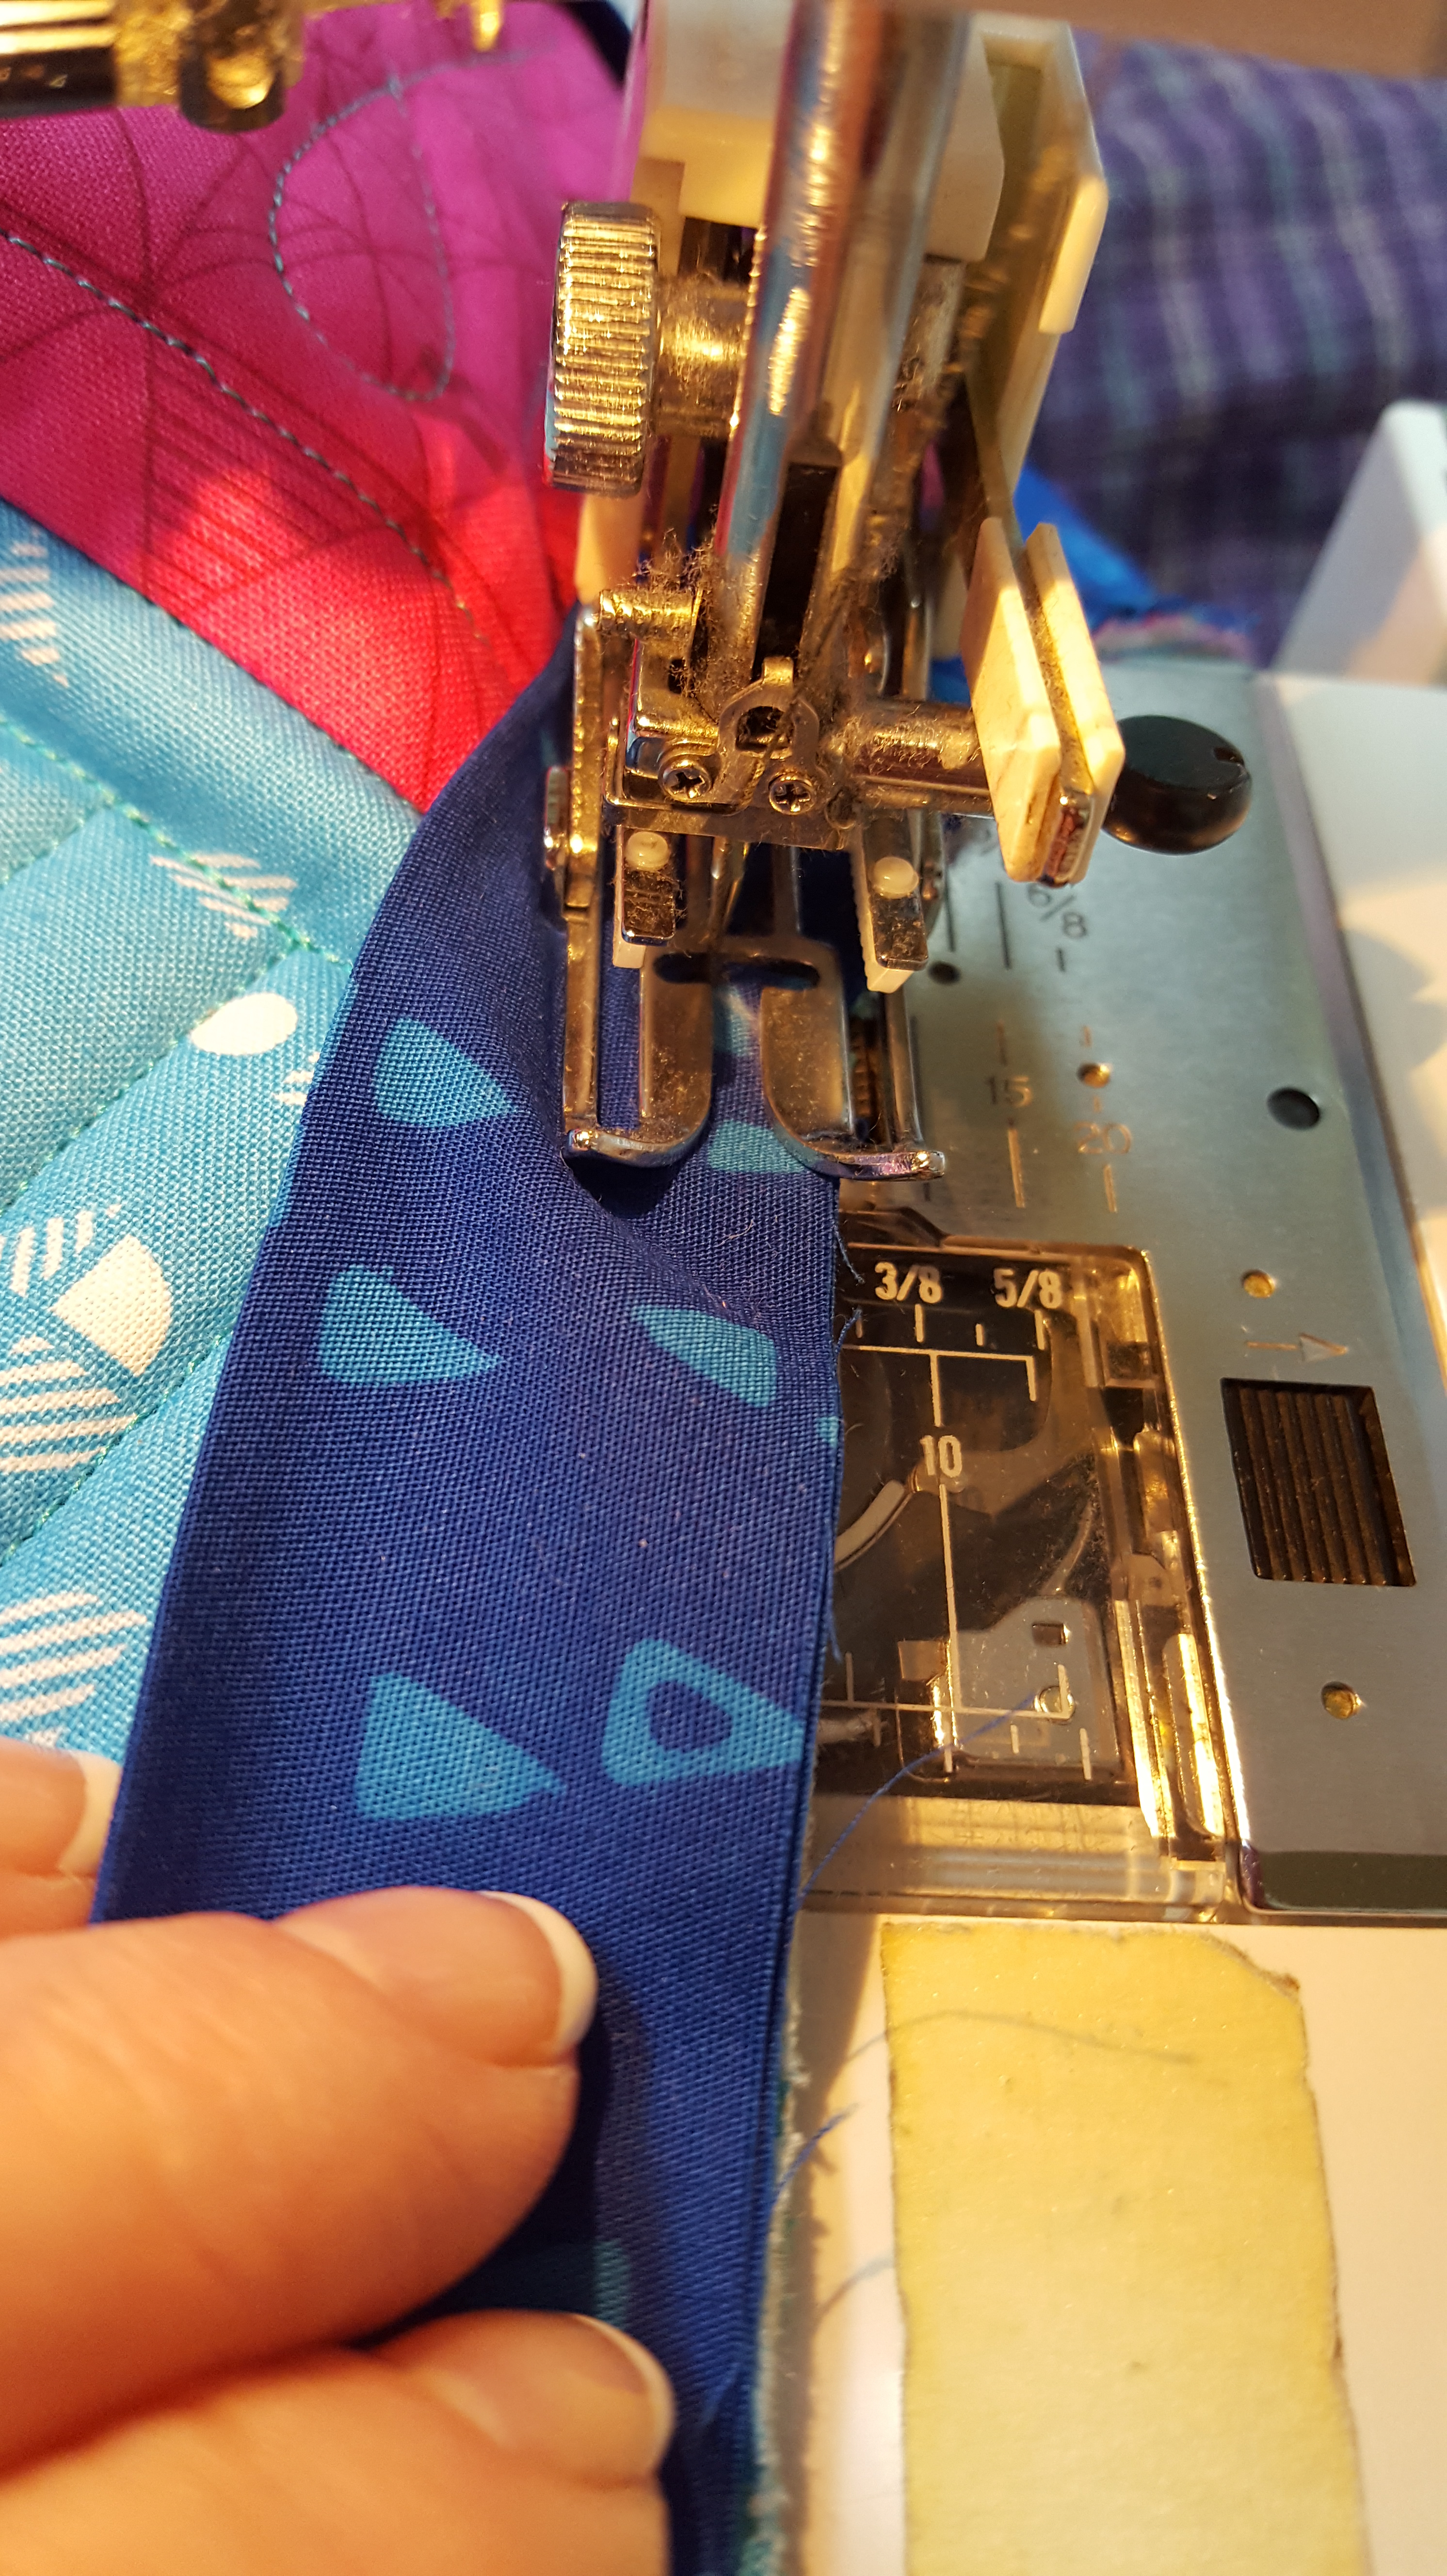
Continue sewing beyond inside corner point
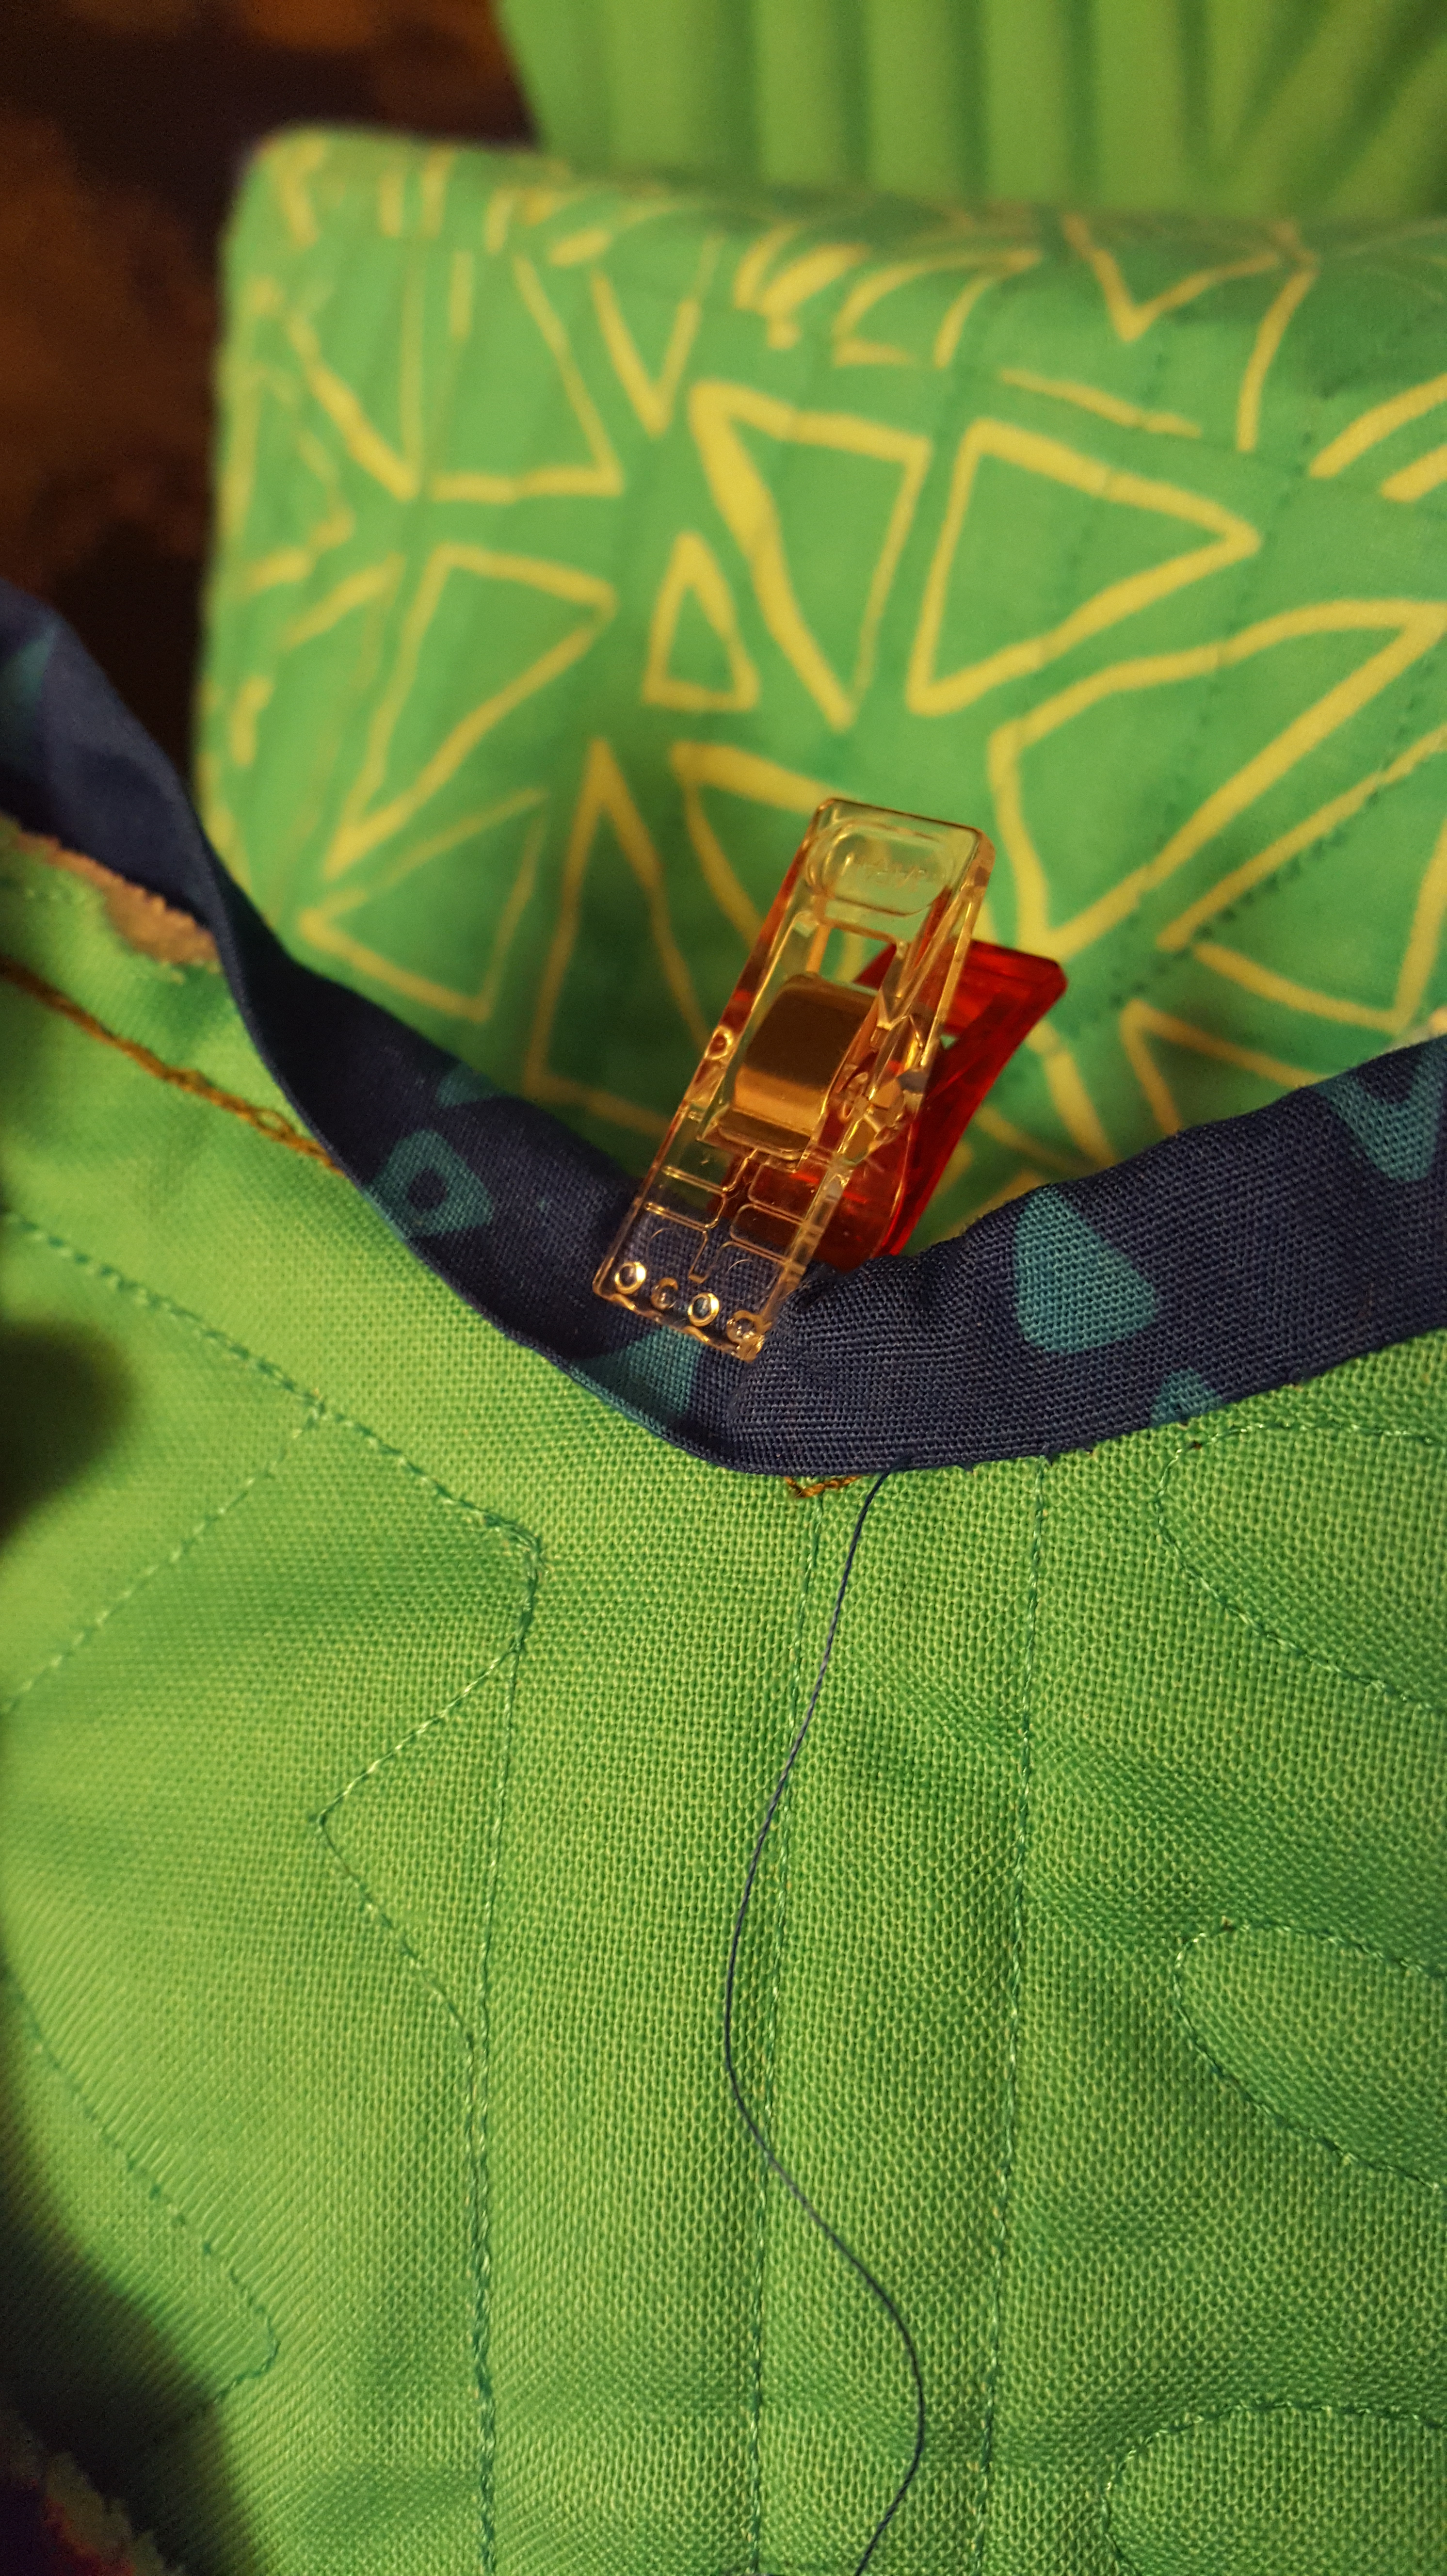
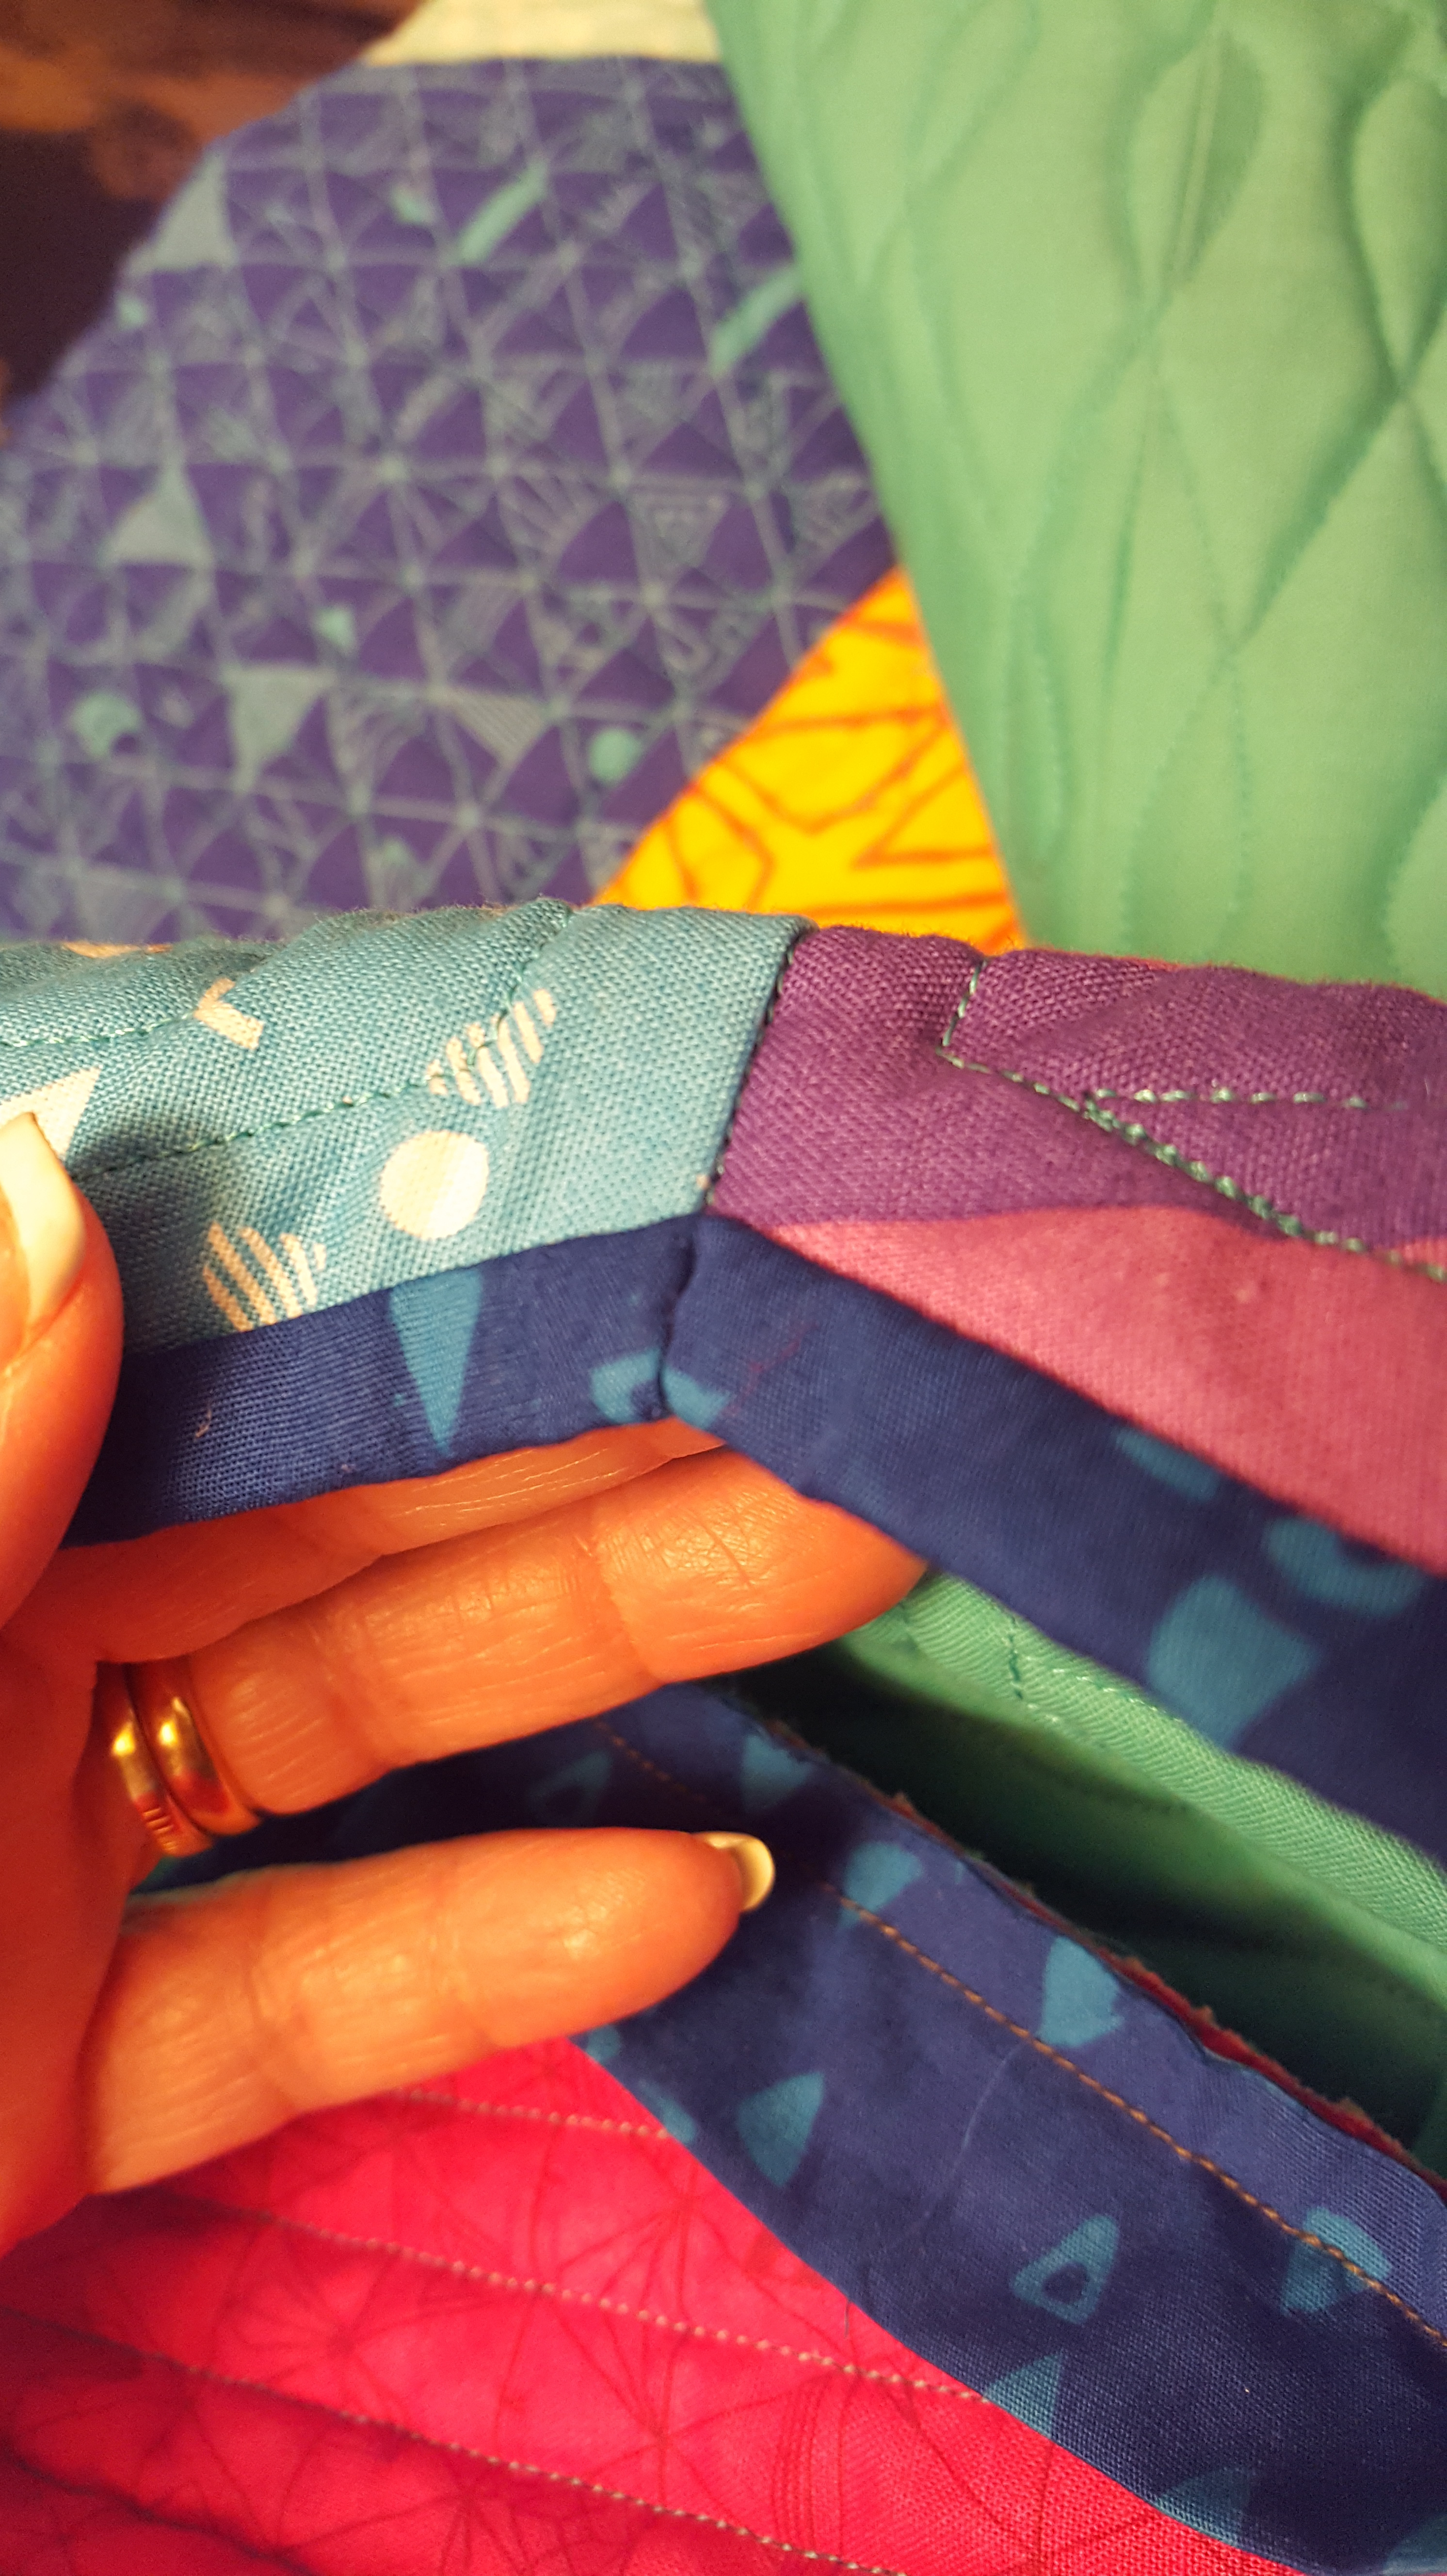
Turn the binding to the back and hand sew in place. The first set of photos have NOT had the miter sewn. The second is sewn. You decide what look you like.
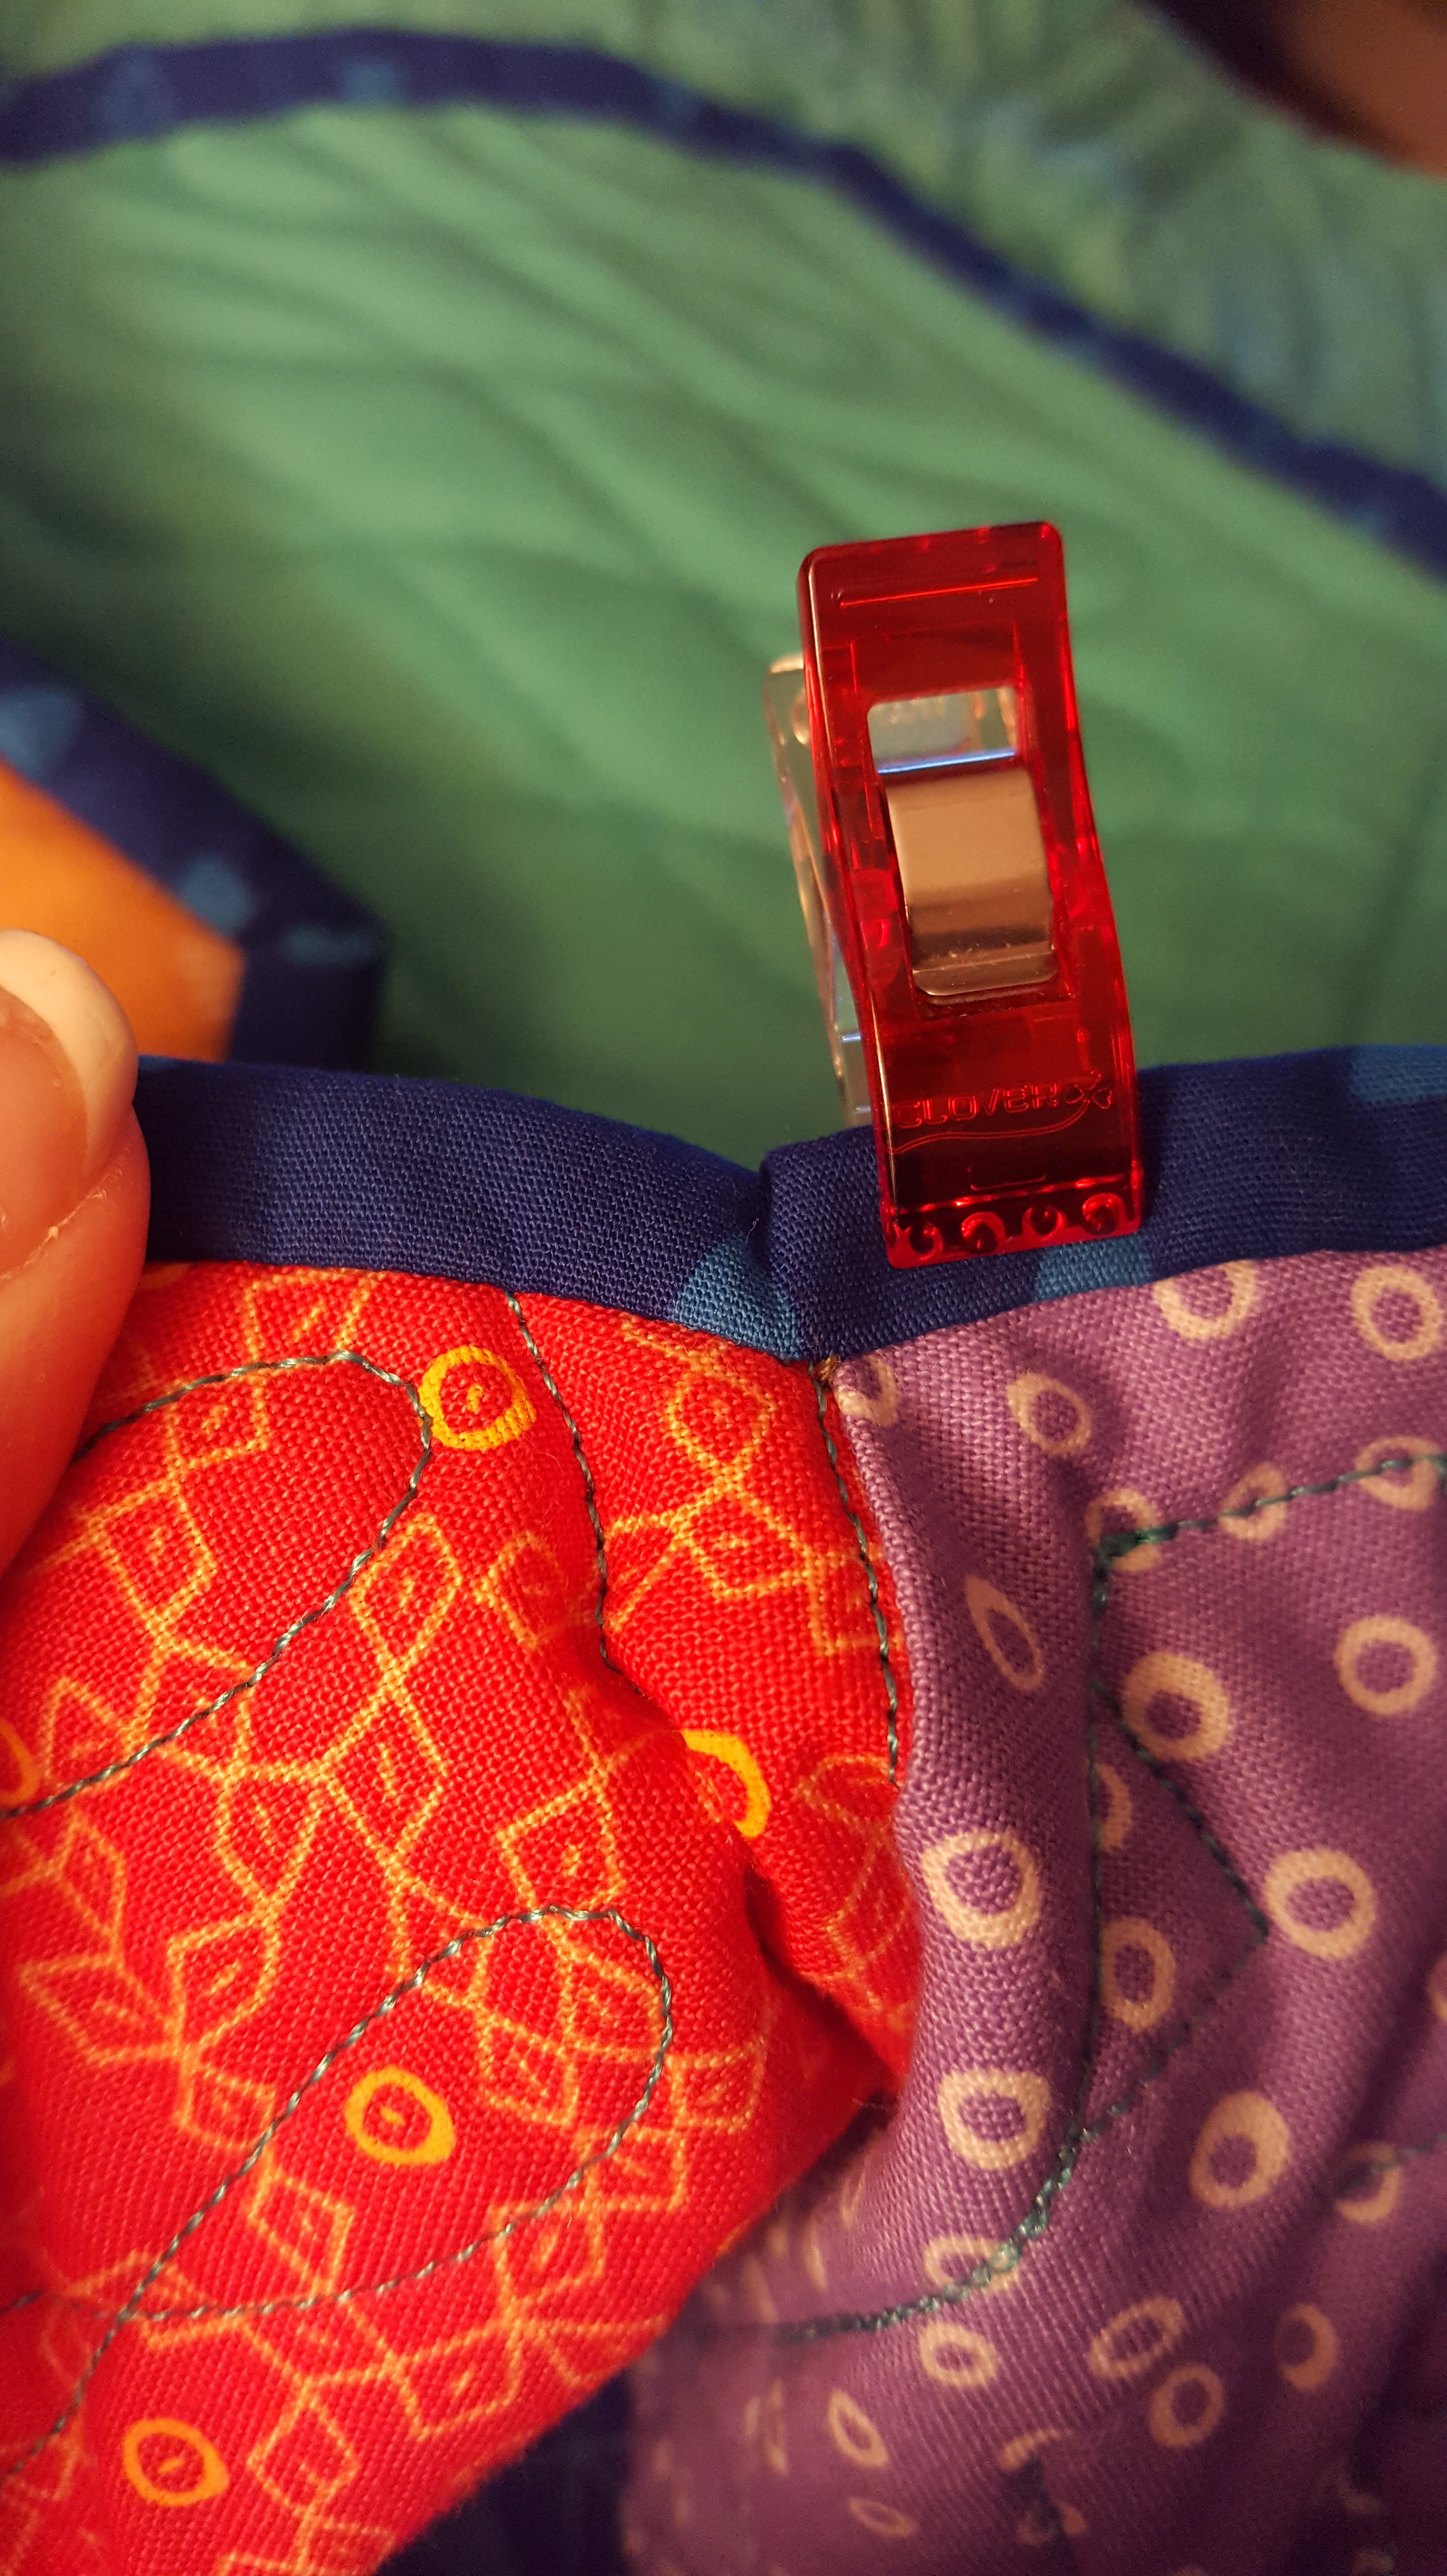
Front of hand sewn inside
corner, miter not sewn
Back of inside corner

Back, miter sewn
Front, miter sewn
#1 – Staystitching, marking, and clipping make for a good inside corner!
#2- You choose to sew the inside miter, or not. But judges do want to see them sewn!
in quilting,
Debbie
P.S. Thank you Paducah! Wonderful time with great customers and friends!
