
Today I want to share some tips when sewing 45 degree seams. These seams happen in sewing a continuous bindings and are found in many of my “Tool” and “Brilliant” patterns.
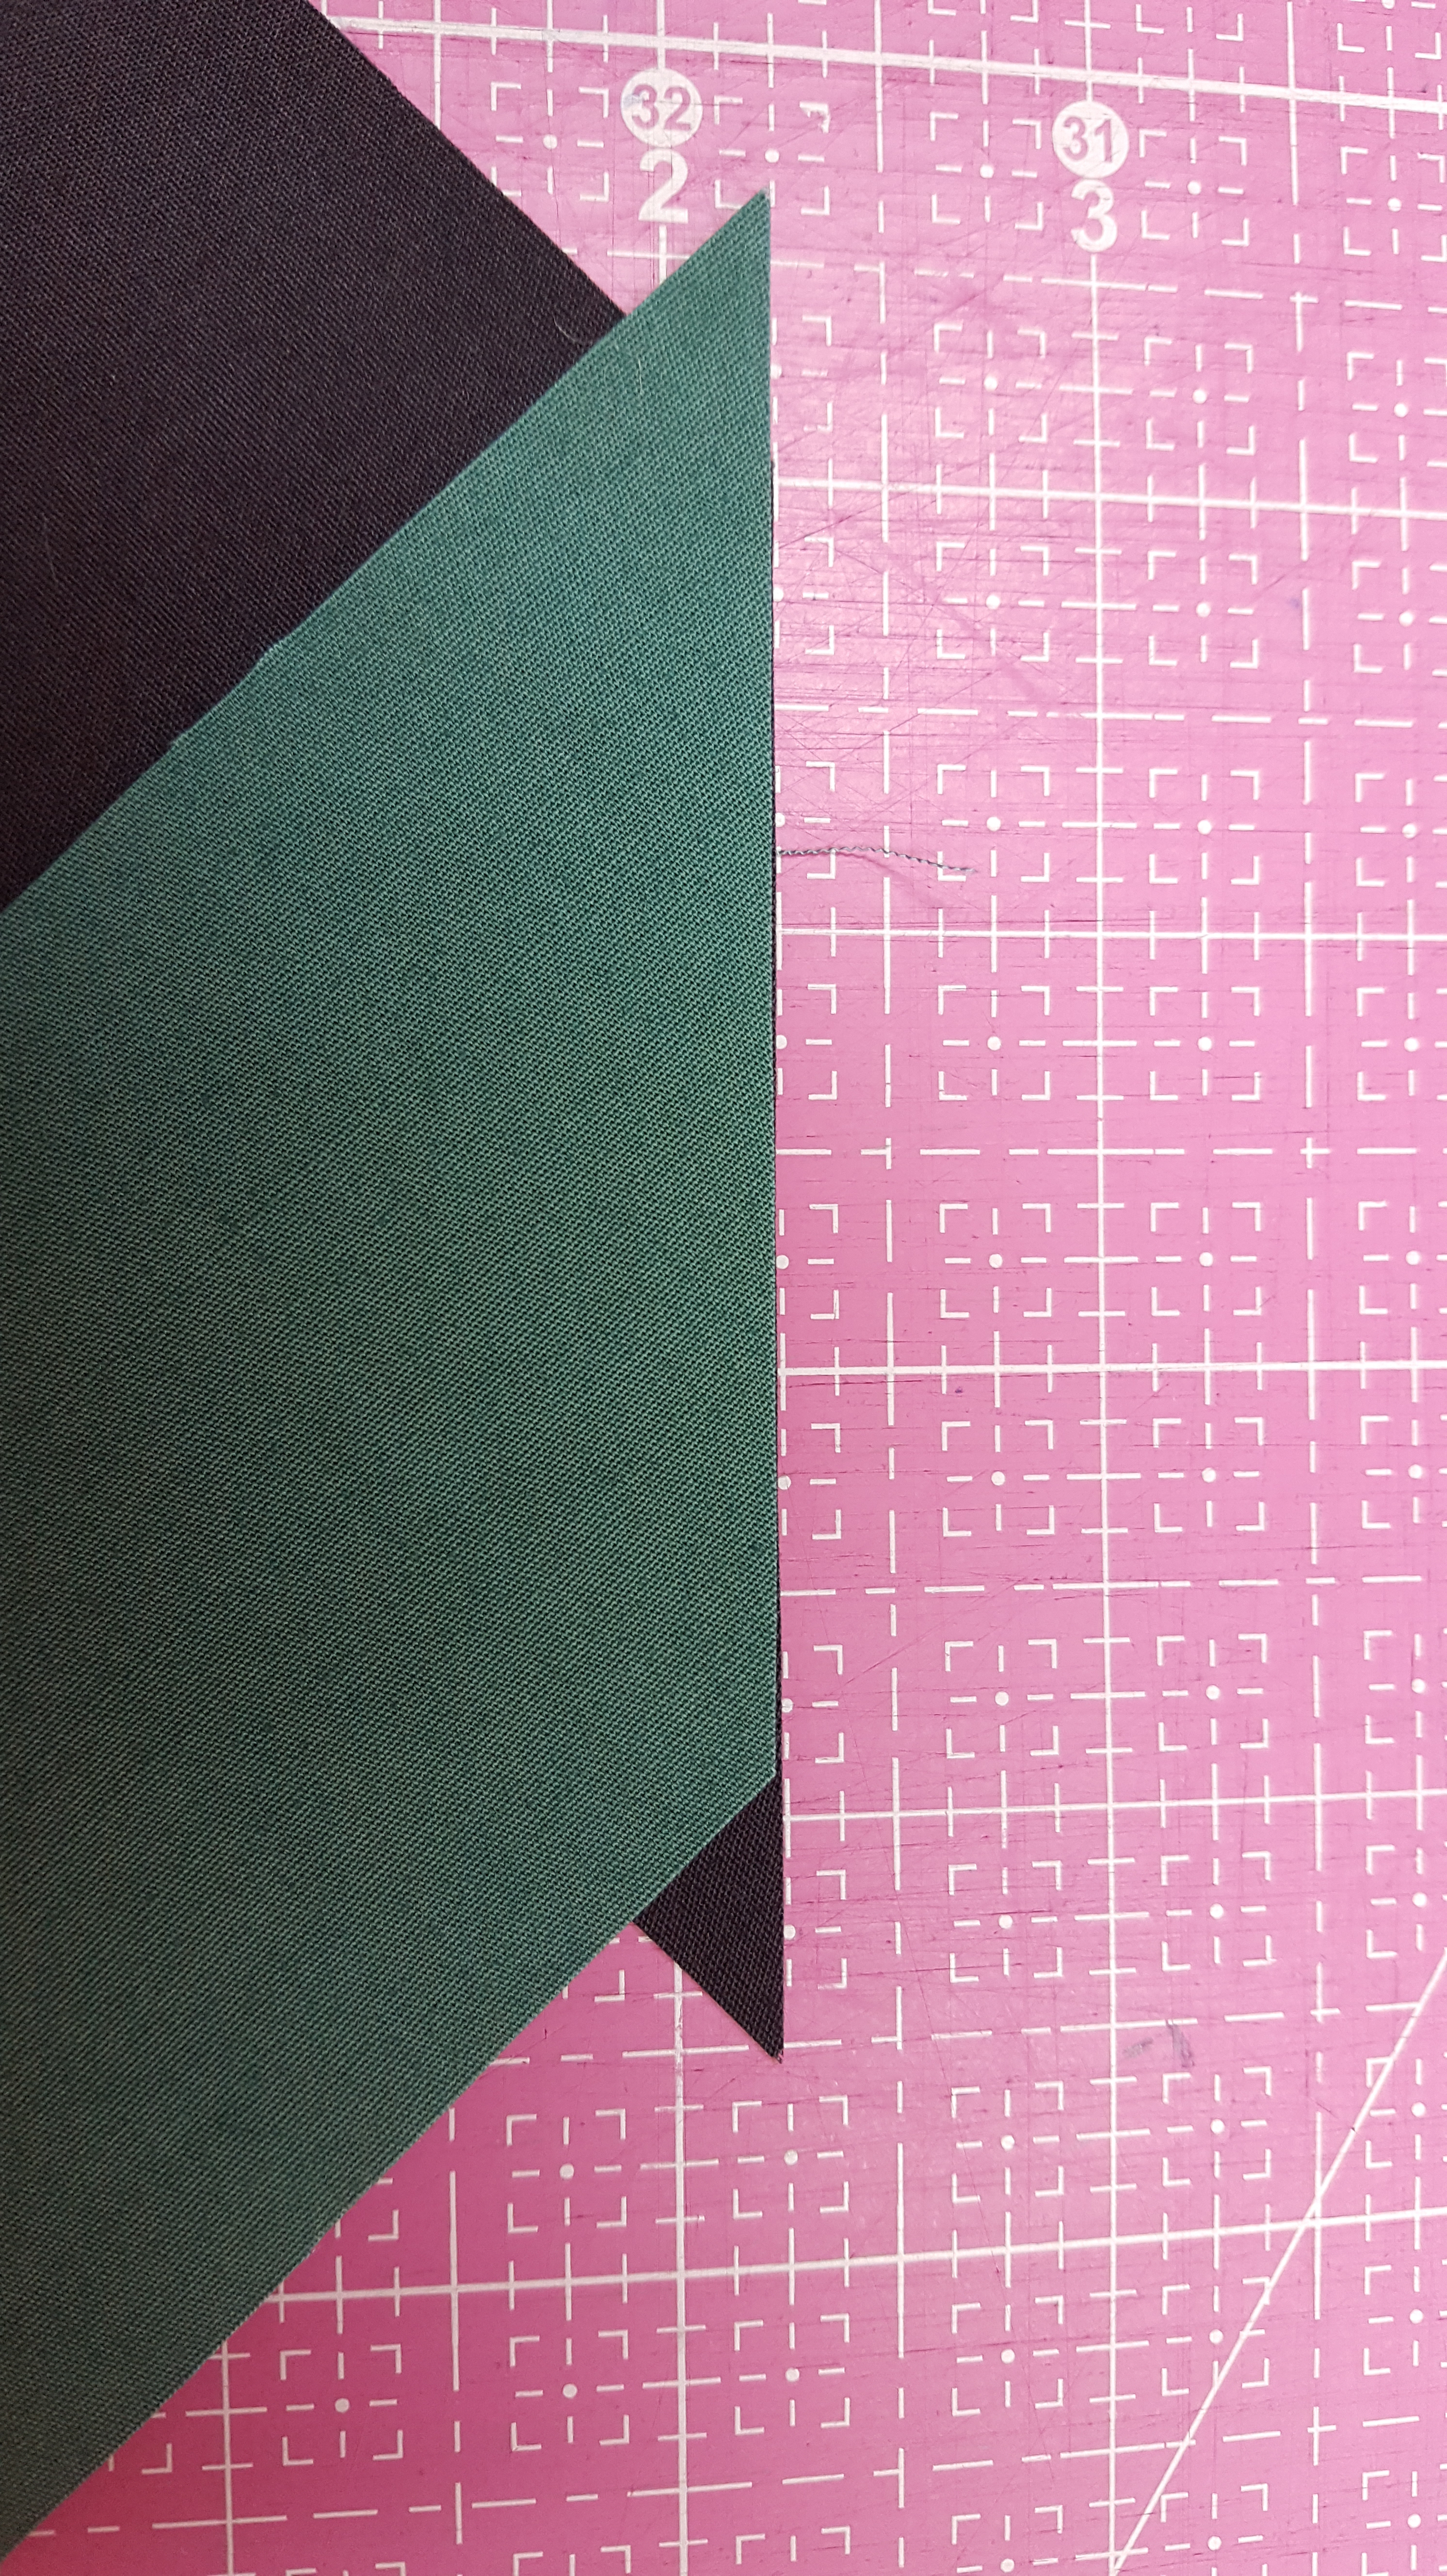
First, below is a photo of two 45 degree angles that need to be sewn together.

45 degree edges end to end
The trick with these seams if to make sure the pieces stay in one long nice continuous piece. No jumps at the seam from one piece to the other! My method of choice is to mark the 1/4″ sewing line on the backside of the lightest fabric. When you align the cut 45 edge the 1/4″ drawn line will intersect the edges of the piece you are sewing it to. See photo below for the drawn line and the pencil points to the intersection. I refer to this as the inside corner point.

1/4″ drawn line on 45 degree end
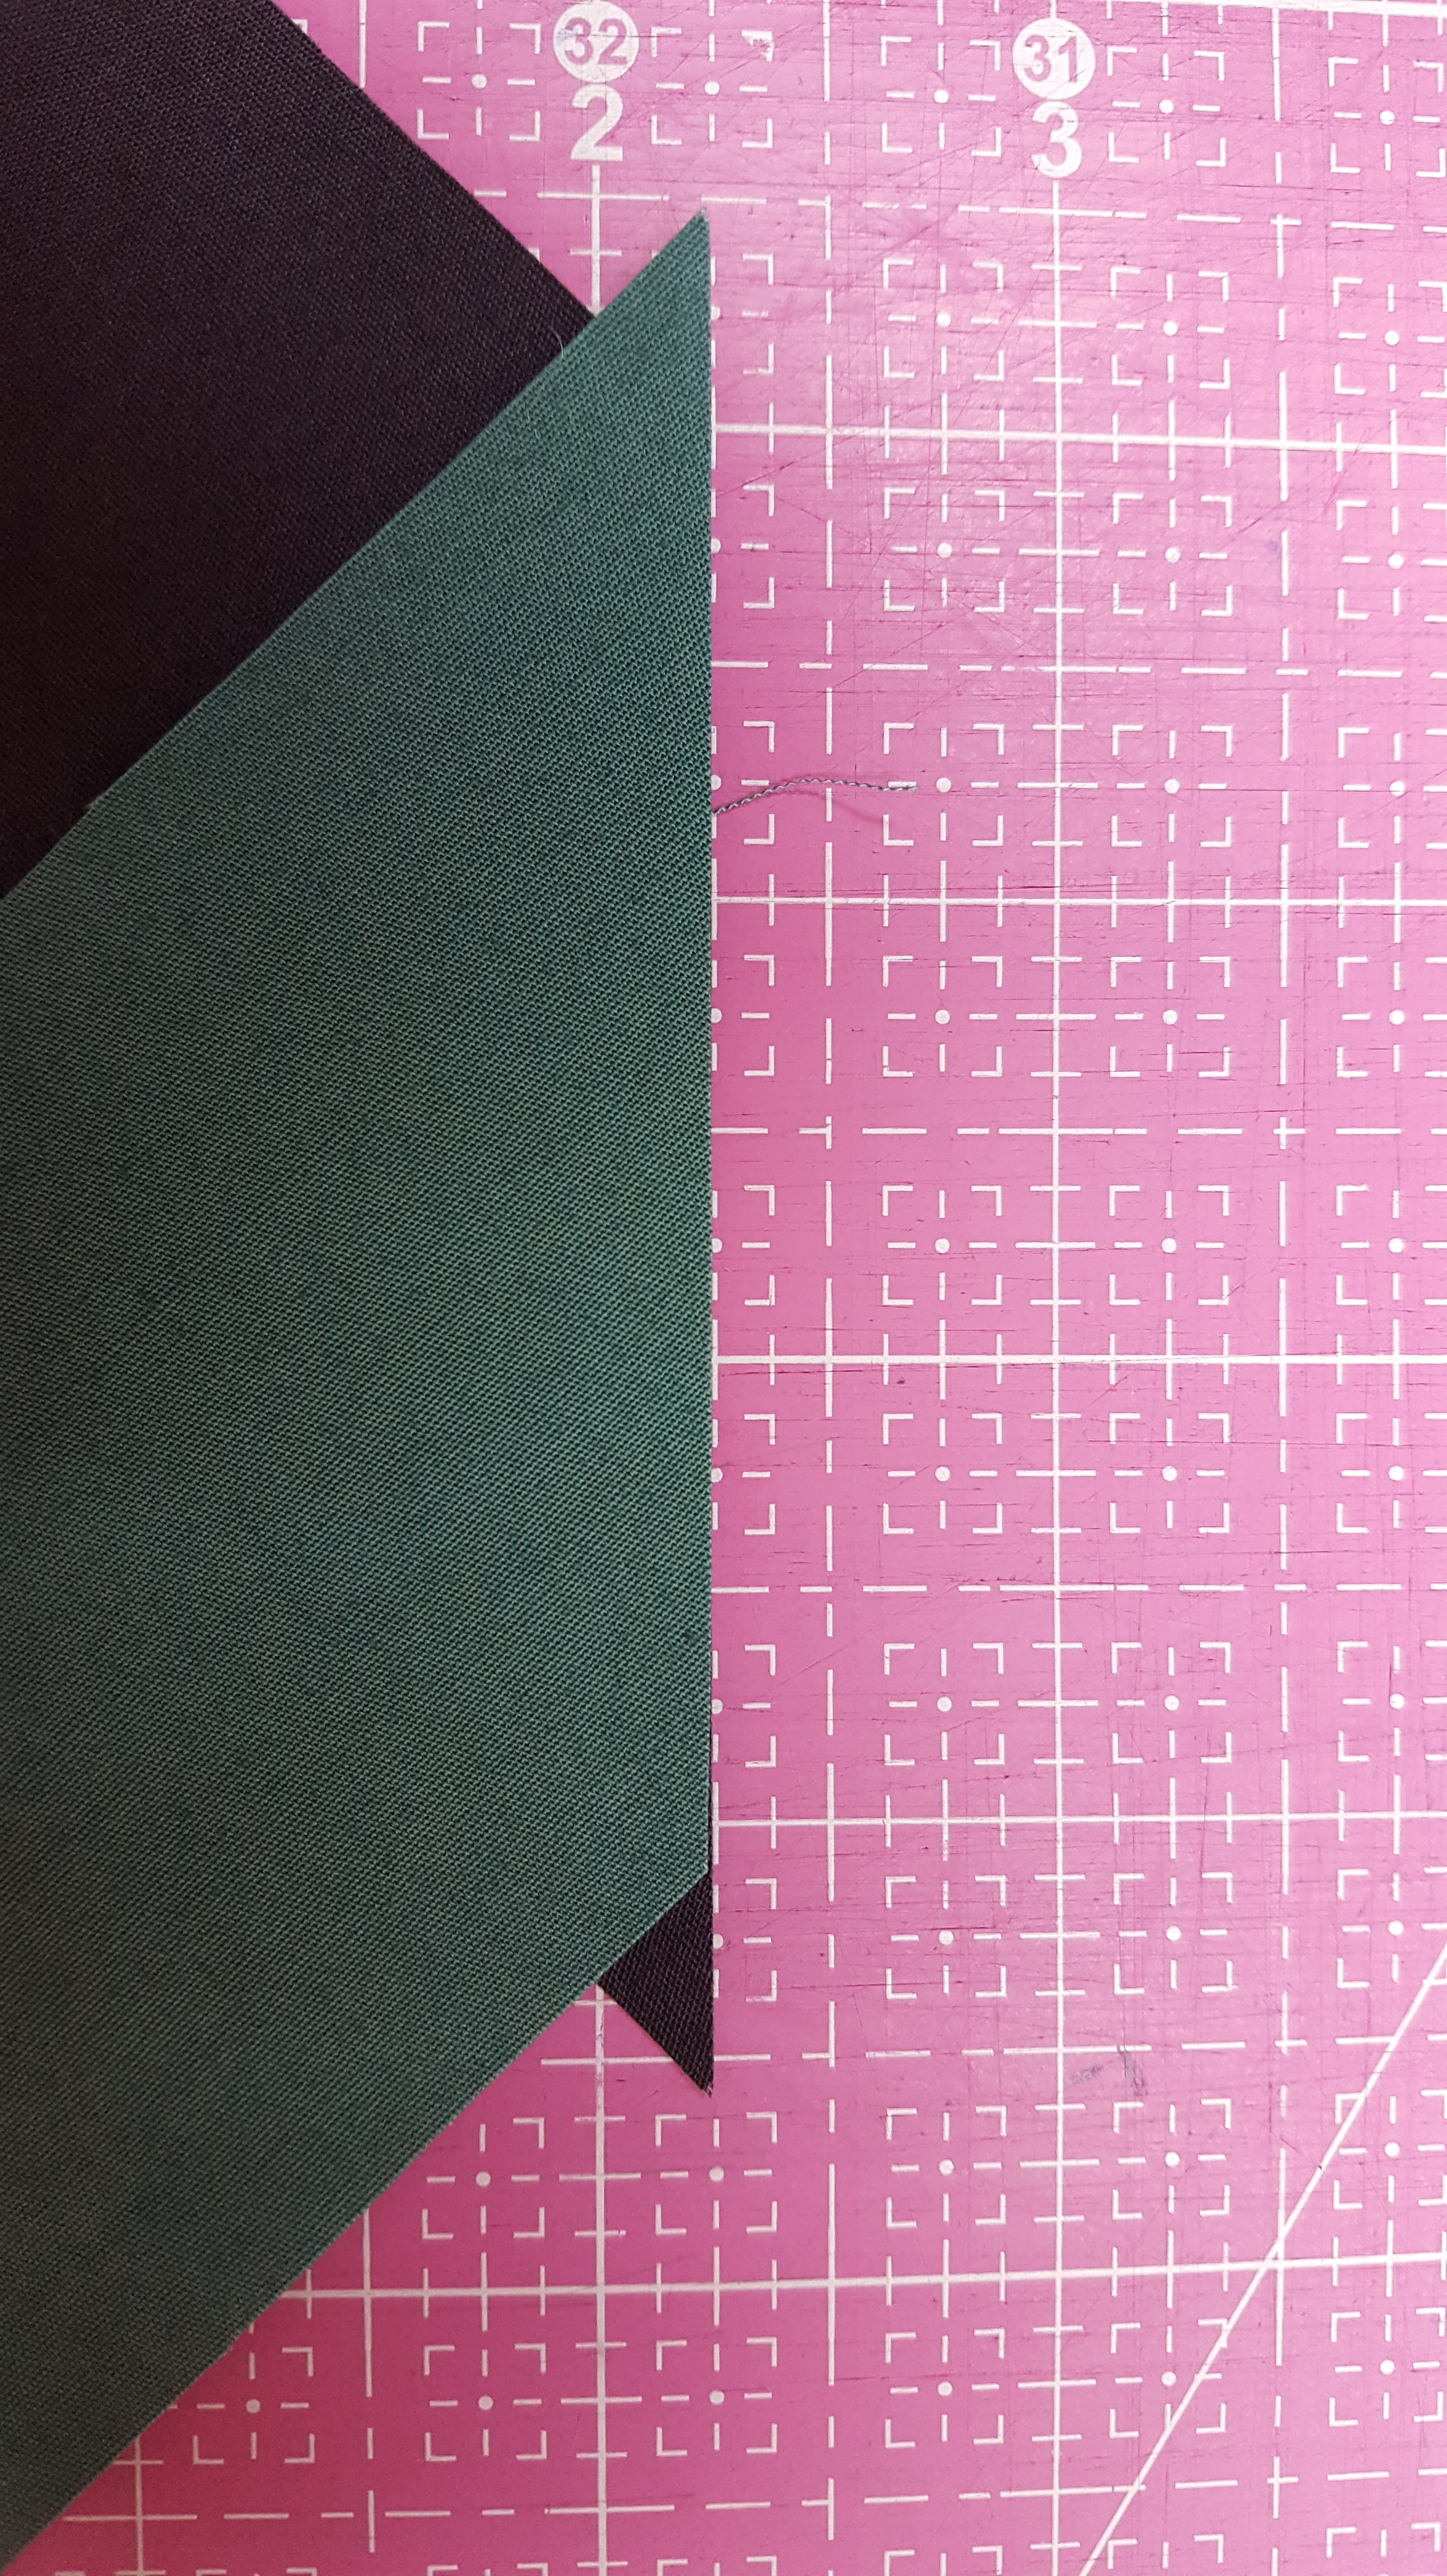
The next two photos are what NOT to do when sewing a 45 degree angled edge. The first is too wide and the second is too narrow.
seam too wide

seam too narrow
You will need to shift the pieces along the 45 cut edge to get an exact 1/4″ seam. See the lines on the cutting mat as a reference. This is also a short cut, instead of drawing the sewing line. Use the mat for placement then take it to the machine and sew.
Aligning seam using
markings on cutting mat
Finally, look at all those sewn seams. Loving working with these hand dyed fabrics from Stipples etc.!! Wendy, the owner and hand dyer, has some beautiful fabrics!!! We will both be vending at the AQS Quilt Week in Grand Rapids next week. I hope to see you there!
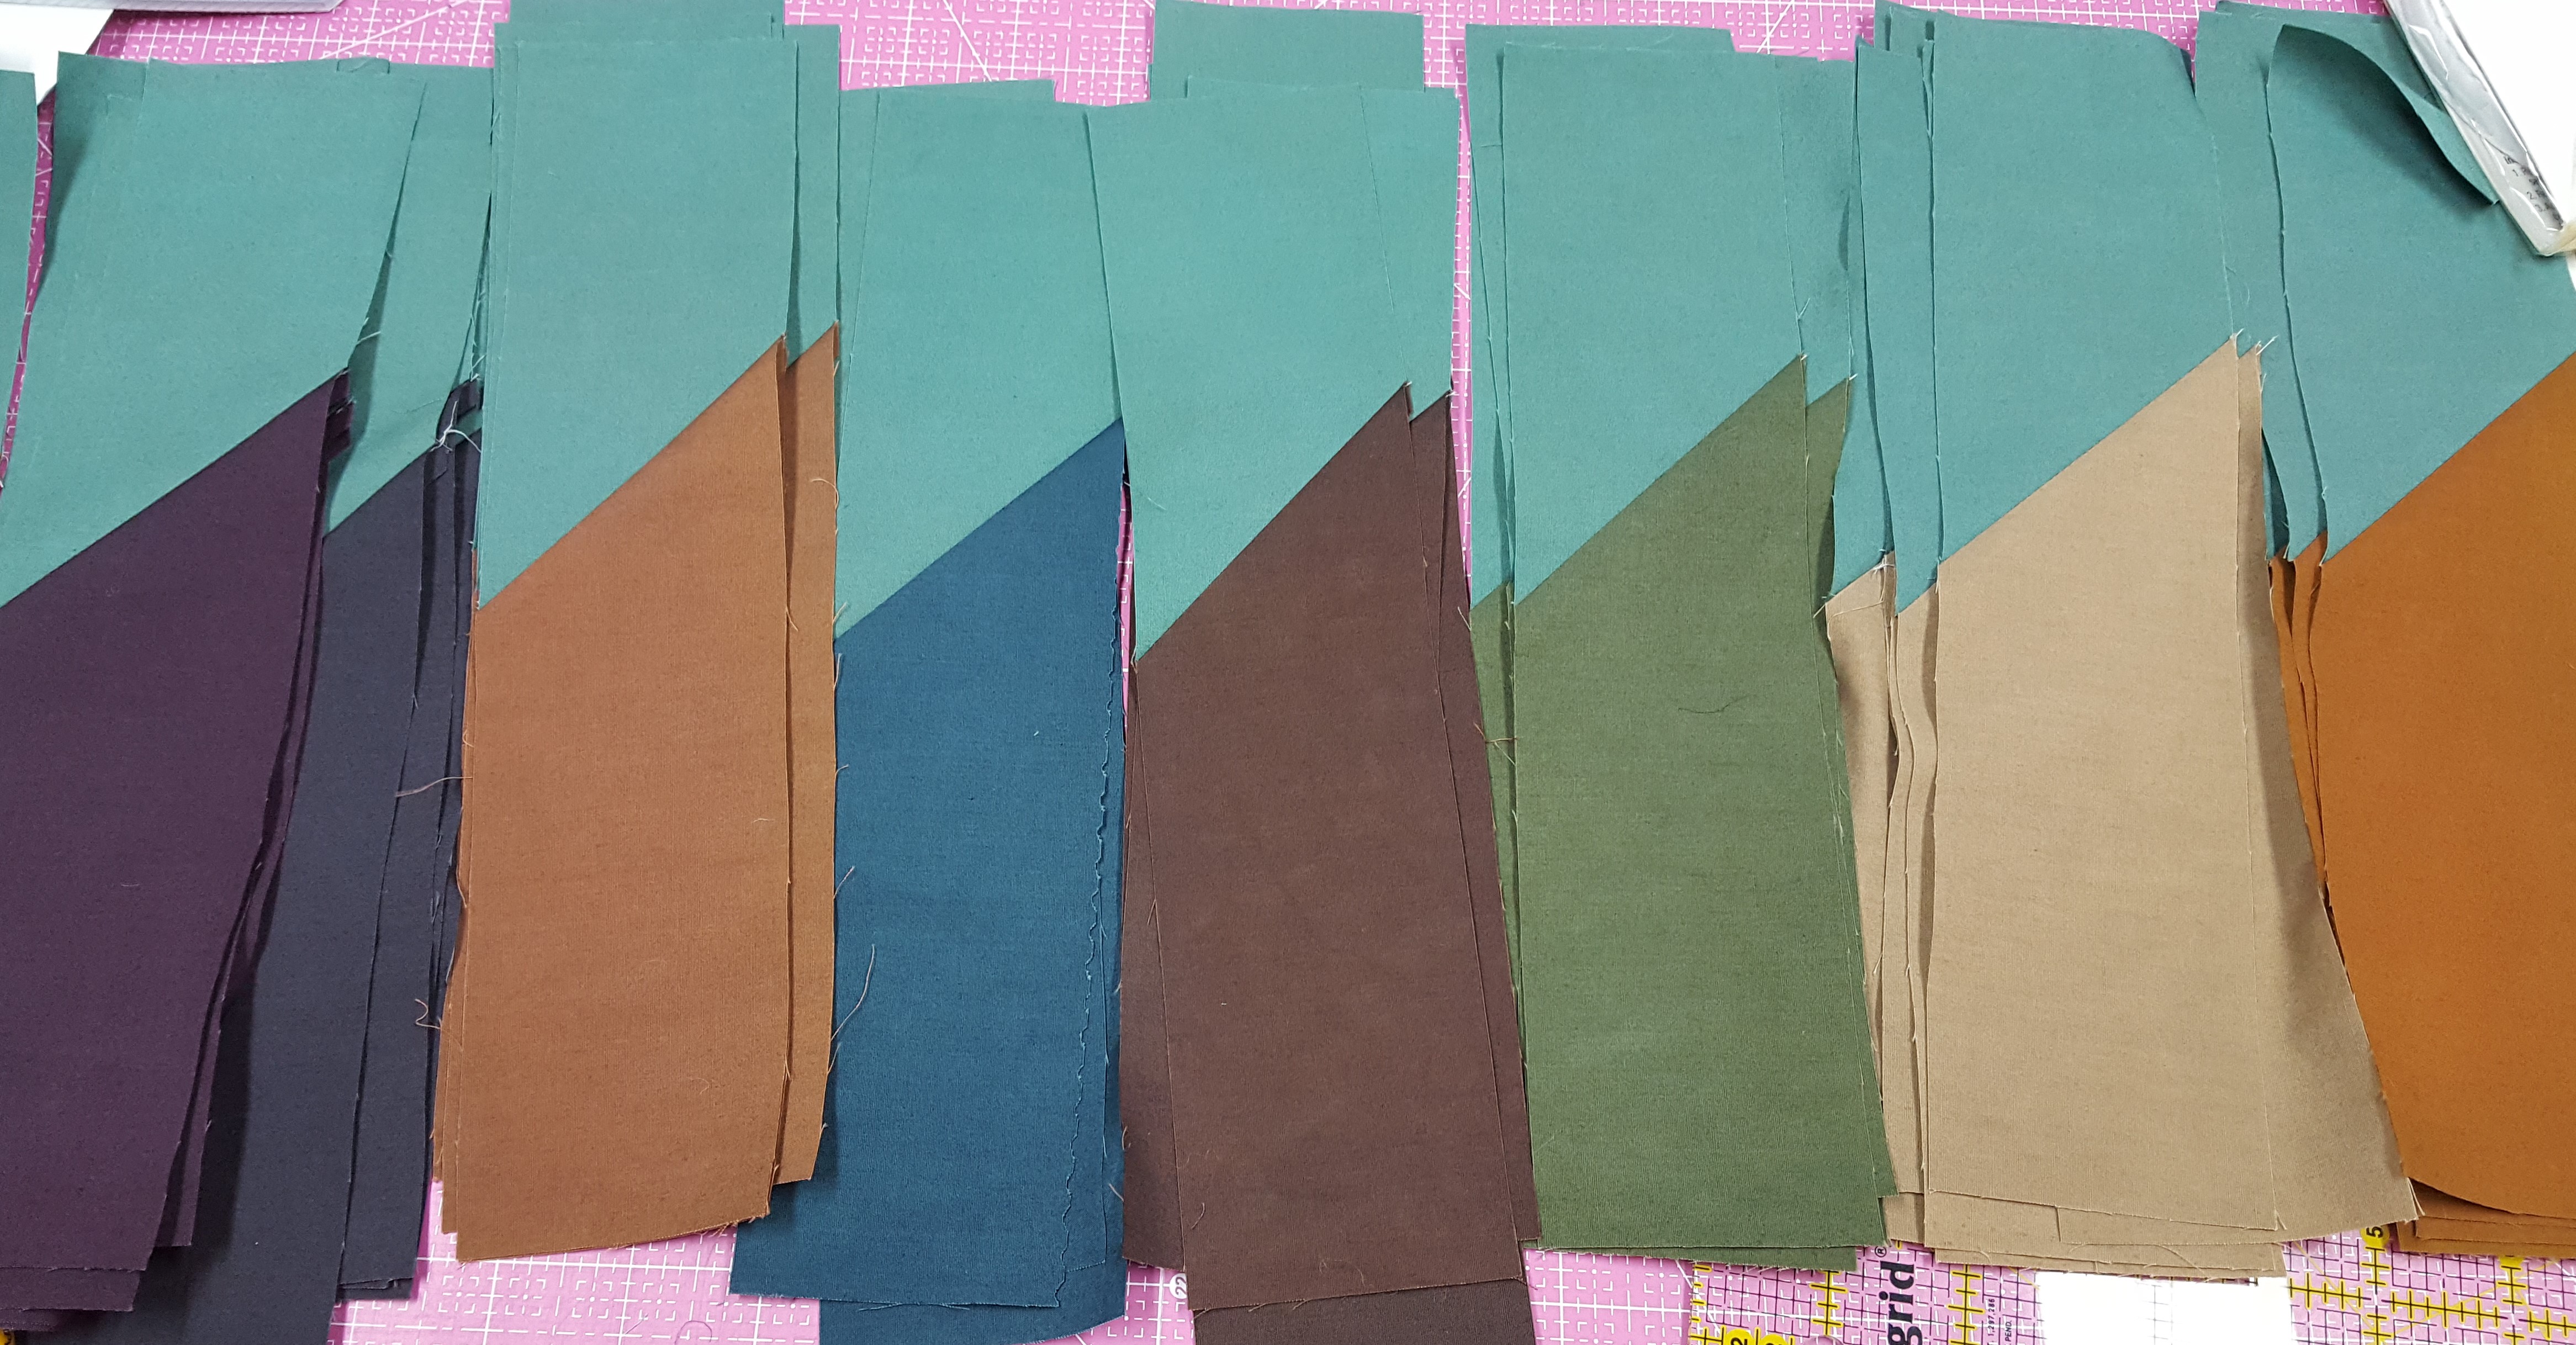
45 degree sewn seams
in quilting,
Debbie
P.S. This is the start of a new pattern! Keep watch for the quilt!

You are such a great teacher, with excellent instructions and photos! XO. CR.
Sent from my iPad
>