
WOW! Is the best word to describe the rugs the girls started in my Jelly Roll Rug Workshop on Saturday. See several of the finished rugs below. (They did finish them at home.)
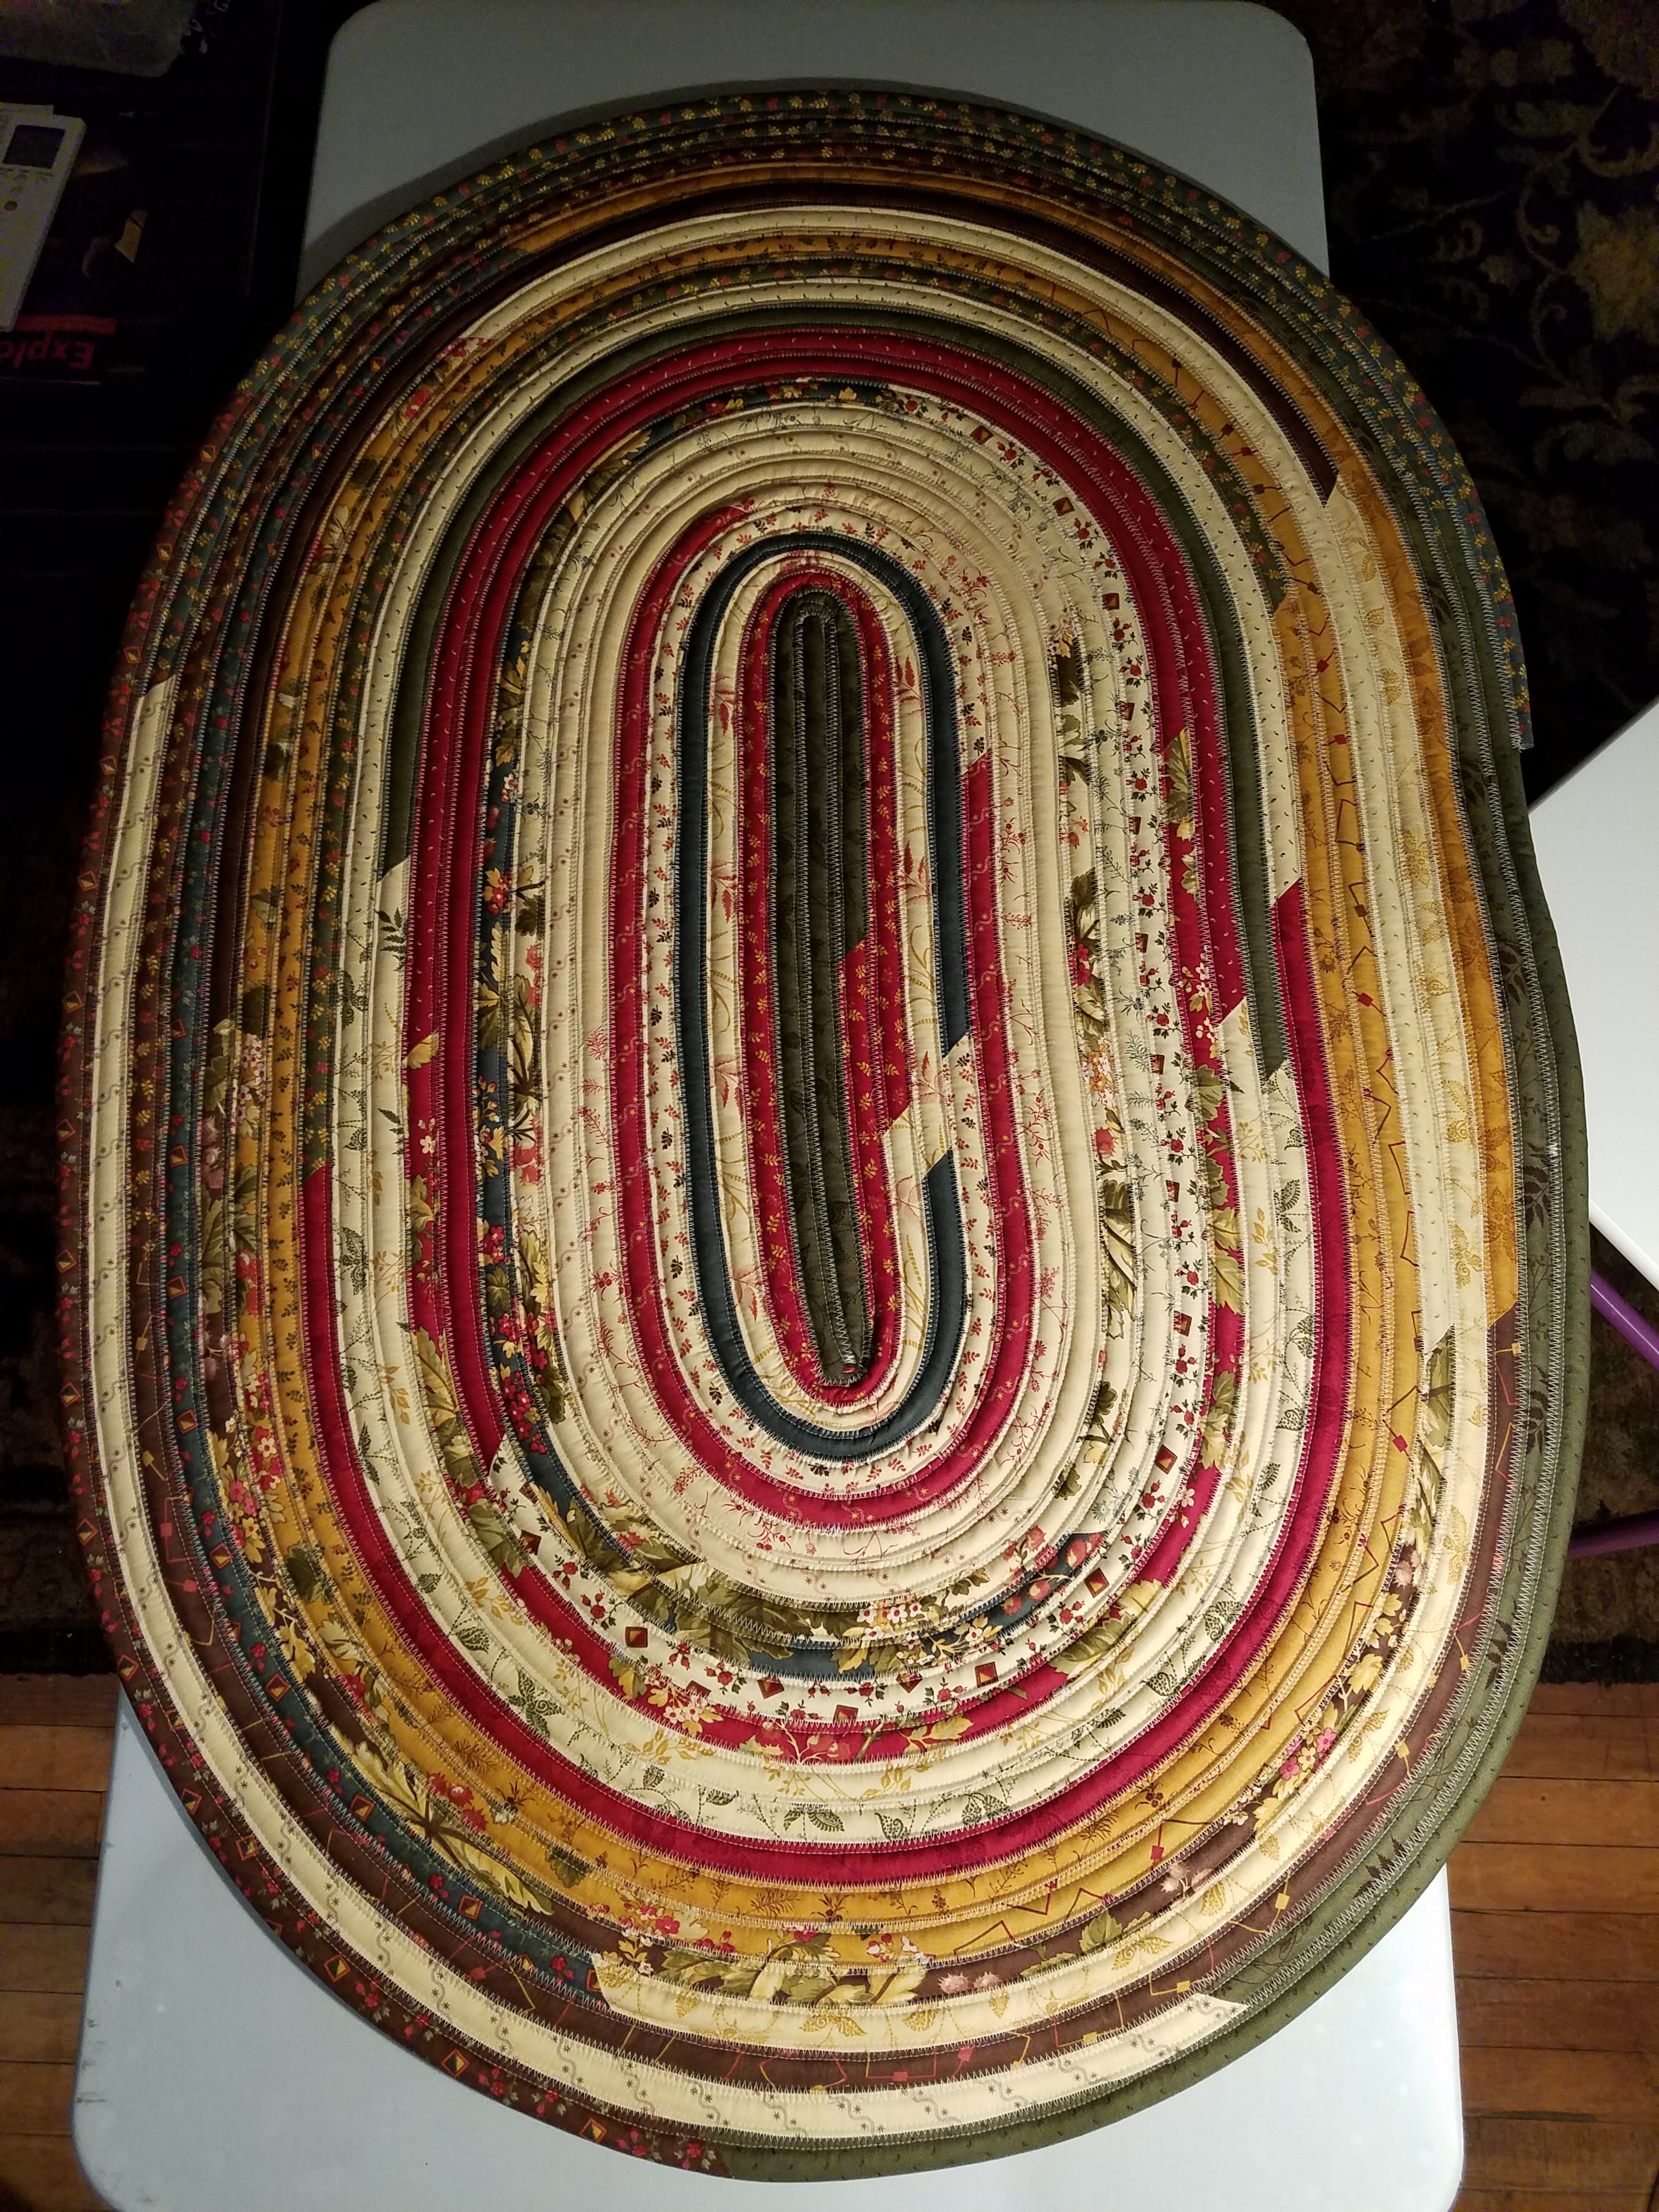
Jelly Roll Rug by Lenore
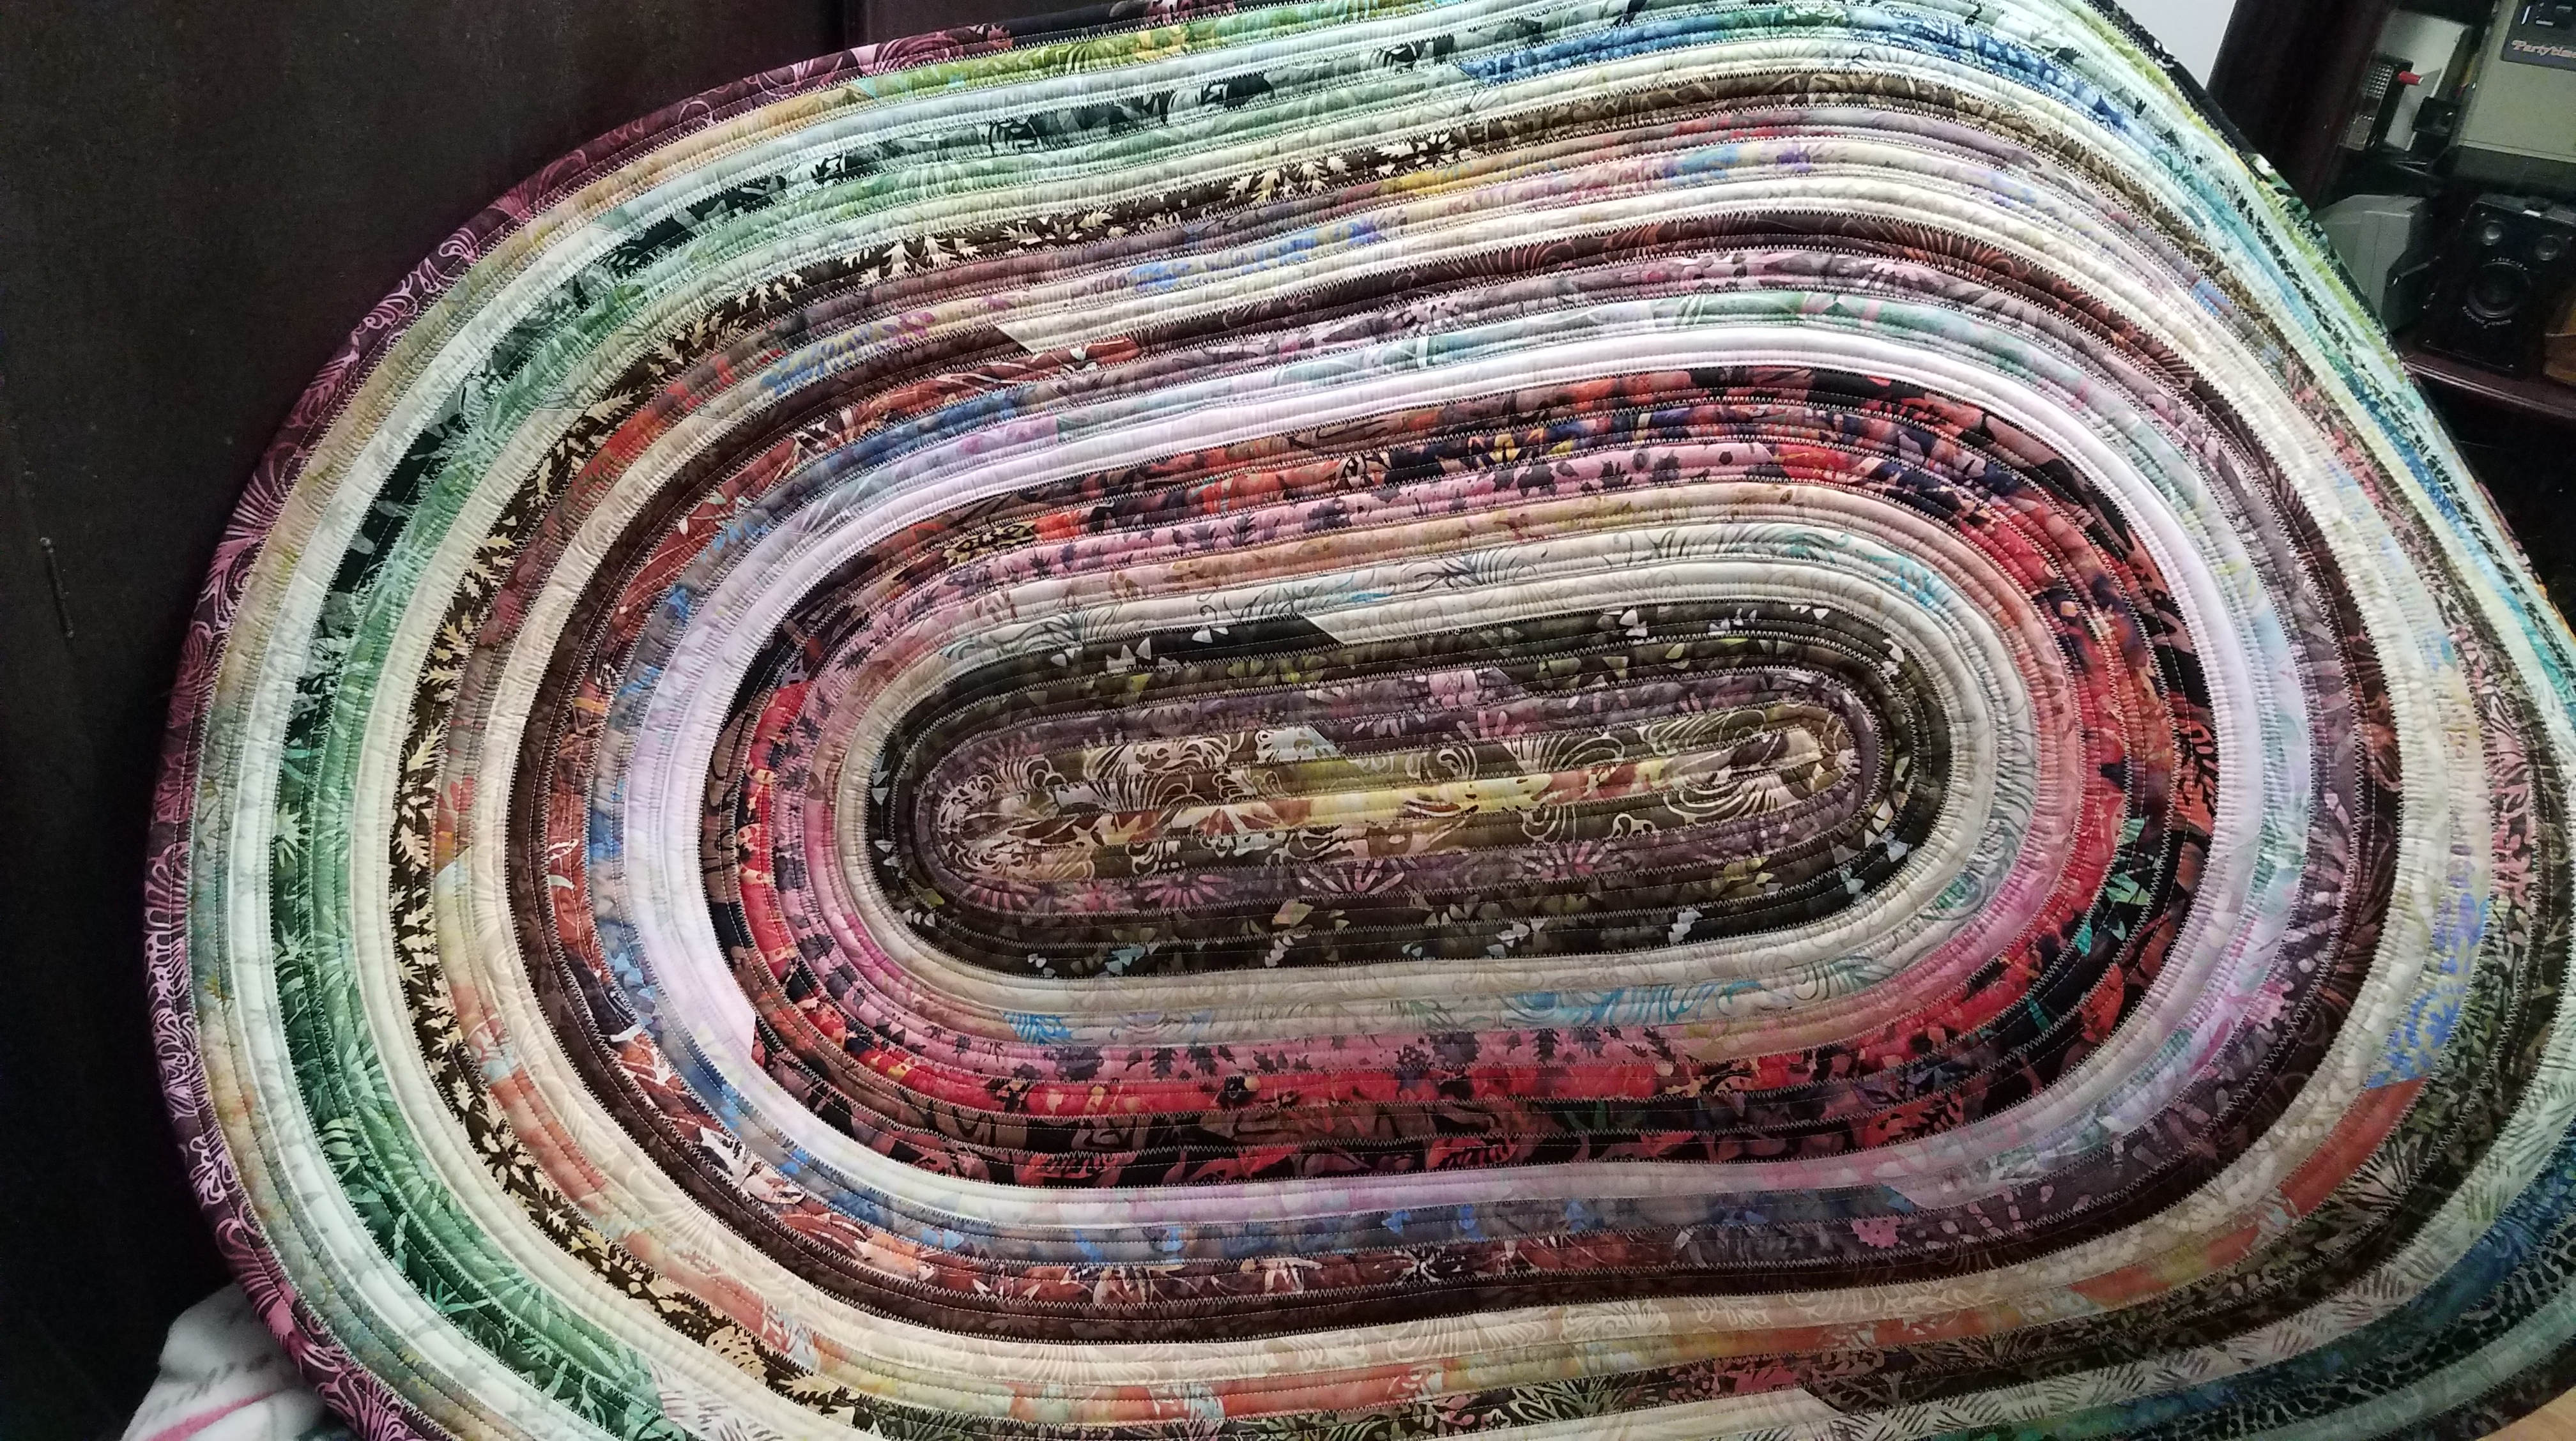
Jelly Roll Rug by Nancy

Jelly Roll Rub by Cheryl
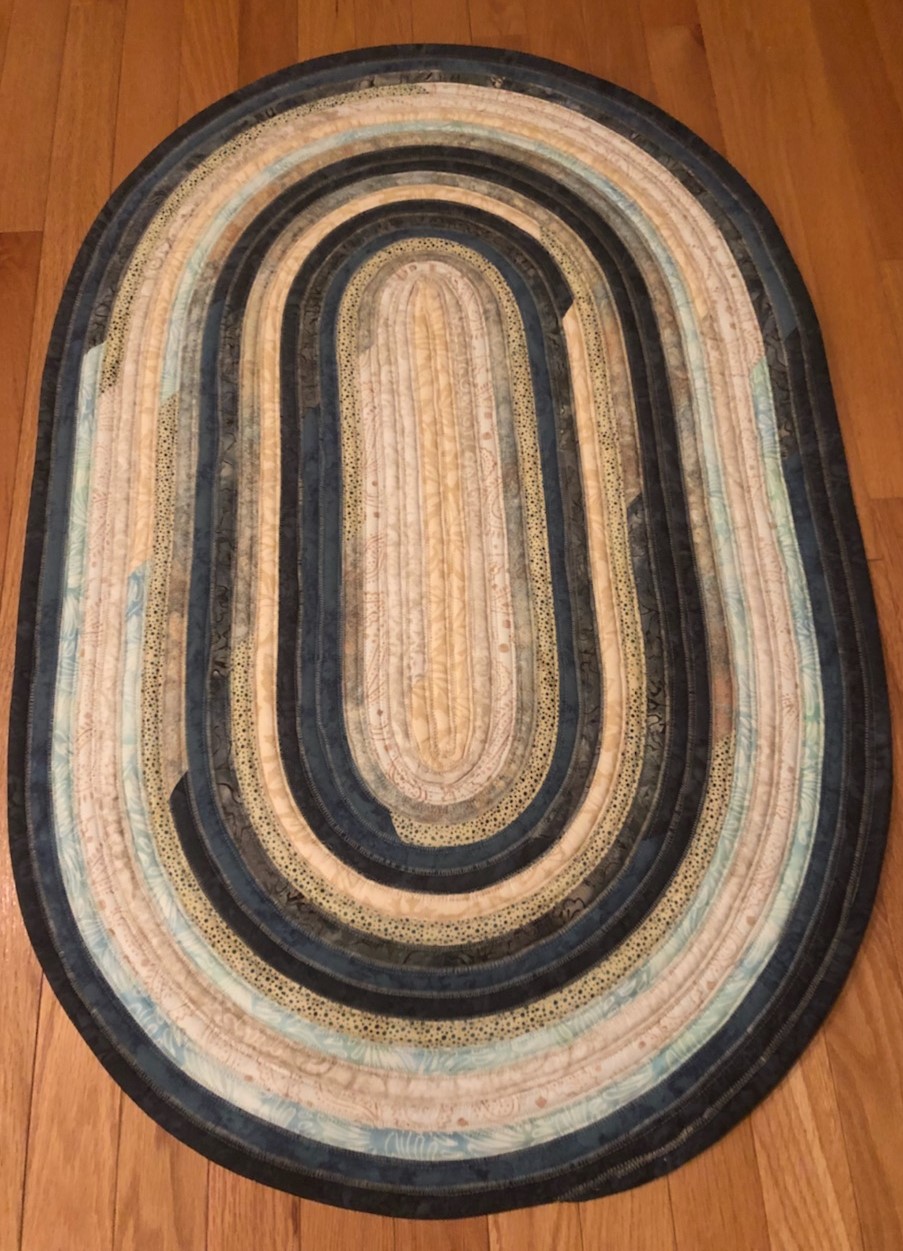
Cheryl’s second!! Jelly Roll Rug
It would have been great to see them done in class but there is a TON of sewing. I do think everyone left with their rope ball sewn and wound. Many of them started sewing the rope into the rug shape. We used Roma Lambson of RJ Designs’ “Jelly Roll Rug” pattern. The pattern has some great tips for making the rug. I felt a key to success and a great time saver is to use the “Jelly Roll Jig” designed by Cindy Bruner and sold through Hip Stitch Quilt Shop. It is similar to a giant bias tape maker!! I will be selling these products in my booth, but have a limited supply. Please go directly to the designer’s websites and purchase from them. (Pattern from Roma Quilts is on Etsy and the Jig is from hipstitchabq.com) I LOVE to support small businesses and hope you will too!
#1- When making a jelly roll rug, slow down! Don’t be in a hurry. There is a lot of sewing…enjoy the process.
#2 – Look into a “Jelly Roll Jig” for turning the jelly roll strip and batting into the rope. It saves a ton of time!
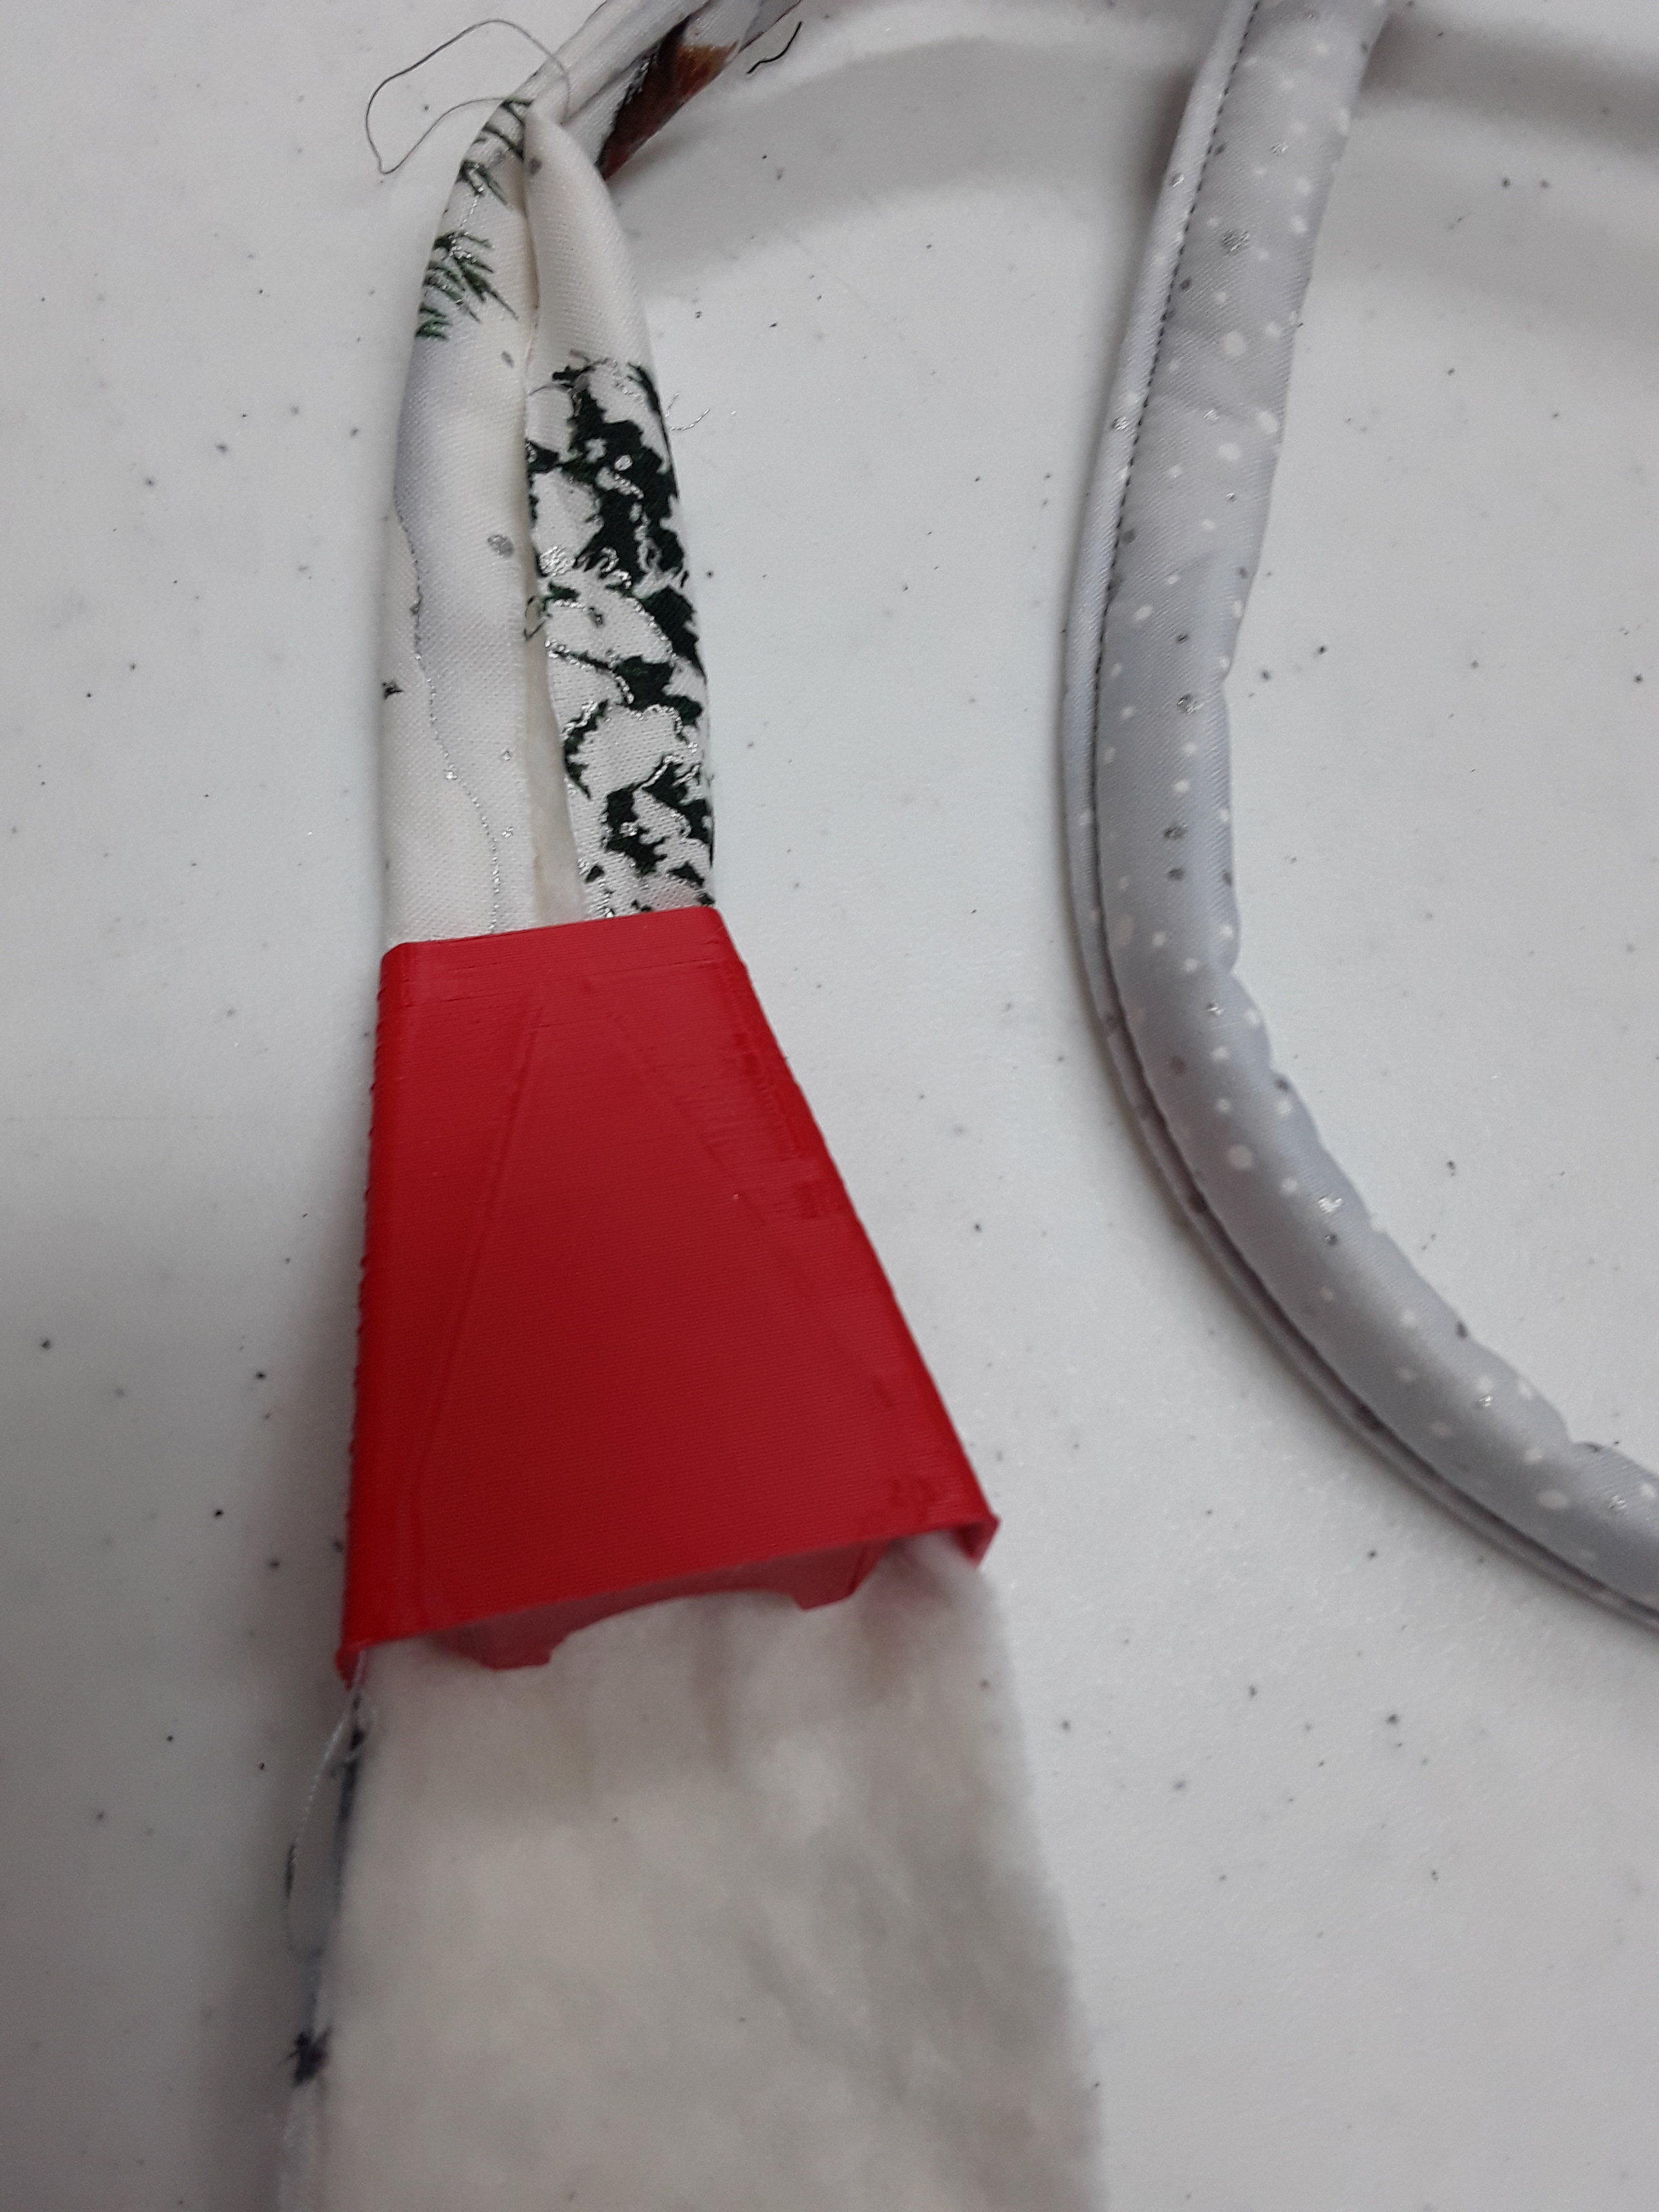
Jelly Roll Jig in action!
I’m looking forward to seeing more finished rugs very soon!
in quilting,
Debbie
