
As promised last week, I have taken photos of the steps for making these cut felt flowers for holding clips. I love using clips when I do my bindings. Much easier to use than pins. I don’t get stuck!
I used felt. The cheapest I could find in a color I love!
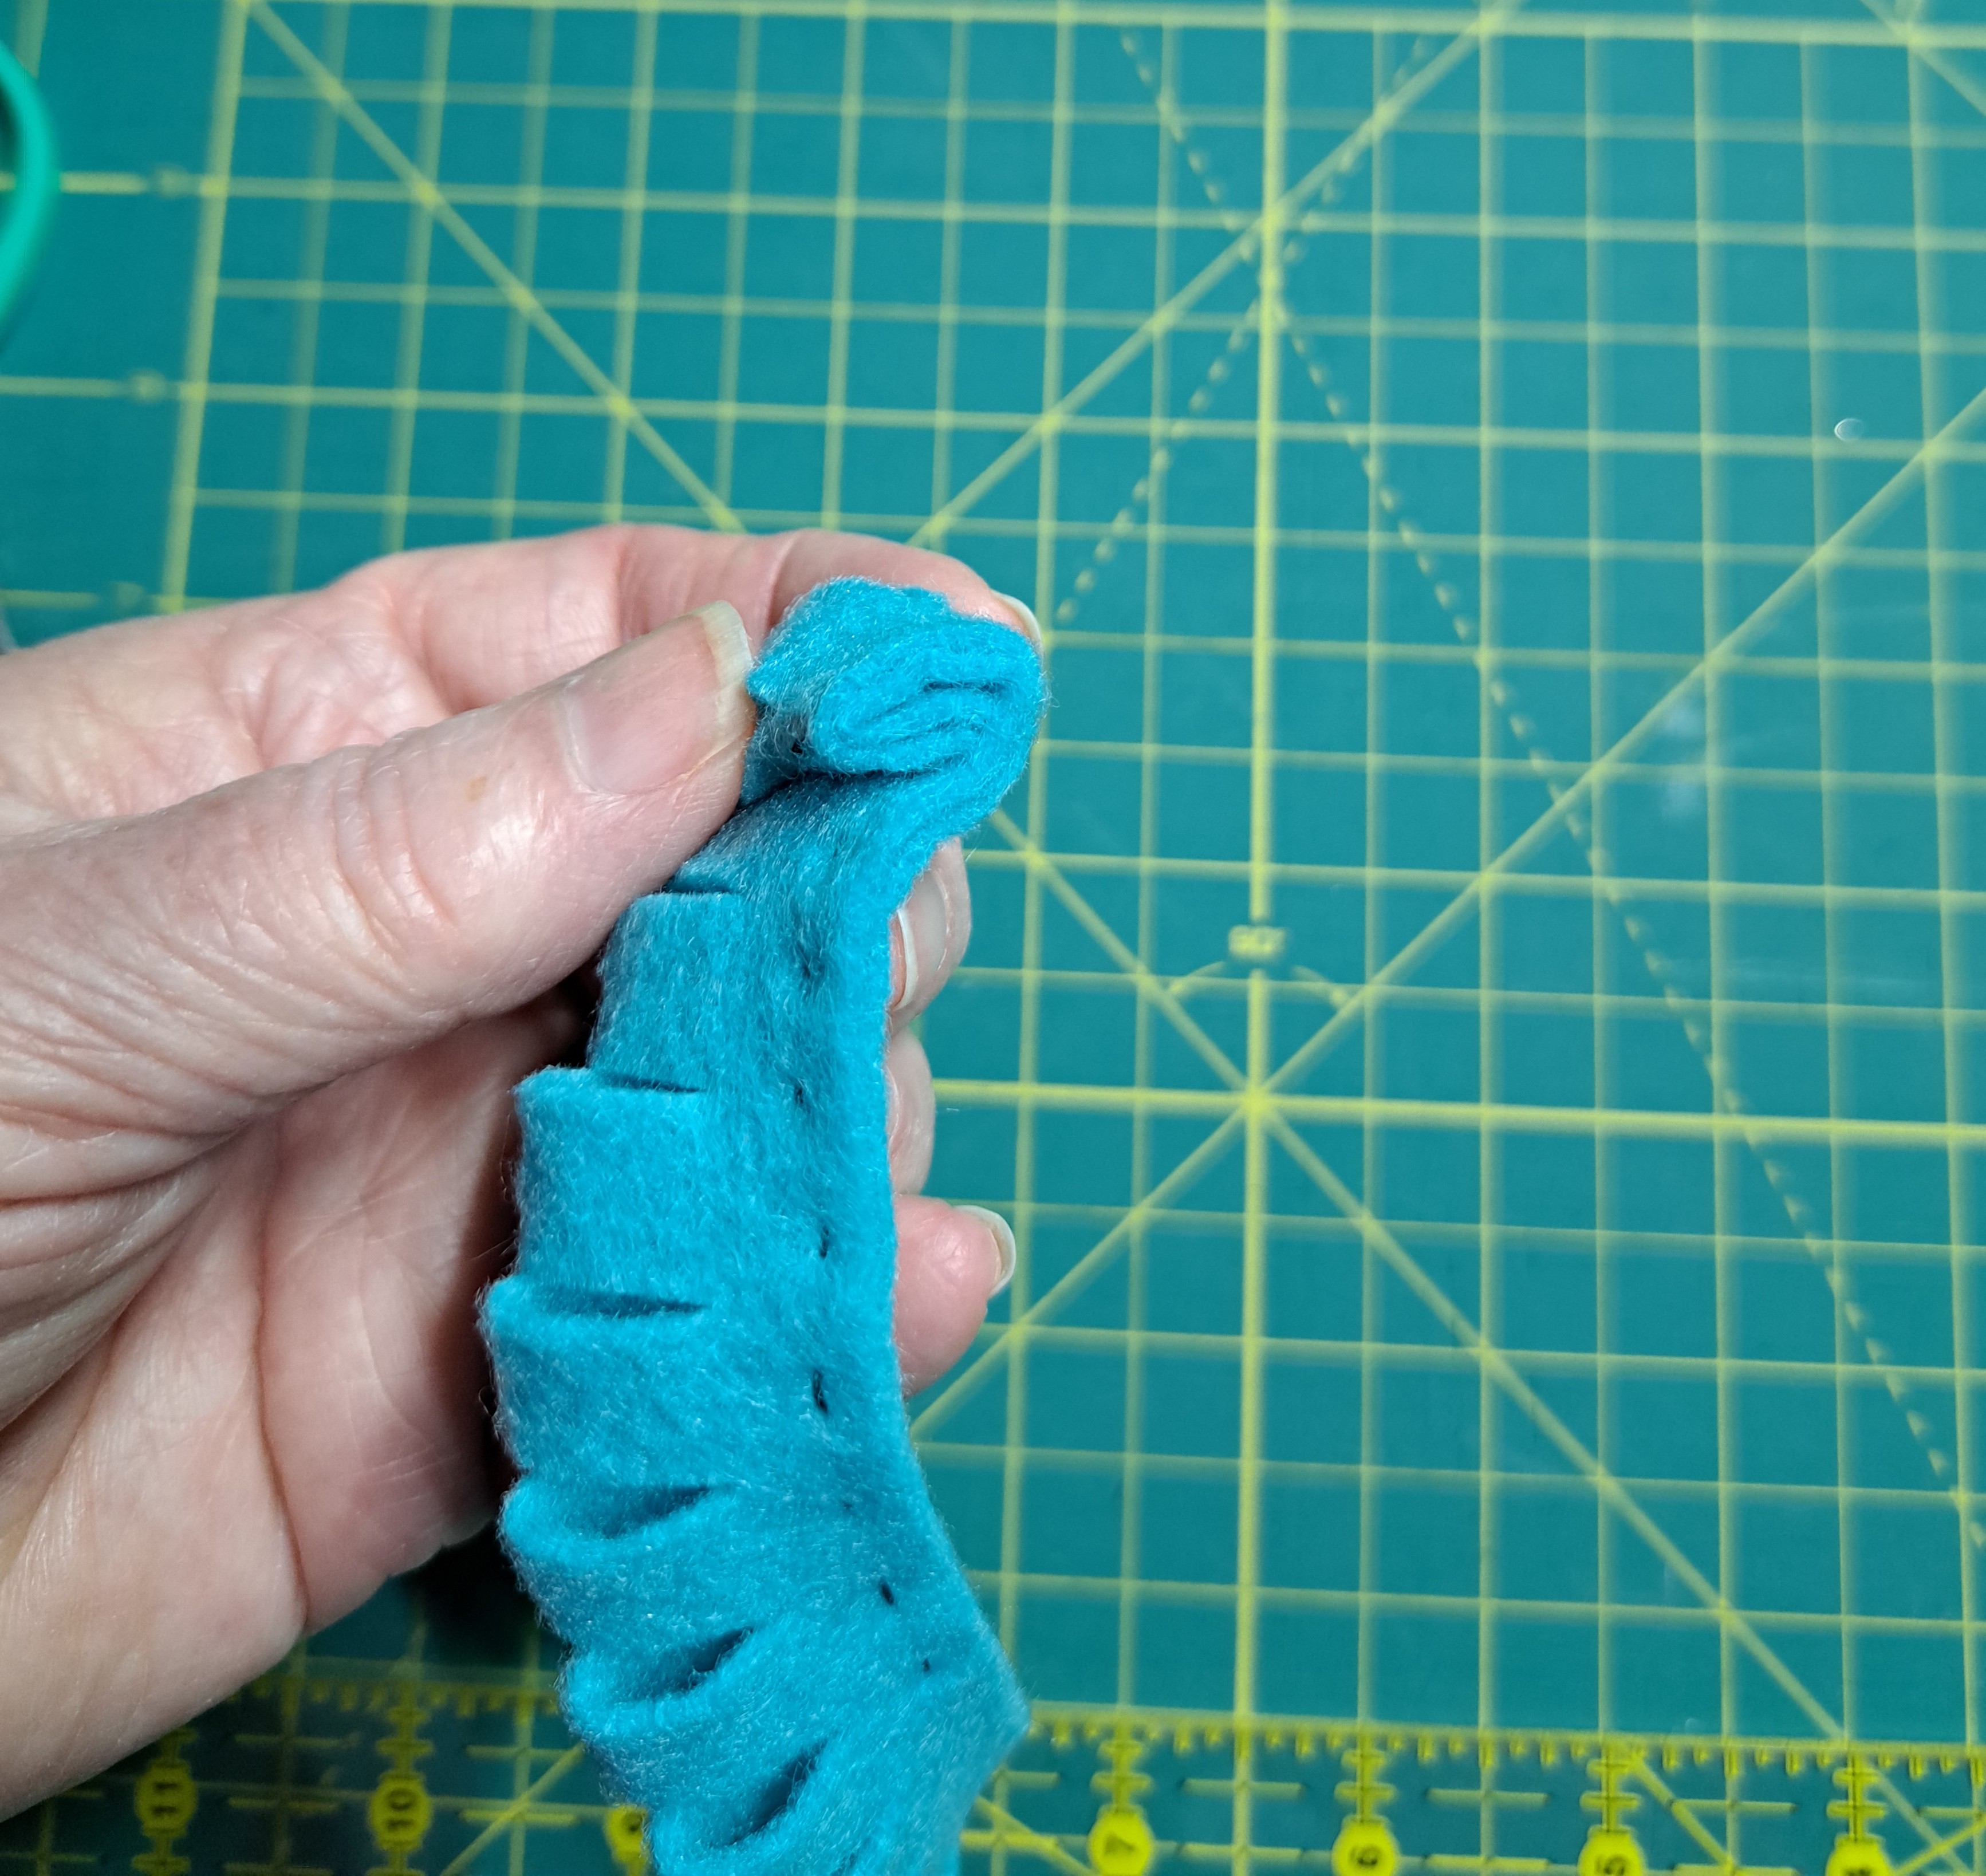
Begin with cutting 2″ strips from the longest edge. The felt “square” was 9″ x 12″. My strip was 2″ x 12″. Use a longer strip for a lager flower or use two strips end to end. Fold the strip in half lengthwise and stitch about 1/8 – 1/4″ with a long running stitch. I left the threaded needle in the end of the folded sewn strip to use for the finishing steps.


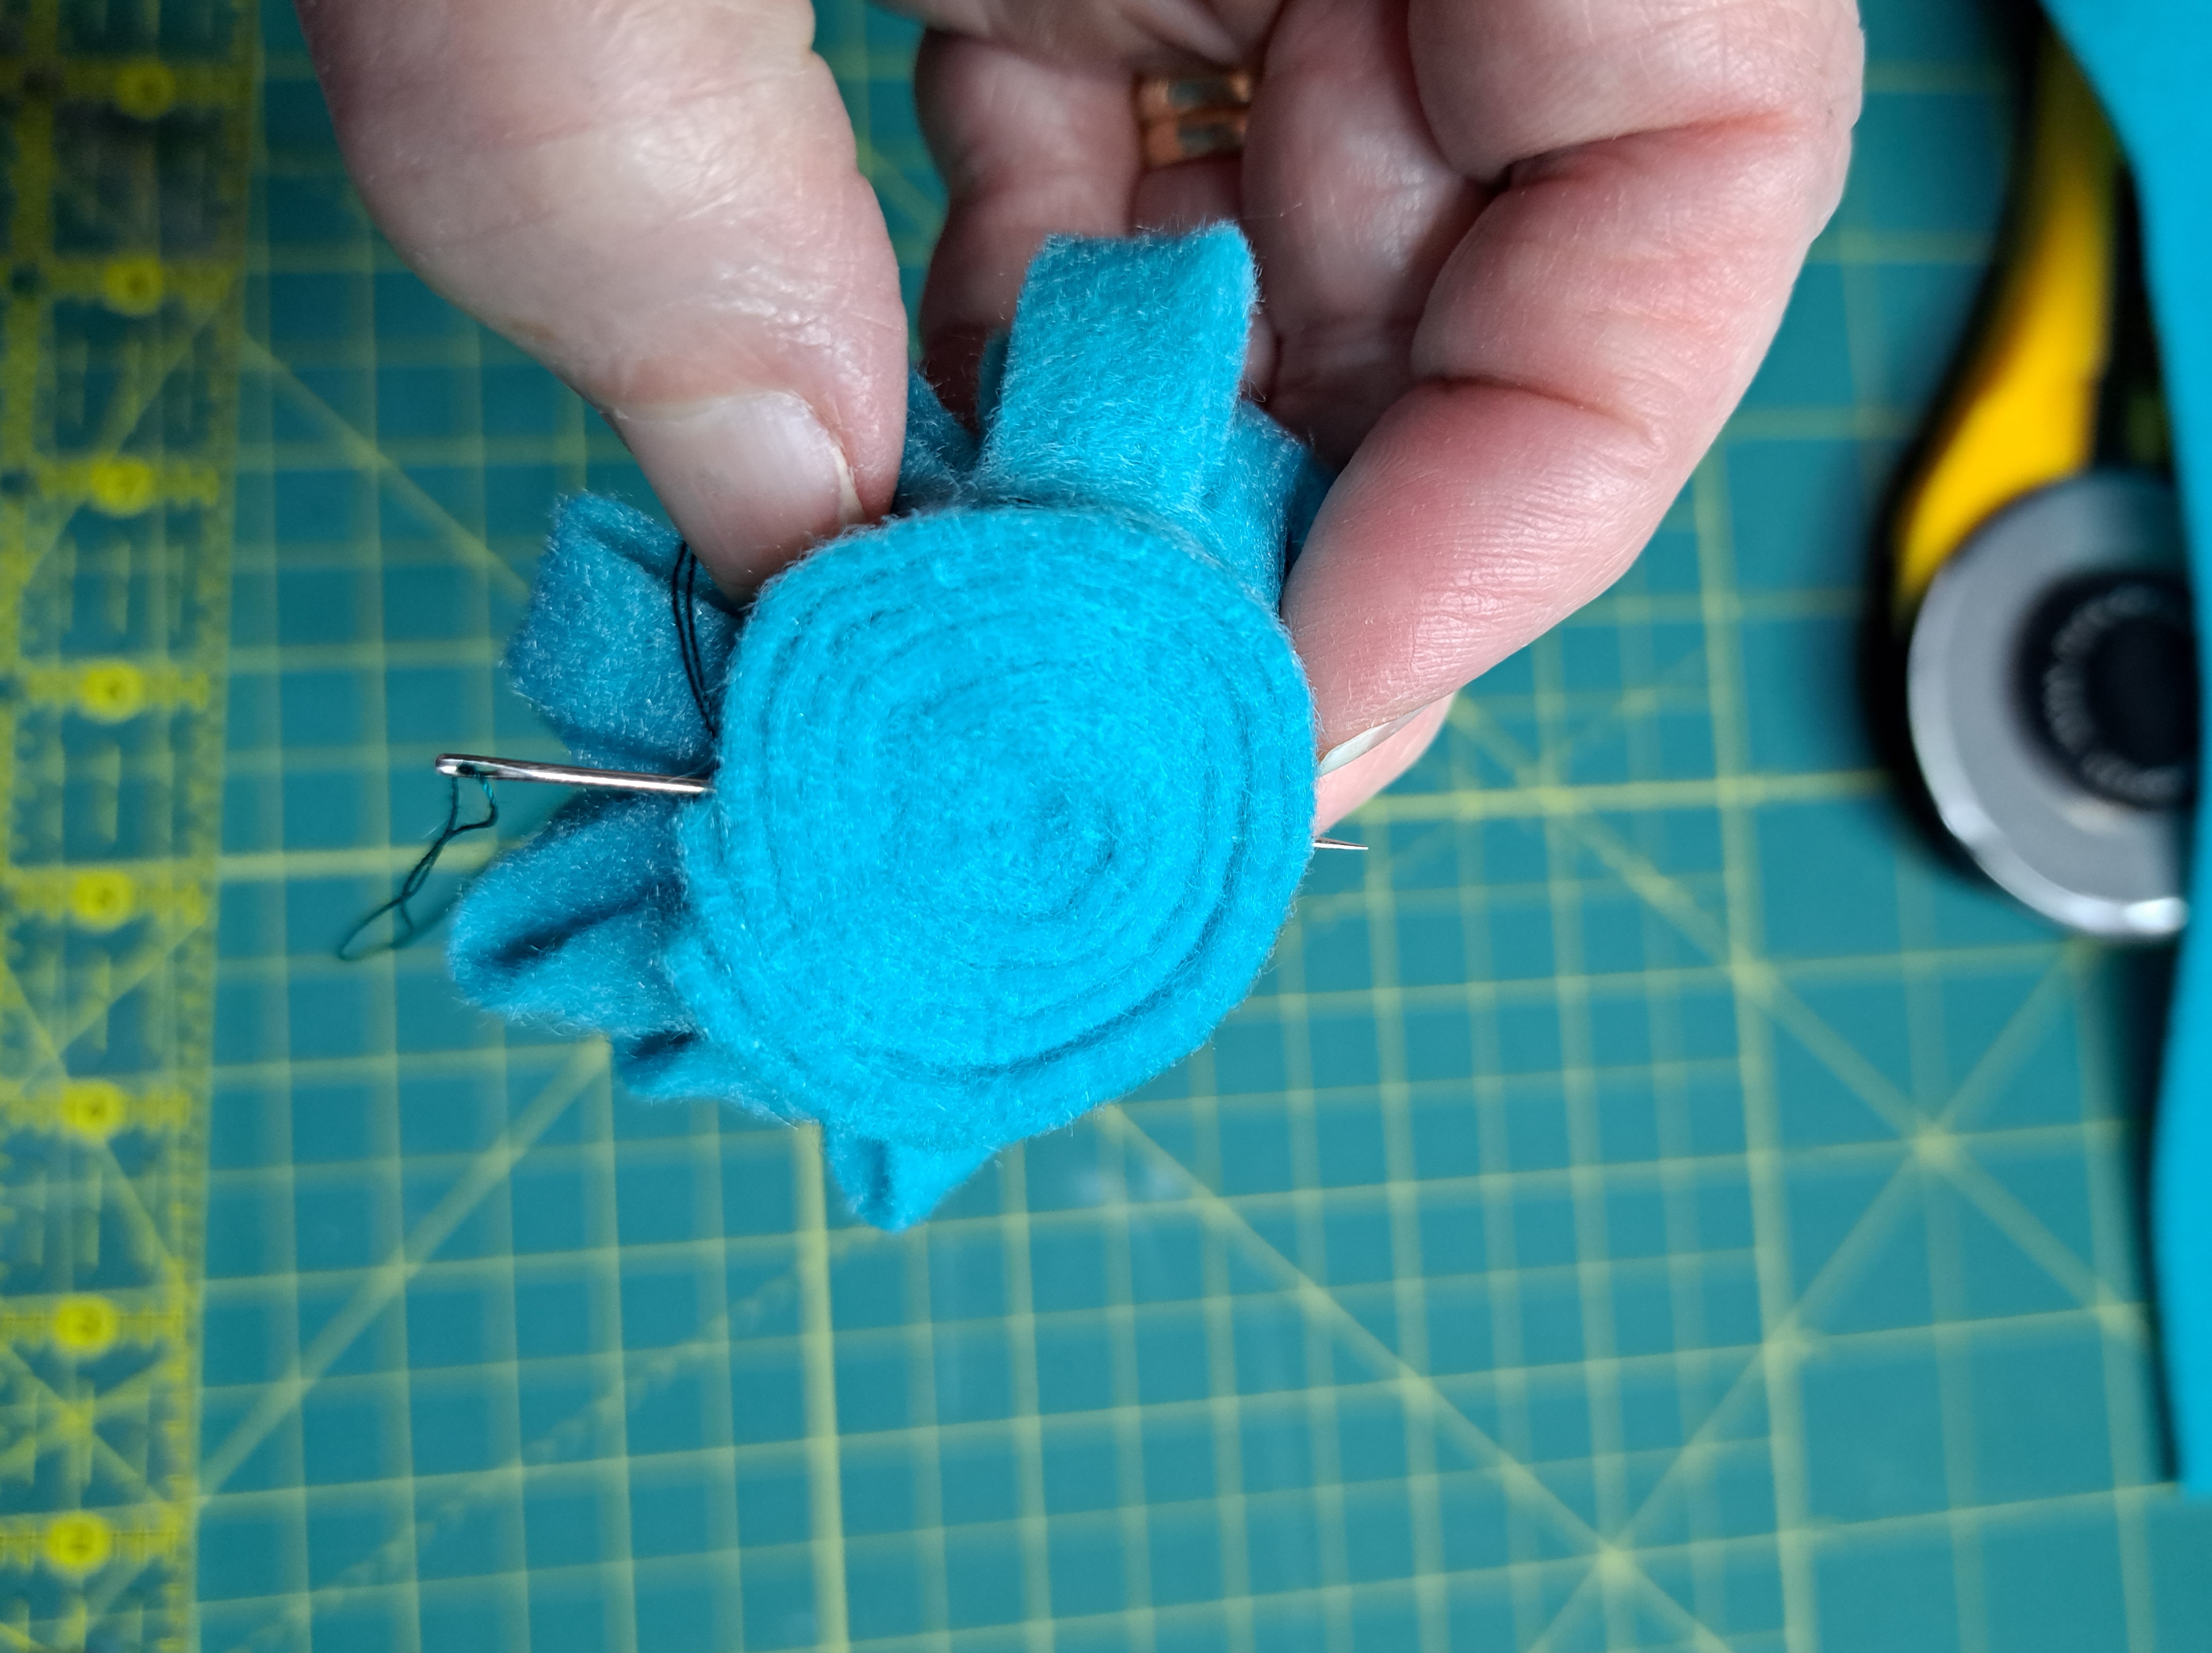
Start rolling the sewn edge into a spiral. Double check to see if you like the center.
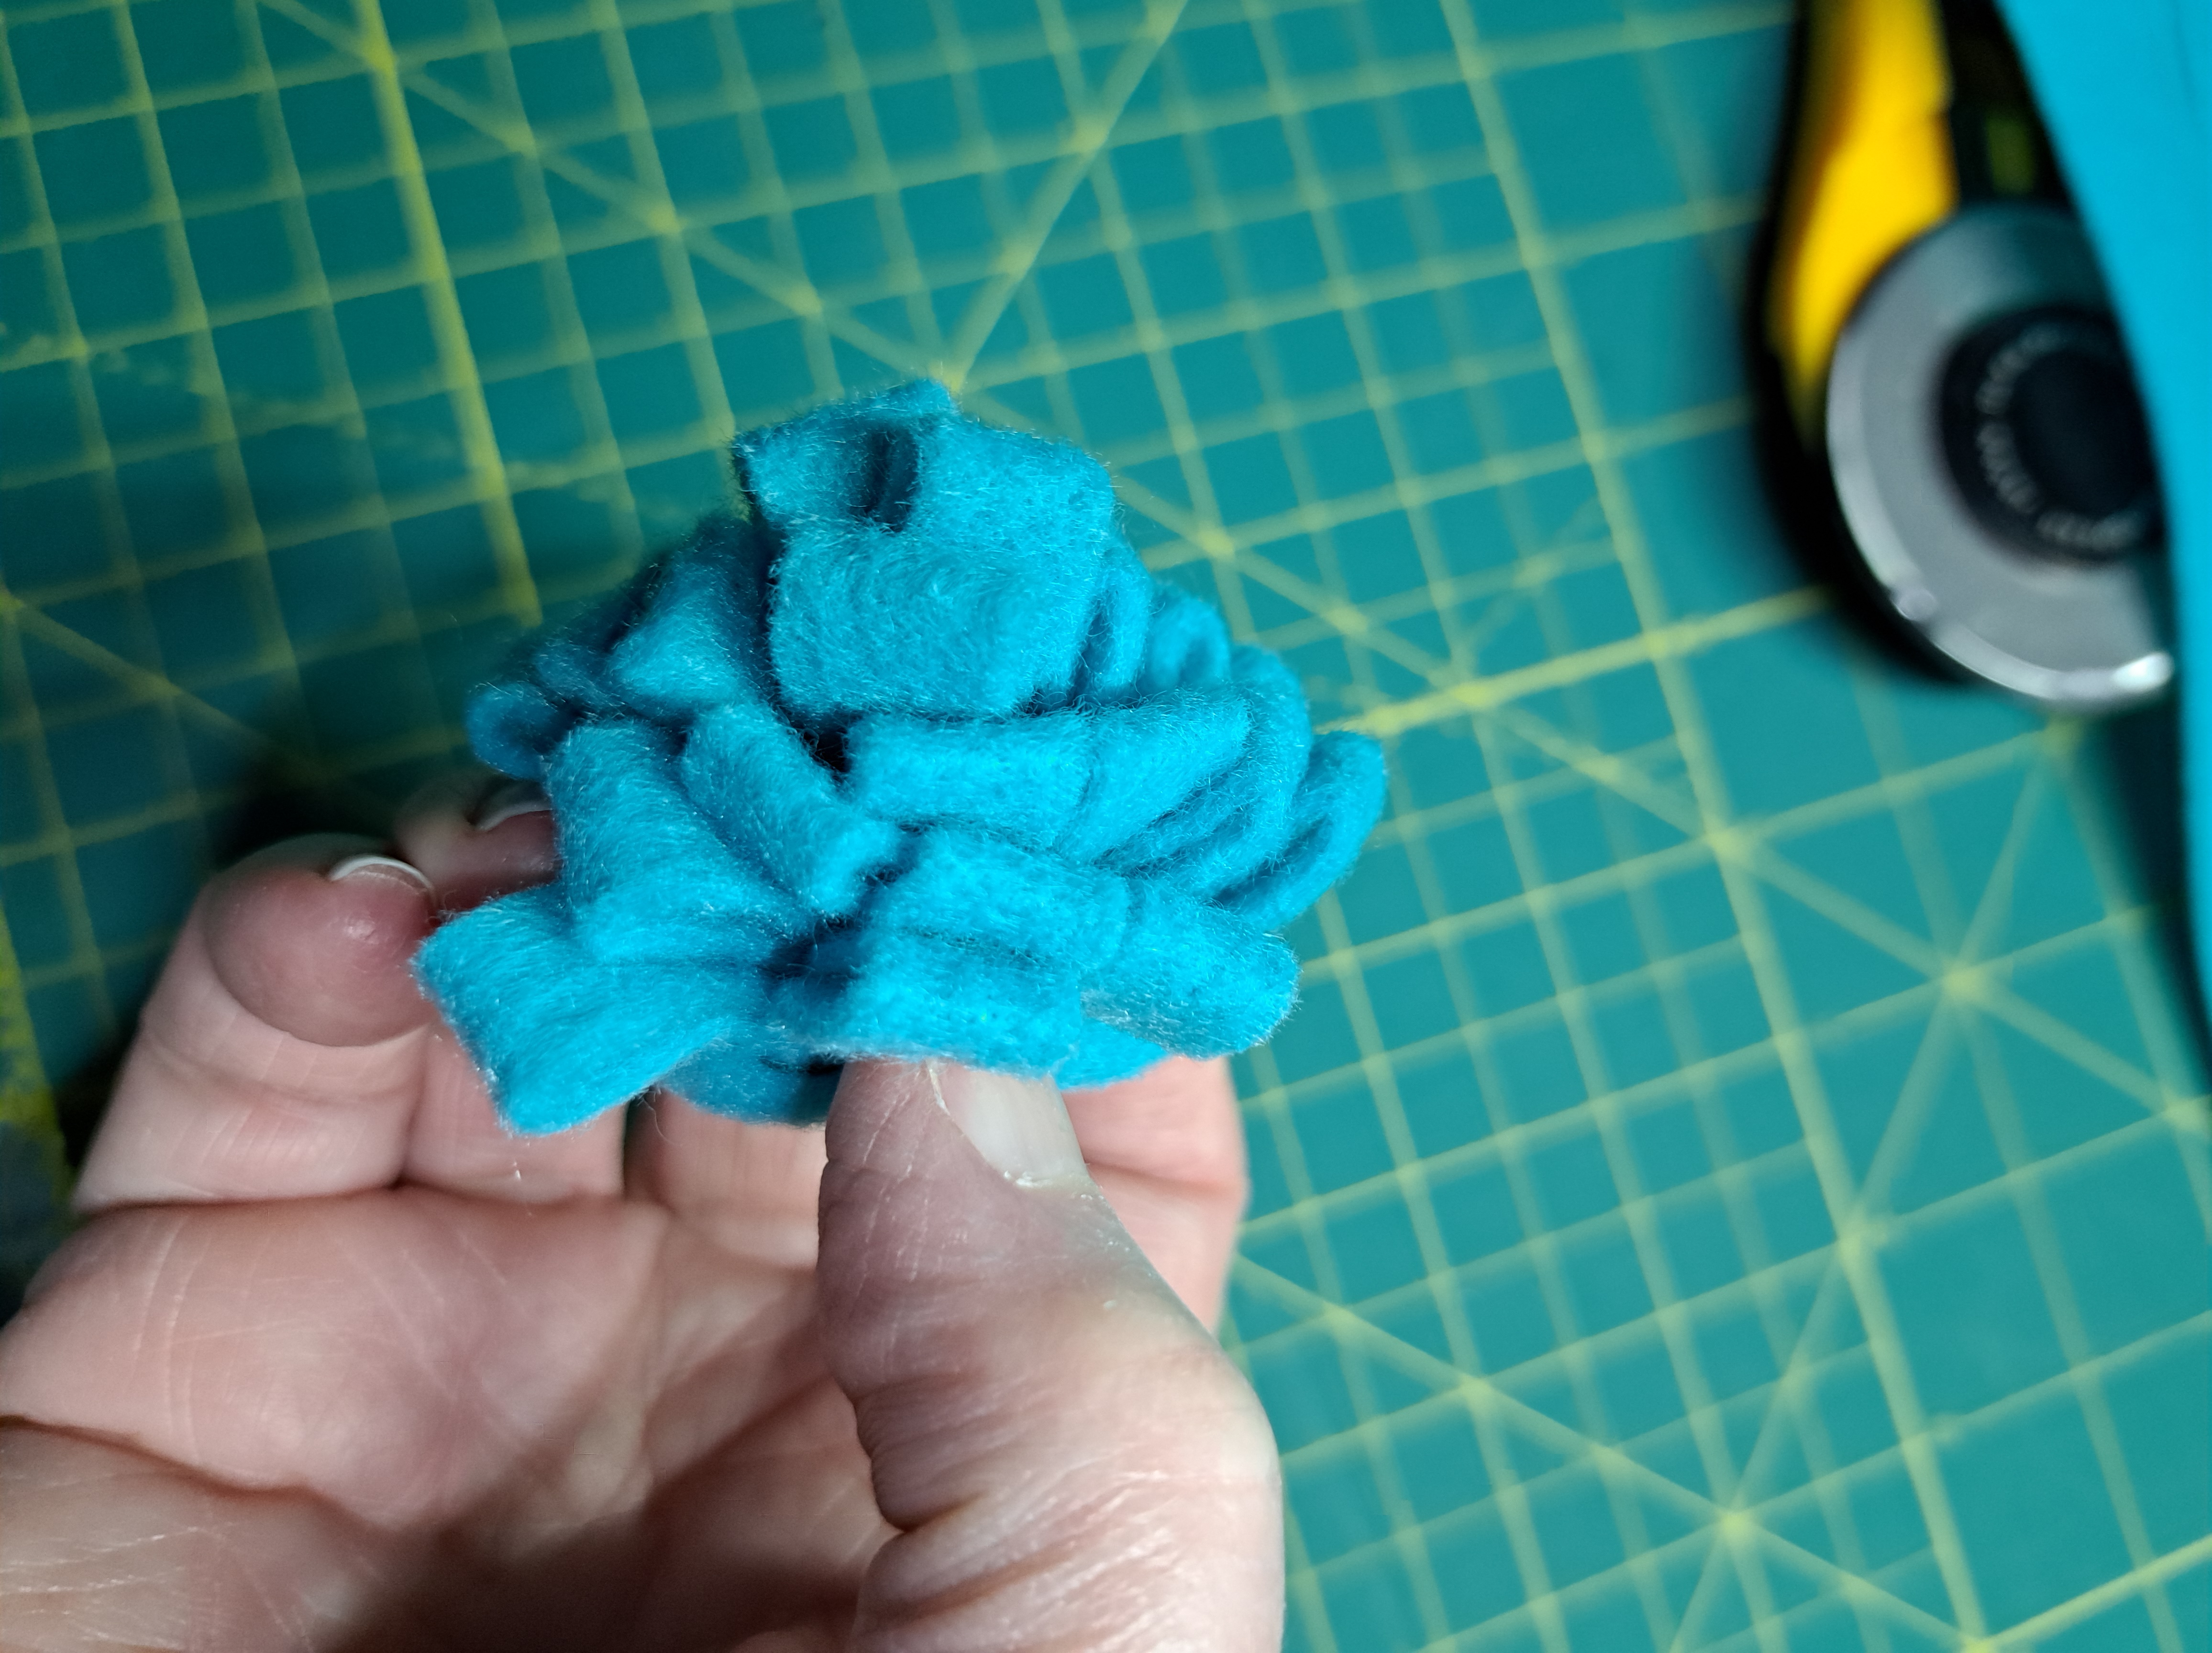
Continue rolling to the end of the strip. Take a stitch to keep the swirl together.
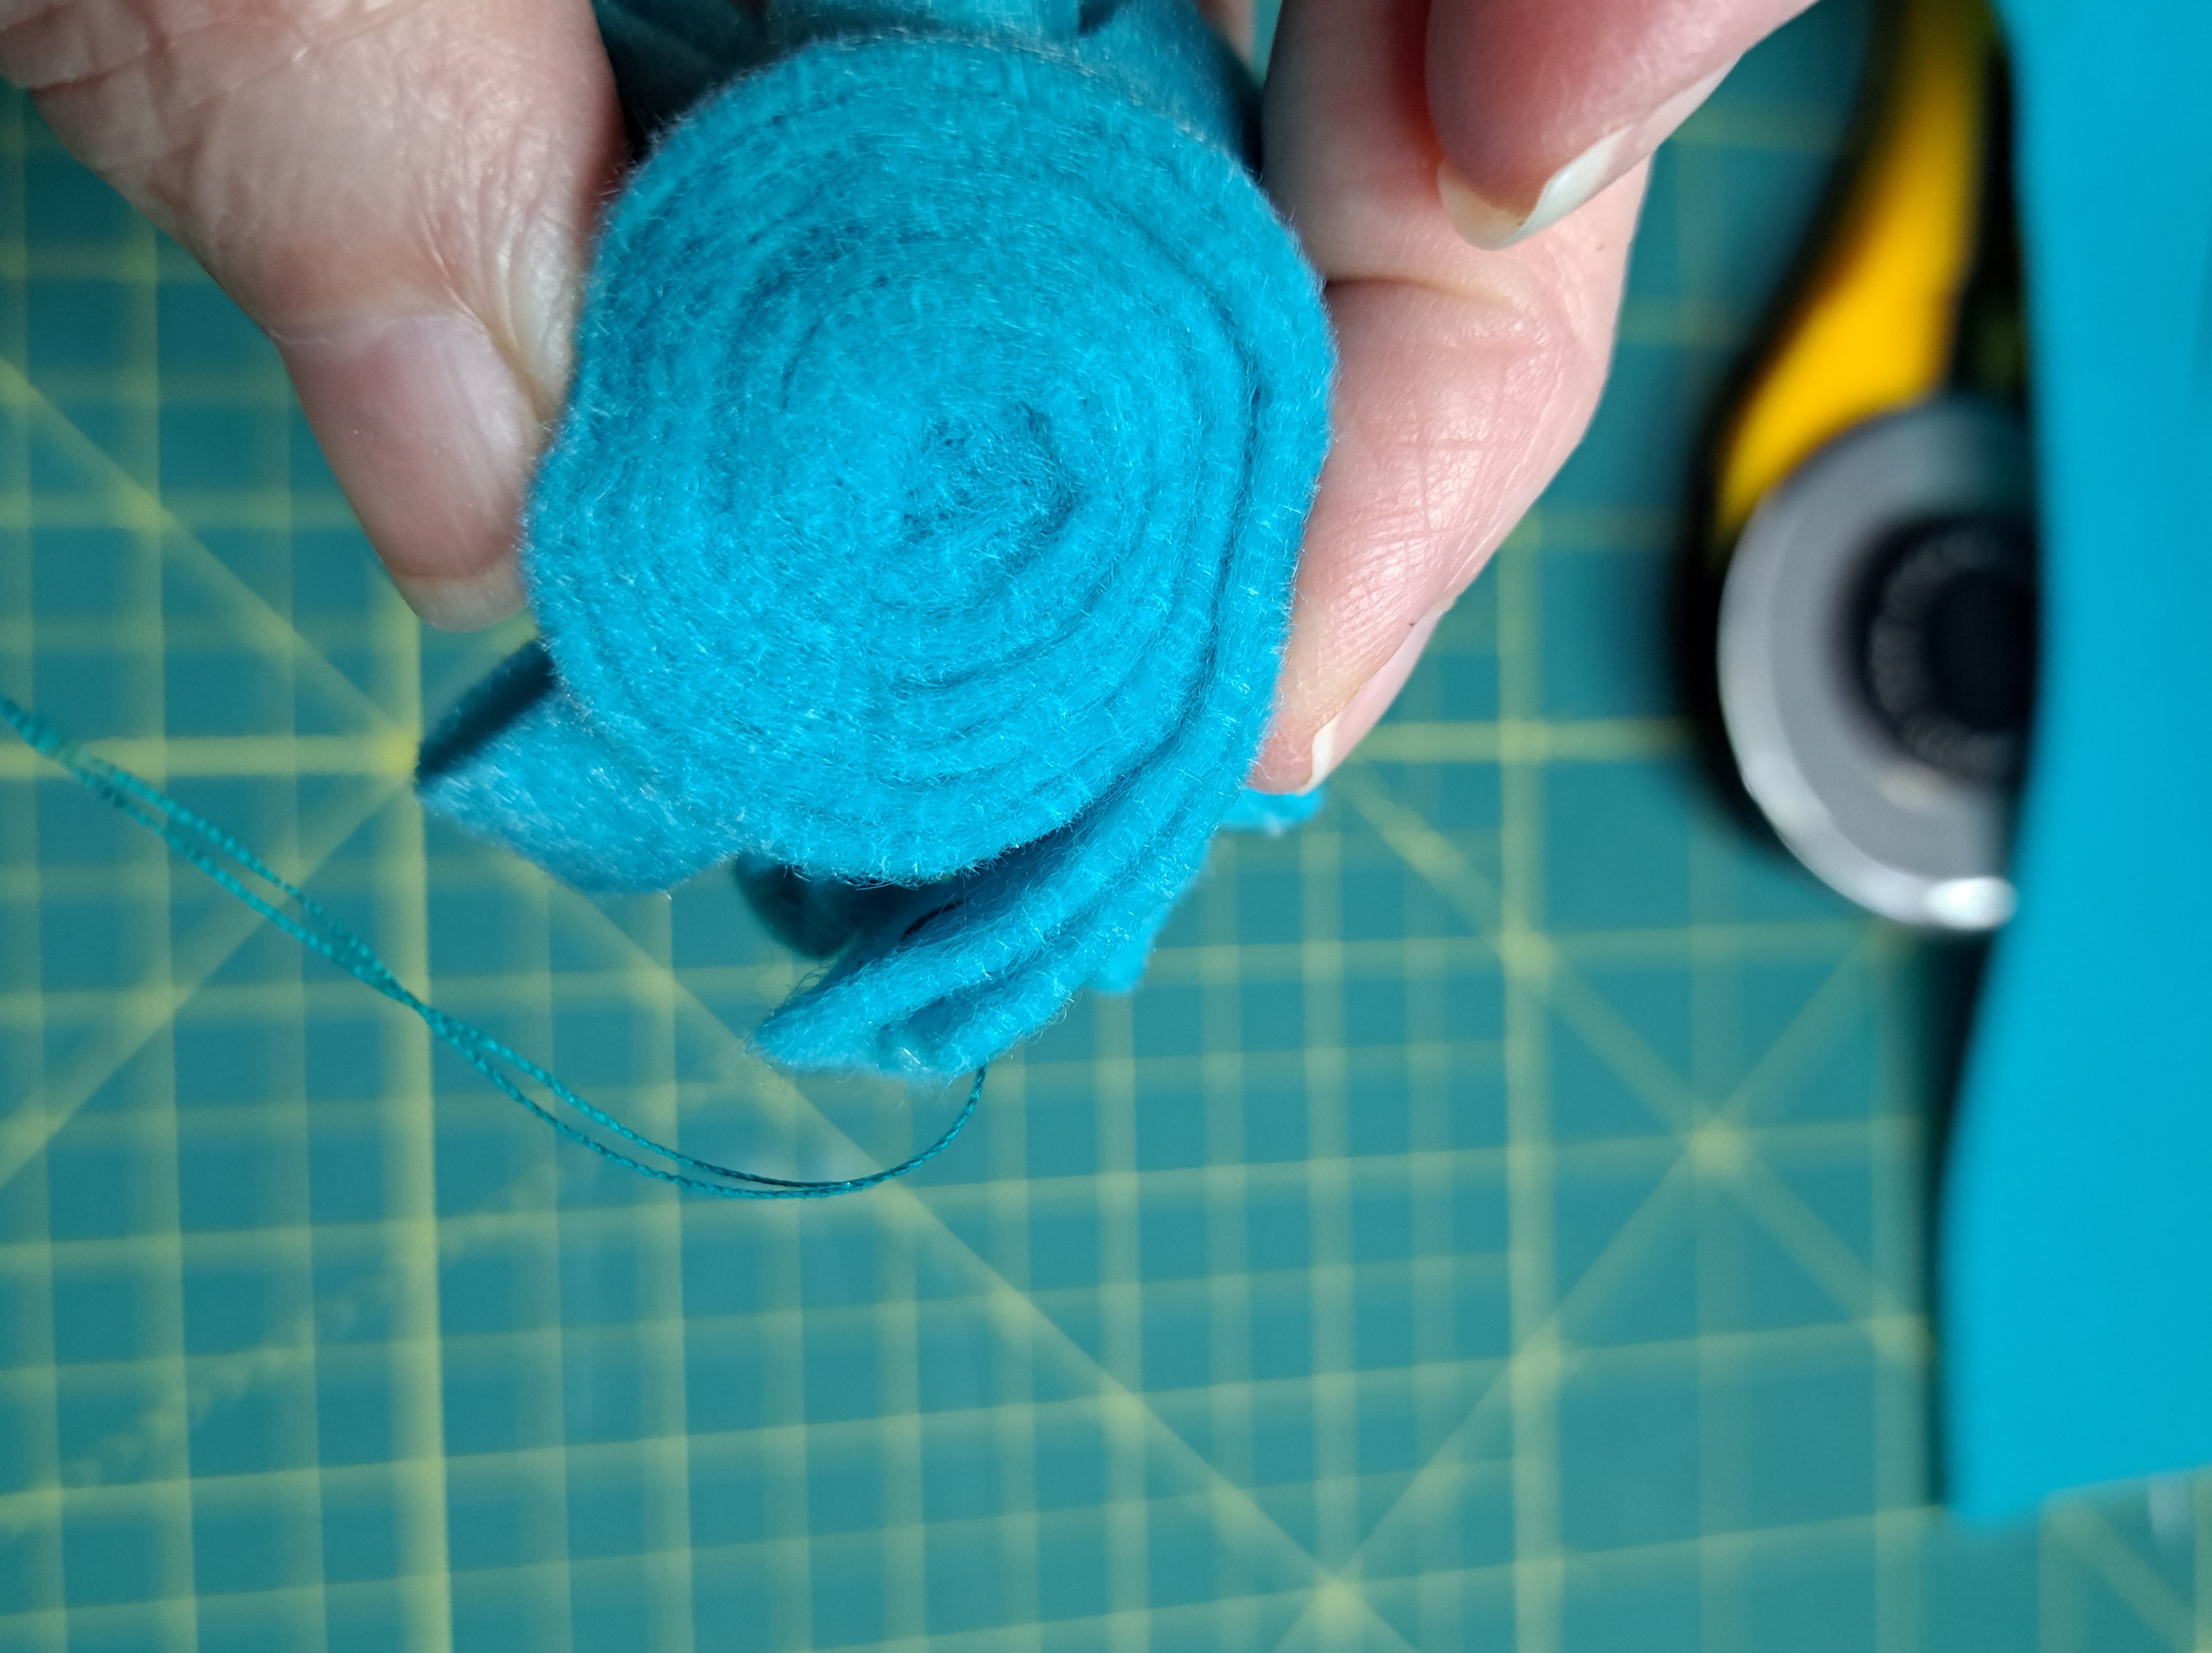
Run the needle and thread through the bottom edge of the swirl, back and forth to hold the swirl together. Finish with a stitch and knot.

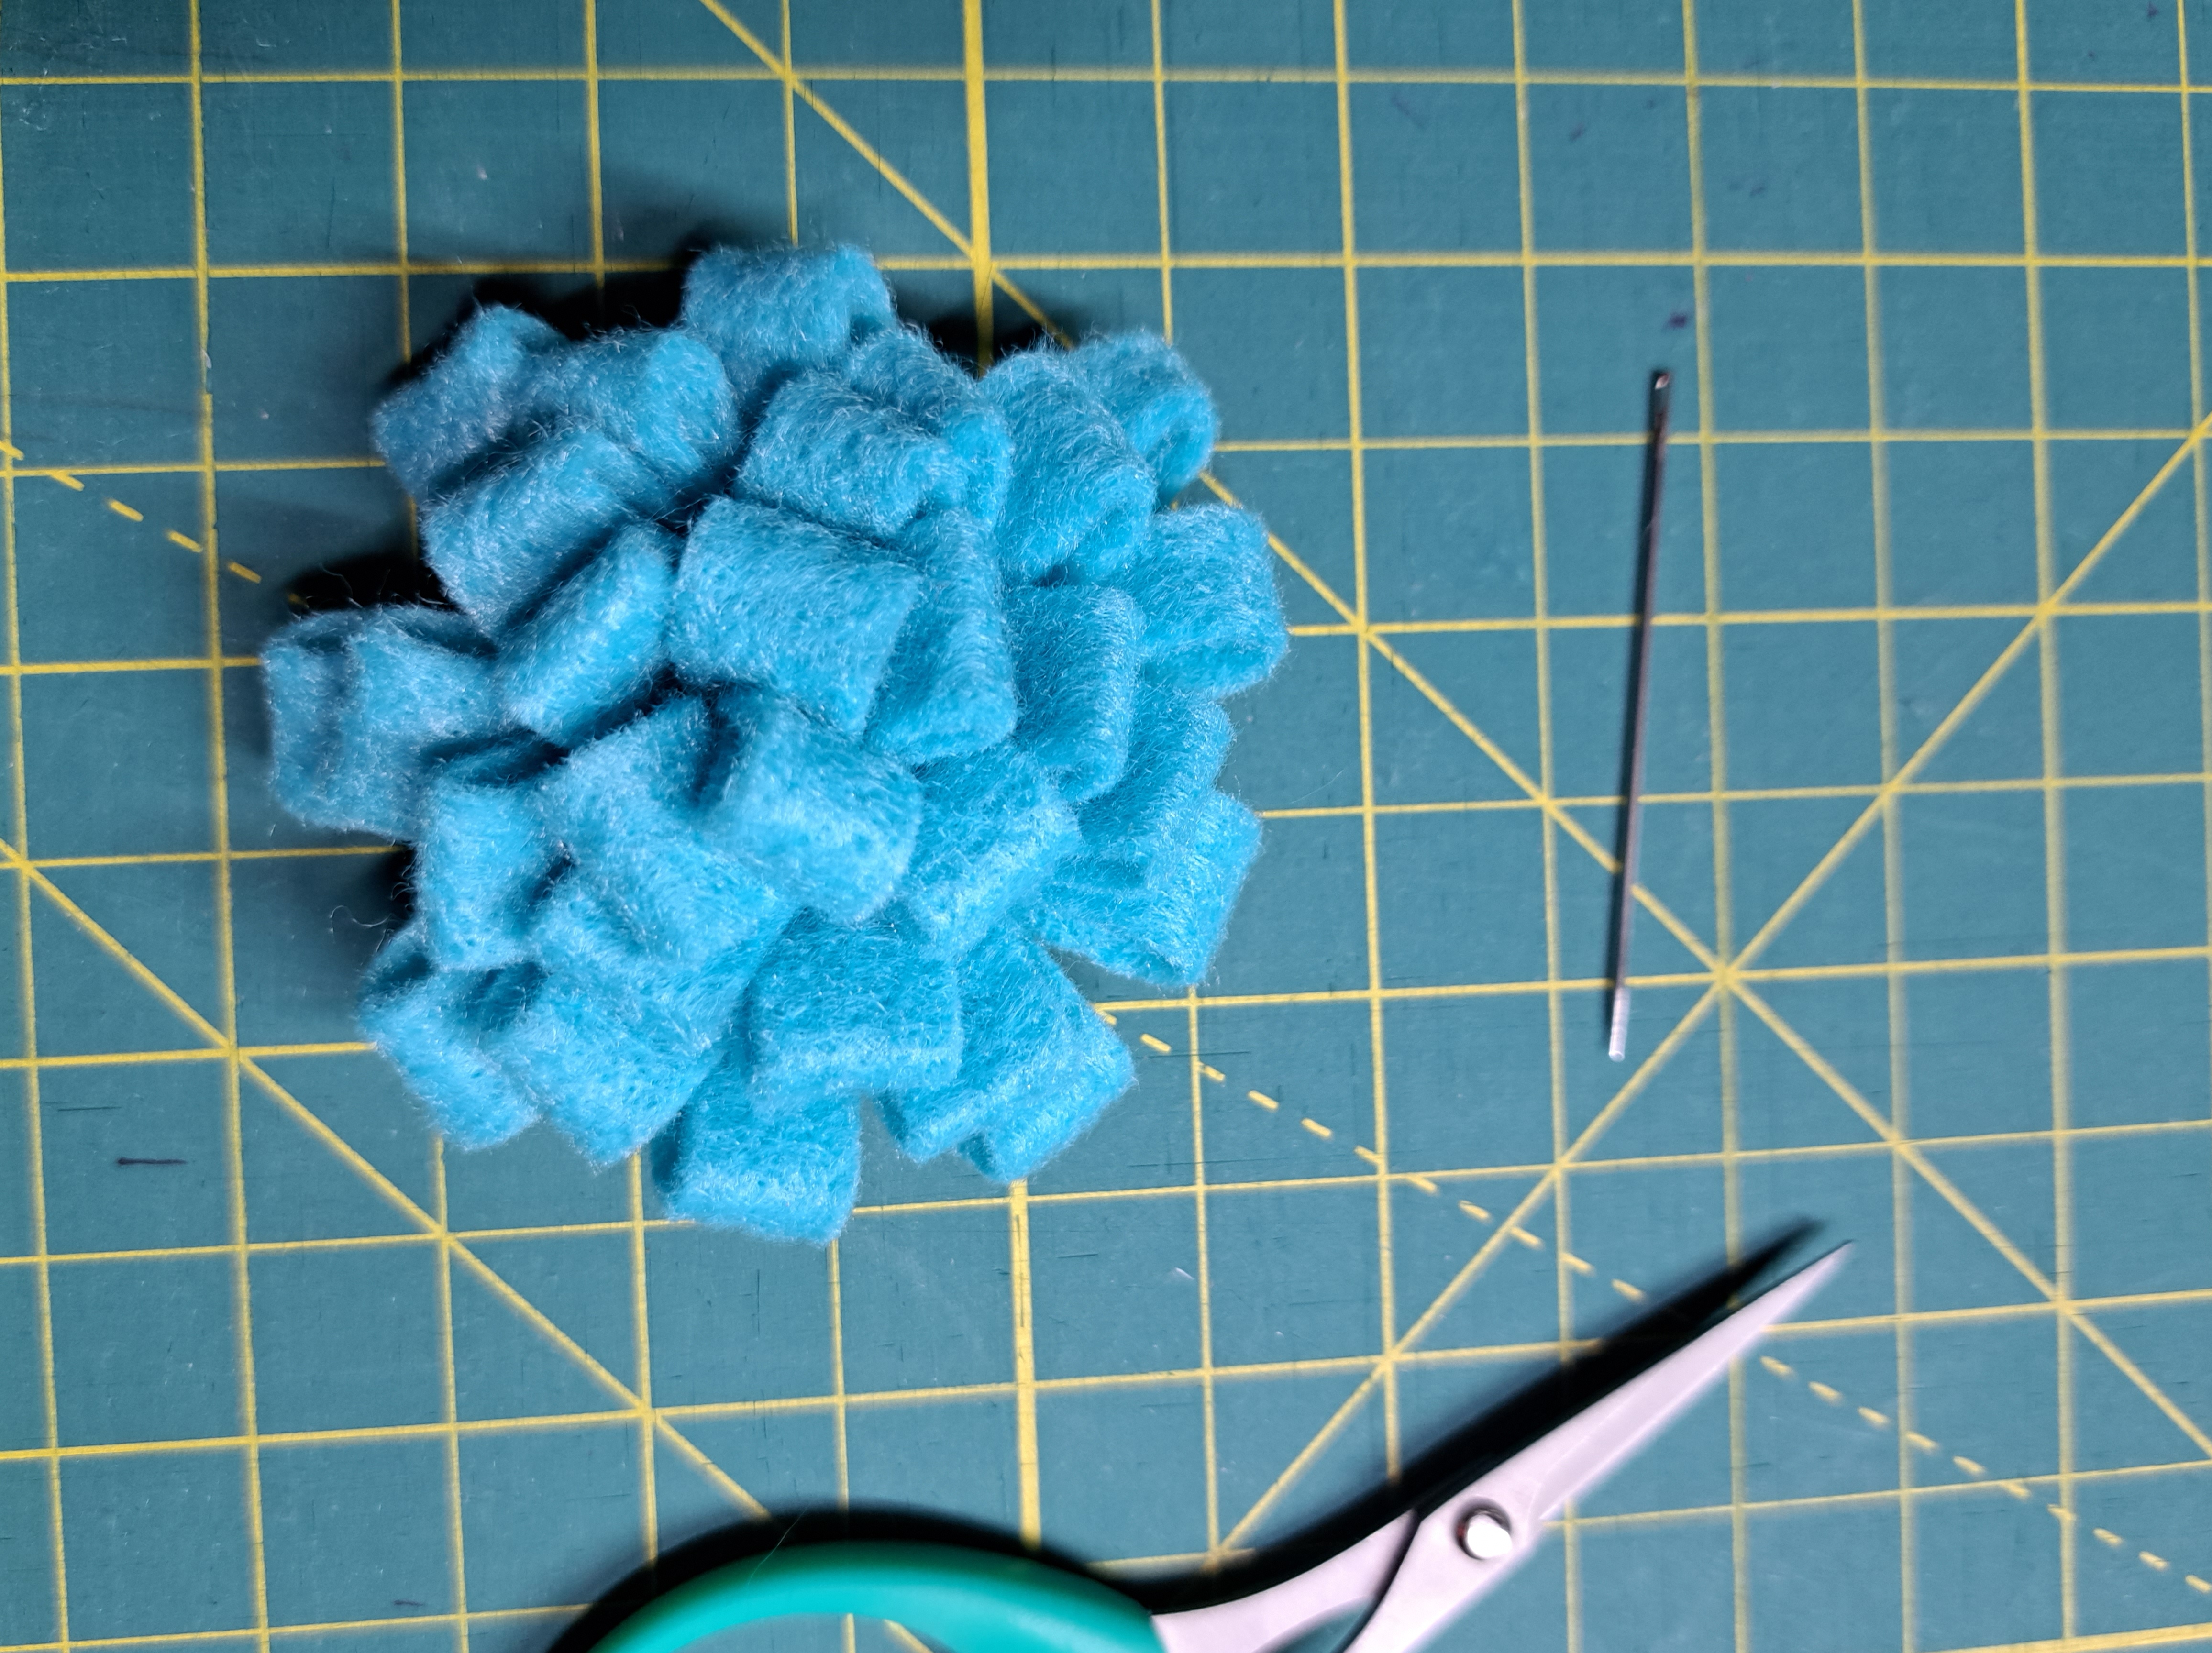
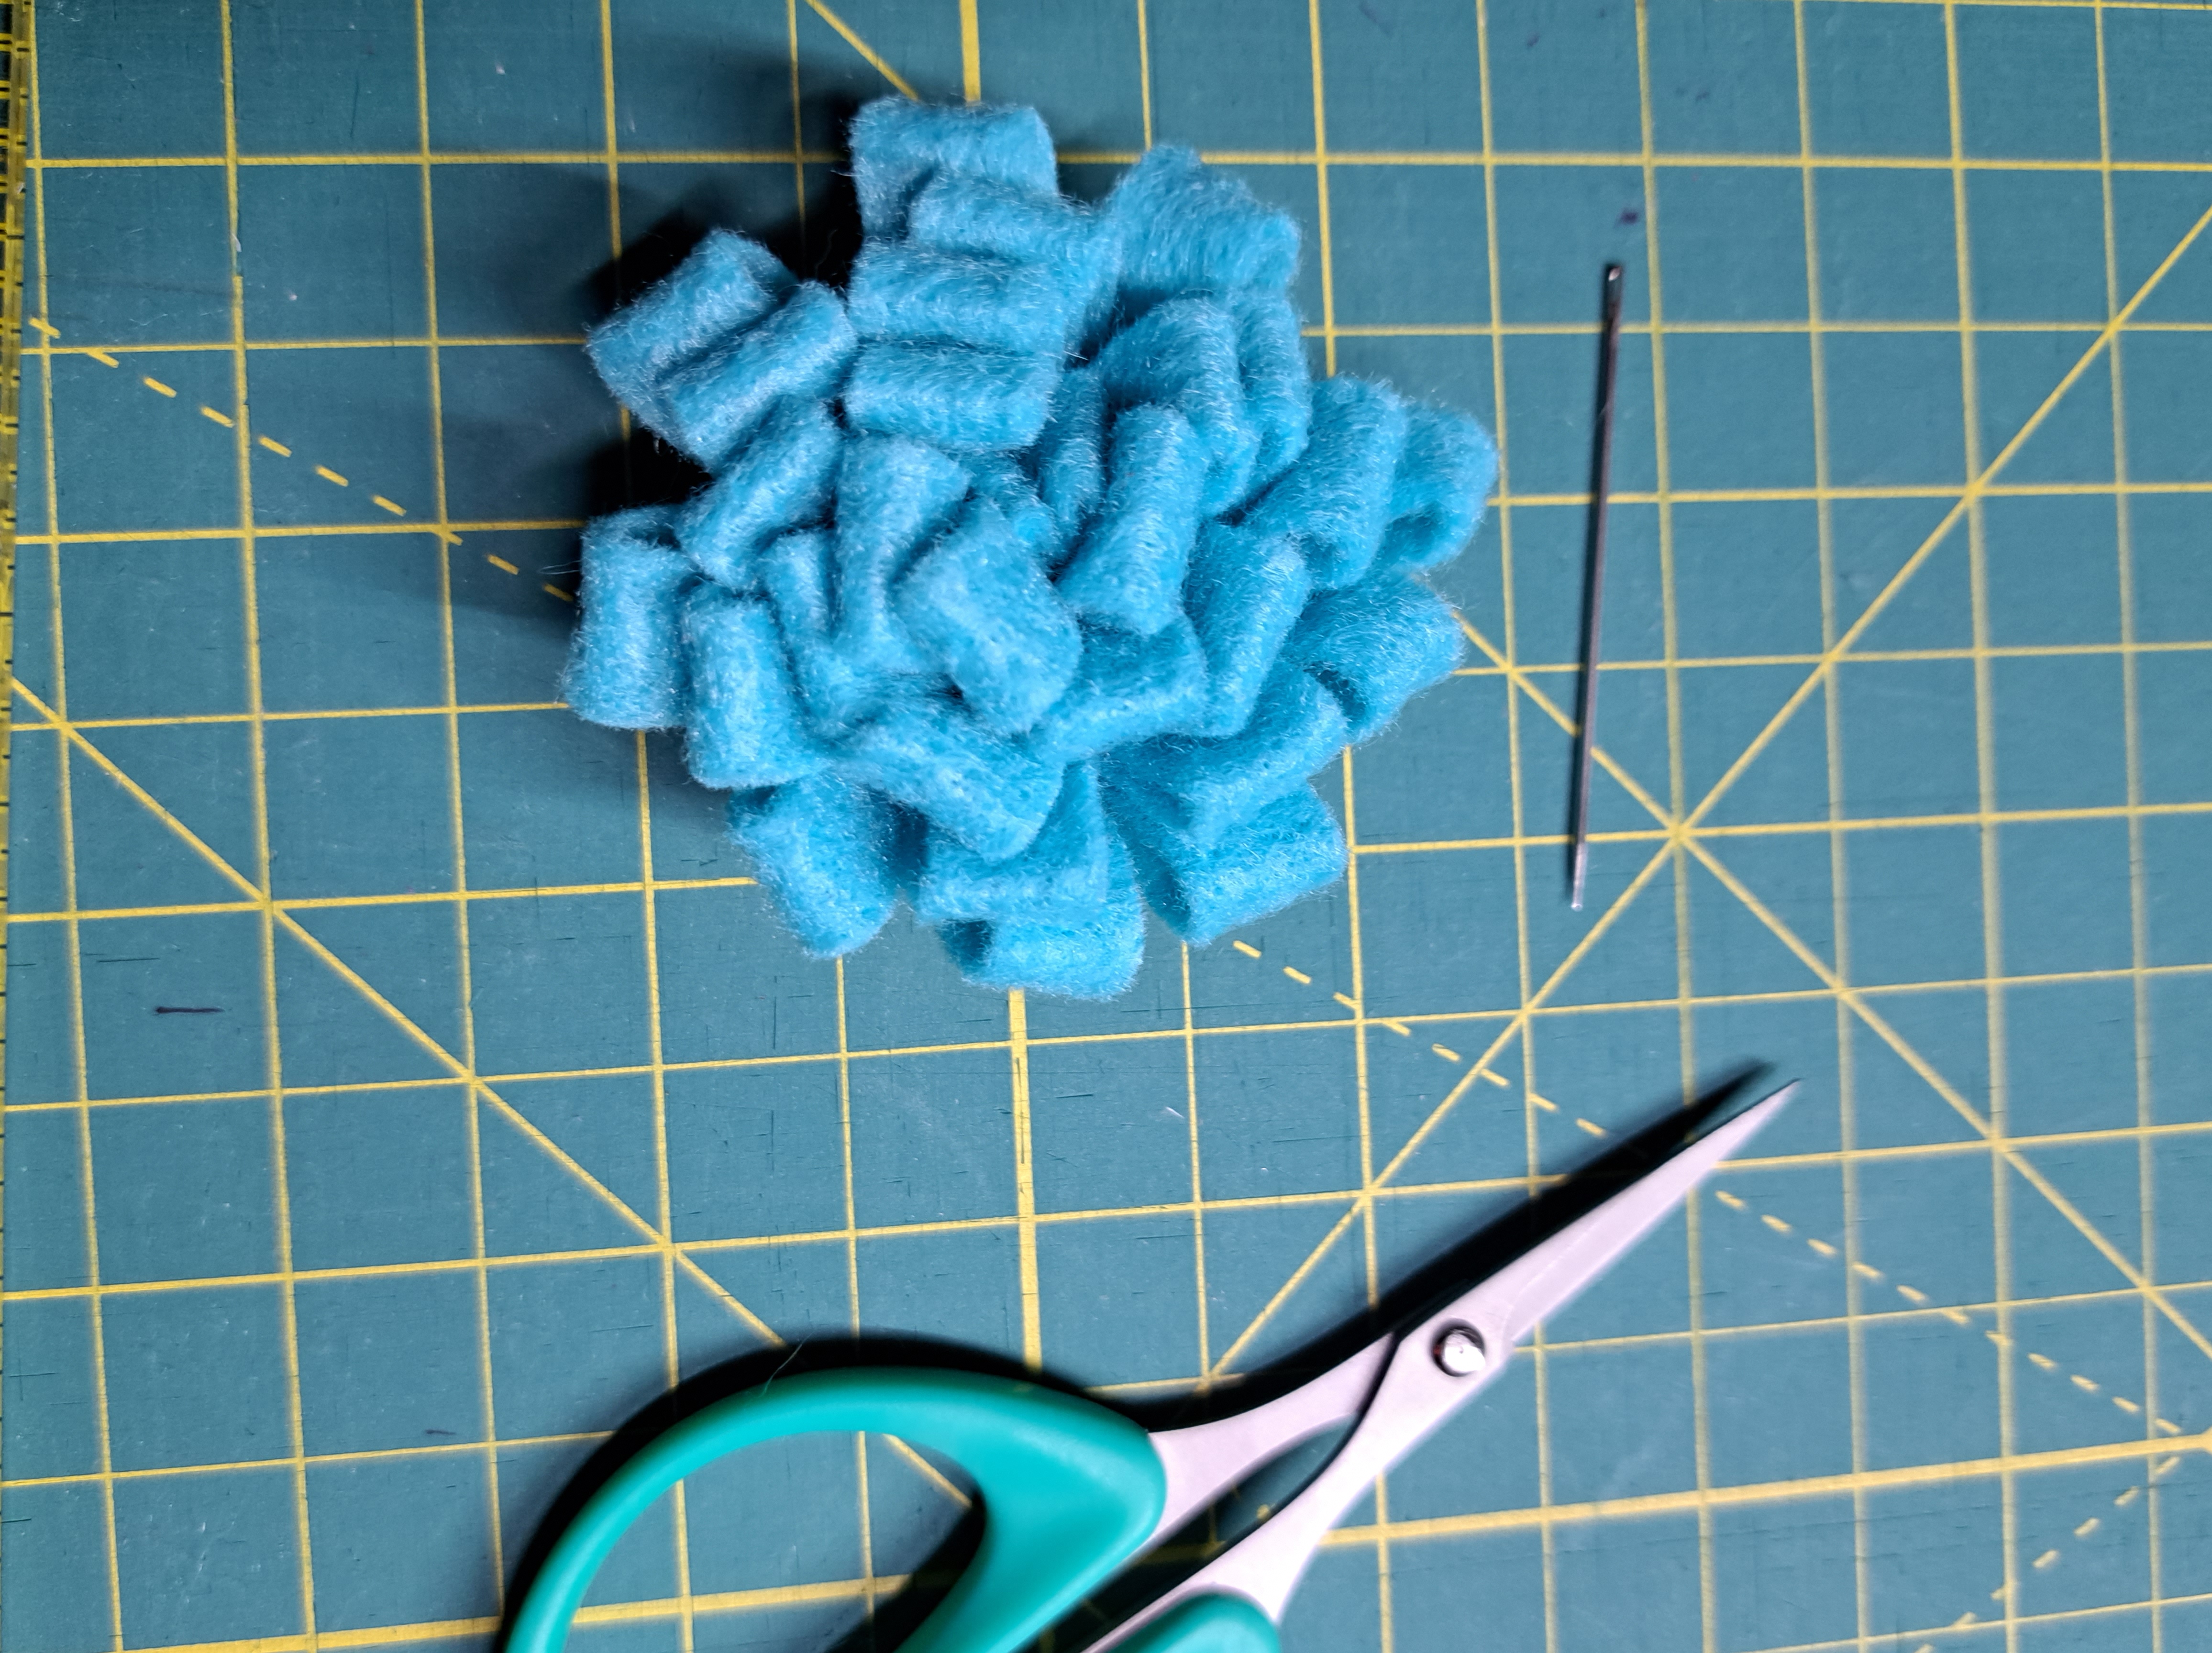
Check the flower and FLUFF the felt flower. Add your clip(s)!
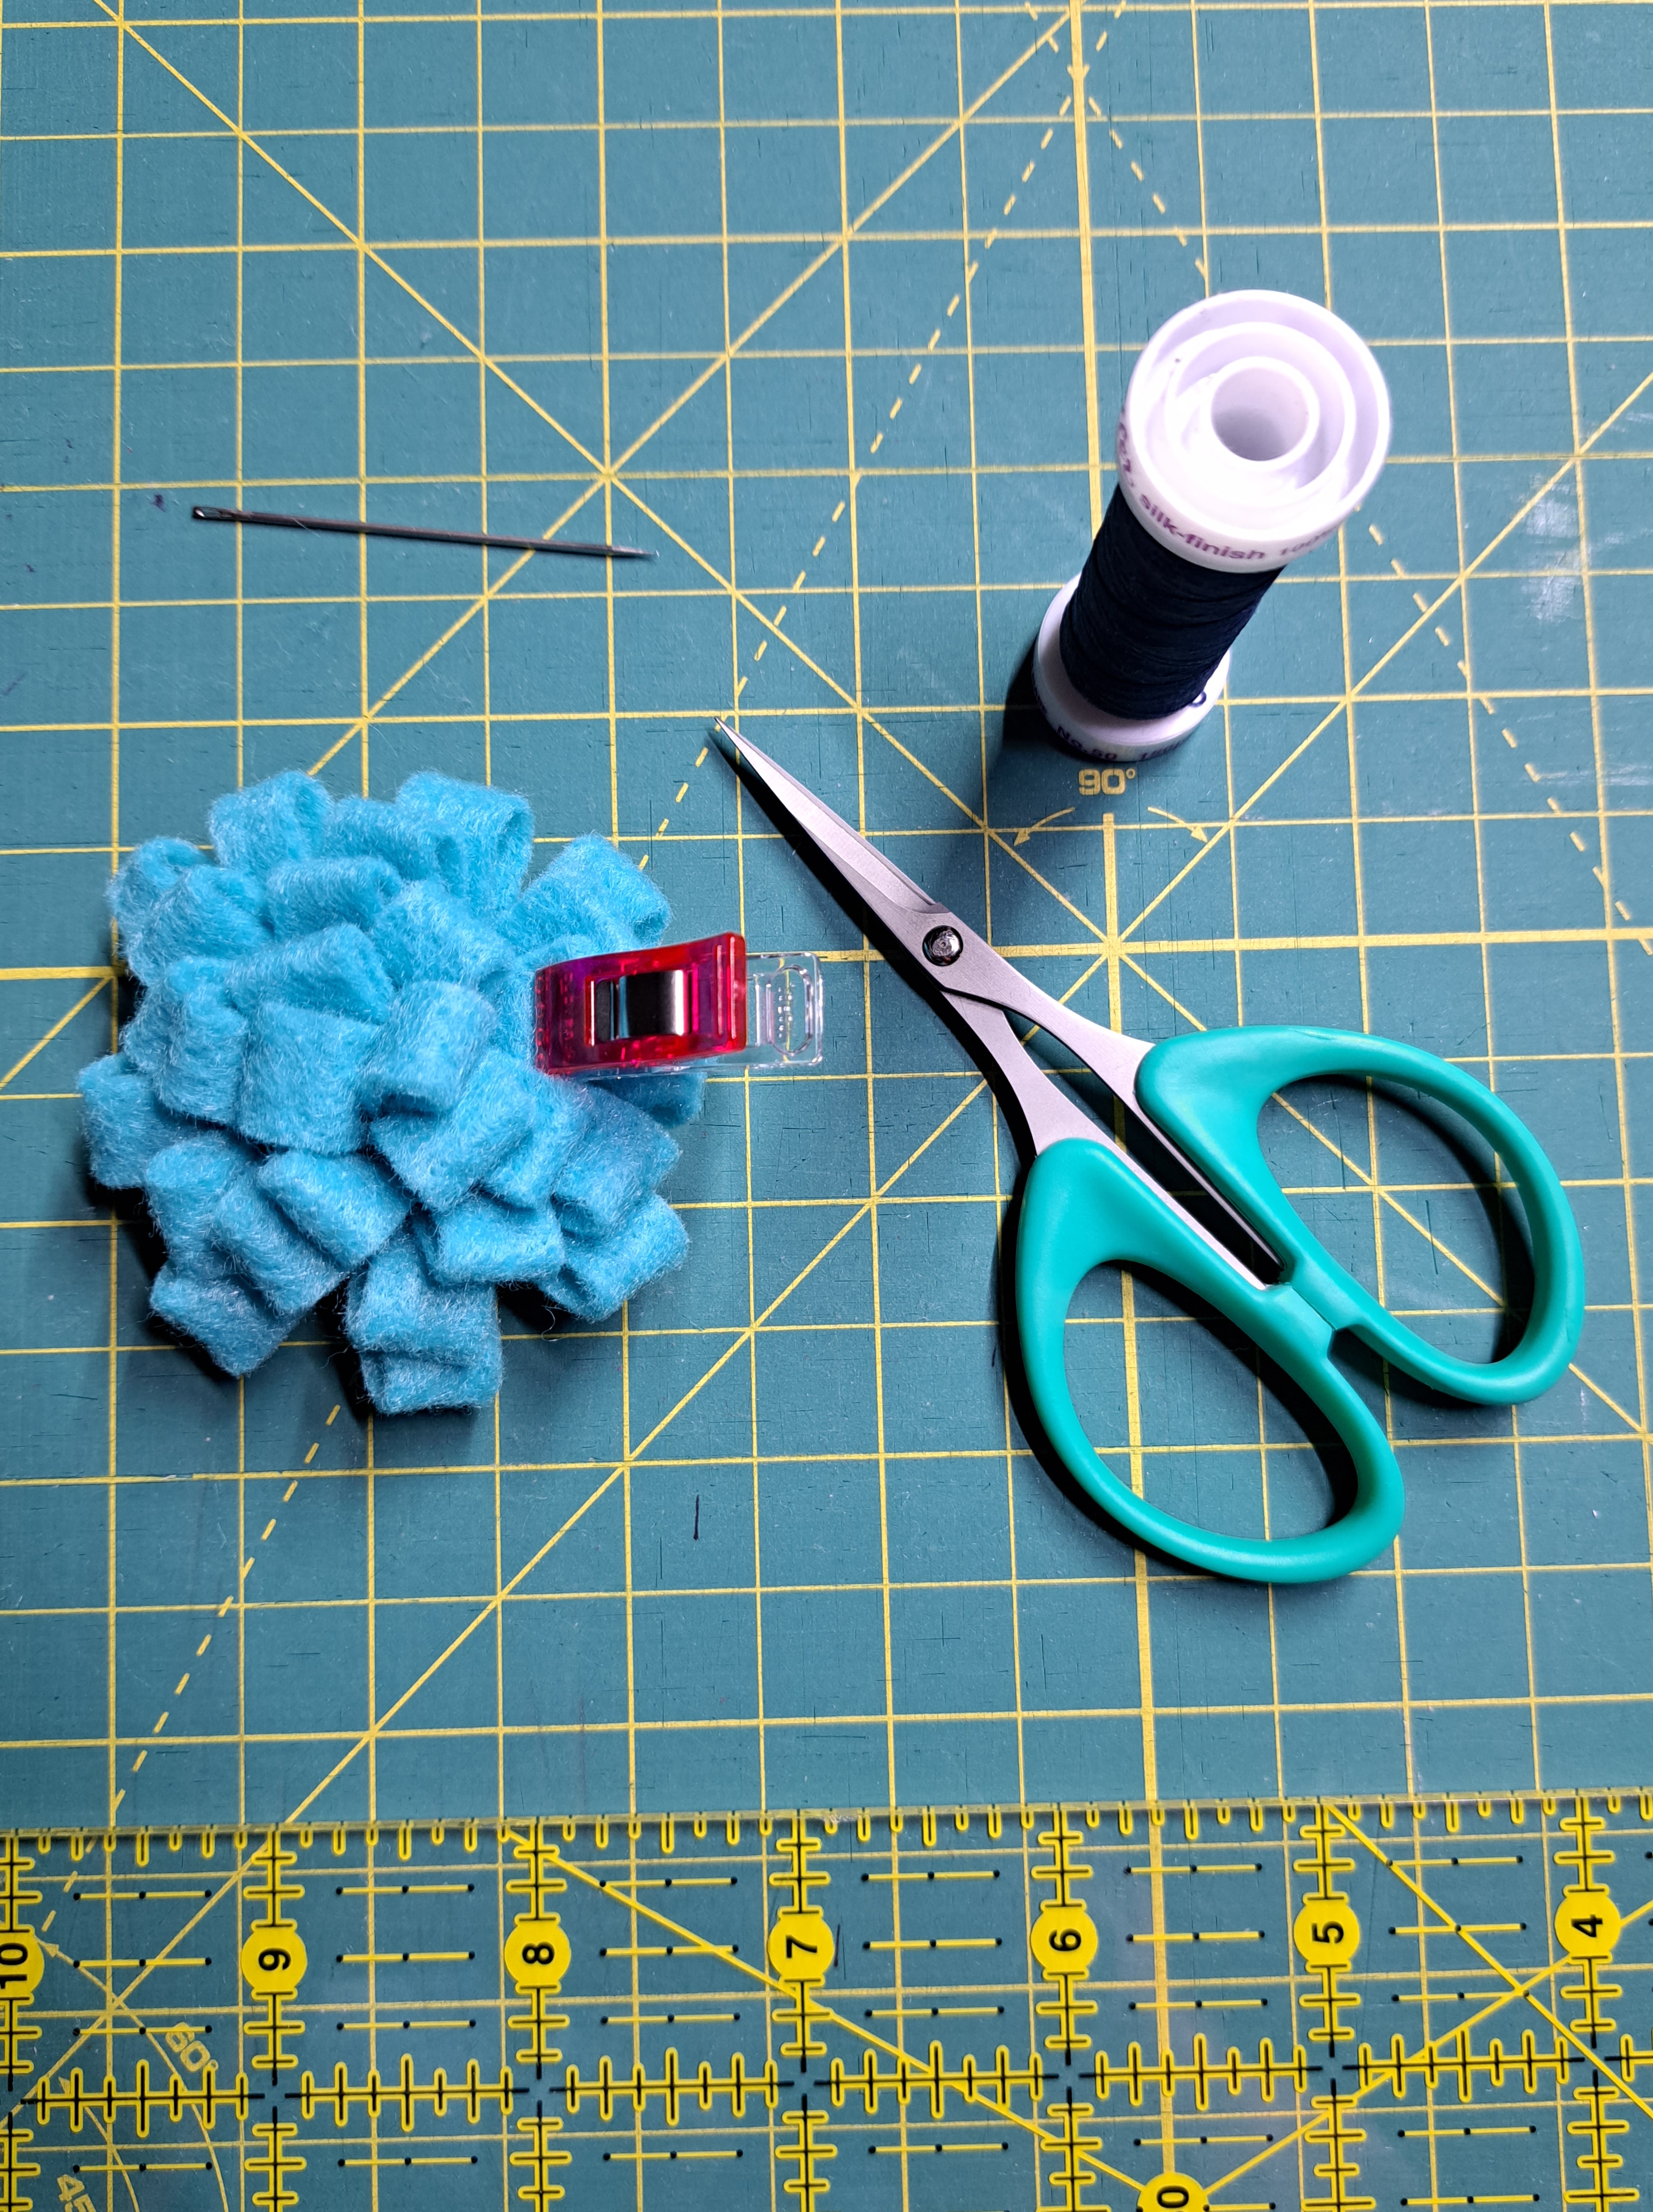
A great simple project to hold your clips instead of a plastic container. Fun to use while using clips to hold your binding in place to finish the mitered corners and stitching!
Tips #1 – match your thread to your fabric or felt to better hide your stitches for a nice finished look. In the photos, it is always best for me to have a contrasting thread for you to see my stitches.
#2 – Add your felt flower to a wrist strip for a “wrist clip cushion” (instead of pin cushion)!! Or add a magnet, or attach to a base to use while you use your clips.
Bonus Tip: My husband just had shoulder surgery…his tip for the week…learn to use both hands (your non- dominate hand) for doing simple chores like brushing your teeth. Those skill will come in handy. (pun intended!!)
in quilting!
Debbie
