Lets head to the mountains! This week we go to Colorado. A favorite of mine, because growing up in Missouri we headed to Colorado to go skiing most winters. A long drive across Kansas and into Colorado then, BAM!! The Rocky Mountains! Several family trips and then school trips and even chaperone trips when I was teaching… ALL to go snow skiing in Colorado. Enjoy the block by Catherine at Dragonfly’s Quilting Design Studio. You can find the block HERE.
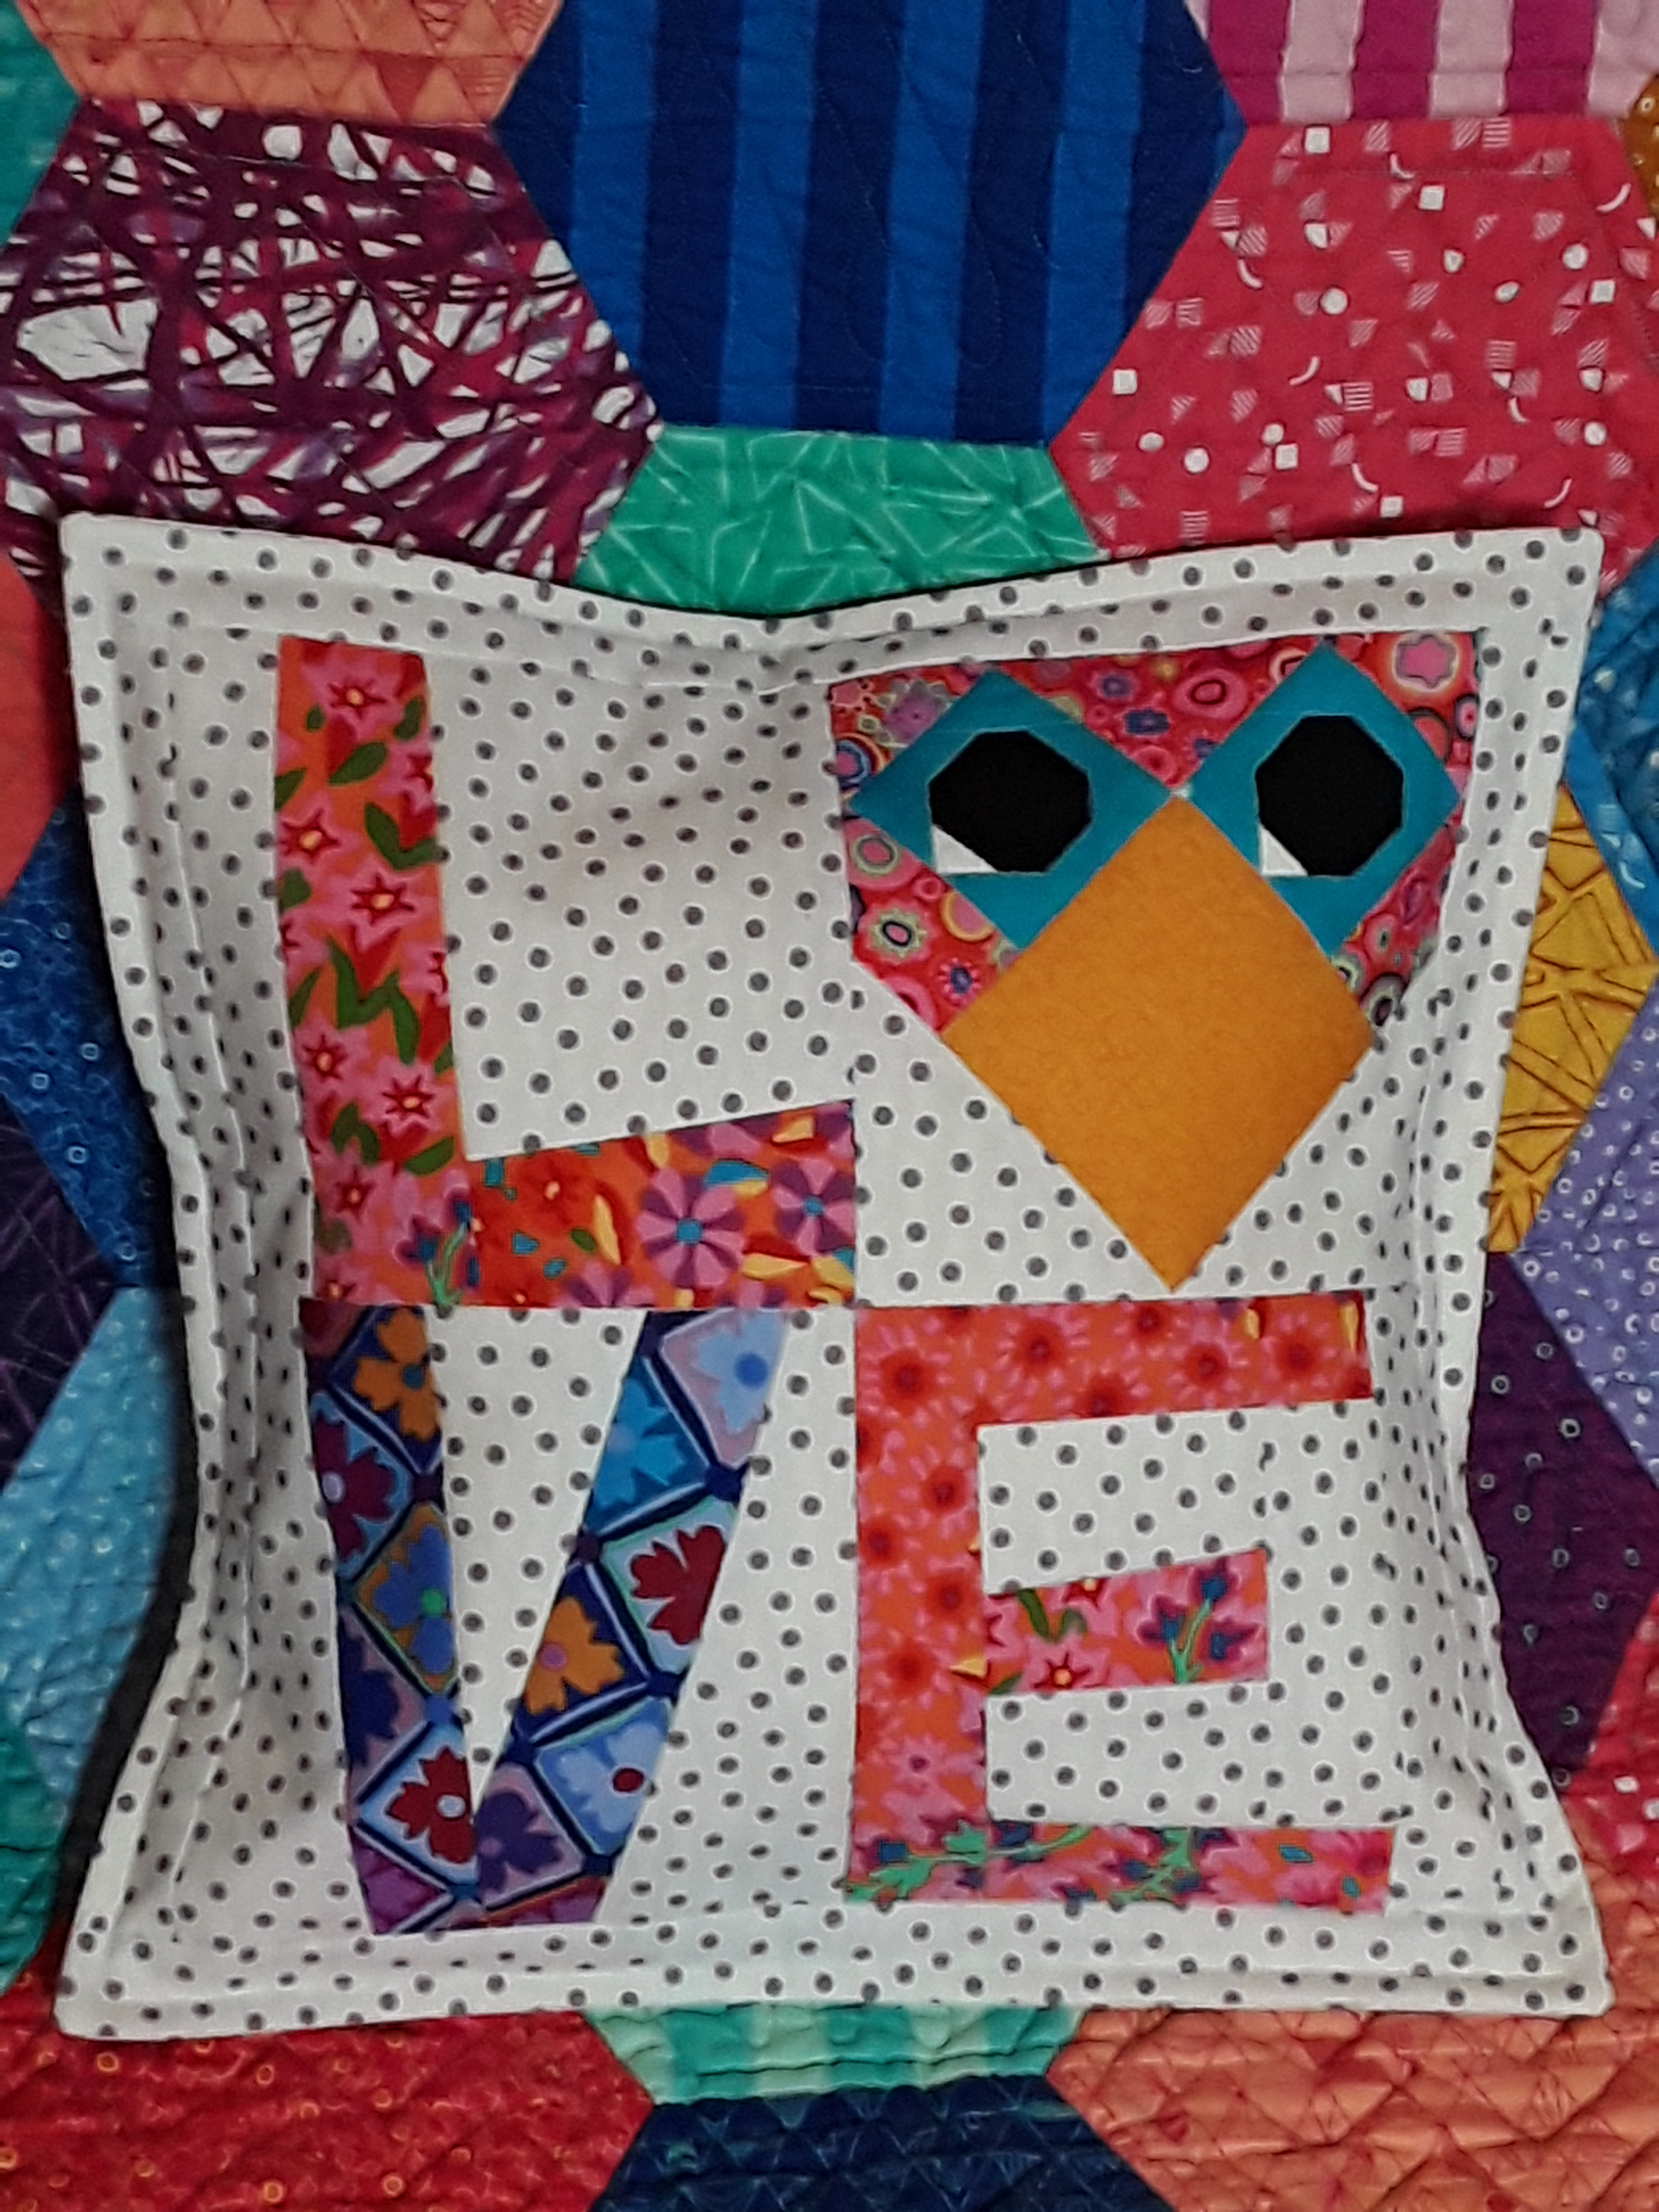
Over on Instagram I’ve been a part of the Snowball Block Challenge. Yesterday was the finish! Did you see my project? Follow me at debbiewendtquilting! There were 16 designers that took the challenge. The snowball block was our start and it must have a solid center. I got my idea a few weeks ago when I was teaching a Mini Paper Piecing class to my guild. One of our projects was a pillow with LOVE on it. I replaced the O with a heart. All the blocks were paper pieced and made into a pillow. I quilted around the letters and heart highlighting to pieces of the heart. For some strange reason I saw a bird head in the heart shape…BINGO! There was my challenge idea. A LOVE Bird! The eyes of the bird could be the snowball block. I like my funky bird!
LOVE Bird Pillow
The first bird I made had the sparkle in the eye looking the wrong way. oops, remake. I also made a one with more color under the eyes. I went with the rounder bug eyes. Hence my funky bird reference. It was a lot of fun and I’ll be adding the bird to my LOVE Heart pillow pattern. The pattern will be on my website on Feb. 28th. Keep your “eye” out for it there.
The sparkle was on the wrong side because I marked my while look at the back numbered side of the paper piecing pattern. NOPE, it is reverse from how it will show on the front. So, keep this in mind if you want to color a specific paper piecing piece.
#1- Remember paper piecing is constructed in reverse, meaning the pattern/design/numbers are on the “wrong side” of the paper and you add your pieces to the opposite side. Keep this in mind if coloring a specific area.
#2 – Mark your paper piecing pattern. Make notes and coloring hints right on your pattern. After sewing the paper is removed and it saves time.
I hope you followed along and got to see all the challenge pieces. Or go back and take a look! There was a very wide range of finishes. We will be doing a new challenge next month. I’m in, so I hope you’ll follow along. I’ll let you know the details as soon as I know them.
Welcome to week 30! This week we stop in the middle of the USA! IOWA! A state very near to my University (NWMSU – Northwest Missouri State University). It was a short trip up to Iowa when I was at school. Many of my college friends are from Iowa, even one of my roommates and many of my sorority sisters. Lizard Creek Quilting designed our Iowa block. You can find it HERE!
One of my favorite ways to finish my binding, when time is of the essence…. by machine. There are many ways to sew a binding on the edges of our quilts. I want my binding to look like it has been hand finished from the front. So I’m a fan of sewing the binding to the front of the quilt as usual. Instead of hand sewing it on the back, I stitch in the ditch from the front. Voila, done!
A tip in getting the best finish for my machine sewn binding is to use a double fold binding. I cut my binding strips 2 1/4″, sew the strips into a continuous binding and fold/press in half. This gives me a finished fold to turn to the back of the quilt. I find 2 1/4″ is better, for me, than 2 1/2″. I can sew anywhere from 1/4″ to 3/8″ seam and get a nice full binding. If finishing by machine, I keep it closer to 1/4″, then I have plenty to turn over to the back and I know my stitching will catch it. (If I sew to the back by hand, I prefer 3/8″ seam. I have plenty to cover my stitching and when hand sewing.) I want my binding to be close to even in width on the front and back. These measurements help to accomplish that. Plus, I mentioned I want a full binding. This is where the top, batting and backing fill up the space inside the binding when I turn the binding to the back. If there is any gap at the edge, it tends to wear faster and look wimpy. The thickness of your batting can also play a role in how full your binding feels. A thinner batting may require a wide seam as it doesn’t take up as much space.
#1 – I love a 2 1/4″ cut strip width for my double fold bindings!
I started with telling you I like to machine sew my binding to the back by stitching in the ditch from the front. This is what it looks like on the back. And you can barely see the stitching on the front! Blue thread to match the blue binding also key. Match your thread color to your binding.
For your mitered corners, I pin the miter before I get there when sewing. It holds it in place and I can slip the pin out as I near the corner. Below is a close up of my stitching at the miter on the backside of the quilt.
And finally, how do I keep the binding from tangling or getting wound around my chair leg? I put it in a bag and hang it on my chair arm. But, if my chair does not have an arm, then I let the bag sit on the floor or tape it to my table so it hangs open. This allows the binding to easily flow out of the bag up to the machine bed where I am sewing the binding to the quilt.
#2 – Put your prepared binding in a bag to keep it from ending up on the floor, around a chair leg or in a twisted mess.
By the way, I do not pin the binding ahead of sewing (expect to mark my mitered corner stopping point). I lay the binding on the quilt and stitch. No pulling, just smooth it in place and sew. Also when turning the binding to the back, no pins (except one pin at the mitered corner). I hate getting stuck with pins while I’m sewing…well actually, I don’t care to ever get stuck with pins!
I hope you’ll give it a try. I find it a better finish than sewing the binding to the back and turning it to the front and stitching along the fold.
in quilting,
Debbie
P.S. I’ve got a major redo happening on my website. I’m thrilled with the new look I chose but if something is not linked correctly, please know I’m trying to stay on top of the work being done! Take a look over at Wendt Quilting!
This week we head Northeast to Vermont. It is a beautiful state! I’ve enjoyed going to the Vermont Quilt Festival, but we’re not here to talk about quilt shows. The Vermont block was designed by Kate Colleran at Seams Like a Dream and can be found HERE.
We are in week two of the SNOWBALL FIGHT! I posted my fabric pics over on Instagram, but I thought you might like to see them here, too.
The challenge is using a snowball quilt block. So, what is a snowball block? It has a solid center and four triangles on all four of the corners. The triangles to do not meet in the center. They typically cover 1/3 of each adjacent side. See below!!
A snowball block can be found in many different quilt designs. It looks like a snowball and is often used to make a snowman. It looks round so often becomes a ball or circle. It will be fun to see what all the designers come up with for their SNOWBALL FIGHT design! We will see the reveals in two weeks. One more week of sneak peeks, then reveal on Feb. 22nd.
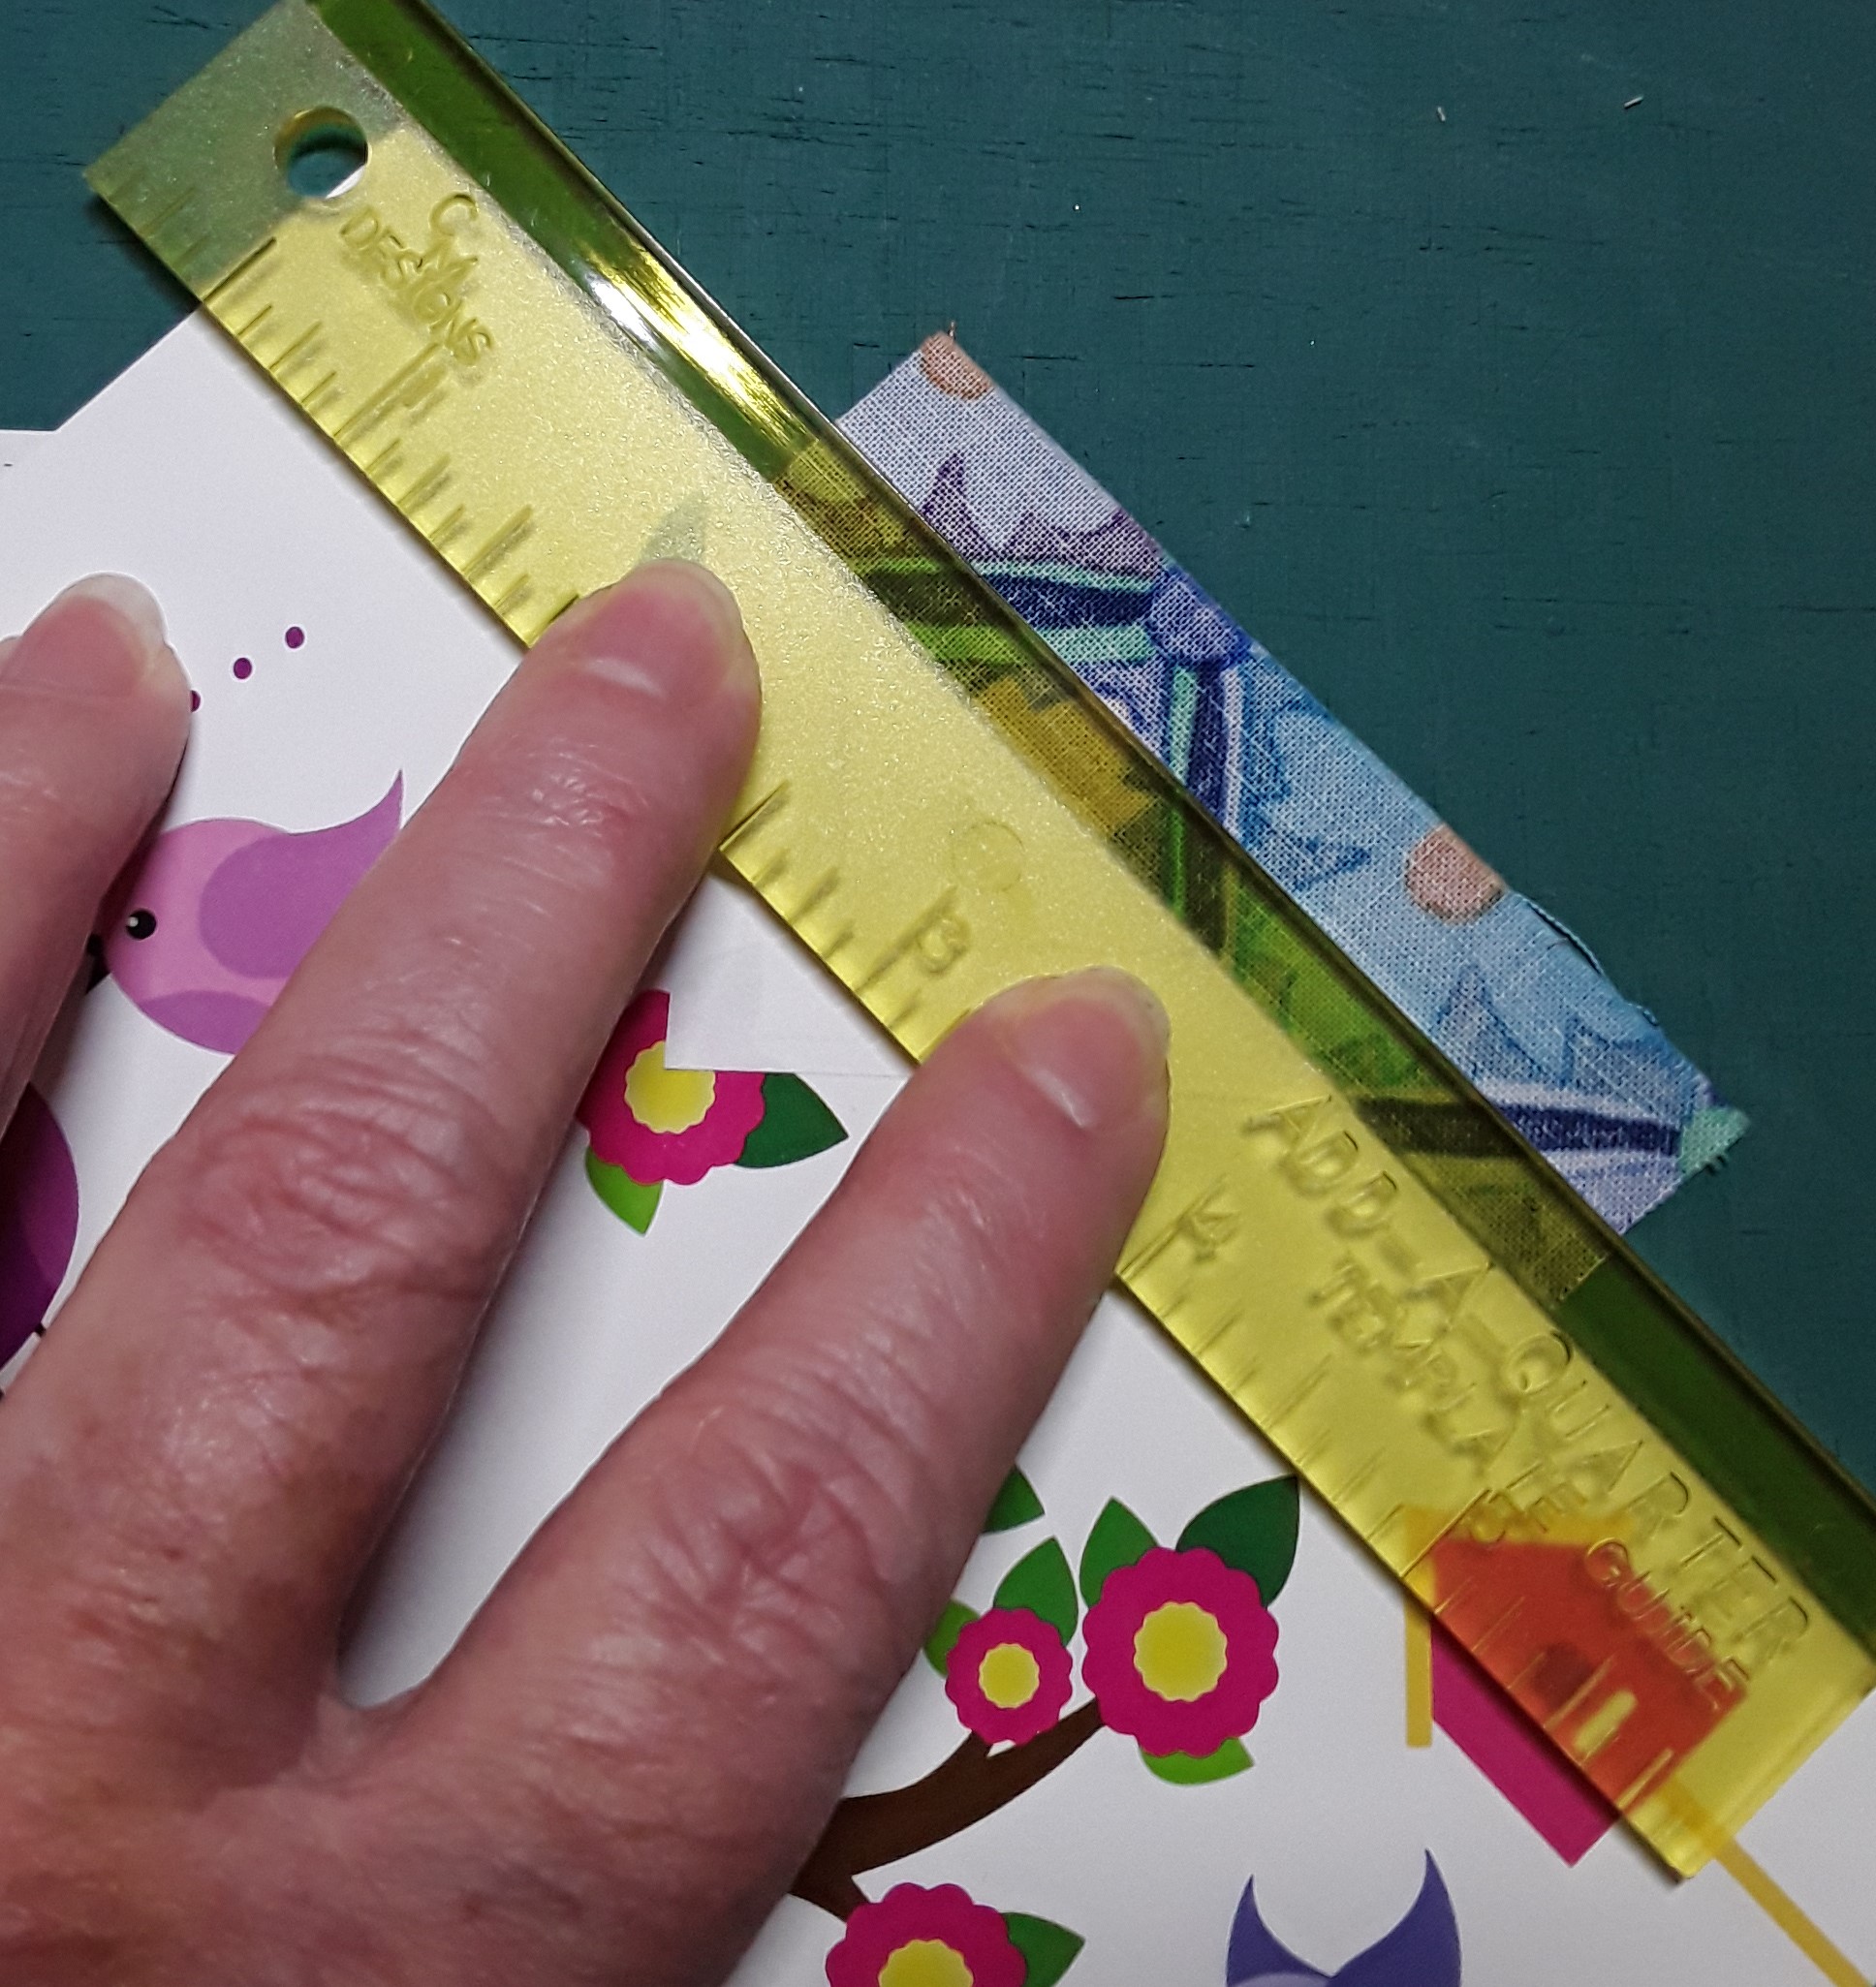
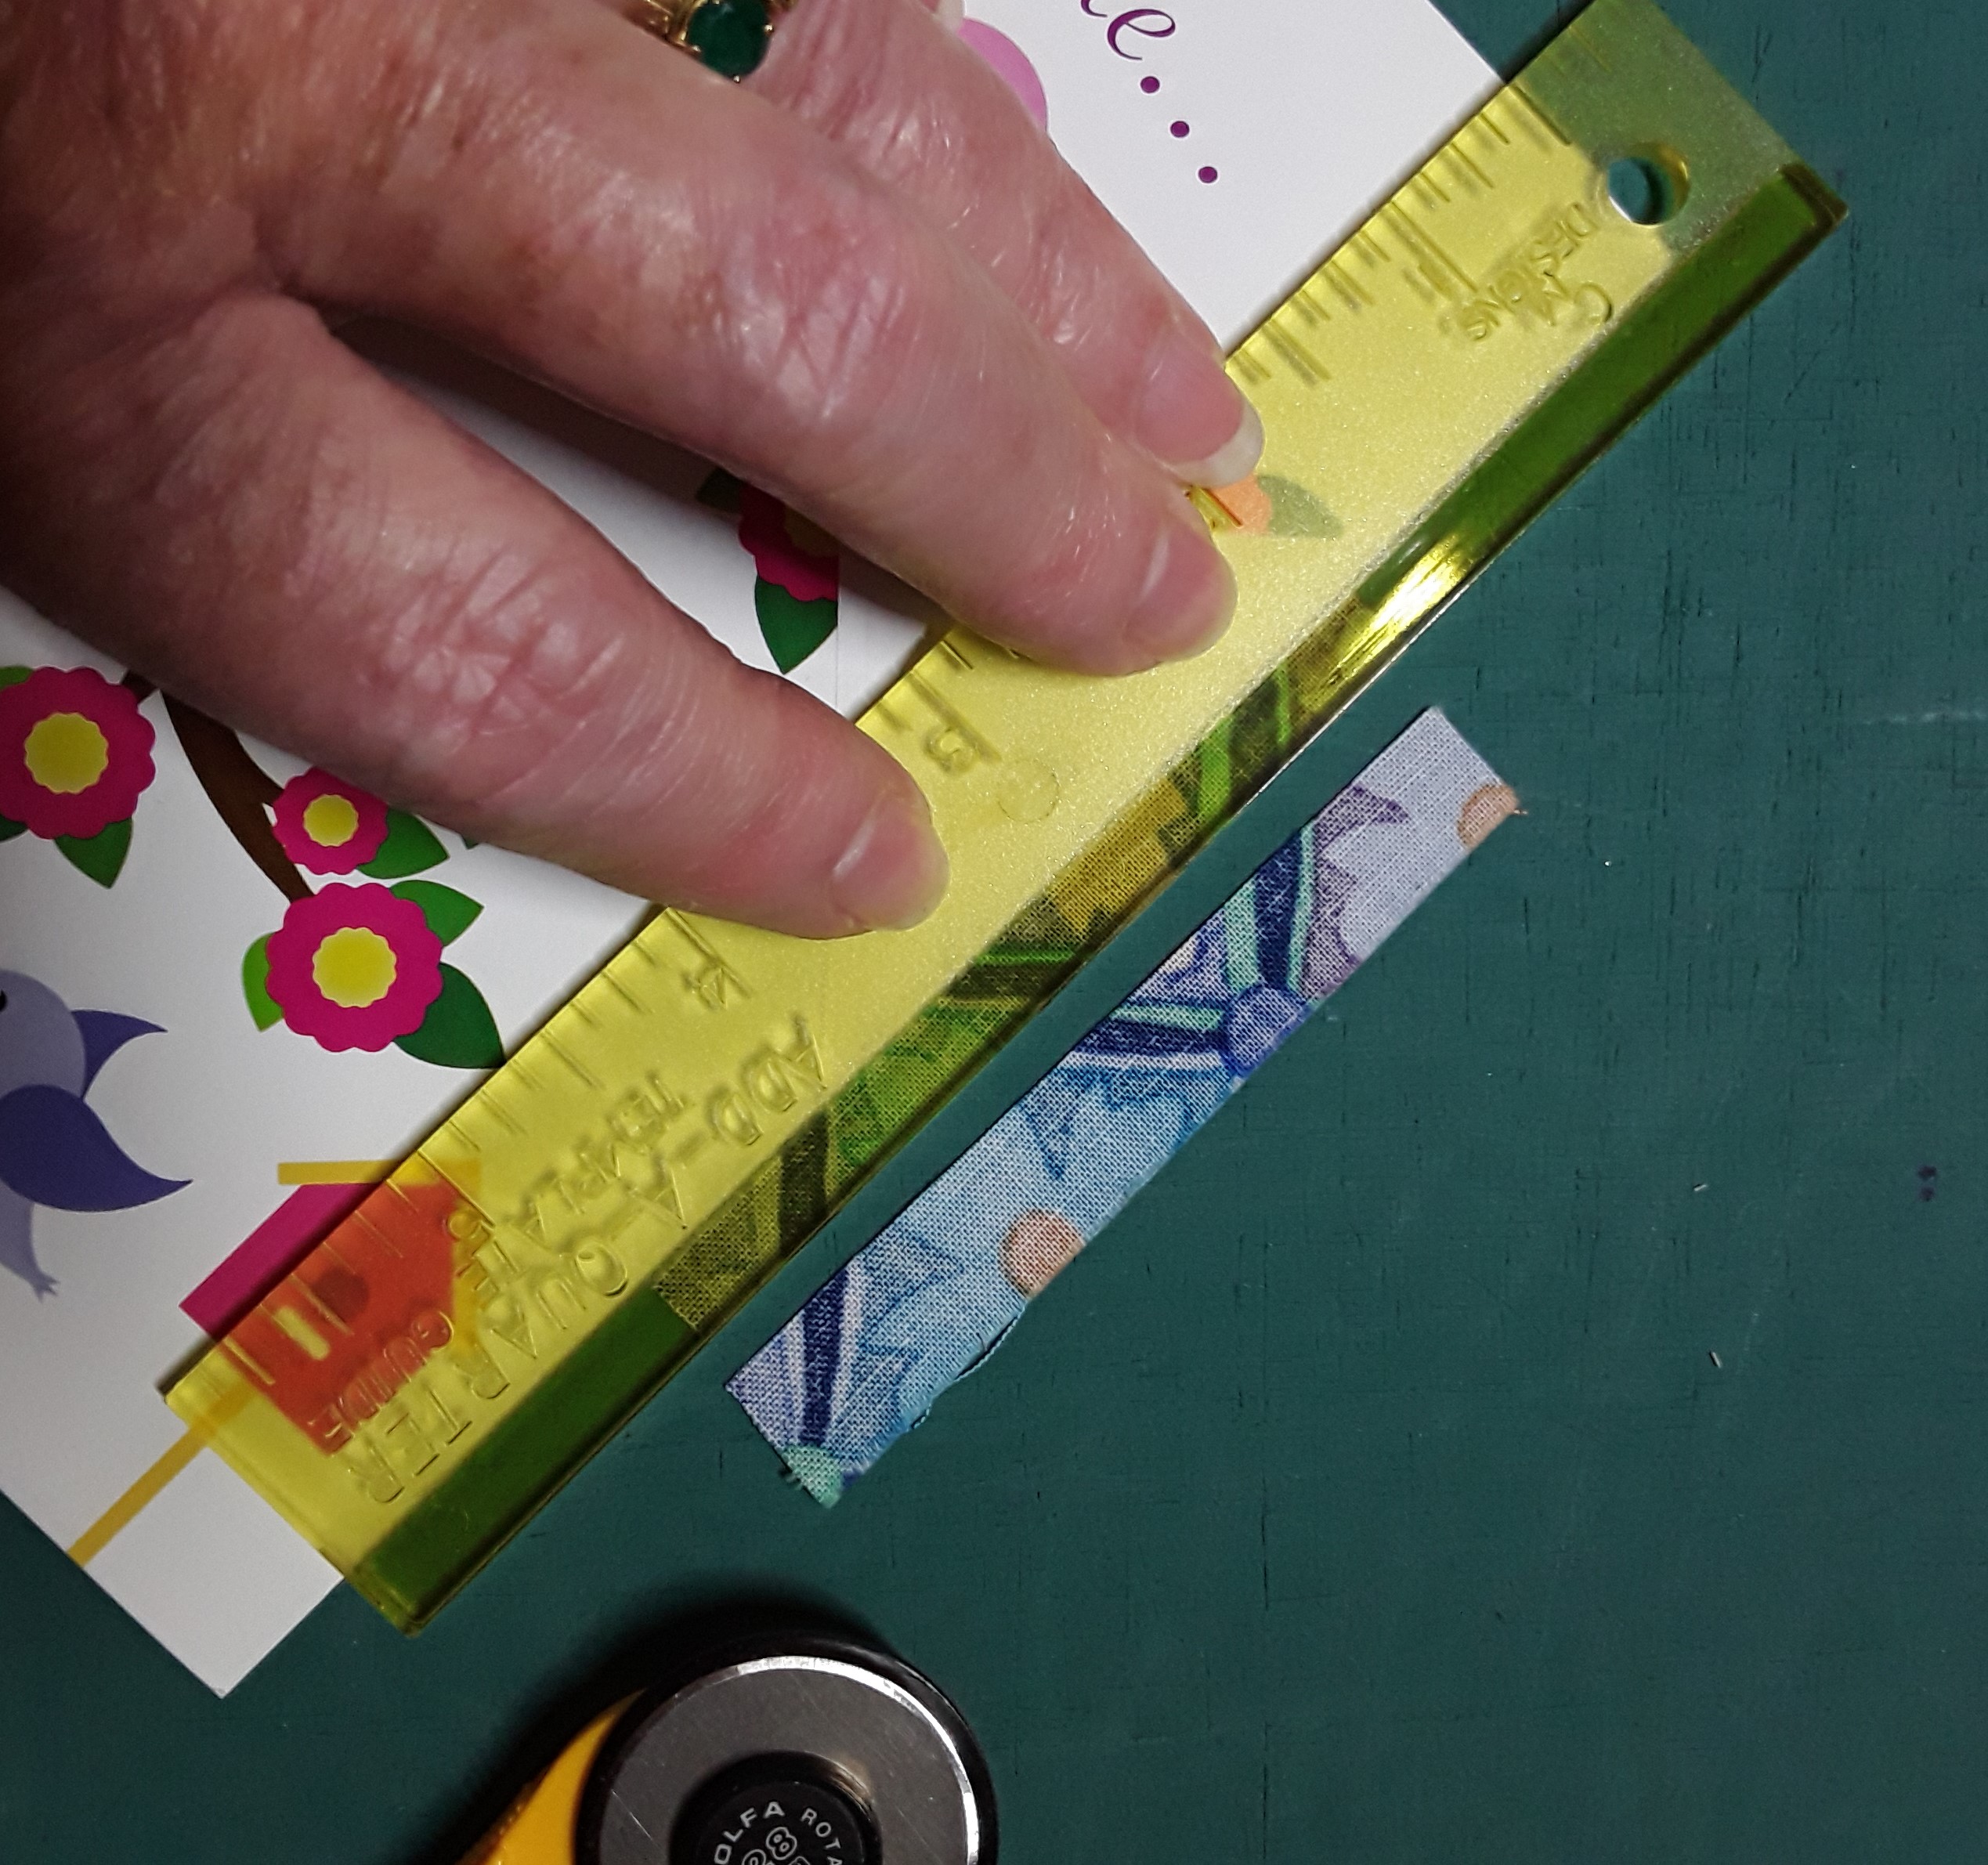
A hint on my challenge, I’ll be paper piecing. So here are two more tips when foundation paper piecing. (By the way, the photos are not my challenge design! <grin>)
#1 – Use card stock or even a greeting card to fold the paper back on the seam line.
#2 – Trim the excess seam allowance with “Add-A-Quarter” tool. No affiliation, just a great handy tool when foundation paper piecing!
This week in our US Tour we visit two extras, Washington DC and the Virgin Island. Both can be found designed by the same designer on Applique Quilts and More.
Welcome February! And a Snowball Fight! Good thing we got snow last night. We ended up with about 12-14″, hard to measure since we had a lot of wind. It is sooooo PRETTY! Yes, I still love snow!
I have joined a group of designers for a “Snowball Fight”. The challenge is to use a snowball block in a design. Monday was our first post on Instagram with our fabric picks. Each Monday we will share another step in our process. You can find my Instagram page under www.instagram.com/debbiewendtquilting. I have listed all those in the group in my post on Monday. Be sure to follow them (and my Instagram page!!) to see their steps and creations. There is a giveaway, instructions are in the second post under “I’m in the Snowball Fight” also on Monday.
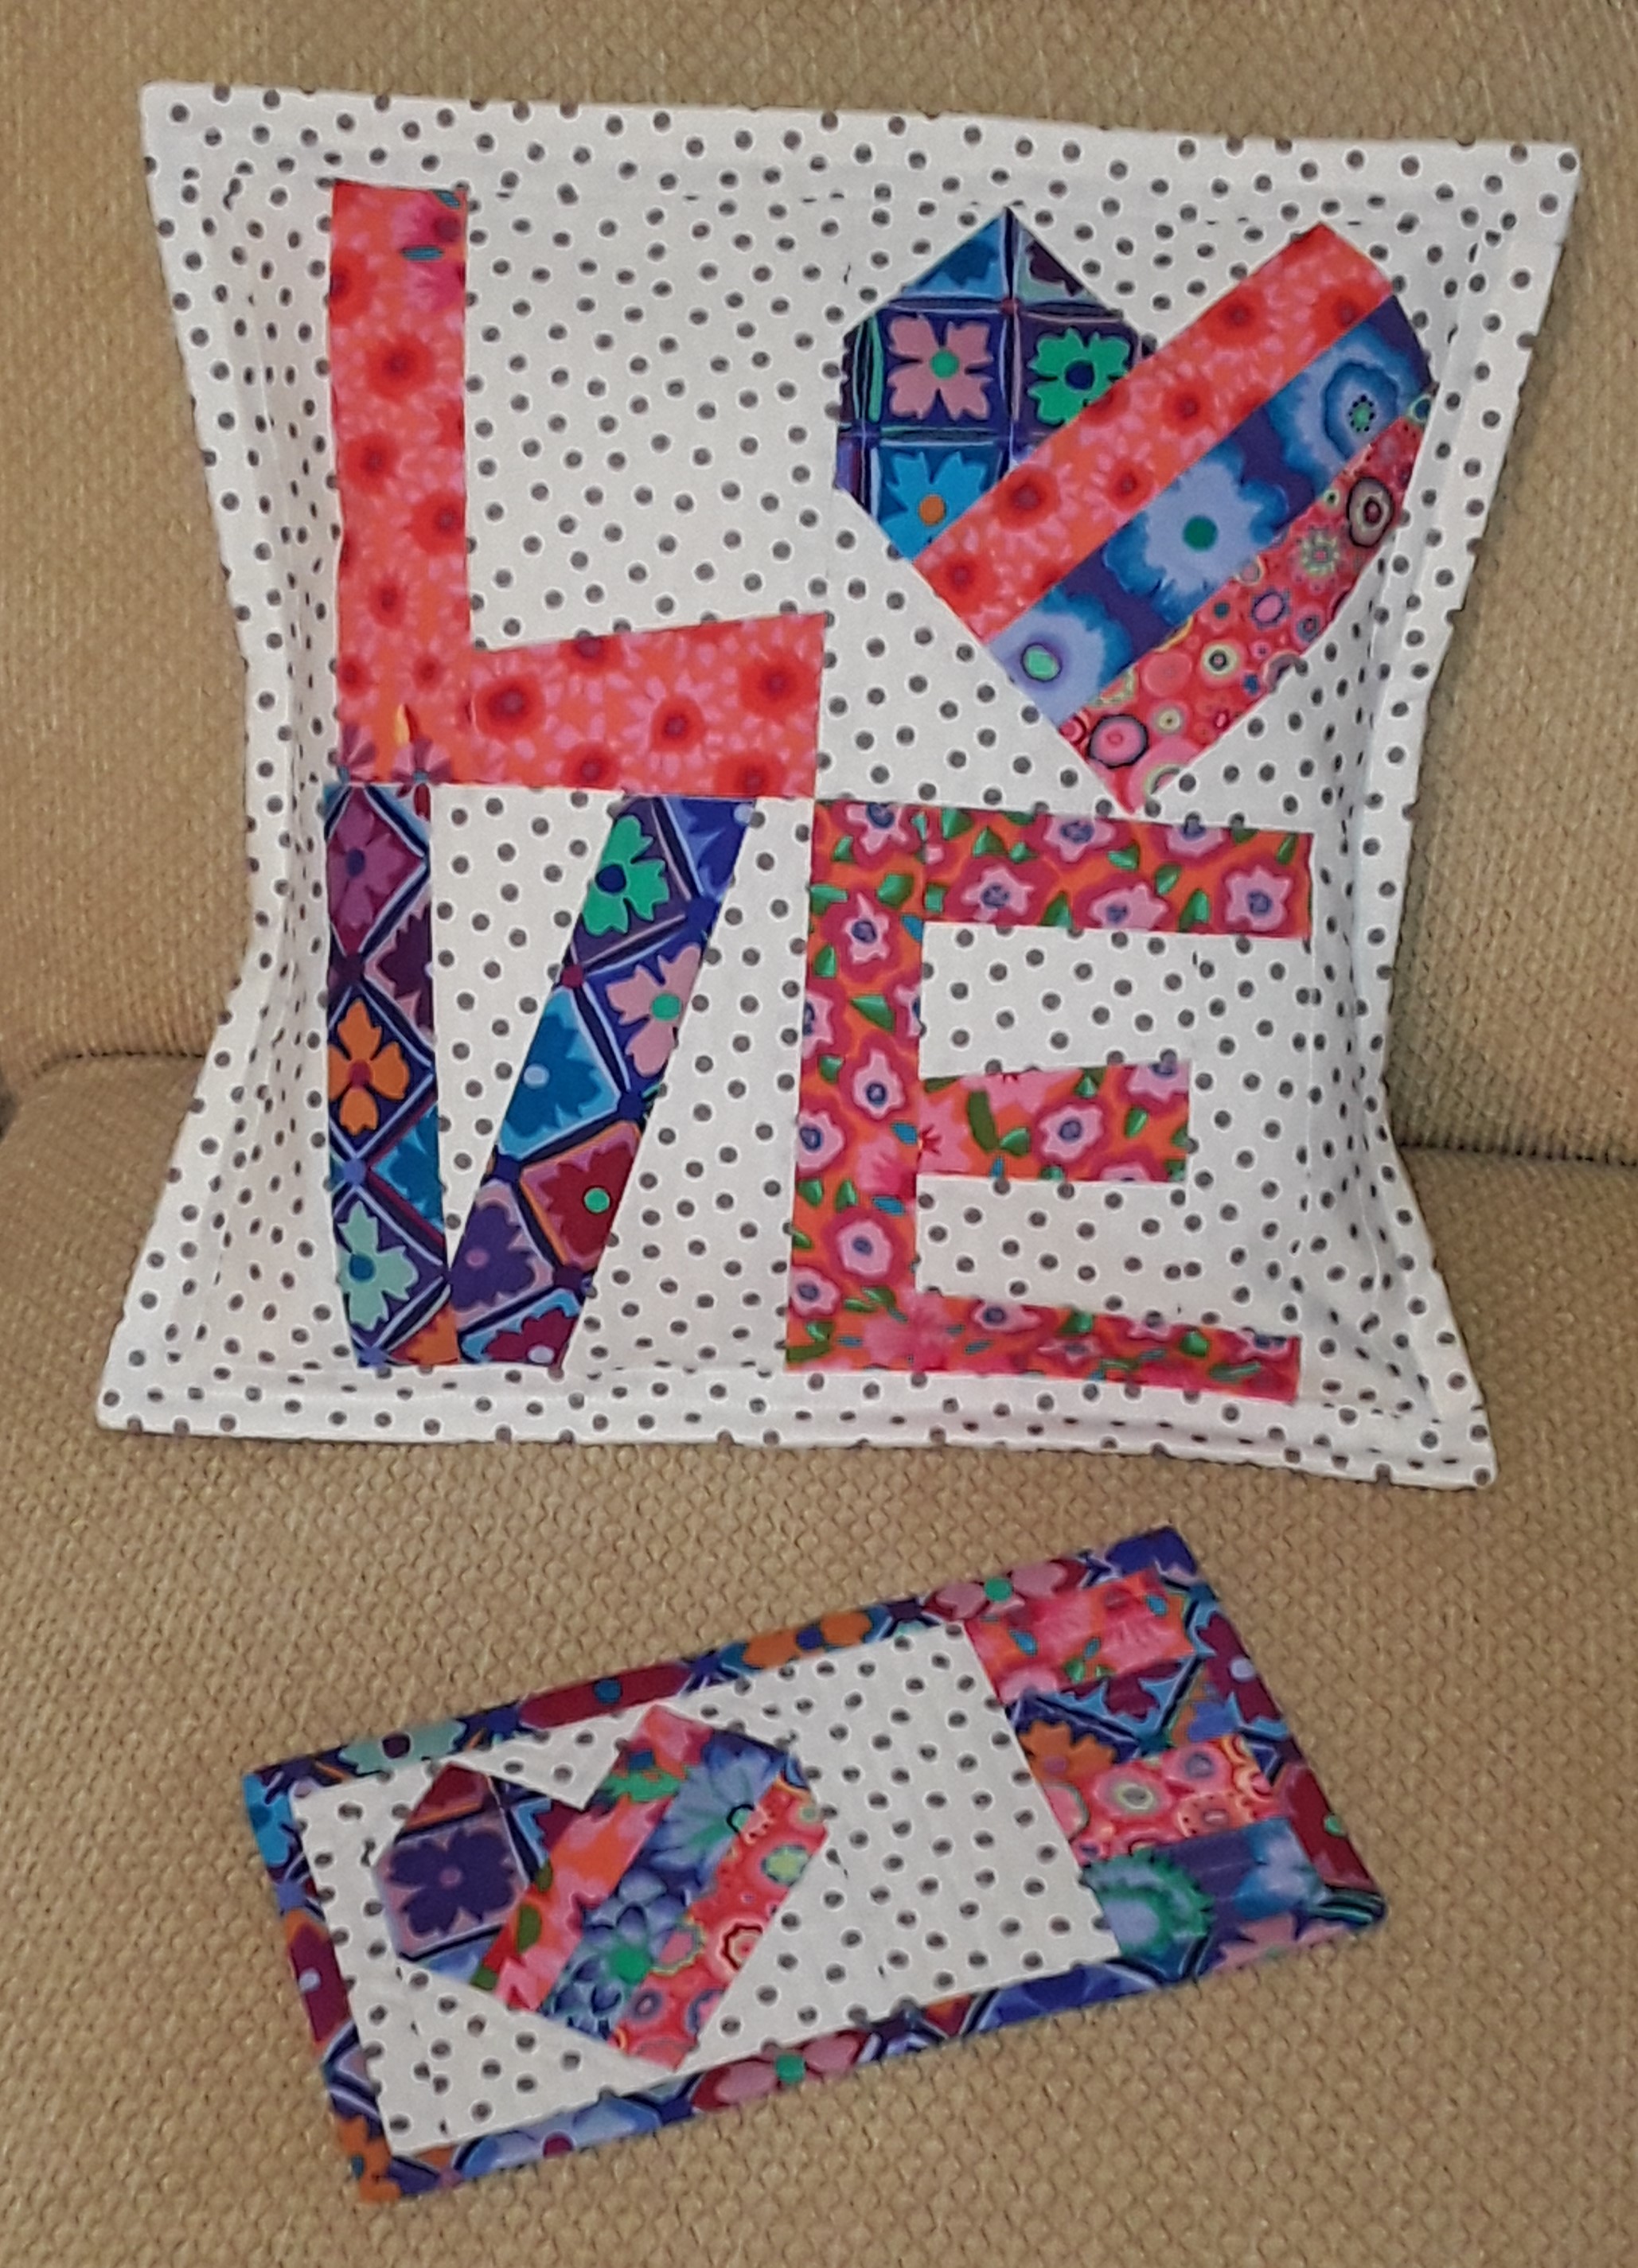
I hope you will follow along! I’m loving the design I did. Speaking of love, Valentine’s Day is just around the corner. I’ve got a little Mug Rug and LOVE pillow I designed for my guild Workshop on Saturday. I’ll be teaching the basics of Paper Piecing.
My top two tips for paper piecing is to…
#1 – “Oversize” your pieces! I like to precut pieces and there is nothing worse than sewing a piece and not having the piece cover the area you need to cover. I add at least 3/4″-1″ larger.
#2 – Shorten your stitch length. 15-20 stitches per inch is recommended. Did you know that 15 stitches per inch translates to 1.7 stitch length on the newer machines? Now you do!!
The LOVE Pillow and Mug Rug will be a pattern! Look for it on my website next week!
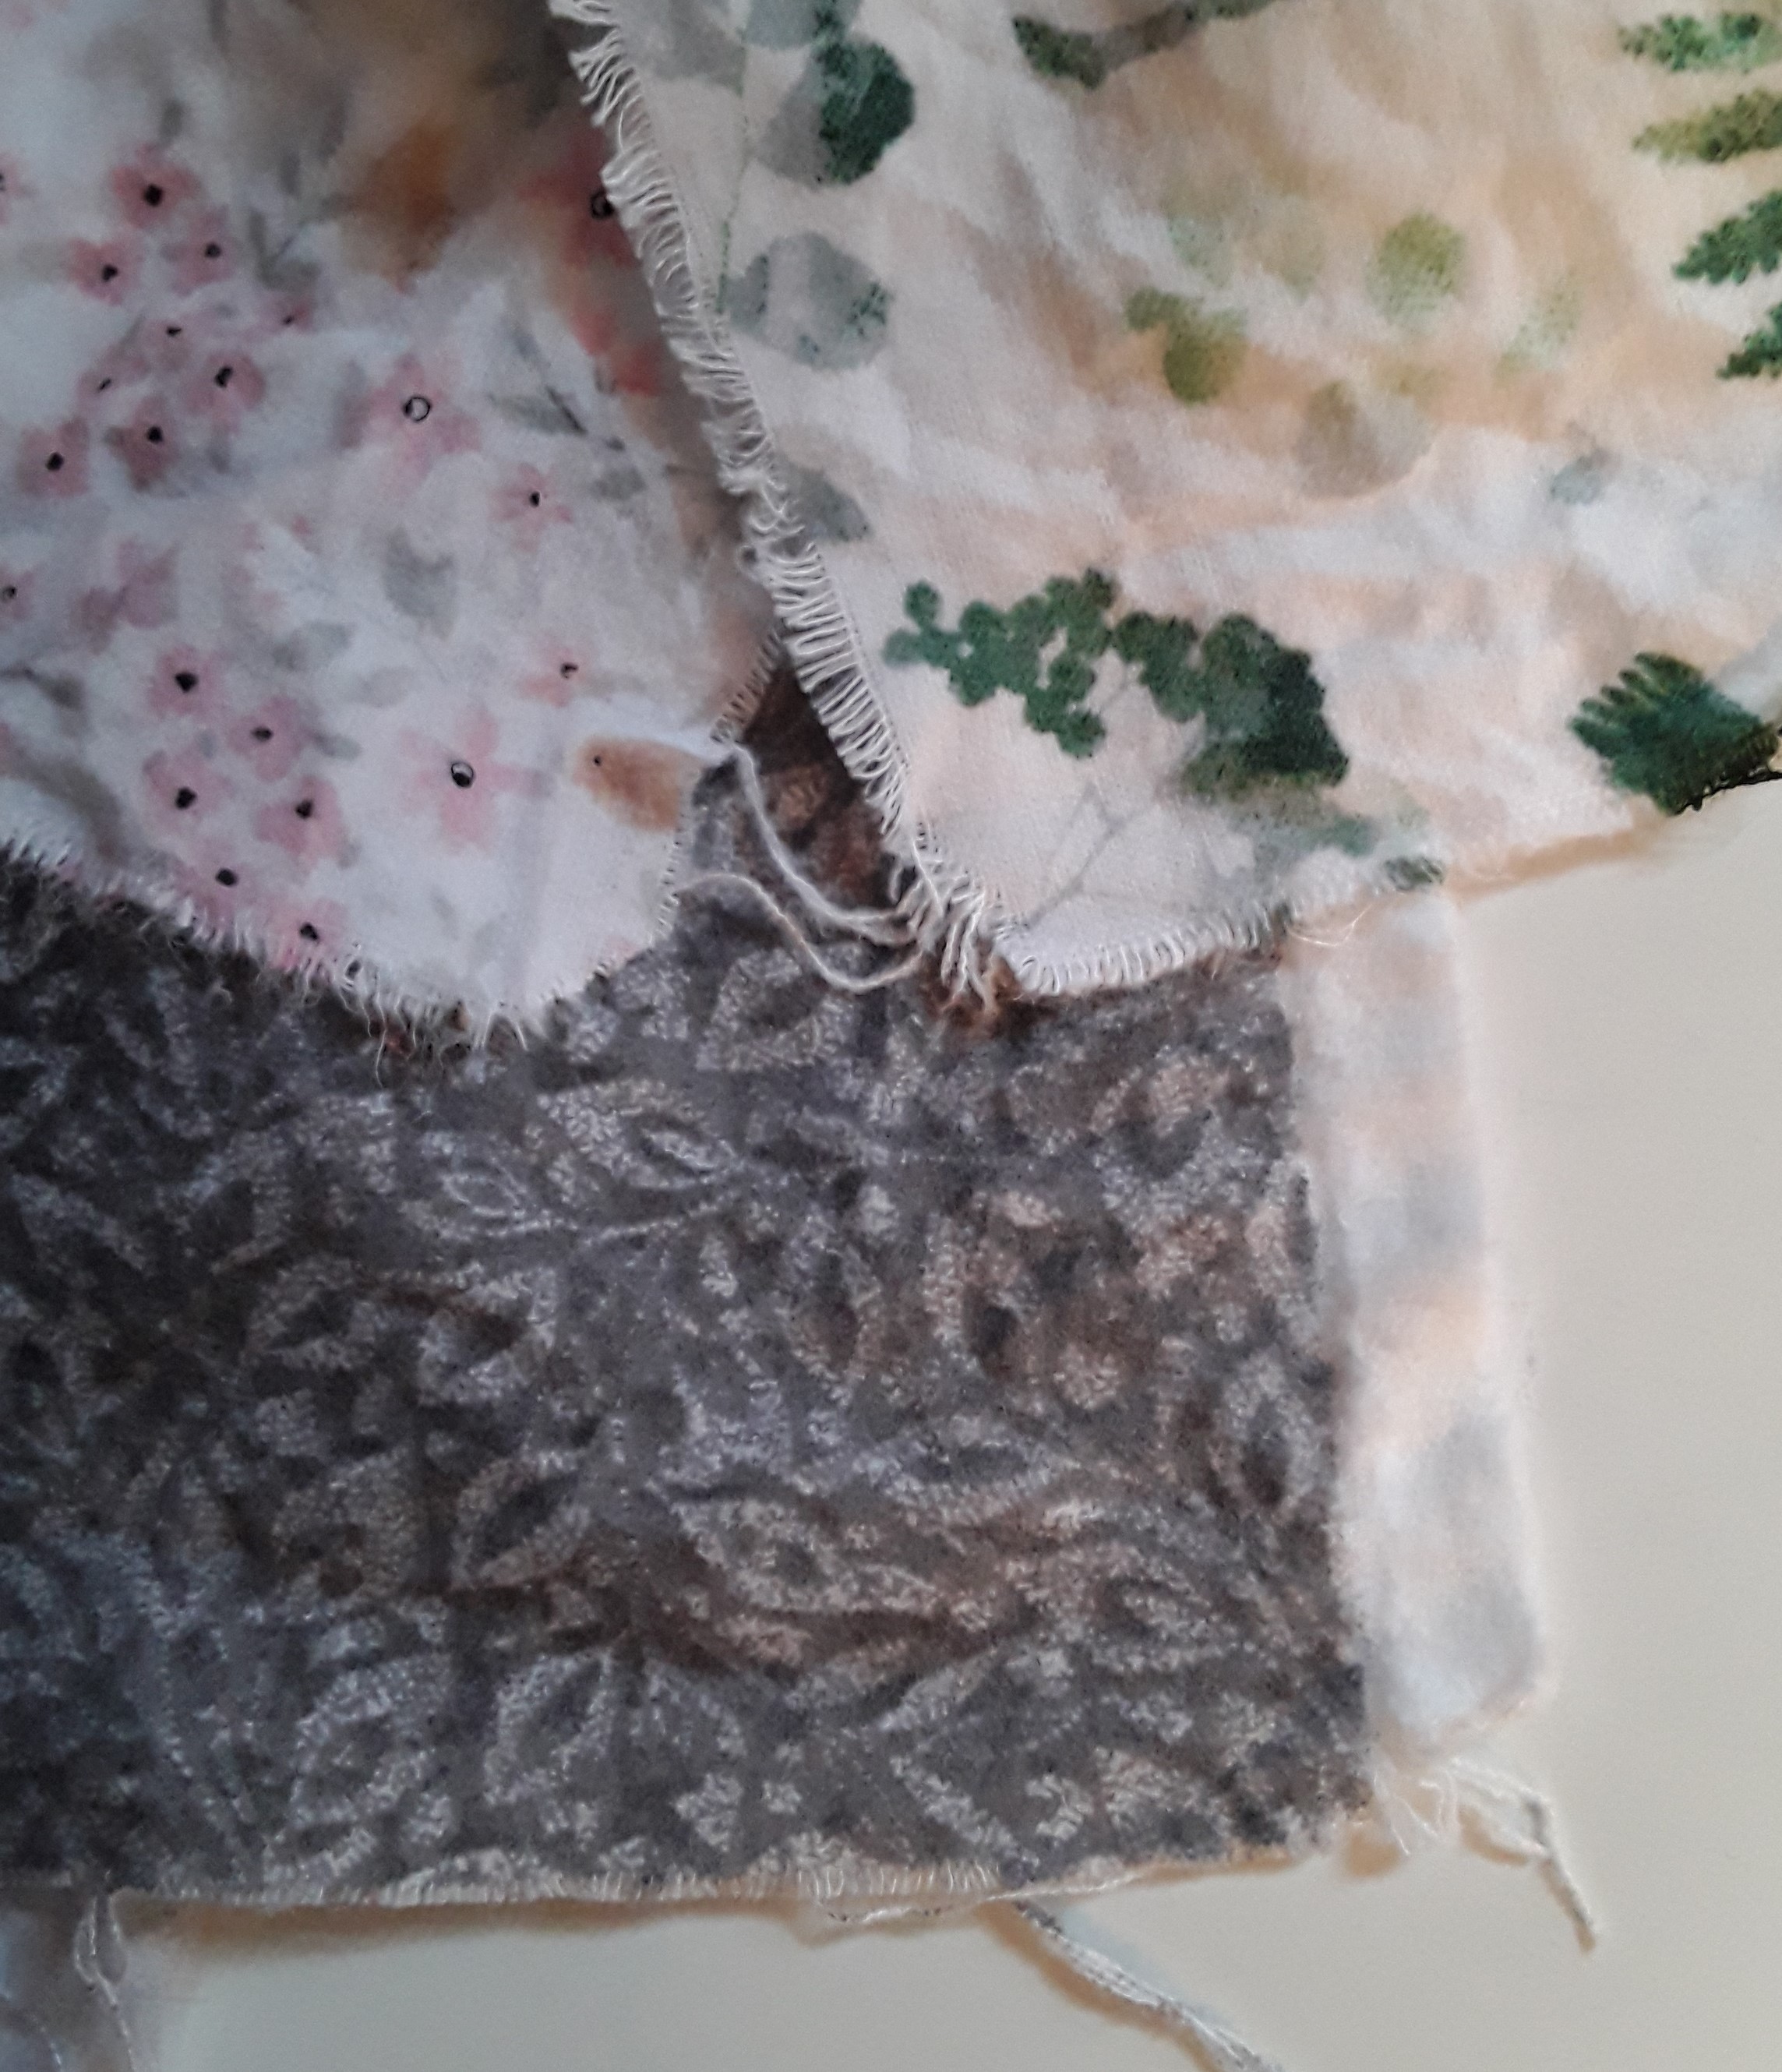
Yes, we are in the middle of winter. The weather can be exciting or boring. A little beautiful snow here today got me thinking about working with flannel. Well, and a quilt I’m making for a new little on on the way. I will be using flannel. I’ve given flannel tips before, so just sharing a couple things that work.
#1 Pre-wash flannel! It does shrink more than regular cotton.
I do pre-wash, always, when it comes to flannel. It shrinks and it is good to see how it washes. If it pills, don’t use it. It will only do it again and not add anything to your quilt. By pre-washing it tightens the weave of the fabric. If you feel you don’t like how drapey it become from washing out the sizing, use spray starch or Best Press to add body back to the fabric.
#2- Cut a snip at the corner to help prevent fraying.
Flannel is known for fraying. I cut a snip at the corner of the selvages and a little snip at the fold. It helped keep the edges from unraveling. Yes, they still did a little but not nearly as much as usual.
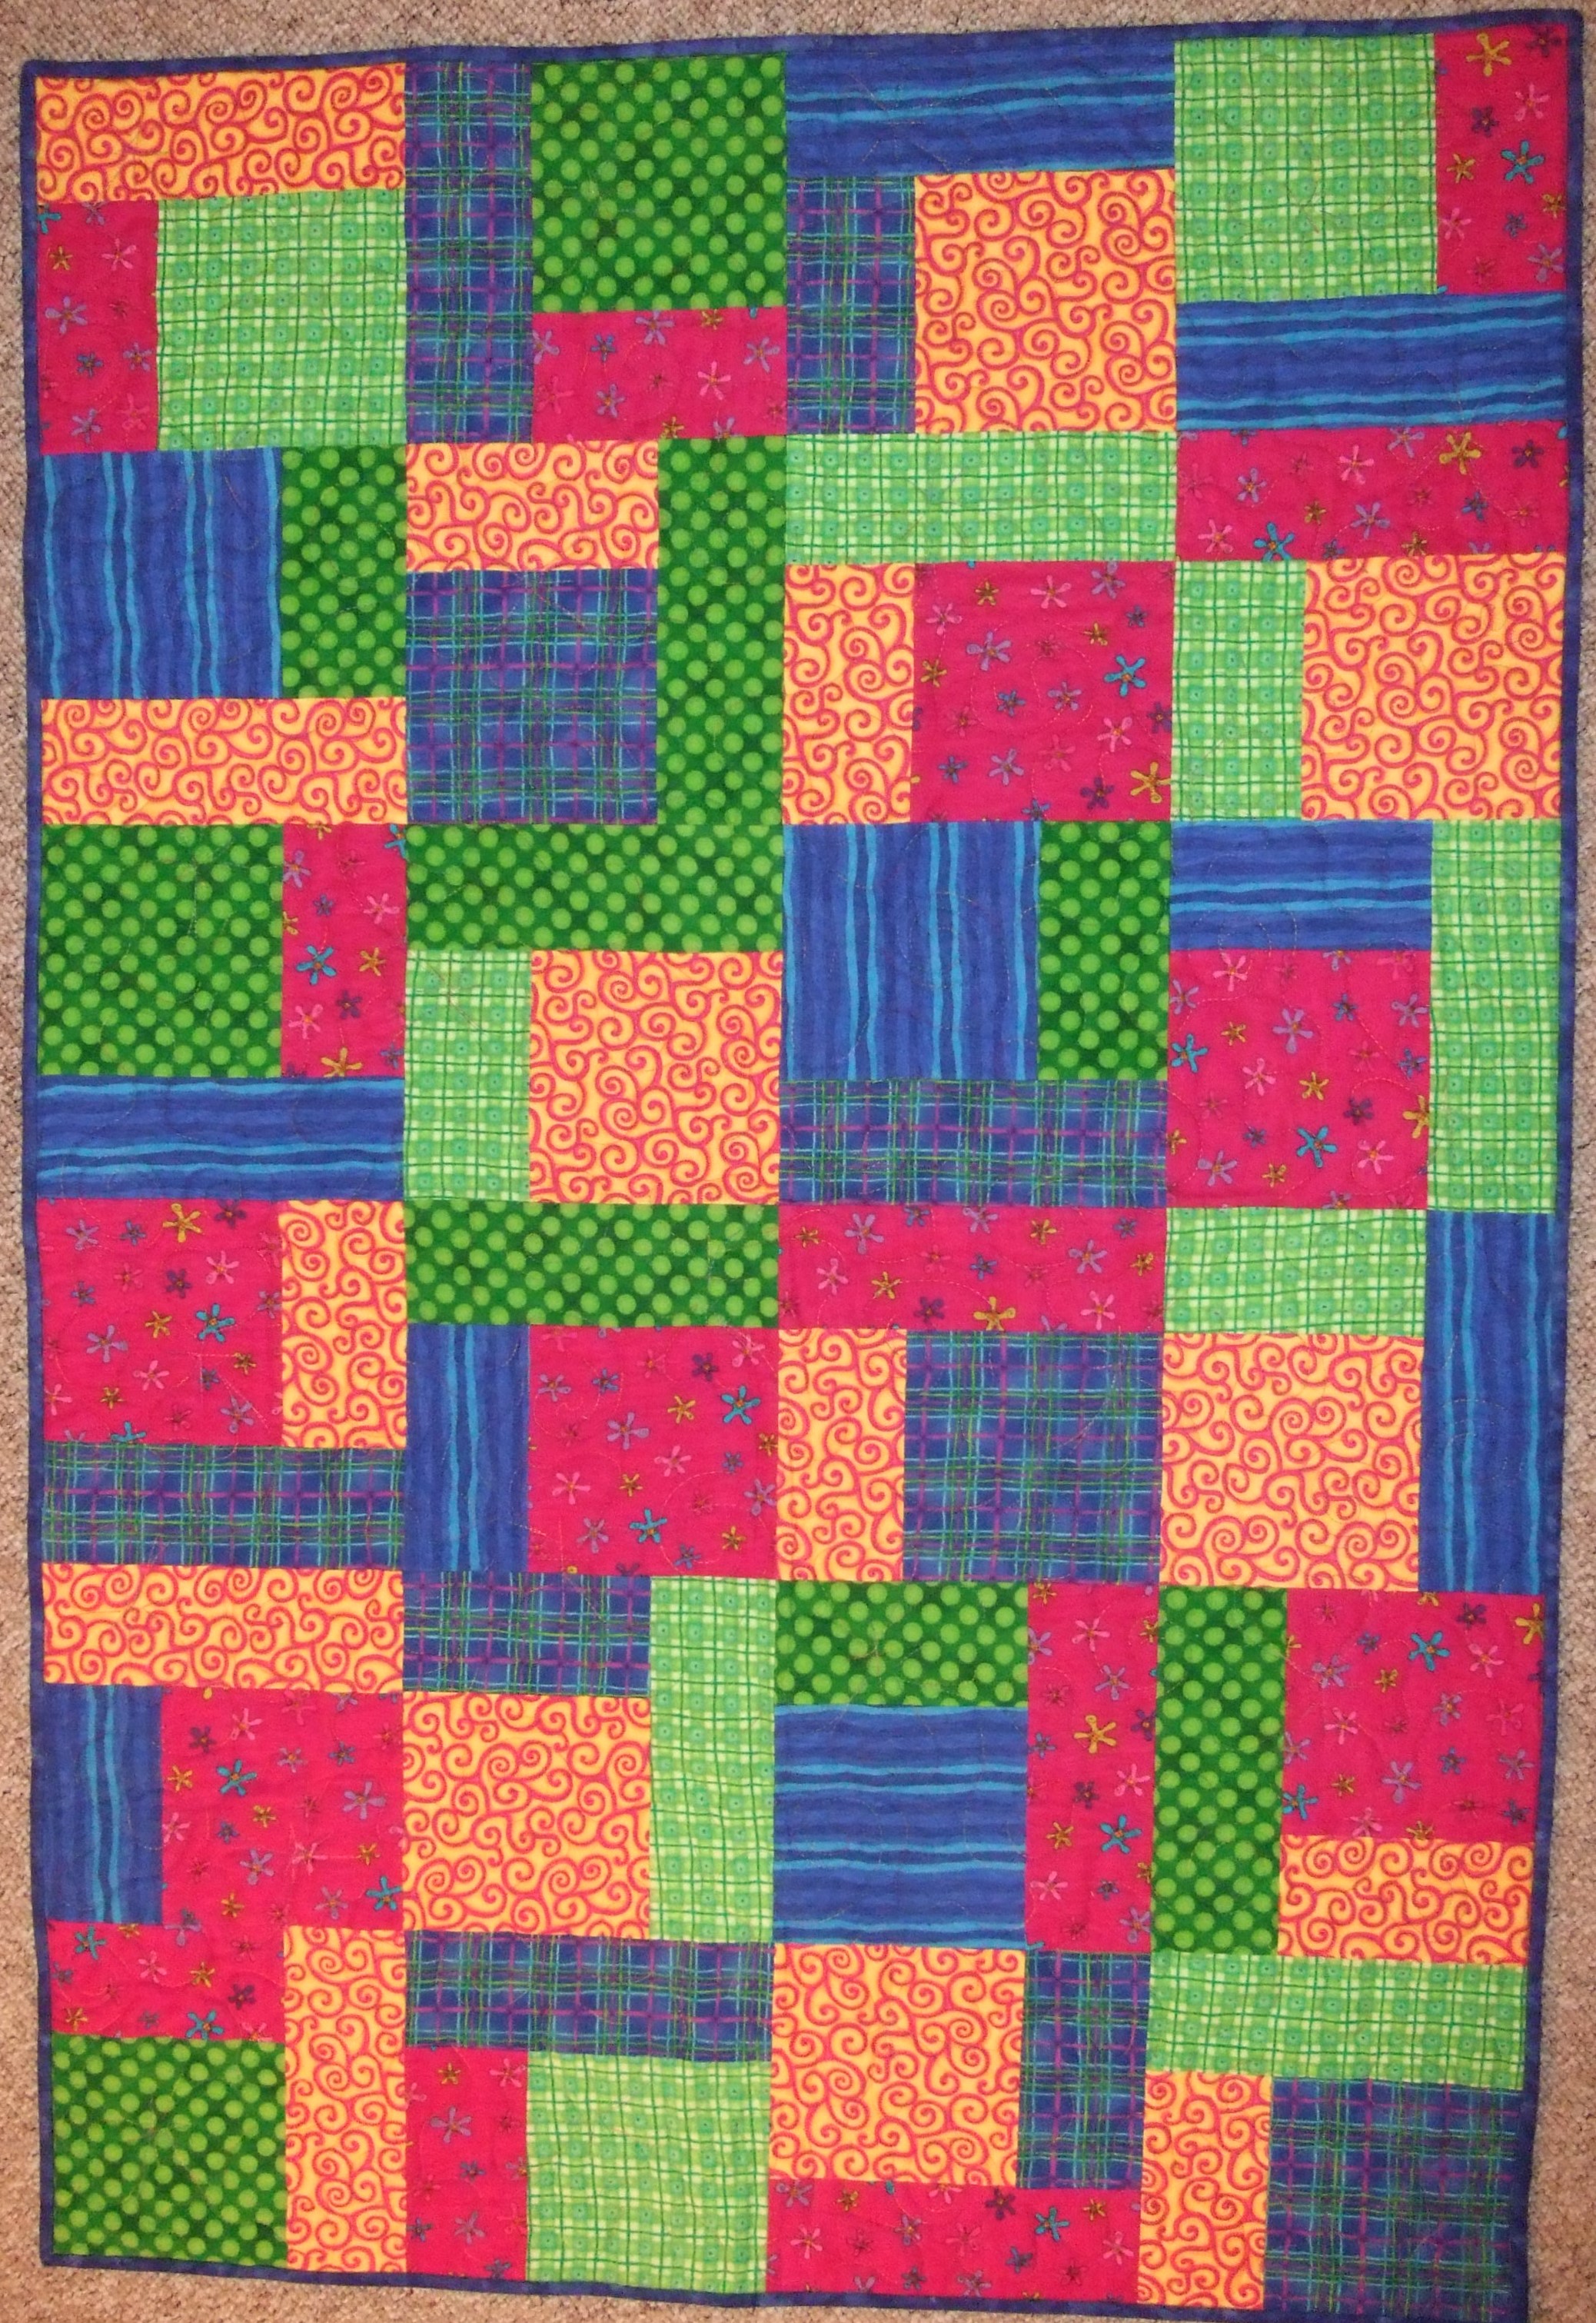
I love a flannel quilt to snuggle under! With care it is easy to sew and worth the extra effort. This is one of my favorite flannel quilts…
4-3-2-1-DONE D. W.
The cover of my 4-3-2-1-DONE pattern. It has simple blocks and is great to show off fabrics. It uses fat quarters! It makes a great baby quilt. Probably not the pattern I’ll use this time but I have used it MANY times when I need a quick quilt!