Two Tip Tuesday – Winter

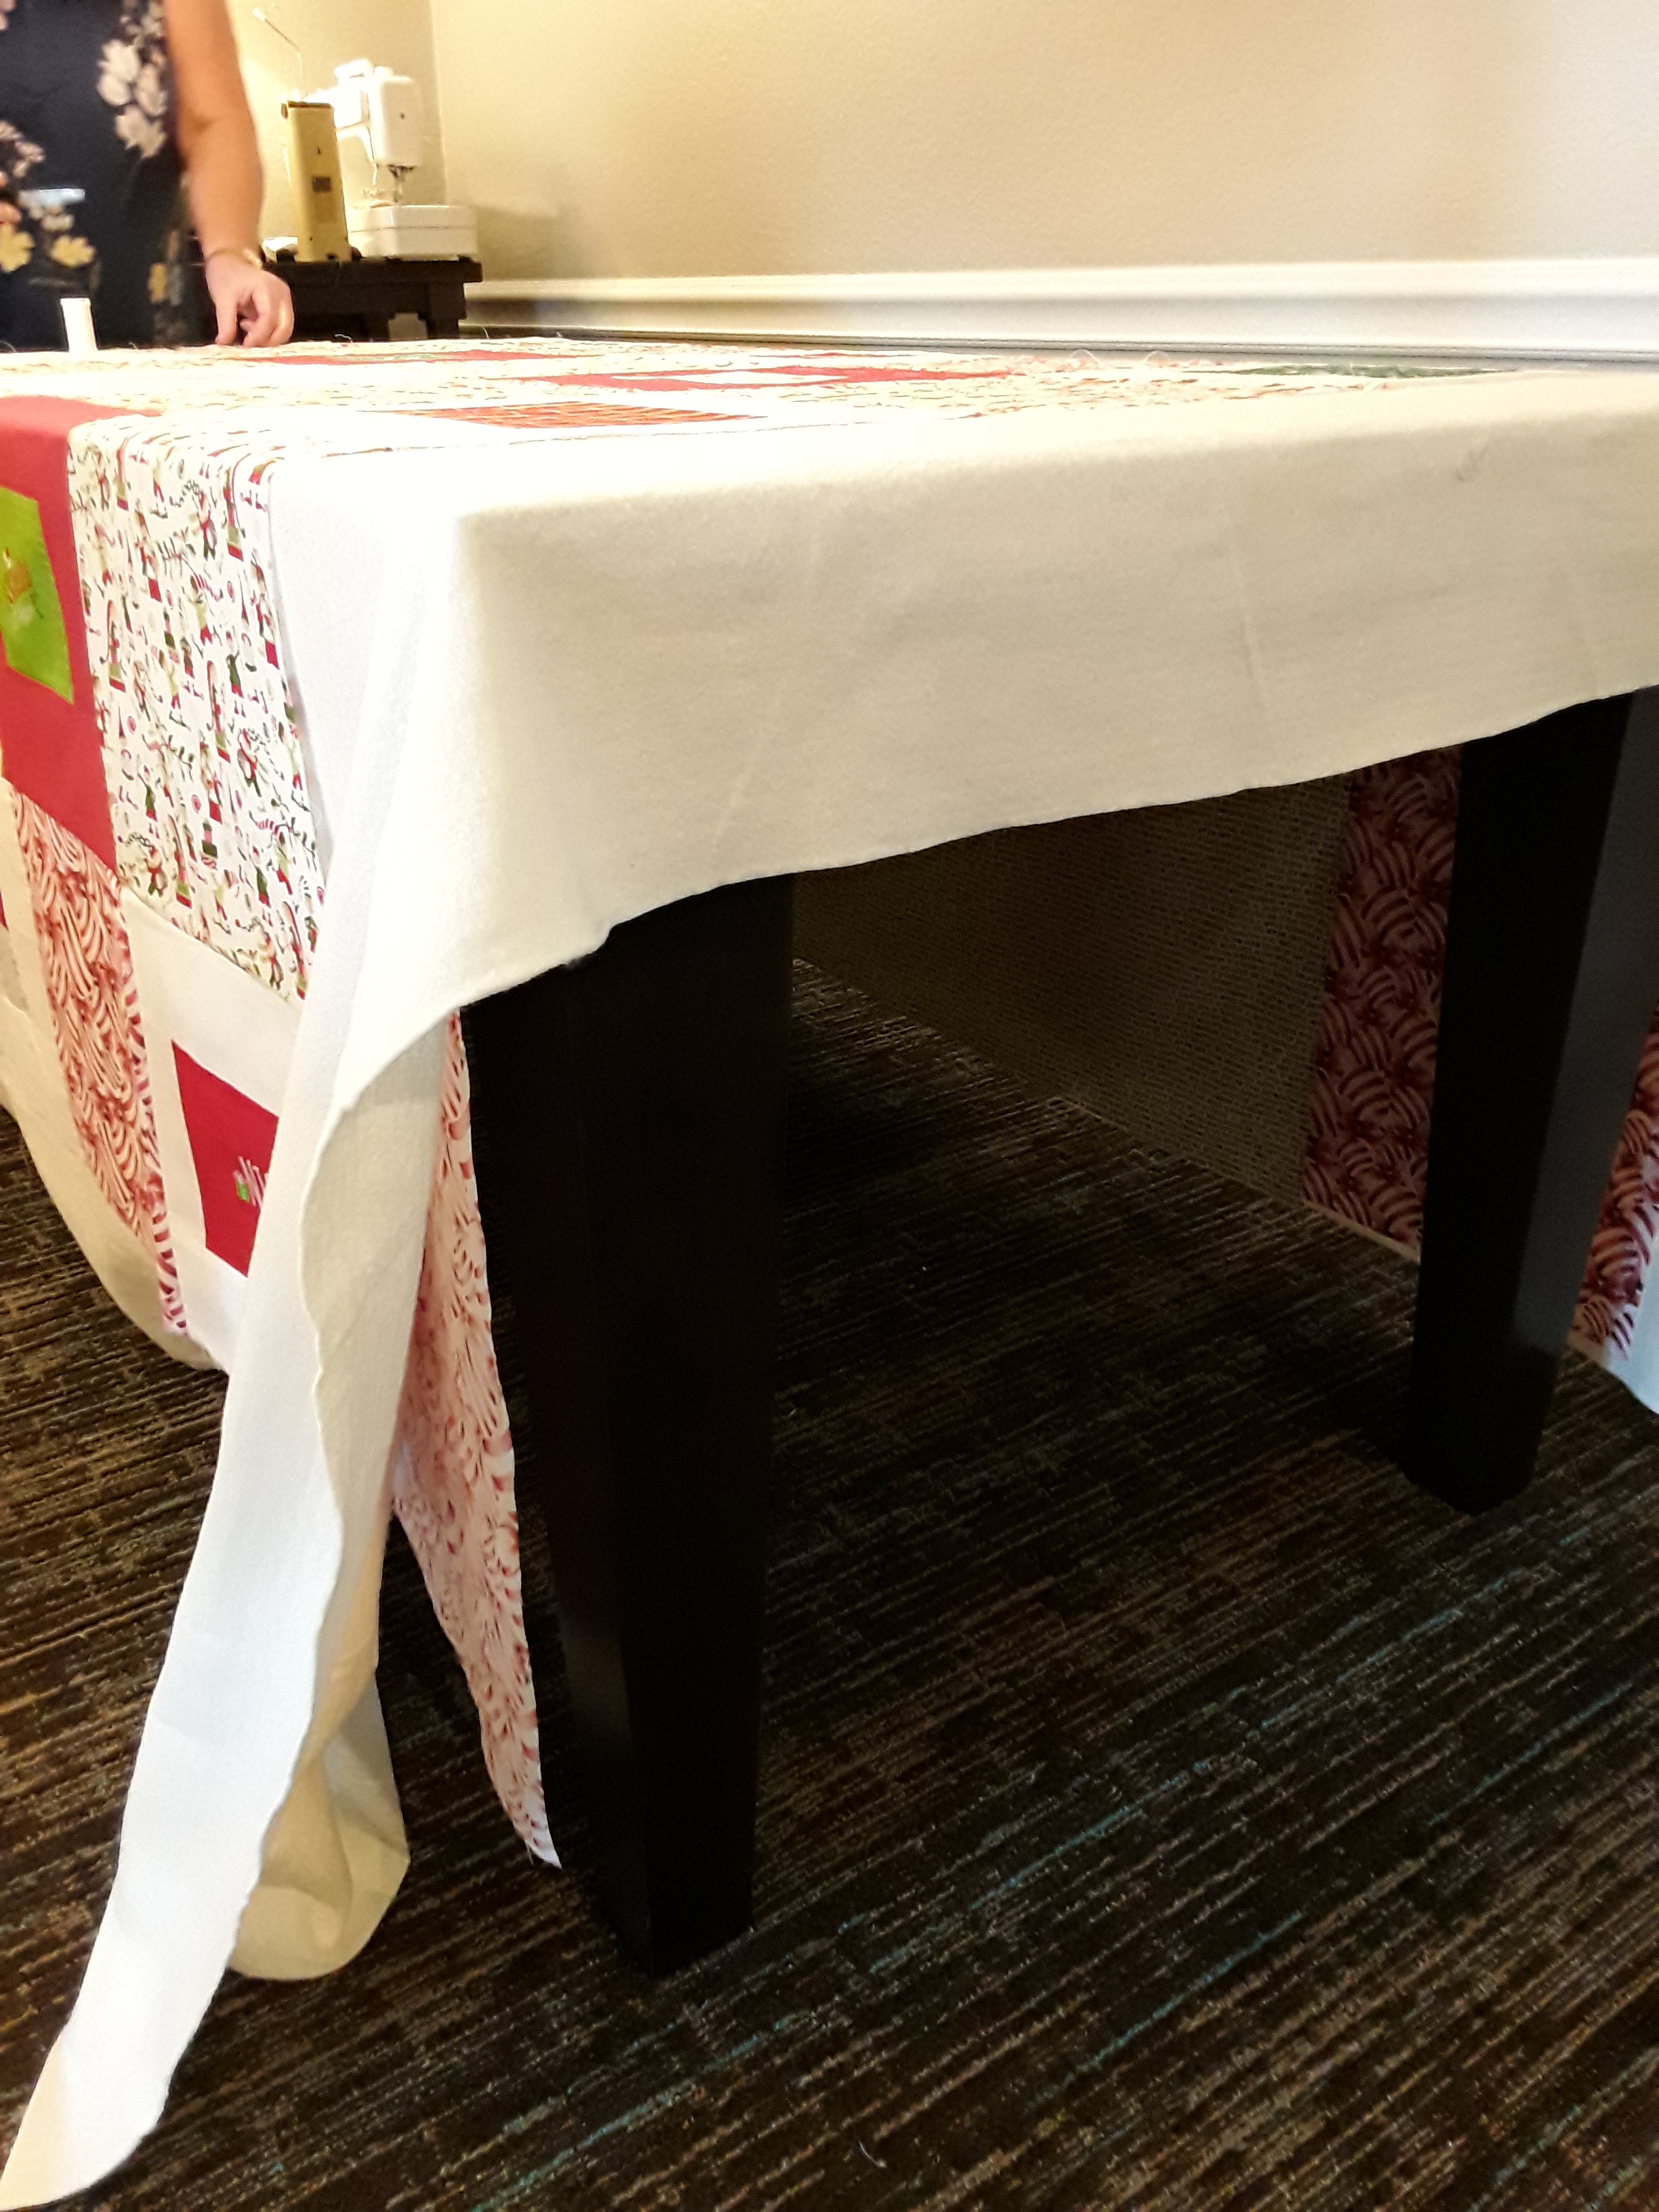
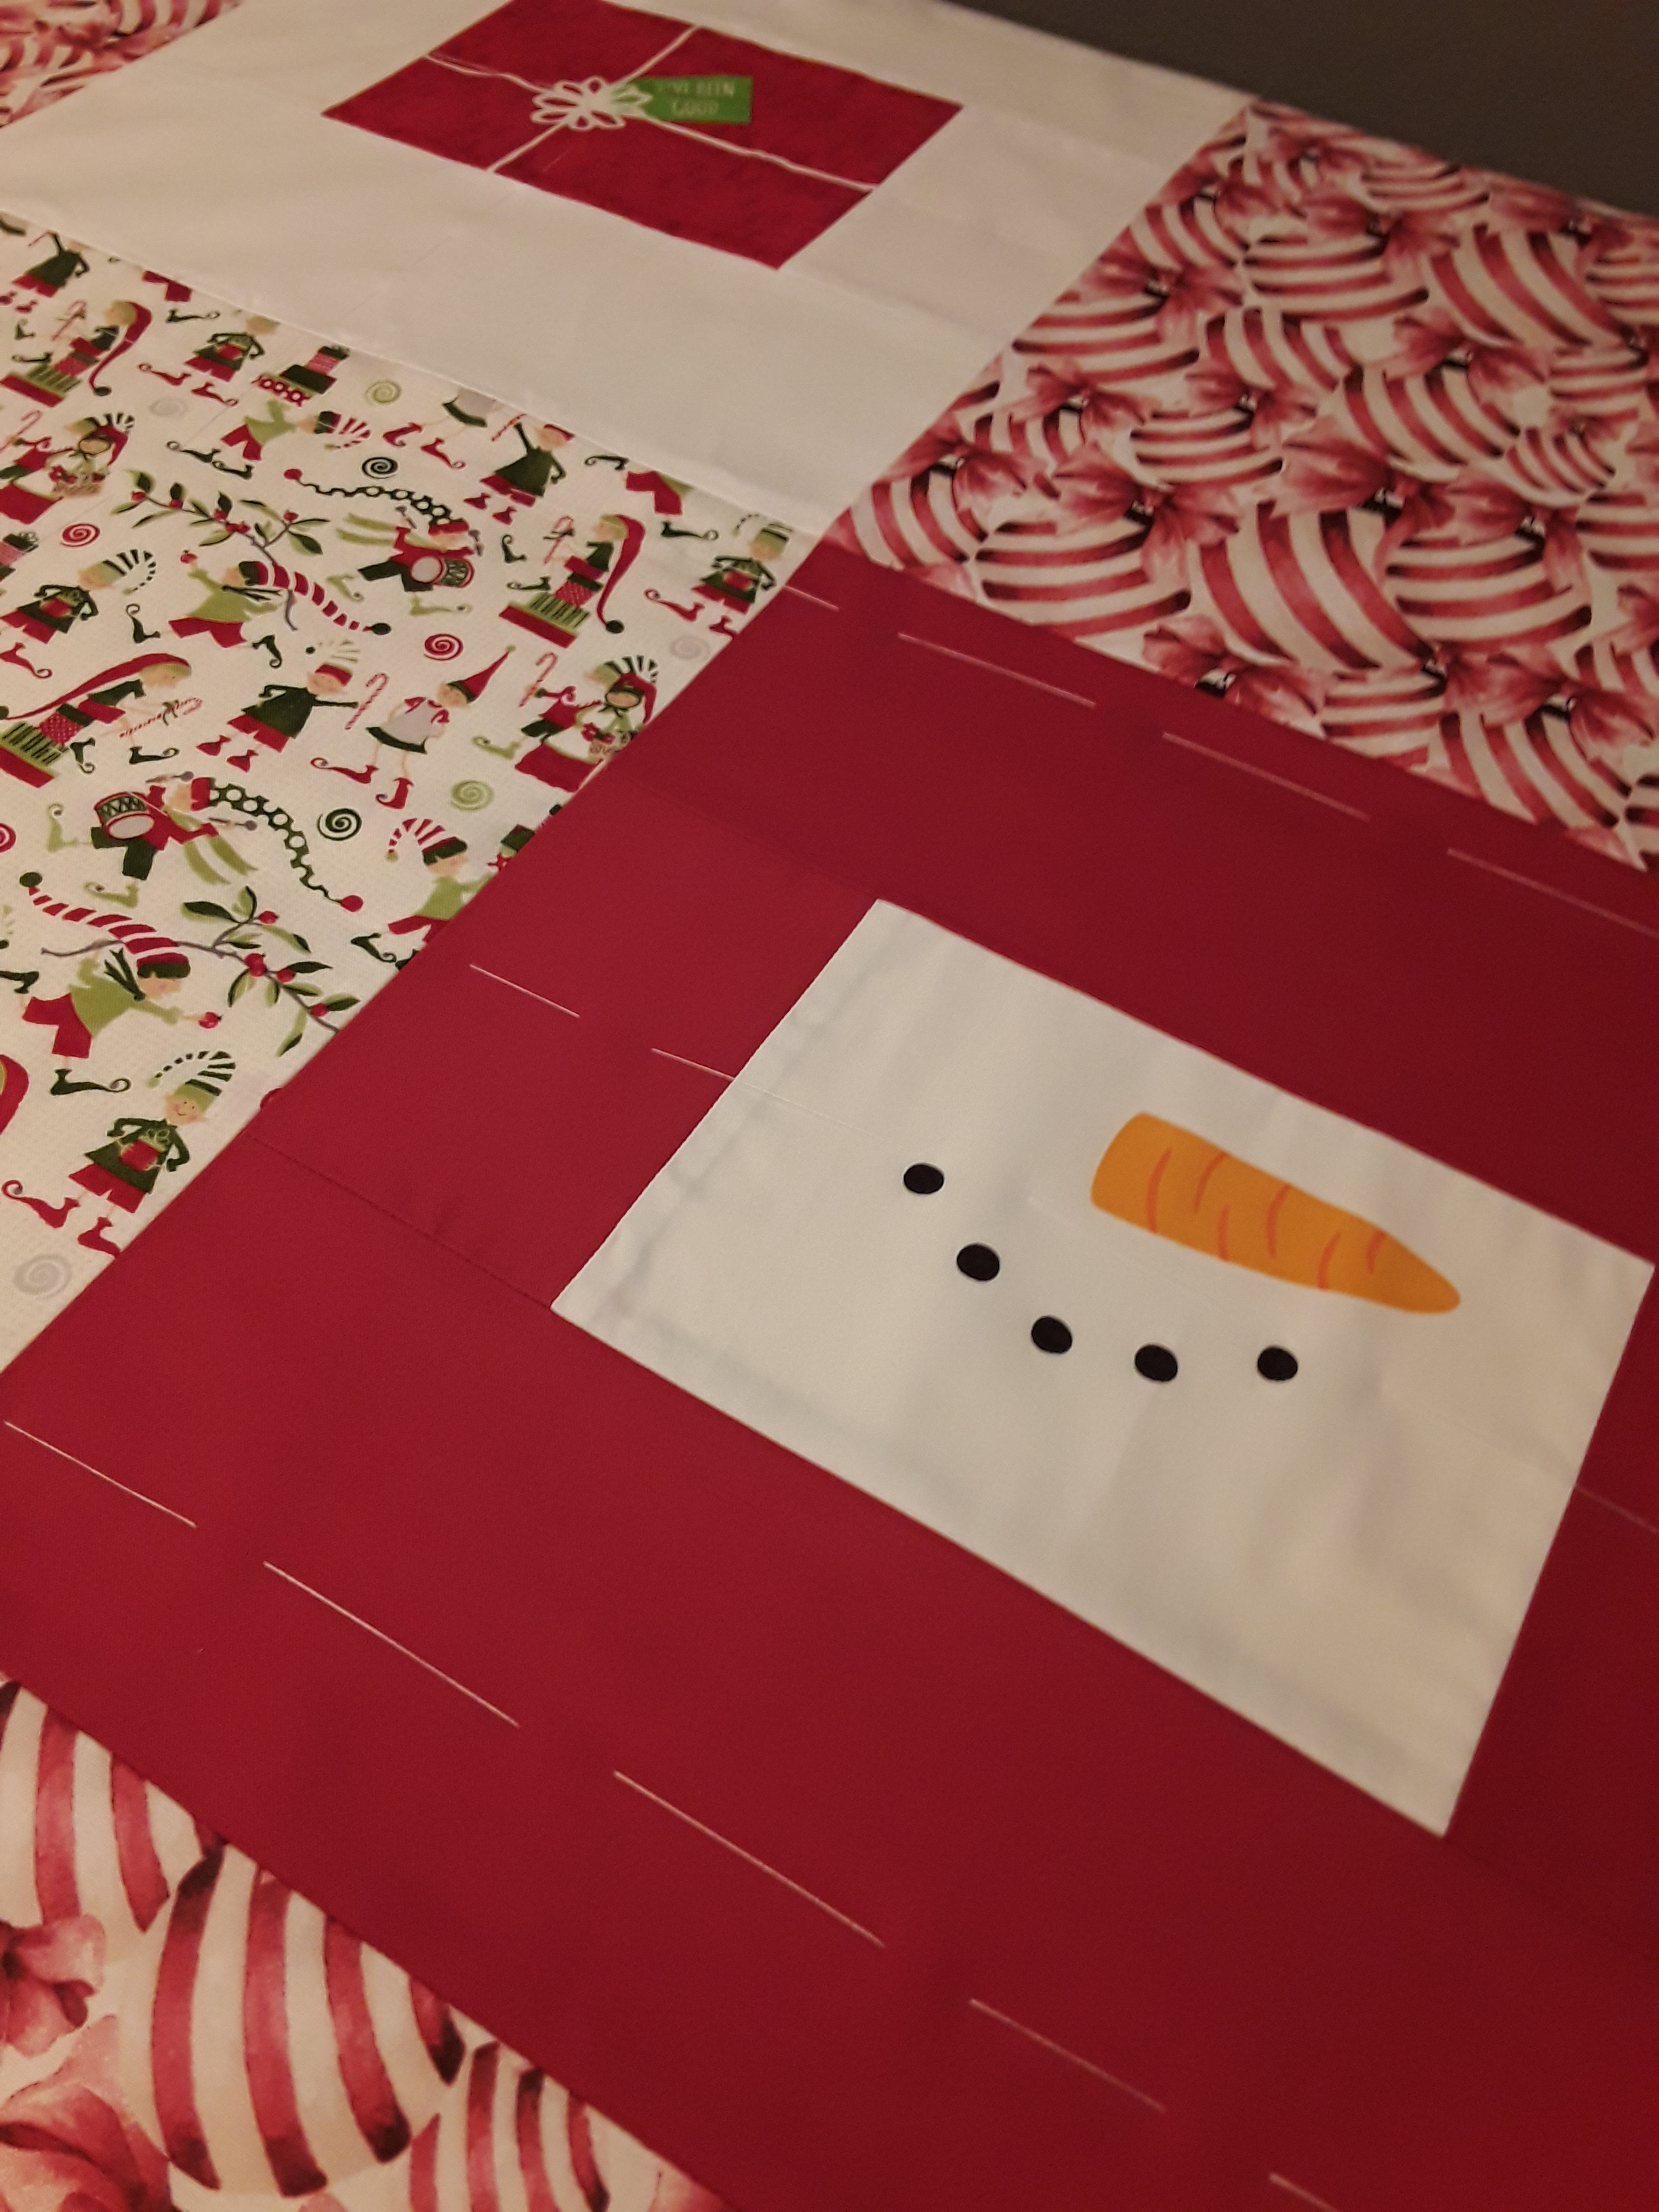
Yes, we are in the middle of winter. The weather can be exciting or boring. A little beautiful snow here today got me thinking about working with flannel. Well, and a quilt I’m making for a new little on on the way. I will be using flannel. I’ve given flannel tips before, so just sharing a couple things that work.

#1 Pre-wash flannel! It does shrink more than regular cotton.

I do pre-wash, always, when it comes to flannel. It shrinks and it is good to see how it washes. If it pills, don’t use it. It will only do it again and not add anything to your quilt. By pre-washing it tightens the weave of the fabric. If you feel you don’t like how drapey it become from washing out the sizing, use spray starch or Best Press to add body back to the fabric.

#2- Cut a snip at the corner to help prevent fraying.

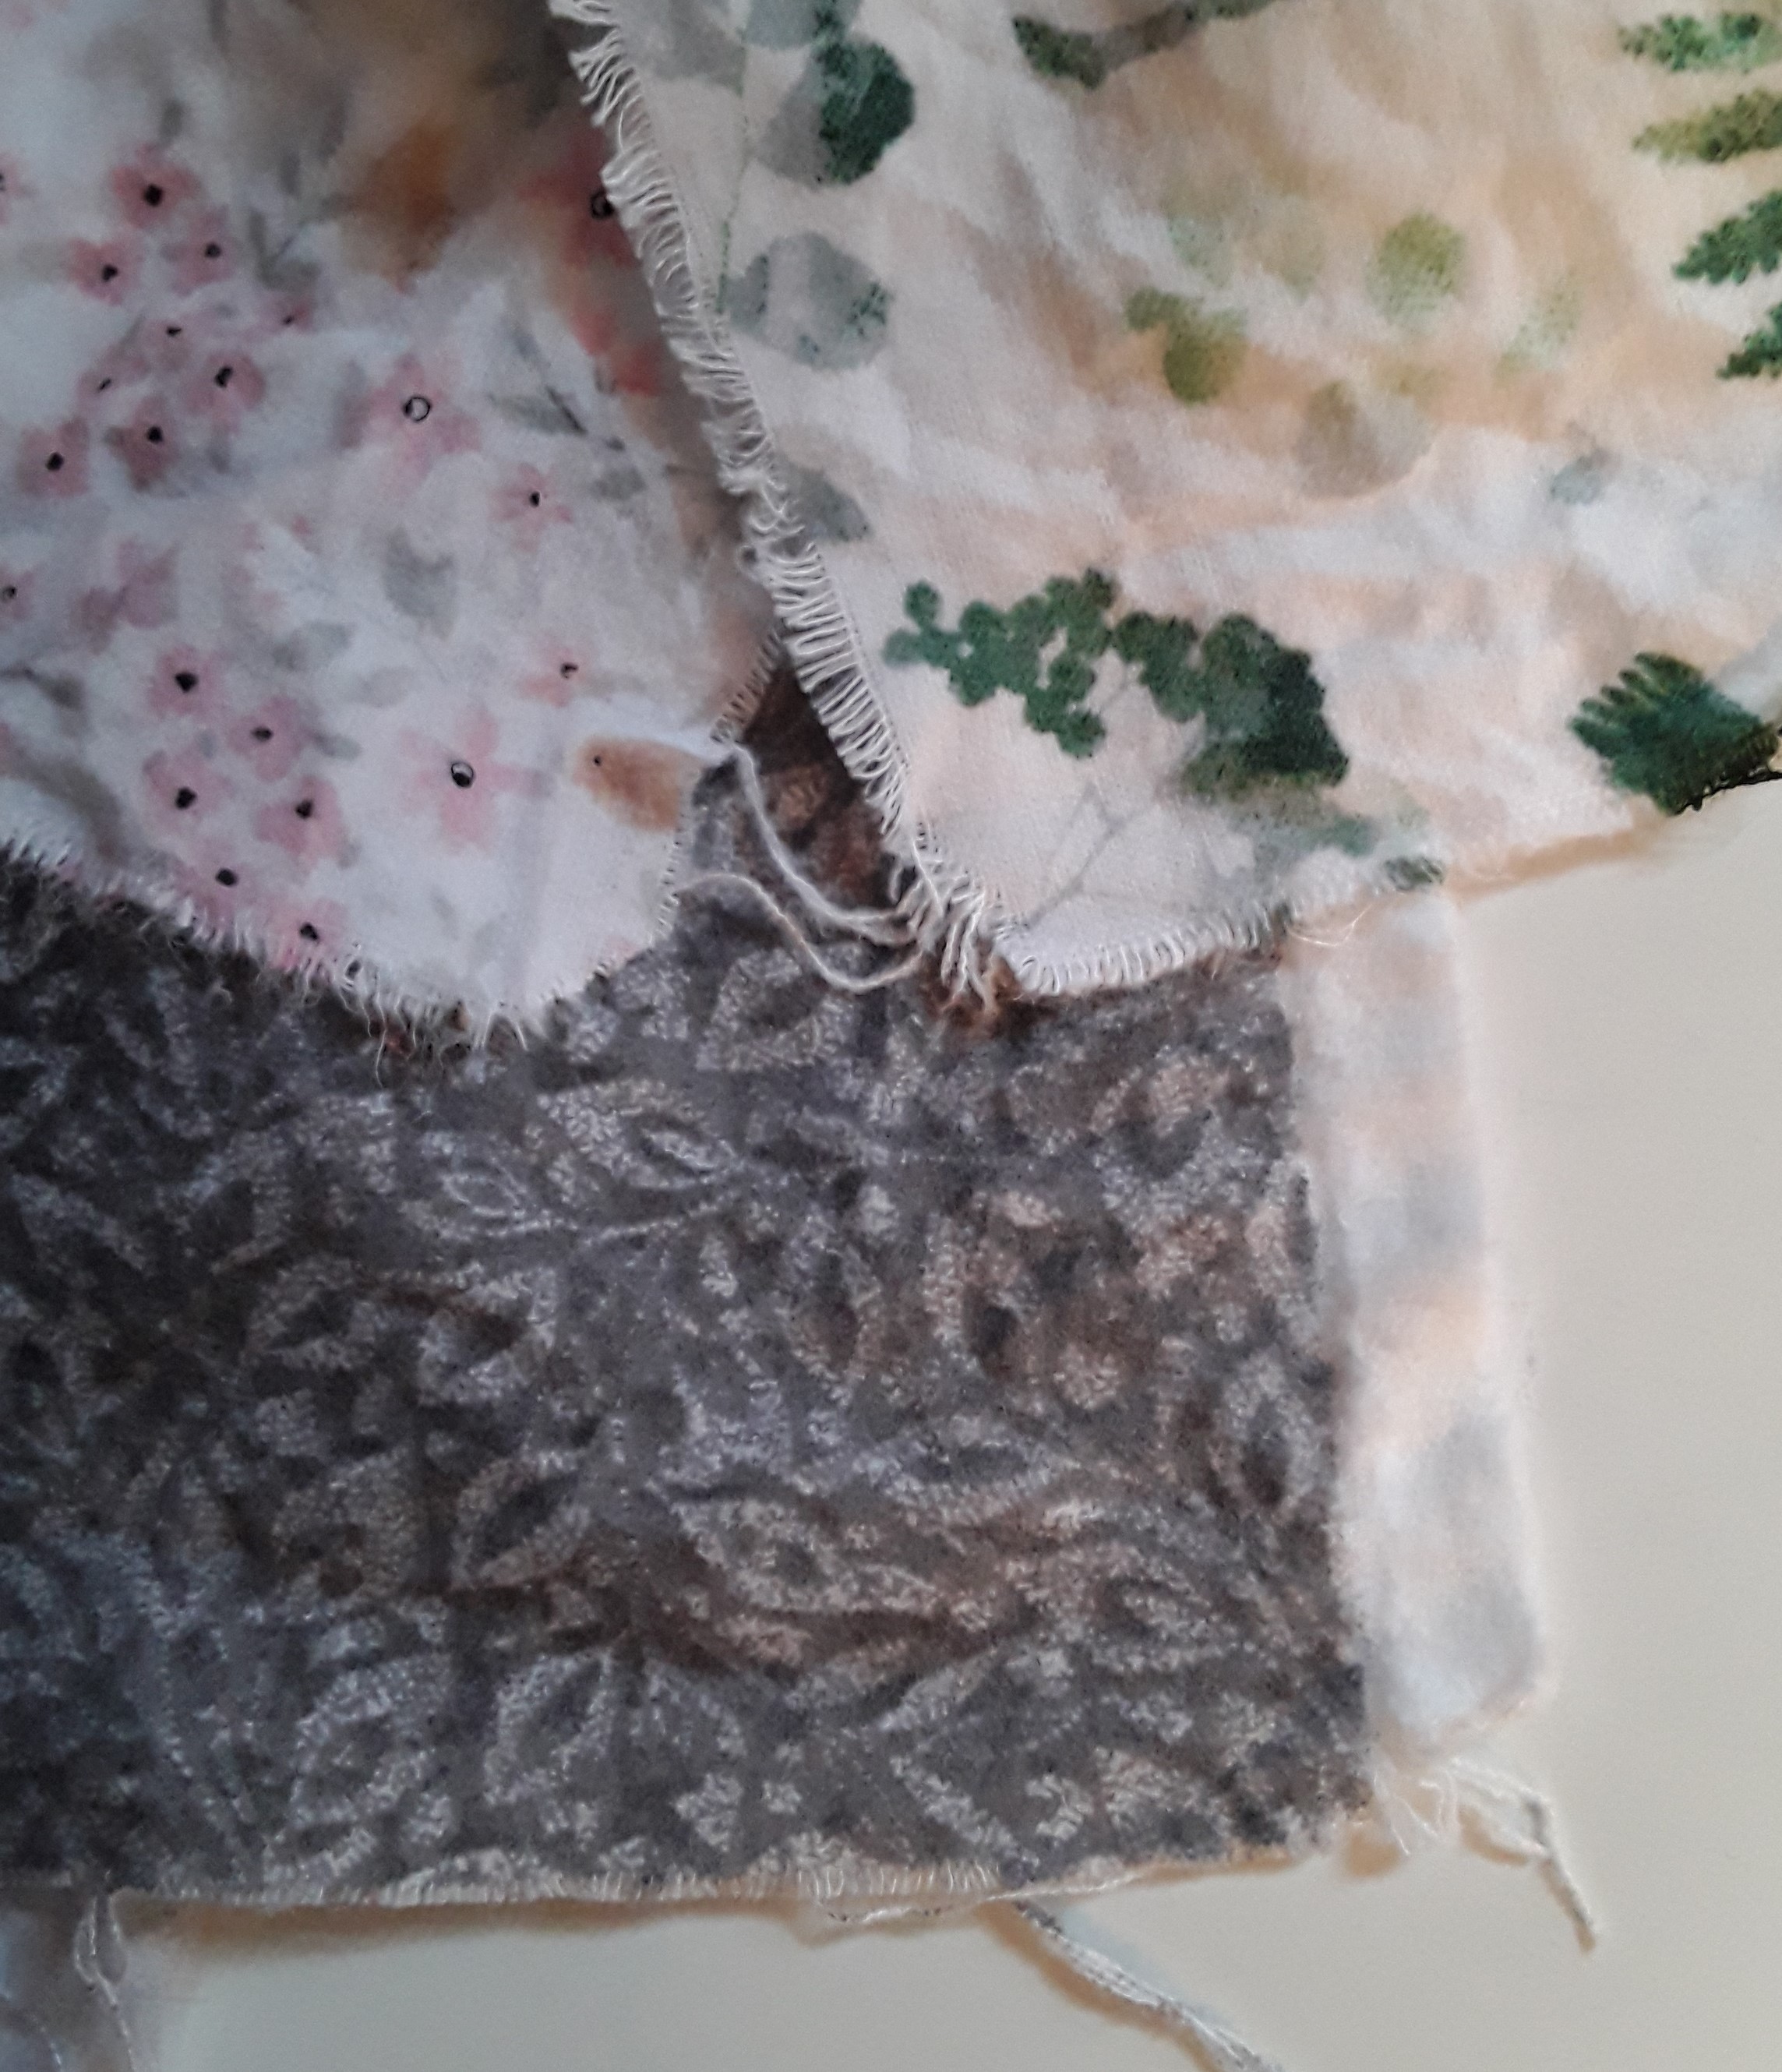
Flannel is known for fraying. I cut a snip at the corner of the selvages and a little snip at the fold. It helped keep the edges from unraveling. Yes, they still did a little but not nearly as much as usual.

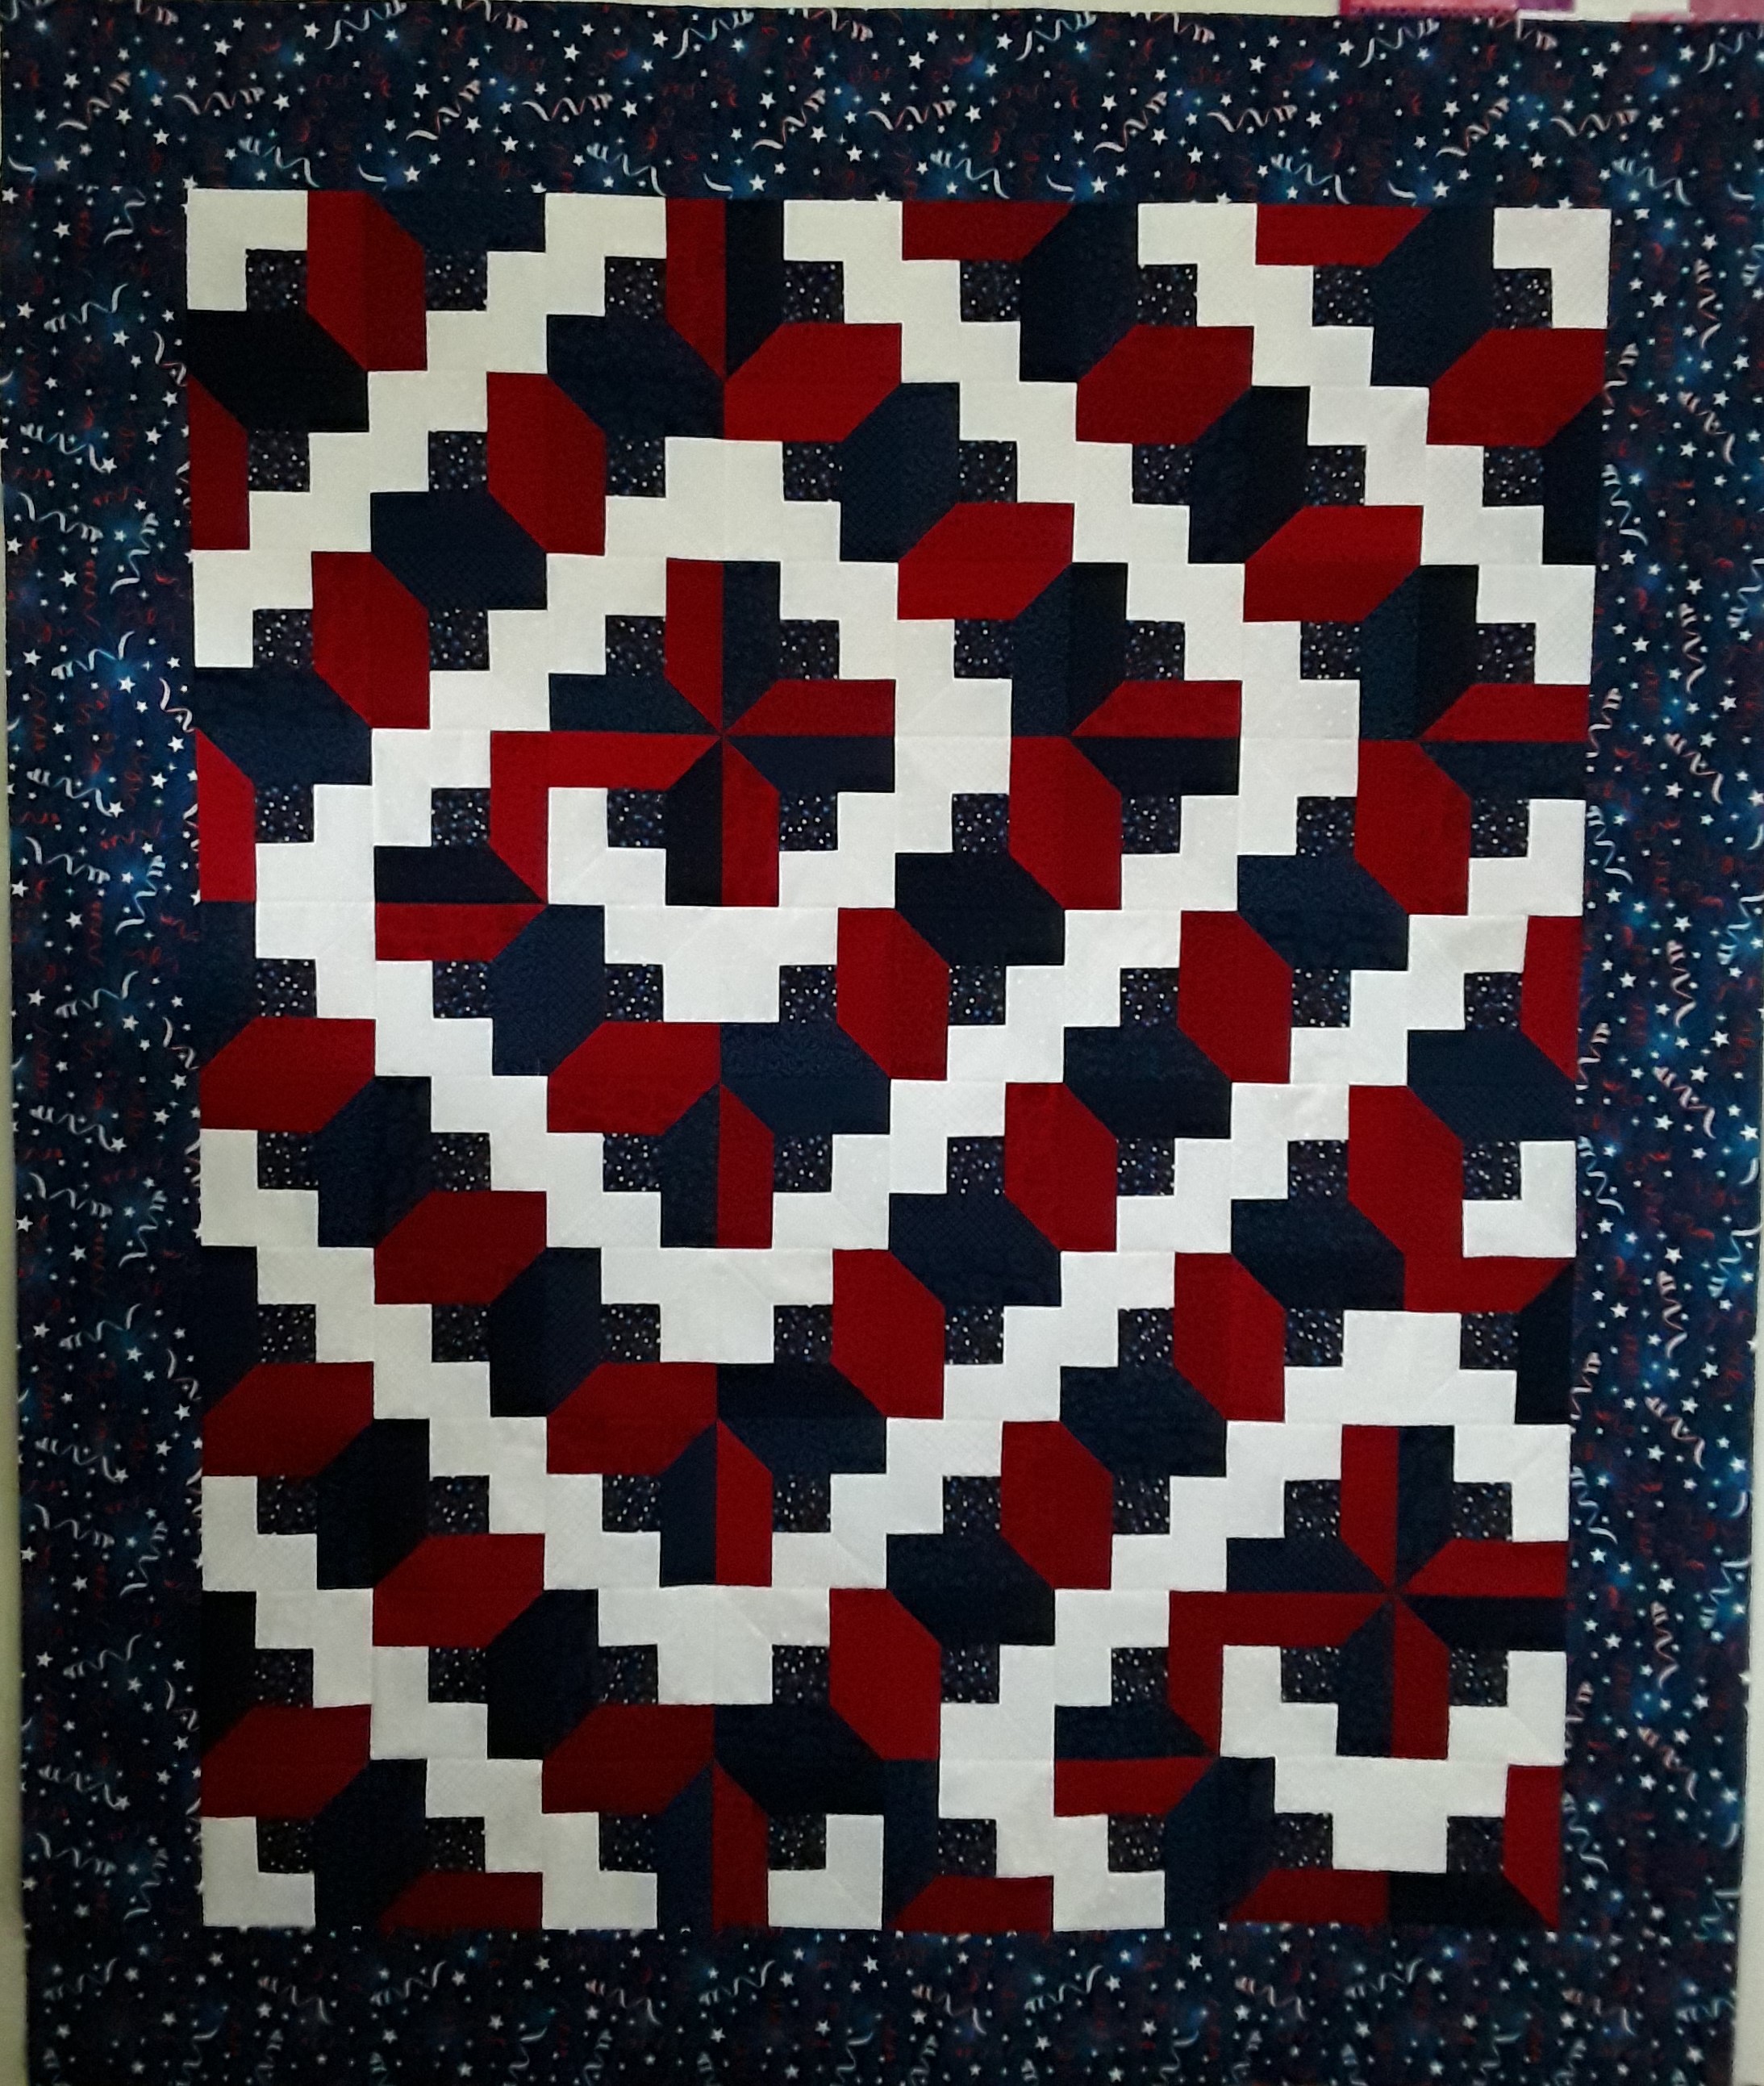
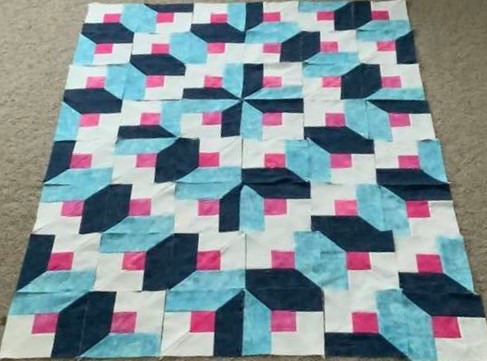
I love a flannel quilt to snuggle under! With care it is easy to sew and worth the extra effort. This is one of my favorite flannel quilts…

4-3-2-1-DONE D. W.

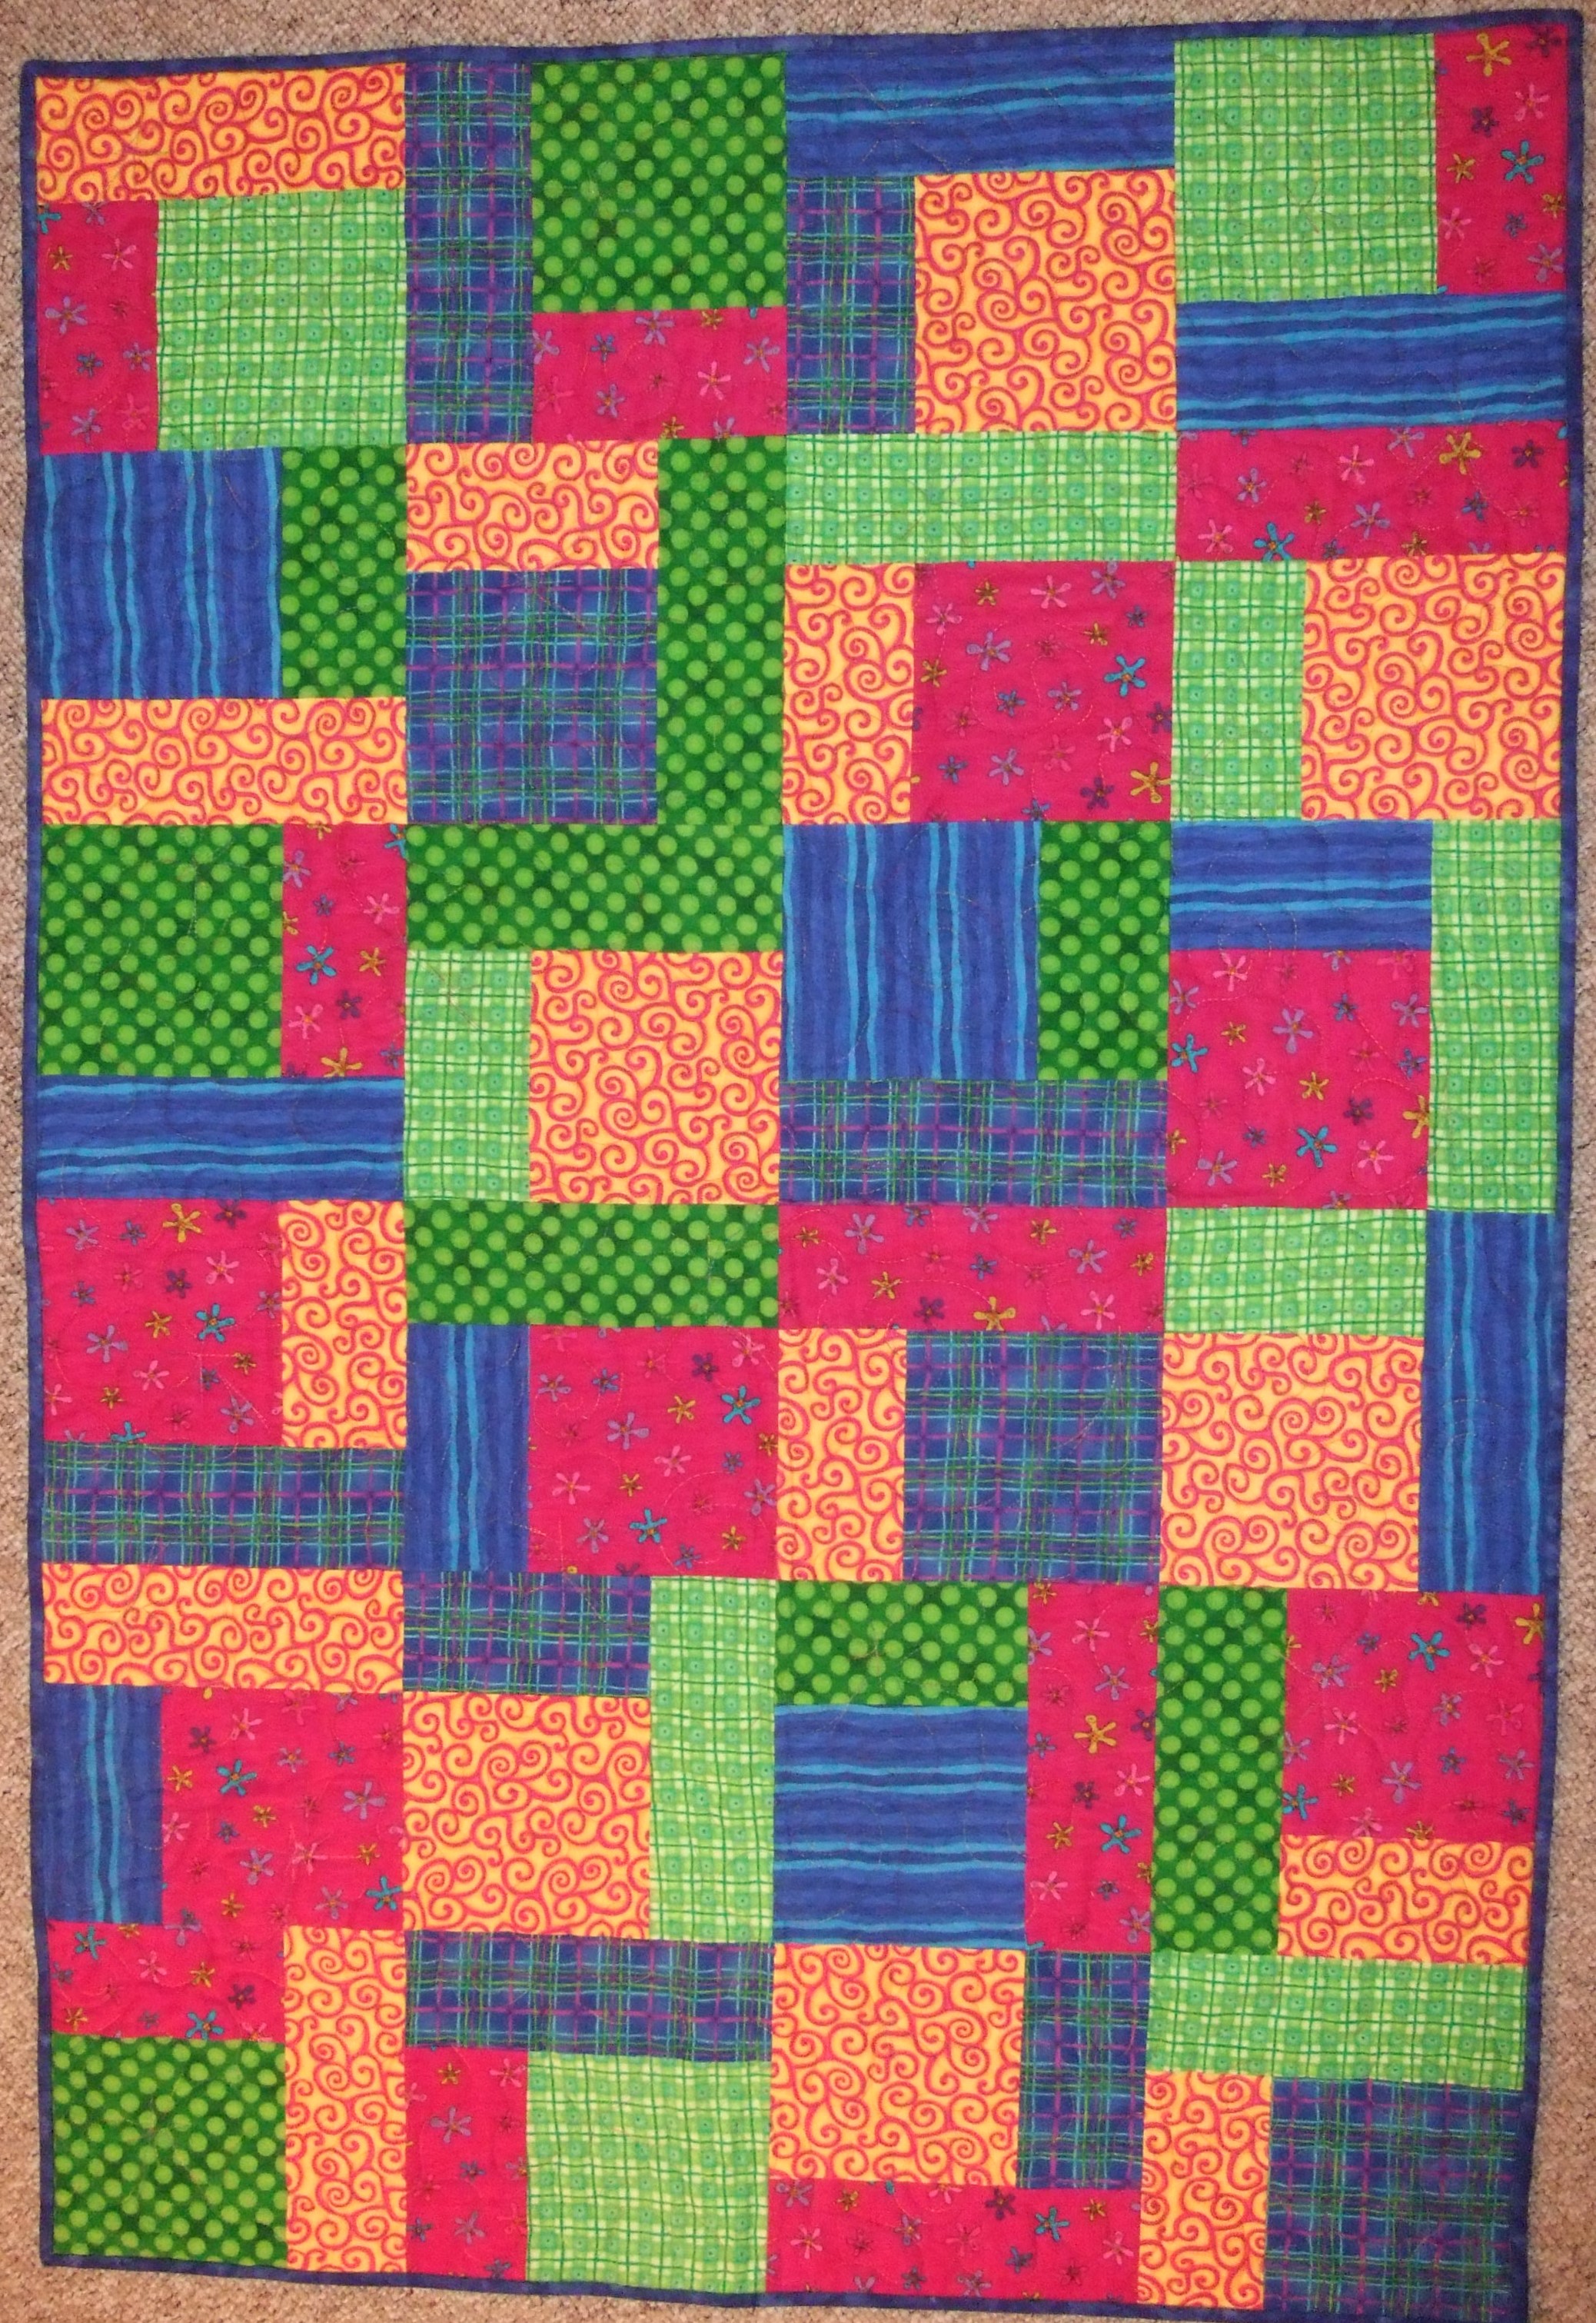
The cover of my 4-3-2-1-DONE pattern. It has simple blocks and is great to show off fabrics. It uses fat quarters! It makes a great baby quilt. Probably not the pattern I’ll use this time but I have used it MANY times when I need a quick quilt!

in quilting,

Debbie

Posted in Uncategorized | 2 Comments

Around the Block – US Tour – week 26 – Kansas

This week we head to my hometown neighboring state, Kansas. I grew up 15 minutes from the Kansas state line. And today my Kansas City, MO hometown Chiefs won the AFC conference championship!! WE are heading to the Super Bowl!! We have fans on both sides of the state line so it is fun for me that Kansas is today! Thanks to In the Quilting Room with Mel for her Kansas block. You can find it HERE.

in quilting,

Debbie

Posted in Uncategorized | Leave a comment

Two Tip Tuesday – Swirls and Rows

I finished my Red-White-Blue Brilliant Swirls quilt! I put an outside border on and it is ready for quilting. It is below!

Brilliant Swirl – Double Swirl by Debbie Wendt

Next it is another student’s quilt from the class. Swirl, not a swirl. Carol V. had her son choose the layout and he decided to not have it swirl. This quilt has awesome batik fabrics and really shows off those lights and darks! I love it!

Brilliant Swirl Rearranged by Carol V.

I’m on to my next quilt and I’m sewing the rows together. I can’t give many details because it is for a guild Challenge. I can tell you it is all half-squares, 144 of them. I made mine from 5″ charms so when sewn with a white 5″ square, I got 2 identical half-squares. Making them 4″ finished blocks. I am “rowing” them now. (I like that term!…rowing…I haven’t used it before but I think I’ll start. It is a fun term for sewing the rows together.)

When I sew a row. I take the blocks off my design wall in order from left to right. Far left is always is on top, then the next and so on. At my machine I pull them off the stack…top block goes left, next block gets sewn to the right side. I always place a pin in the top left corner of the left most block. I continue through the stack sewing blocks in pairs. Once I’m to the end, I take the last pair sewn and it goes on the bottom and I stack the pairs in reverse order. Top of the pile will be the first pair sewn!

#1 – Use a pin in the top left corner as you sew blocks into pairs across your row.

I continue back through the stack in the same manner. This time sewing two pairs together. Removing them after sewing as I did before. Last sewn goes to the bottom of the stack and working to the top again. I continue until the row is sewn!

I find this fast and efficient! I don’t have to get up and down pulling each block off the design wall. With placing a pin in the top left of the far left block (or set of blocks). I can keep it in the correct order!

#2 – Try sewing a row of your quilt together in pairs…then pairs into fours…then fours into the row! (That is if you have twelve blocks in your row. More or less blocks, same idea to get the row sewn.)

We all have our own methods of sewing a quilt together, I find this works for me! Then, the seams in the first row are pressed in one direction, the next row is the opposite direction. This helps the seams nestle together. Great for matching blocks for each succeeding row. Give it a go!

in quilting,

Debbie

Posted in Uncategorized | Leave a comment

Around the Block – US Tour – week 25

This week we are taking a side trip to a territory. Puerto Rico. You can find it HERE.

in quilting,

Debbie

Posted in Uncategorized | Leave a comment

Two Tip Tuesday – Brilliant Swirl is still swirling!

This past week several more Brilliant Swirl quilts showed up in my email and on our guild’s group page. I’m excited to share more progress from my Brilliant Swirl Workshop! I will share some comments as I go.

First, this quilt can be arranged in many different ways (as I mentioned last week with Cheryl’s clockwise swirl). The quilt below was made by my Aunt Jody back in December. She sends me surprise photos every few months of quilts she has made with one of my patterns!! Love her and her beautiful attention to detail!

Brilliant Swirl by Jody S.

Now, these next quilts are from the workshop…

#1 – These quilts are proof that any fabric combinations work! And work well. One did a modified swirl and another didn’t do a swirl at all. Both are still working on arranging.

and then #2 – High contrast in fabrics does make a difference. Each has benefits and appeal. No right or wrong, just different looks!

in quilting,

Debbie

Posted in Uncategorized | Leave a comment

Around the Block – US Tour – week 24 – Rhode Island

Today we head just 5 miles South of me to Rhode Island.  Usquepaugh Baking Co. owned by Meredith Westner has a unique business of baking and quilting.  Meredith has designed this week’s state Rhode Island.  Enjoy and find her block HERE.

in quilting,

Debbie

Posted in Uncategorized | Leave a comment

Two Tip Tuesday – Brilliant Swirl

On Saturday I taught my Brilliant Swirl pattern to one of my local guilds! I enjoyed being the teacher again! We had the class via Zoom. I had prepped steps with a new group of fabrics I purchased. Did I need new fabric? NO. Did I want new fabric? YES! I choose some red, white and blues. I seem to always gravitate towards those colors for demo steps. Plus, it is what I used in the pattern for the larger version quilt. The Brilliant Swirl cover quilt is below, pink version. The larger version I am going to make is shown beside it. It has a double swirl!

Brilliant Swirl – cover quilt – by Debbie Wendt
Brilliant Swirl – double swirl – by Debbie Wendt

The fabrics I purchased had more reds, so I changed up the color arrangement from what is show above. It sure is difficult to tell, but there are many different whites, reds and navy blue fabrics. My version is starting to look like this…

Brilliant Swirl – by D.Wendt

Everyone in class got several blocks made during class! Always a plus and fun to show how easily these blocks come together. Two students sent me photos the next day! They each used strips from a jelly roll and added the light(s) to give contrast to their SWIRL.

Brilliant Swirl – by Diane S.
Brilliant Swirl – by Cheryl G.

Did you get the reverse SWIRL that Cheryl did. She decided she wanted hers to spin clockwise. FUN!!

#1 – Make YOUR quilt YOUR own. Just like Cheryl did with the change in the Swirl direction.

The Brilliant Bindings tool is used as the cutting template. We marked right on the tool to get the template sizes. So much easier than cutting around a paper template. Did you know you can remove permanent marker with an alcohol wipe? Slick!

#2 – Mark lines on an acrylic ruler with a permanent marker. Remove those lines with an alcohol wipe!

The Brilliant Swirl pattern can be purchased from my website. It can be found HERE. The paper templates are included but it is much easier to cut around an acrylic template and was designed for using Brilliant Bindings. Brilliant Bindings can be found HERE. It was designed to help with making perfect mitered corners and no fuss joining of binding end seams. BUT, it can be used as a cutting template. Bonus! I hope you have had some fun sewing in this first week of 2021!

in quilting,

Debbie

Posted in Uncategorized | Leave a comment

Around the Block – US Tour – week 23 – Utah

Head Southwest to our next state. Utah is glorious in its natural beauty and variety in nature. Textile Time Travels designed this state block and you can find it HERE.

in quilting,

Debbie

Posted in Uncategorized | Leave a comment

Two Tip Tuesday – Christmas Sewing continued

I finished my Christmas sewing! I made 24 double sided napkins from the Holiday Flourish fabric, eight each to my mom, sister, and sister-in-law. I loved how they turned out. Of course, I didn’t take any photos. Darn. I’m now helping another sister-in-law with her Christmas project. She is making a quilt from the pre-printed masks. She added borders to the large and small masks to create 12″ finished blocks. She alternated those with other Christmas fabrics. The quilt TOP photo is below. It was a quick picture, sorry for the blur.

Christmas Mask Quilt by Barb Schue-Wendt

I helped with the next steps, layering, basting and marking quilting lines. We did not have all the supplies, so we worked with what we had. Needles and thread. I am a huge fan of thread basting the quilt layers together. Sure, I’ve used safety pins but I find it easier to thread baste. No need to remove the long basting threads in less they are in your way. A quick snip of the thread and you can keep quilting. Safety pins take time to unhook so they don’t get caught in the presser foot.

We did have a large table to baste the quilt together and we basted in sections. We started in the middle. Basted all the center section then moved the quilt sandwich to baste each side. Worked great. I typically tape the backing to the table so it is taut. This helps to ensure you don’t have any ripples in the backing fabric. No tape here, so we pulled gently, one of us on each side and made do!

#1 – Give thread basting a try! I find it easier to snip a thread then to stop an undo a safety pin.

#2 – Thread baste with a friend (or family) it sure makes the job go faster!

Barb has been steadily quilting all afternoon, we are hoping for binding tomorrow!

in quilting,

Debbie

Posted in Uncategorized | Leave a comment

Around the Block – US Tour – week 22 – Arizona

This week we head West to Arizona. Check out the creative block by On Williams Street. You can access it HERE.

in quilting,

Debbie

Posted in Uncategorized | Leave a comment