Two Tip Tuesday – AQ Magazine Fabulous Finds!

AQ Magazine (American Quilter) an American Quilter’s Society publication has a Fabulous Finds section. I’m super excited to share one of the “fabulous finds”….Brilliant Bindings!!!!! I knew it was going to be highlighted but didn’t want to give it out before it happened. It is the May 2021 issue. I haven’t received my issue yet but several quilter friends have. Thanks to Kathy Beltz for sharing a photo on Facebook of the “find”. It is below. If you are an AQS member and get the magazine, you will have it!!

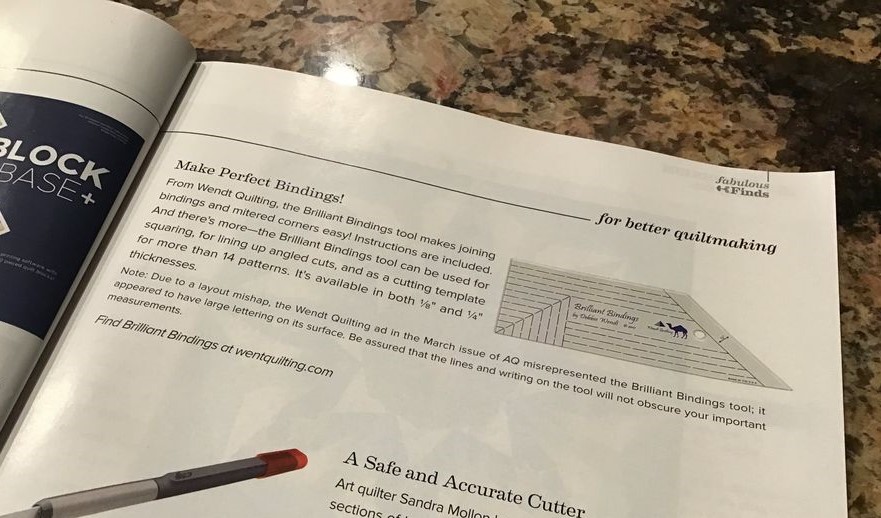
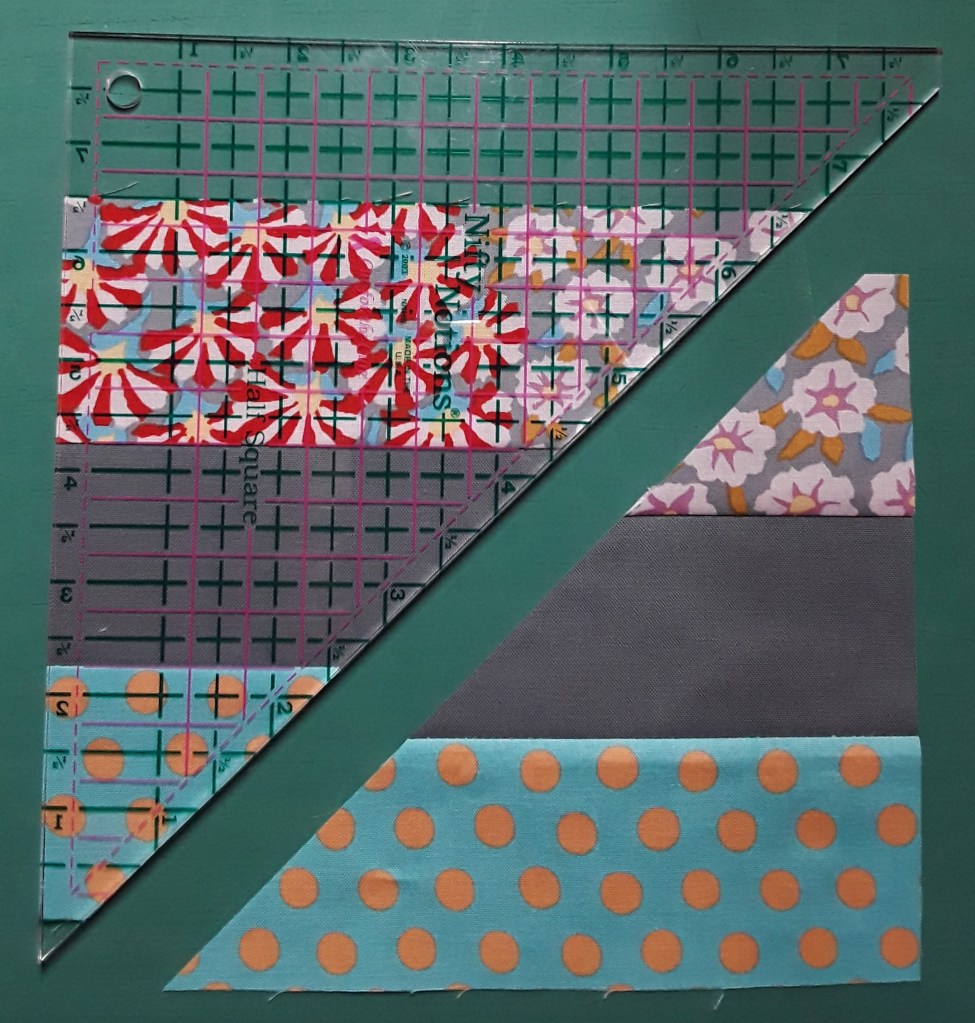
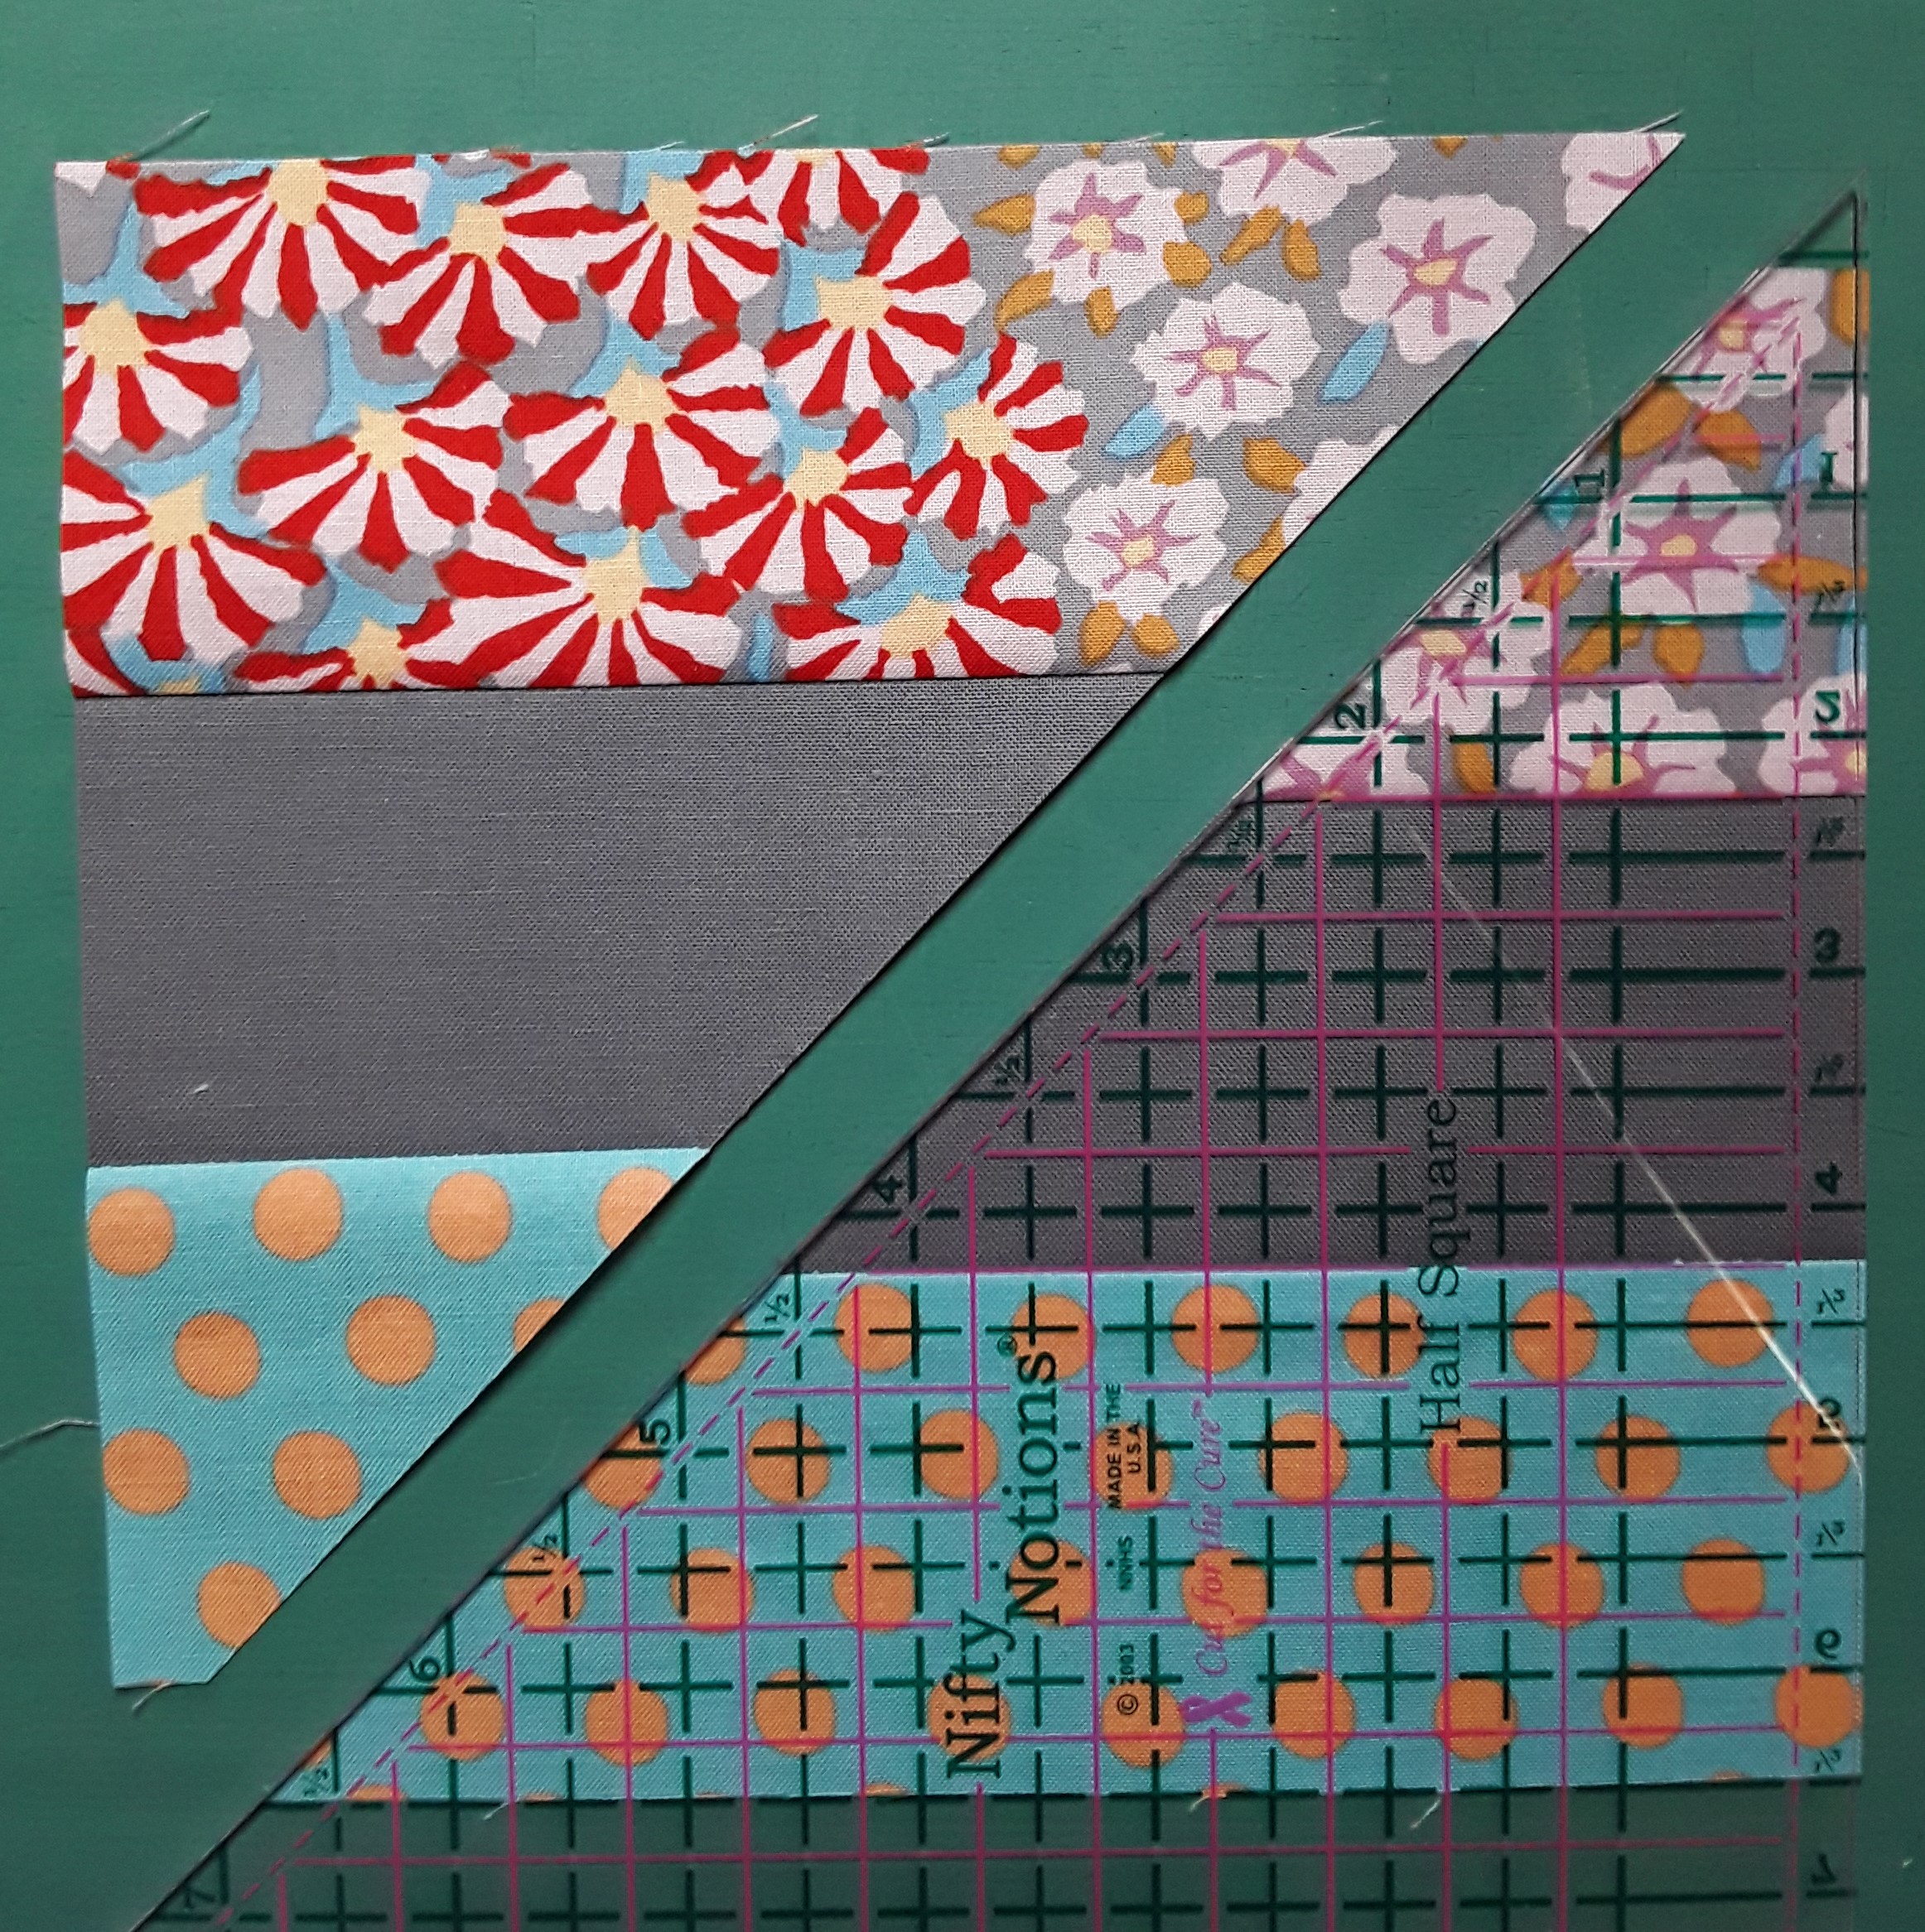
As said in the “find” this is the tool for binding for easy perfect mitered corners and finishing the tail ends. Plus I have 14+ patterns that use the tool as a cutting template. Brilliant Bindings is the original tool with this trapezoid shape for bindings. The BEST, if I do say so myself. You can find Brilliant Bindings on my website HERE. Full color instructions are included in every tool package. Do you loose your instructions for tools….tip…#1 – Keep it in the package with the tool it came with! Be sure to checkout my video on YouTube and I also have a few on my Facebook page. More videos to come later in the year.

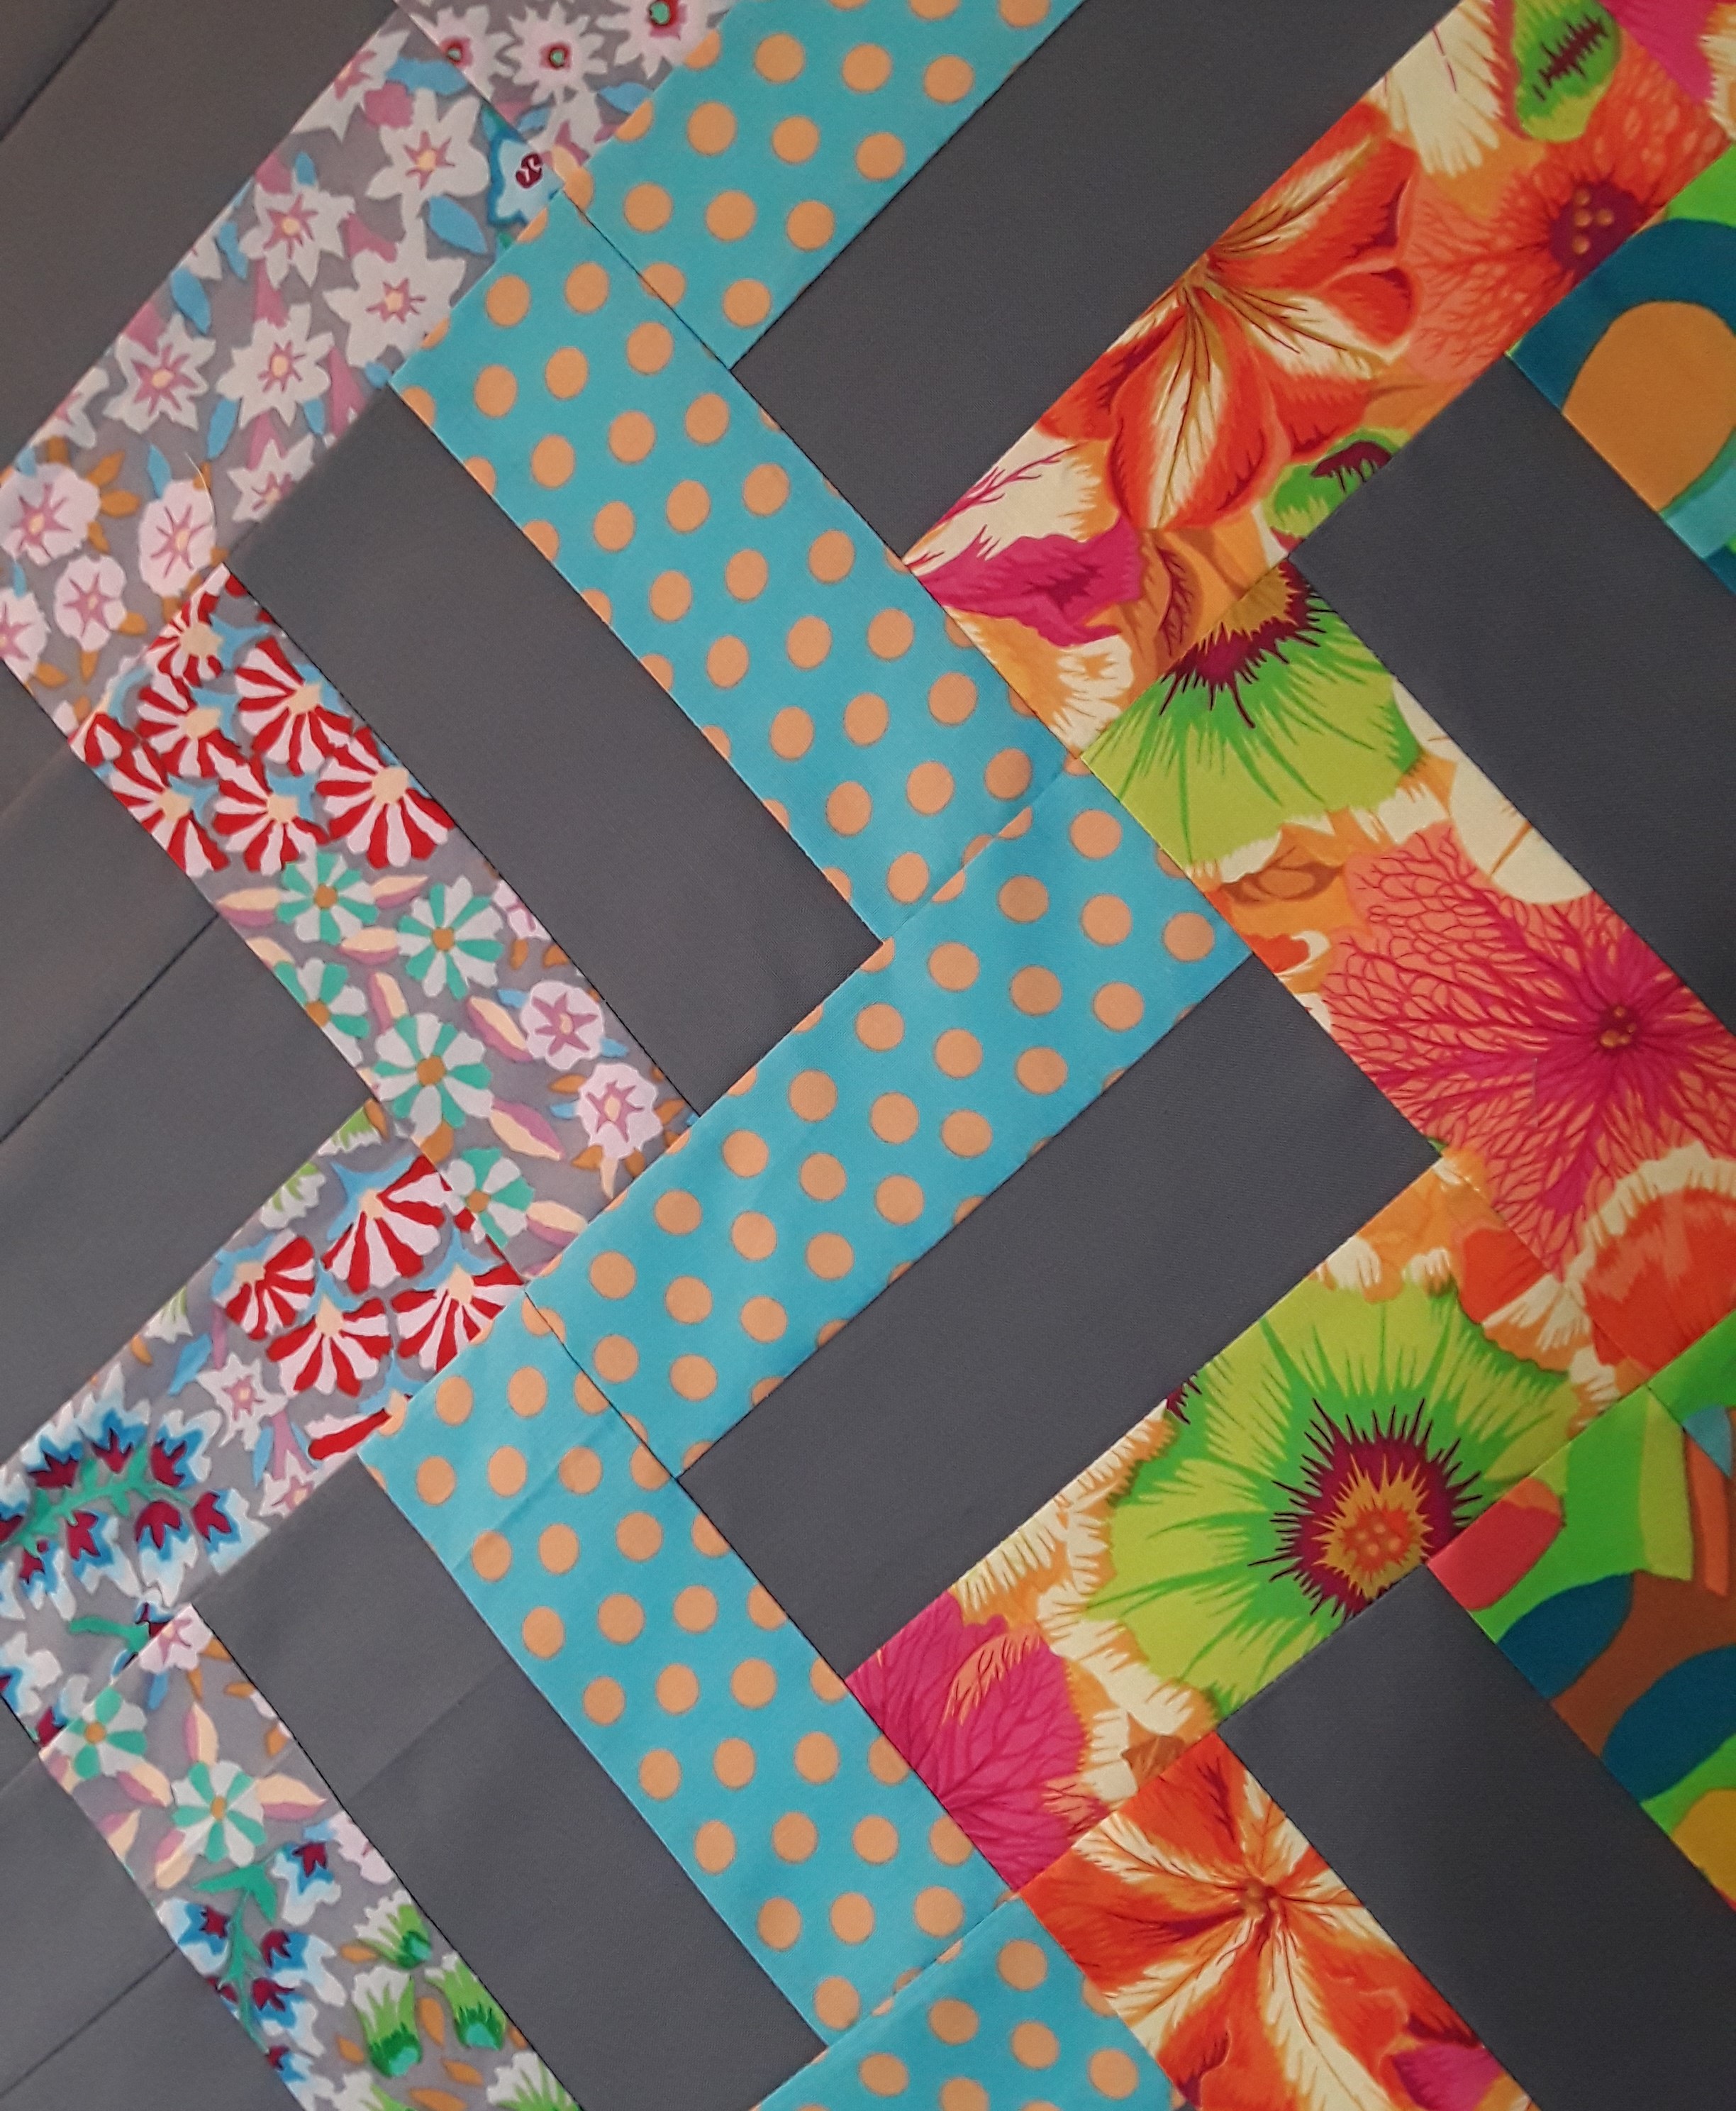
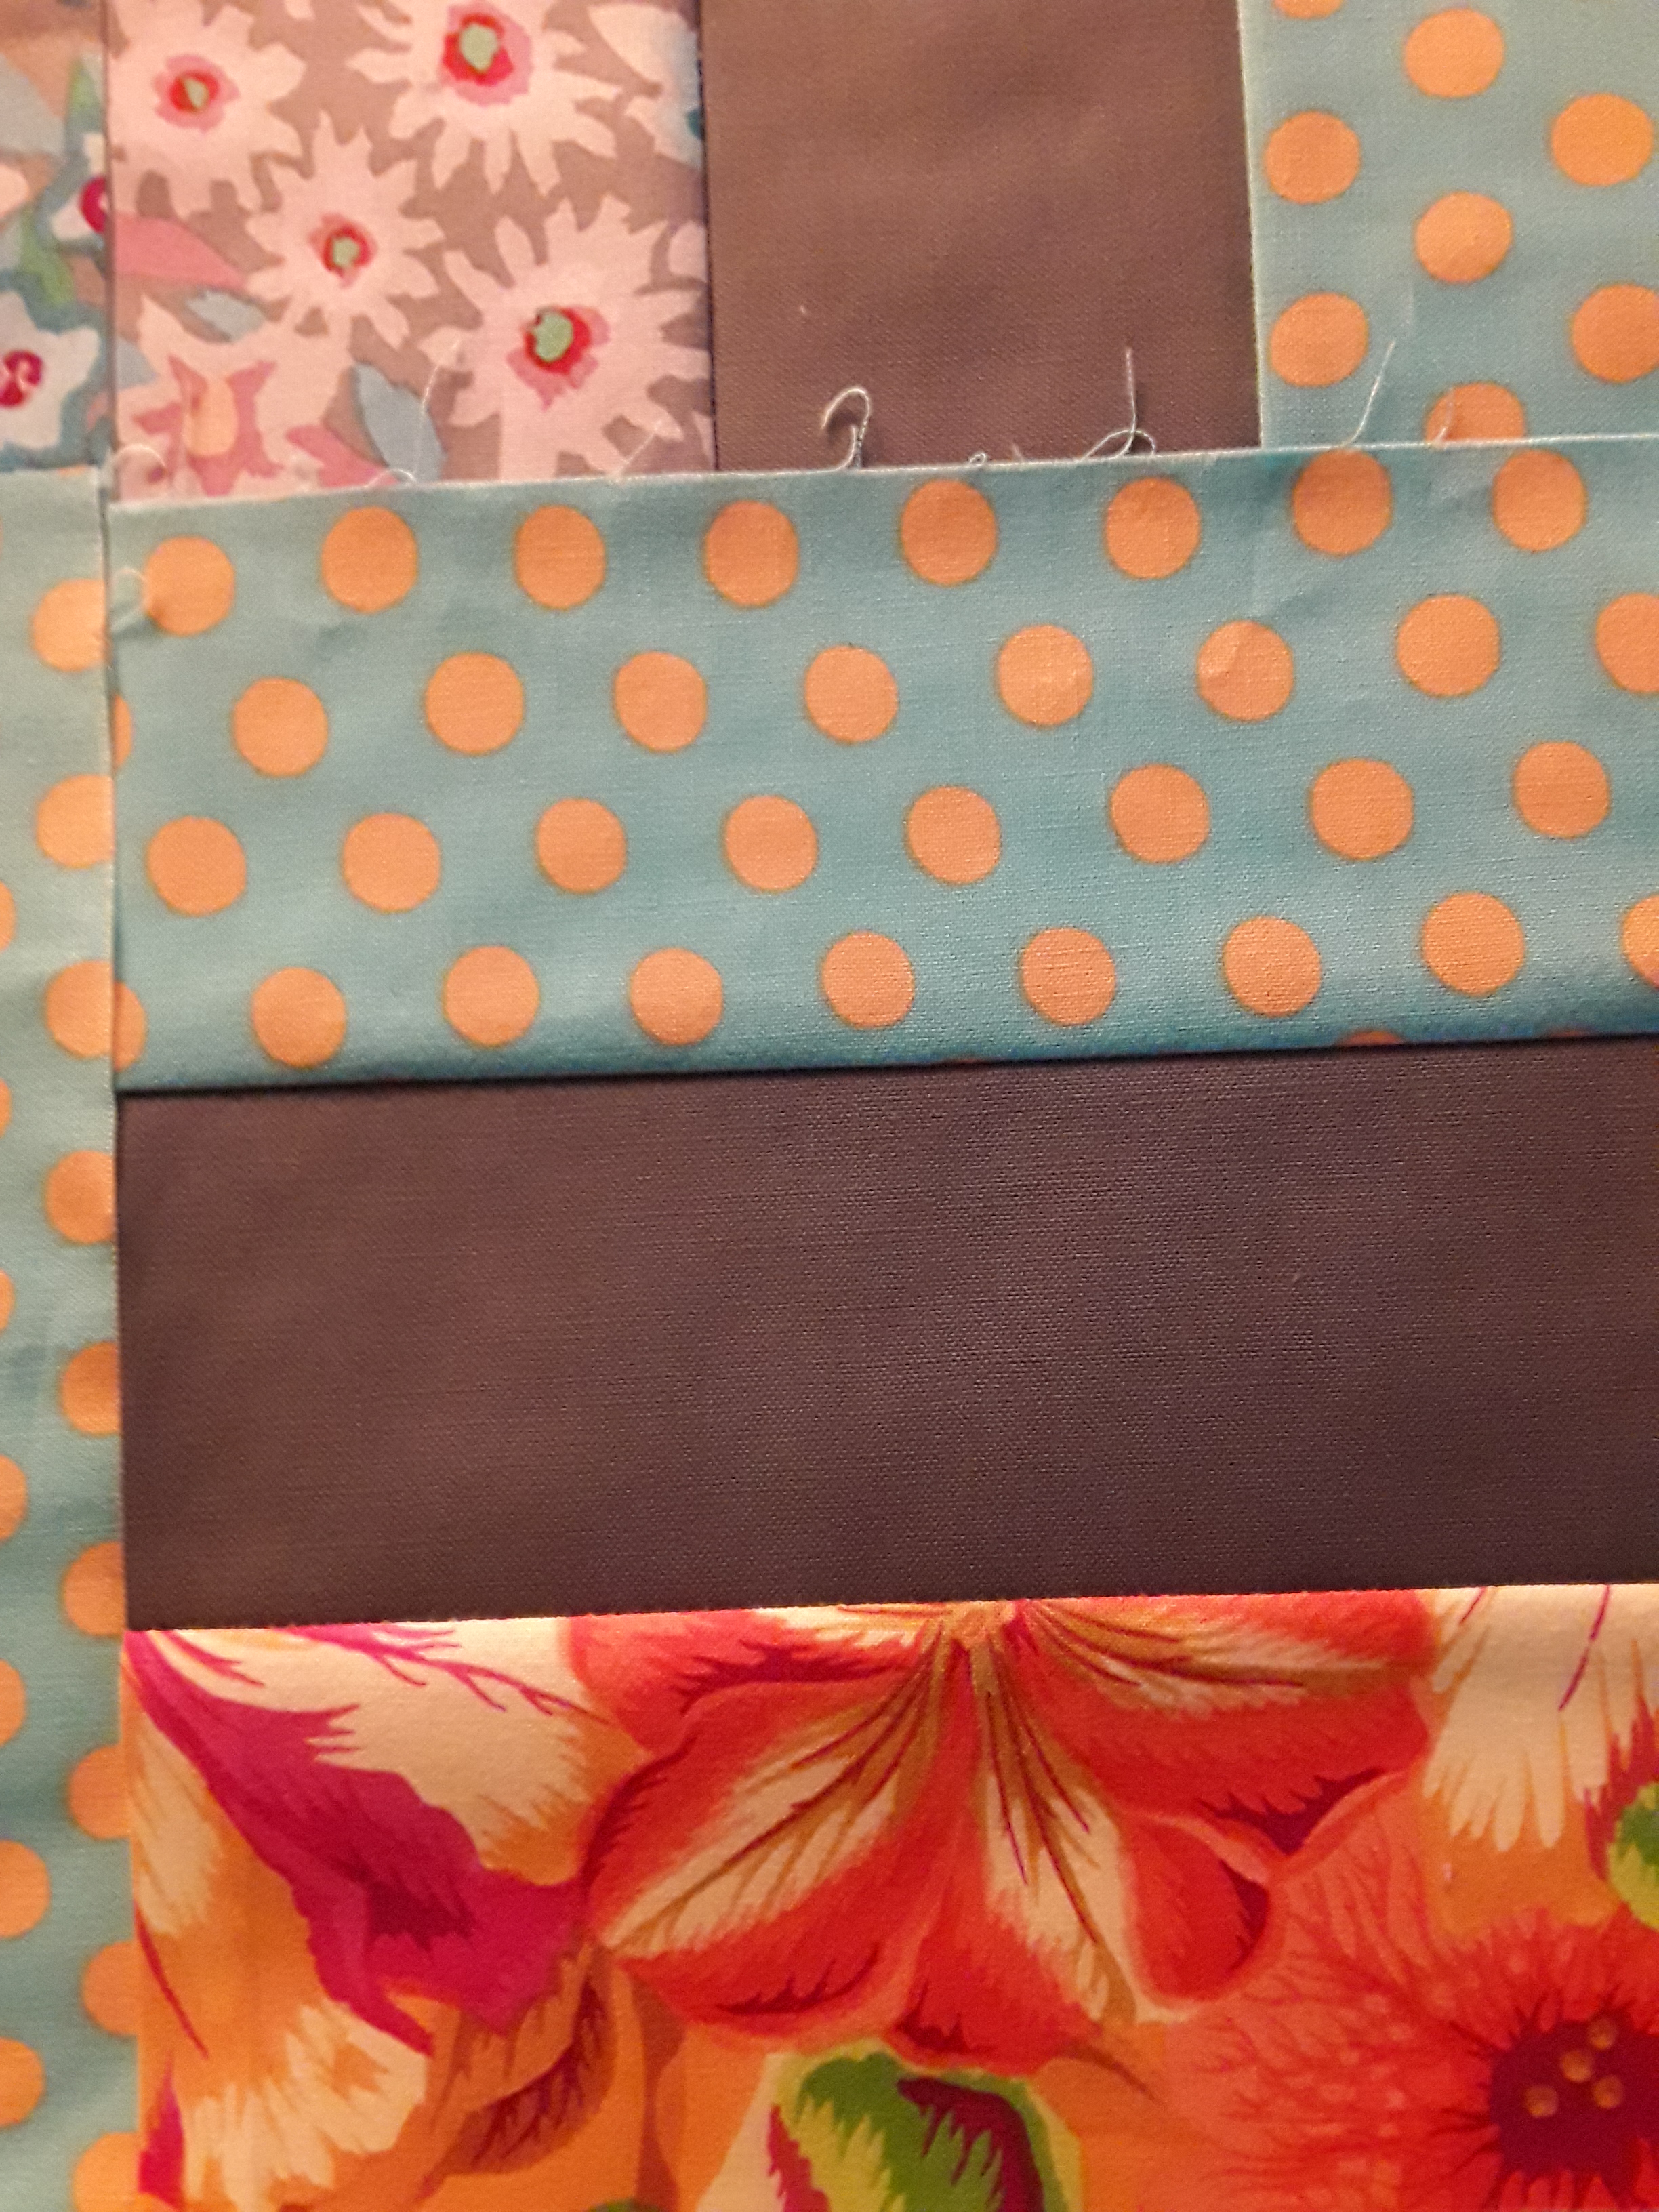
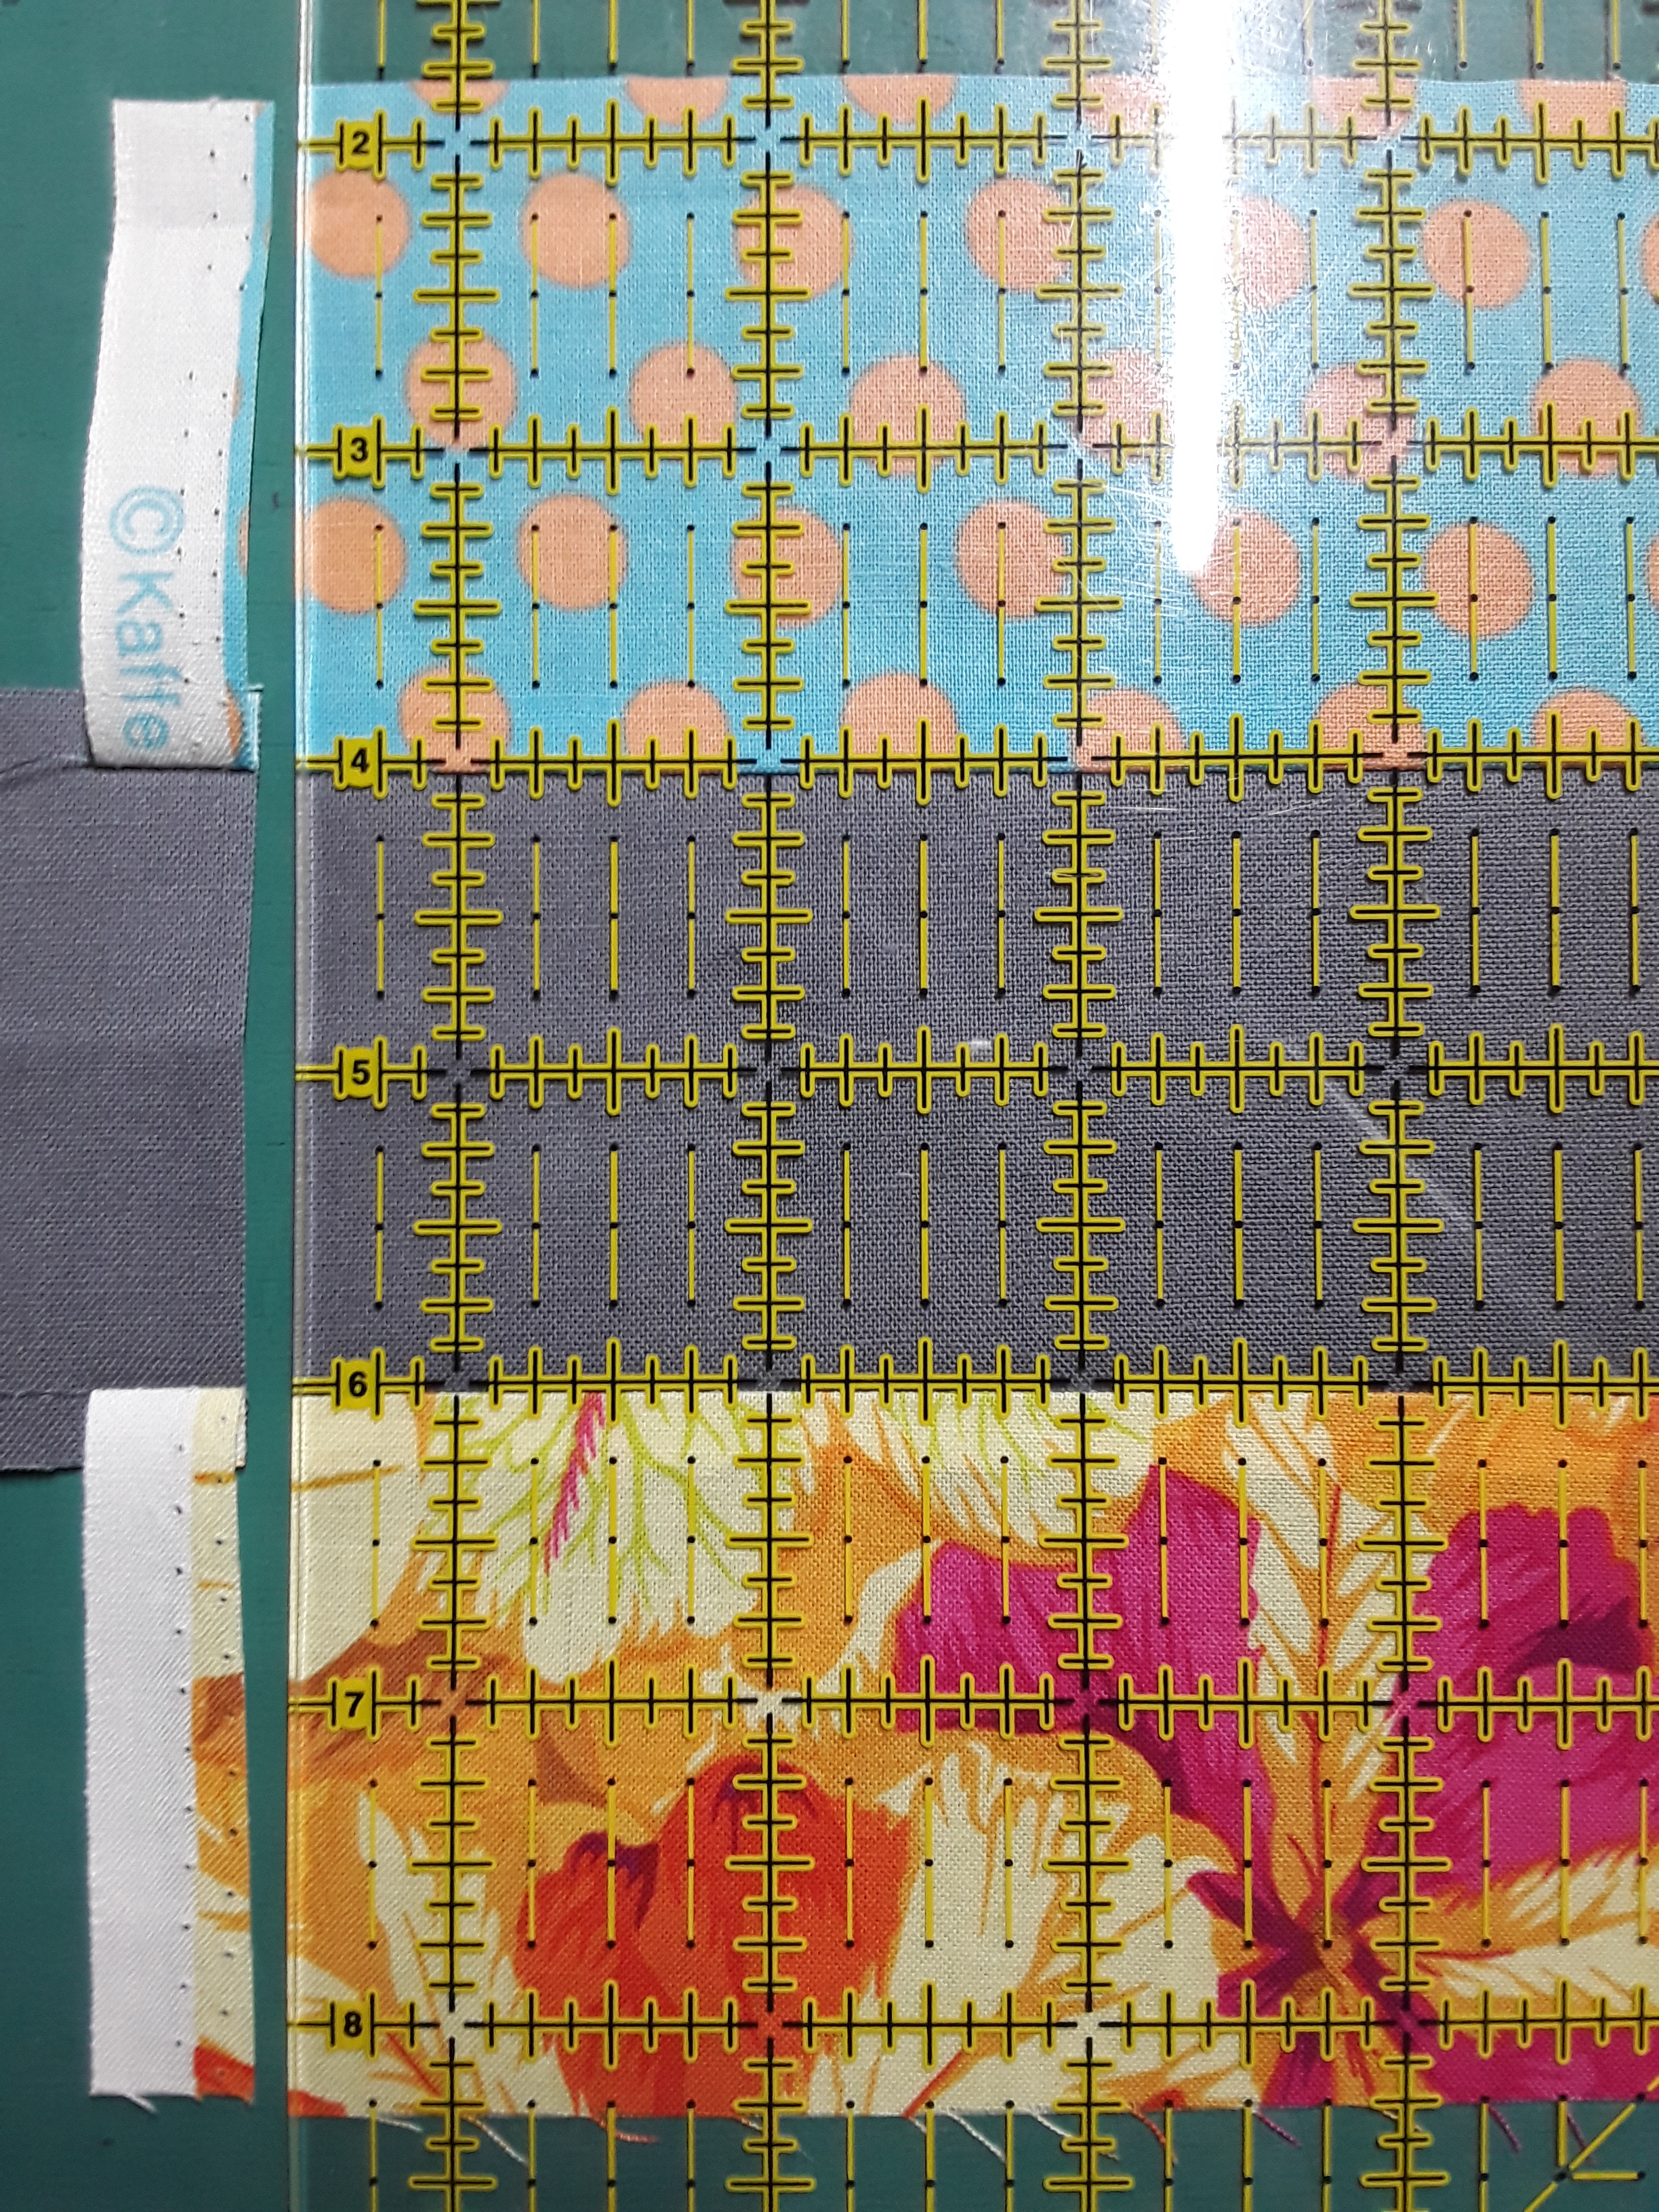
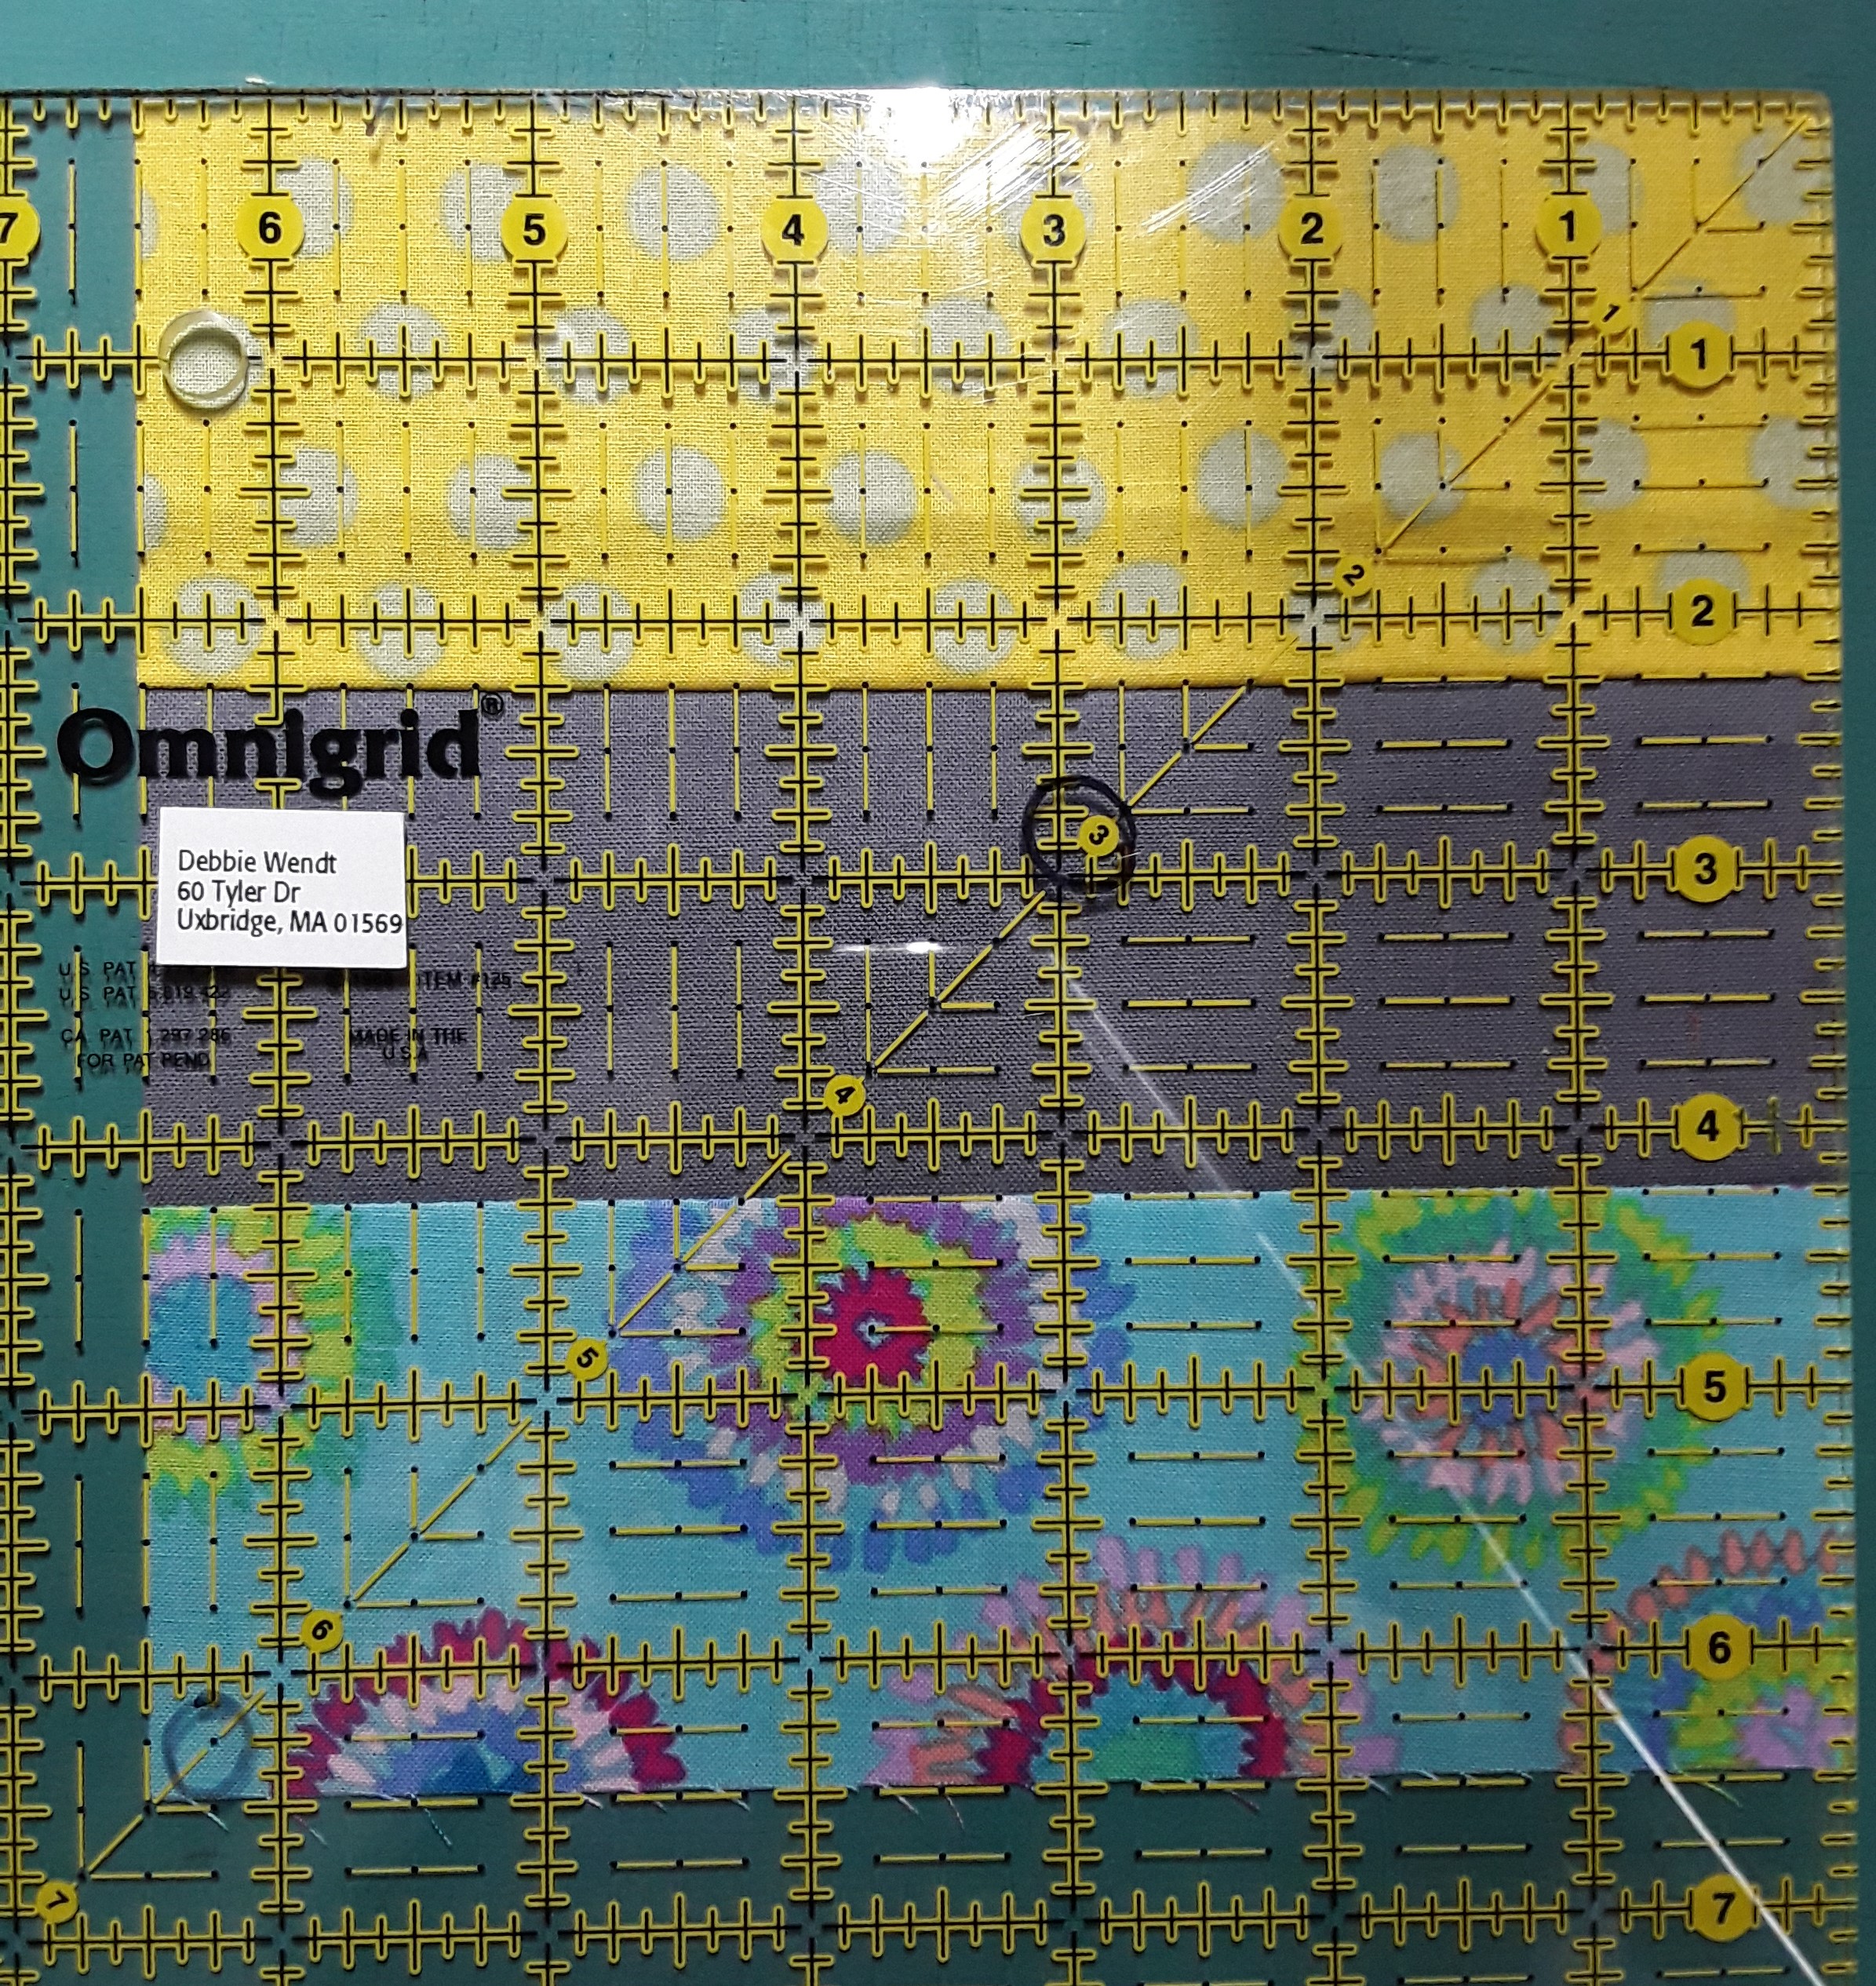
On another front, I posted my fabric pull for the next Imagination Renovation April Block Challenge. This month we are focusing on the PINWHEEL Block. Take a look over on my Instagram page @debbiewendtquilting. My fabric choices are below. I love these Kaffe Fassett dots!

I could use your help, though. Which background gray would you use? I’d love to hear your vote in the comments. Lighter gray on the left OR medium gray on the right?? The difference in the two in the photo is very slight. There is a little more variation in person.

#2 – Sometimes backgrounds can be as important as the focus fabrics you choose.

I hope you you will go bind a quilt with Brilliant Bindings! And please, I’d love your opinion on the background.

in quilting,

Debbie

Posted in Uncategorized | 5 Comments

Around the Block – US Tour – week 36 – New Mexico

I’m in love with this week’s US Tour block! My husband worked in Albuquerque, New Mexico in 2012 and I got to go visit for extended amounts of time. I never thought I was a desert person, but my time there changed that. Beautiful colors and amazing sunsets. We had the thrill of going to the Albuquerque International Balloon Festival early one morning. Plus I had relatives there and we spent a wonderful day seeing the balloons from their veranda. Wonderful memories!! You can find Windmill Quilts block HERE!! We even bought my Suburban out there and we had one of their cool license plates until we drove it home after my husband’s job was over.

in quilting,

Debbie

Posted in Uncategorized | Leave a comment

Two Tip Tuesday – Rail Fence Reveal

Monday was the reveal of my Rail Fence Challenge. Imagination Renovation of a Rail Fence block. I decided to make my rail fence blocks with a background between each color and by turning them on point I got a zigzag that runs down the length of the quilt. Lightening!! While I was making the quilt, I kept thinking about the saying “Lightening never strikes the same place twice” So, I’m calling this quilt “Never Strikes Twice”. As simple as this block is to piece, the complexity comes in the color placement and arrangement. I LOVE it! Plus, I had a blast making it!

“Never Strikes Twice” by Debbie Wendt

Take a look at the blocks close up!

Blocks in “Never Strikes Twice” by Debbie Wendt

In order to get the lightening to run the entire length of the quilt, I needed pieced side triangles to complete the strike. I made a strip pieced unit of Color 1 – Background – Color 2. I used a tool I got years ago from Kaye England that are called Rulers for a Cause, now Good Measure rulers. I used her Half Square ruler to cut the side pieced triangles. Technically, it need a quarter square piece to keep the straight of grain on the outside of the triangle. BUT, the half square worked for the pieced triangles I needed. Yes I have a biased cut on the outside edge. I will be careful when piecing, not to stretch it!! The two photos below are the two pieced triangles needed. One for the top and the other for the bottom. It worked nicely!

#1- A Rail Fence turned on point can have a NEW look!

#2 – Sometimes a bias edge of a triangle is on the outside edge. This worked for this quilt. I would make a habit of doing it this way. Remember the challenge Imagination Renovation…I used what I had to make it work in this situation with the strip pieced units I sewed.

Oh, this will be a new pattern this summer! I’ll let you know when it is available on my website.

in quilting,

Debbie

Posted in Uncategorized | 2 Comments

Around the Block – US Tour – week 35 – Maine

For me getting to Maine is a short hour + drive. At the bottom tip of Maine, New Hampshire sneaks in there. Or I should say at the top tip of MA, NH sneaks in there and then you cross over into Maine. And…..LOBSTER! I love the seafood, small towns along the coast and beautiful views. Plus my new favorite show is Maine Cabin Masters!! Love the scenery!

This week’s Maine block was designed by Susan at QuiltFabrication you can fine the block HERE!

in quilting,

Debbie

Posted in Uncategorized | Leave a comment

Two Tip Tuesday – Rail Fence

Keeping with the Rail Fence Challenge, I’m going to give some tips I do when working with strip sets. I realized I do some of these things without even thinking about it. First, lets look at Rail Fence blocks. The colors in the photo below is a bit off, but you can see the Rail Fence blocks next to other Rail Fence blocks. I’m not showing the end result. (That is next week on Instagram and then I’ll share here as well!!)

In making a Rail Fence block, typically we sew three (or more) strips together. My Rail Fence blocks are made with three rails and my strips are cut 2 1/2″. After sewing my strip set (we call strips sewn together a strip set). I square up one end. When squaring, use the seam lines, not the outside strip edges. Why? The seams are important to keep the block straight and square. As strips and blocks are ironed, the edges could be skewed a bit. So, focusing on the “straight” of the seam keeps the blocks constant.

The blocks were cut to 6 1/2″ square. Note the seam lines on the lines of the ruler and the outside edges of the fabric are a smidge off in a couple spots. I’m not talking about huge variances, but jut a few threads. That is “okay”!! A couple different strips sets are shown.

As you cut along the strip set, continue to square after cutting several blocks. Fabric moves!

I started by saying there are things I do that I don’t think about. It is part of how I cut strip sets…

#1 – Square by using the seam lines when possible. It helps keep the block straight.

#2 – Square your strip set after cutting several blocks. Fabric moves. Also, fabrics are different weights and can move and shift as you sew and as you cut and as you iron.

Have you made a Rail Fence Block? A Rail Fence Quilt? I’m looking forward to the reveal next week on Monday over on Instagram. I’ll show you my Renovation Imagination of the Rail Fence Block Challenge on Two Tips next week!

in quilting,

Debbie

Posted in Quilt Blocks, Tips, Uncategorized | Leave a comment

Around the Block – US Tour – week 34 – New Jersey

Here we go to New Jersey! This wonderful block was made by Becca over at Pretty Piney. Click on New Jersey to find this week’s block. Enjoy!

in quilting,

Debbie

Posted in Uncategorized | Leave a comment

Two Tip Tuesday – again on Wednesday

I’m not sure where Tuesdays go these days, but I seem to miss them. HA! I can think of loads of excuses but I won’t bore you with them. Tuesday is gone, so I’ll focus on giving you my Tuesday tips on Wednesday this week. Two weeks in a row, NO I will not make this a thing, if I can help it!

I posted over on Instagram (@debbiewendtquilting) for Sneak Peek #1 of the Inspiration Renovation Challenge for March of the Rail Fence Block. As I stated on Instagram, a Rail Fence Block is typically one of the first blocks we teach beginner quilters. WHY? Well, it is typically 3 or 4 simple straight pieces. The pieces are usually rectangles and it is a great way to test your 1/4″ seam allowances. They are also good to practice sewing straight seams, use good pressing techniques and quick success of block construction!! Accuracy does matter in quilting! We want all our blocks to fit together easily to end up with a “square” quilt. Not square as in shape (although some quilts can certainly be square) but square in that the edges are at right angles to each other. Sure, there are often variations, but most quilts have square corners. And so I have gone down a rabbit hole…….back to my post of the Sneak Peek….see below. Some days my designing happens on paper.

Rail Fence Sneak Peek Rail Fence Challenge

I’m excited about this simple little block and I hope you’ll follow me over on Instagram for another sneak peek next Monday and the reveal on March 29th.

#1 – Simple blocks can make stunning quilts. Not every quilt needs to be difficult!!!

Pointing out one of my favorite simple designs. Equidistant. This pattern is in my patterns section of my website and can be found HERE. This quilt has a different look depending on the fabrics you choose. The cover is in blues/teals and tans/browns and one of my samples is in brights with a gray background. Different look of the same design….and a simple 9-patch block!!

#2 – A change in color can really change the way a quilt looks. You don’t have to make it just like the pattern!

in quilting,

Debbie

Posted in Uncategorized | Leave a comment

Around the Block – US Tour – week 33 – Connecticut

Here we are in New England once again, right next door in Connecticut. Kate Colleran of Seams Like A Dream designed this week’s block. We have dear friends in Connecticut and we love visiting them at the shore! I, personally have had fun exploring unique towns and seeing beautiful old homes. You can find Kate’s block HERE. ENJOY!

in quilting,

Debbie

Posted in Uncategorized | Leave a comment

Two Tip Tuesday – late but not forgotten

This week’s two tips comes to you a day late. With a guild lecture yesterday, THANK YOU Village Squares in New York!! and a hubby with a replaced hip, it got away from me. I love sharing my Egyptian Tentmakers’ Applique pieces with quilters. Yesterday I was “at” Village Squares Quilt Guild in Westchester, New York and tomorrow I will be “at” Oregon Coastal Quilters guild in South Beach, Oregon. I love how Zoom has allowed me to continue lecturing for guilds when I couldn’t be there in person. Are you in a quilt guild? I find it is a great way to meet and hang out with like minded people, quilters! With Zoom coming into play last year when travel was discouraged, it opened up a platform to continue meeting and sharing.

#1 – Join a quilt guild! They share the love of quilting, have speakers with trunk shows sharing the many aspects of quilting. Plus every one I have been a part of or visited is doing wonderful comfort/charity work for their community.

To continue the idea of sharing… Over on Instagram the group of designers who had the Snowball Fight Challenge is moving to a new block this month. Innovation Renovation is looking at a simple blocks and coming up with some new ideas using said blocks. The block for March is RAIL FENCE! A favorite when learning to quilt. I think almost every beginner sampler uses this block. A Rail Fence is defined as a block with three or more rails. Monday was our Fabric Pull. I’ll show you mine below. I’m excited about working with some Kaffe Fassett Fat quarter fabrics I had in my stash and a gray background!

Hmmmmmm, wonder what I’m making??? I already have a plan and will be sharing the process each Monday remaining in March. Check out my Instagram page for my process photos. My post on Monday shared the other designers’ pages so you can follow along. Please take a minute to follow me on Instagram. As I believe I’ve said, Instagram is a new place I am sharing my quilting journey and I’d love to have you along for the shares. (@debbiewendtquilting) Oh, Instagram isn’t new, but new for me. <grin>

To change the subject a bit, have you tried a pressing clapper? One of the girls in my guild, (Hi Diane S.), shared hers at a Getaway a couple years ago. Wonderful to get those seams to lay flat without standing and pressing forever. So, I called my dad and BAM! He made me not one, but two!! I think I’m in love! I have always been a steam presser as I like nice flat seams. I think will take some time to remember to use it on each seam. (It does slow down my process time, but results is great flat seams.) Here are the gorgeous ones my Dad made for me!!

The dark wood is from Belize and the other is oak. Heavy and great! The oak for shorter seams and the longer one for block seams. As I mentioned, they are new to me and I’ve only used them a few times. I’ll have to report back, but I love the results so far. These wooden clappers along with the wool pad I have on my ironing board are super!

#2 – A wool ironing pad helps to pull the heat through your fabric (seams). The wooden clapper holds the heat/steam!

The Great Board behind my ironing board is from TNT Quilt Boards by Tracy and Tim Kennedy, no affiliate, a happy customer. They are here in Massachusetts.

in quilting,

Debbie

Posted in Uncategorized | Leave a comment

Around the Block – US Tour – week 32 – Ohio

Here we go… to OHIO! Applique Quilts and More designed the Ohio block. You can find it HERE. Back when I was traveling to quilt shows, I spent many hours driving through Ohio. I usually came in at the top, going through Cleveland and cutting right down the middle of the state to Cincinnati and crossing the Ohio River into Kentucky. It was always a thrill to see the Great American Ballpark (Cincinnati Red’s baseball stadium) in Cinci and know I was a day closer to the next state!

in quilting,

Debbie

Posted in Uncategorized | Leave a comment