
How hot is it by you? Yep, Summer has arrived! Will you be inside sewing staying cool or out in the heat gardening or playing? I’m an inside girl at the moment. I love the outdoors but bugs LOVE me. So, I’ll stay cool and inside thank you!
I’ve been working on samples for the Sew Lubbock Conference in October. I’m honored to be one of their featured teachers. I’ll be teaching Egyptian Tentmakers Applique. What does that mean? You will learn machine applique techniques using patterns/designs in the style of the Tentmakers in Cairo, Egypt. I’m beyond thrilled to share some of the Tentmakers actual work (they hand applique!) and give tips and tricks for improving your machine applique. It will be FUN and informative!! Win, win! Their website is up and running for you to register! (sewlubbock.com)
The photos and tips I have today are working with a spiral eye needle to hide the tail ends of your machine applique stitches. I’ll show how I tie off, use a spiral eye needle and hide the thread tails to tidy up your work.
- Pull both beginning and ending tails to the back of your work. Tie a knot to secure the stitches.
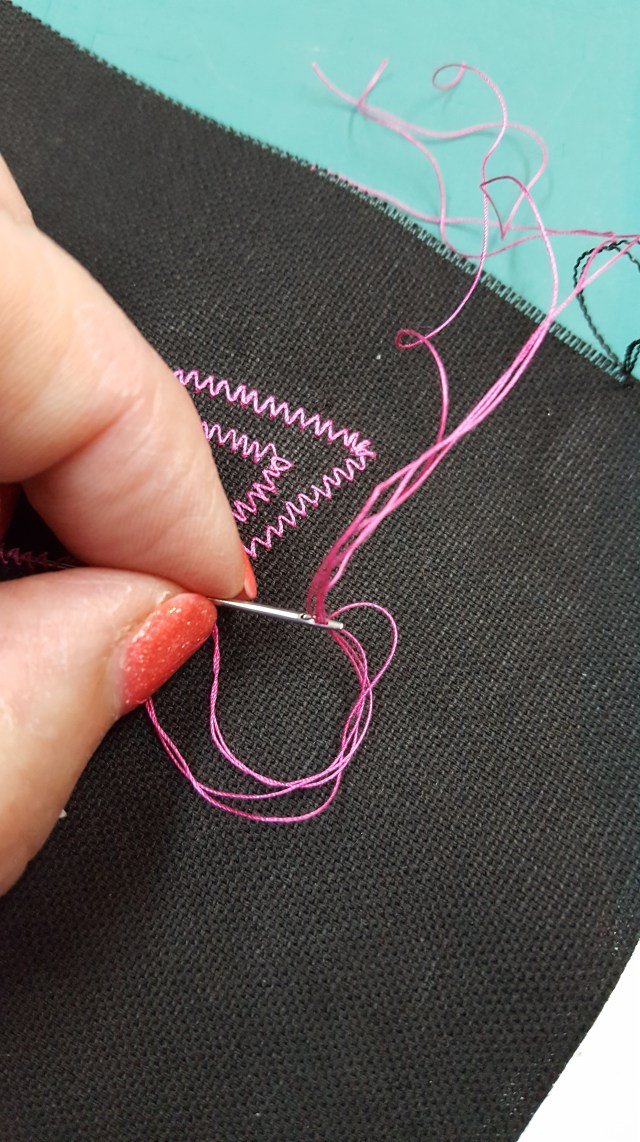
- Use the slot in the spiral eye needle to easily thread the needle. Tip #1 – Use spiral eye needle to bury your thread ends.
- Run the needle behind some of your stitches on the backside of your work.
- Turn the slot in the spiral eye toward the backing fabric away from the stitches. IMPORTANT!! as this keeps the slot from getting caught on the stitches! Tip #2 – turn that slot away from stitching!
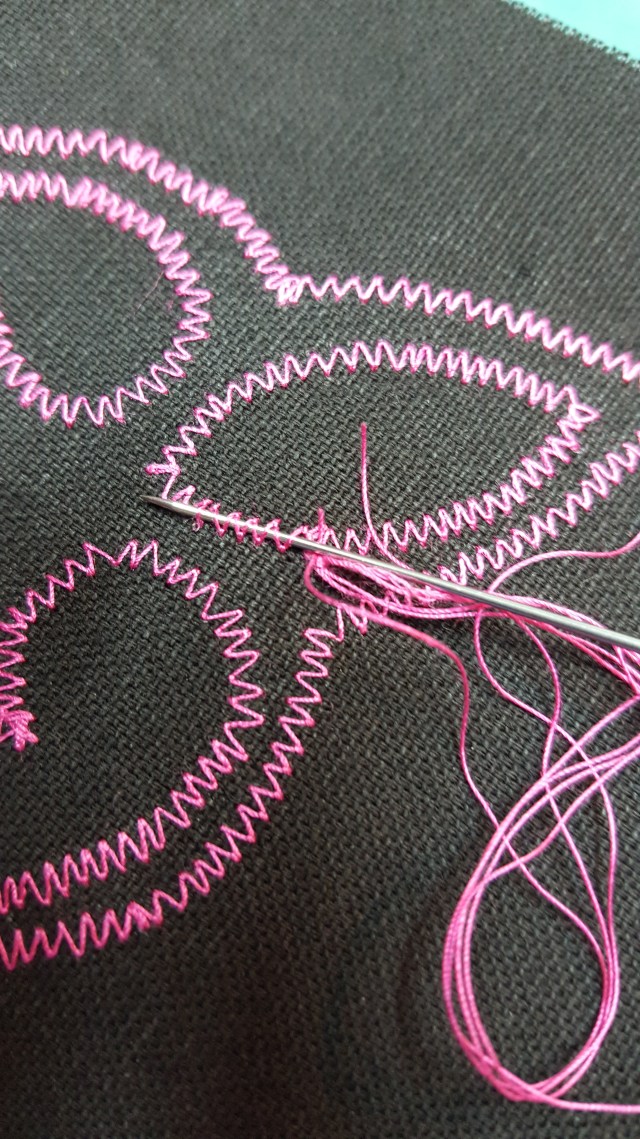
- Cut thread ends, keeping your work nice and neat. The back will look almost as good as the front! No messy threads hanging around. Bonus Tip #3 – Bury each finish as you go. This keeps those threads from being caught in other stitching lines and becoming a tangled mess.
See photos below for detail of each step!
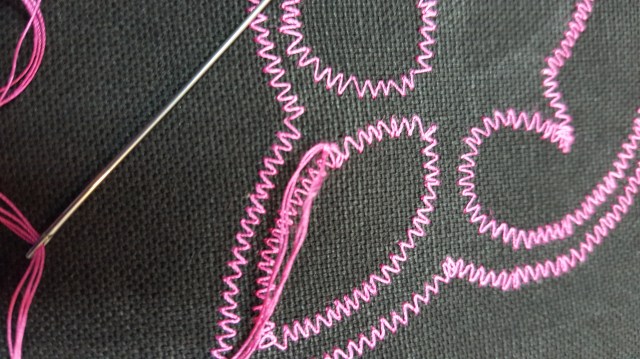
Knot tail ends on back to secure stitching.
Closeup of Spiral Eye slit.
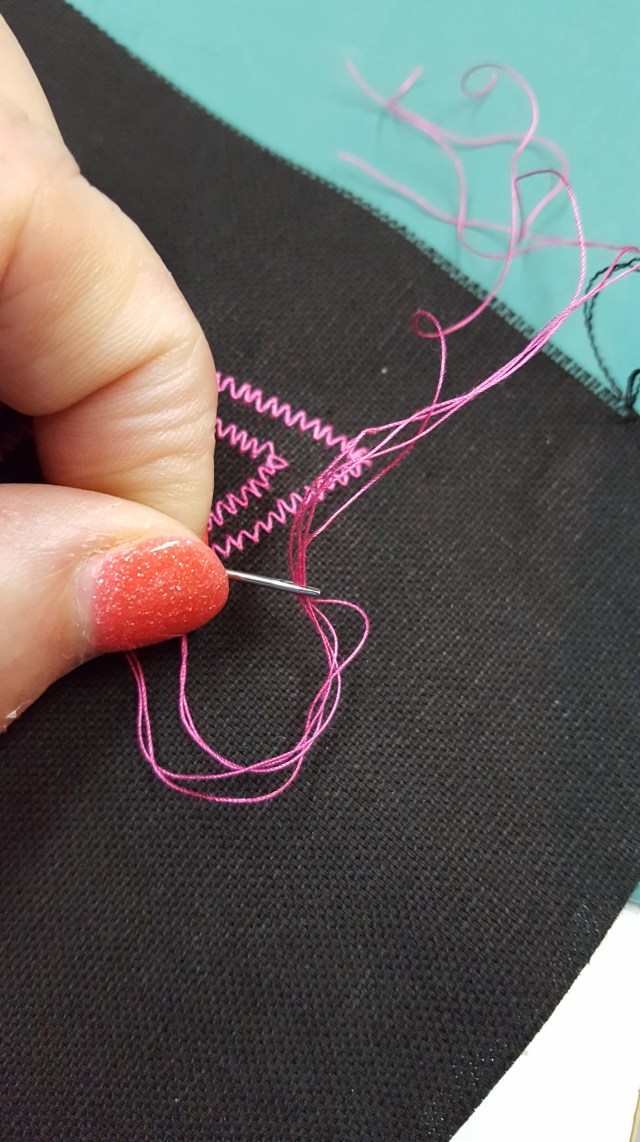
Rotate slit away from stitches and toward the back of the background fabric.
Slip needle under threads on the back.
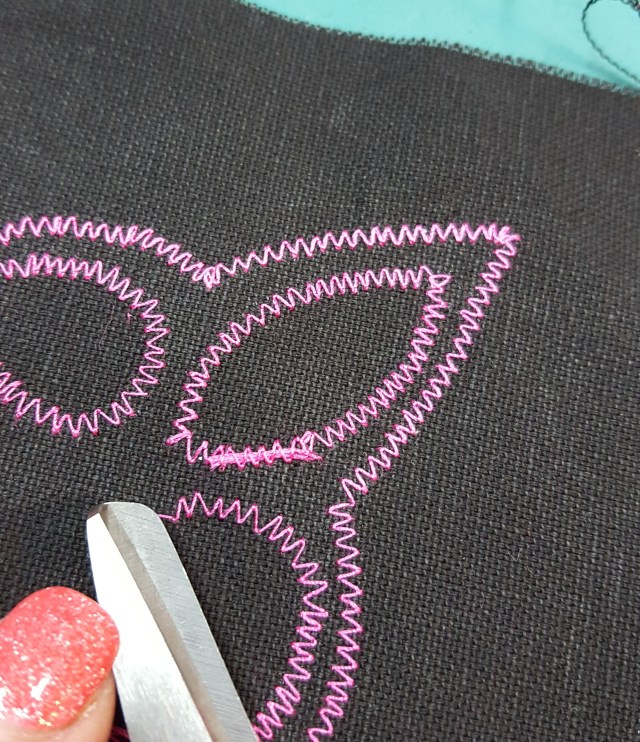
Pull threads through and cut. Leaves your work nice and neat!
in quilting,
Debbie
P.S. stay COOL!
