
I’m sure most of you are doing the same…staying in and social distancing. I don’t like it one little bit! As I’ve said before, I’m a go-er. I do like staying in my p.j.s all day, but then I don’t get much done. So, I’m focusing on getting up and getting ready for the day. How are you handling things? You don’t have to answer that, but just know I’m thinking about ALL of you!
Yesterday I was sewing some blocks for Beth Helfter’s “Order Up!” online event. I like to support my local peeps/designers and I’m doing her event. I might see some of you on the call tonight?!? So my tips today are in relation to Beth’s preferred method of pressing seams…OPEN. (I usually press to one side, but I’m following her instructions.) There are pros and cons for both ways. I’ve come from a seamstress background, so completely understand the reasoning. It spreads to bulk of the seams. However, from a longarm perspective, I like to one side as it less likely a seam will open up. Over time, if a seam does open up, by pressing to one side you still have that underneath fabric for support instead of opening right to the batting. Like I said, we have our reasons for using each way. YOU must be comfortable in each situation that you use your method!
To press seams open…
#1 – I first press the seam as it was sewn. This helps “set” the stitches. Setting the stitches “melds” fabric and stitches “together”. It does make for a much nicer seamline!

Press seam as sewn to “set” the seam.
#2 – I finger press from the back, as I use the iron. This makes sure the seam is flat with NO tucks in the seamline.
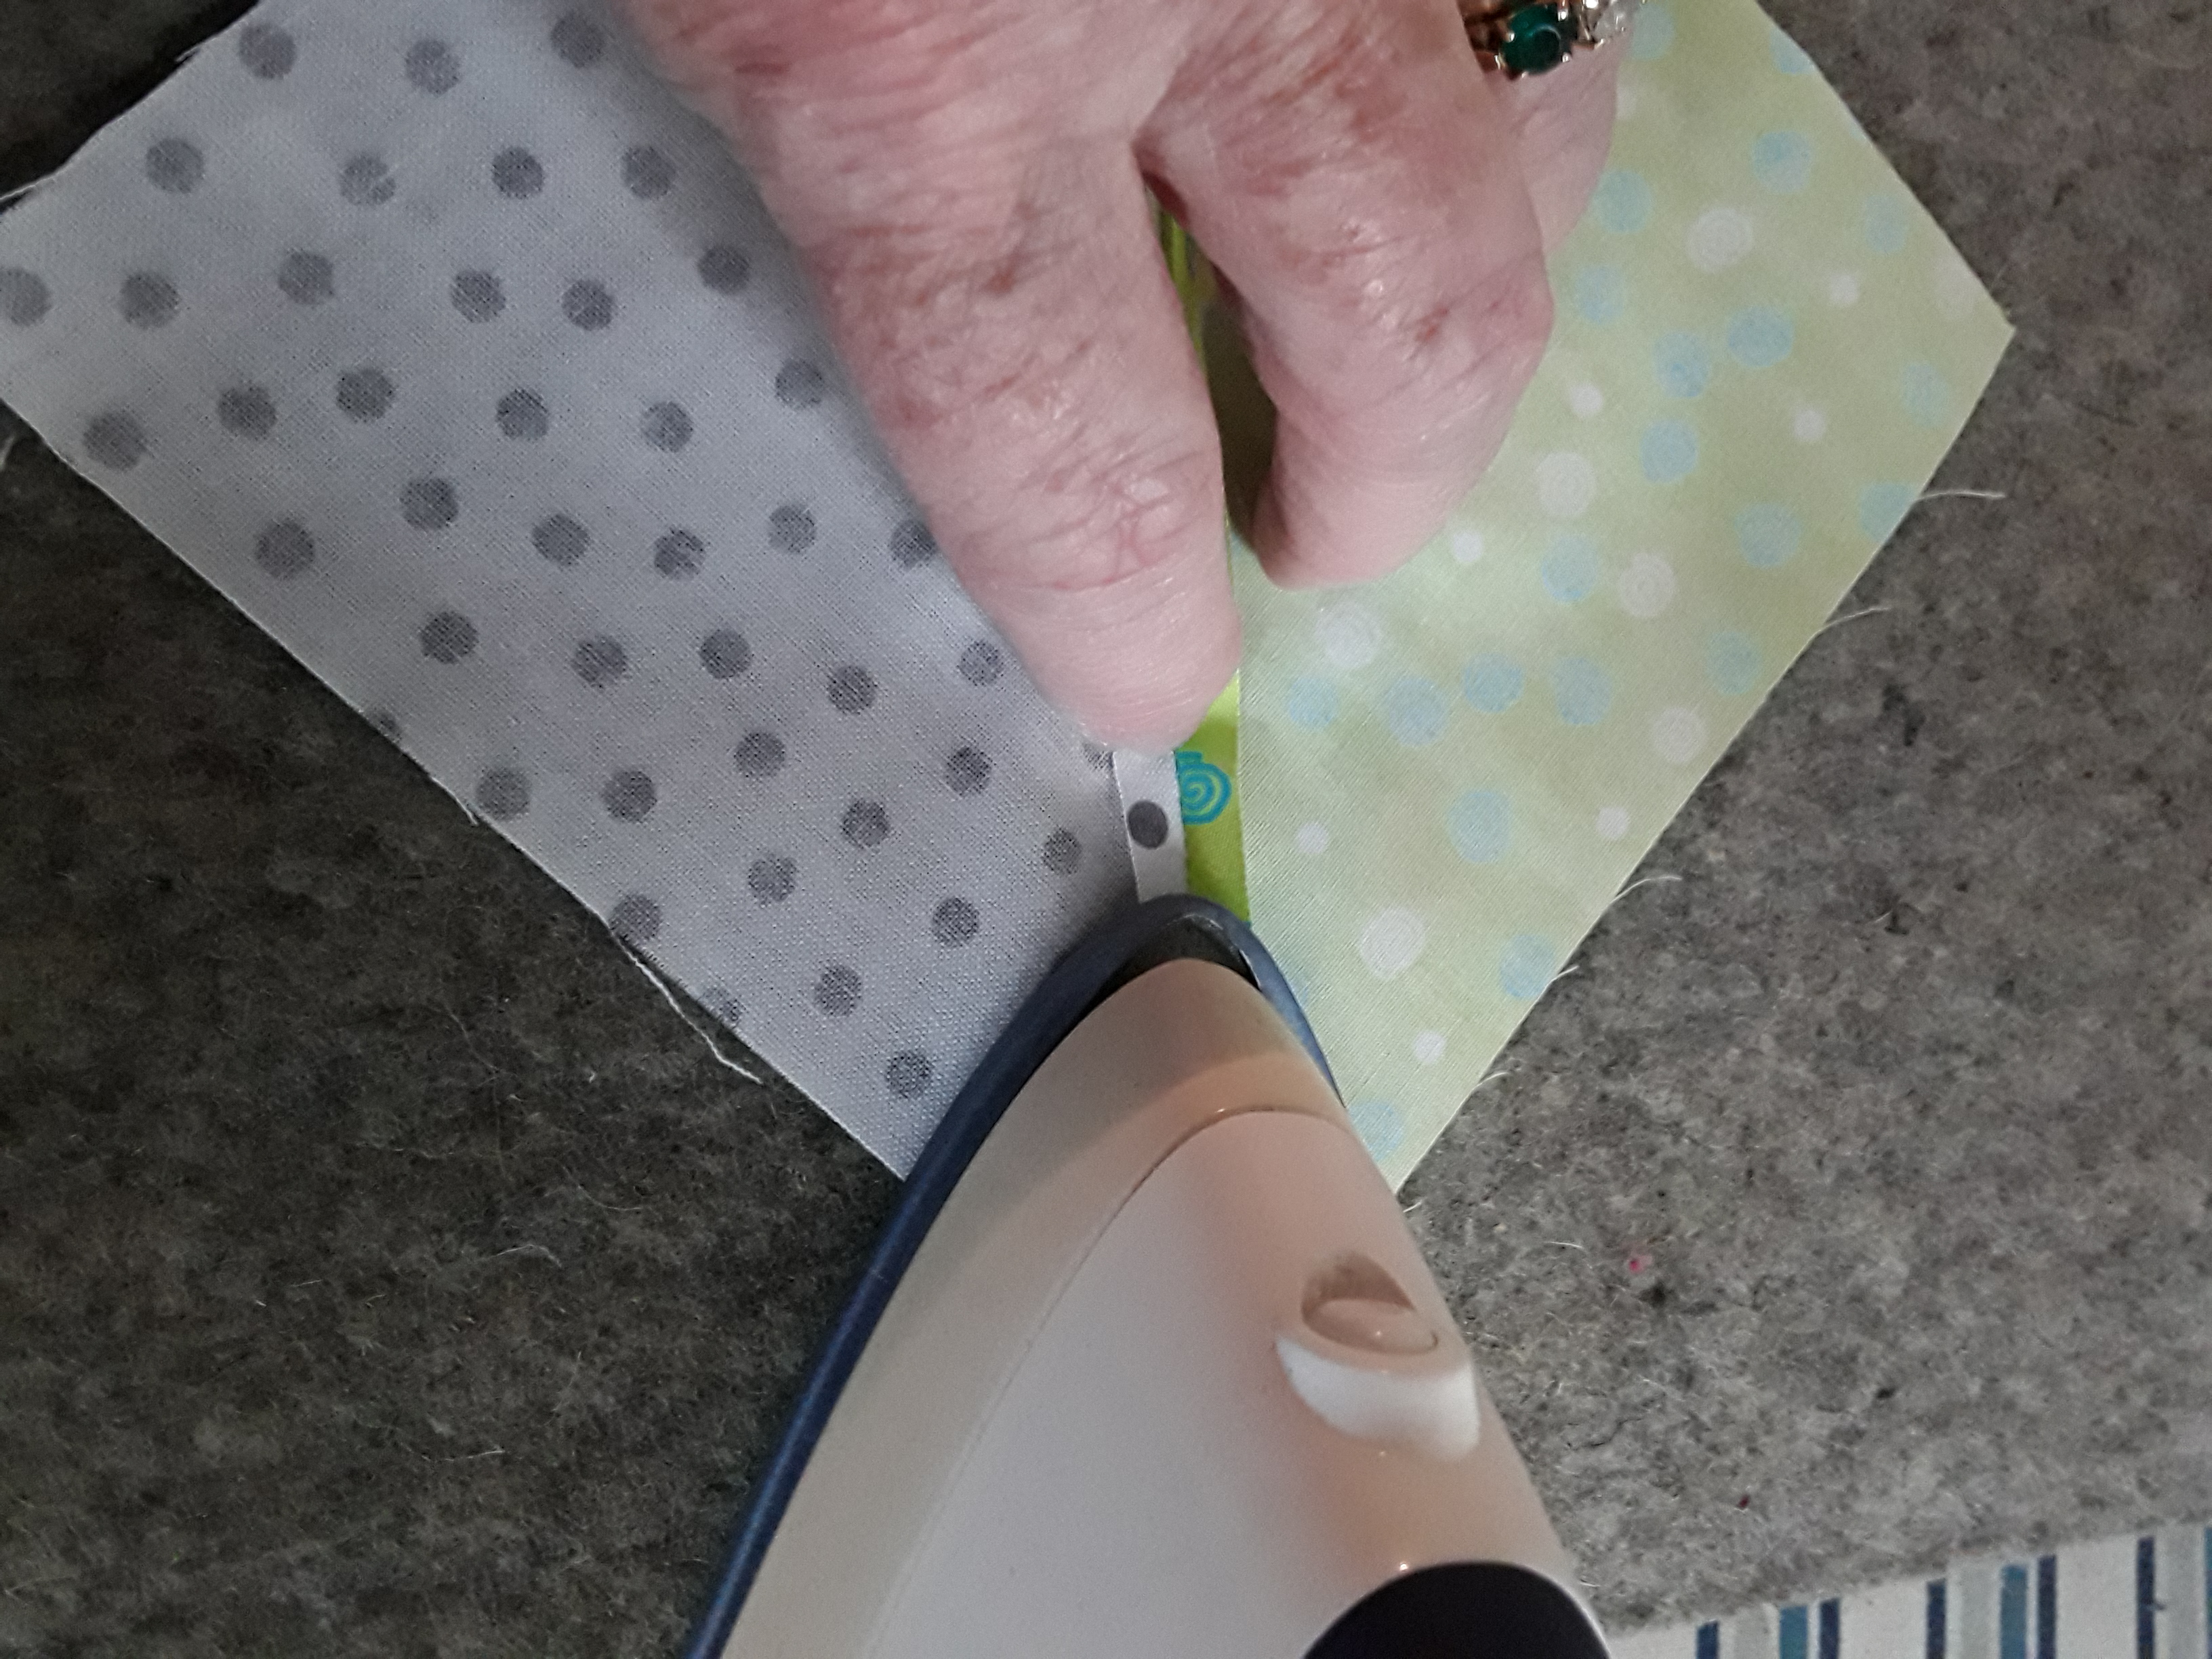
Press seam open.
IMPORTANT #3 – Press the seam again from the front! Again, being sure there are no tucks in the seamline.

Lastly, press seam from the front!
One good final press!
Open or side…make sure your seams are pressed neatly. It DOES make a difference!!
in quilting,
Debbie
