In looking back thru all the tips, I know I’ve talked about taking classes. I realized I haven’t told you about classes I teach. I’m teaching in Paducah for AQS Week, April 22-25!

I bring this up now to encourage you to register soon as many classes are already full. Three ofmine are FULL! Twirl-A-Tool still has a few spots left, so if you’ve wanted to take a class with me, don’t delay in registering. I’m also presenting at both All-Star Reciews. I will have a booth in the Pavillion again this year, Booth #4403. Be sure to stop by as I’ll be demo-ing Brilliant Bindings when I’m not teaching a class. I now offer 10 patterns that use Brilliant Bindings as a template to make those patterns! Brilliant Bindings is double duty and more!
The weekend before last, I attended one of my guild’s getaway weekend! We were on Cape Cod, loving known as “The Cape” in New England. With 50+ mile an hour winds and many inches of snow, it was nice to be inside with humming machines and a room full of creative women! We watched the bay go from icey edges to a layer of of ice for many yards out. What an amazing sight!

Beach at bottom edge. Ice out to lighthouse!
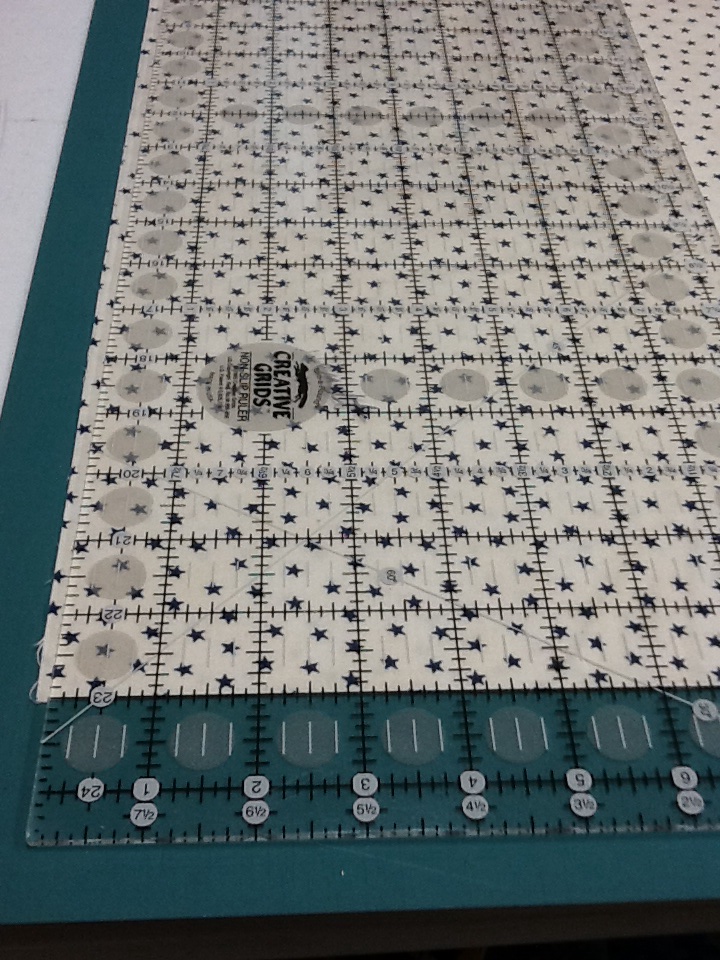
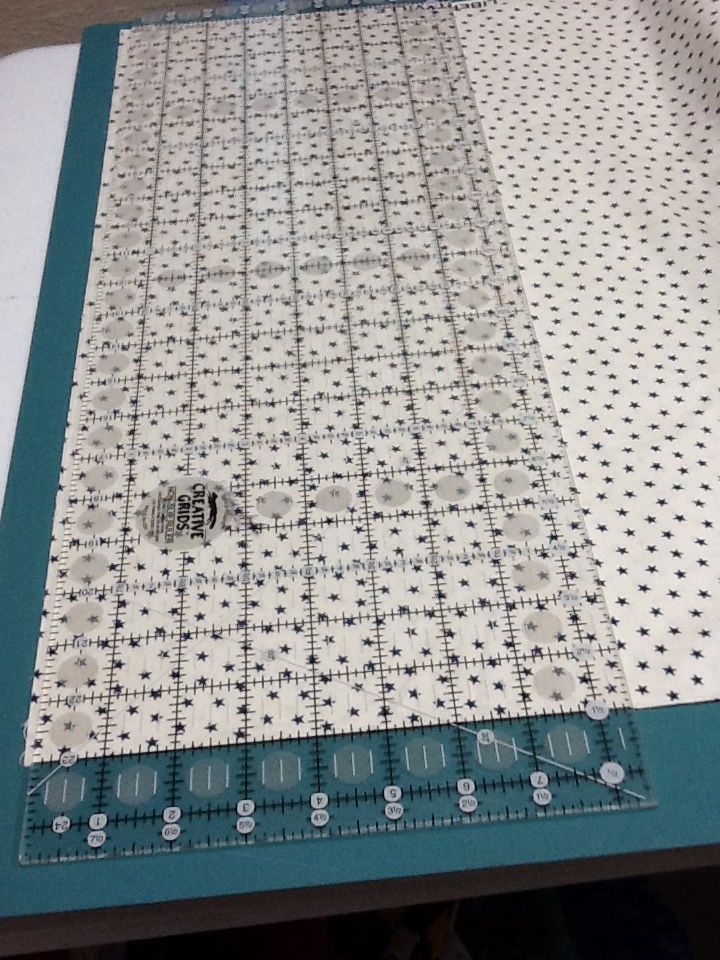
At the getaway I was cutting many, many strips for a project. Do you have a method for speeding up the process? Instead of cutting one strip at a time and removing it and then cutting the next, try cutting several before removing. I straighten one edge and then move my ruler to the furthest measurement I can cut. 3 x 2 1/2″ = 7 1/2″. I move my ruler to 7 1/2″, make a cut, move to 5″, cut and finally to 2 1/2″ and cut. This helps me save time with fewer movements. I’ve shown this in the photos below. Notice the cut line. It is very faint as I leave it in place until I’ve made all three cuts.
Cut at 7 1/2″
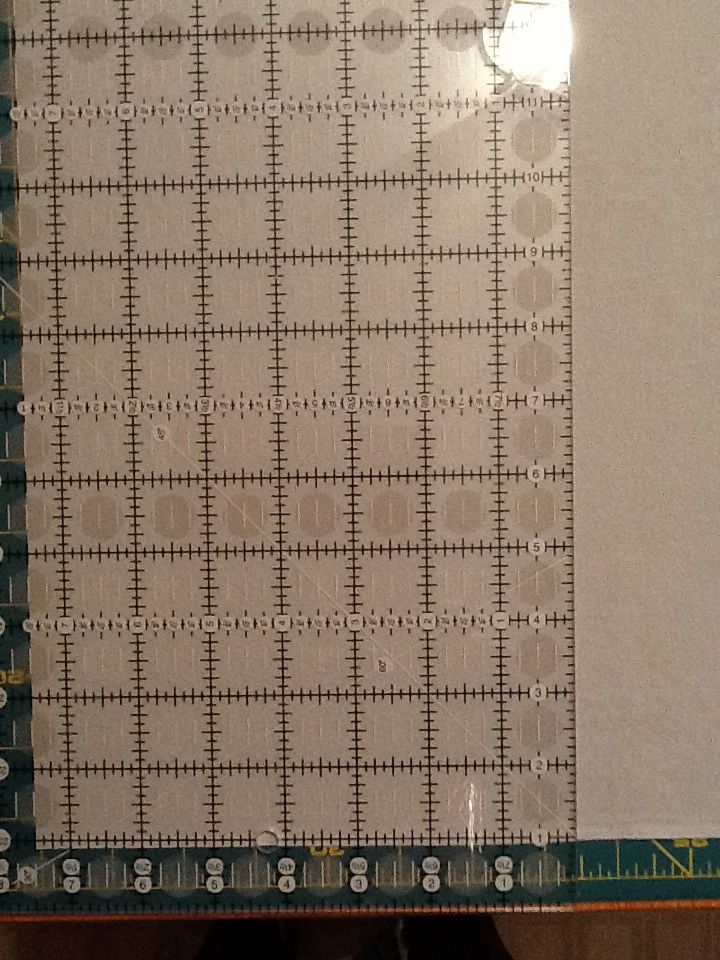
Cut at 5″

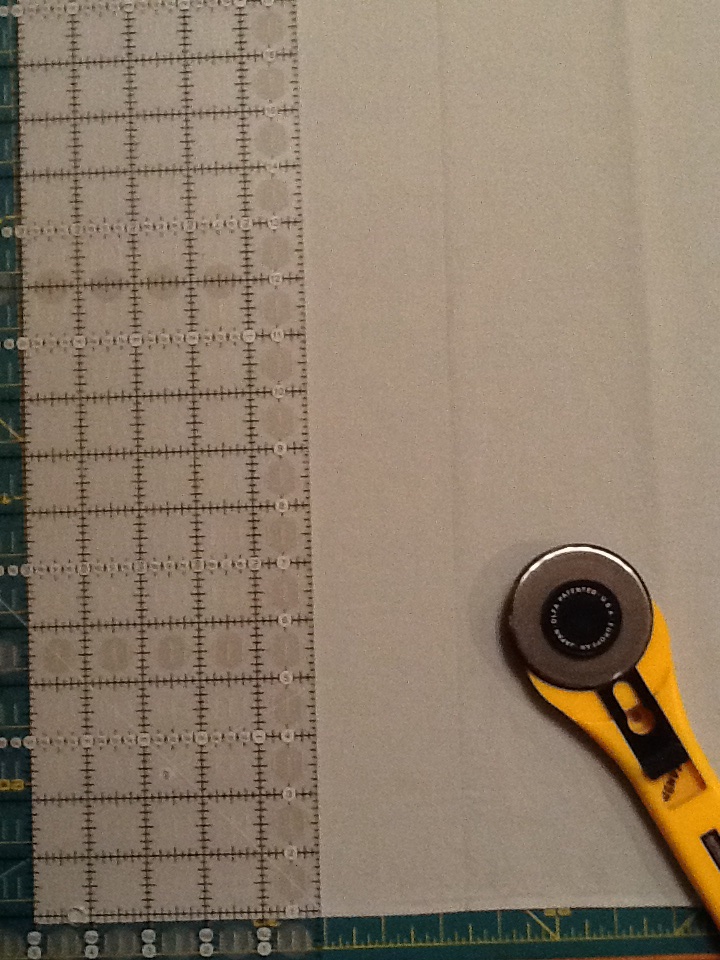
Cut at 2 1/2″
#1 – find time saving methods to speed up your cutting process.
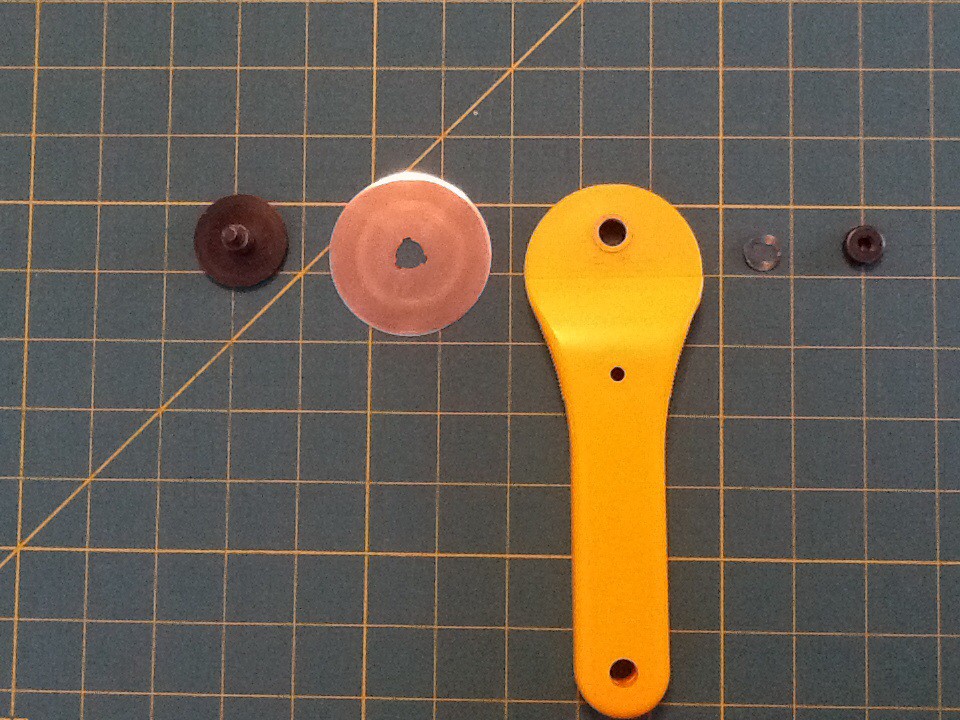
With cutting a lot of strips, I want to be sure my blade is sharp! When changing a blade, remove parts in order. This will ensure you put it back together in the correct order!
#2 – keep rotary cutter parts in ORDER!
May all your cuts be straight with a sharp cutter!
~ Debbie