Two Tip Tuesday – Design WALL

I am in the process of moving most of my studio into our family room. From a small office space and sewing in my basement for the past many years I am claiming the largest room in our house as my new studio. The longarm is staying put in the basement but my sewing machines and several tables are getting relocated. I also needed sunlight which the basement doesn’t have. So we’ve moved my first design wall and it needed a “friend” to be able to arrange larger quilts. So yes, WALL all in caps! I used a flannel sheet on my first wall and it is 4 ft. wide by 5 1/2 ft. high.  I bought flannel fabric for the “friend”. I kept this second sheet of insulation board the full 8 ft. height but cut it down to 3 ft. to better fit the space and it worked better for 40″ width of fabric.  I love the new WALL!!  Yes, that is a ladder so I can reach the top!

Flannel covered design wall

Want to make your own?  It is really pretty straight forward.  I used blue house styrofoam insulation board  that comes in 4′ x 8′ sheets.  Ideally, I would have liked to use the entire sheet, but my first was already made and I made the second to fit the space left.  I did trim it down to 3′ x 8′ because I purchased flannel and the wall space that was left.  Once I washed and dried the flannel, I did not iron it.  Took it straight out of the dryer and kept it flat.  I didn’t want the ironing to smash down the nap.  It is good to have at least 2″ for turn over to the back of the board.  I used a regular stapler to hold it in place and then used 3/8″ electric staple gun to be sure it was secure.  We per-determined the holes for the screws that would be screwed into the wall/studs.  (Screws should be a minimum of 1 1/2″.  Half inch for the insulation board + 1/2″ dry wall then enough to anchor into the stud.)  Also, added washers so the screw would not rip into the insulation with any weight on it and to keep it keeps the screw from being in-bedded into the insulation.) 

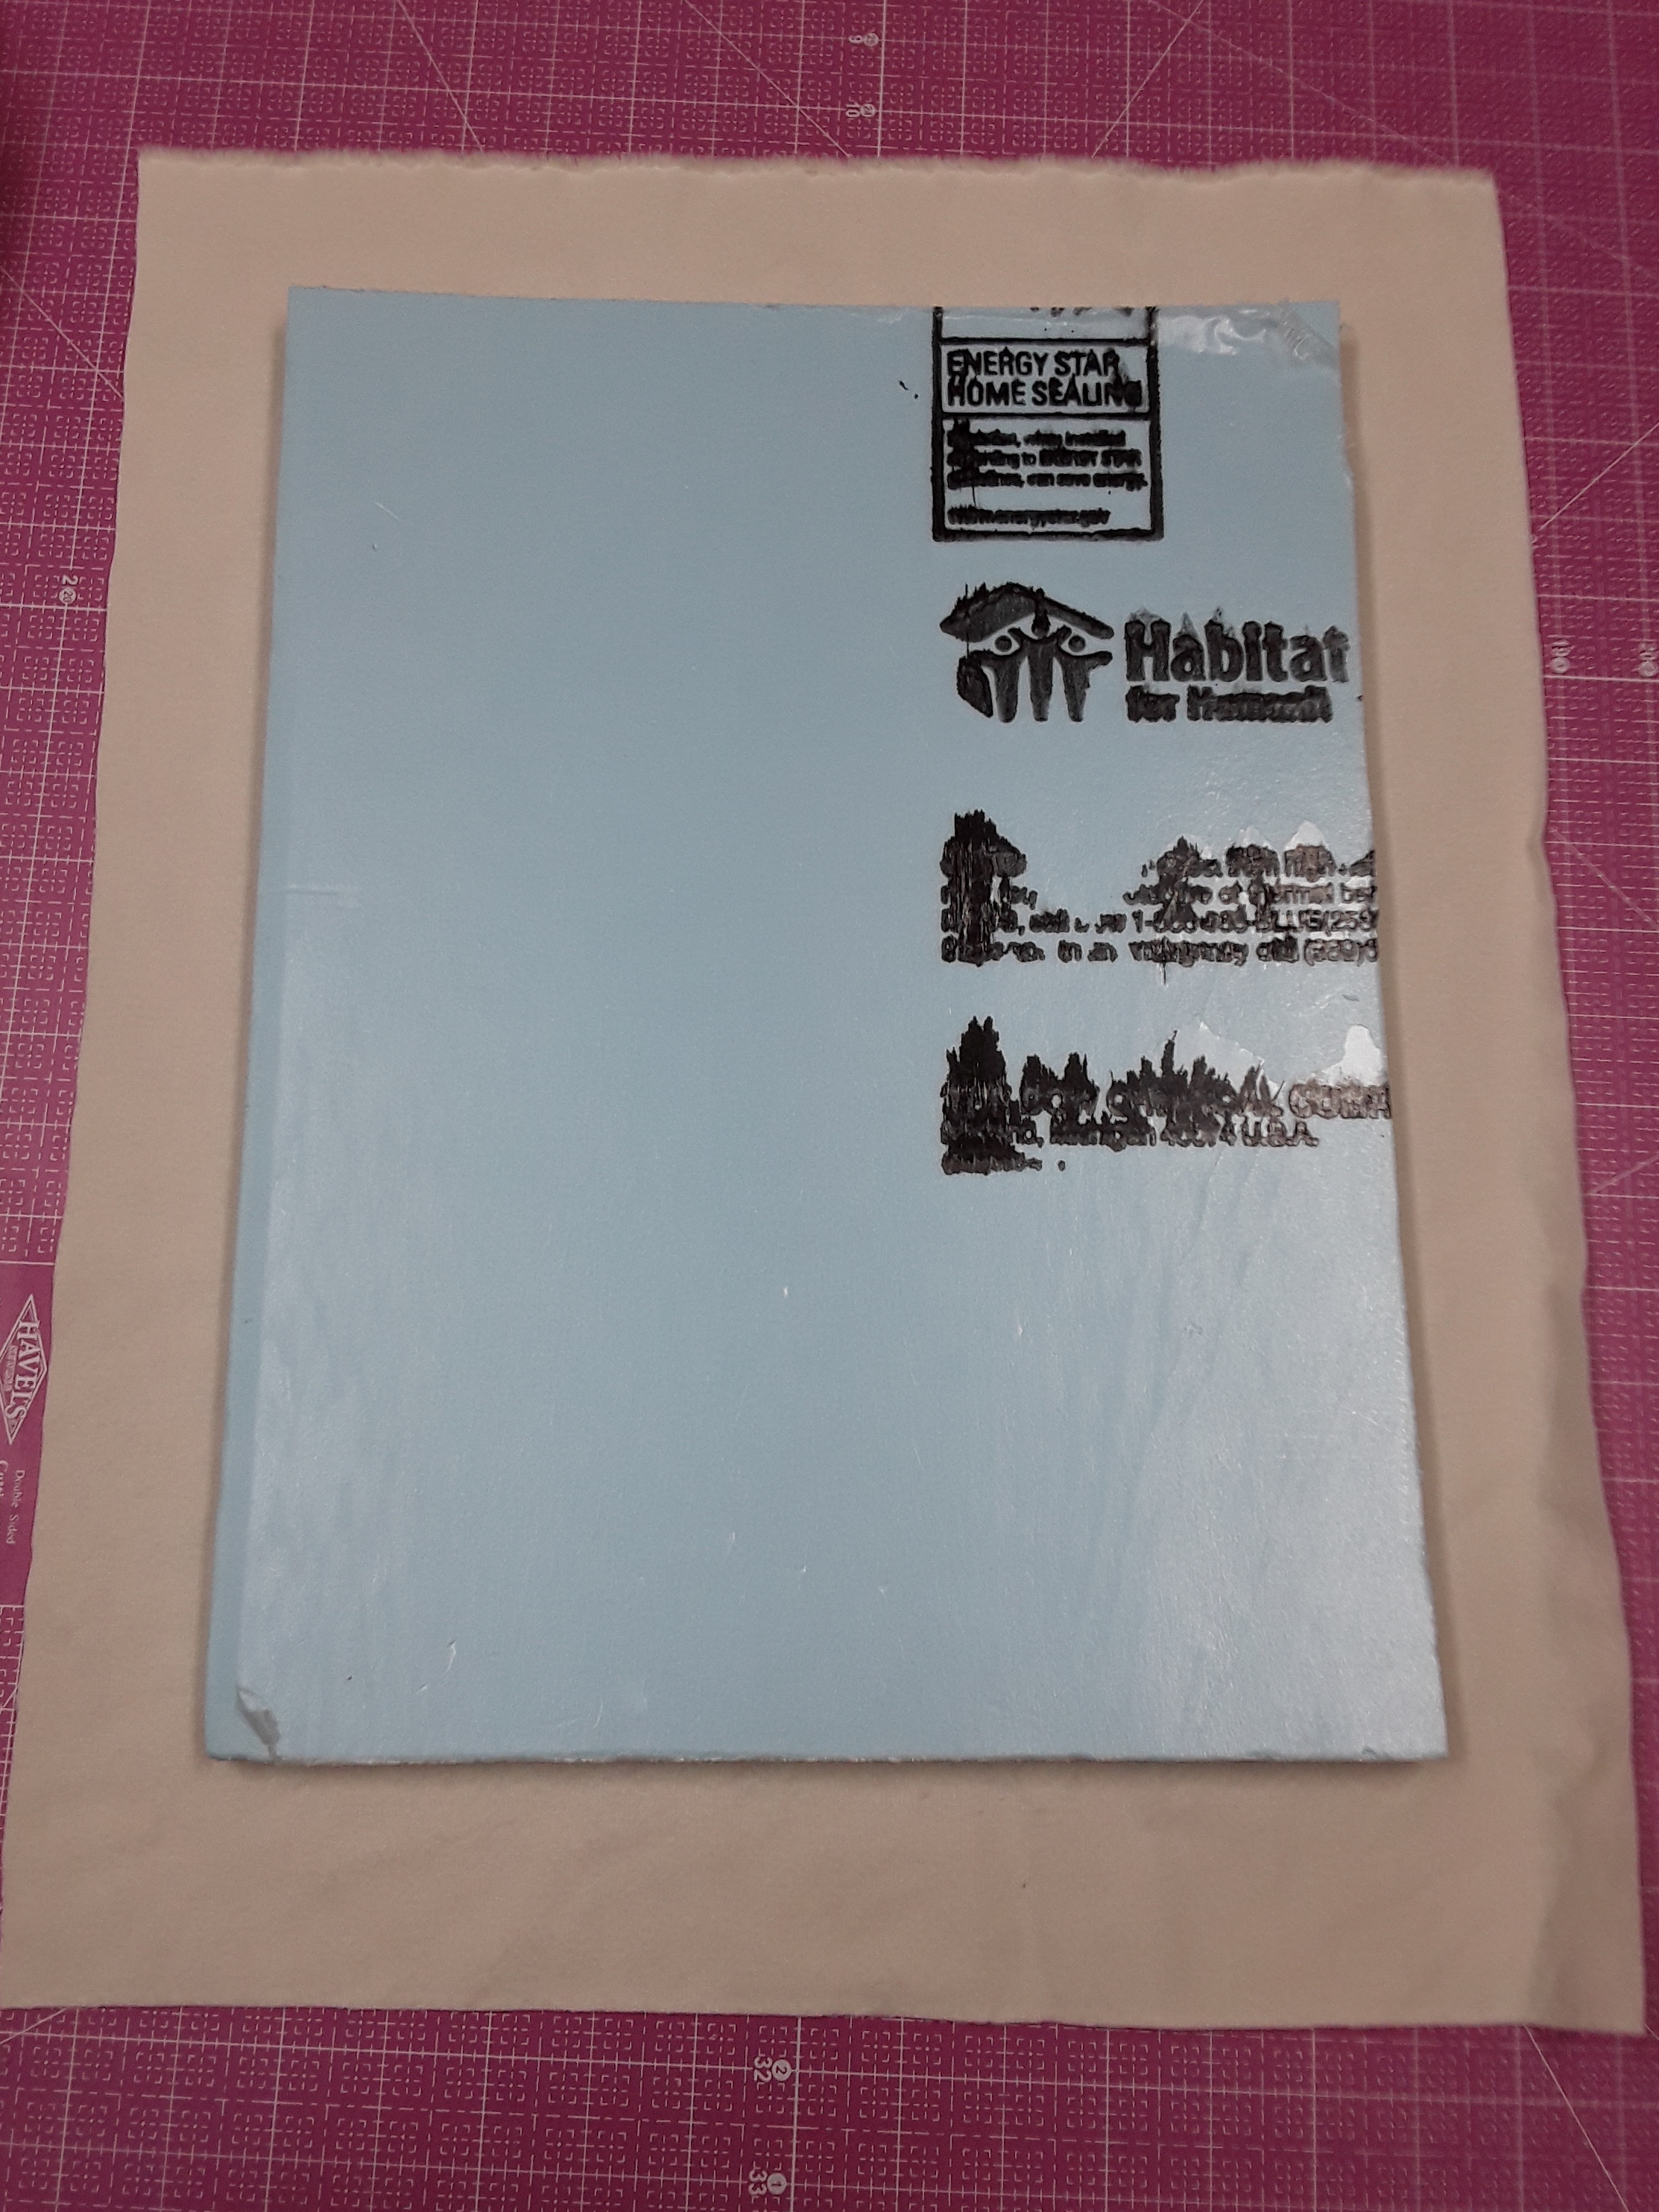
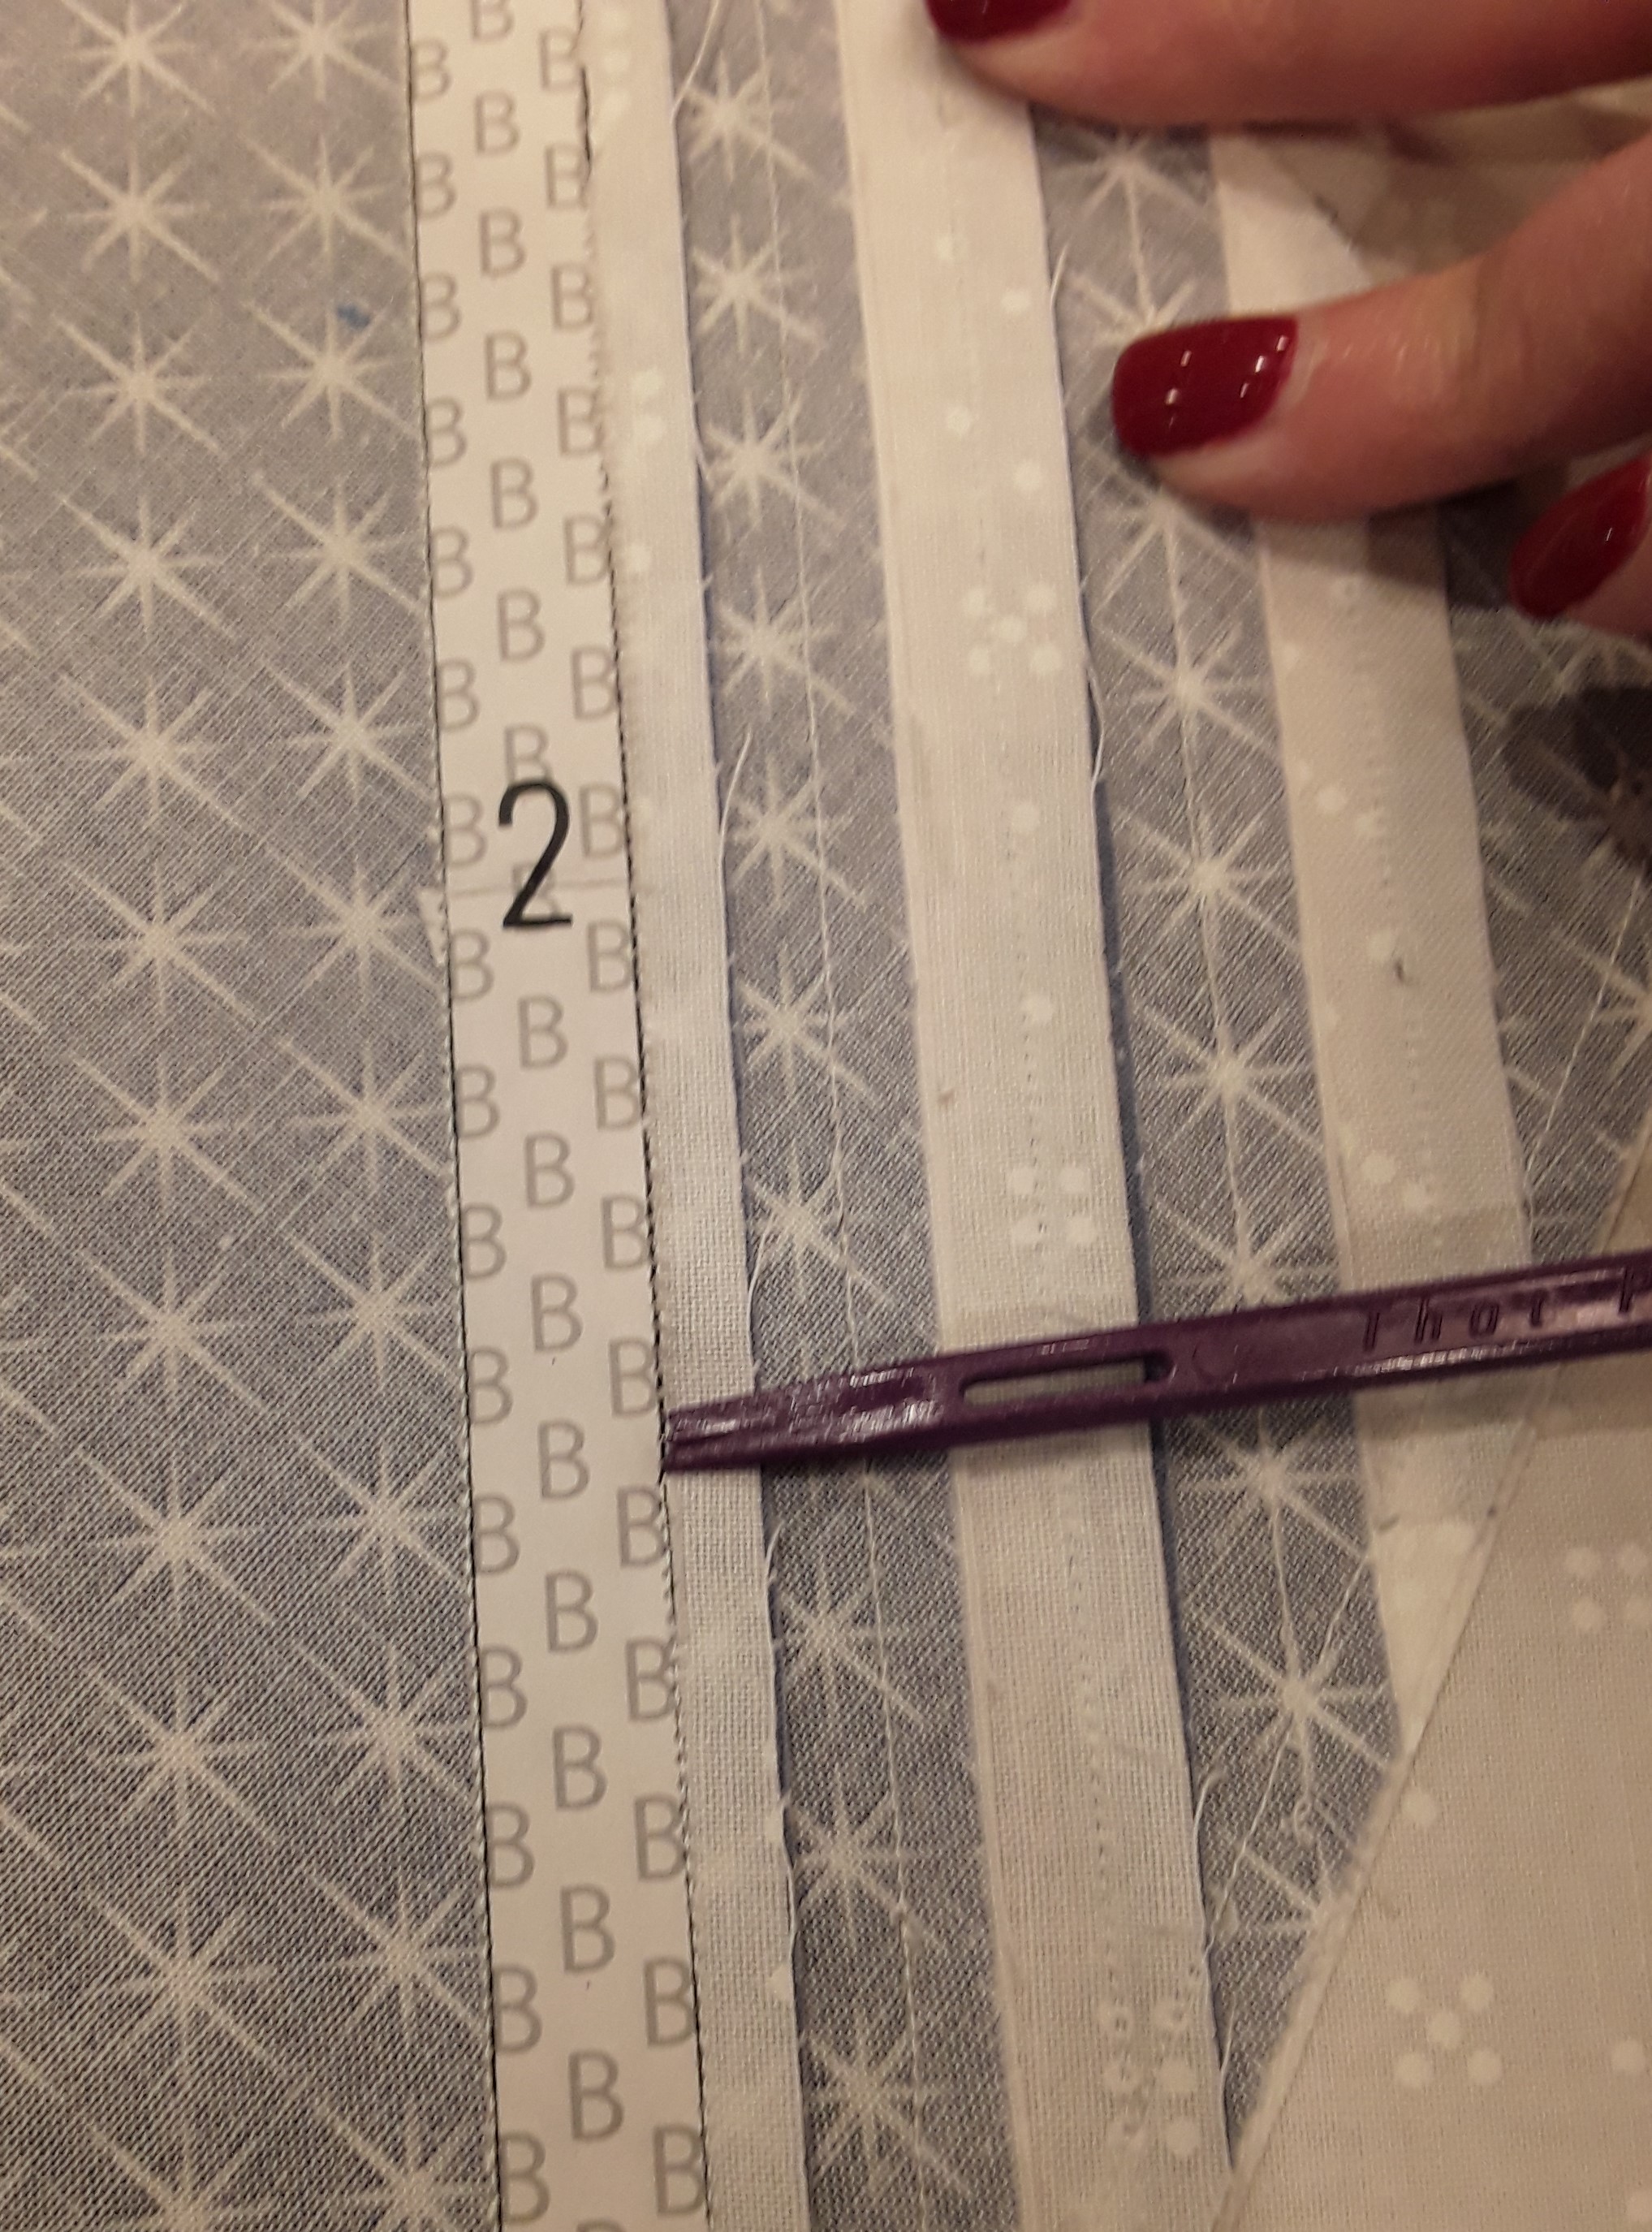
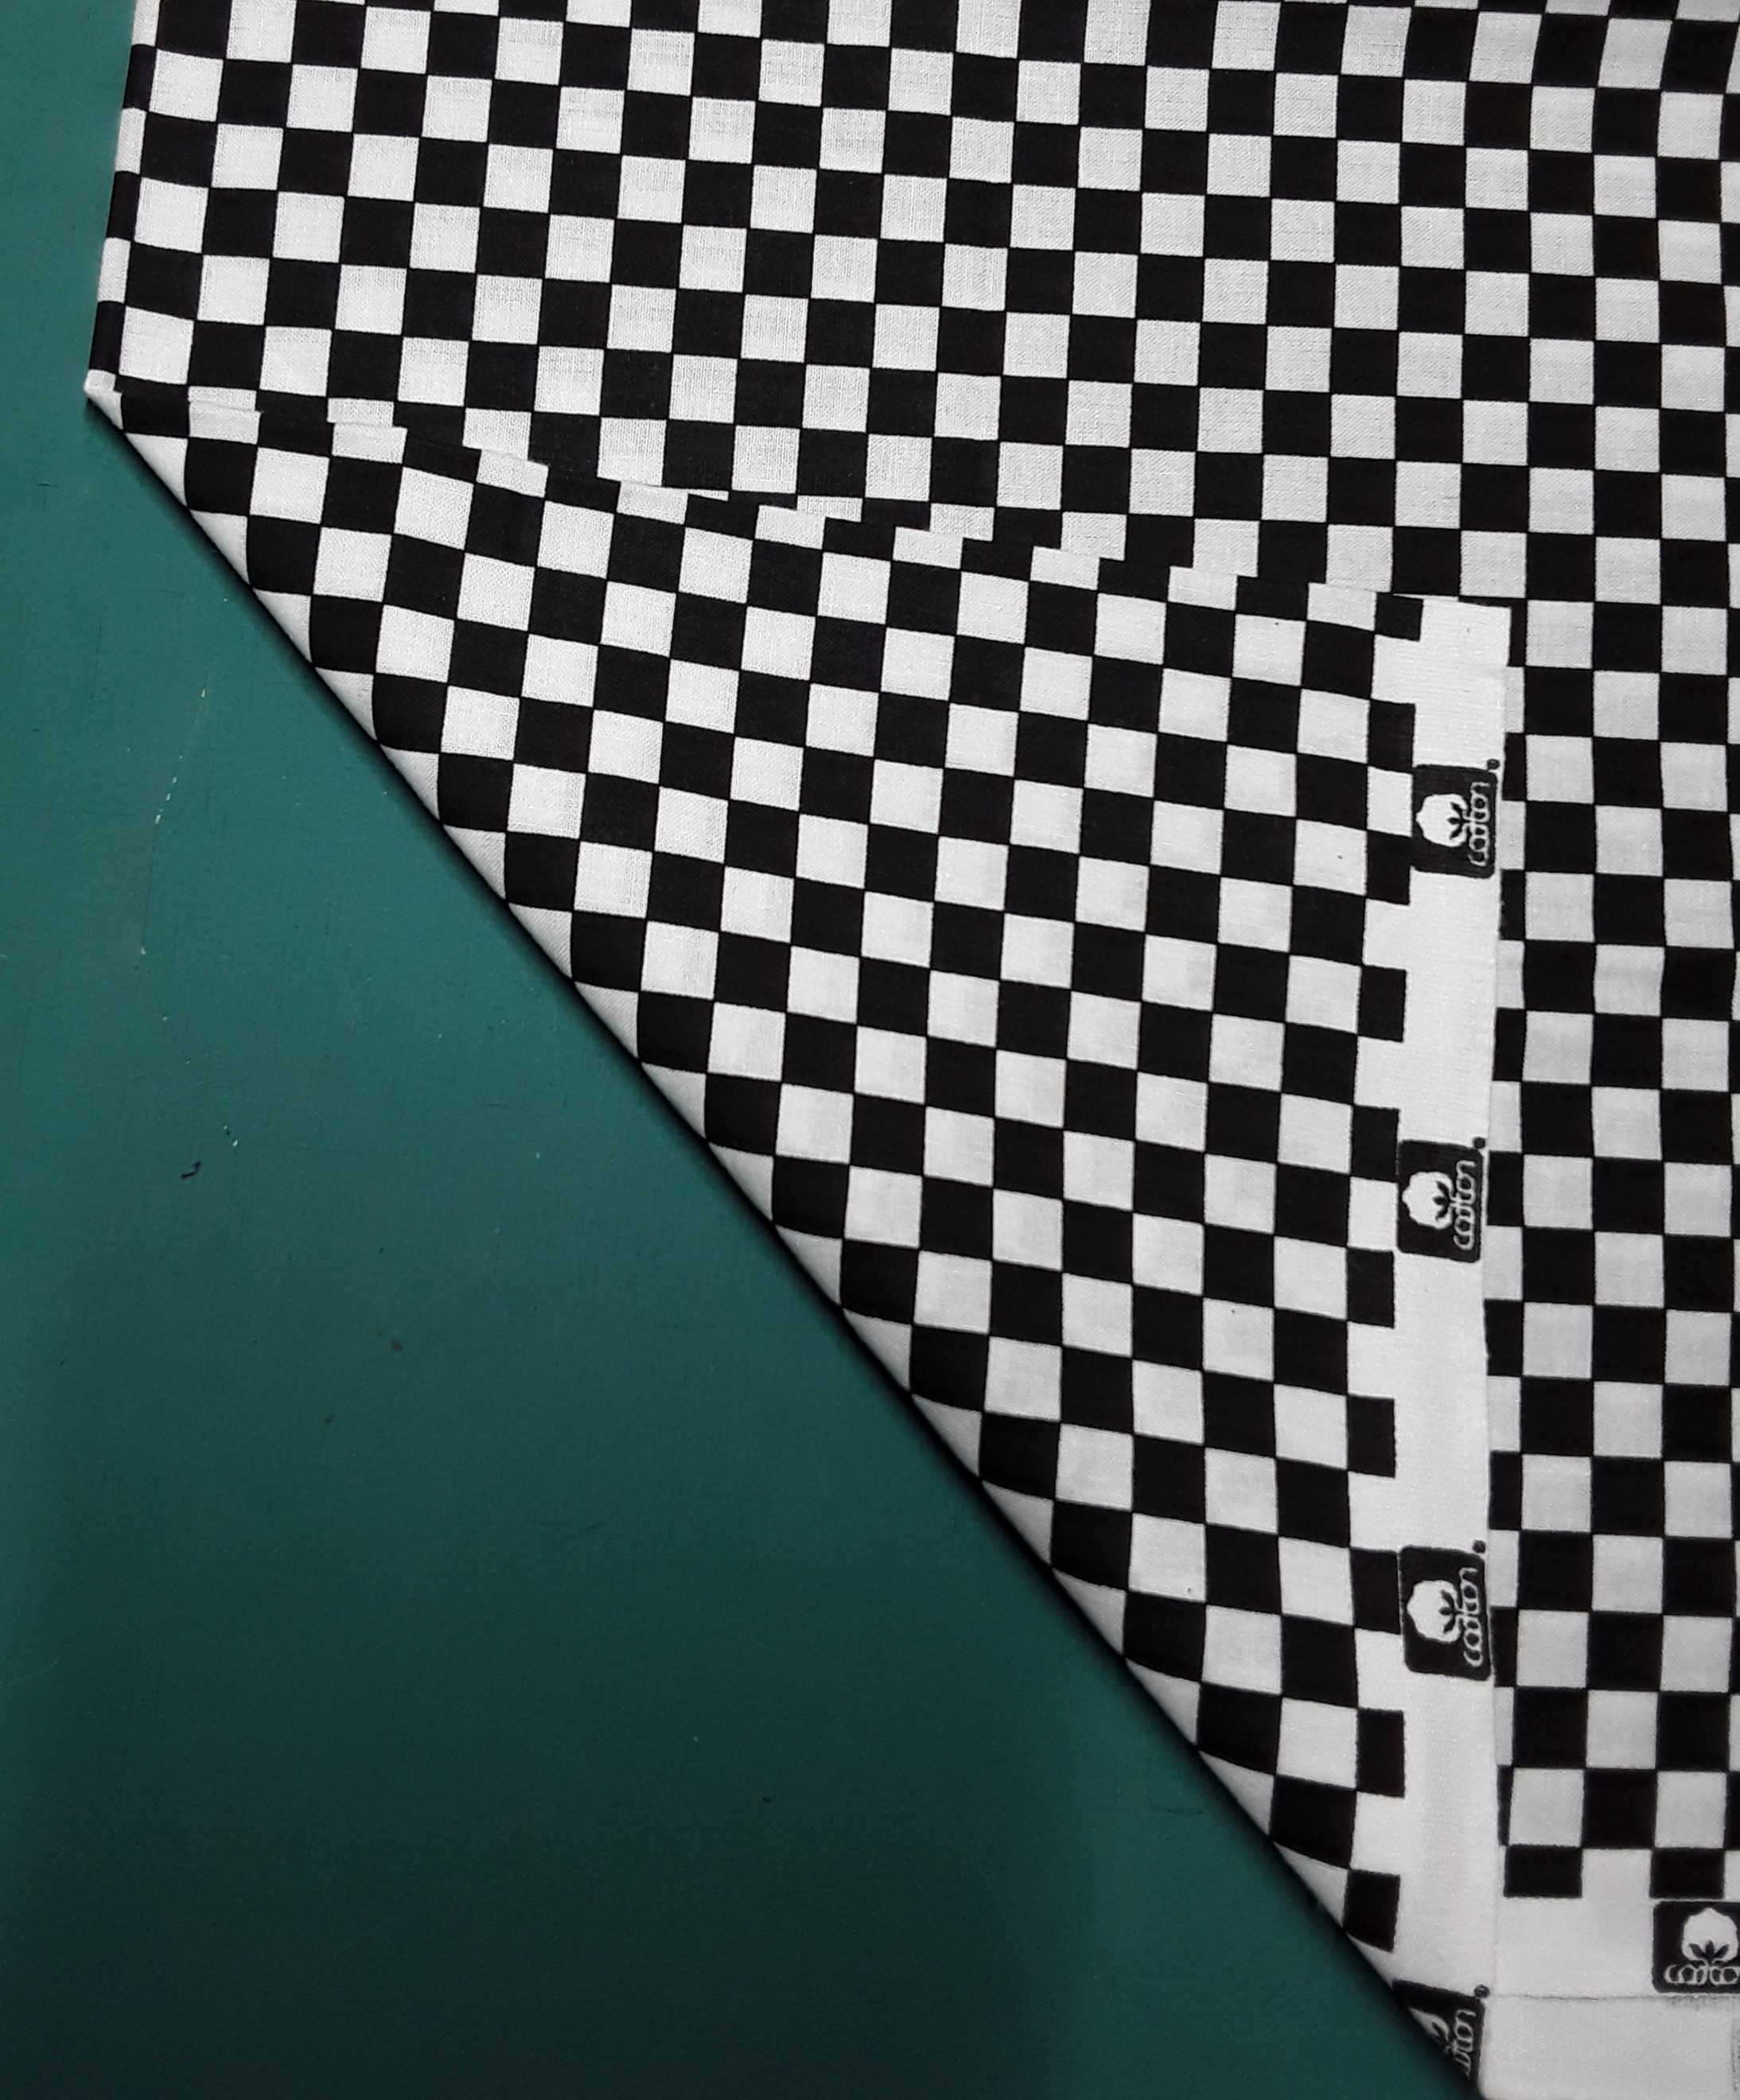
Flannel is 2″ wider than board.

Pre-determined screw hole.
Screw into place adding washer.

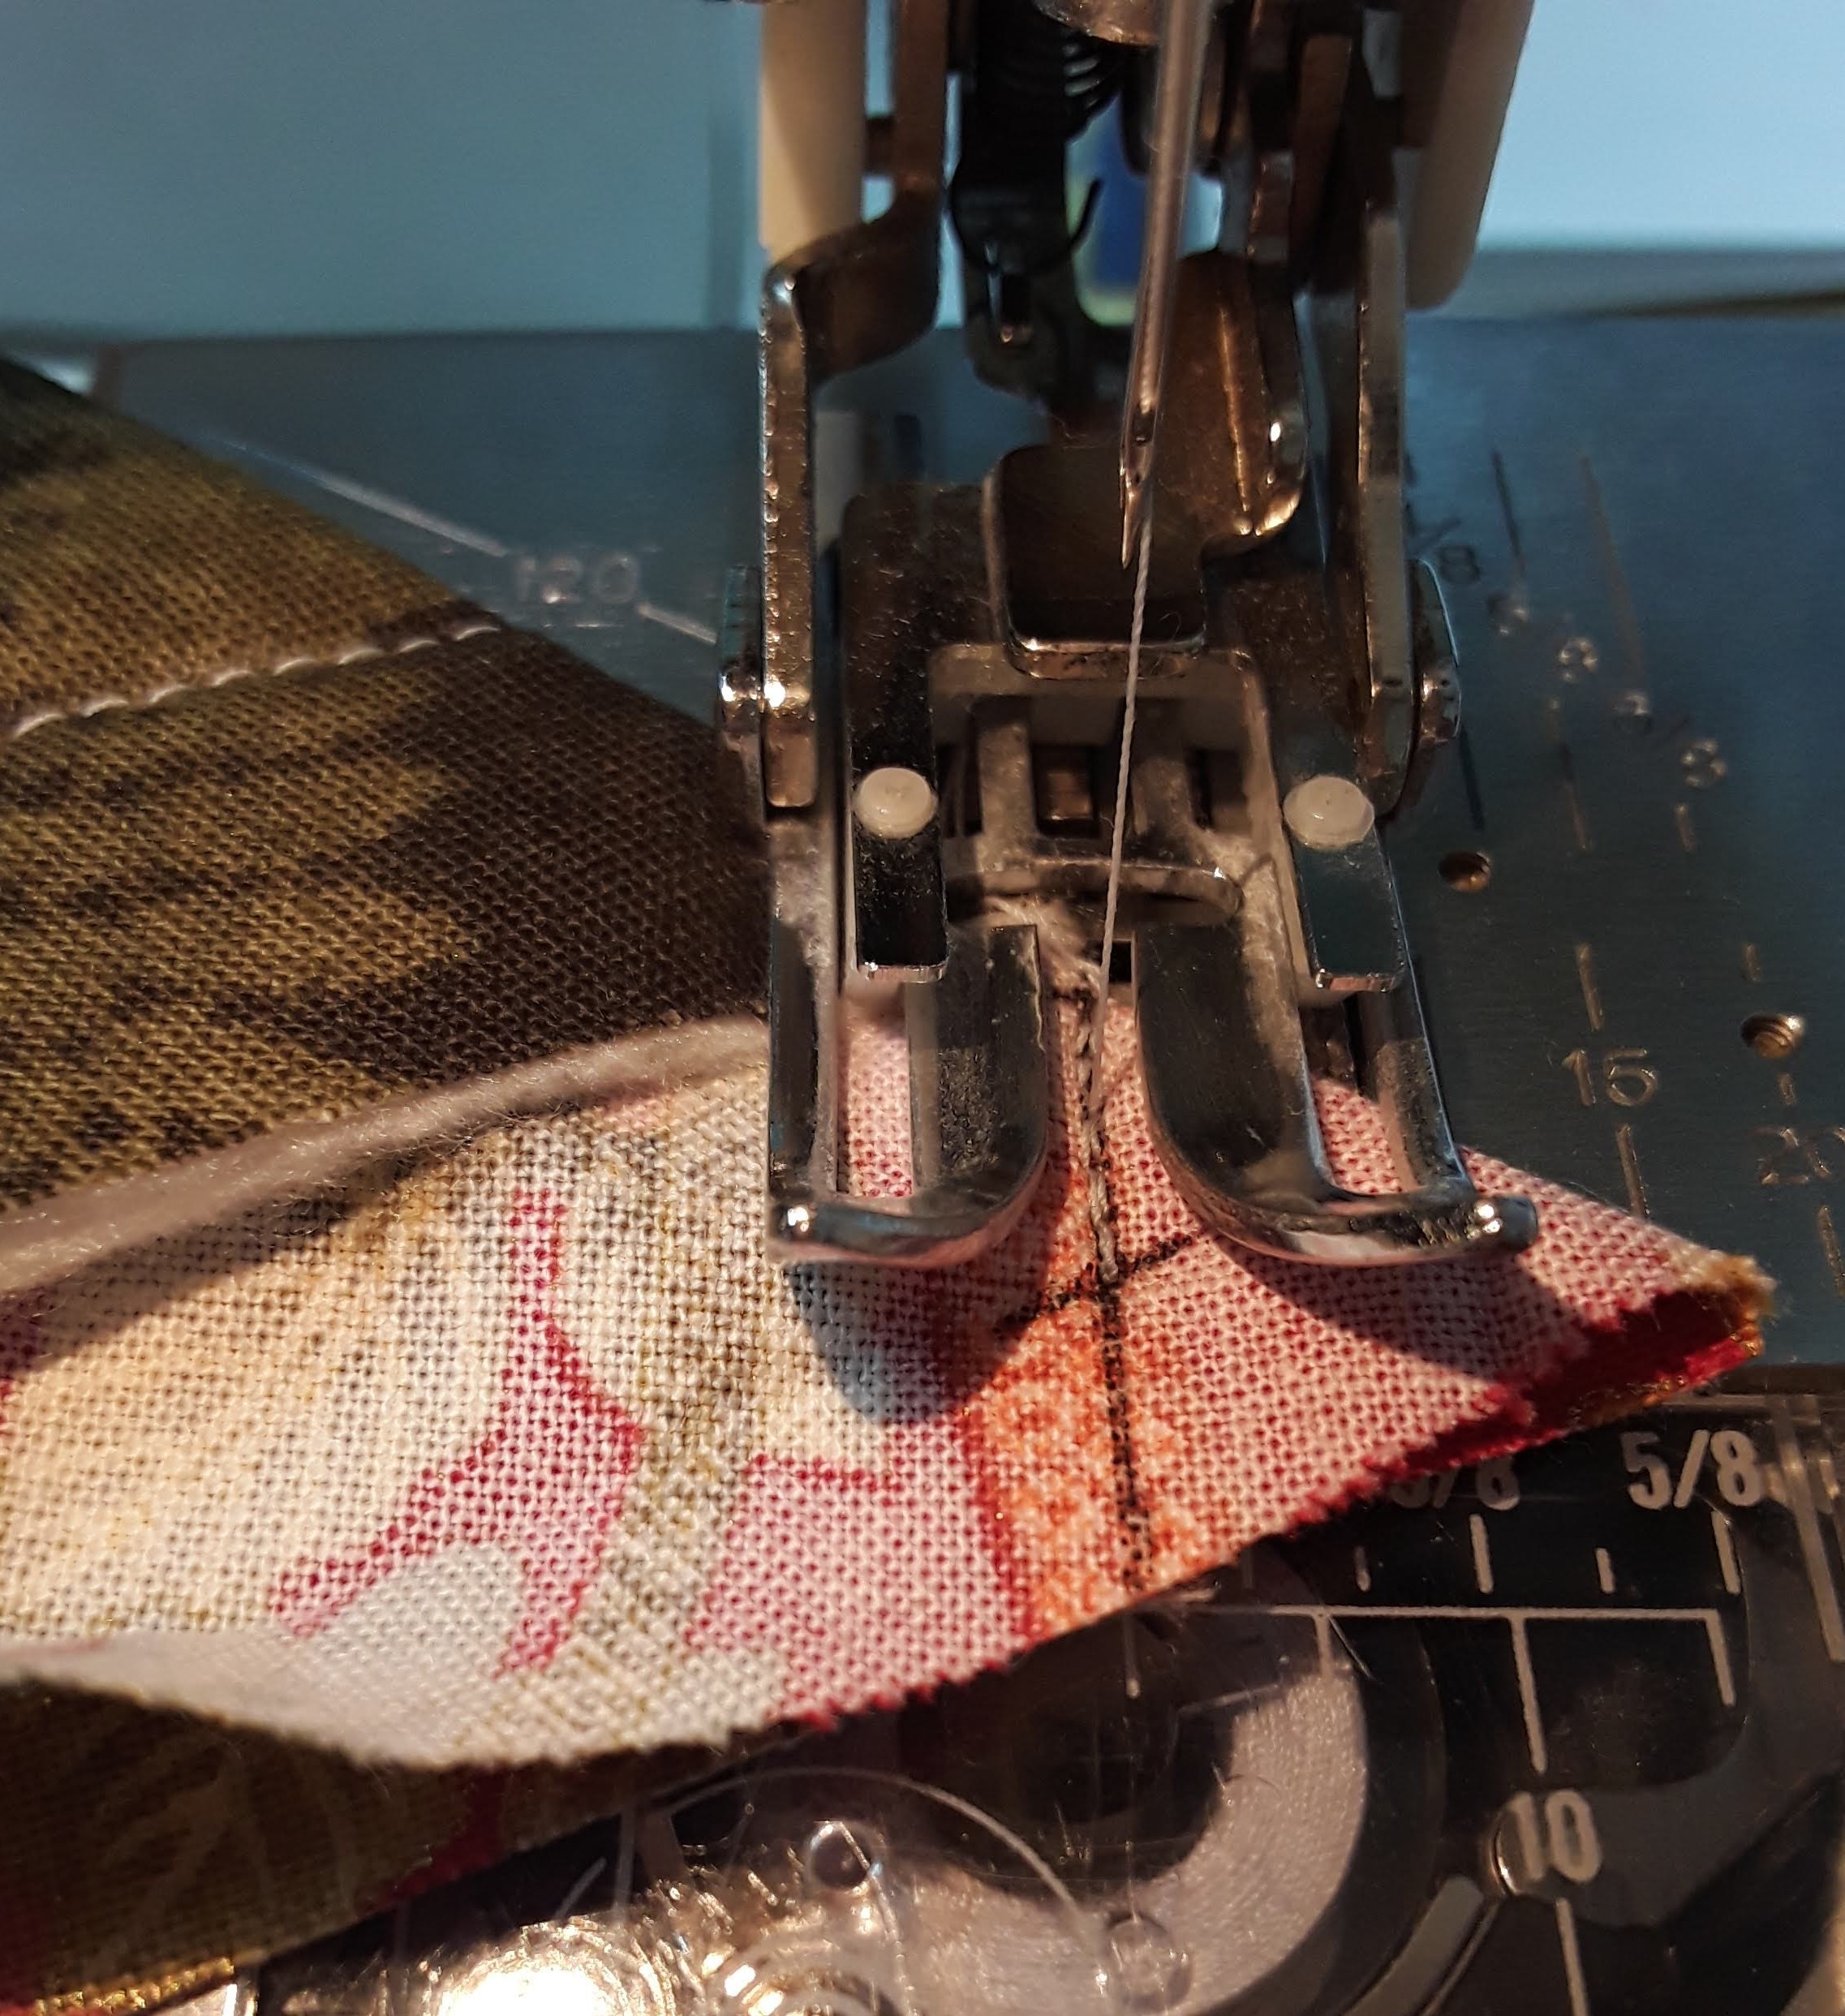
Place the blank side down on the insulation to the wrong side of the flannel.  Staple into place.  Pull fabric snug.  Cut fabric out of the corner to get a smoother turn over.

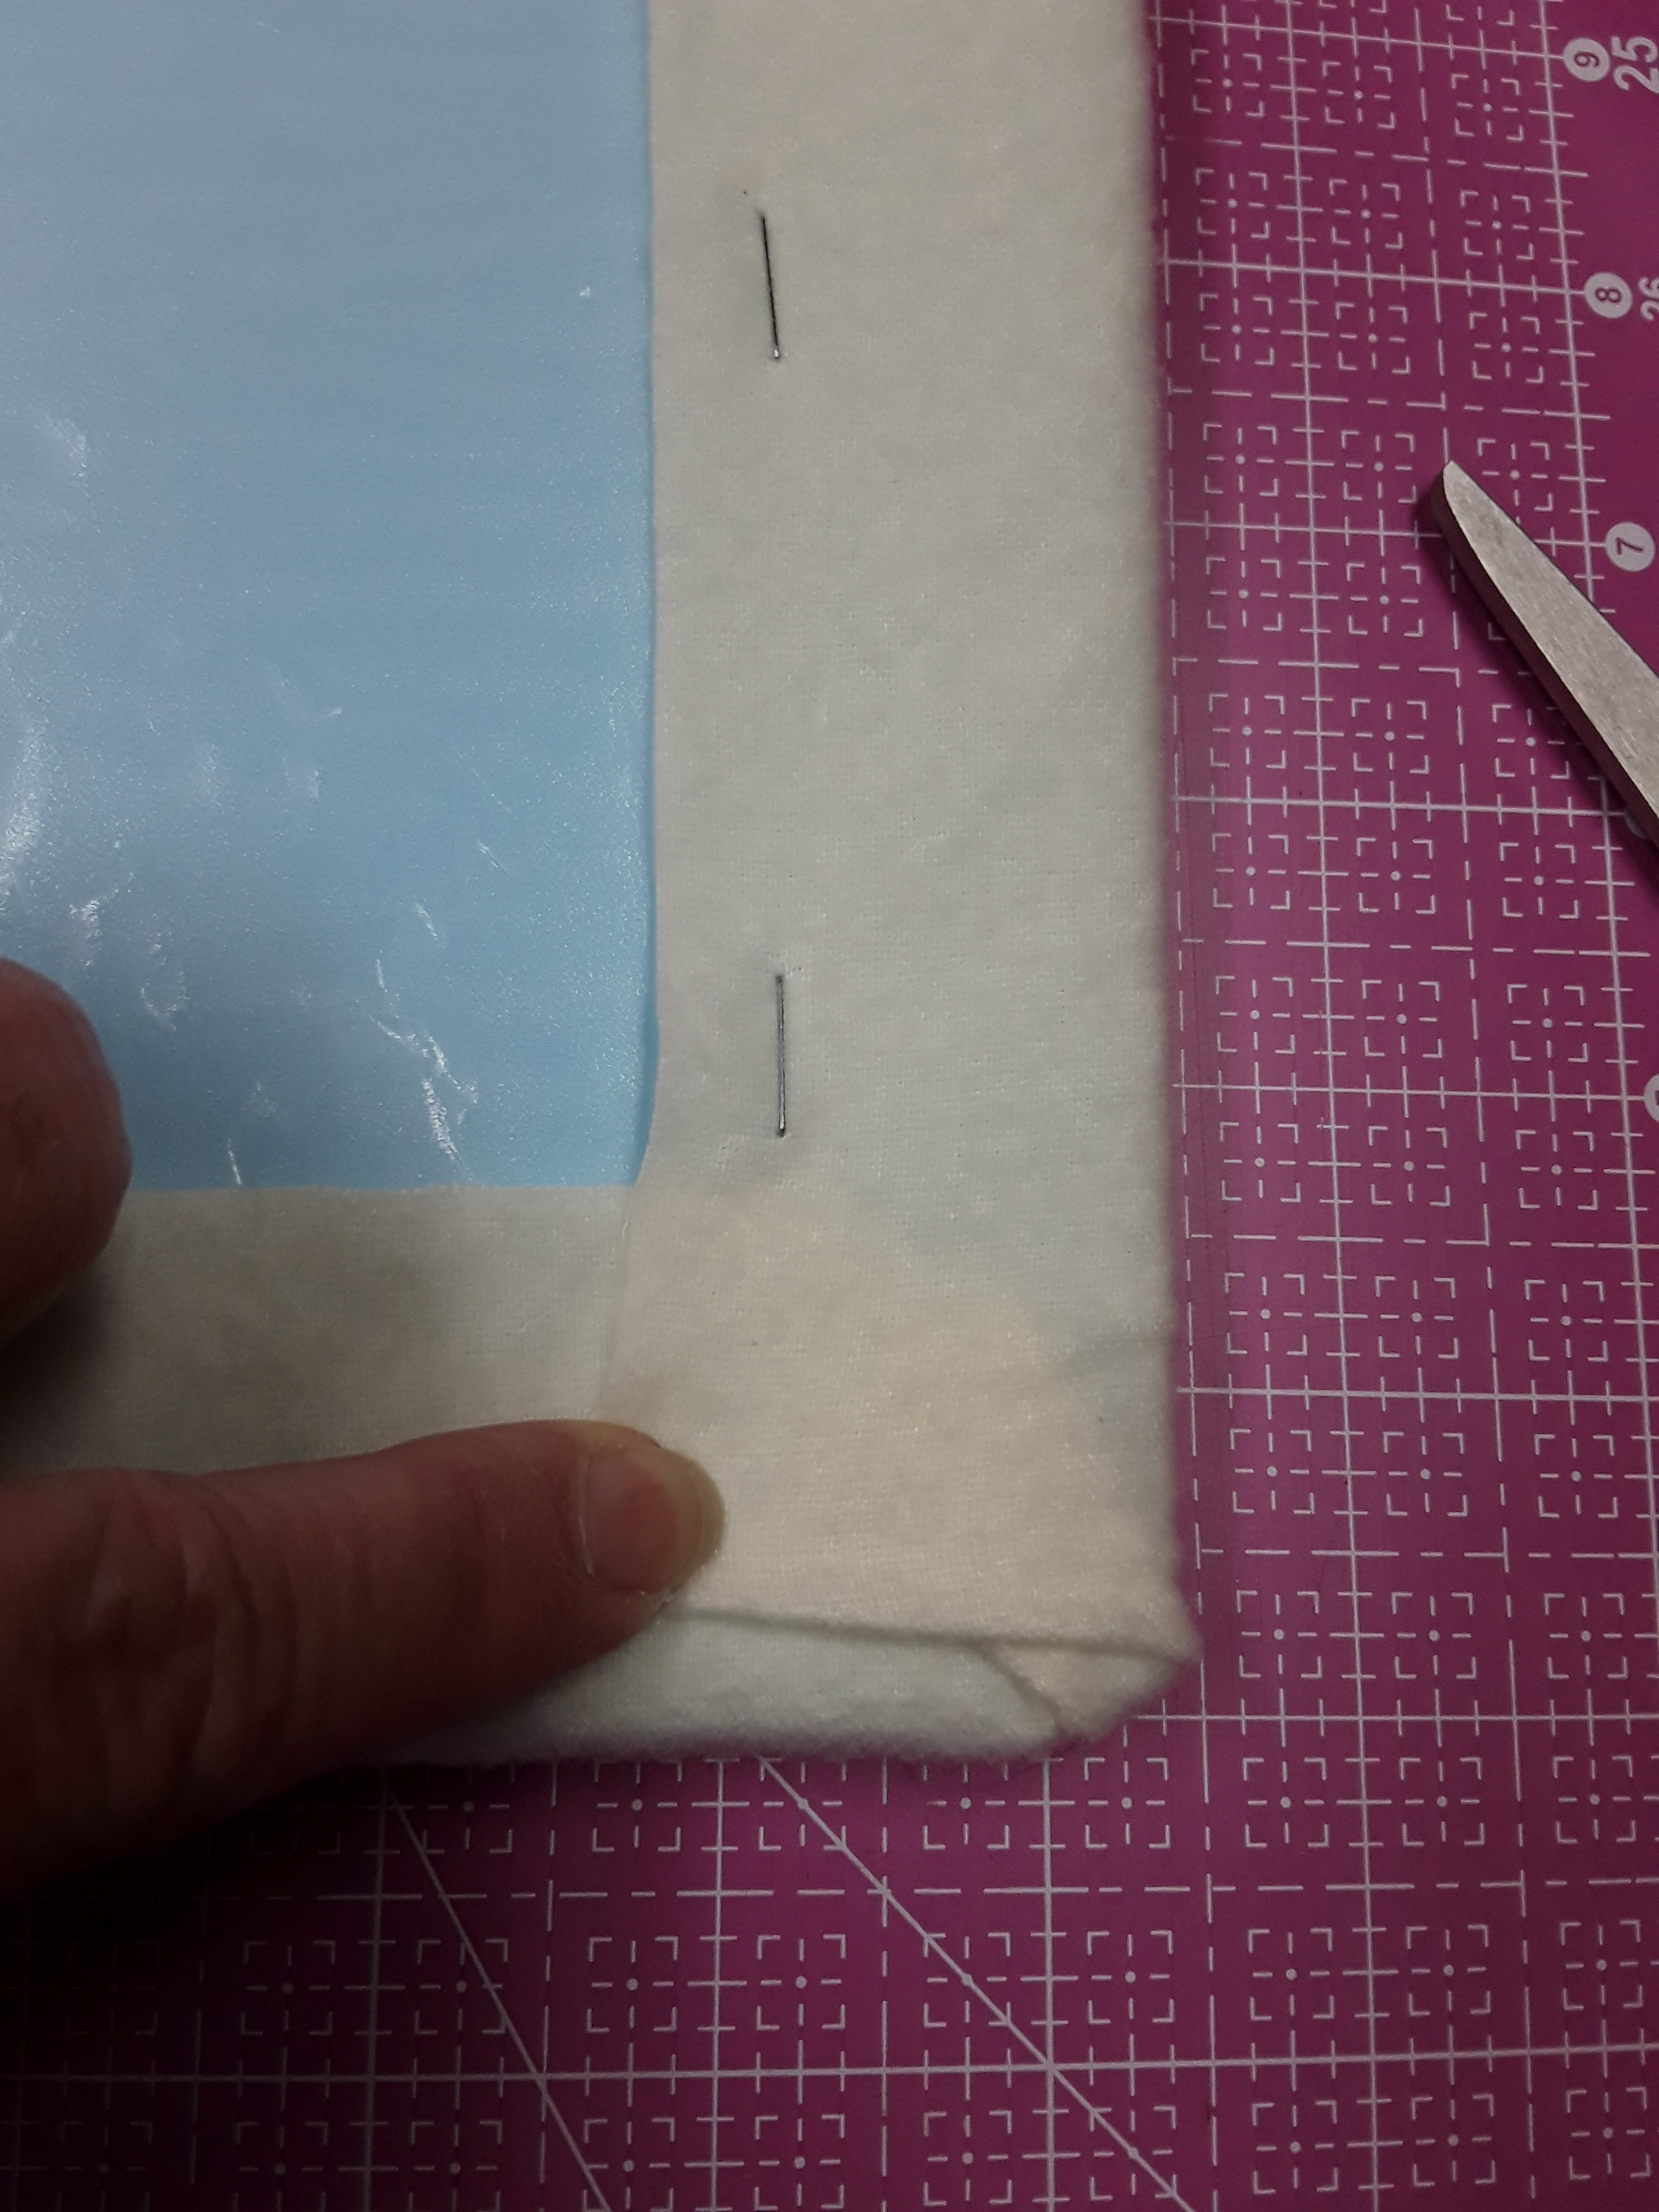
Pull flannel snug around to back

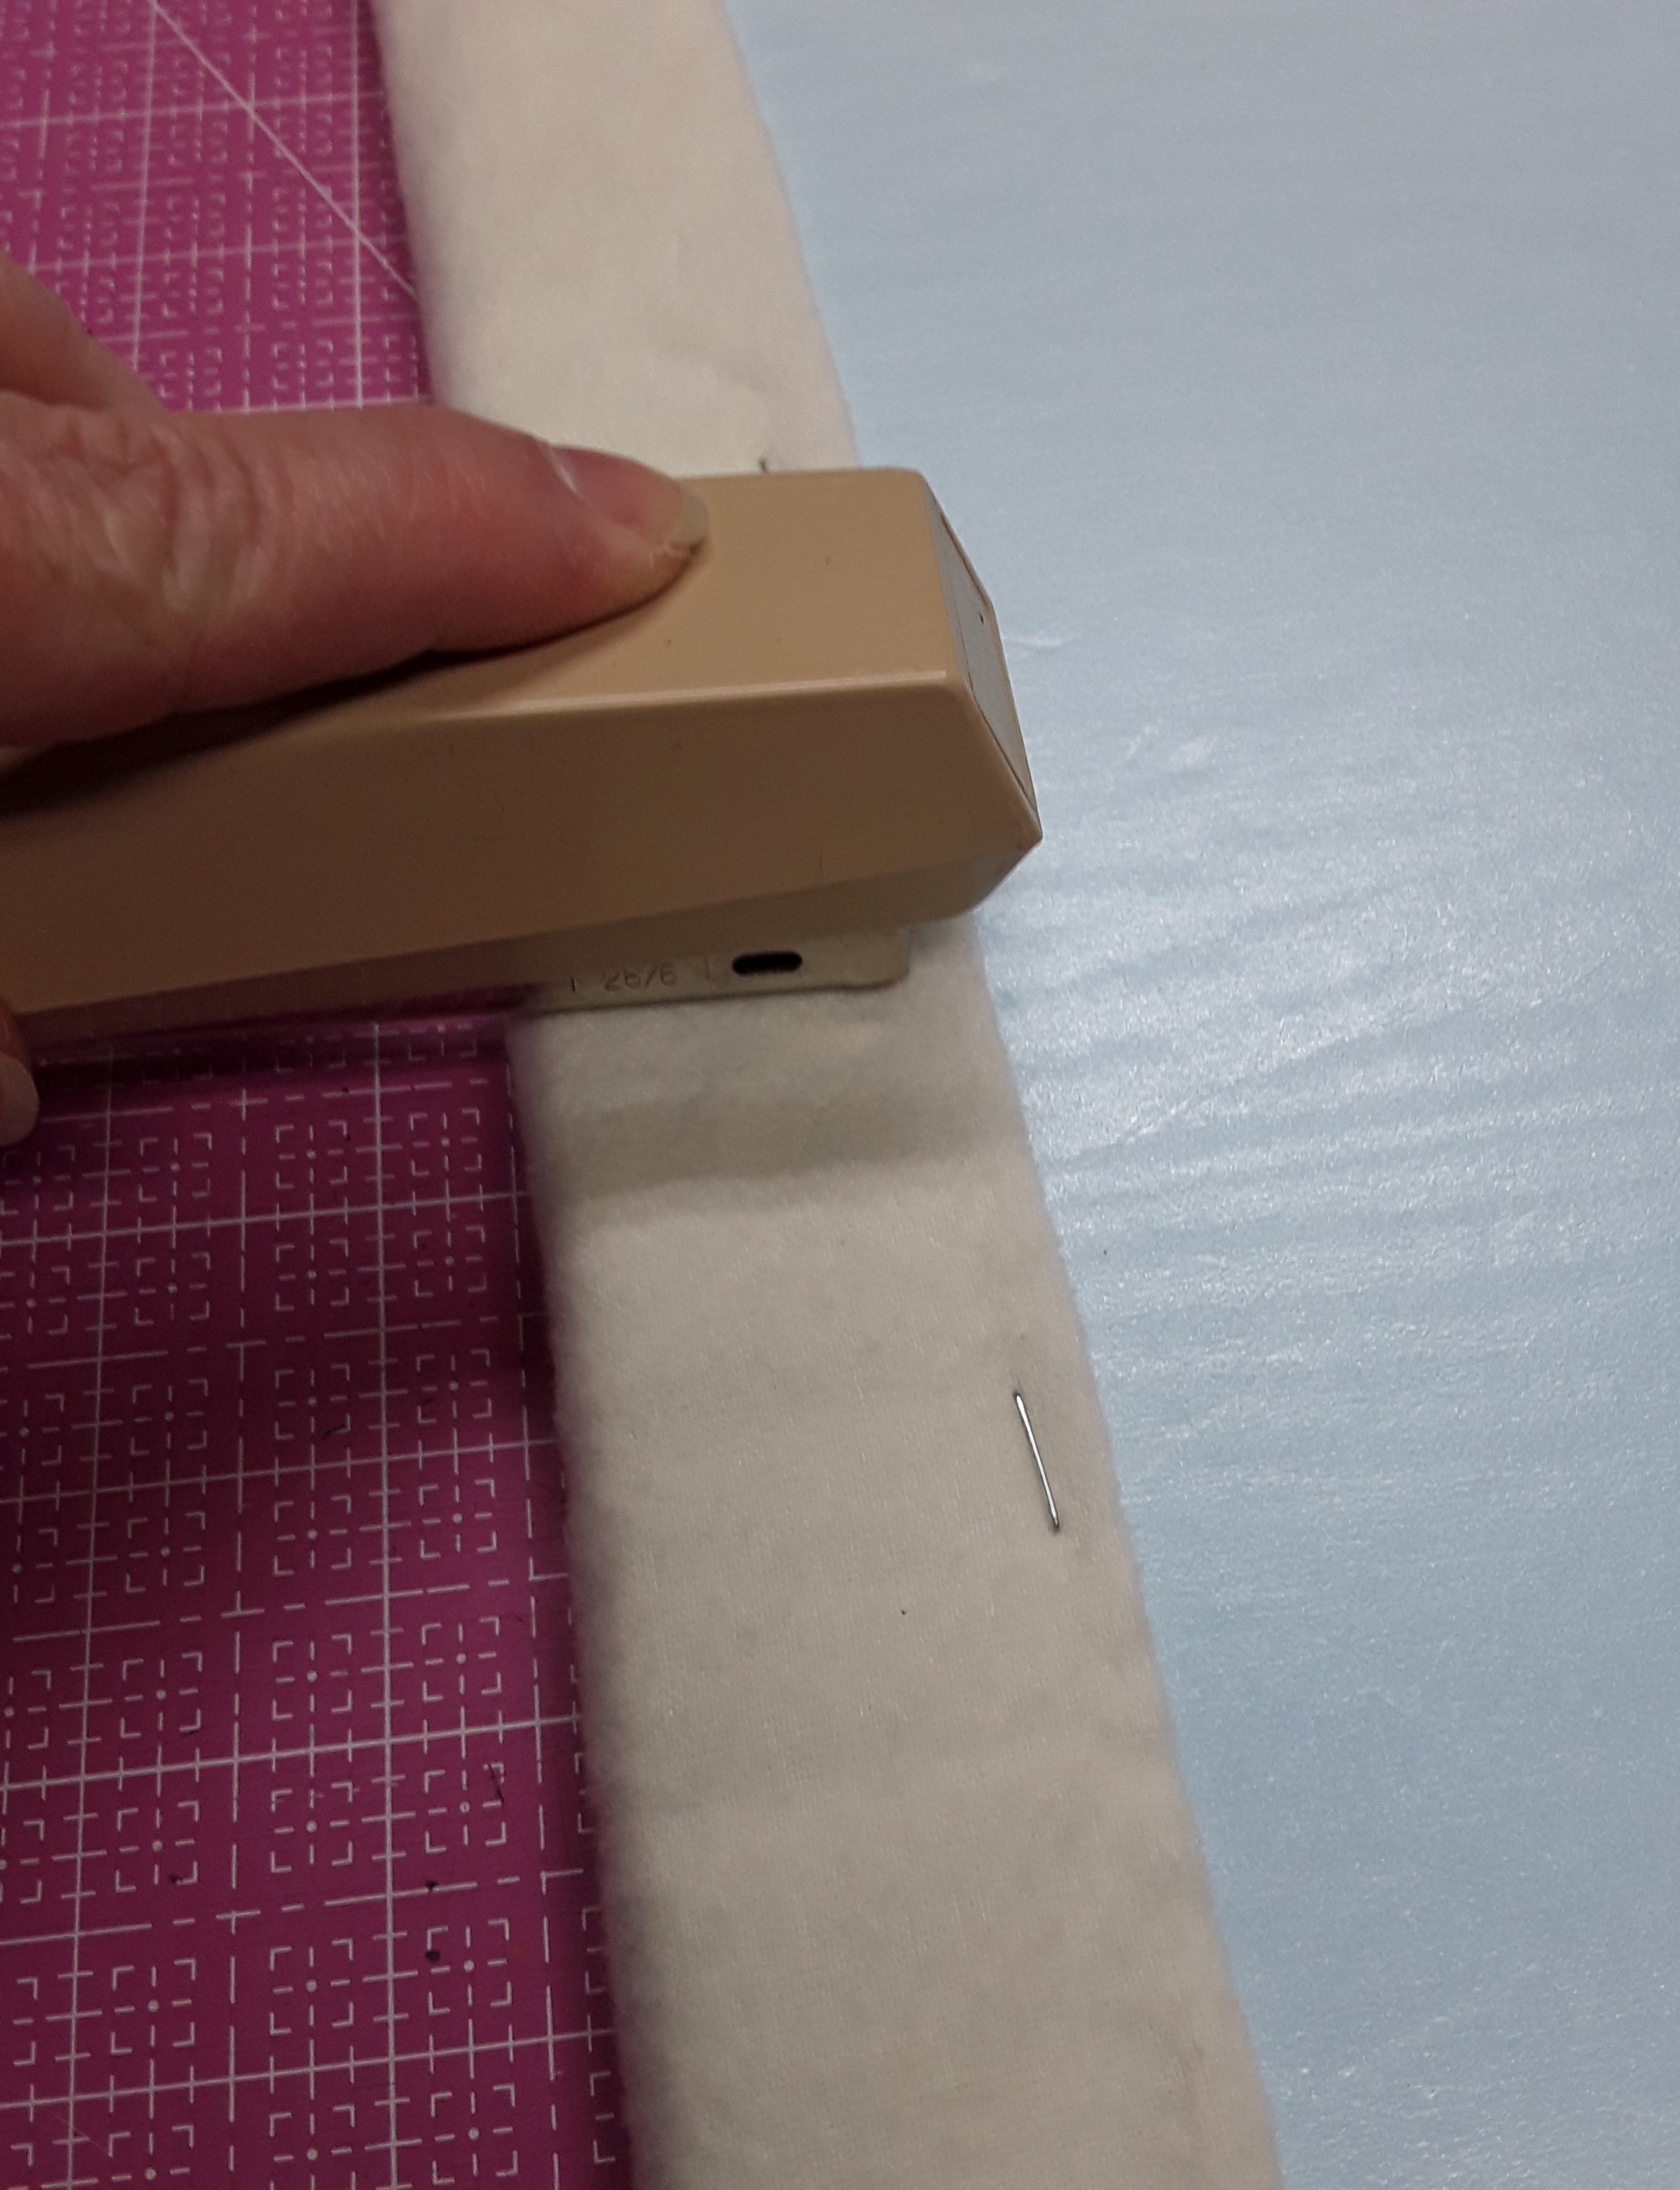
Use regular stapler to hold in place

Electric stapler and staples for more stability

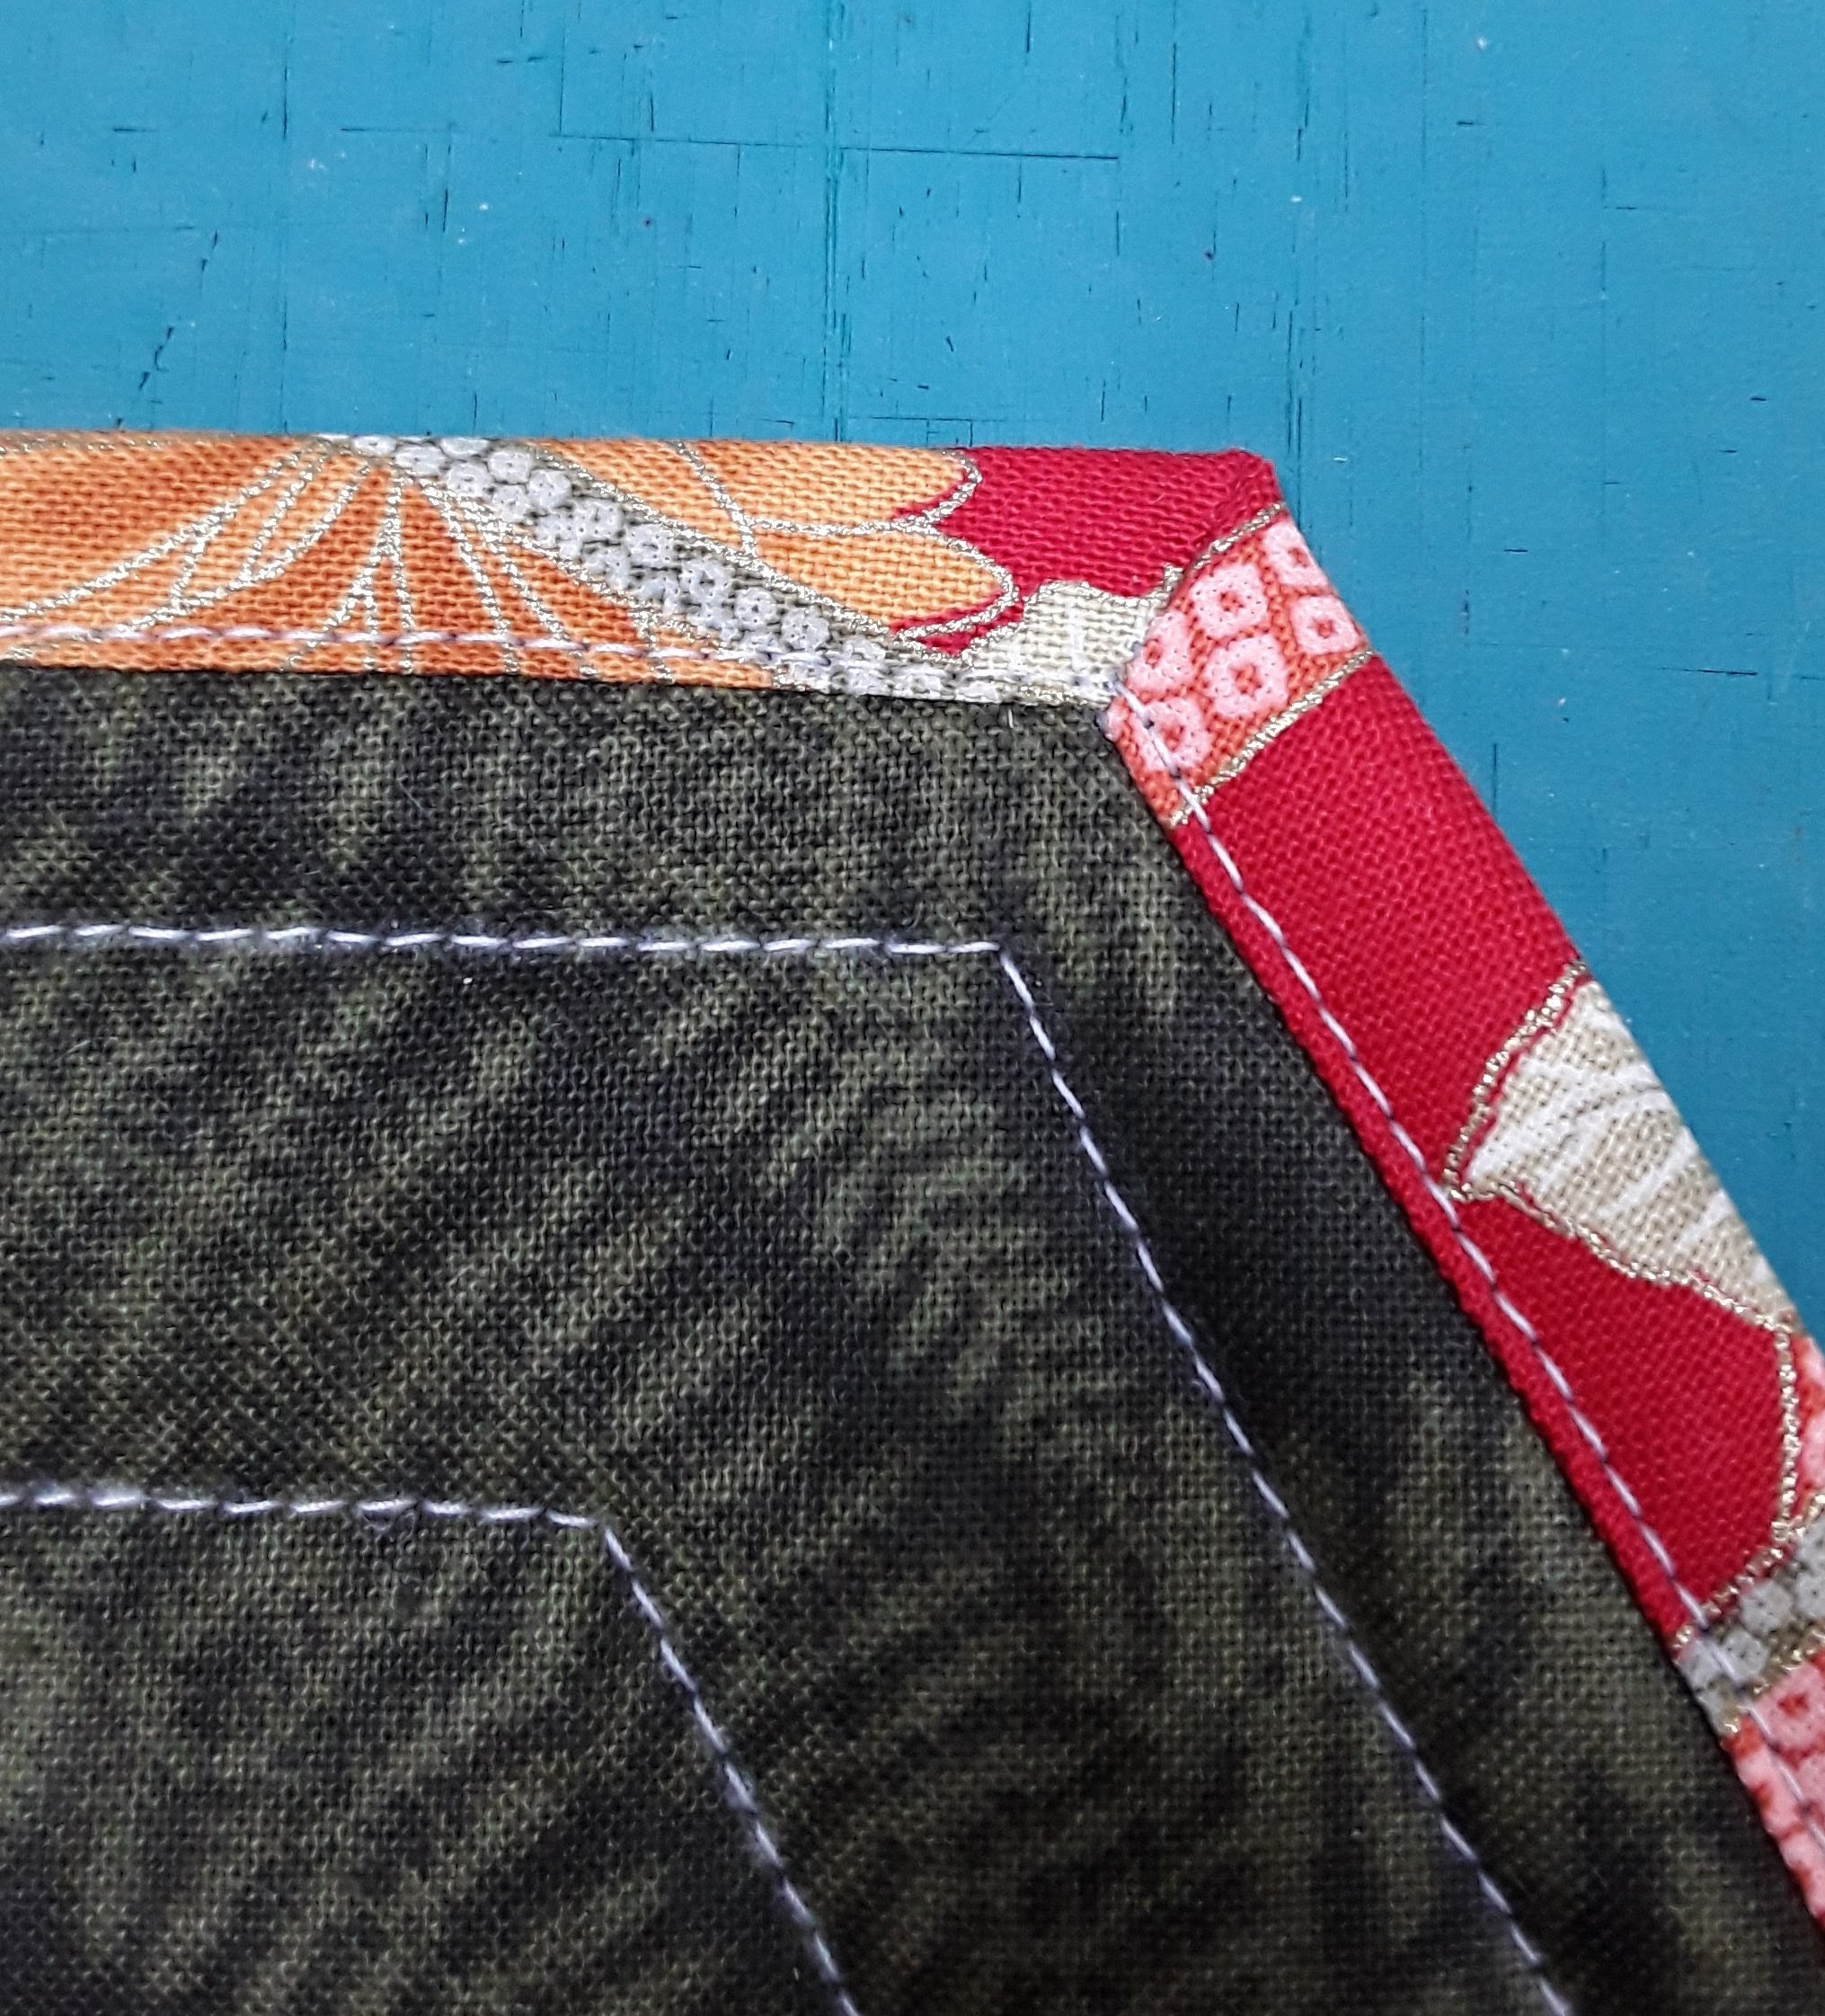
Cut excess out of corner

Neat corner!


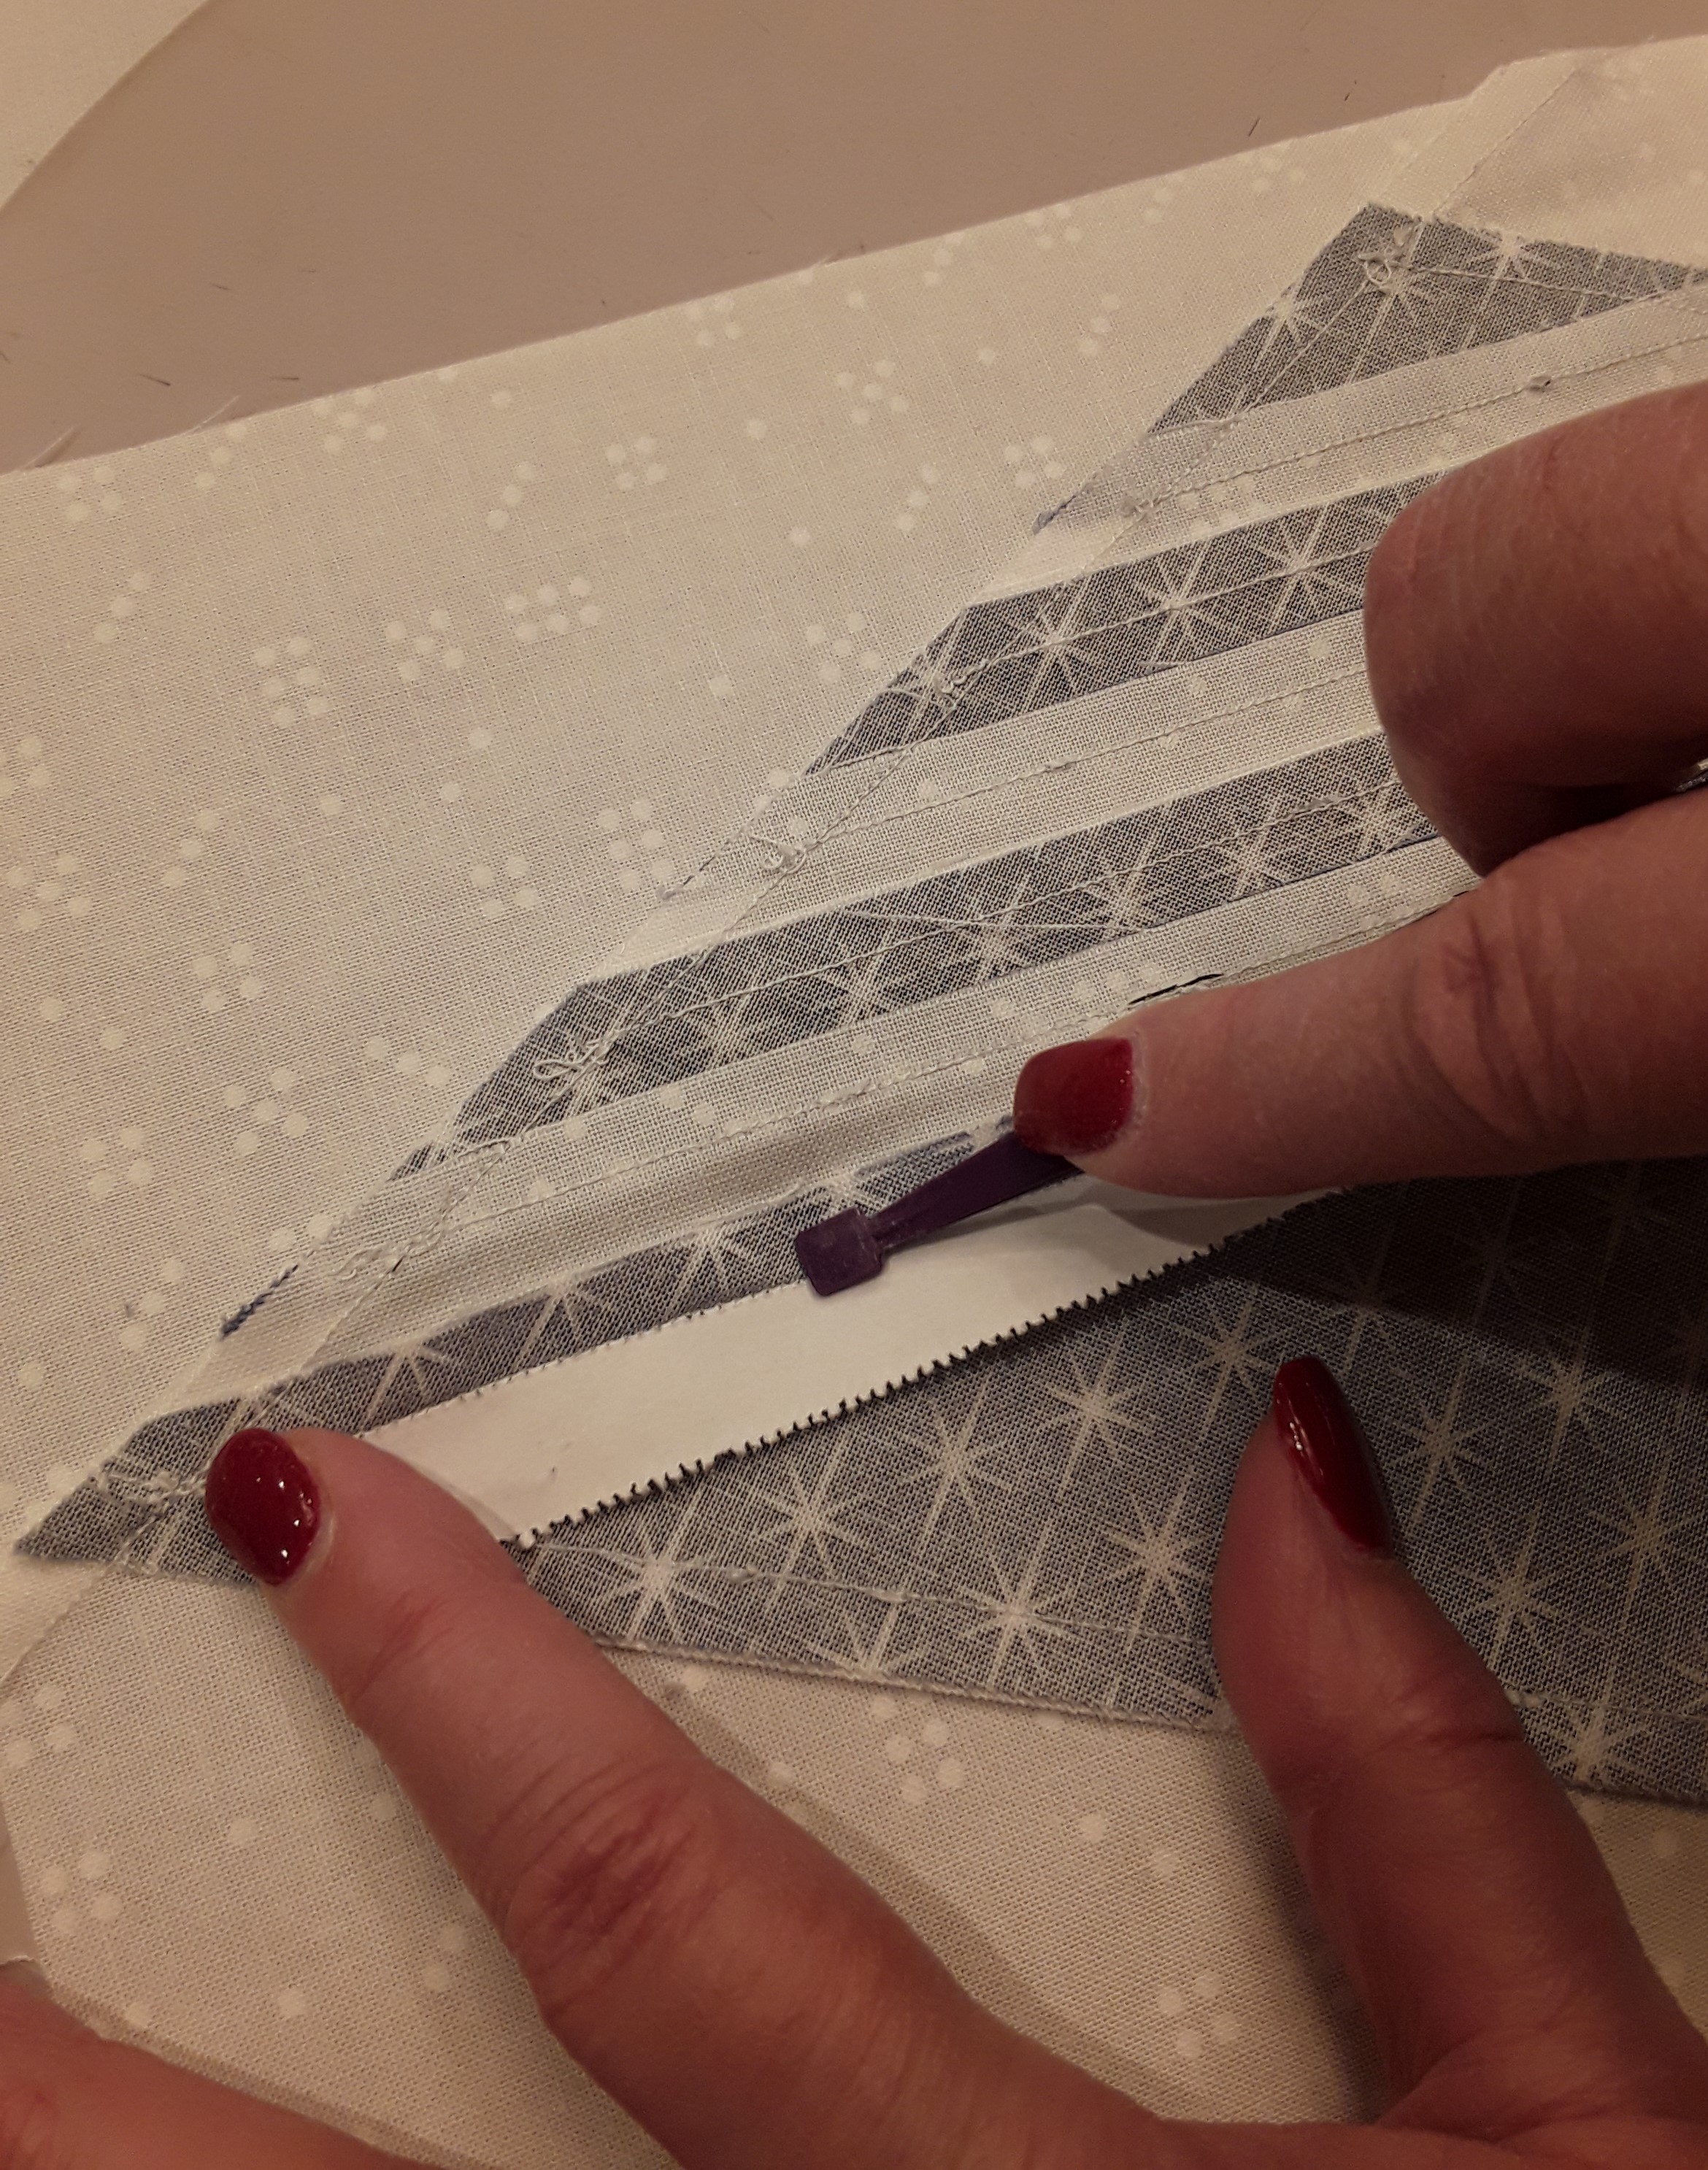
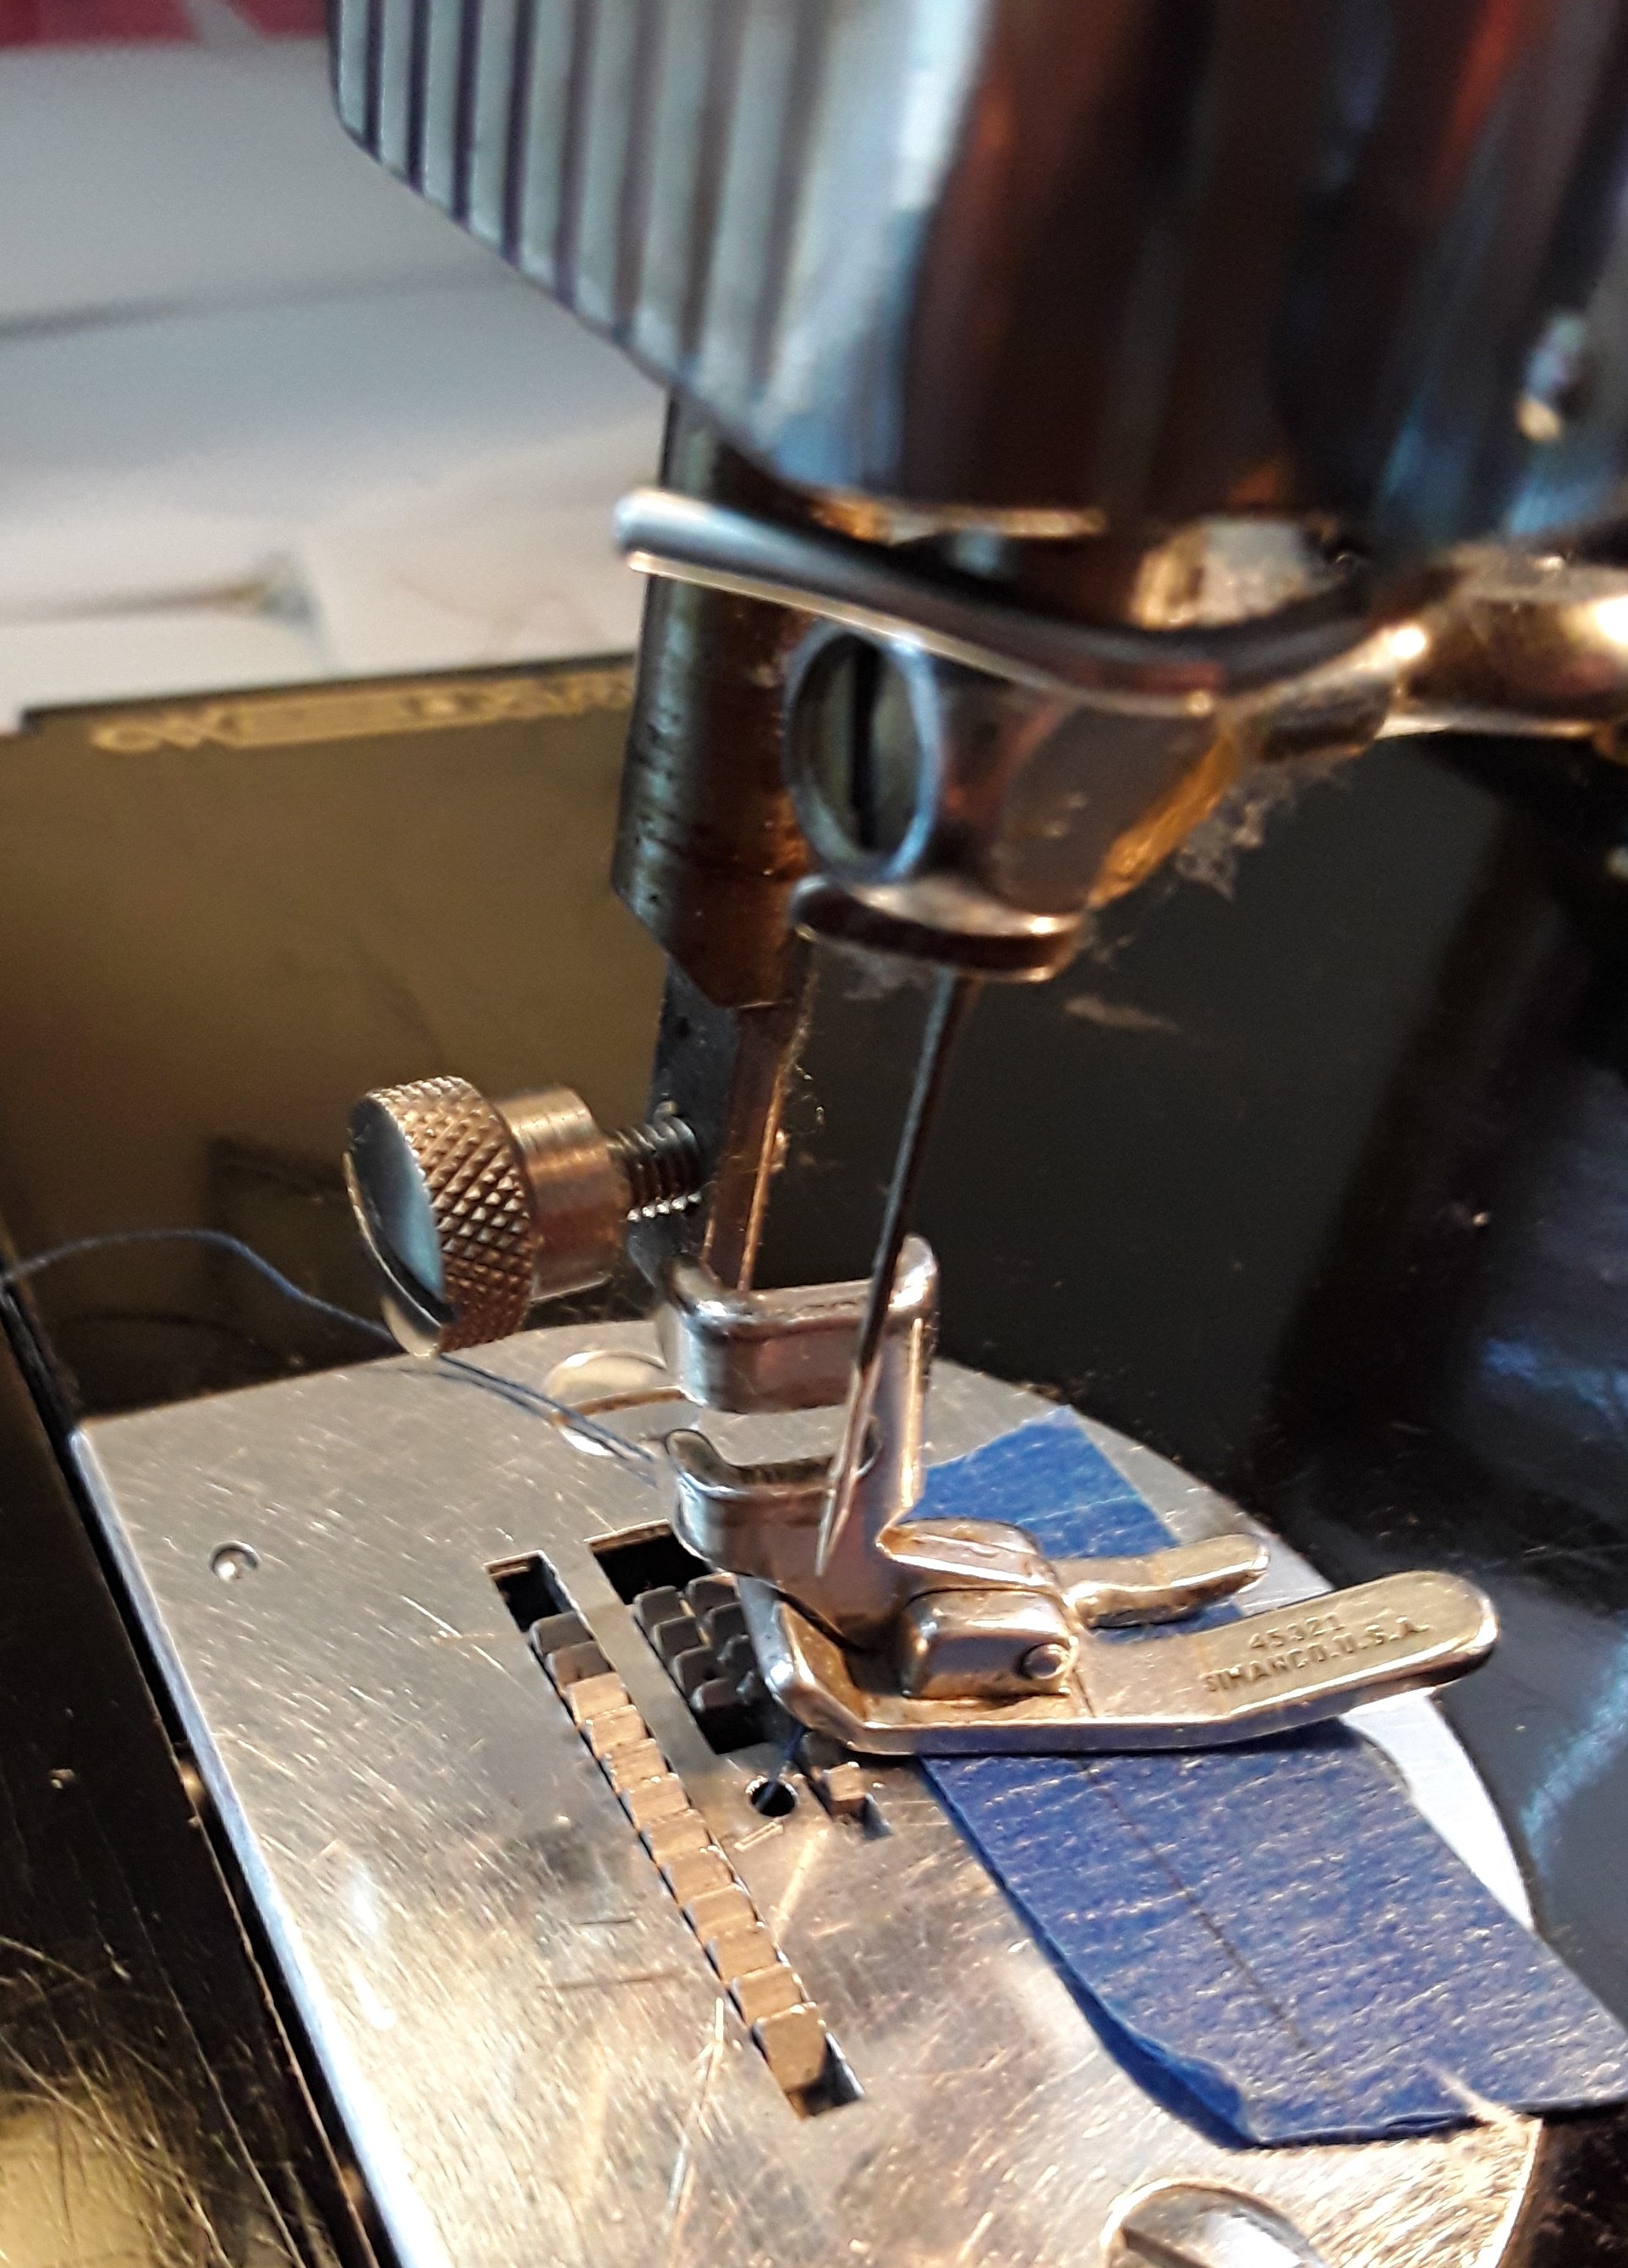
Cut a slit in the flannel at the screw.  Screw design wall into wall/stud.  Hand sew the slit closed.  Ready for a new quilt!

Slit in flannel above screw.

Slit for screwdriver.

I love my new design space!  Many tips were given in the instructions above.  But my top suggestions…

#1 – Wash flannel and to not iron to keep flannel as fluffy as possible to hold blocks onto the design wall.

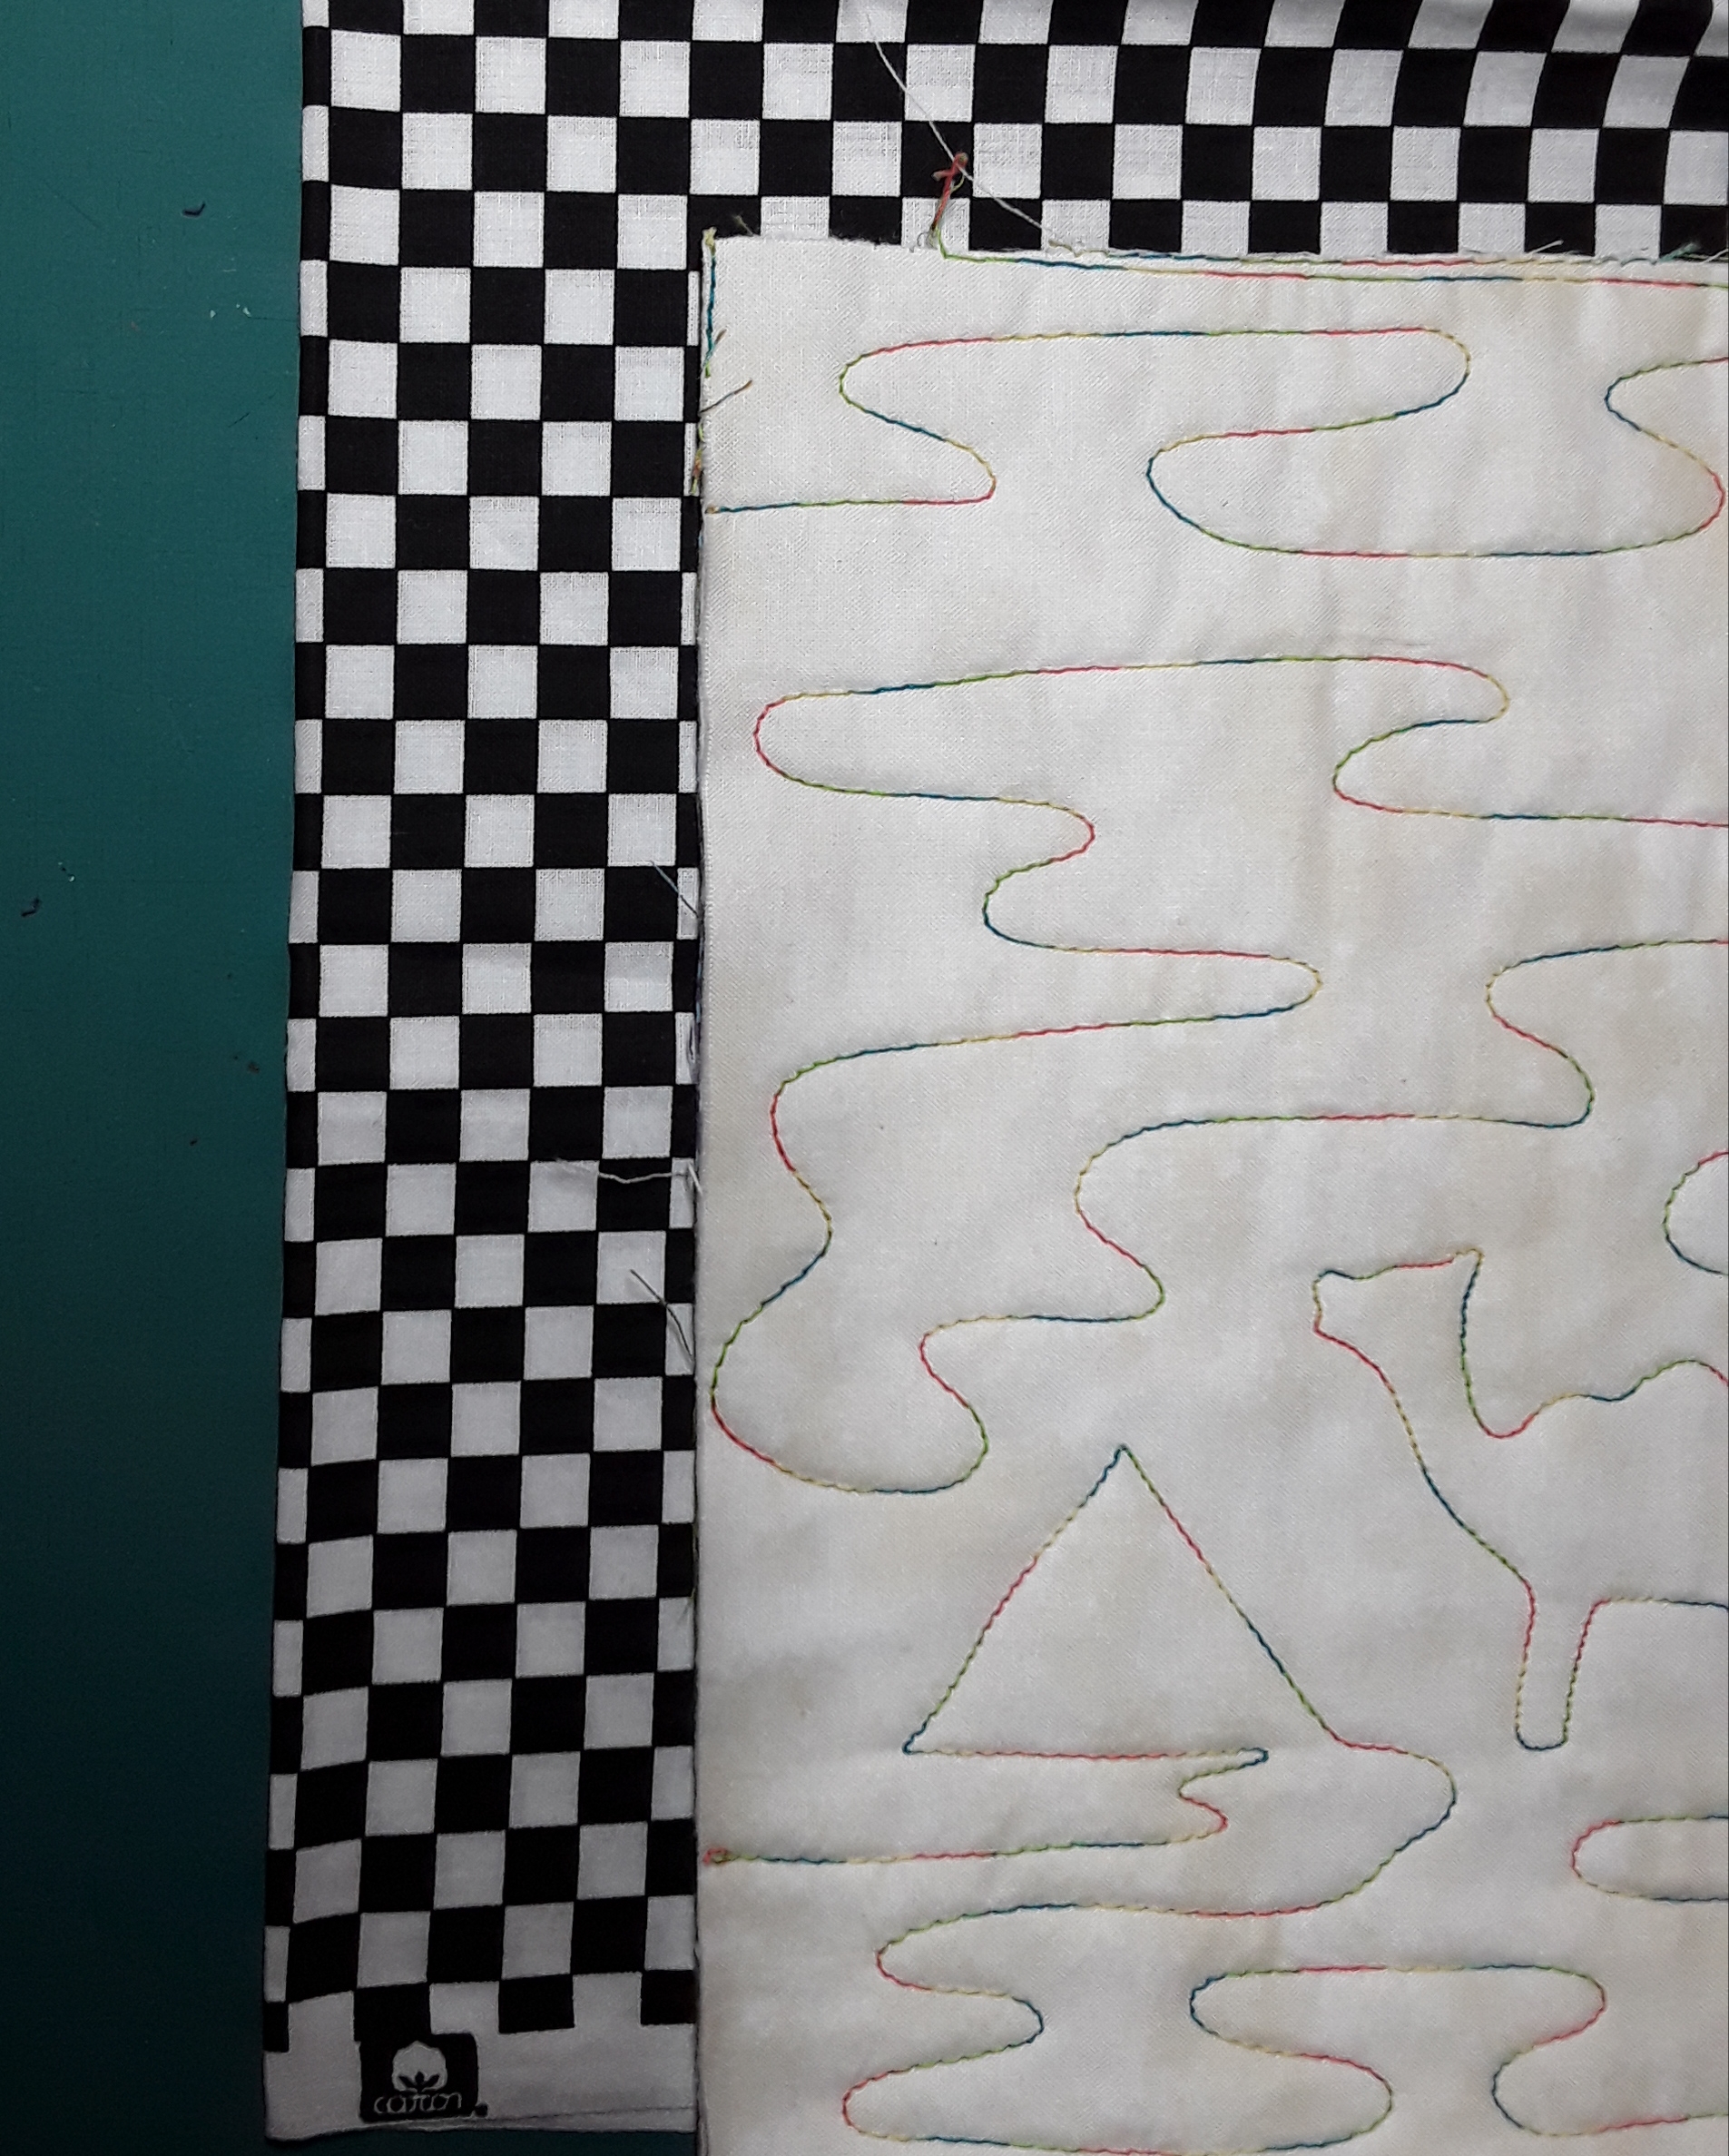
#2 – Use 3/8″ electric stapler for more secure attaching of flannel.  Plus, I left the selvages ON as it is more tightly woven and a more secure edge for the staples to hold in the fabric.

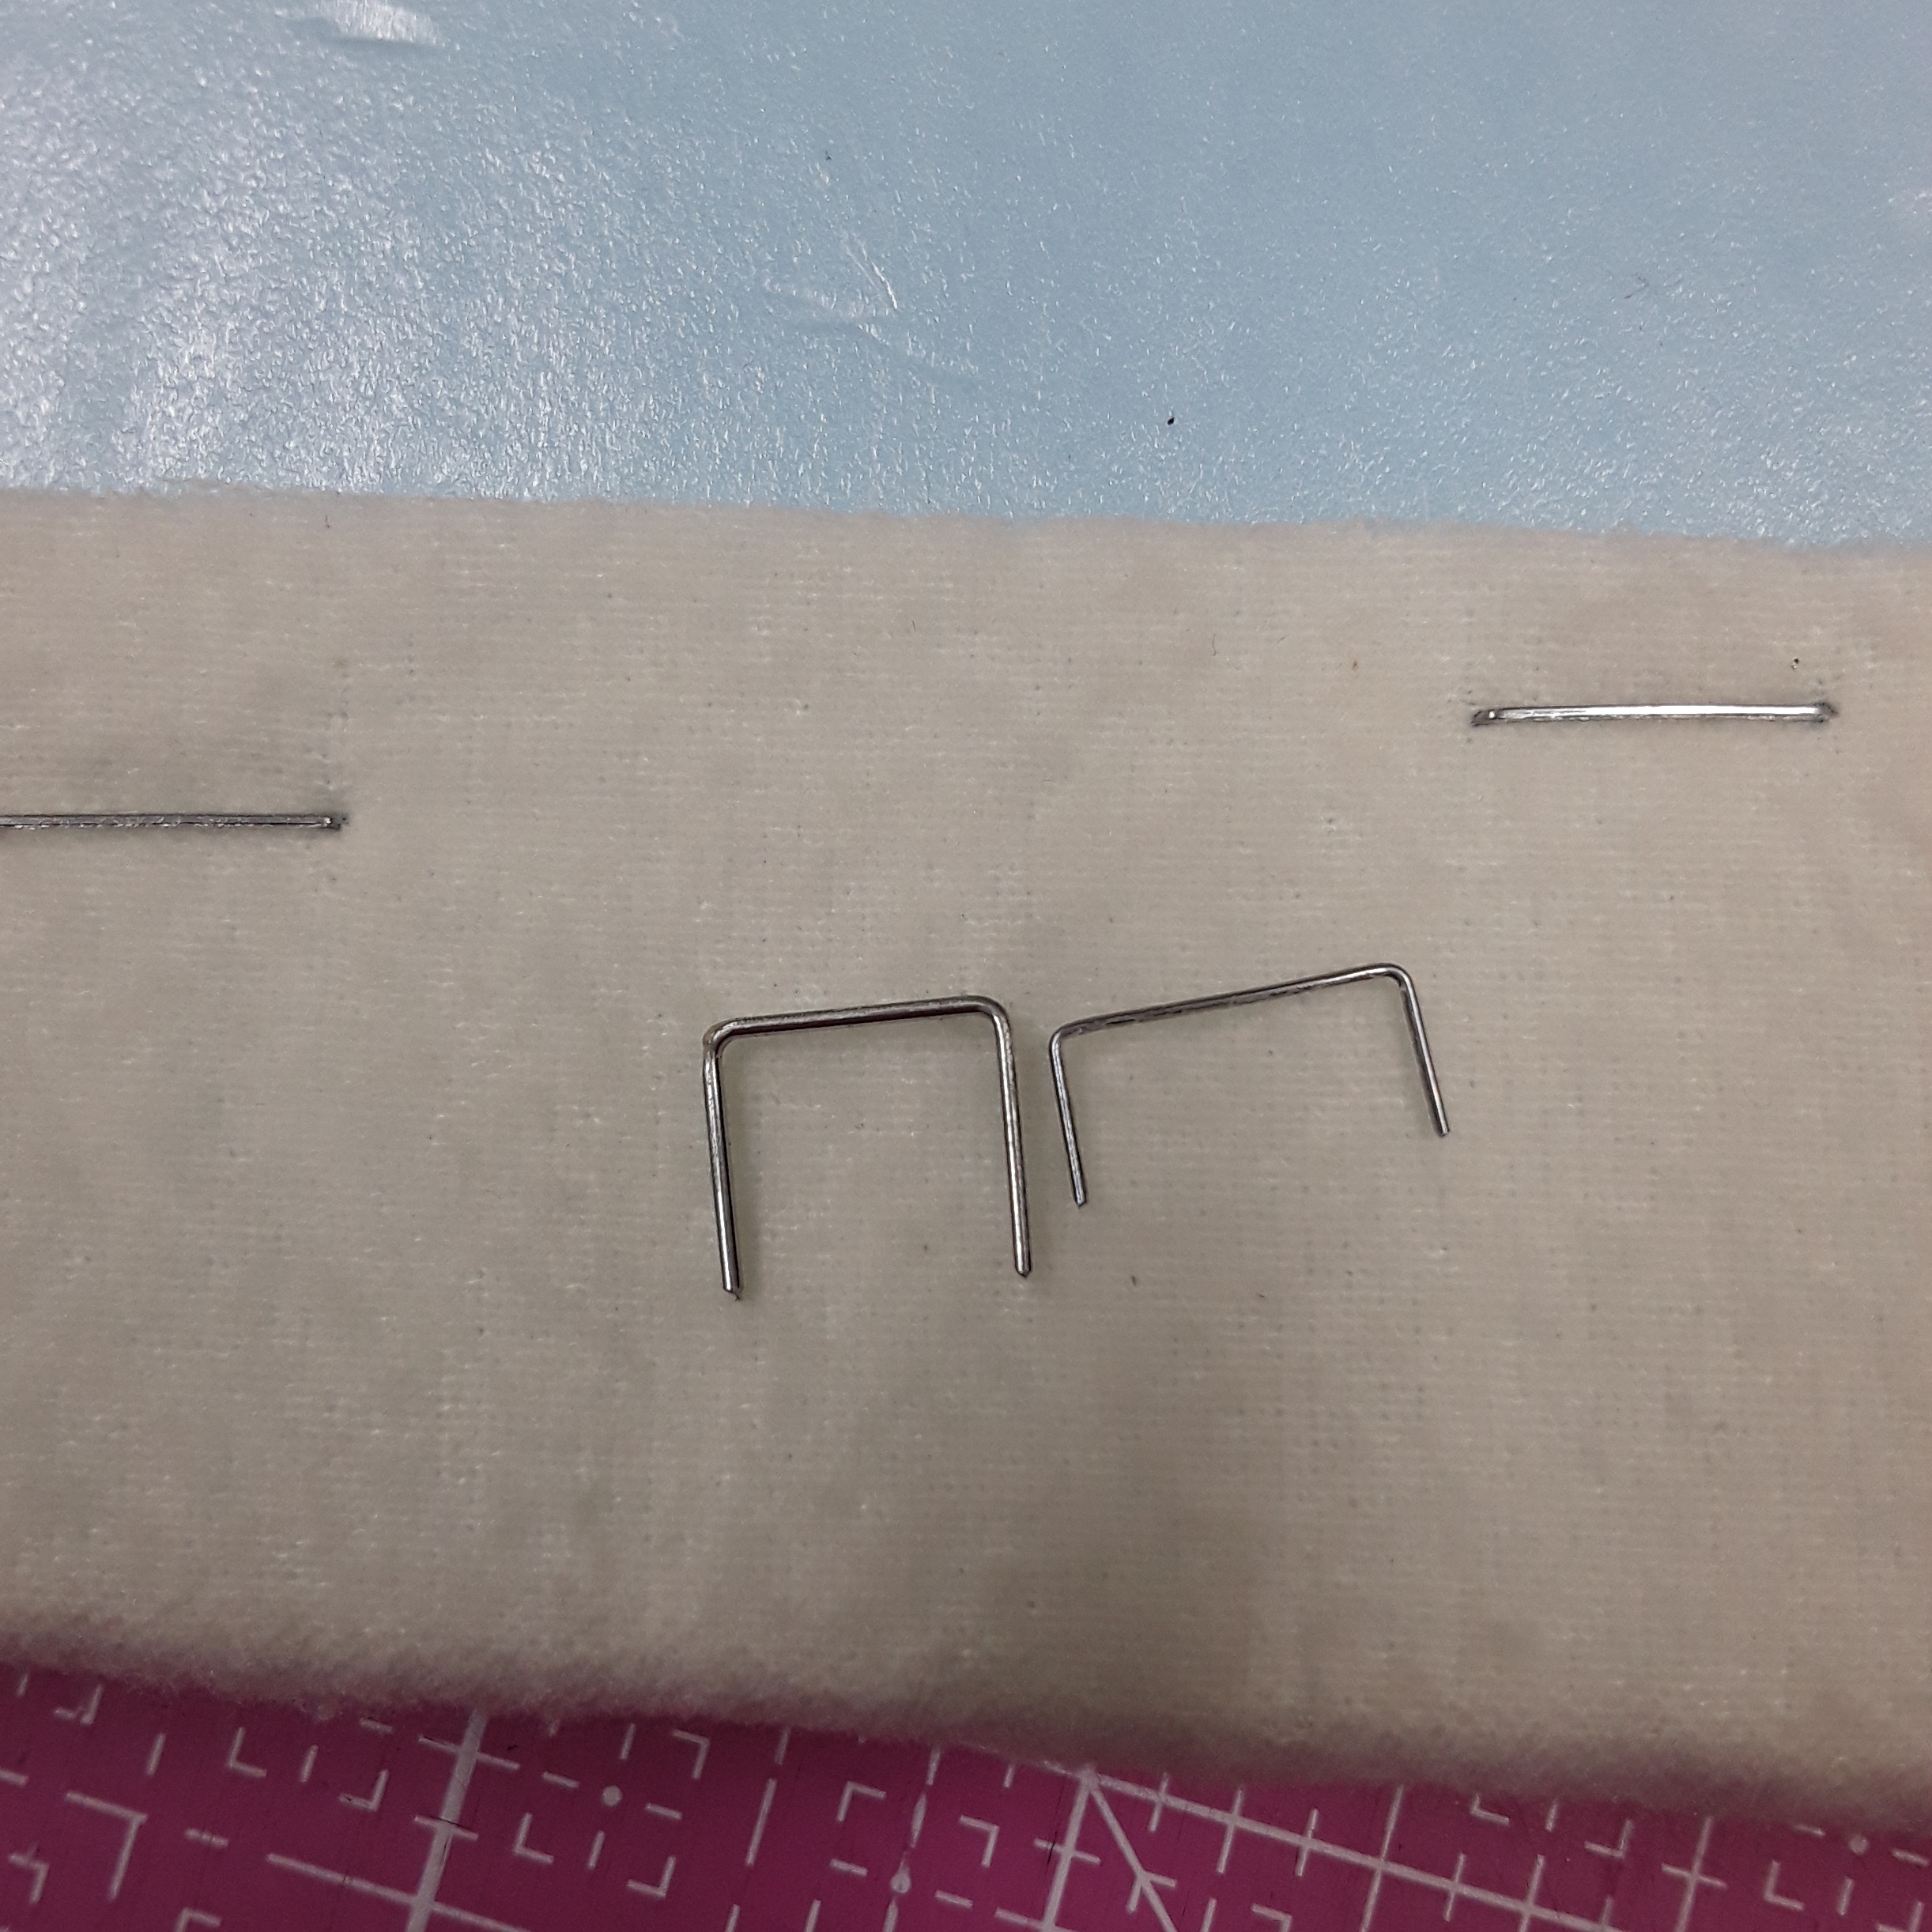
3/8″ staples on left vs.
regular stapler staples

in quilting,

Debbie

Posted in Design wall, Uncategorized | Leave a comment

Two Tip Tuesday – A Finish, Fun Fabric and more Cancellations

Another day and more shows cancel. I’m very sad to say AQS has cancelled Lancaster-The Nook and Charleston, SC.  I was to teach at both of these shows.  For my students who had signed up for my classes, I’m sorry these shows won’t happen. So disappointing, but I understand it is out of most of our hands, including AQS.  Spring Quilt Market is going to be virtual. That is scheduled for the first week in June.  I’ll be presenting two Schoolhouse sessions.  I’m not sure what my “booth” will look like.  I will definitely have photos of some products and links.  As I know more on other shows, I’ll keep you posted.

A FUN finish!  My friend Nancy B. sent me a picture of the Boxy Bag she made.  She laughed that it had been an unfinished project too long.  No Longer!  It is fabulous.  Well done Nancy!!  I love it!  You can find the pattern HERE on my website.

“Boxy Bag” by Nancy B.

My tips this week is thanks to another friend Diane Z.  She was ripping the paper off the back of her paper piecing project at a getaway this winter and said I’ve got a tip for you….she was using her “purple thang” to lift the paper and run it along the seam line to soften the paper at the stitches.  It made it much easier to lift up the paper and away/out from the stitches.  Fantastic and no ruining the nail polish <grin>.

Using “Purple Thang” to remove paper.

Using “Purple Thang” to
run along stitching line

Tip #1 – Lift paper away from stitches with a “Purple Thang”.  It saves the fingernail polish and helps work the paper away from the stitching line.

#2 – Run the flat edge of the “Purple Thang” along the stitching line to loosen the paper away from the stitches. 

Thanks for the tips, Diane!

I was super excited yesterday…. I got to go fabric shopping!  YES, in a real quilt shop!  Ryco in Rhode Island was open to the public.  Must wear mask, must stay 6 feet apart, must follow arrows.  HEY, I can do that to “oogle” FABRIC.  Look at my treasures…

“Sahara” by Cotton + Steel

I love camels (note my logo).  These Cotton + Steel fabrics were listed on Ryco’s website a few months ago.  I’m excited they still had some left.  And now it is mine, all mine!  It felt really good to walk through the shop.  Cheryl and I had fun looking for fabric for a new project.  Details of that Hexie quilt will be coming in a pattern very soon.  Be well!

in quilting,

Debbie

Posted in Paper piecing, Uncategorized | Leave a comment

Two Tip Tuesday – Bindings were LIVE!

Did you see my Facebook LIVE? I gave a number of tips on choosing, preparing and applying binding! It was fun and I enjoyed sharing my tips and techniques for bindings. In case you missed it, you can watch it on my Wendt Quilting Facebook page. Check it out HERE.  The video is in the posts or you can see it in the videos tab.  Like and follow my page while you are there, if you don’t already. I will be posting more live events as we go.

To recap a bit of what I showed last week in the video…
On the topic of choosing bindings, there are options!! You don’t have to use the same fabric as your outside border, but that is often a good option and sometimes even the best option.  However, different fabrics can add interest!  (If the quilt needs interest added!!)  The most comments I got from the fabric I showed were in regard to the check fabric as a binding option.  A check isn’t the binding answer for many quilts but it can add a wonderful play to the edge of a quilt.

When choosing a binding, don’t just lay a fabric against the edge.  Below is a check laying next to the edge.  There is a lot of fabric showing and not what a final binding will look like.

Auditioning a fabric…
too much fabric showing!

Instead…Wrap it around the edge so it has the look of a finished binding.  This makes a big difference in the look of that check fabric.

Check binding…
Good size to audition!

One thing to note on a check, you need to be “spot on” in cutting.  It will not look as good if it jumps in and out with a crookedly cut strip.


Now, look at the same check fabric cut on the bias (45 degree angle to the selvage edge).  WOW!  What a difference!

Check fabric if cut on the bias.

Check fabric if cut on bias.
Diamonds around your edge!


Try OPTIONS!  The check fabric is a great example of two very different looking bindings.

#1 – “Roll” the fabric you are auditioning for a binding around the edge of the quilt.  Don’t just lay a bolt of fabric along the edge of your quilt.  Roll it to get a better feel for what the finished binding will look like.

#2- Try a binding straight-of-grain as well as bias.  Sometimes it might just be a different cut of the fabric that gets you the “right” look.

As I say so often in my lectures and trunk shows…Bindings aren’t boring!  They are BRILLIANT!

in quilting,

Debbie

Posted in Brilliant Bindings, fabric, Uncategorized | Leave a comment

Two Tip Tuesday – going live

Hello quilting friends! I posted yesterday about the Quilt Candy Virtual Show of Tips and Techniques. I’ll be coming to you on Thursday at 2pm EST. All times are listed as EST (Eastern Standard Time), I don’t want you to miss one if you are in another time zone! Once the video is finished I will post it to my Wendt Quilting Facebook page. If you miss the live event, you can get to it at your convenience. I will repeat the tip again on my Instagram page. My Instagram page (DebbieWendtQuilting) as very little information…it is relatively new skill I’m trying to learn. These are the times I feel very OLD SCHOOL! I’m slowly working my way into the world of technology and how I can use it in my world of quilting.
I have taken a couple of Zoom classes with my quilting buddies and I’m ready to take the jump into teaching online. Are you interested???? I’m looking at dates/times and classes to teach. Stay tuned and you will be the first to know when I schedule a class!
Speaking of teaching…I will be teaching 2 classes at the rescheduled Paducah Quilt Week September 2-5 this fall. Fingers and toes CROSSED we have the show! They have not updated the Quilt Week website as yet, but keep a look out.  My “Tiny World” will be Wednesday Sept. 2 from 5-8pm.  This is the little house and tree mug rug.  A great project to learn foundation piecing.  Then on Friday, Sept. 4 from 5-8pm, “Become a Brilliant Binder”.  Make all your bindings BRILLIANT!  A great class to learn the basics of bindings!

Tiny World! D.W.

Become a Brilliant Binder D.W.

I hope to “see” you live on Thursday on my Wendt Quilting Facebook page at 2pm EST.  I’ll share many tips on the live video.  I’ll leave you with my two tips for today.

#1 – Take some time to learn new techniques.  I love picking up tips from others……ya never know what you might learn.

#2 – Support the quilt designers of the industry.  They share their love of quilting in so many ways.

in quilting,

Debbie


Posted in Uncategorized | Leave a comment

Designer Tips and Techniques – May 5-9

Tomorrow begins Designer Tips and Techniques. This is a new group of Quilt pattern designers sharing tips. I will share the list below. The designers will give a Facebook live 15 minute demo and then most will do the same again on their Instagram page. I’ll be sharing on Thursday, May 7th at 2pm! I hope you enjoy following along.

Facebook Schedule:

May 5
May 5 12pm ET Cherry Guidry – launch https://www.facebook.com/CherryBlossomsQuiltingStudio
May 5 12:30pm ET Janellea Macbeth    www.facebook.com/scrapstashticquilts/
May 5 1pm ET Jen Frost https://www.facebook.com/faithandfabric
May 5 2pm ET Teresa Weaver https://www.facebook.com/yoursewingfriend
May 5 2:30pm ET Jo Westfoot – The Crafty Nomad Jo Westfoot – The Crafty Nomad https://www.facebook.com/thecraftynomad/
May 5 3pm ET Becca Fenstermaker (Pretty Piney Quilts) https://facebook.com/prettypiney
May 5 4pm ET Michelle Renee Hiatt https://www.facebook.com/sewonthego.net/
May 5 4:30pm ET Margaret Willingham-Eye of the Beholder Quilt Design https://www.facebook.com/EyeoftheBeholderQuilt/
May 5 5pm ET Marlene Oddie https://www.facebook.com/kissedquilts
May 5 5:30pm ET Annie Unrein https://www.facebook.com/patternsbyannie/
May 5 6pm ET Leanne Parsons https://www.facebook.com/devotedquilterdesigns
May 5 7pm ET Jennifer Fulton https://www.facebook.com/inquiringquilter/
May 5 7:30pm ET Reed Johnson https://www.facebook.com/bluebearquilts/
May 5 8pm ET Tammy Silvers – launch https://www.facebook.com/tamarinis/

May 6
May 6 12pm ET Sue Pelland https://www.facebook.com/suepellanddesigns
May 6 1pm ET Annette Ornelas https://www.facebook.com/southwind.designs/
May 6 2pm ET Kate Colleran https://www.facebook.com/SeamsLikeaDreamQuilts/
May 6 3pm ET Melissa Marginet https://www.facebook.com/melissa.marginet.quilter/
May 6 4pm ET Jackie Kunkel https://www.facebook.com/cantonvillagequiltworks/
May 6 5pm ET
May 6  5:30pm ET Melissa Merriman Harr
https://www.facebook.com/toadallyquilts/
May 6 6pm ET Laura Piland https://www.facebook.com/sliceofpiquilts/
May 6 7pm ET Terri Vanden Bosch https://www.facebook.com/lizardcreekquilting/
May 6 7:30pm ET Swan Sheridan https://www.facebook.com/swanamitystudios
May 6 8pm ET Annie Smith https://www.facebook.com/anniesmithqs

May 7
May 7 12pm ET Lynn Kane, Puppy Girl https://www.facebook.com/puppygirllynn
May 7 1pm ET Cristy Fincher https://www.facebook.com/PurpleDaisiesQuilting/
May 7 2pm ET Debbie Wendt https://www.facebook.com/Wendt-Quilting-280123925340667/
May 7 3pm ET Shelley Cavanna, Coras Quilts https://www.facebook.com/CorasQuilts/
May 7 4pm ET Monique Kleinhans, Ladybug’s Cabin https://www.facebook.com/ladybugscabin/
May 7 5pm ET Heidi Pridemore https://www.facebook.com/heidipridemorewhimsicalworkshop
May 7 6pm ET Jerry Stube, Jerry Stube Designs https://www.facebook.com/TheQuiltersQuarters/
May 7 7pm ET Simone Fisher, Simone Quilts https://www.facebook.com/SimoneQuilts
May 7 8pm ET Nicole Moore, Sew Much Moore https://facebook.com/SewMuchMooreInStore/

May 8
May 8 12pm ET Becky Campbell https://www.facebook.com/sewforeverquiltingbybeckycampbell/
May 8 1pm ET Tina Dillard – Quilting Affection Designs https://www.facebook.com/quiltingaffectiondesigns 9
May 8 2pm ET Beth Helfter – EvaPaige Quilt Designs https://www.facebook.com/EvaPaigeQuiltDesigns
May 8 3pm ET Sherri Noel – Rebecca Mae Designs https://www.facebook.com/rebeccamaedesigns/
May 8 4pm ET Kathleen McCormick – Kathleen McMusing https://www.facebook.com/kathleenmcmusing
May 8 5pm ET On Williams Street – Kimie and Missy https://www.facebook.com/onwilliamsstreet
May 8 6pm ET Andi Stanfield – True Blue Quilts https://facebook.com/Anditruebluequilts
May 8 7pm ET Nancy Scott – Masterpiece Quilting http://www.facebook.com/MasterpieceQ
May 8 8pm ET Lisa Ruble https://www.facebook.com/LoveToColorMyWorld/


May 9
May 9 12pm ET Sherry Shish https://www.facebook.com/poweredbyquilting
May 9 1pm ET Cristina De Miranda / Ships & Violins https://facebook.com/shipsandviolins
May 9 2pm ET Toni Smith/Quiltoni https://www.facebook.com/Quiltoni/
May 9 3pm ET Hexadoodle Quilts/ Alison Stothard https://facebook.com/hexadoodlequilts
May 9 4pm ET Bobbie Gentili ~ The Geeky Bobbin https://facebook.com/geekybobbin
May 9 5pm ET Ebony Love – LoveBug Studios https://facebook.com/lovebugstudios
May 9 6pm ET Carolina Moore facebook.com/AlwaysExpectMoore
May 9 7pm ET Kathryn LeBlanc of Dragonfly’s Quilting Design Studio https://www.facebook.com/dragonflysquiltingdesignstudio
May 9 8pm ET Tammy Silvers/Tamarinis – wrap up presentation https://www.facebook.com/tamarinis/


Posted in Uncategorized | Leave a comment

Two Tip Tuesday – Machine feet

Has Spring arrived where you are? We are having a sunny day and it really helps me smile.  Have you been running your sewing machine non-stop?  I’m curious if you are sewing masks or surgical caps, or piecing, or quilting.  Inquiring minds…??

I moved upstairs to get more sunlight.  The featherweight I sew on needed a foot change, I had used a walking foot on it last.  So my tips today will be focused on feet.

#1 – When you unscrew the screw to change feet, do NOT unscrew all the way.  Leave it partially on.  This helps keep it in place!  Easier than trying to get the screw back.

Leave screw partially screwed in

New foot in place without having to
re-find the hole


#2- I used a screw driver to make sure the foot was on good and tight.  Remember righty~tighty… lefty~loosey!  Turn to the right to tighten and turn to the left to loosen.

Re-tighten with screwdriver.


I should clarify, this is for the ankle of the feet that slip on.  Not the ones that have a hole.  You would need to take the screw completely out for those.  Also, some machines have quick change feet that snap onto the ankle.

in quilting,

Debbie


Posted in Uncategorized | Leave a comment

Two Tip Tuesday – Placemats and Back to Front Bindings

Thank you for following the Designers Quilt Show!  We had a great week of seeing 28 designers.  It is always fun for me to see what other designers are doing and their unique designs.  I hope you had fun, I know I did.

I hope you all had a wonderful socially distancing Passover and Easter.  It was very quiet at my house but nice to have a reflective day on what we are thankful for in our lives.  One of my guild friends shared her Easter table decked out with her Hexie placemats from my class on March 7th.  They are elegant and beautiful!  Thank you Suzanne M. for sharing your fabulous finish!

Hexie placemats by Suzanne M.

This reminds me, I now have the Hexie Placemat and Mug Rug pattern on my website.  You can find it here.  These are so fun and easy to make!  The Mug Rug was featured last week with the Crispy Oatmeal Cookies recipe.  The Placemats are made with Hex-a-ma-jig and the best size for the Mug Rug  uses Hex-a-ma-jig Jr.

Back to front binding instructions are now included in the pattern.  (Send me an email if you previously purchased the placemat pattern and want the Back to Front Binding information.)  I will give more then two tips today.  I’ll show a few key areas when making back to front bindings on Placemats or Mug Rugs with their “odd angle” corners.

#1 – Cut backing 2 times the width of desired binding from the outside top edge.  Fold in half and press crease.

#2 –  Following the outside edge of your placemat, draw a line extending onto the wrong side of the backing fabric, in both directions at corner.  Mark pressed crease across drawn lines.

Extend edge with lines onto
wrong side of backing. Mark fold with cross lines.


#3 –  Fold backing wrong sides together from corner and stitch on line from corner point to cross lines.  Trim seam.

Stitch from corner on drawn line to cross lines.

Trim seam.


#4 – Turn binding right side out pushing out corner and tucking in raw edges.  Top stitch in place.

Turn binding right side out.
Poking out corner.

Top stitch along binding edge.


Ta da!  A beautiful finish for placemat and mug rugs.

in quilting,

Debbie

Posted in Back to Front Binding, Hexagons, Uncategorized | Leave a comment

Designers Quilt Show – Day 7 ~ Final Day

We had an awesome week of seeing 28 designers! Today is a recap of the designers and last day to sign up for prizes. Check out the website for final details!  Designers Quilt Show.com

Posted in Uncategorized | Leave a comment

Designers Quilt Show – Day 6

There are 5 more designers over on Designers Quilt Show! Take a look at all they have to “show” you today. Tomorrow will be a wrap up of all 28 designers.  Be sure to register (free!) to win prizes!!  Kathryn added a P.J. party tonight at 7pm.  The link will be on the website.  Have fun!

Posted in Uncategorized | 2 Comments

Designers Quilt Show – Day 5

YES, it is still going on and there is a great lineup of designers. Be sure to check it out!

Posted in Uncategorized | 2 Comments