Two Tip Tuesday – Tasket Basket Quilt, oops!

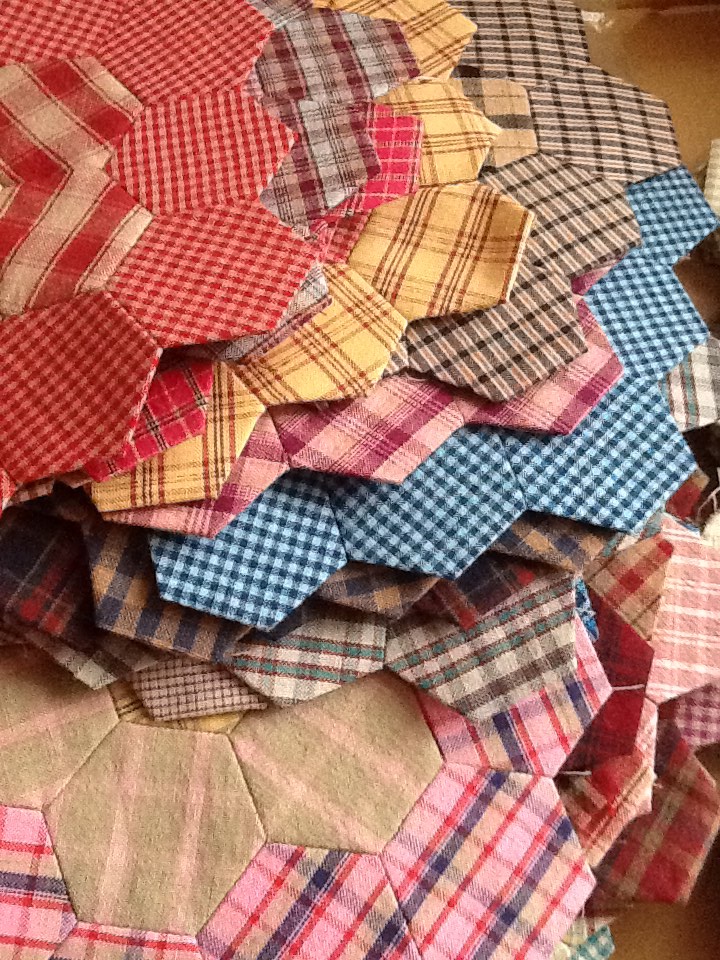
I’m in the throws of packing for Paducah and I’ll be bringing the “leftover” fabrics from the Something Blue Baskets Block Hop from Houston. I’ve got Fat Quarters and some yardage. Come by the booth early for best selection…when it is gone…it’s gone…and I don’t want you to miss out.
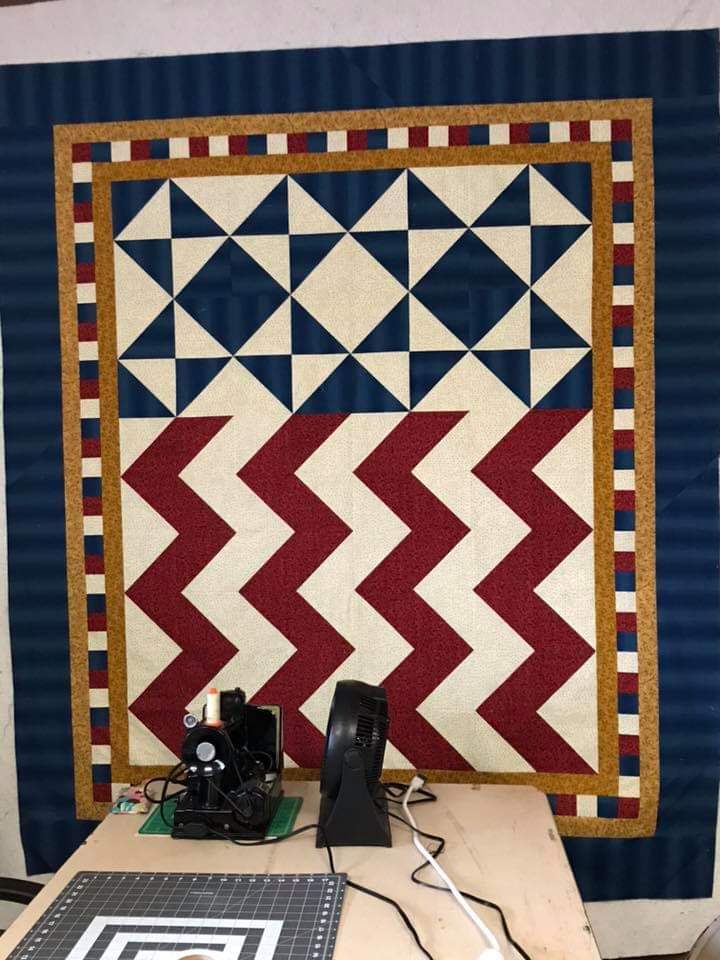
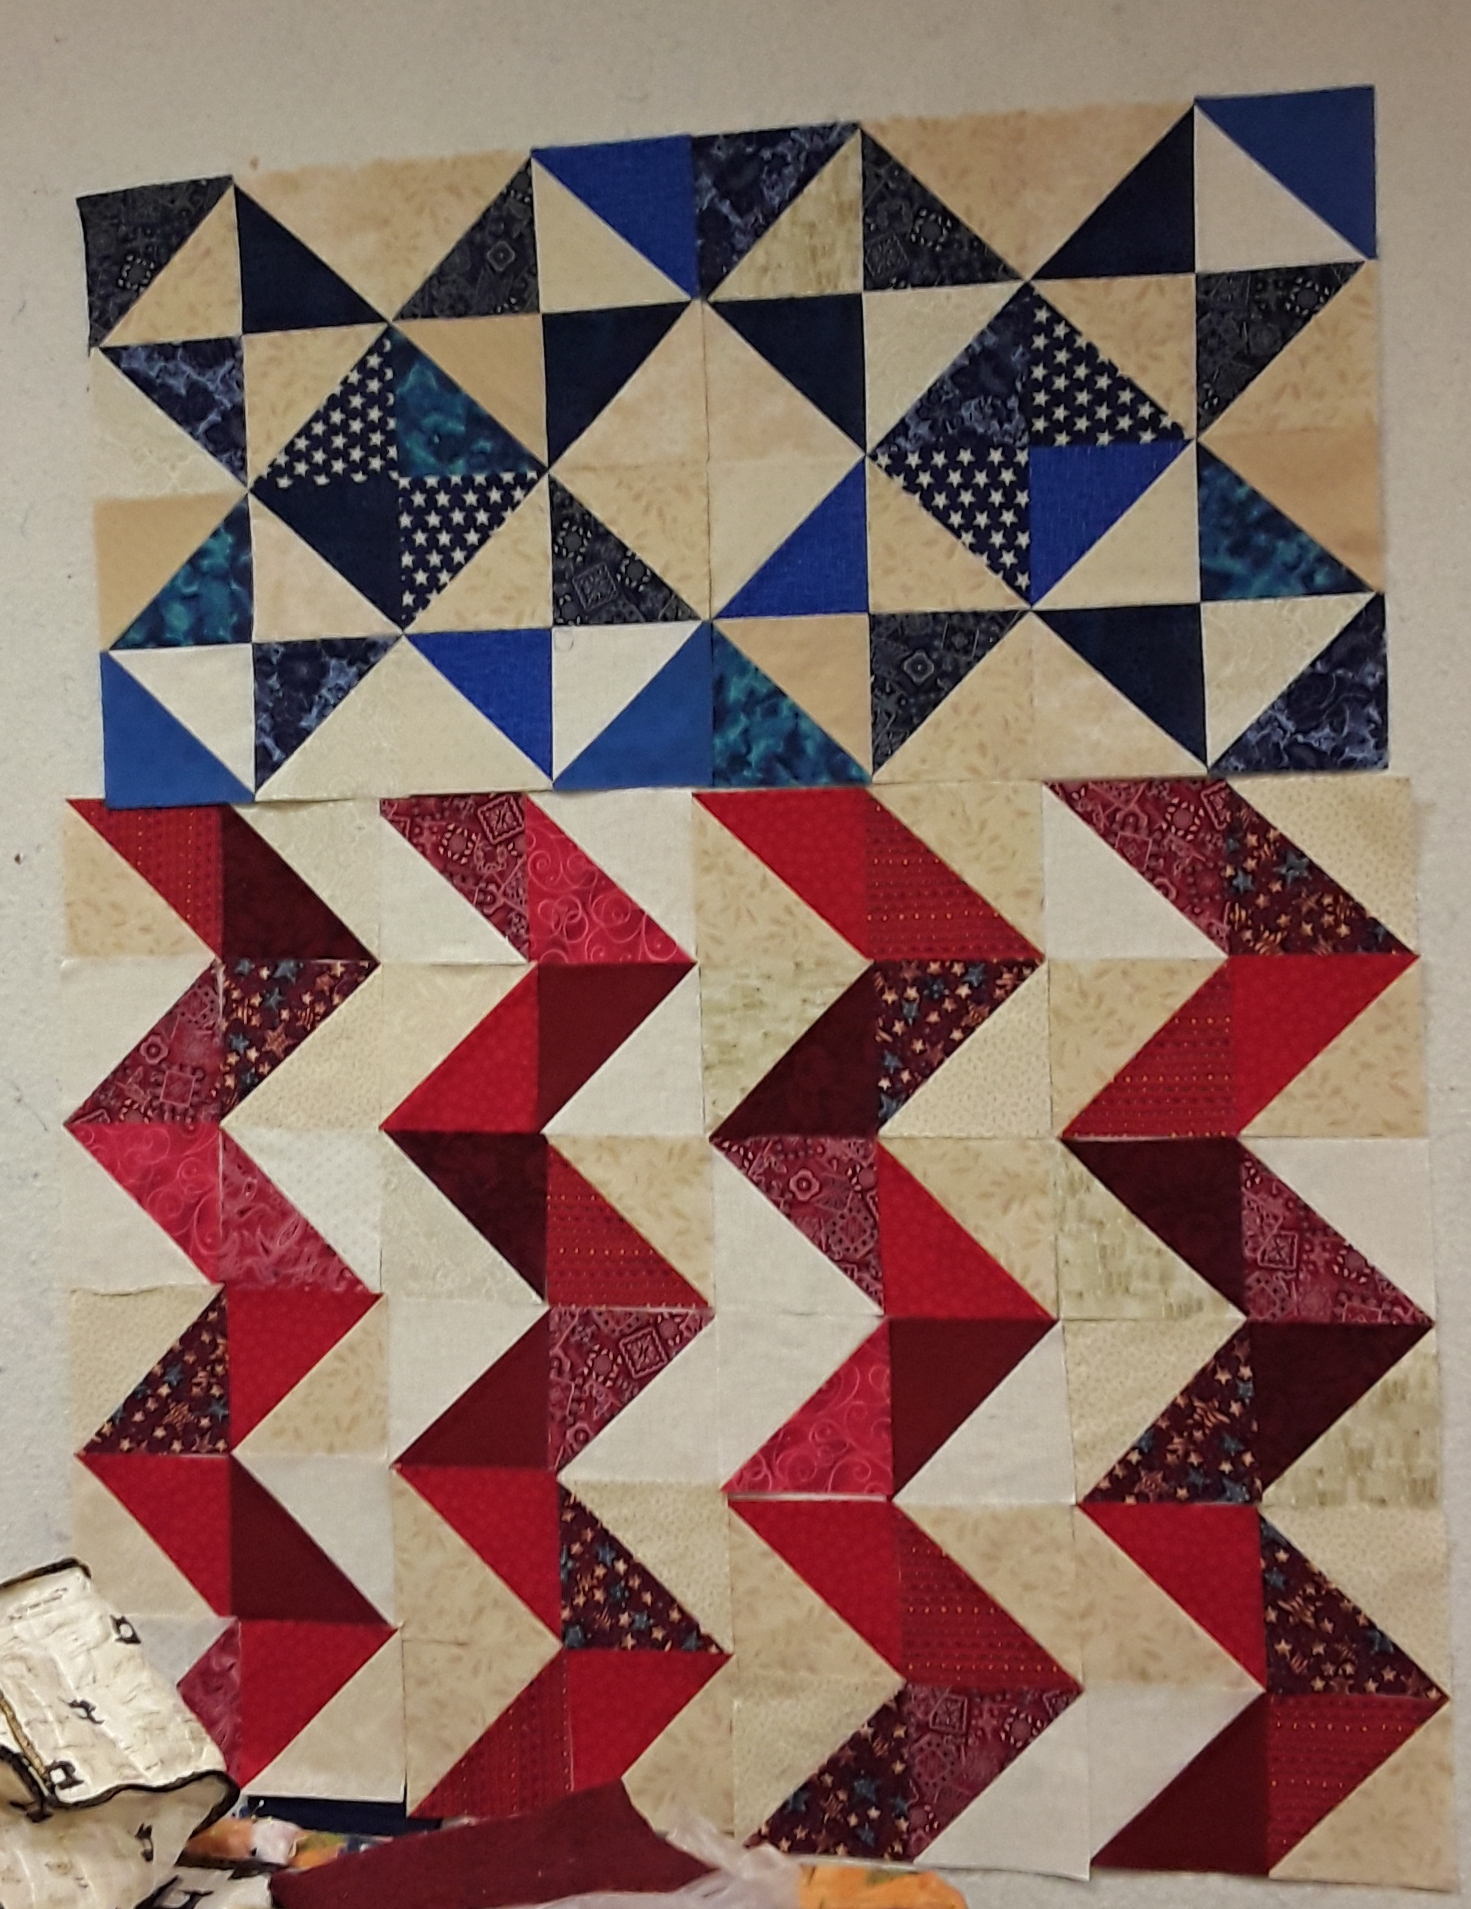
“Something Blue”…
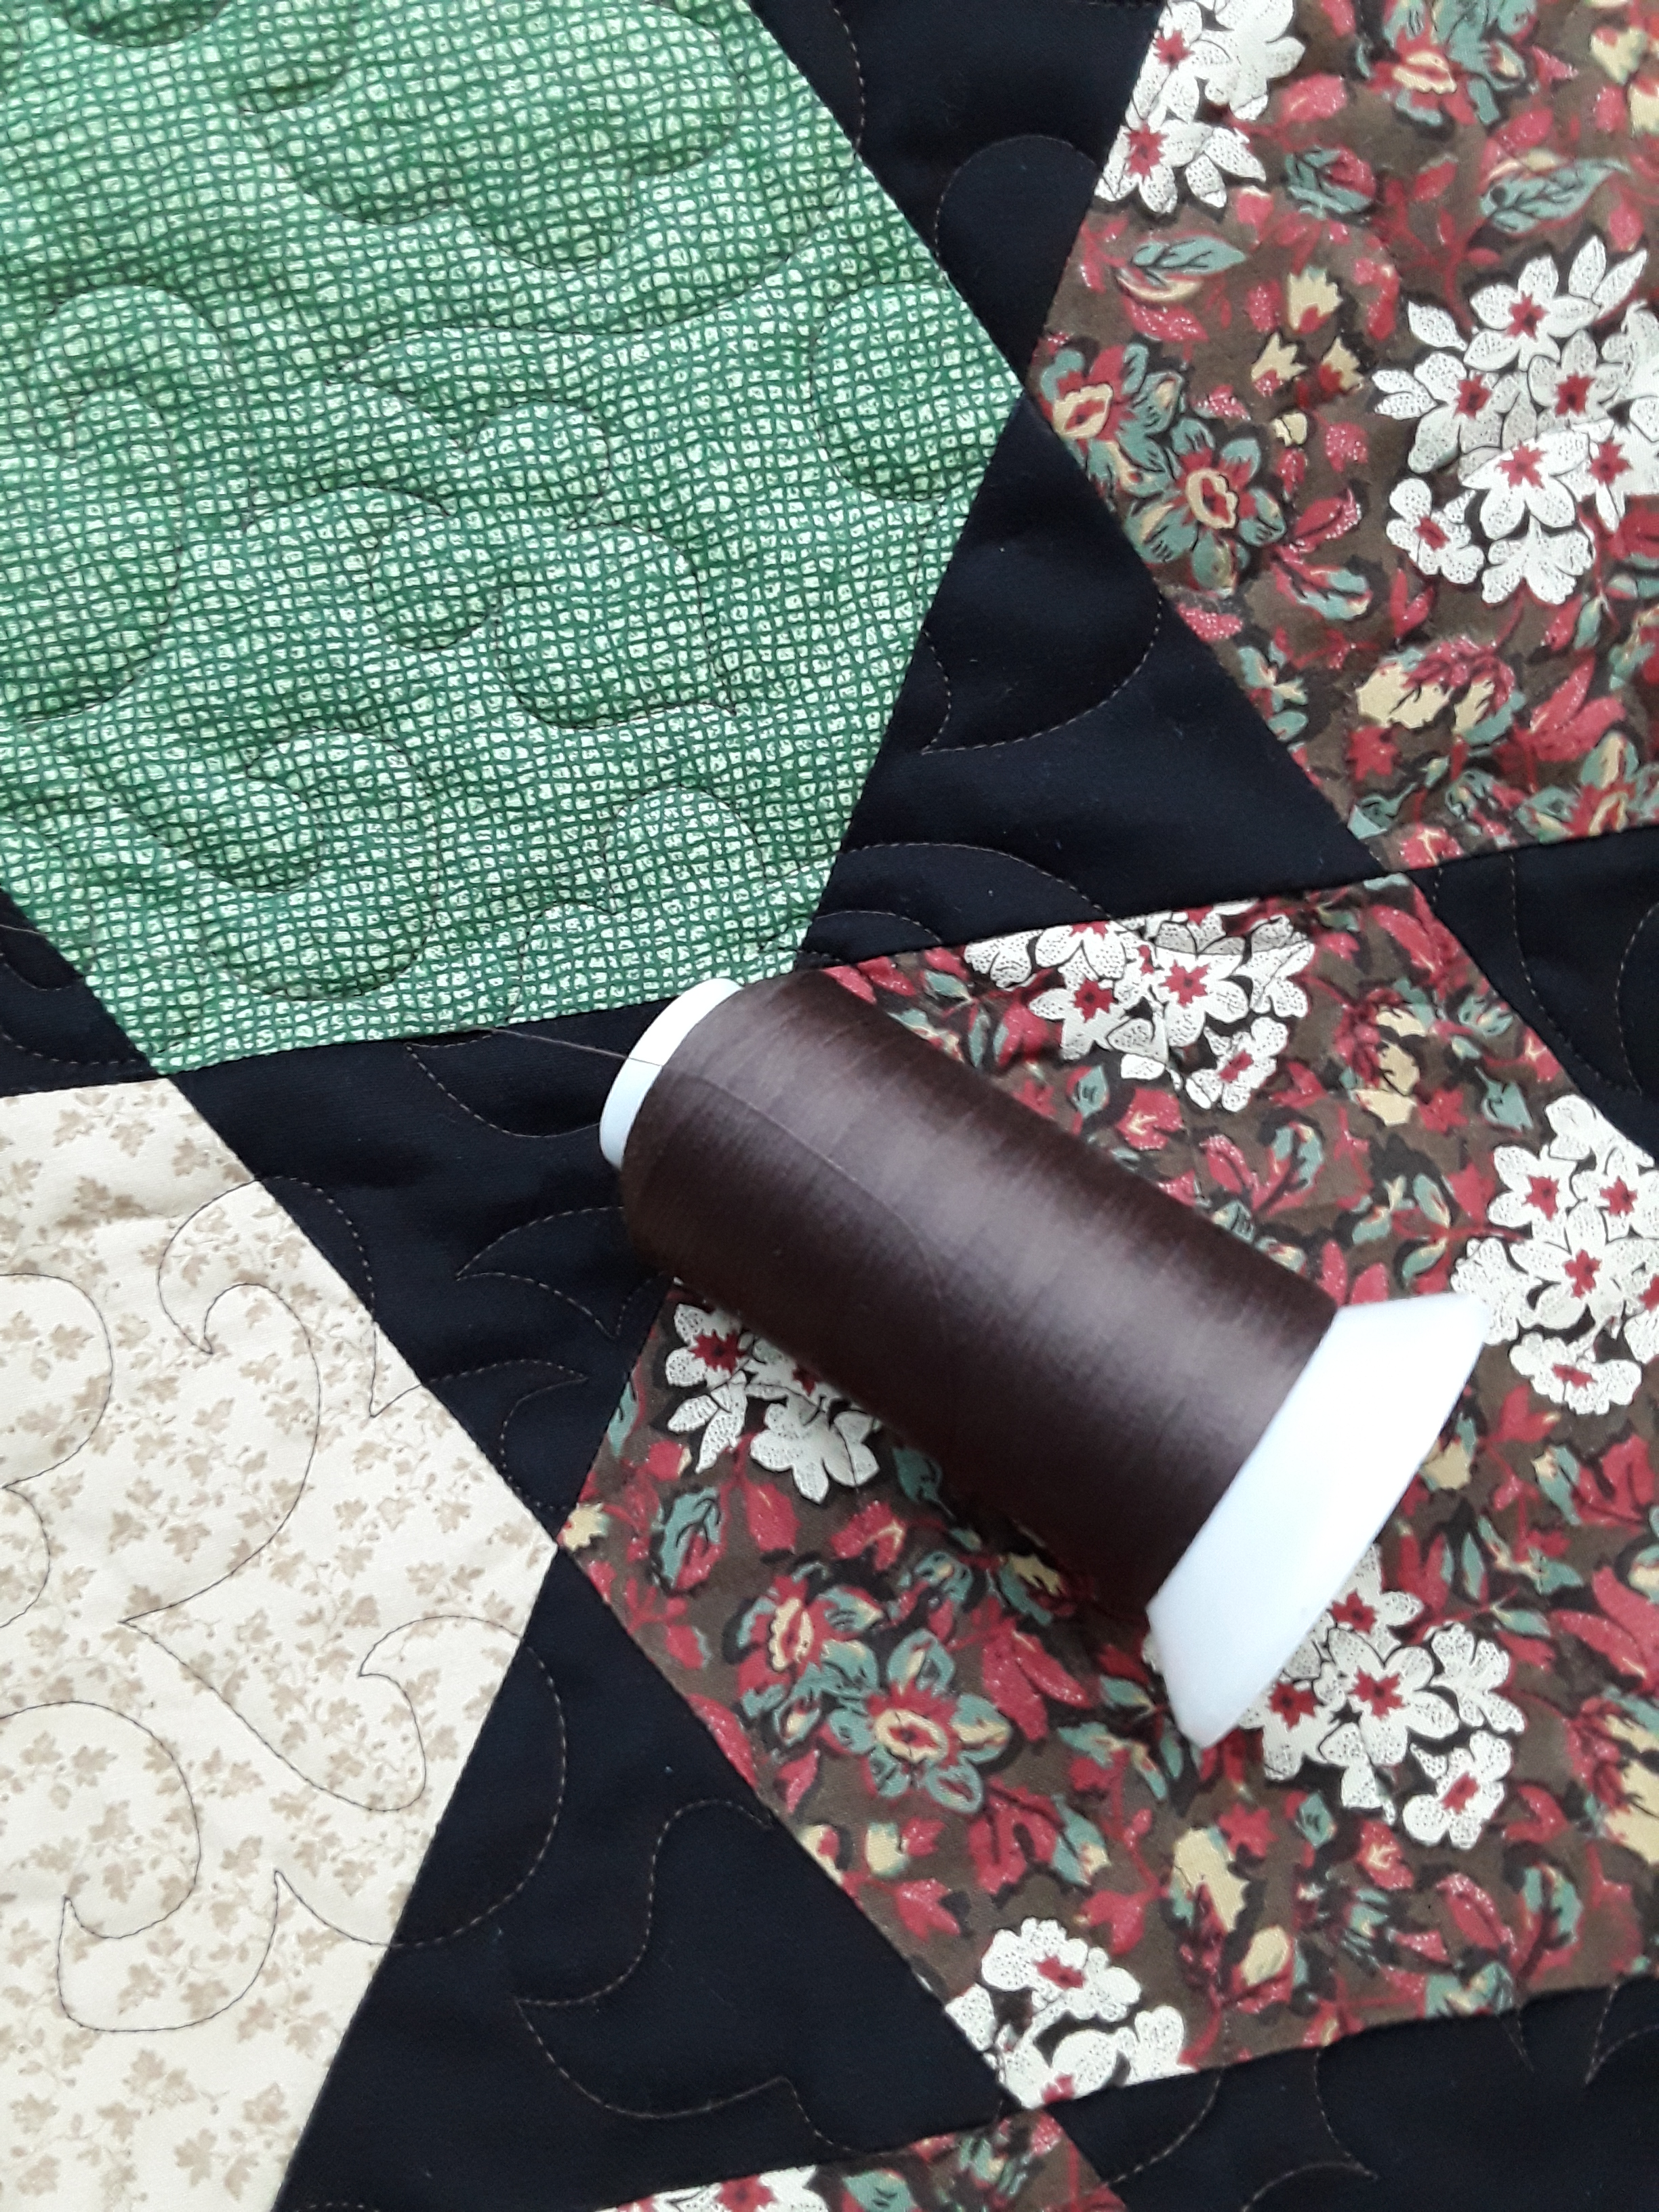
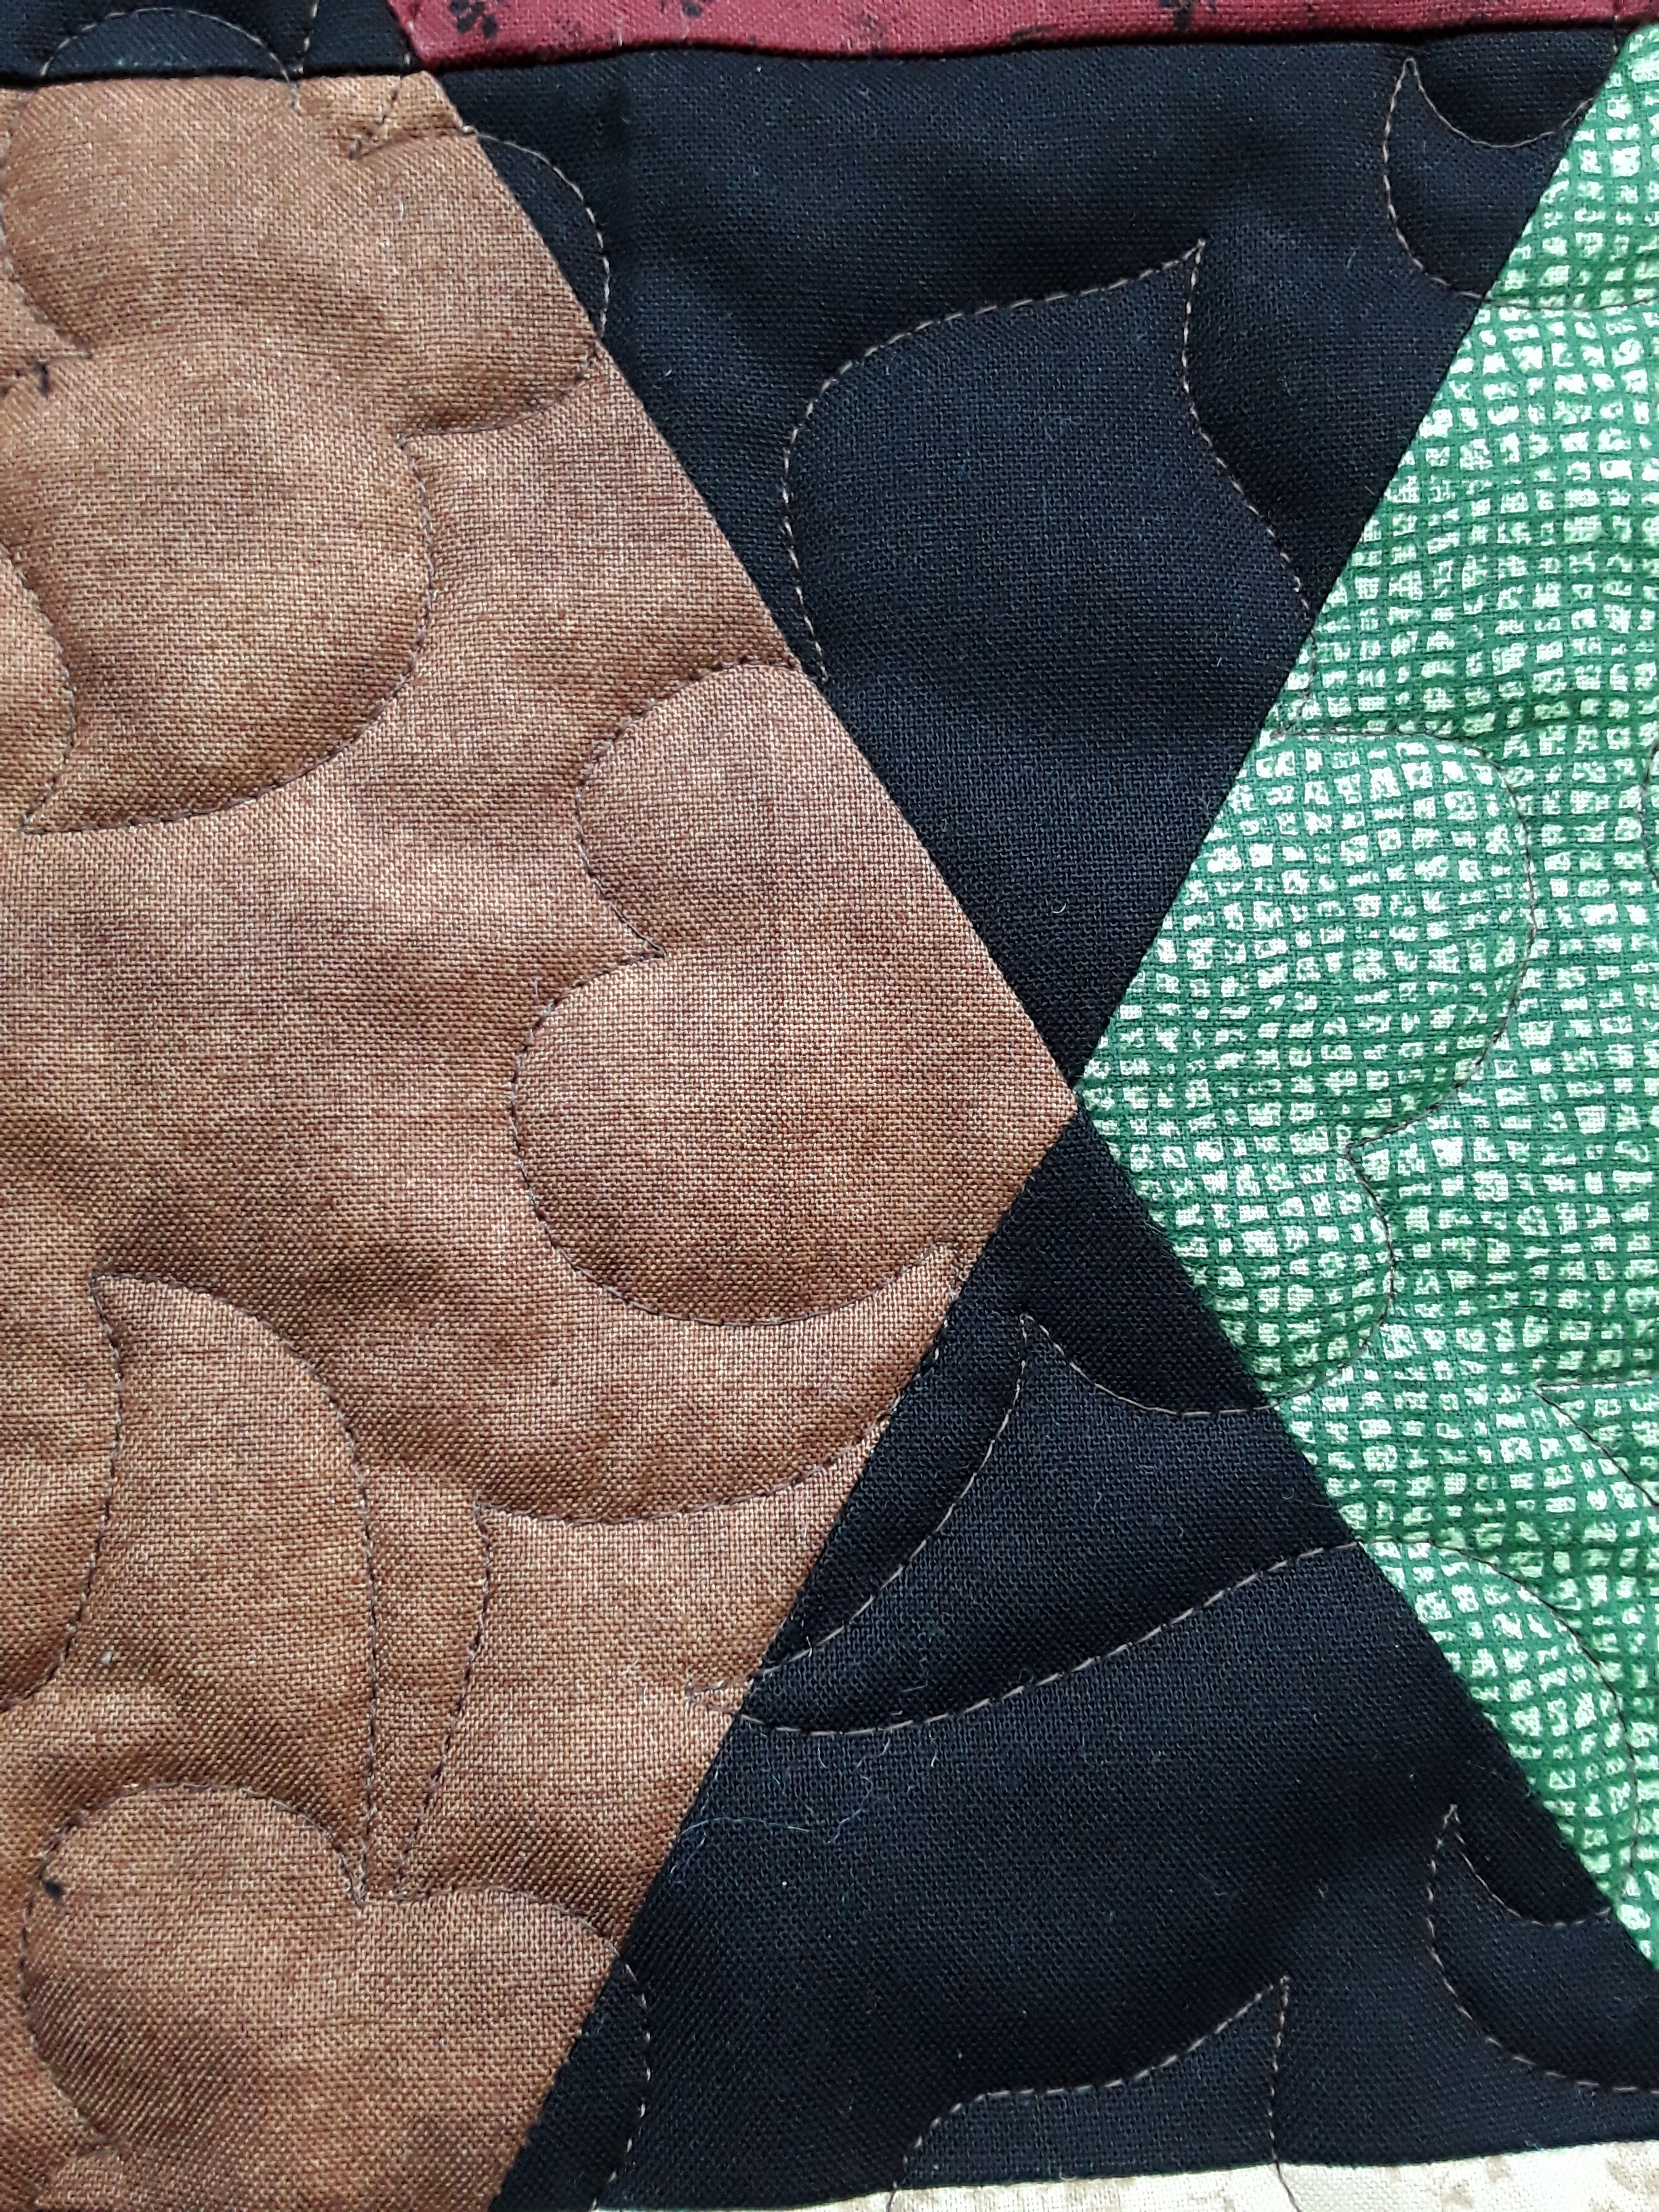
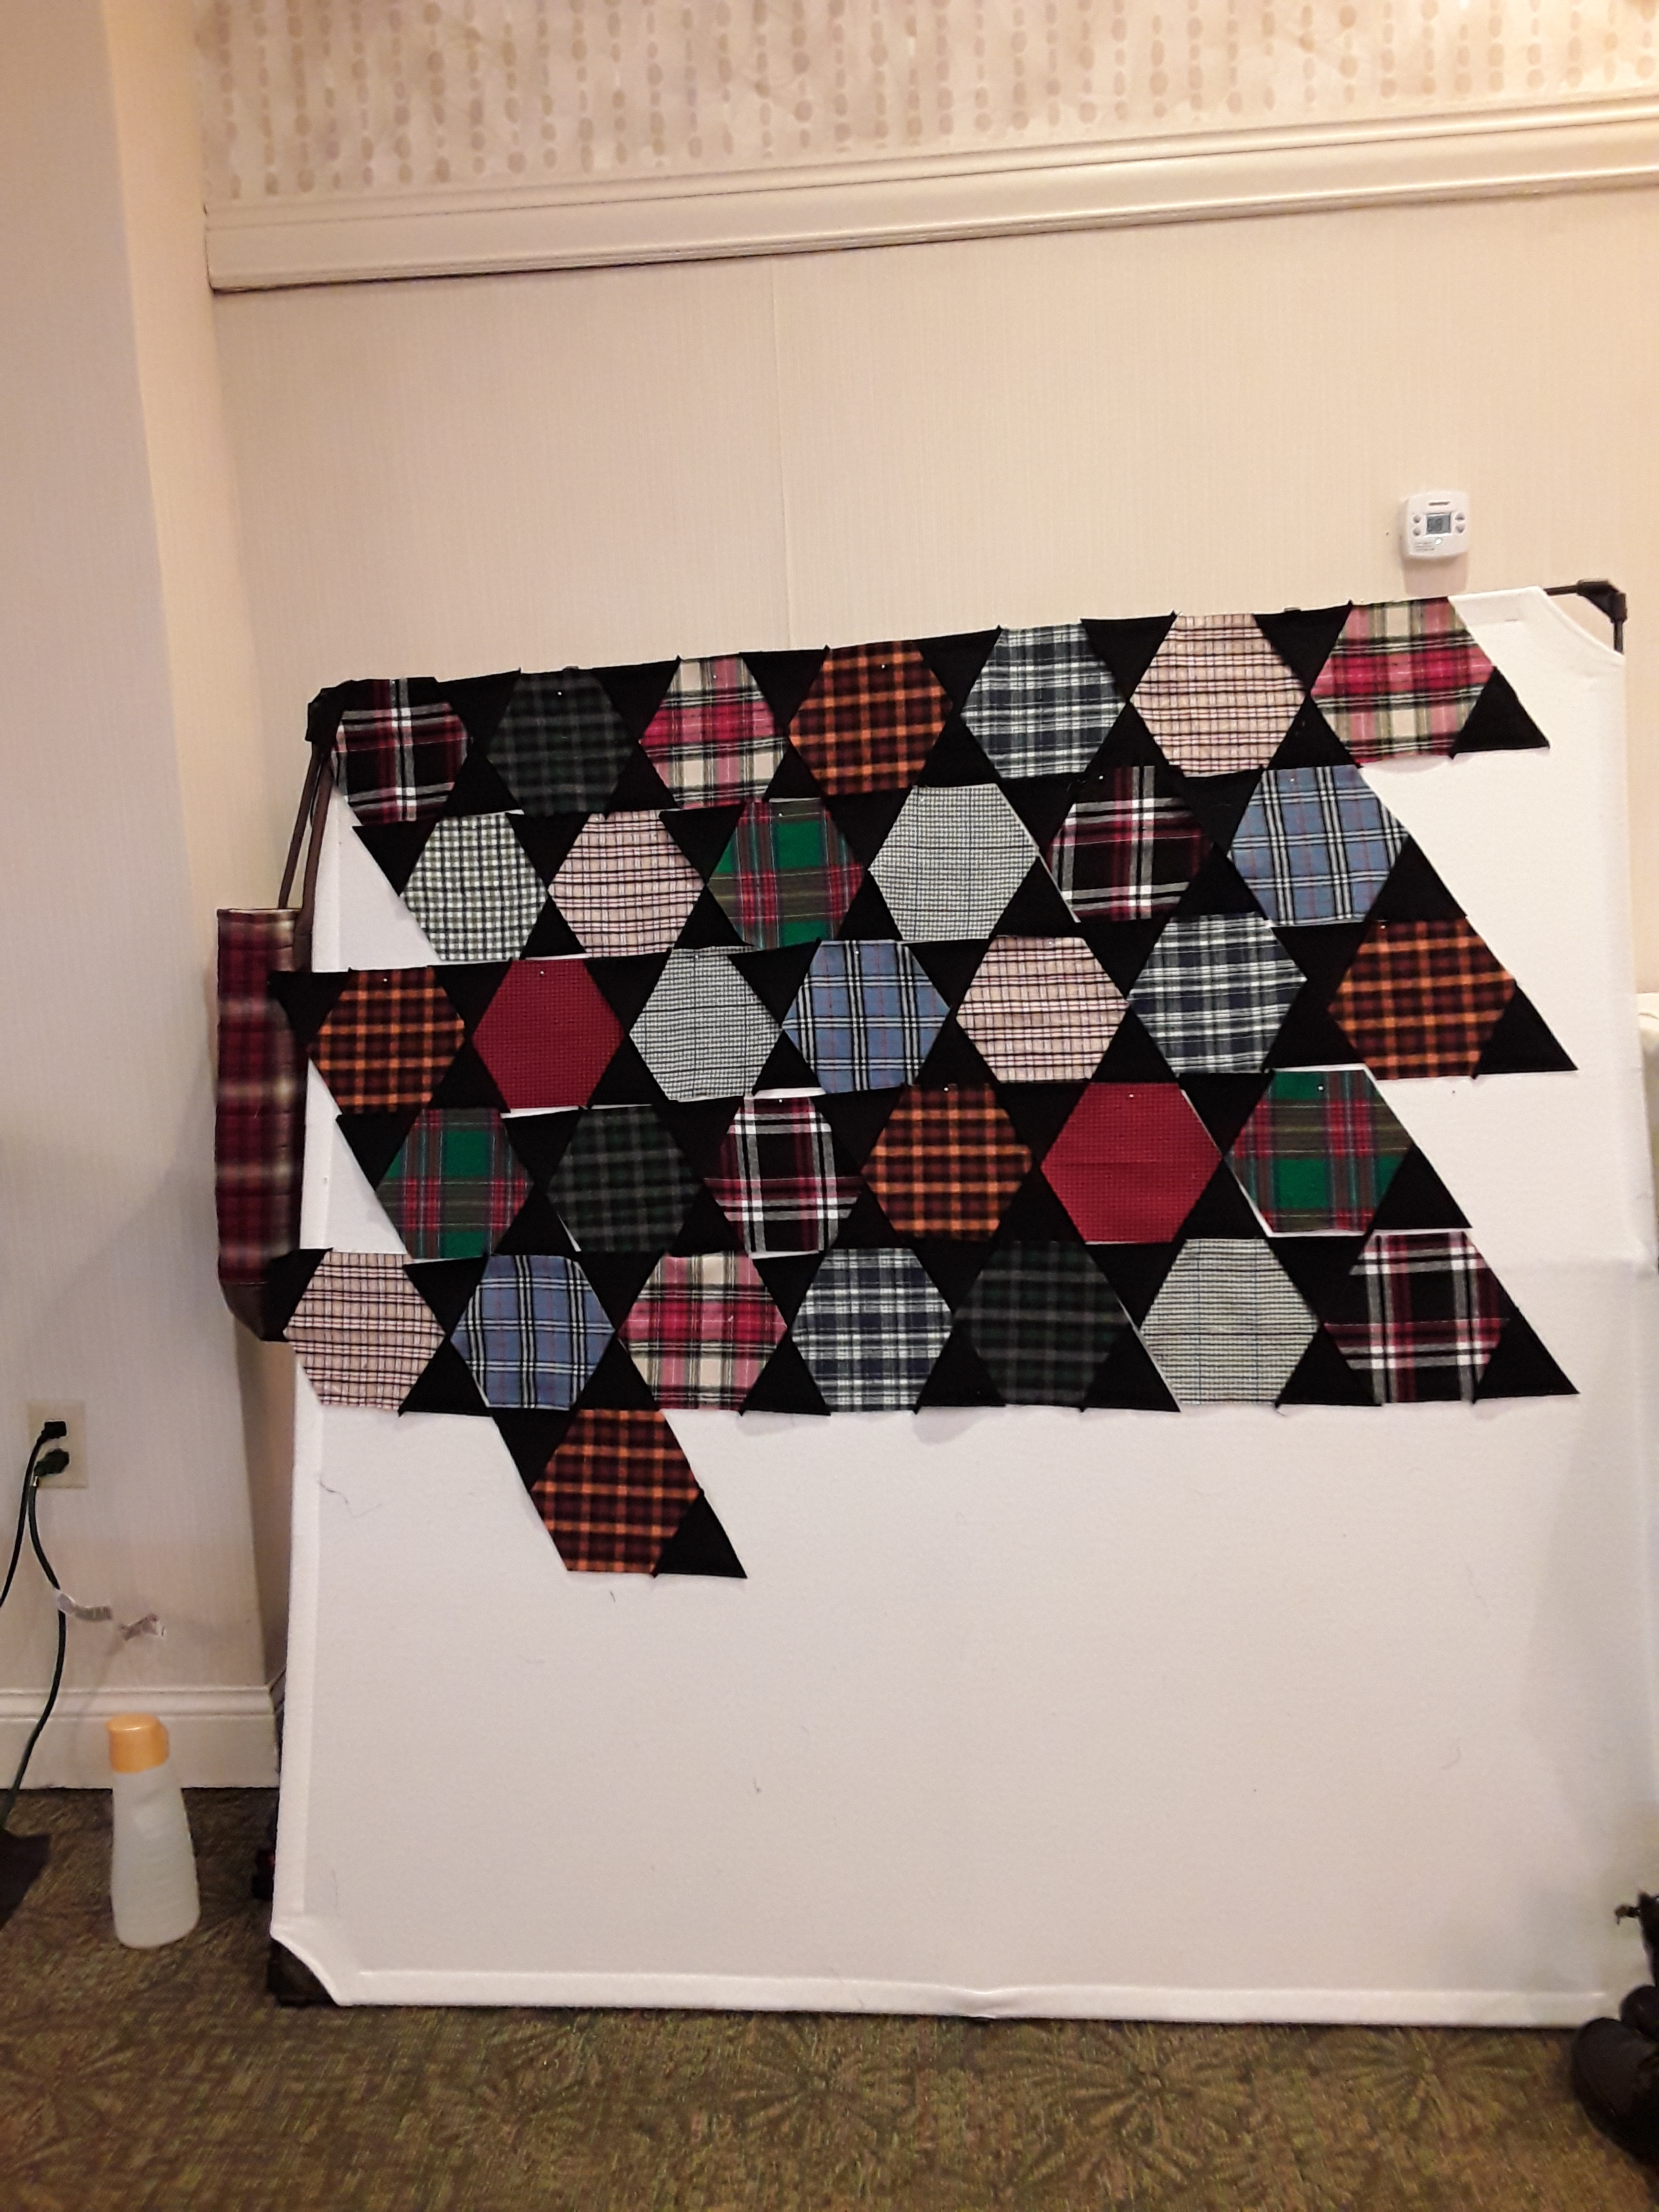
Tasket Basket Quilt D.W.

For those of you who participated in the Hop and bought my finishing kit, your pattern MAY have a TYPO.

PLEASE!!  Double check the Square in a Square block measurement. It should read square to 4 3/4″ (not 3 1/2″) for their finished size of 4 1/4″.  As many times as I read and re-read and check numbers sometimes changes miss in getting to the final printing.  I apologize for any inconvenience this may cause.  If you have cut smaller blocks, no problem, add more blocks in the strip to fill the length.

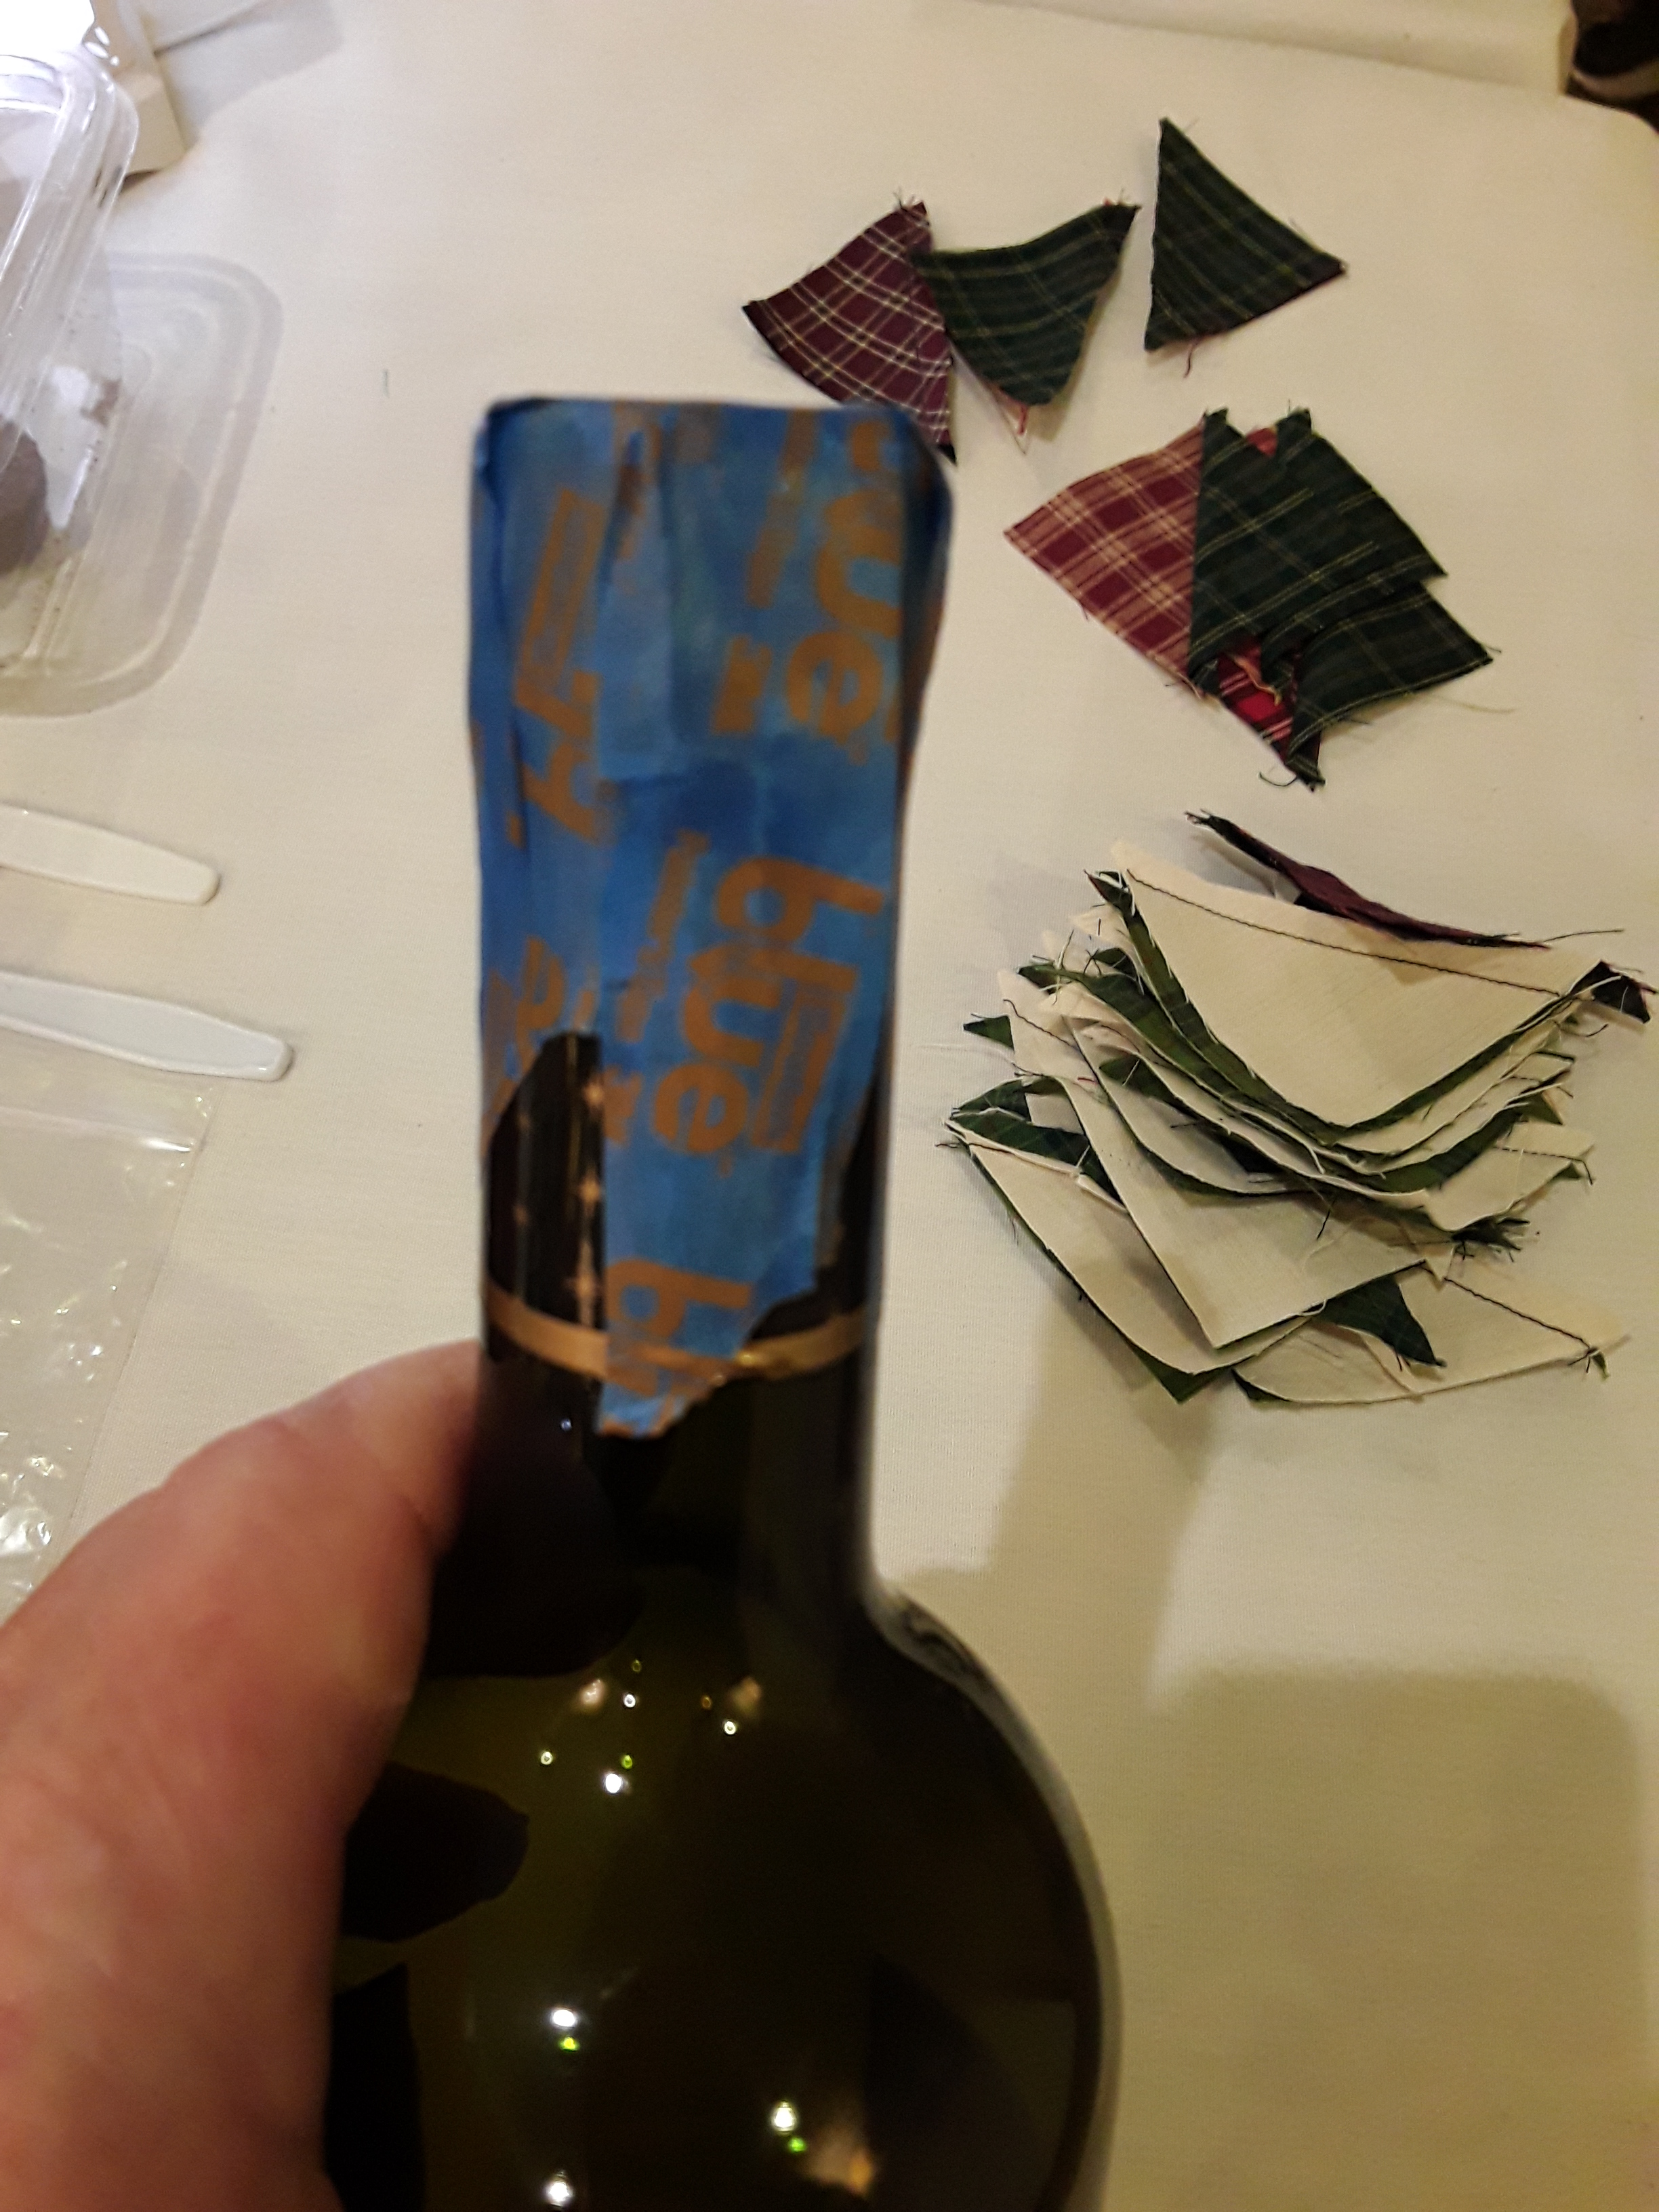
Tips when making the Square in a Square blocks…

#1 – Always mark center points on all pieces.

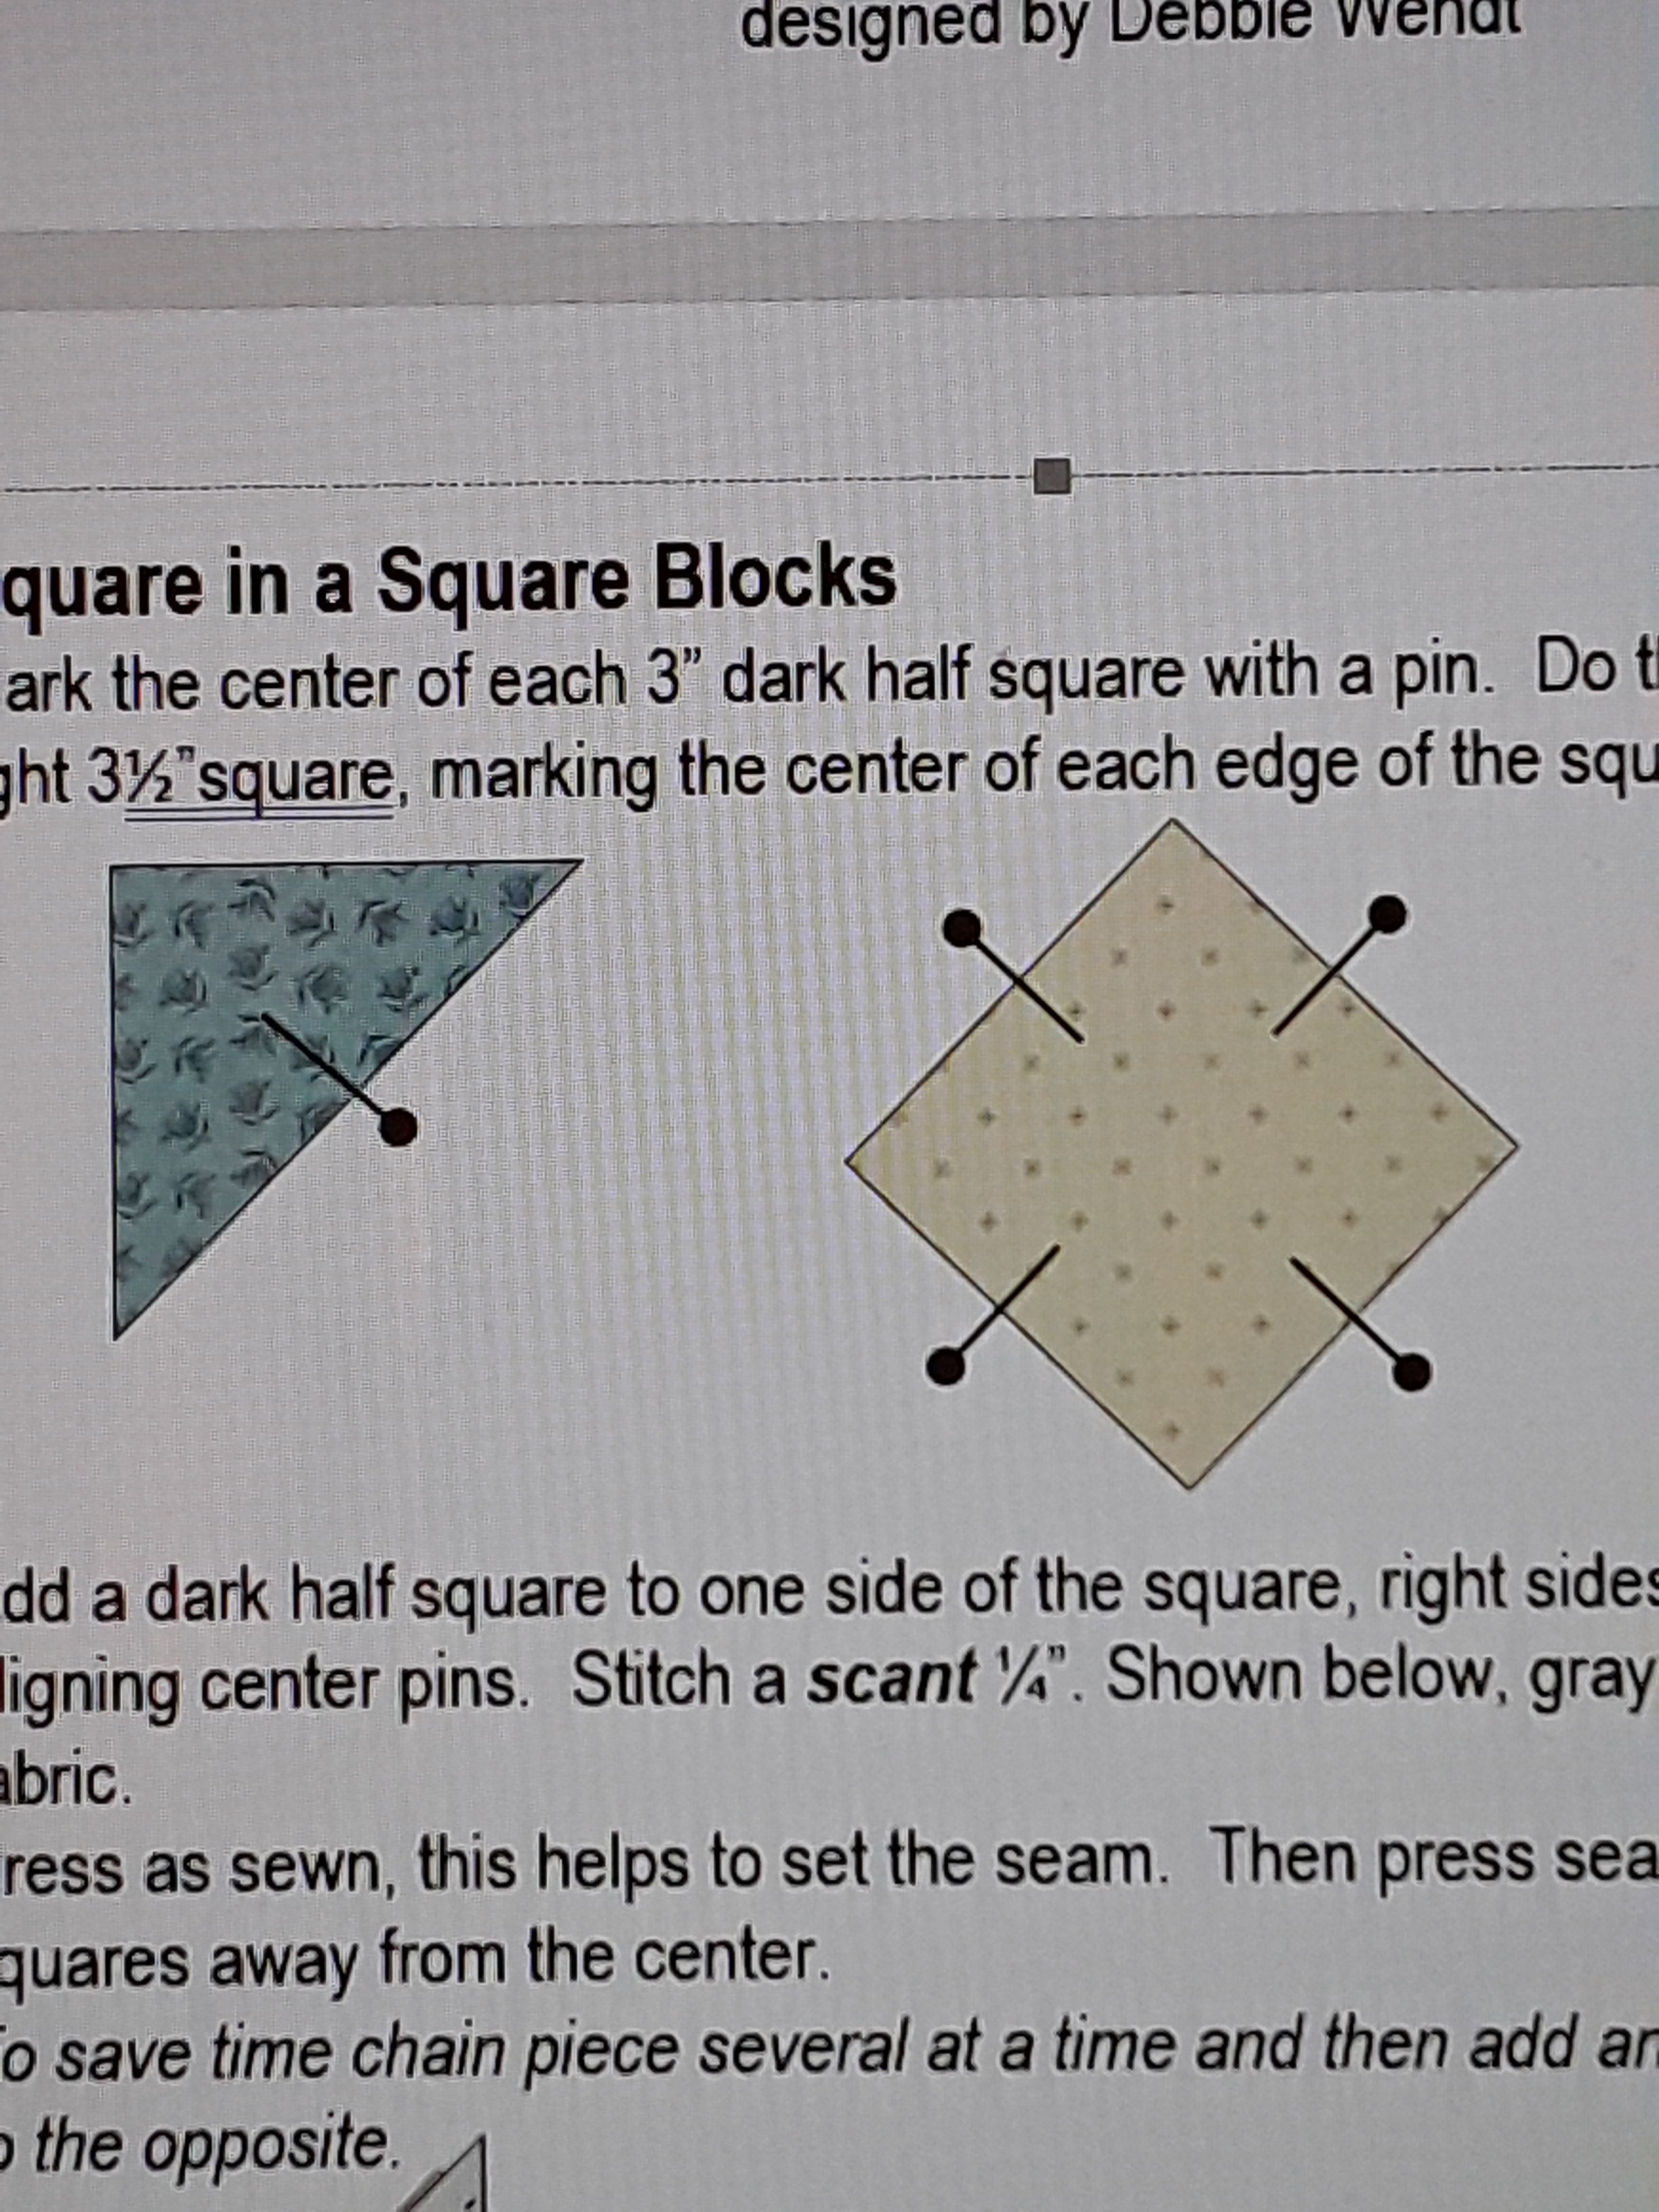
Sq n Sq block pieces with center pins.


#2 – Align center points and stitch.

Align center pins and sew.


#3- Add half squares to opposite sides.

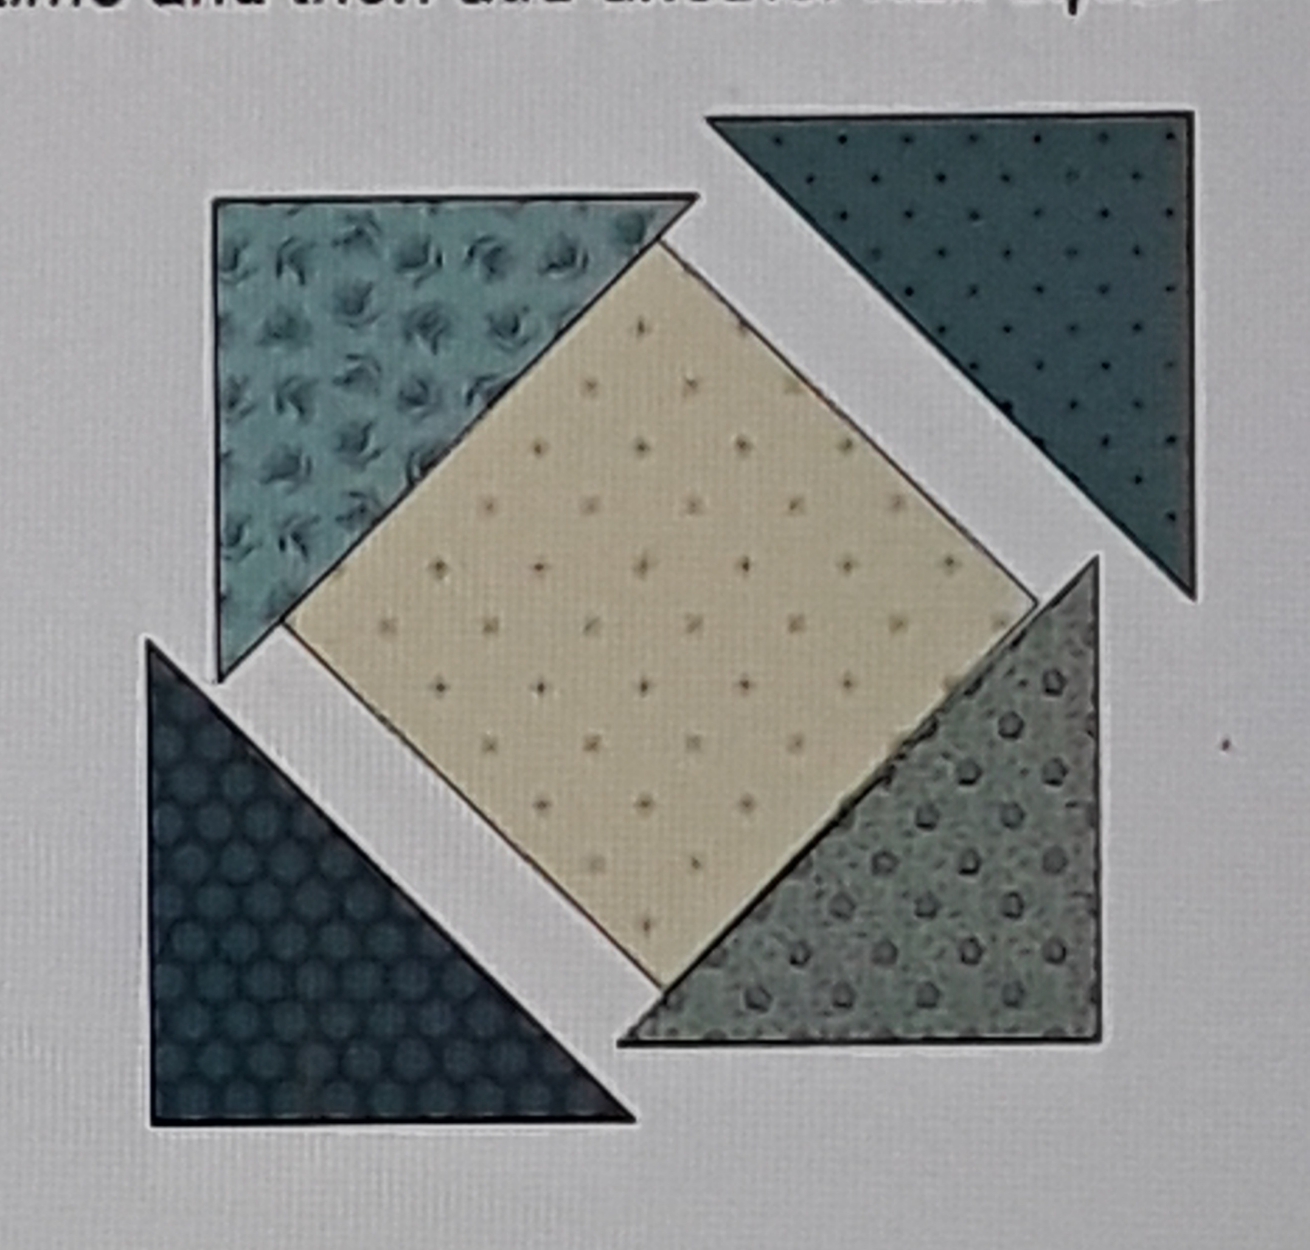
Sq n Sq opposite edges sewn.


#4 – Add third and fourth half square to remaining opposite sides.

Sq in Sq block!

#5 – Square up!

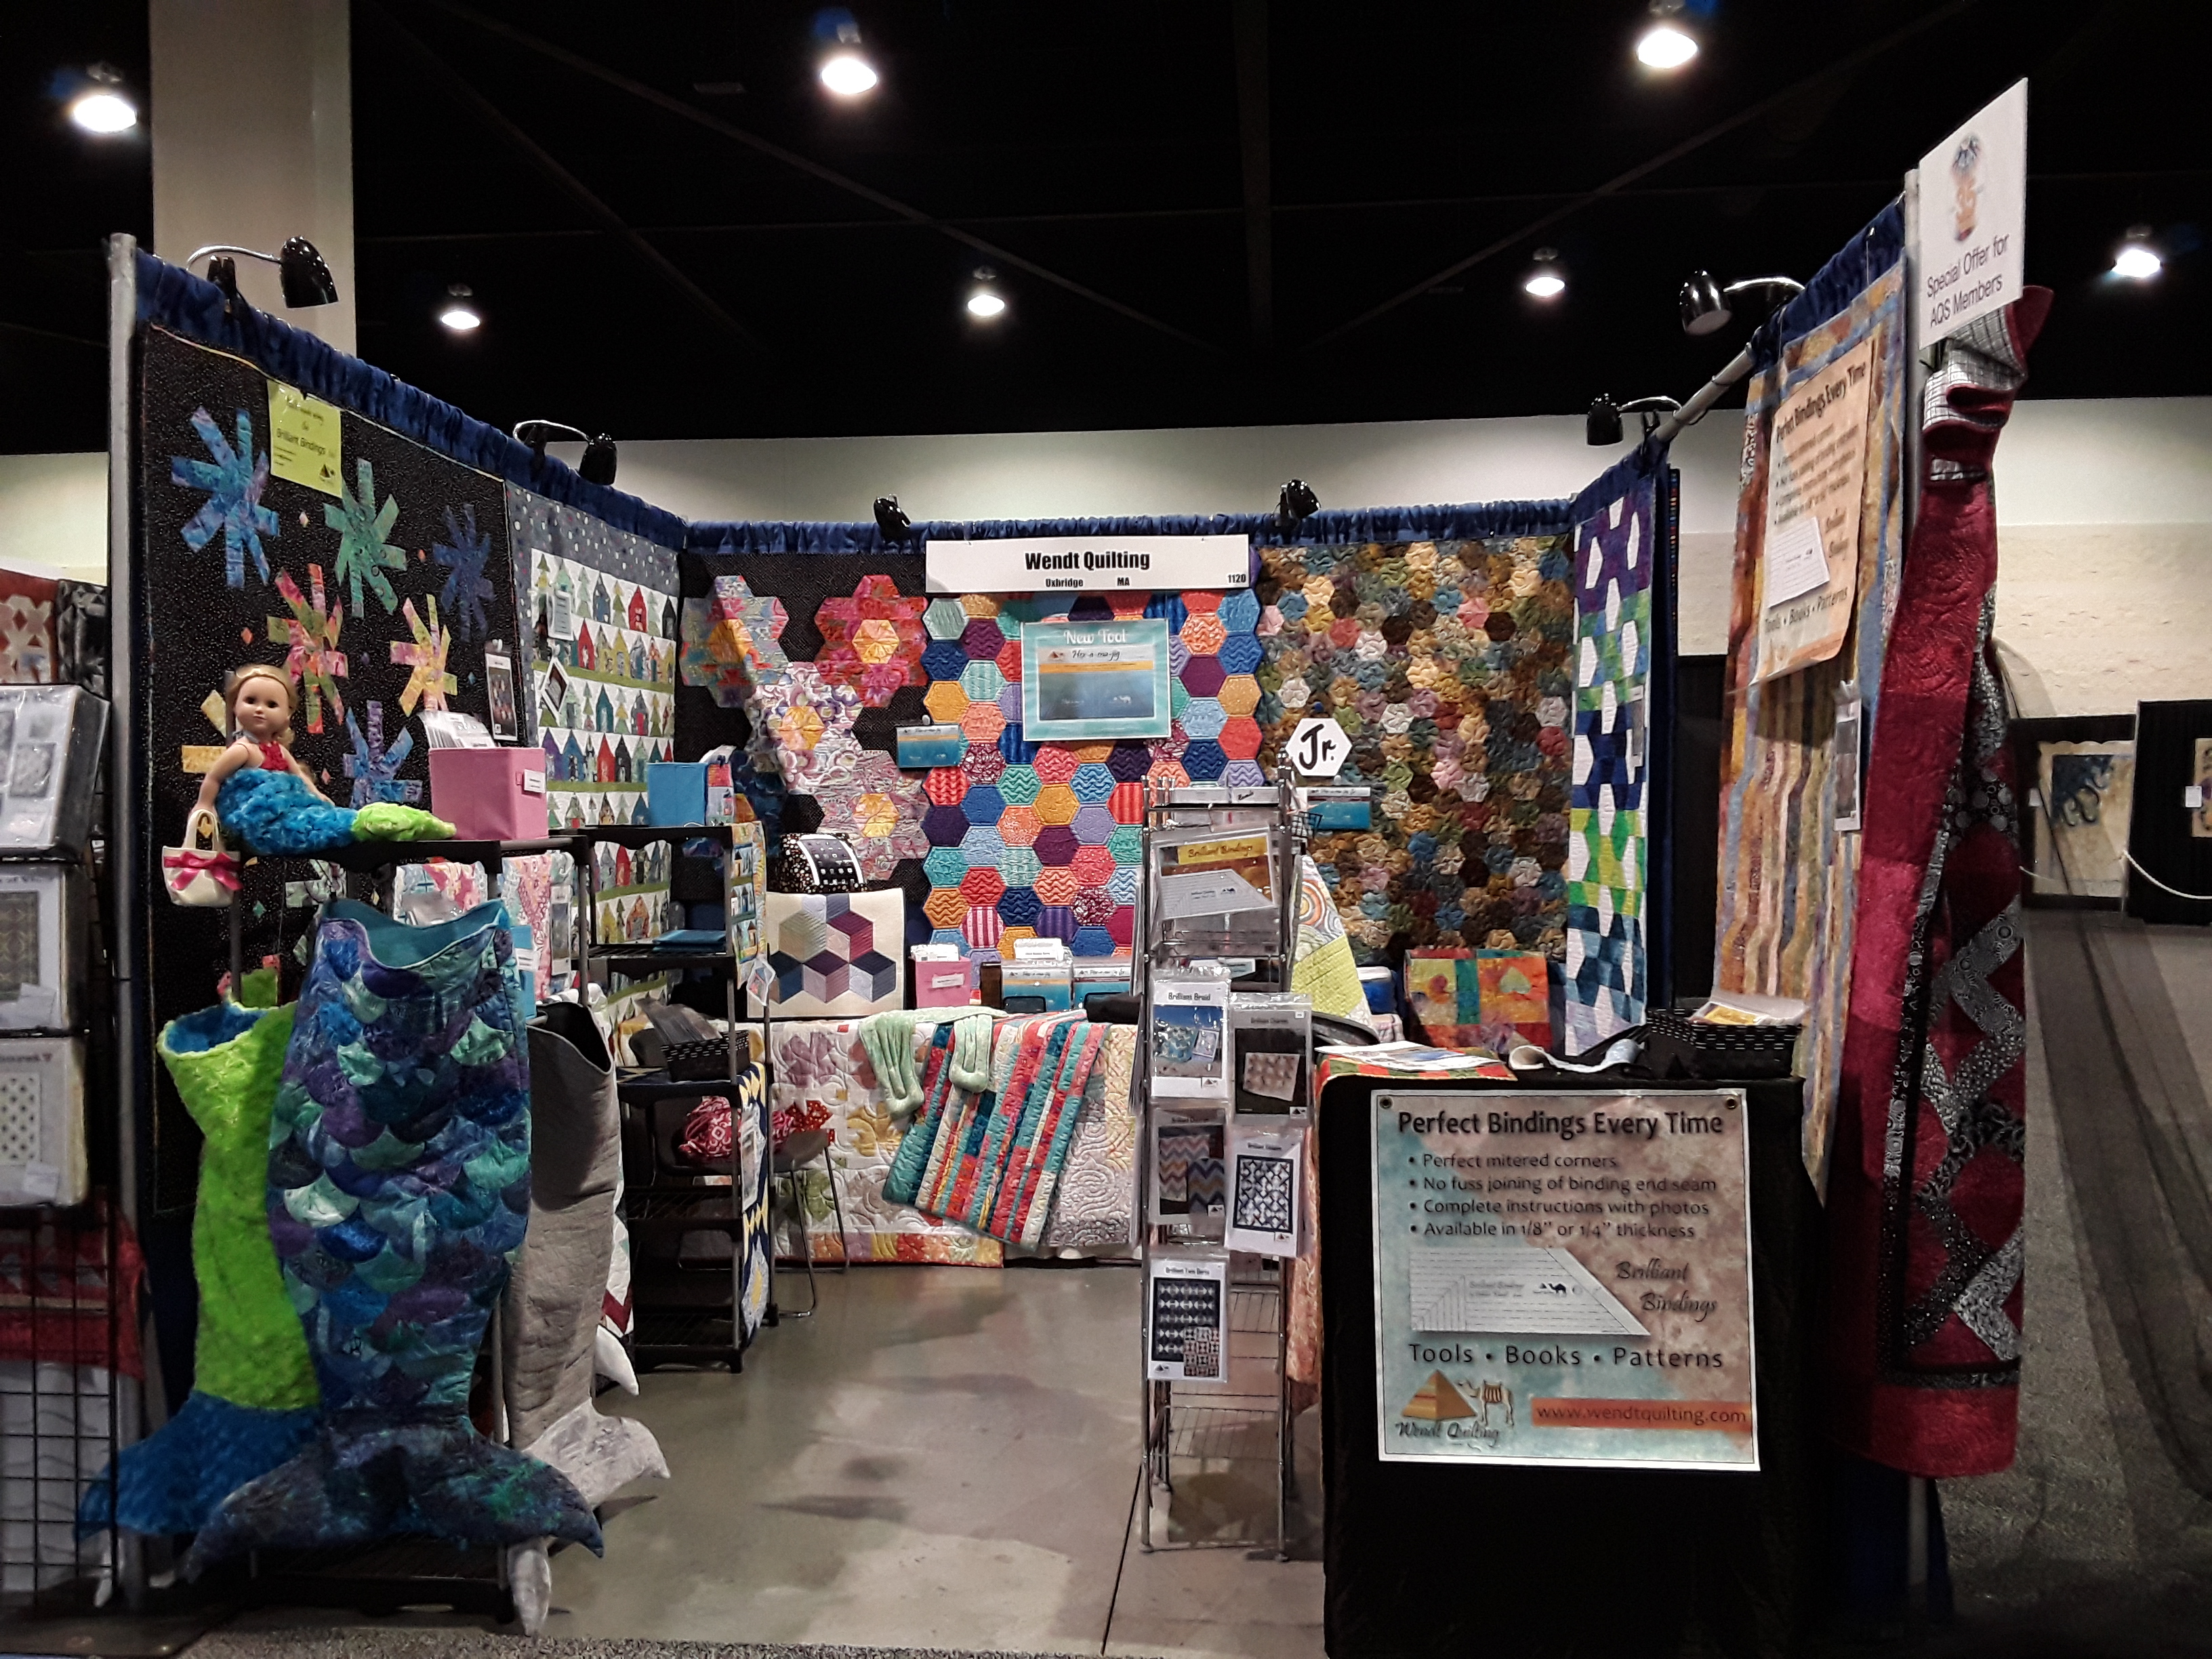
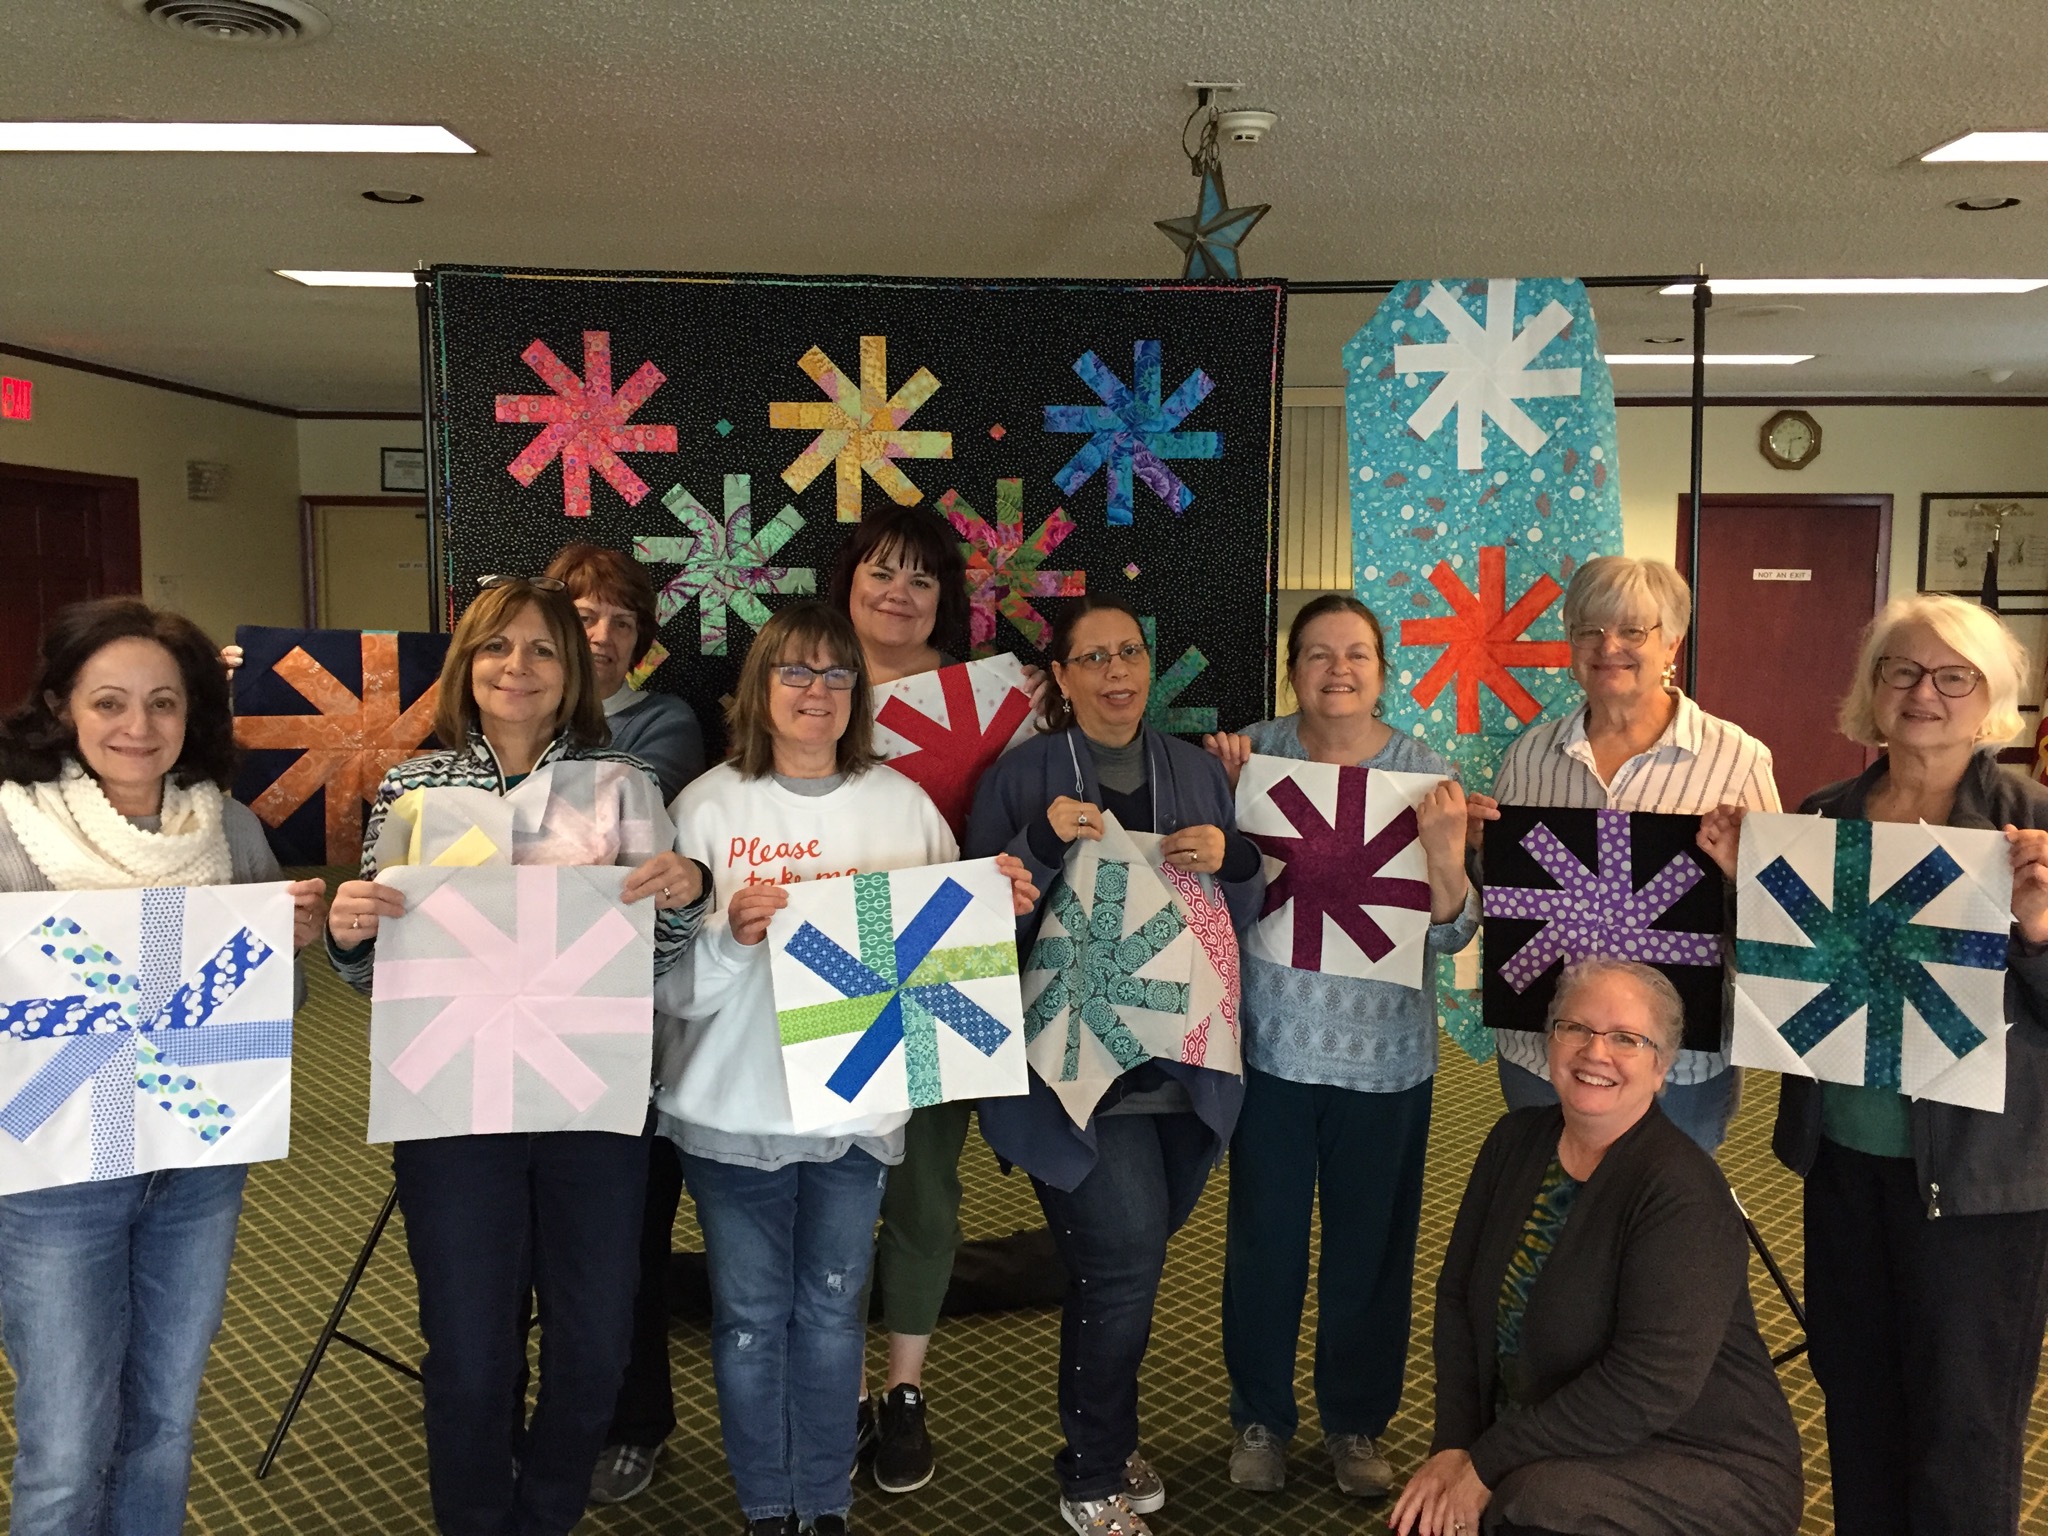
I hope you are able to enjoy BLUE skies in your area!  I also hope to see you in my booth next week in Paducah #2605!

in quilting,

Debbie


Posted in Uncategorized | Leave a comment

Two Tip Tuesday – Quilt Show prep and EPP

Some days look like this at the Wendt Quilting table!

Spa Therapy Bag pattern D.W.

Spring Paducah is just around the corner and many patterns have to be folded and ready to vend. And kits assembled and ready for class!

There are just a few seats left in Hexies and Honeycombs on Wednesday night from 5-8pm. Won’t you join me for fun evening of learning to English Paper Piece (EPP)? These are great “go” projects and don’t take up much room to carry at all. We’ll be making and exploring Flower Garden blocks and Lucy Boston’s Patchwork of the Crosses. You bring some 2 1/2″ squares and a few fat quarter and a kit supplies all your papers! A fun way to spend a few hours with like minded quilty people!  Handwork is great for relaxing with friends.

Hexies and Honeycombs D.W.

Years ago when I first started a flower garden quilt, NO it isn’t finished yet, but getting closer each time I travel.  I love my plaid flowers!  Did you know you can reuse the “Paper Pieces” papers?  Once you get a hexie surrounded, you’re good to take out the paper for that center piece.  The papers are very reasonable but by reusing you save some change and weight that you carry around.

#1 – Reuse EPP “Paper Pieces”.

Honeycombs are a great fun shape to explore.  The Lucy Boston Patchwork of the Crosses is a fantastic avenue for creating kaleidoscope designs with your fabric.  (picture of honeycomb center shown in class photo above)

#2 – Explore Honeycombs for a new handwork project!

I hope you’ll join me in Paducah.  And my booth has moved to the first floor of the Convention Center #2605 (not the main Expo hall, but down the hall and around the corner in the same building).   See you there in 2 short weeks!

in quilting,

Debbie

Posted in EPP, Hexagons, Uncategorized | Leave a comment

Two Tip Tuesday – More on Binding

A great week in Lancaster for AQS Quilt Week. (Yes, that is why I didn’t get a post done, busy setting up the booth!)  It was good to meet so many like minded people, quilty people!!  Thank you for visiting my booth, purchasing tools and patterns, attending the learning center Hexies demo, All-Star Review, World of Bindings lecture and Become a Brilliant Bindings class!!  I had a blast and enjoyed sharing bits of my quilting passion with YOU!!

An important topic that always gets questions and my attention is bindings and making perfect mitered corners.  In demonstrating bindings there are some specific steps that help make those miters perfect.  I’ll add photos below of key steps of the miter process.

1 – Stop sewing the same distance from the upcoming edge as the seam width you are using.  At the seam distance, leave needle in all layers, raise presser foot and stitch off into the corner.

Stopping point and stitch to corner.


2 – Flip the binding back so the raw edge is in line with the upcoming side edge.

Binding FLIP

3 – Flop the binding on top of itself in the new direction, keeping all edges even.

Binding FLOP

Tip- I call this the binding corner FLIP FLOP!


4- Sew down the new edge to the next corner and continue around the quilt.

To get the perfect miter on the front and back of the quilt…

5 – Turn the binding over the corner to the back.

Binding turned to the back.


6 – Whichever side of center has the fold on the front, that is the side that gets turned back first on the back.

Binding miter to back, folds on opposite sides
of center miter line.

Miter on back of quilt.


Tip- The folds should be on opposite sides from the front to the back.

Tip- If you have “nostrils”, the folds are on the same side adding thickness to the miter and NOT what you want for your miters.

Wrong turn
See the nostrils?!?


I hope these tips make your miters perfect!

in quilting,

Debbie


Posted in Brilliant Bindings, Mitered Bindings, Uncategorized | Leave a comment

Two Tip Tuesday – Quilting Thread

I’ve got my full hexie quilt in the final stretch! This quilt was made for a guild challenge…ugly fabric. I received the white dainty flower fabric on brown as my ugly. Not bad at all! But someone wanted it out of their stash and I gained a great fabric for making full hexies. All the other fabrics were pulled from my stash!  The binding is all I have left, simple black will frame it nicely.

Partial view of Full Hexies Quilt D.W.

I want to share with you how I chose the thread. If I picked a light thread it would have jumped out on the solid black triangles. (Not the look I was going for on this quilt.) I looked at greens, but I didn’t have the right shade without having to go out a purchase more thread. Same with the burgundy. So… I had this brown…

Dark Brown Thread Choice

I thought it might be too dark, but I like that it didn’t show up on the black. I puddled the thread over all the fabrics and decided it would work well. Here are a few close ups of how the dark brown quilted over all the colors.  I was pleased!!

Full Hexies D.W.

Full Hexies D.W.

#1 – Audition your thread by pulling it off the cone and lay it over ALL the colors of your top. It will give a good look on how it blends or stands out. (Laying a cone of thread next to the fabric will not show how the single strand of thread looks when quilted.)
#2 – I prefer a dark thread quilted across light fabrics rather than a light thread across black on this quilt. I felt it blended better across the quilt.  The thread is a 50 weight, “So Fine” by Superior Threads.

Another quilt quilted and ready for my Learning Center lecture at the AQS Quilt Show in Lancaster, PA next week!
Now to get the binding sewn on and hand stitched!
Next week I’ll be setting up my booth in Lancaster, safe travels to those of you heading to the show.  Come by my booth #1158 and hoping we don’t get the snow we got last year. It is NOT in the forecast!
Speaking of weather…being from the Midwest, I have many family and friends and friend’s families in the areas of the horrific flooding along the Missouri River and most of Nebraska.  It is into Iowa and now down into Missouri. If you would be so kind to keep them in your thoughts and prayers. My friend, who was raised on a farm said it best…These are the people who feed our country!

in quilting,

Debbie

P.S.  The pantograph I quilted is “Jacobean” by Willow Leaf Studios.

Posted in Quilting, Uncategorized | Leave a comment

Two Tip Tuesday – day late

First, a shout out to all of the Daytona Beach show go-ers!!  GREAT to see so many at the show and appreciate my new and repeat customers!  I had a great time talking about Hexies in the Learning Center.  Thank you all for coming and your support!!  I got a number of requests for videos of my tips….must put this on my to-do list…!!

Hex-a-ma-jig” and “Hex-a-ma-jig Jr.” are getting a lot of love.  Did you know I have a “free pattern” on my website for “Two Halves Make a Whole Quilt”?  The directions are geared for “Junior” and a “jelly roll” but by using larger, 3 1/2″ strips you can make the same quilt.  Sew much fun!

My friend Faye has been busy again using “Hex” and “Junior” (yes, easier to shorten their names <grin>!!).  Here is the size difference for a braid style quilt adding a sashing strip between each half hexie shape.

Hexie Braids by Faye P.!!!

Love them!  Thank you Faye!!  A perfect technique to make a quick table runner.  Have you ever made a braid quilt?  Both Hexie tools and Brilliant Bindings can be used to create a braid.  The free pattern for a Simple Braid using Brilliant Bindings is also on my website.  Check it out!

Since I’m a day behind, I’ll keep the tips short and sweet.

#1 – It is National Quilting Day on March 16th!!  Plan to do something with your quilty friends!

#2 – Chocolate…a day with sewing and quilting must include chocolate!  Unless you are allergic….this I think it requires wine!

And I just realized my tips are “sweet”, teehee!

in quilting,

Debbie

Posted in Brilliant Bindings, Hexagons, Uncategorized | 1 Comment

Two Tip Tuesday – Daytona Beach Show

Soooo, below is the picture of my booth. As you can see, I moved some quilts around and have Hexies (Hex-a-ma-jig and Hex-a-ma-jig Jr.!!) as the focus.

Wendt Quilting booth
Daytona Beach 2019

In talking to many show go-ers, they love all sizes of Hexies and were excited about all the shapes and quilts that can be made with my tools. I did a learning center lecture! Thank you to those who went and came by the booth later!! I look forward to introducing more of you to Hex-a-ma-jig and “Junior”.

I had the joy of my booth being next to the Winner’s Circle.  I loved hearing all the comments.  I did take a few photos of quilts.  Here is just one…The Viewer’s Choice…

Viewer’s Choice Daytona Beach 2019
by Constanze Botel

“The Photographer” by Constanze Bötel, Neustadt am Rübenberge of Lower Saxony, Germany…Wow!  So very realistic!  This reminded me of my cousin’s Grandpa Croswhite.  He loved photography and I was fascinated with his studio of slide, after slide, after slide!  It actually took my breath away!

#1 – Credit all makers of quilts that you photo at a show or anywhere!

And just because #2 – When you loose the cork at a Getaway, painter’s tape will do!

Getaway Makeshift Cork!


in quilting,

Debbie

Posted in Hexagons, Quilt shows, Uncategorized | 1 Comment

Two Tip Tuesday – Hello first show of the year!

As the title suggests, I’m set up and ready for my first quilt show for vending in 2019!  Hello AQS Quilt Week Daytona Beach!!  I look forward to reconnecting with some of you and meeting quilters this week.  I’ll be doing demos in my booth and a presentation in the learning center on Thursday at 2pm.  I hope you will join me.  I’ll be showing my new Hex-a-ma-jig and Junior!

The booth has a bit of a different look with Hexies as the focus.  Come by and say hi! I’ll post photos in the next couple days…ummm…can you guess…I forgot to take pictures today.  So, more soon!

#1 – Snacks…always snacks while you sew!  But, don’t forget to was those hands before playing with your projects.  You don’t want to get any food/grease/etc. on those georgeous fabrics!

#2 – How do you shop at a show?  Look for great kits, show specials and great vendors who have come from near and far to bring you the best the quilting world has to offer.  If you are an AQS member I have an “I Am AQS” special just for you!

in quilting,

Debbie

Posted in Uncategorized | Leave a comment

Two Tip Tuesday – More Hexies!

I attended a Getaway this past weekend. I love the chance to work on projects with like minded people. First up, the binding on my lap size Baby Blocks quilt. I showed the quilt previously asking for border opinions. The final decision was to add a little border of the surrounding brown fabric and be done. It didn’t need anymore and since I was out of the brown fabric, decision made!  (Note: it is laying on a brownish carpet, only a small brown border was added.)

Hex-a-ma-jig Baby Blocks D.W.

#1 – Go with your gut! I just wasn’t happy with using my inspiration fabric in the border, some quilts don’t need a giant border. Let it talk to you and be done!  BTW, the inspiration fabric was used as part of the pieced backing.


Several student’s quilts from the Hex-a-ma-jig workshop about a month ago showed up at the Getaway.  Another super job by Kathleen L. and her Hexie quilt is DONE!  I love how the brights sing!

Two Halves Make a Whole by Kathleen L.


I started another Hexie quilt, but this time a using Hex-a-ma-jig to cut FULL hexies and triangles.  I used triangles between the full hexies so I did not have any set-in “Y” seams.  It was quick and easy with the large full hexies and I got it pieced together!  It sure helped to use my portable design wall.

Full Hexies D.W.


Here is a start Priscilla’s flannel version using full hexies and triangles.  LOVE those plaid flannels!  This design really shows off the fabrics.  I also love how she used the black at the edges to float the hexies.  She borrowed the use of my portable design wall<grin>.  Bonus idea…the repurposed creamer bottle on the floor was used for water for the iron!

Full Hexies by Priscilla M.

#2- A Portable design wall is great for Getaways (or Retreats or Workshops).  Much easier than working on the floor.

The Portable Design Wall is now sold by Off The Wall Quilt.  I like how they easily fold up and have their own carry bag.

Nancy used a flannel backed table cloth on the floor for her design “wall”.  It also works great as you can roll it up and keep everything in place.  Her Christmas Two Halves Make a Whole quilt is awesome.  That is ONE jelly roll cut with Hex-a-ma-jig Jr.!!  (The layout for this quilt is in the instruction booklet that comes with the tool.  There is also a free pattern on my website with more detailed instructions for cutting, piecing and making the quilt.)

Two Halves Make a Whole by Nancy B.

I’m loving all the quilts using both versions of Hex-a-ma-jig!!  It is great to have a quilty tribe!!!

in quilting,

Debbie

Posted in Uncategorized | 4 Comments

Two Tip Tuesday – RWB

This past weekend, I attended a sew day that Pam Machamer of Twin Maple Studio hosted. The day was organized to help Janet-Lee Santeusanio reach her goal of 25 Quilt of Valor for MQX. Pam already made a quilt. We were making blocks to make more of the same.

Pam’s RWB Quilt

The quilt uses large 6″ finished half squares. The pattern “Homeland” was designed by Candy Hargrove and is available at mccallsquilting.com. It was published in their July/August 2017 magazine.


Here is Shirley Tetreault’s partially finished quilt!

Shirley T’s RWB Quilt

I worked on a scrappy version. Thanks to others who already made the half squares, I was able to jump in, put blocks on the design wall and start sewing!!

RWB Scrappy Quilt

Have you made a Quilt of Valor?  I’ve made several over the years and love that the organization is very active in getting quilts to our service members and veterans!  Their website is qovf.org.

#1 – Make a Quilt of Valor!  It is a tip, REQUEST, to help a very worthy organization!

The half squares were made 8 at a time.  Have you ever done that method?  We started with two 14″ squares and placed them right sides together.  Draw diagonal lines both directions from corner to corners.  Stitch 1/4″ on each side of drawn lines.  Cut apart down the center in both directions and on drawn lines.  Ta Da 8 DONE!!  There are very detailed instructions at this site… (https://www.mybluprint.com/article/how-to-make-8-half-square-triangles-at-once-the-magic-8-method)

#2 – Try making 8 half squares at a time.  Quick and easy!

If you can make a Red White and Blue quilt it would be wonderful!

in quilting,

Debbie


Posted in Tips, Uncategorized | 1 Comment

Two Tip Tuesday -Twirls!

Did you know I travel to give lectures and teach? I DO!! Yesterday, I gave a lecture/trunk show on the Egyptian Tentmaker’s Applique for QUILT North guild in Clifton Park, NY. Today, I taught “Twirl-A-Tool” Workshop using “Brilliant Bindings” as a cutting template.” I do believe FUN was had by all! Photos below! Most of the students got 2-3 blocks finished in class and a faux piped binding put on a small quilted sample.

“Twirl-A-Tool” Workshop with QUILT North in NY


The quilted sample just had to have a camel and pyramid on it!

Faux Piped Binding Sample
YES, a camel!!


It was a great group and I, too, had FUN!  If you are looking for a speaker or teacher for your guild, please keep me in mind.  I have bags and will travel!

Some tips we discussed in class…what do you do when your teacher didn’t triple check your work and had you cut wrong??…She takes off your entire binding so you can start again.  I do know how to use a seam ripper and I’m happy to help.  A nice fine point seam ripper is my preference.

#1 – The seam ripper has many parts…

A fine point for lifting the stitch, the ball helps protect the fabric and the U-shape blade between the point and ball is where you cut the stitch.  Don’t just pull at the stitch, slide the thread down the blade so the stitch is cut with the U-shape blade.  Otherwise, you are plucking at the stitches, not cutting them.

#2- If you get frustrated, hand your piece to someone else.  I’m guessing they will happily help you rip out some stitches.  And my “rule”…I’m not ripping more that three times, it can stay in.  You are likely to starting ripping apart your fabric.

On another note, look at all the wonderful blocks that were made in class.  I’m very proud of the work that was accomplished today!!

in quilting,

Debbie

Posted in Brilliant Bindings, Patterns, Uncategorized | Leave a comment