Hello quilting friends! I hope you all were able to ring in the new year with health and happiness!! I don’t plan on making any resolutions, other than have some quilty FUN! Many shows are already booked and patterns in the works. Keep in touch to see what is new for 2018!
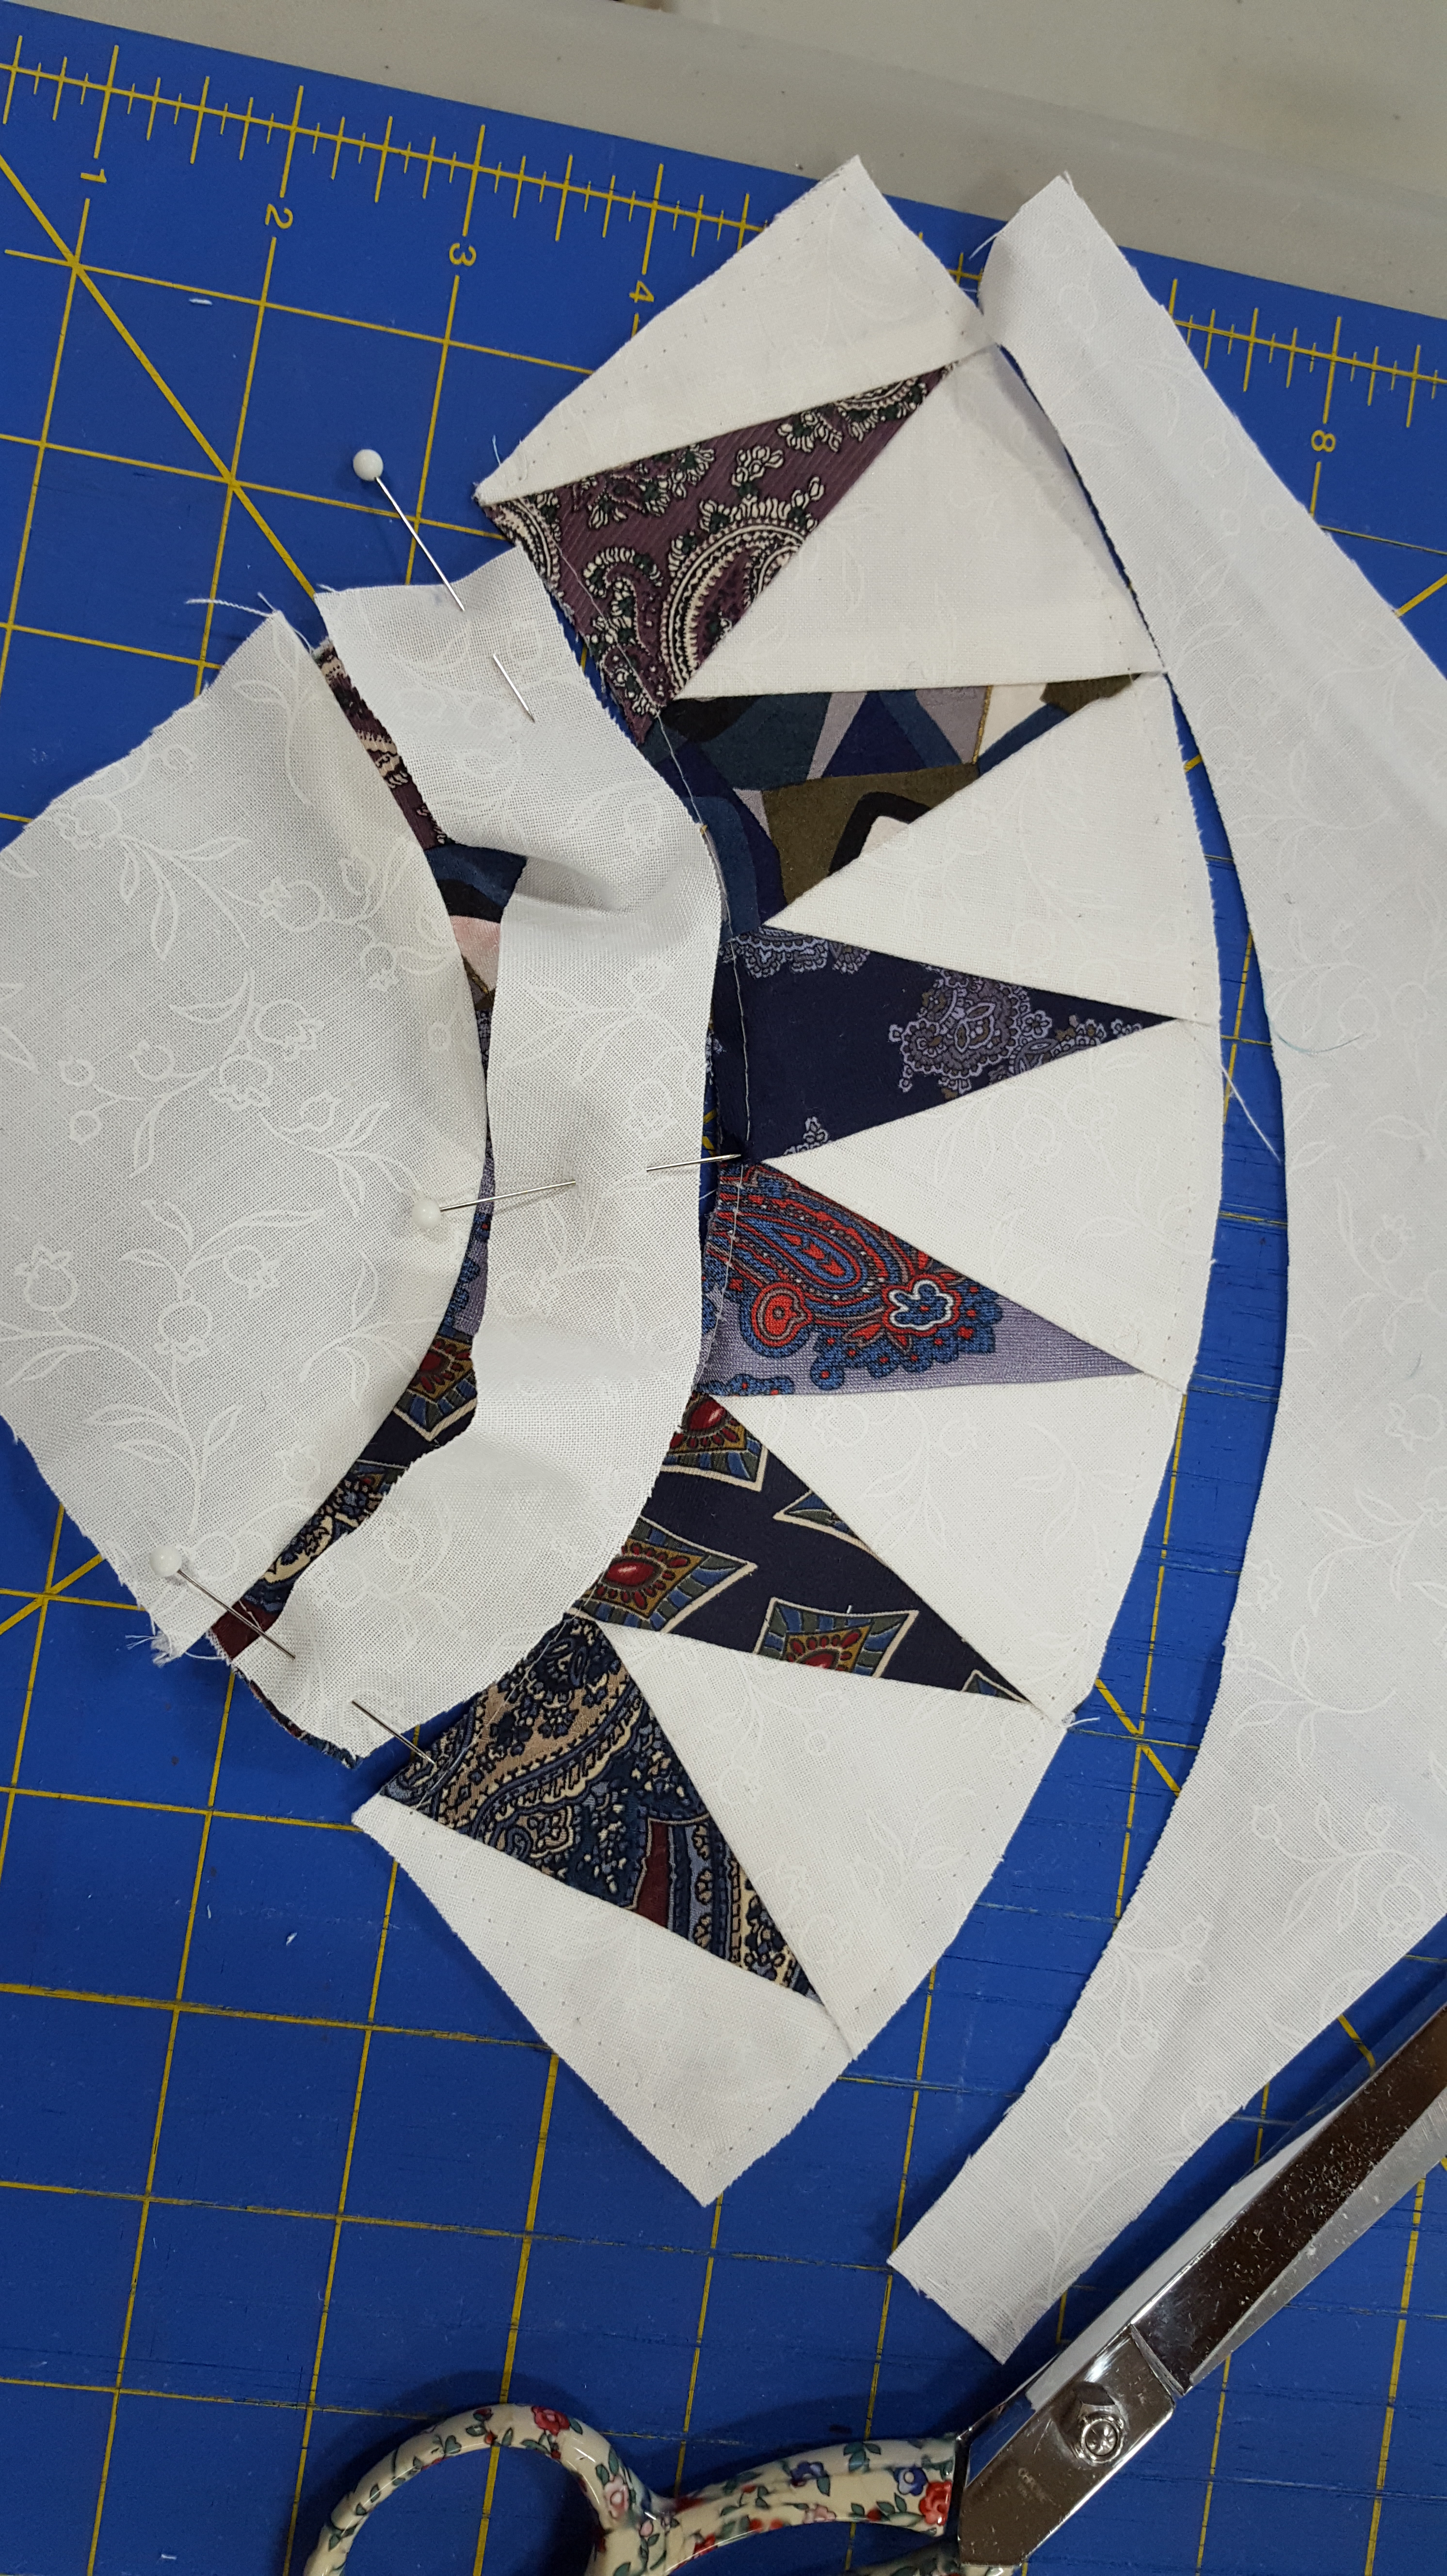
The NYB Necktie Pillow workshop was rescheduled to this past Saturday. I’ll post photos below! (NYB – New York Beauty). A slippery time was had by all….the silk ties, that is. Thankfully the roads were mostly clear and we were able to have the workshop. The students got a good start on their blocks to make a 16″ pillow. And learned the importance of a foundation in working with silk ties. They are slippery little buggers!! A couple tips they learned and I’m sharing with you…
#1 – Spray starch works well to make the silk ties stiffer. (Be aware of colors running, probably not silk!)
#2 – Don’t skimp on pre-cutting pieces. (Give yourself extra fabric when foundation piecing. You don’t want to be short when the piece is flipped and pressed into place)
The neckties started out as a jumbled heap. I pressed, and pressed and pressed to prep the ties for class. (I provided all the ties for this workshop!) So in order to transfer them from home to class, I pinned them to a length of foam insulation board. Faye and Carol are holding two of the 7 boards of ties.

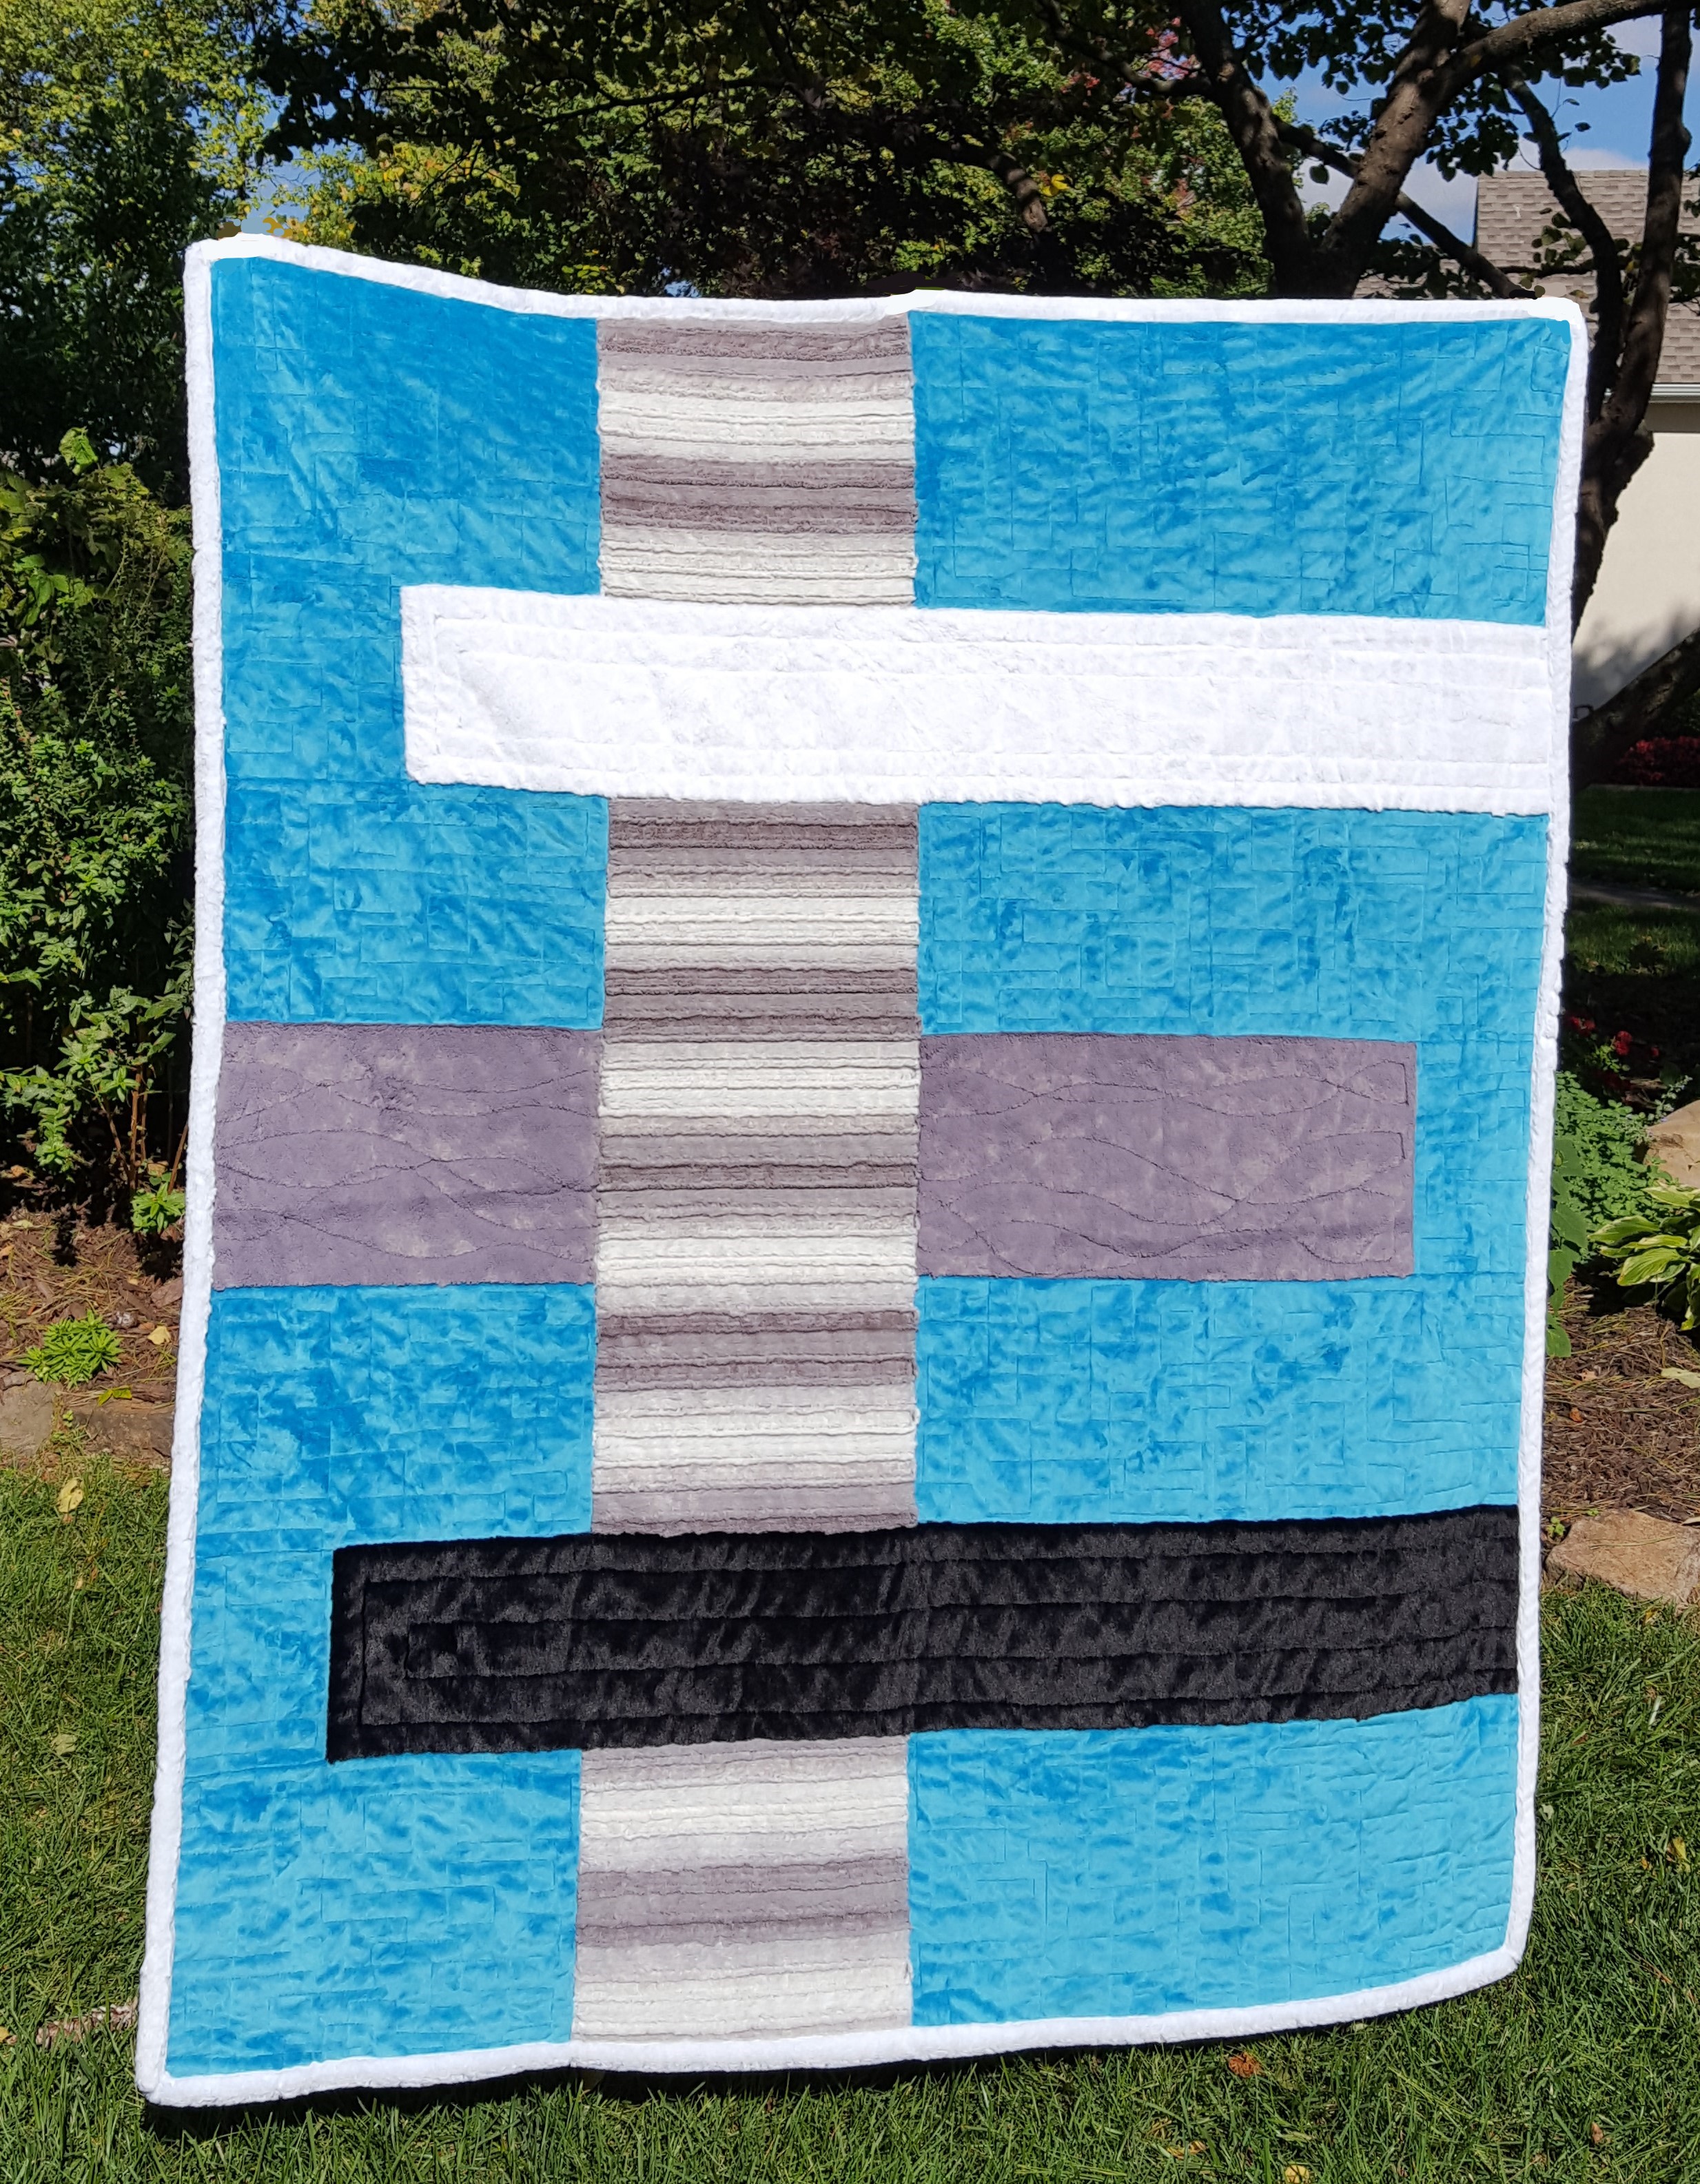
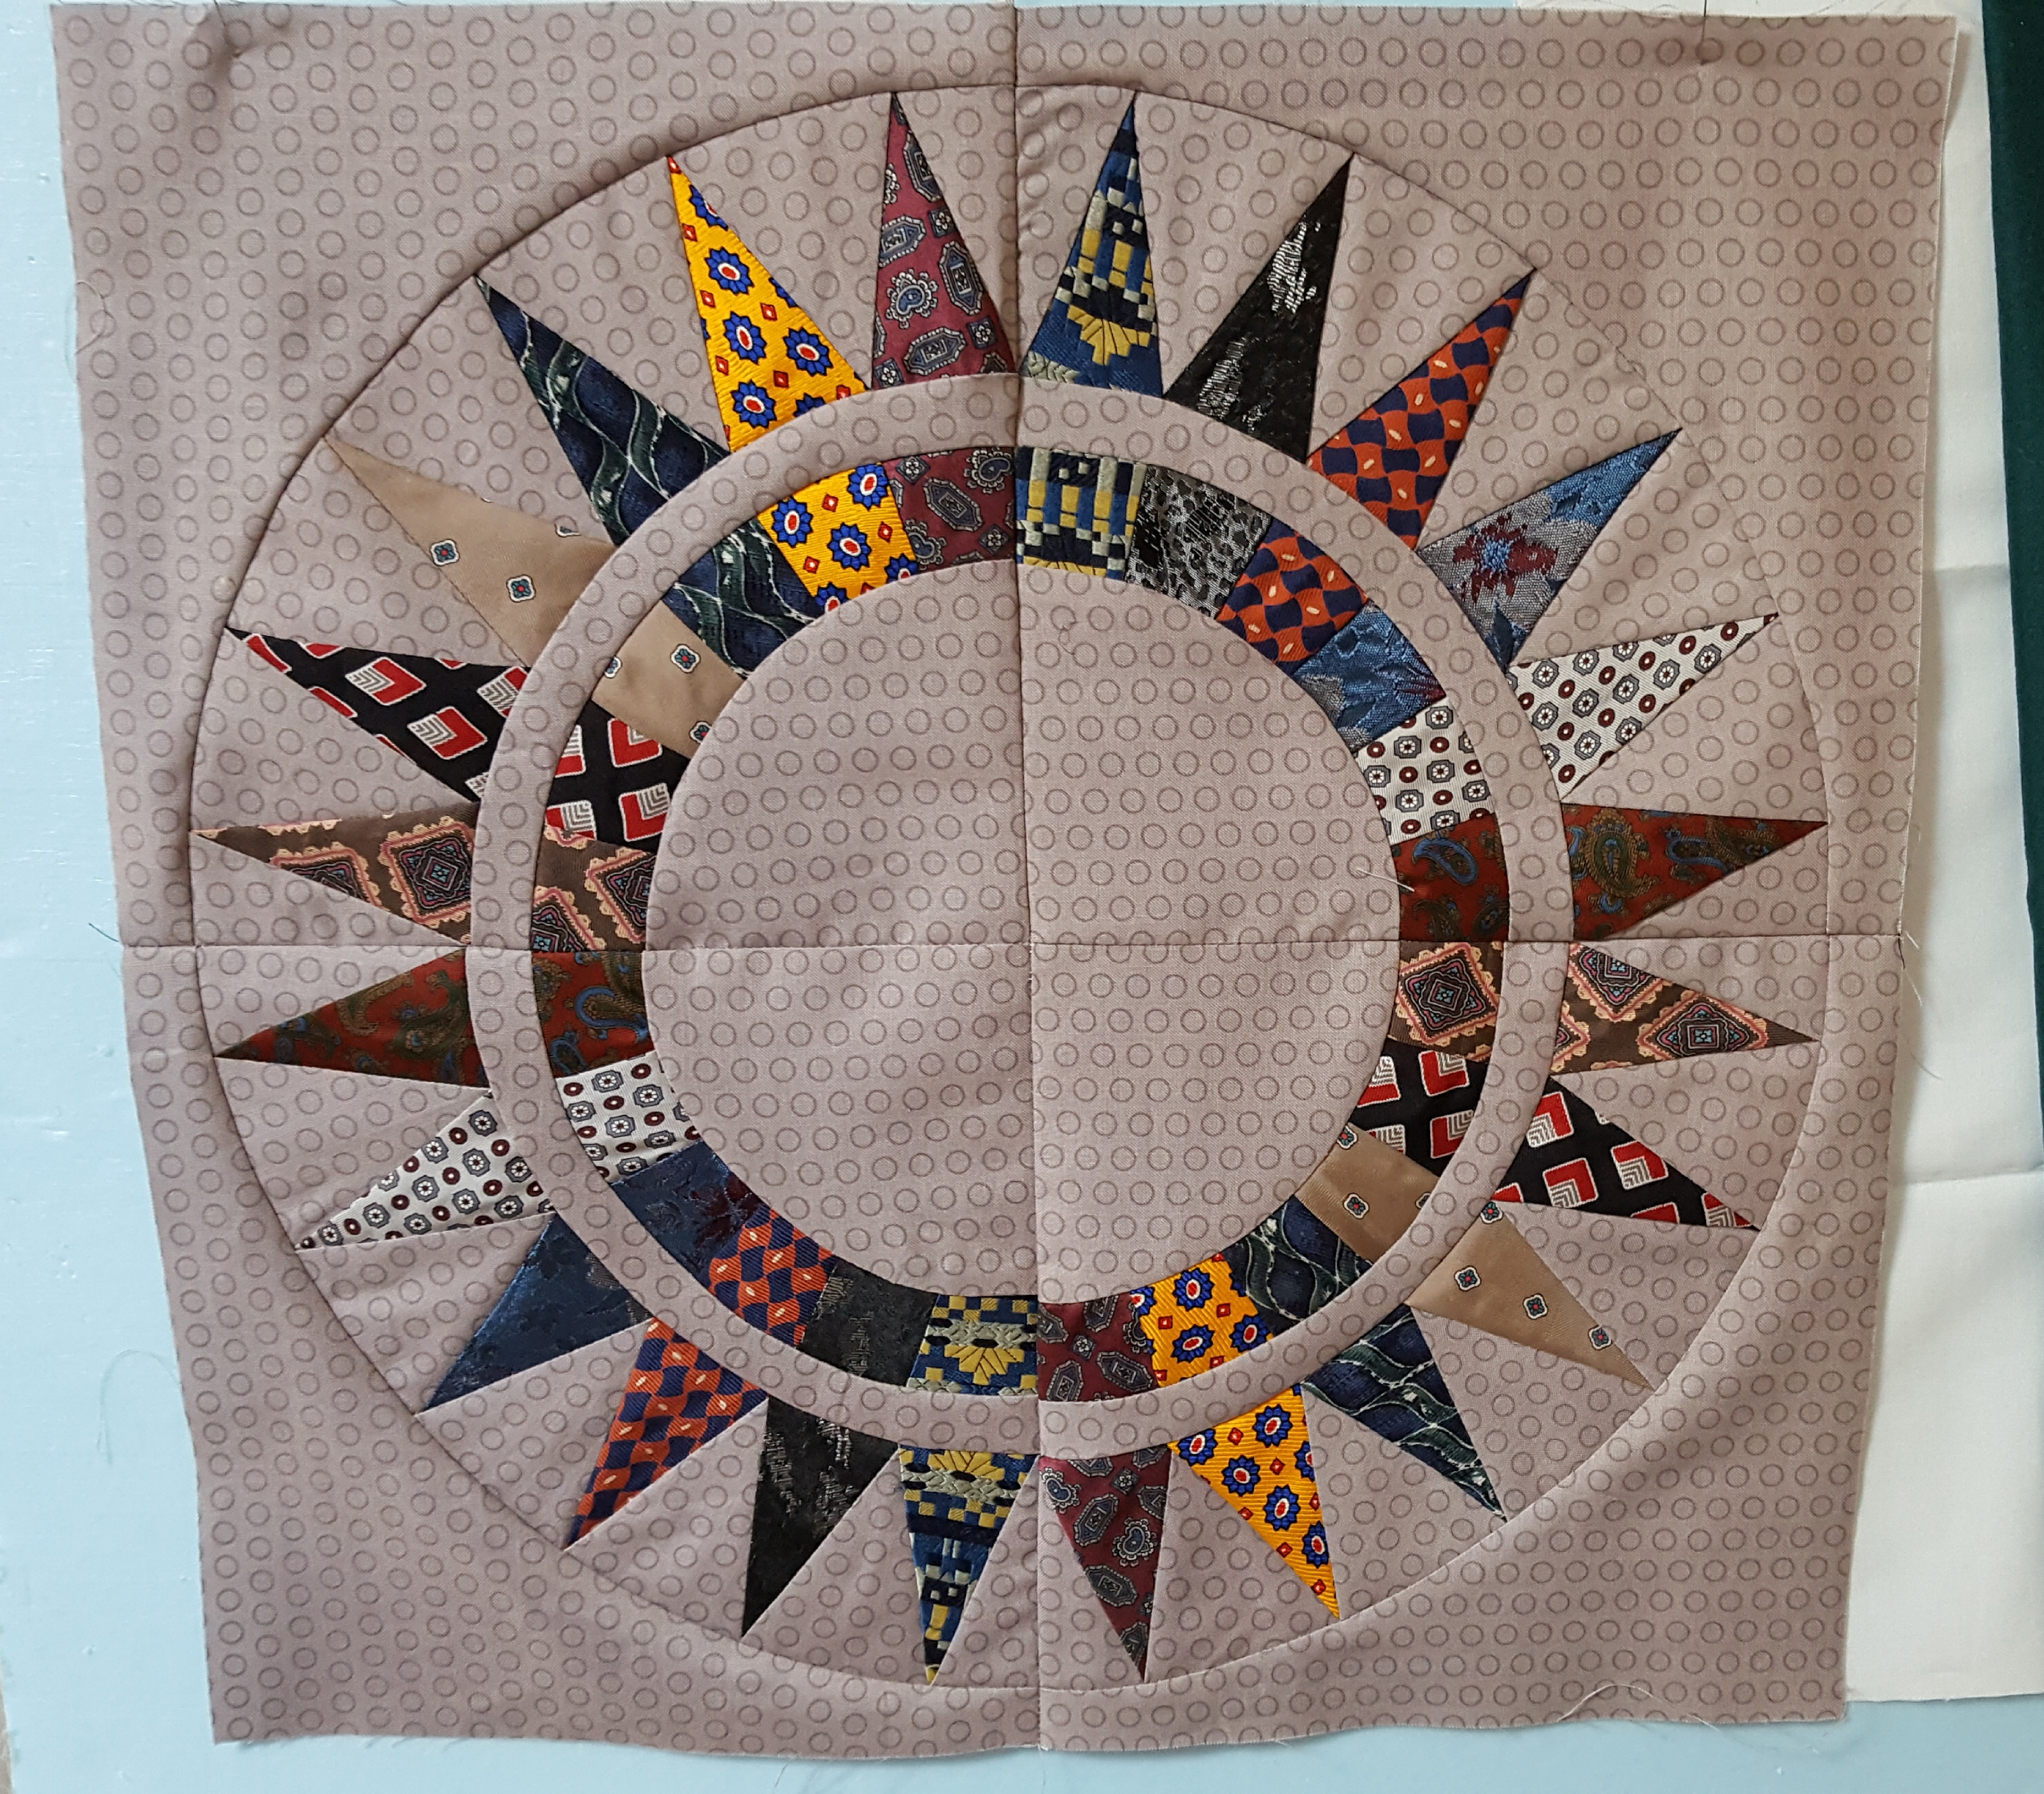
NYB Neckties D.W.
Yes, that was a lot or ironing! But it allowed us to jump right in and begin sewing.
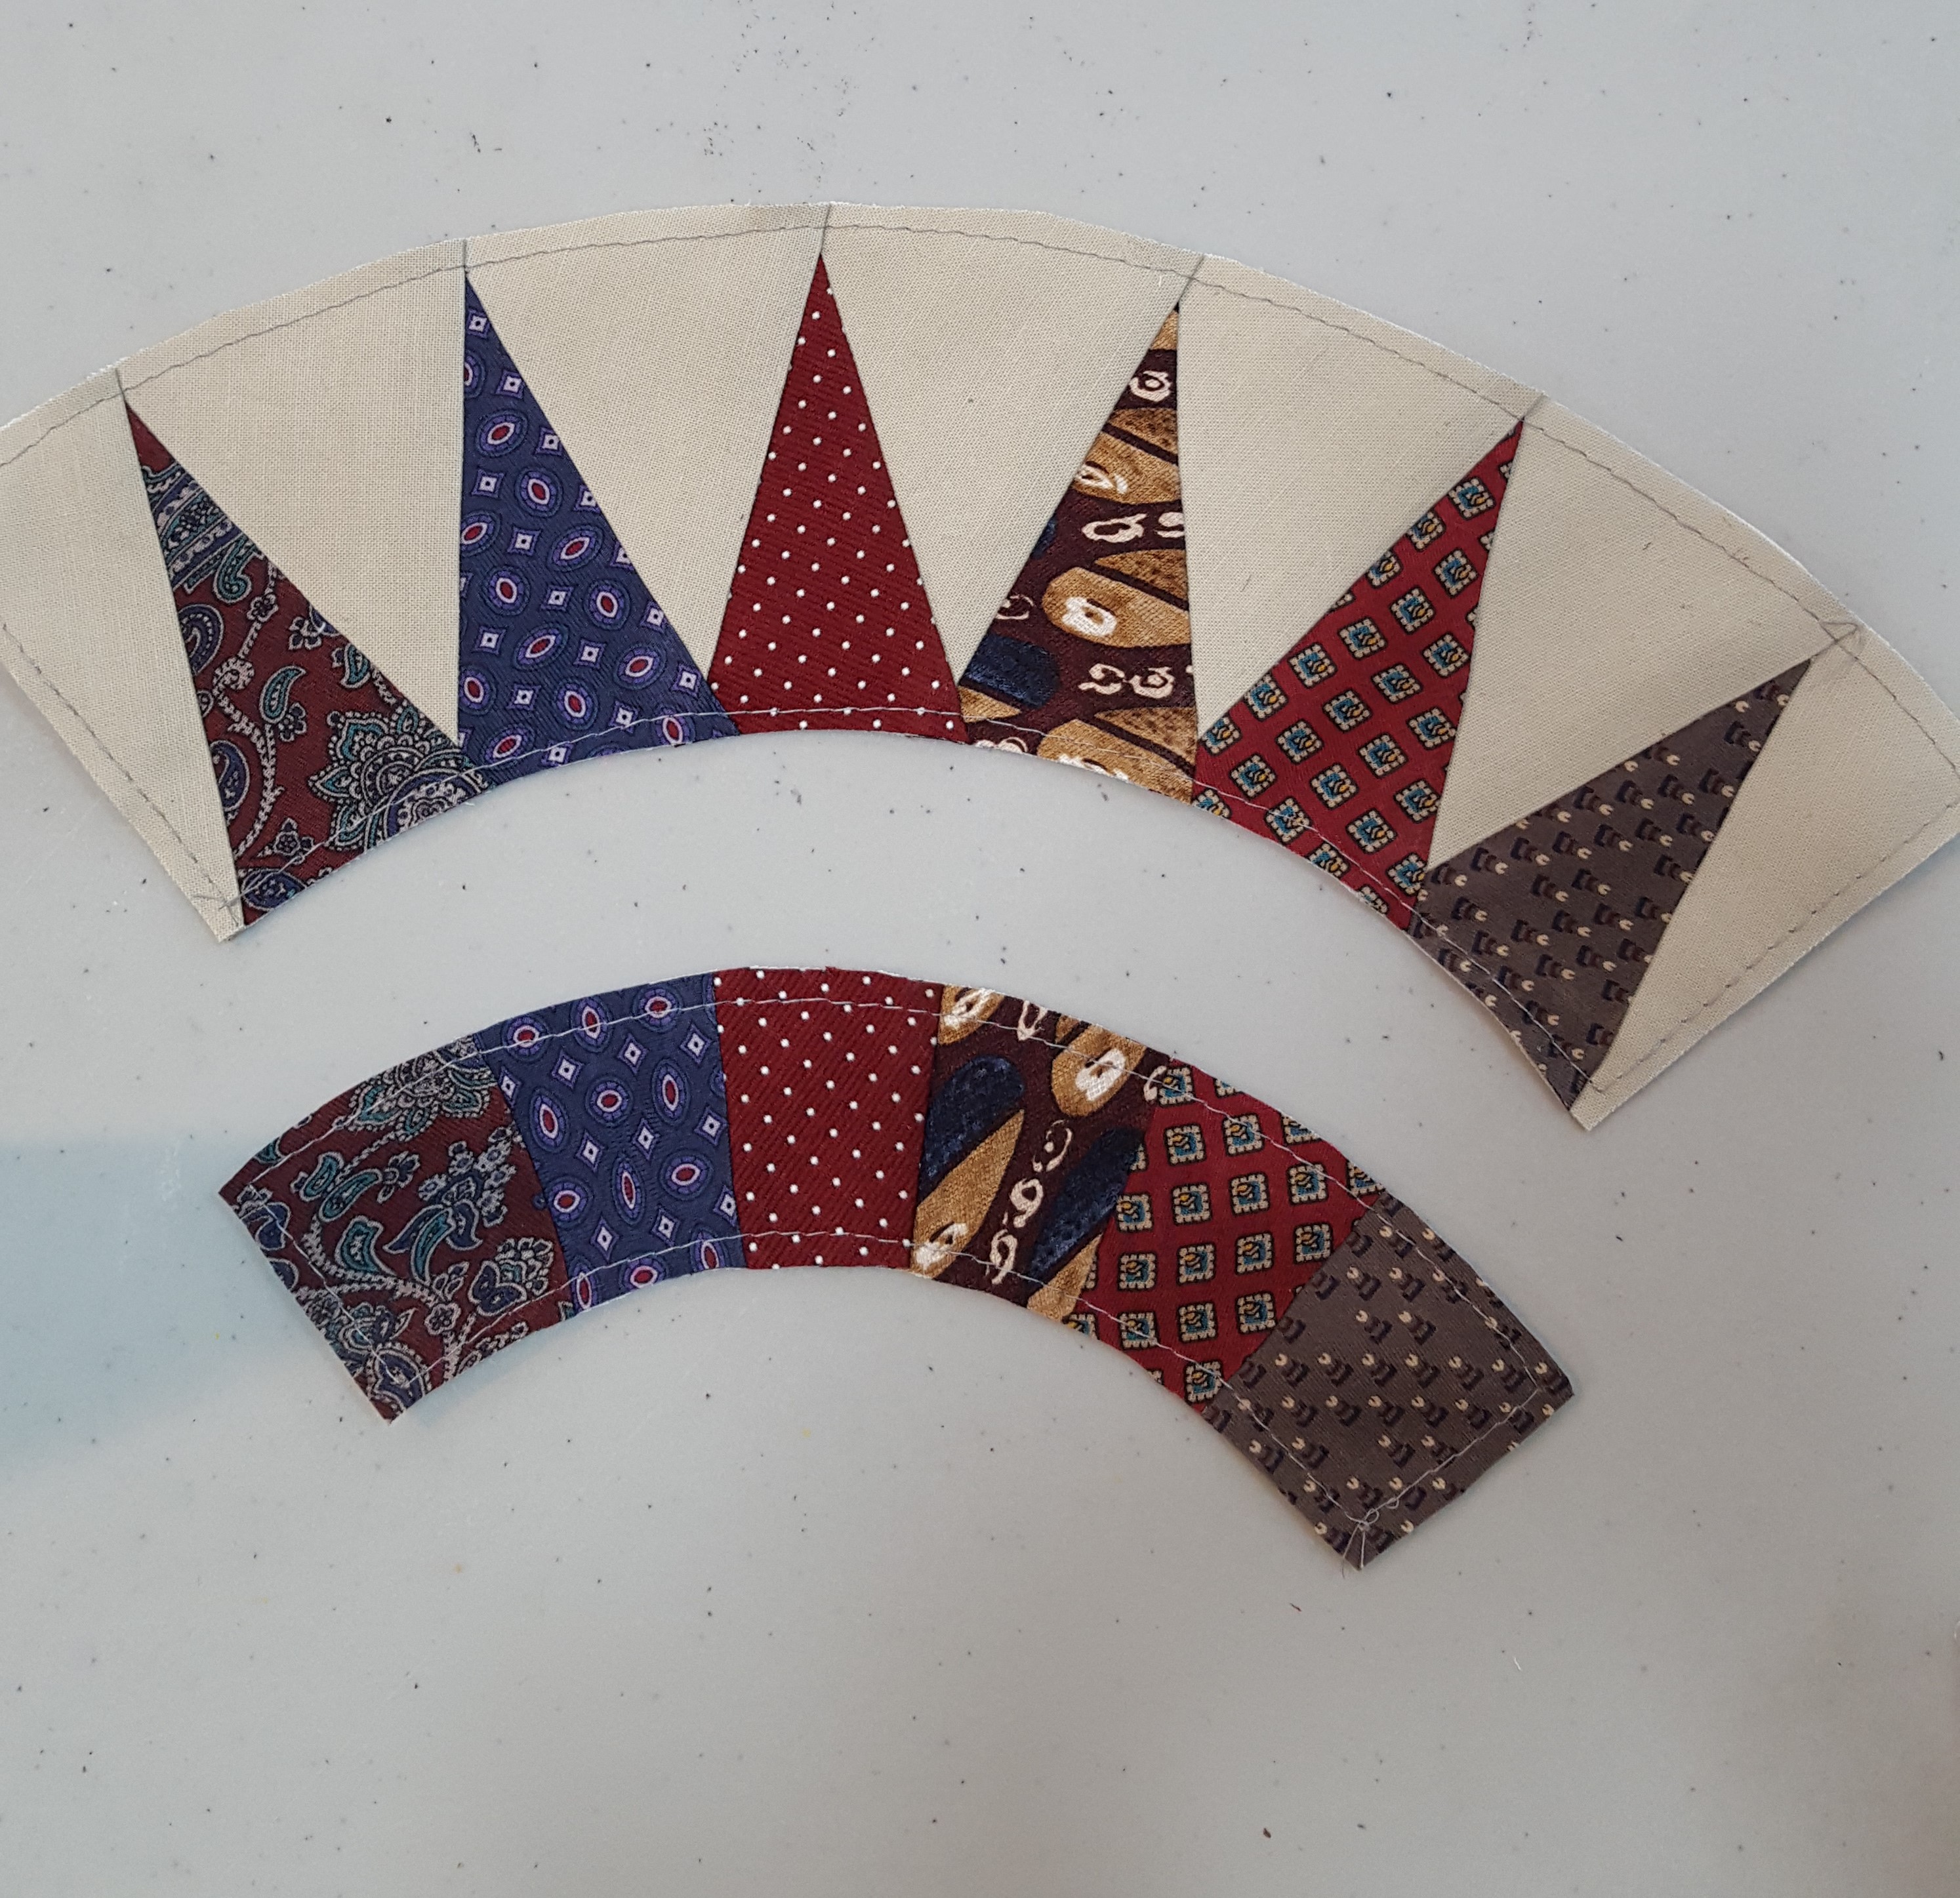
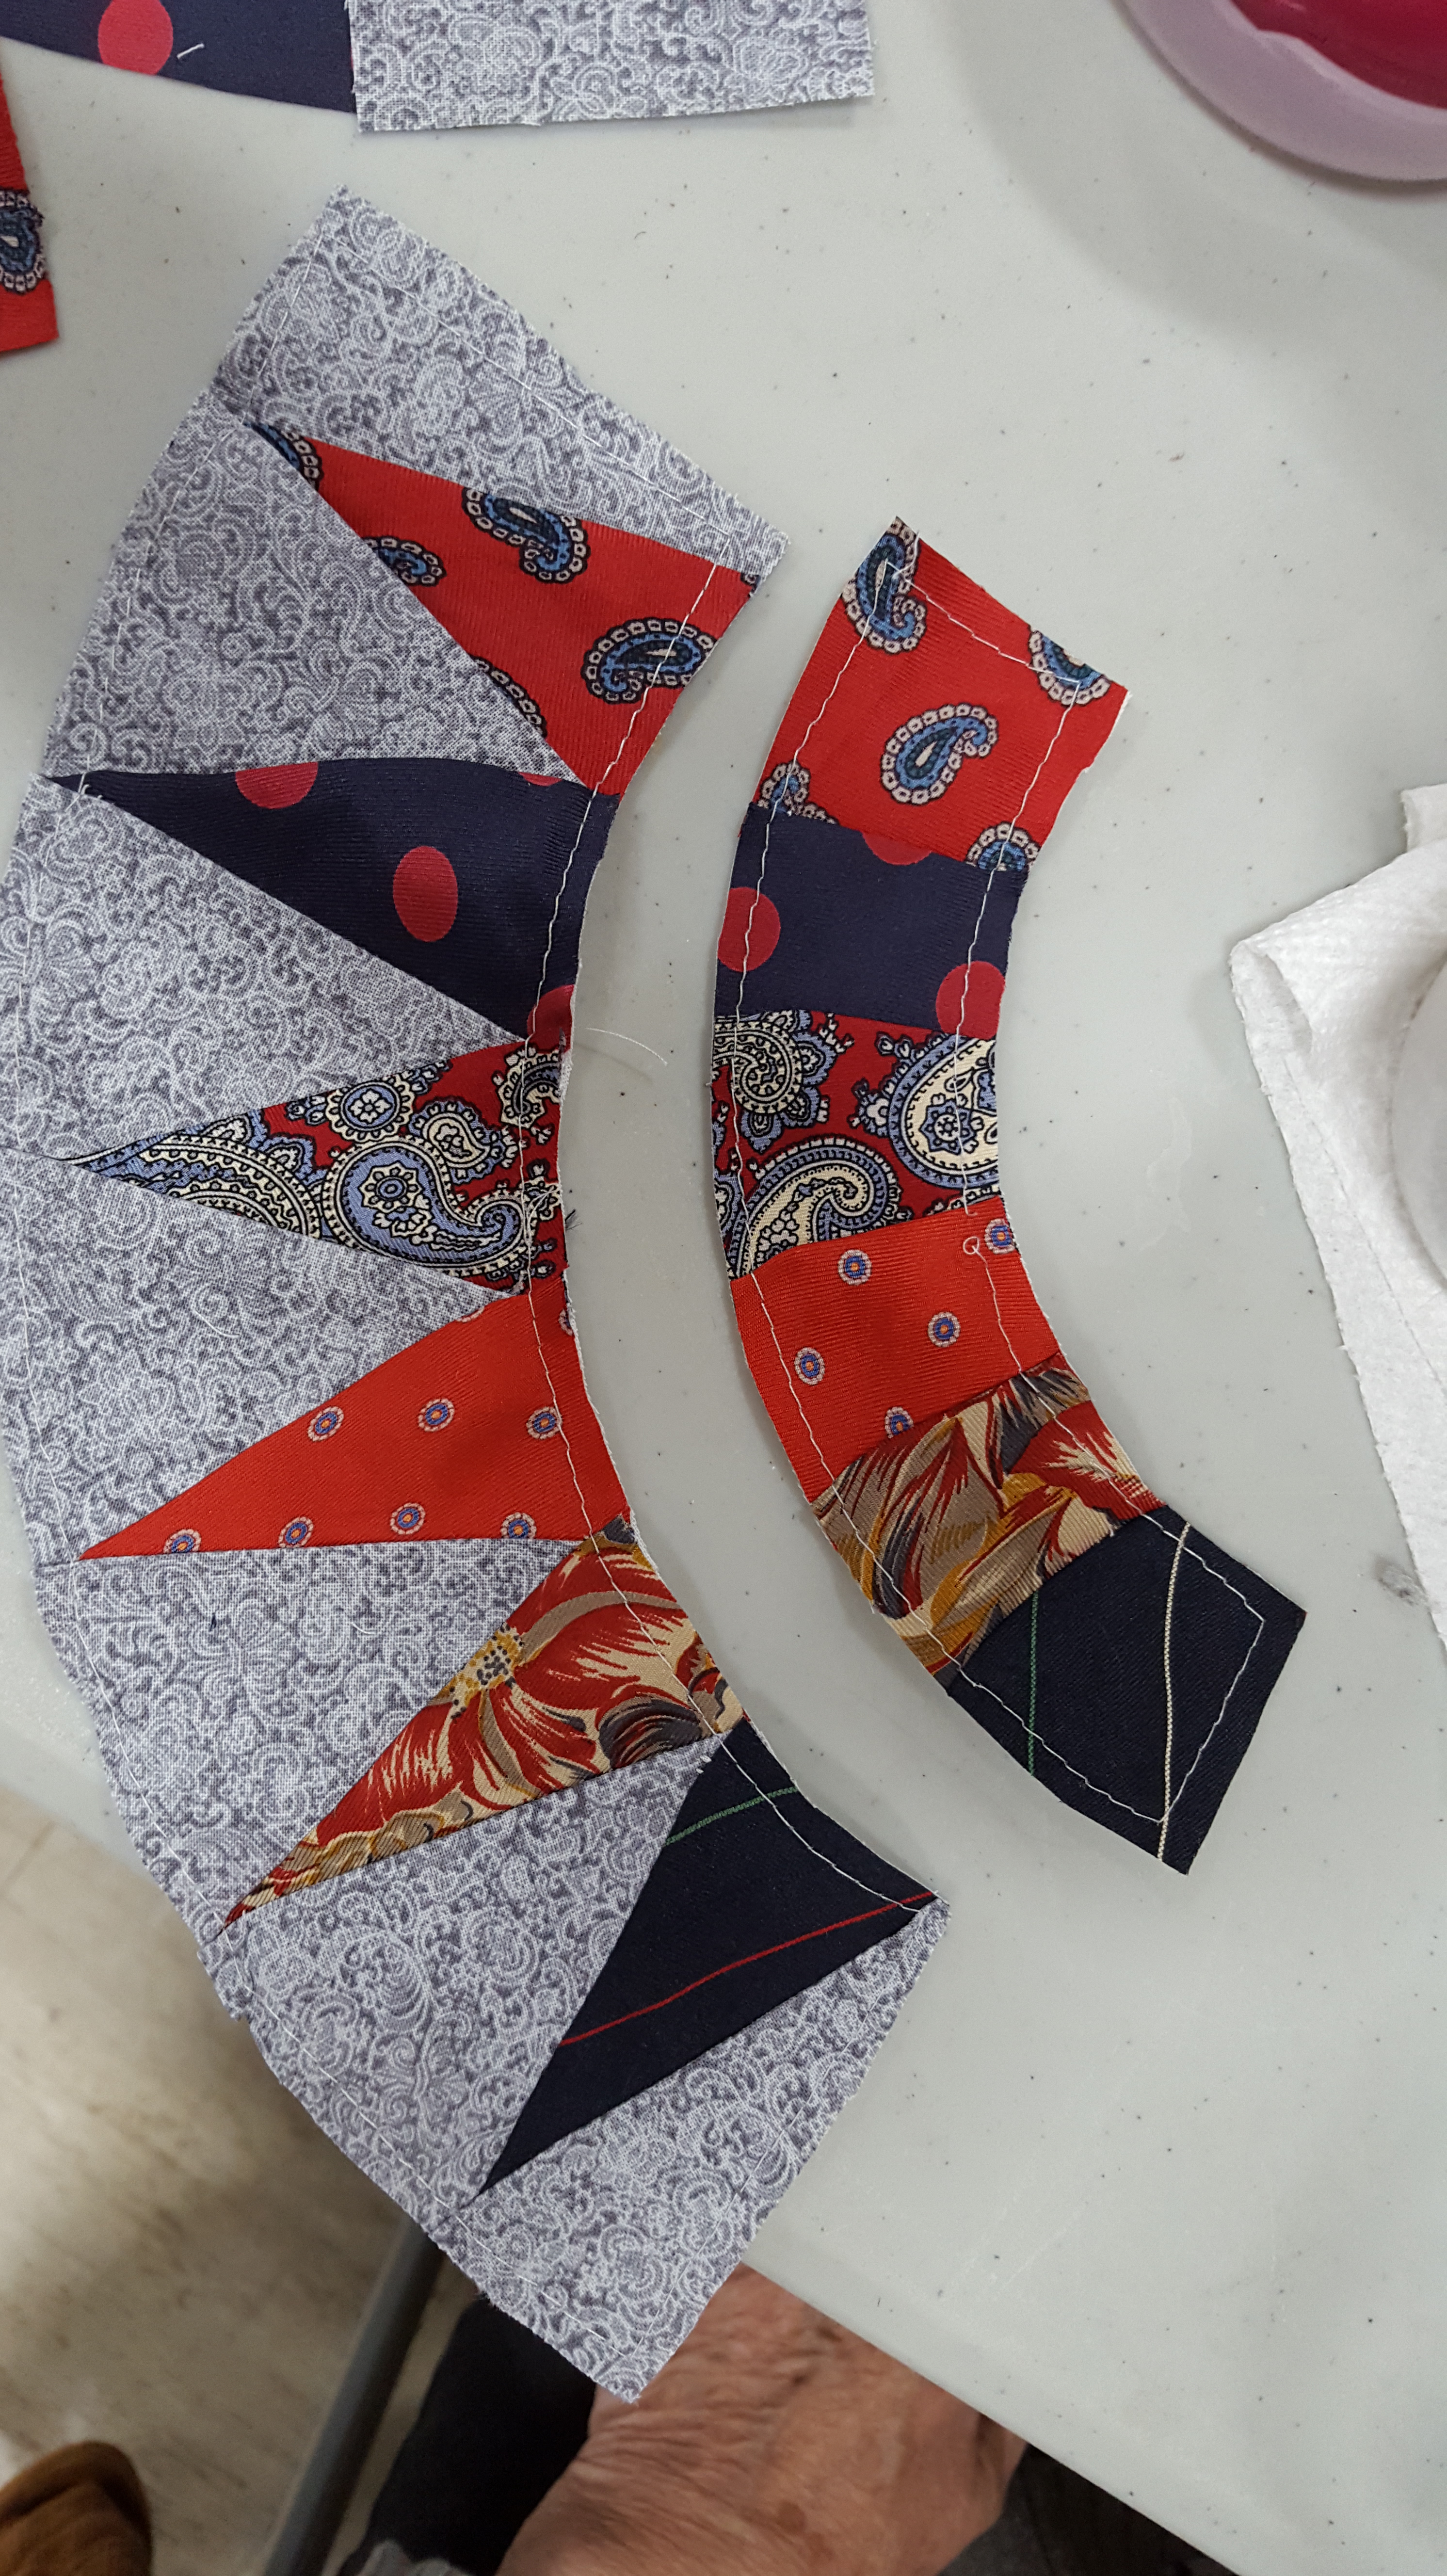
The results are shown below, in no particular order. Some are in various stages of pieced blocks (four blocks make the 16″ pillow top).

NYB Necktie Pillow –
Kathleen L.

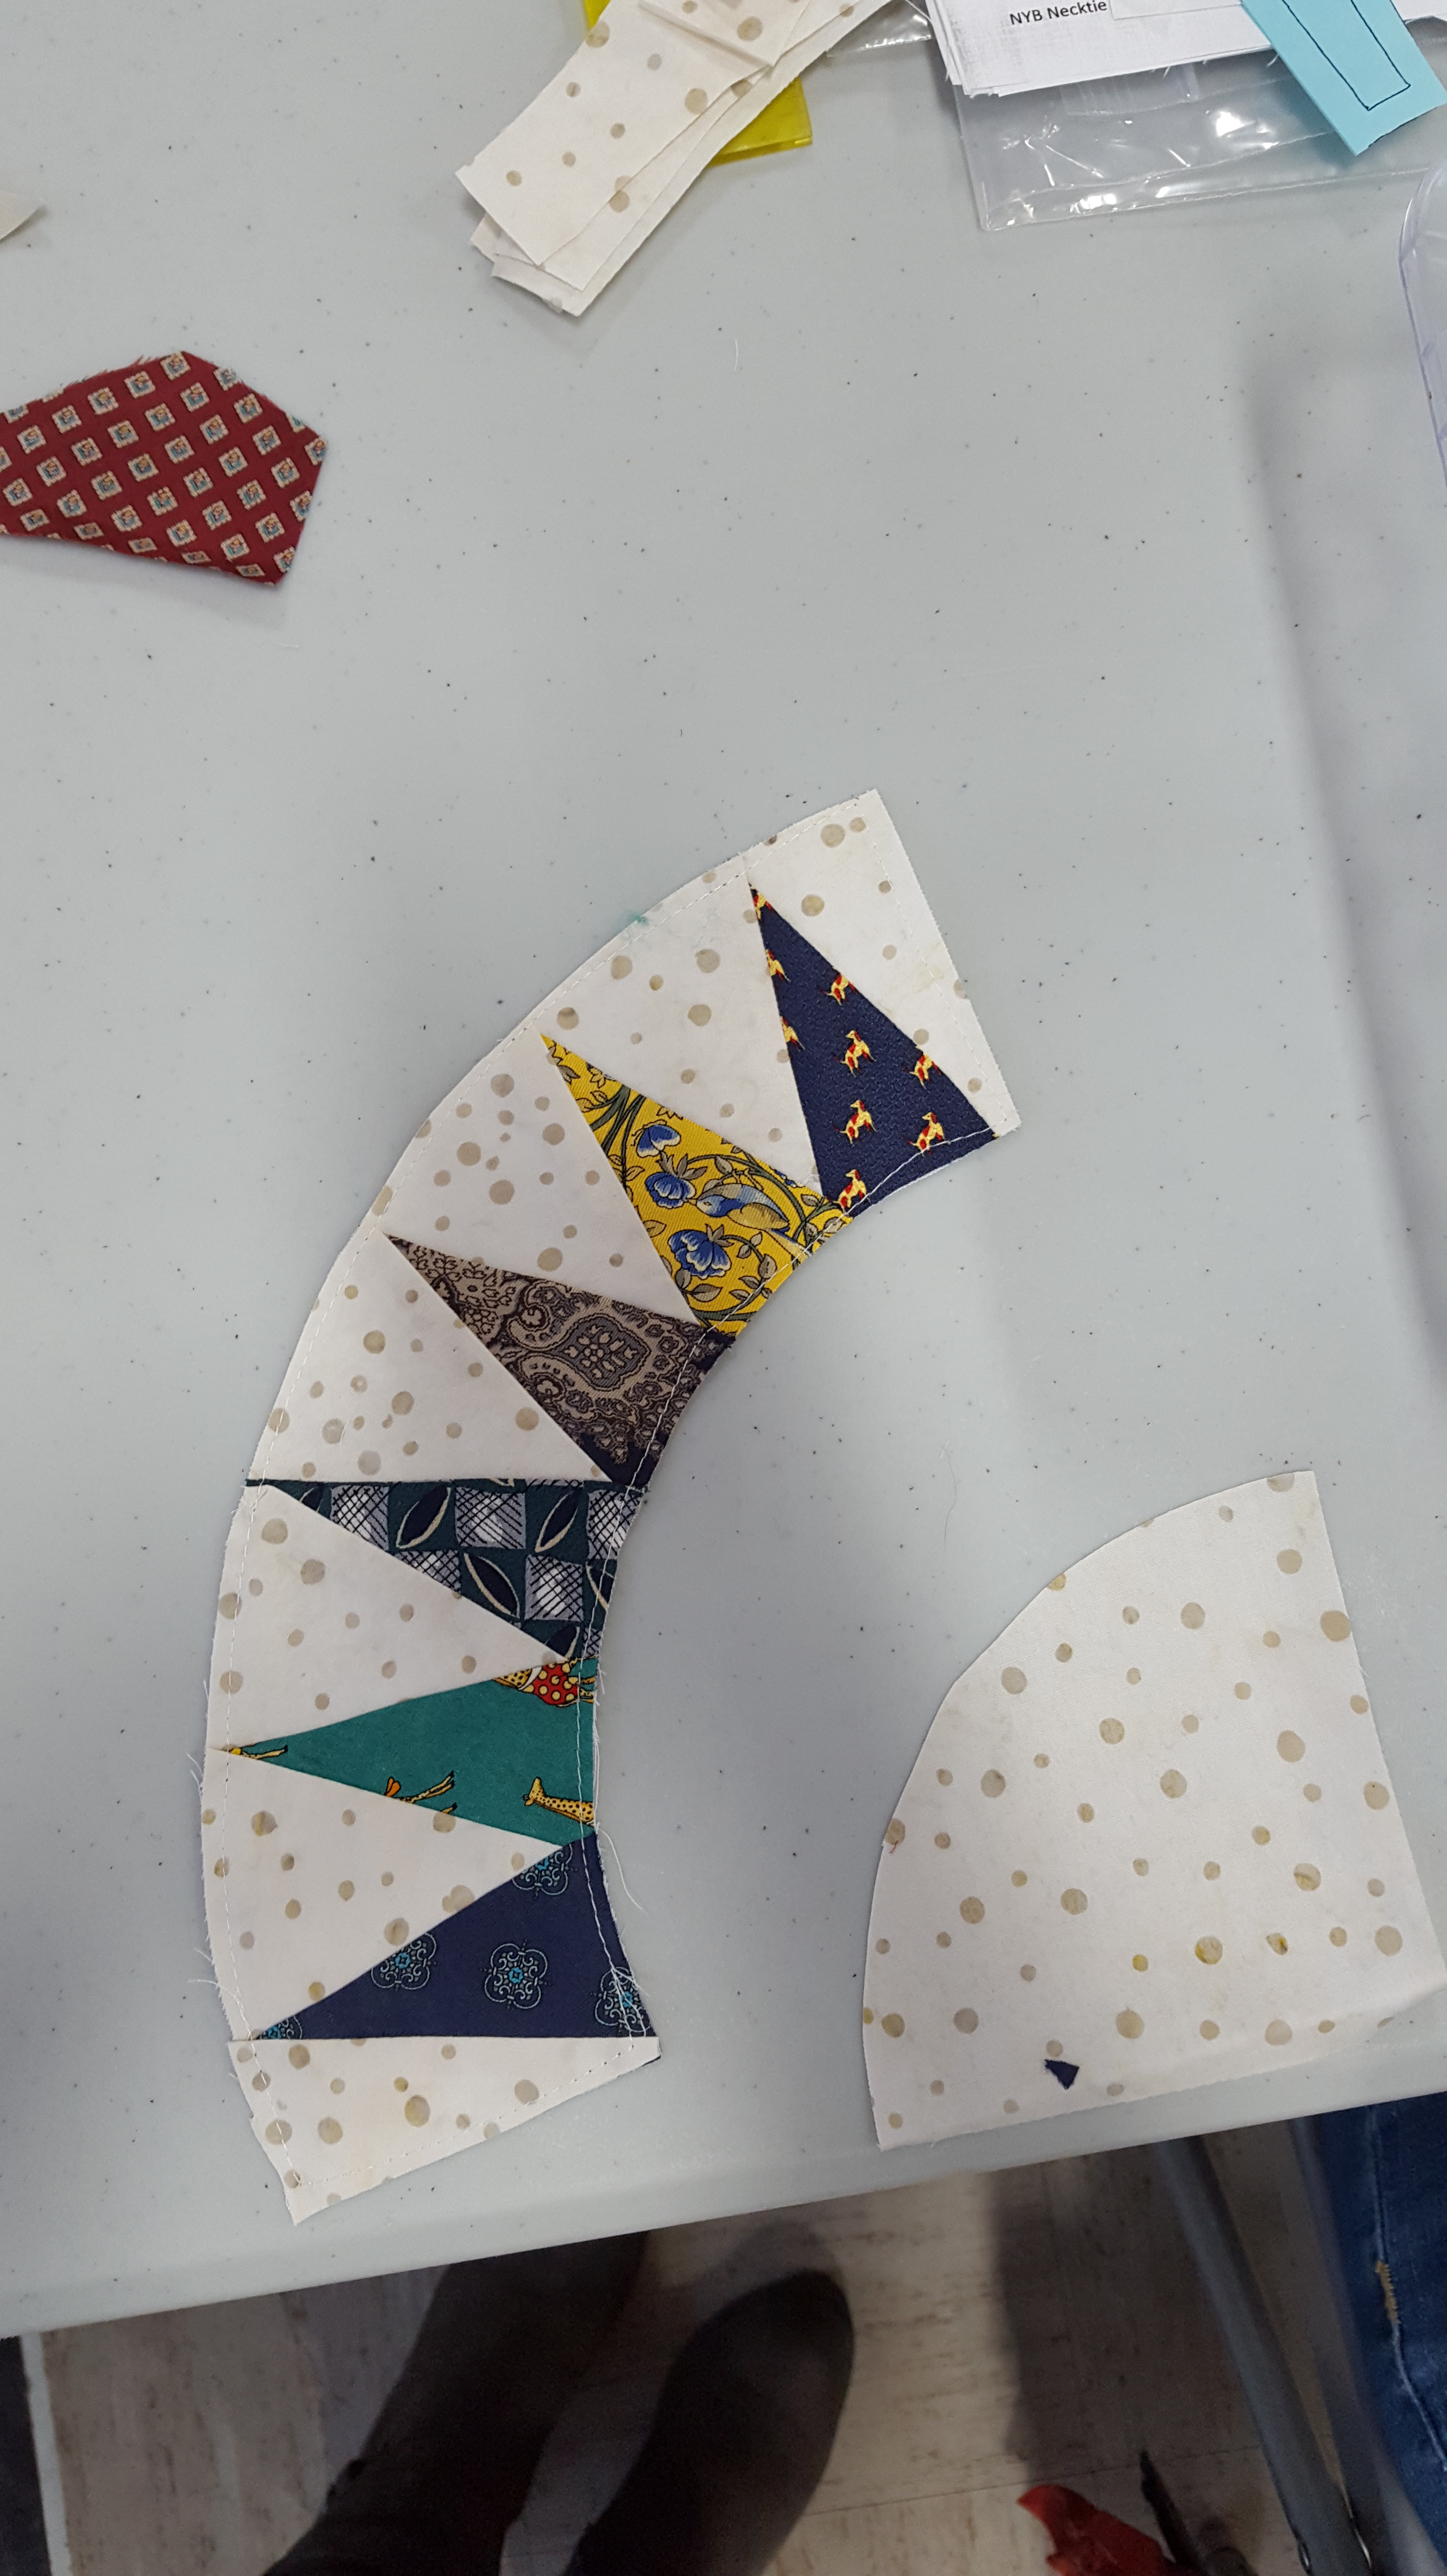
NYB Necktie Pillow –
Faye P.
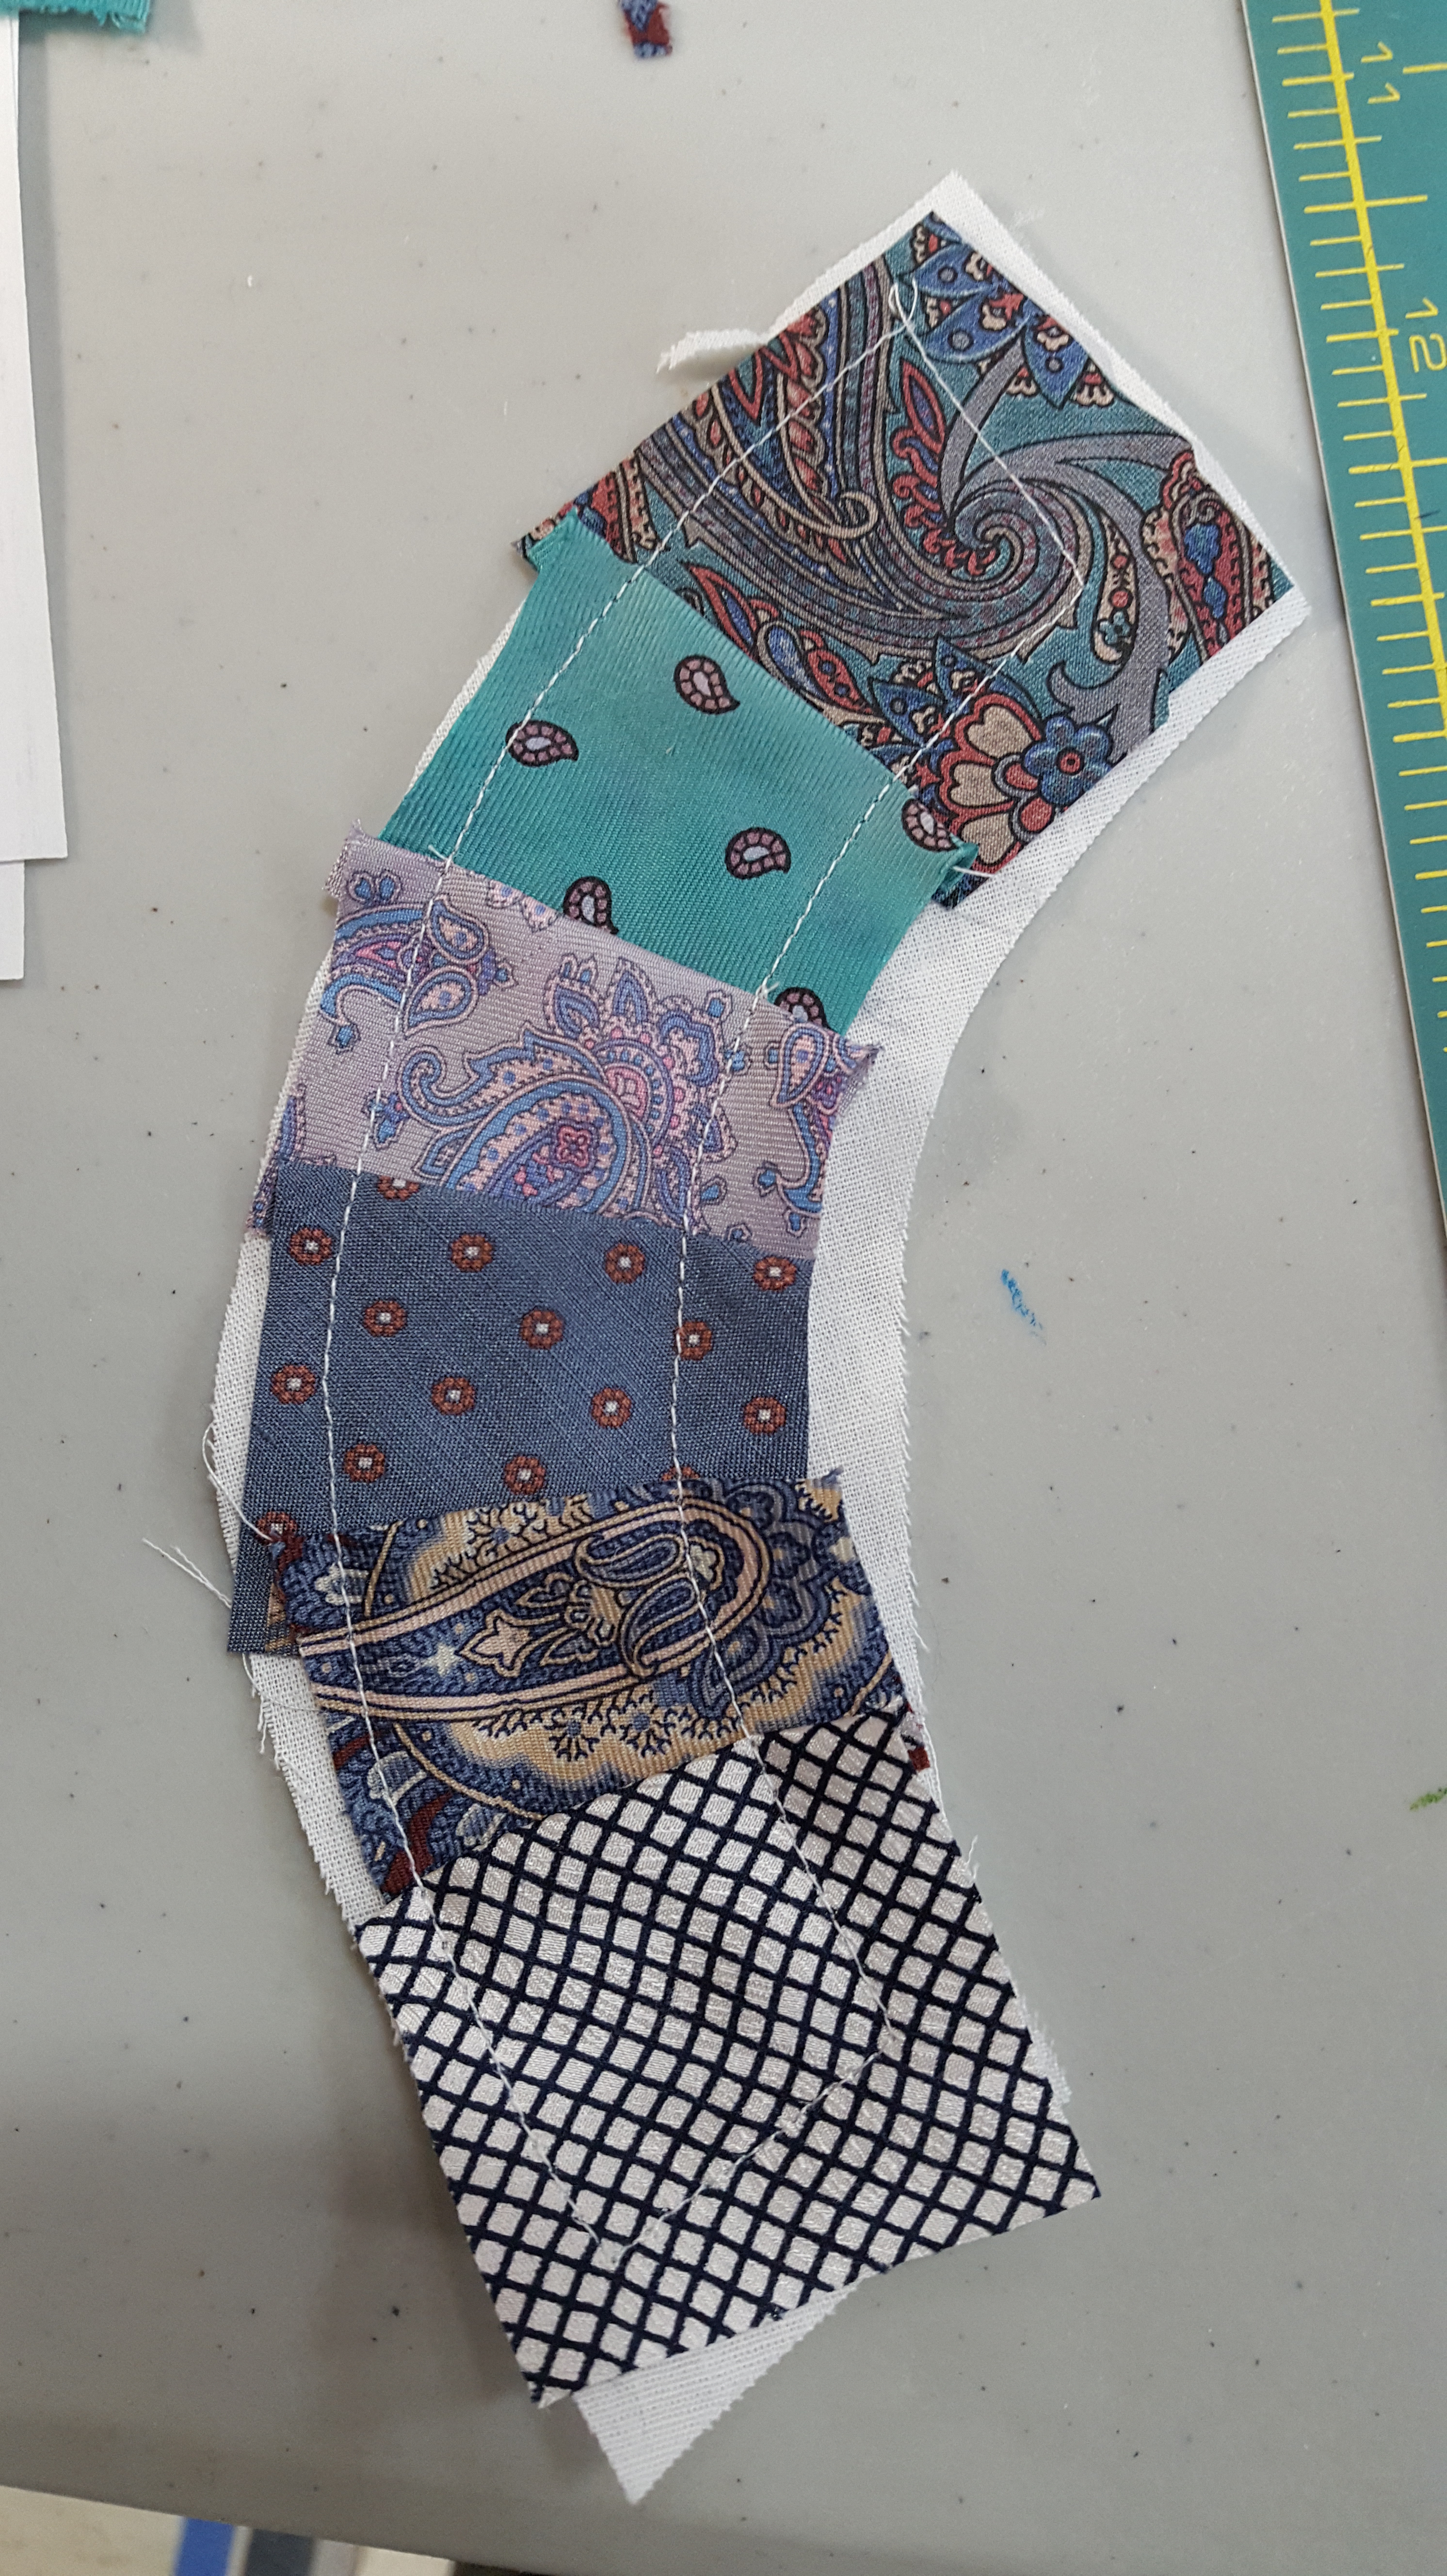
NYB Necktie Pillow –
Marilyn B.
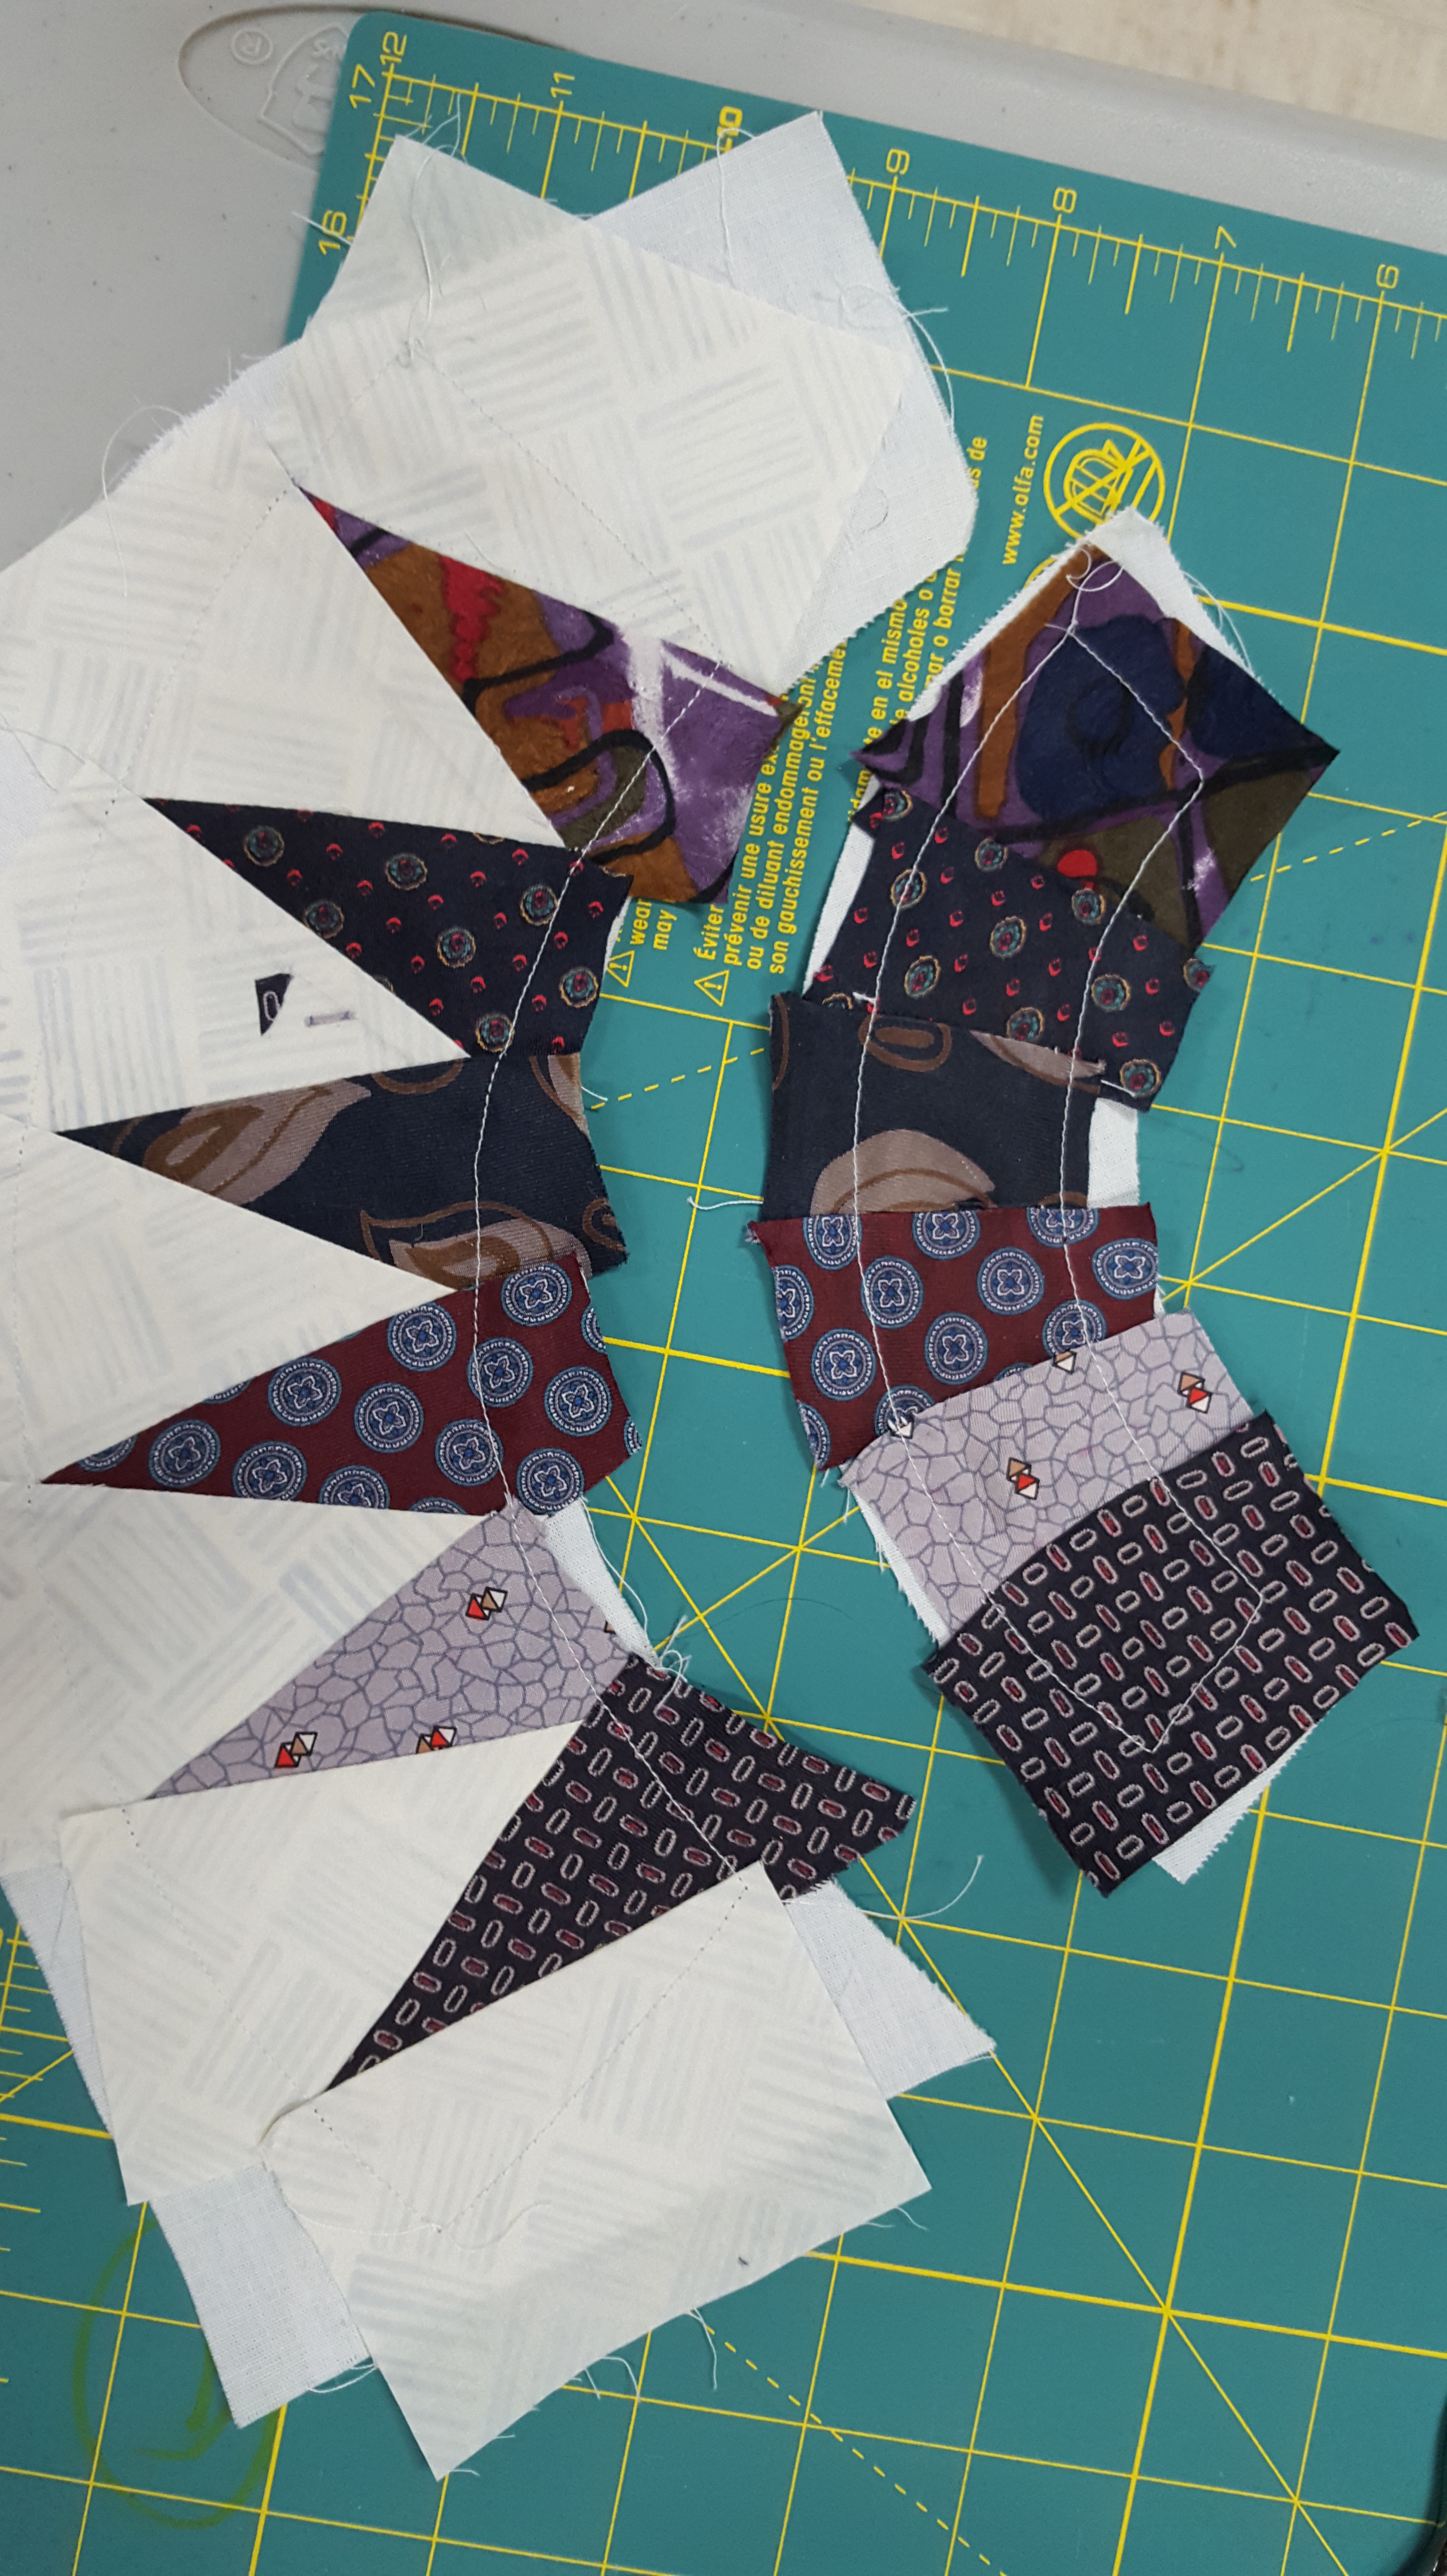
NYB Necktie Pillow –
Diane Z.

NYB Necktie Pillow –
Kathryn L.
NYB Necktie Pillow –
Margaret T.
NYB Necktie Pillow –
Nancy B.
NYB Necktie Pillow –
Jean Z.
NYB Necktie Pillow –
Nancy R.

NYB Necktie Pillow –
Carol V.
NYB Necktie Pillow –
my finished top…Debbie
I hope you enjoyed the ties! By the way, I still have neckties and can teach this class to your shop or guild!
Happy New Year!
in quilting,
Debbie