Two Tip Tuesday

It is still Tuesday somewhere in the U.S.!  Yep, late again on a travel day.  And with that comes…Change of plans!  And I gave myself permission to do just that.  Remember the orange and rust quilt?  Well, I’m seam ripping!  I’m totally good with my decision and I’m well on my way to making the original choice for these fabrics.

image

So, with seam ripping comes some tips!  Below is my favorite ripper.  It folds out to expose the ripper and nicely folds back to protect the tip and protects me from getting poked!

#1- Find a seam ripper that fits your hand!

When ripping…you don’t actually “rip”.  Carefully slide the point of the seam ripper under the stitch and slide the ripper so the blade (in the curve) cuts the thread.  Shown below.

image

#2 – I like to cut every third or fourth stitch all the way along the seam.  Then pull the thread on the other side of the seam and all those stitches pop loose!

And with a long day of traveling, I’m home again!!

in quilting,

Debbie

Posted in Tips, Tools, Uncategorized | 1 Comment

Two Tip Tuesday

More tails!!  I taught a workshop Saturday on Mermaid Tails.  One of the demos included the clamshells I showed how to cut last week.   Now, let’s see how to build the foundation to create the raw edge appliqué clamshell tail!  The clamshell tail is the bottom left.

Snuggle Tails-DW

Snuggle Tails-DW


The clamshells are fused onto a fusible gridded interfacing.  The grid on the interfacing keeps the clamshells straight and in place!

#1-  Gridded fusible interfacing can be used as a piecing or appliqué foundation!

The clamshells piece is built one row on top of the next.

image

Use the grid to center a clam shell.  Add rows across.  (Note the top of the clamshell is on a line and is centered on a vertical line.)

The next row is added overlapping the previous by 1/4″.  Or you can put the corner tips on the line and the bottom of the shell will land between the lines.  I put a piece of paper behind the interfacing to help show the grid more clearly in the photo.

image Only a portion of two rows is shown.  You can see in the tails photo, the entire piece is rotated so they look like “fish scales”!!


Once the area is complete, use a wet press cloth to fuse everything in place.  Always follow manufacture’s instructions.

#2-  A piece of muslin makes a great press cloth.

Use a zig zag or button hole stitch to stitch the curved edges, finishing the raw edge clamshells.  Layering batting behind the piece before you stitch will get the quilting done at the same time!

in quilting,

Debbie

Posted in Tips, Uncategorized | Leave a comment

Two Tip Tuesday

Thanksgiving week I made another Snuggle Tail!  This time it was a Dolphin.  I made it with a cuddle tail fin in true “Miami Dolphins” teal.  Our grandson Loves it!!

Dolphin Tail

Dolphin Tail


This Saturday I will be teaching the Mermaid version of Snuggle Tails for the Blacksrone Valley Heritage Quilters.  In preparation, I am making a clamshell appliqué version.  I wanted to share a few tips on how I make the clamshells.

#1 – Use Sue Pelland’s “Hearts and More” 5″ template to rotary cut clamshells.

image

When using Sue’s templates use a 28mm cutter.  It cut easily around curves.

#2 – When cutting curves with a rotary cutter, us a small cutter.  (28mm or less)

60mm top right 28mm below

60mm top right
28mm below


To cut the clamshells…

  1. Use a 5″ square.
  2. Cut the top curve.
  3. cut the bottom left, aligning the center cross hairs 1/4″ from fabric edge.
  4. cut the bottom right, aligning the center cross hairs 1/4″ from bottom right edge.
2. Cut top curve

2. Cut top curve

4. Bottom left corner.

3. Bottom left corner.

4. Bottom right also cut.

4. Bottom right also cut.


In quilting,

Debbie

Posted in Tips, Tools, Uncategorized | 2 Comments

Two Tip Tuesday

Yay, sunny South Florida!  And where might you be for this Thanksgiving?

image

We enjoy our annual trip to see my husbands kids and the grand kids!  Time marches right along and everyone has grown into responsible adults and students.  Life is good and we are thankful for all of our families!

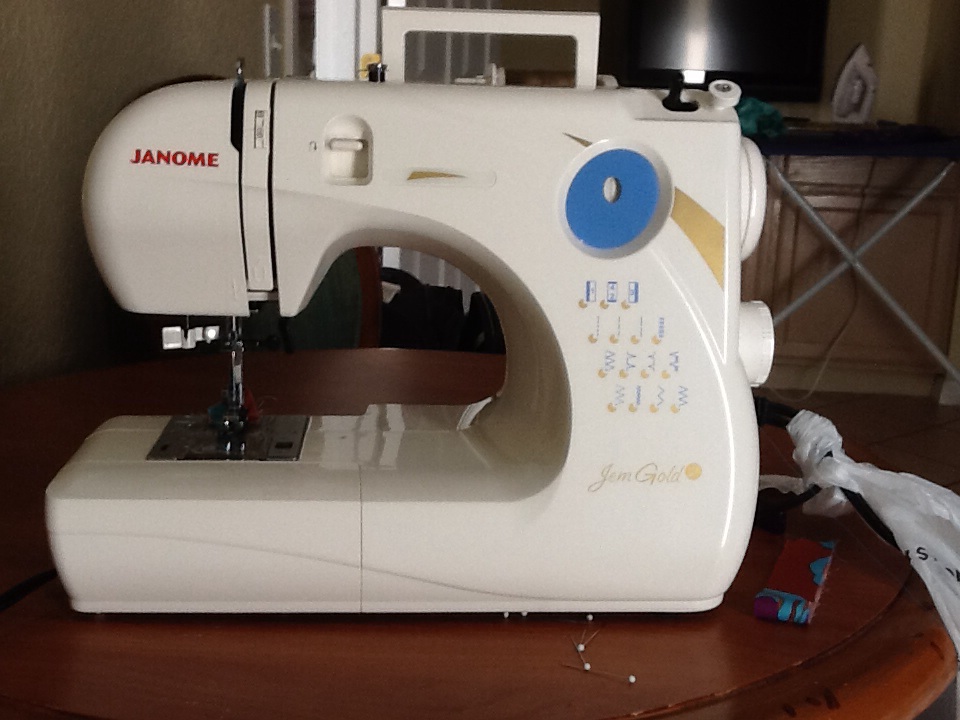
When I travel, I always take along a sewing project.  Usually it is handwork, but our daughter-in-law has this cute little machine that I get to borrow while I’m here.

image

We got it for her a number of years ago.  She loves to make aprons.  (I haven’t converted her to a quilter, YET!). She loves to bake so that takes up her spare time. Check out her blog.  (Alwayzbakin.com) We are spoiled with her yummy baked treats and cooking….!

But, back to the quilting…

There was a method to my “madness” of getting her the machine.  I have a machine to use while I am here!  I had forgotten what a true “gem” this little machine is.  I also have a featherweight at my parent’s house!  Do you travel with a machine?  Or only take handwork?  Or nothing at all?

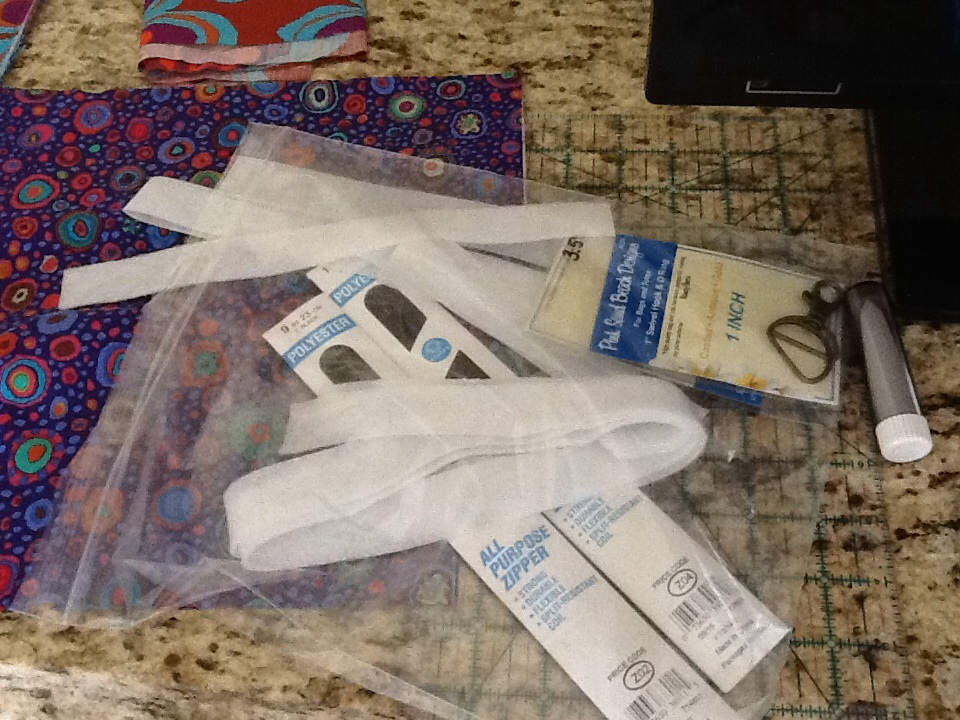
#1 – Ziplock bags are wonderful for carrying projects!

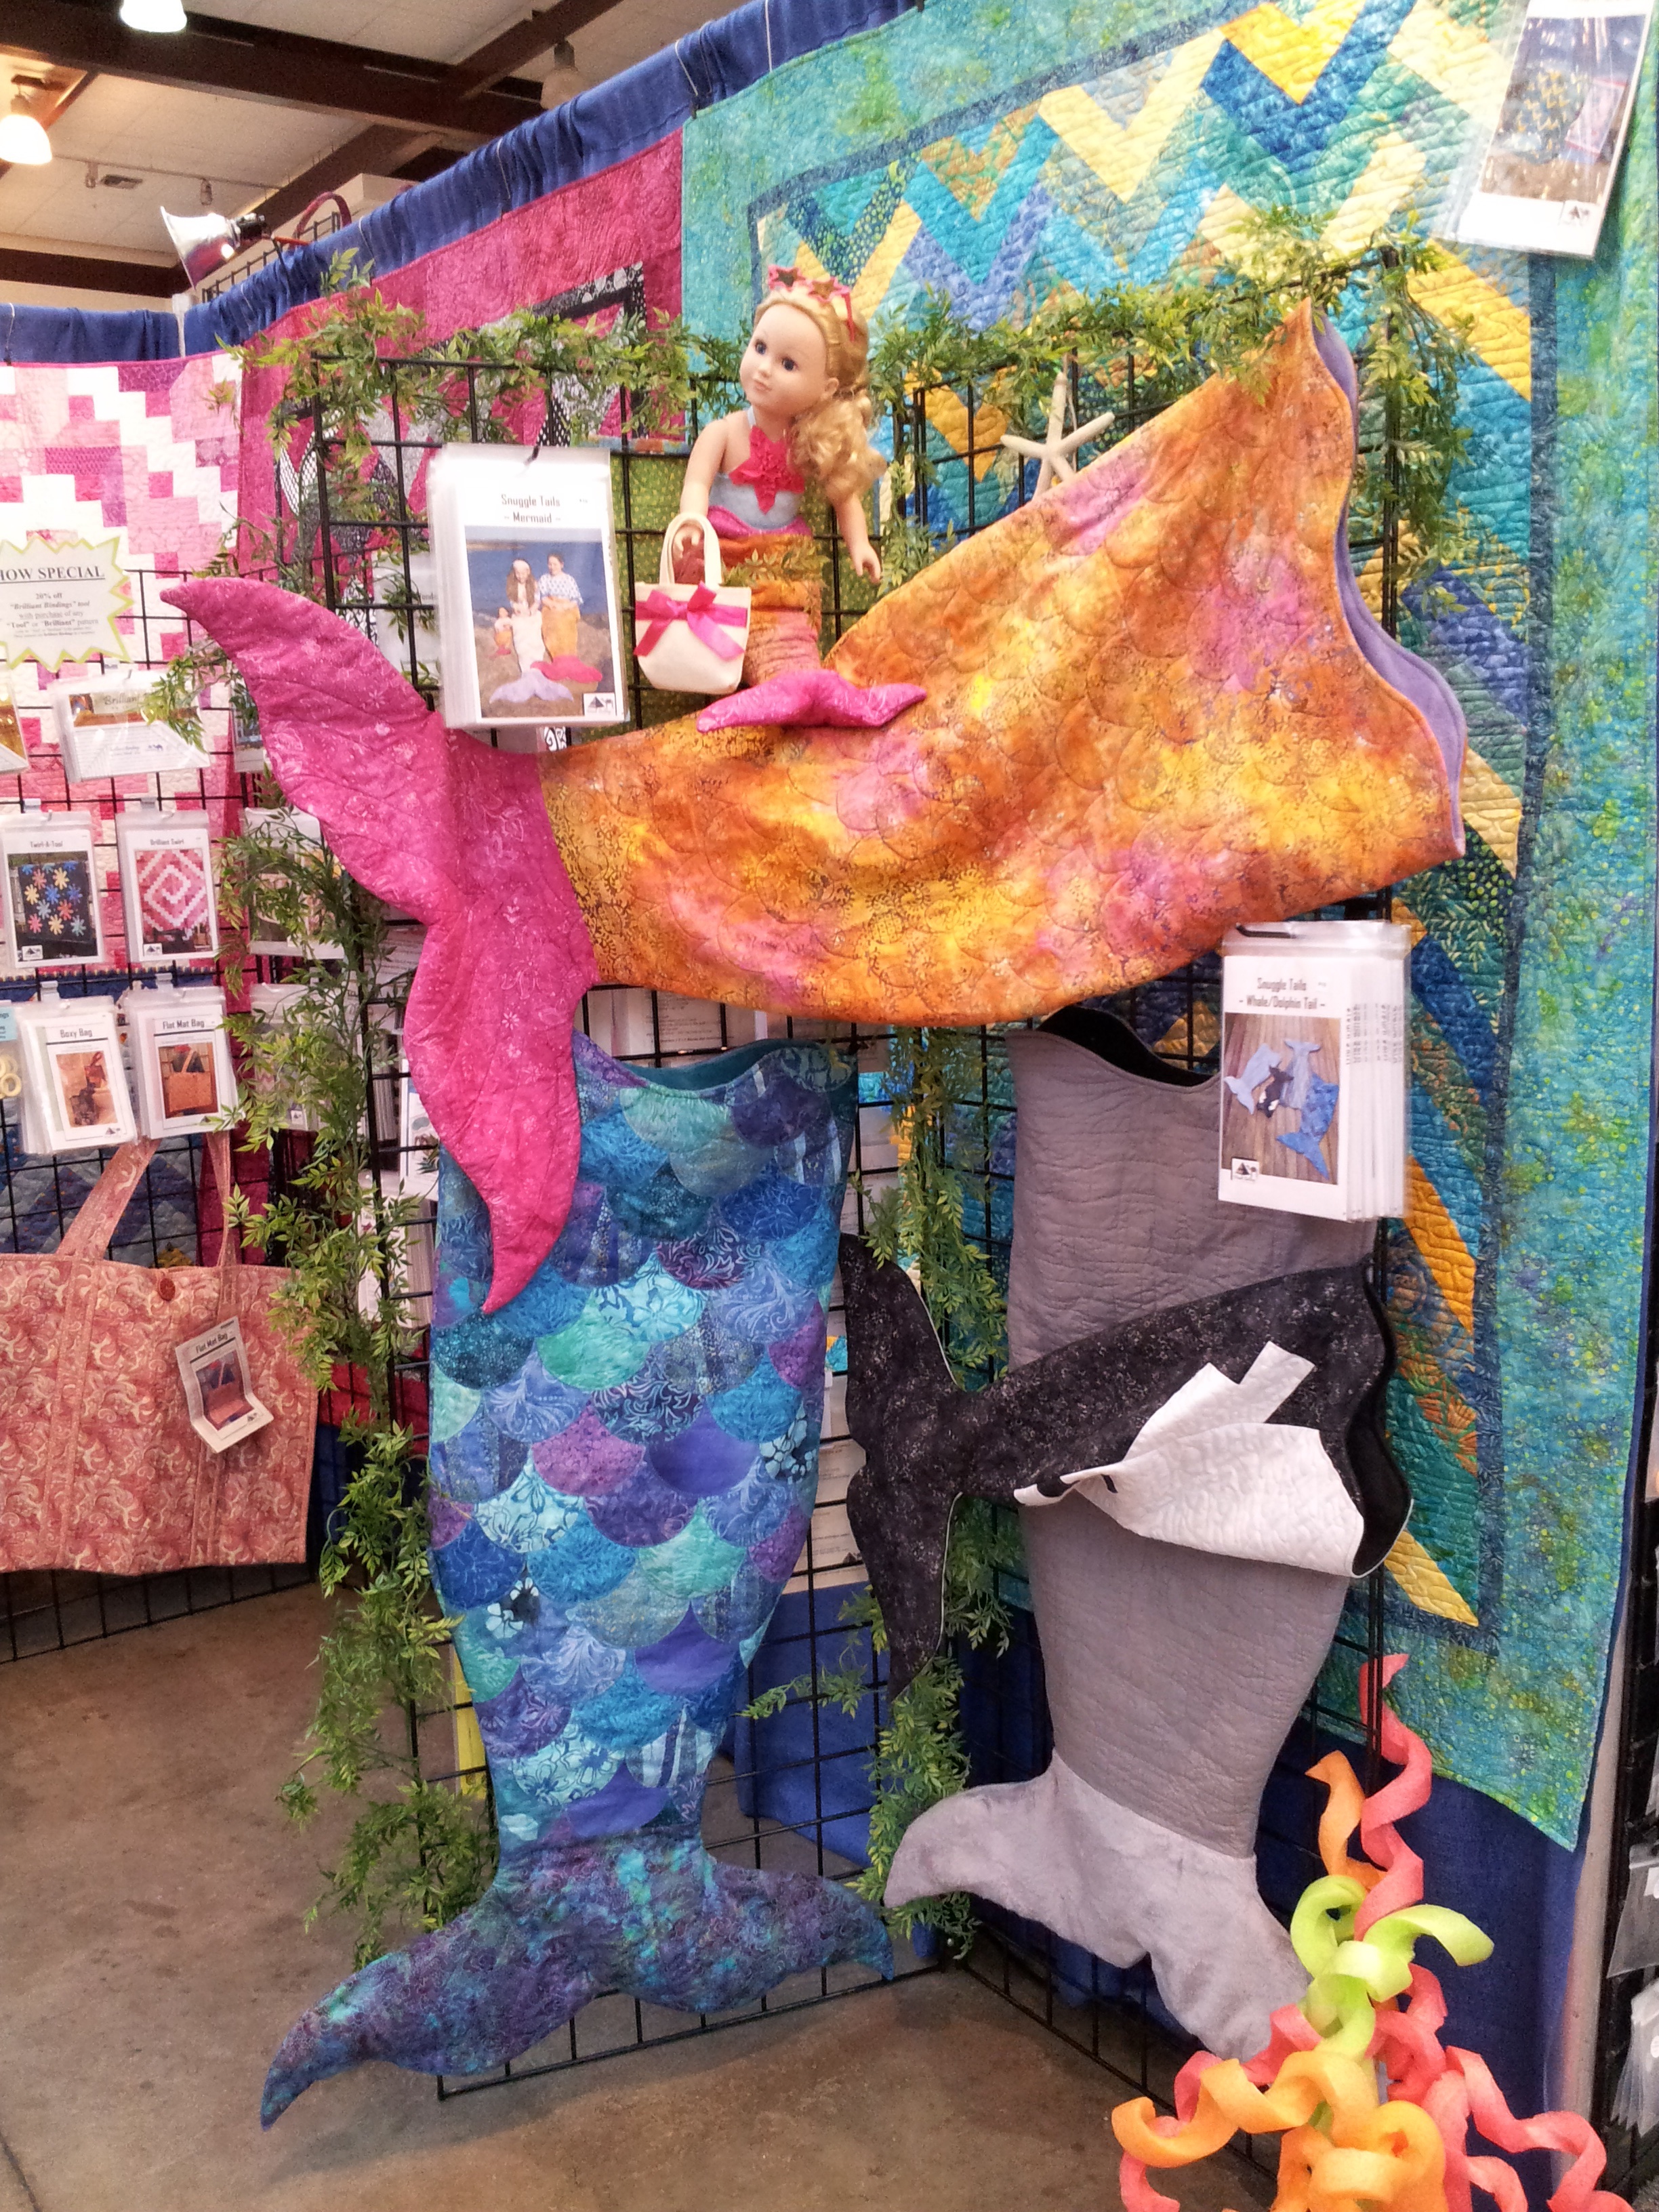
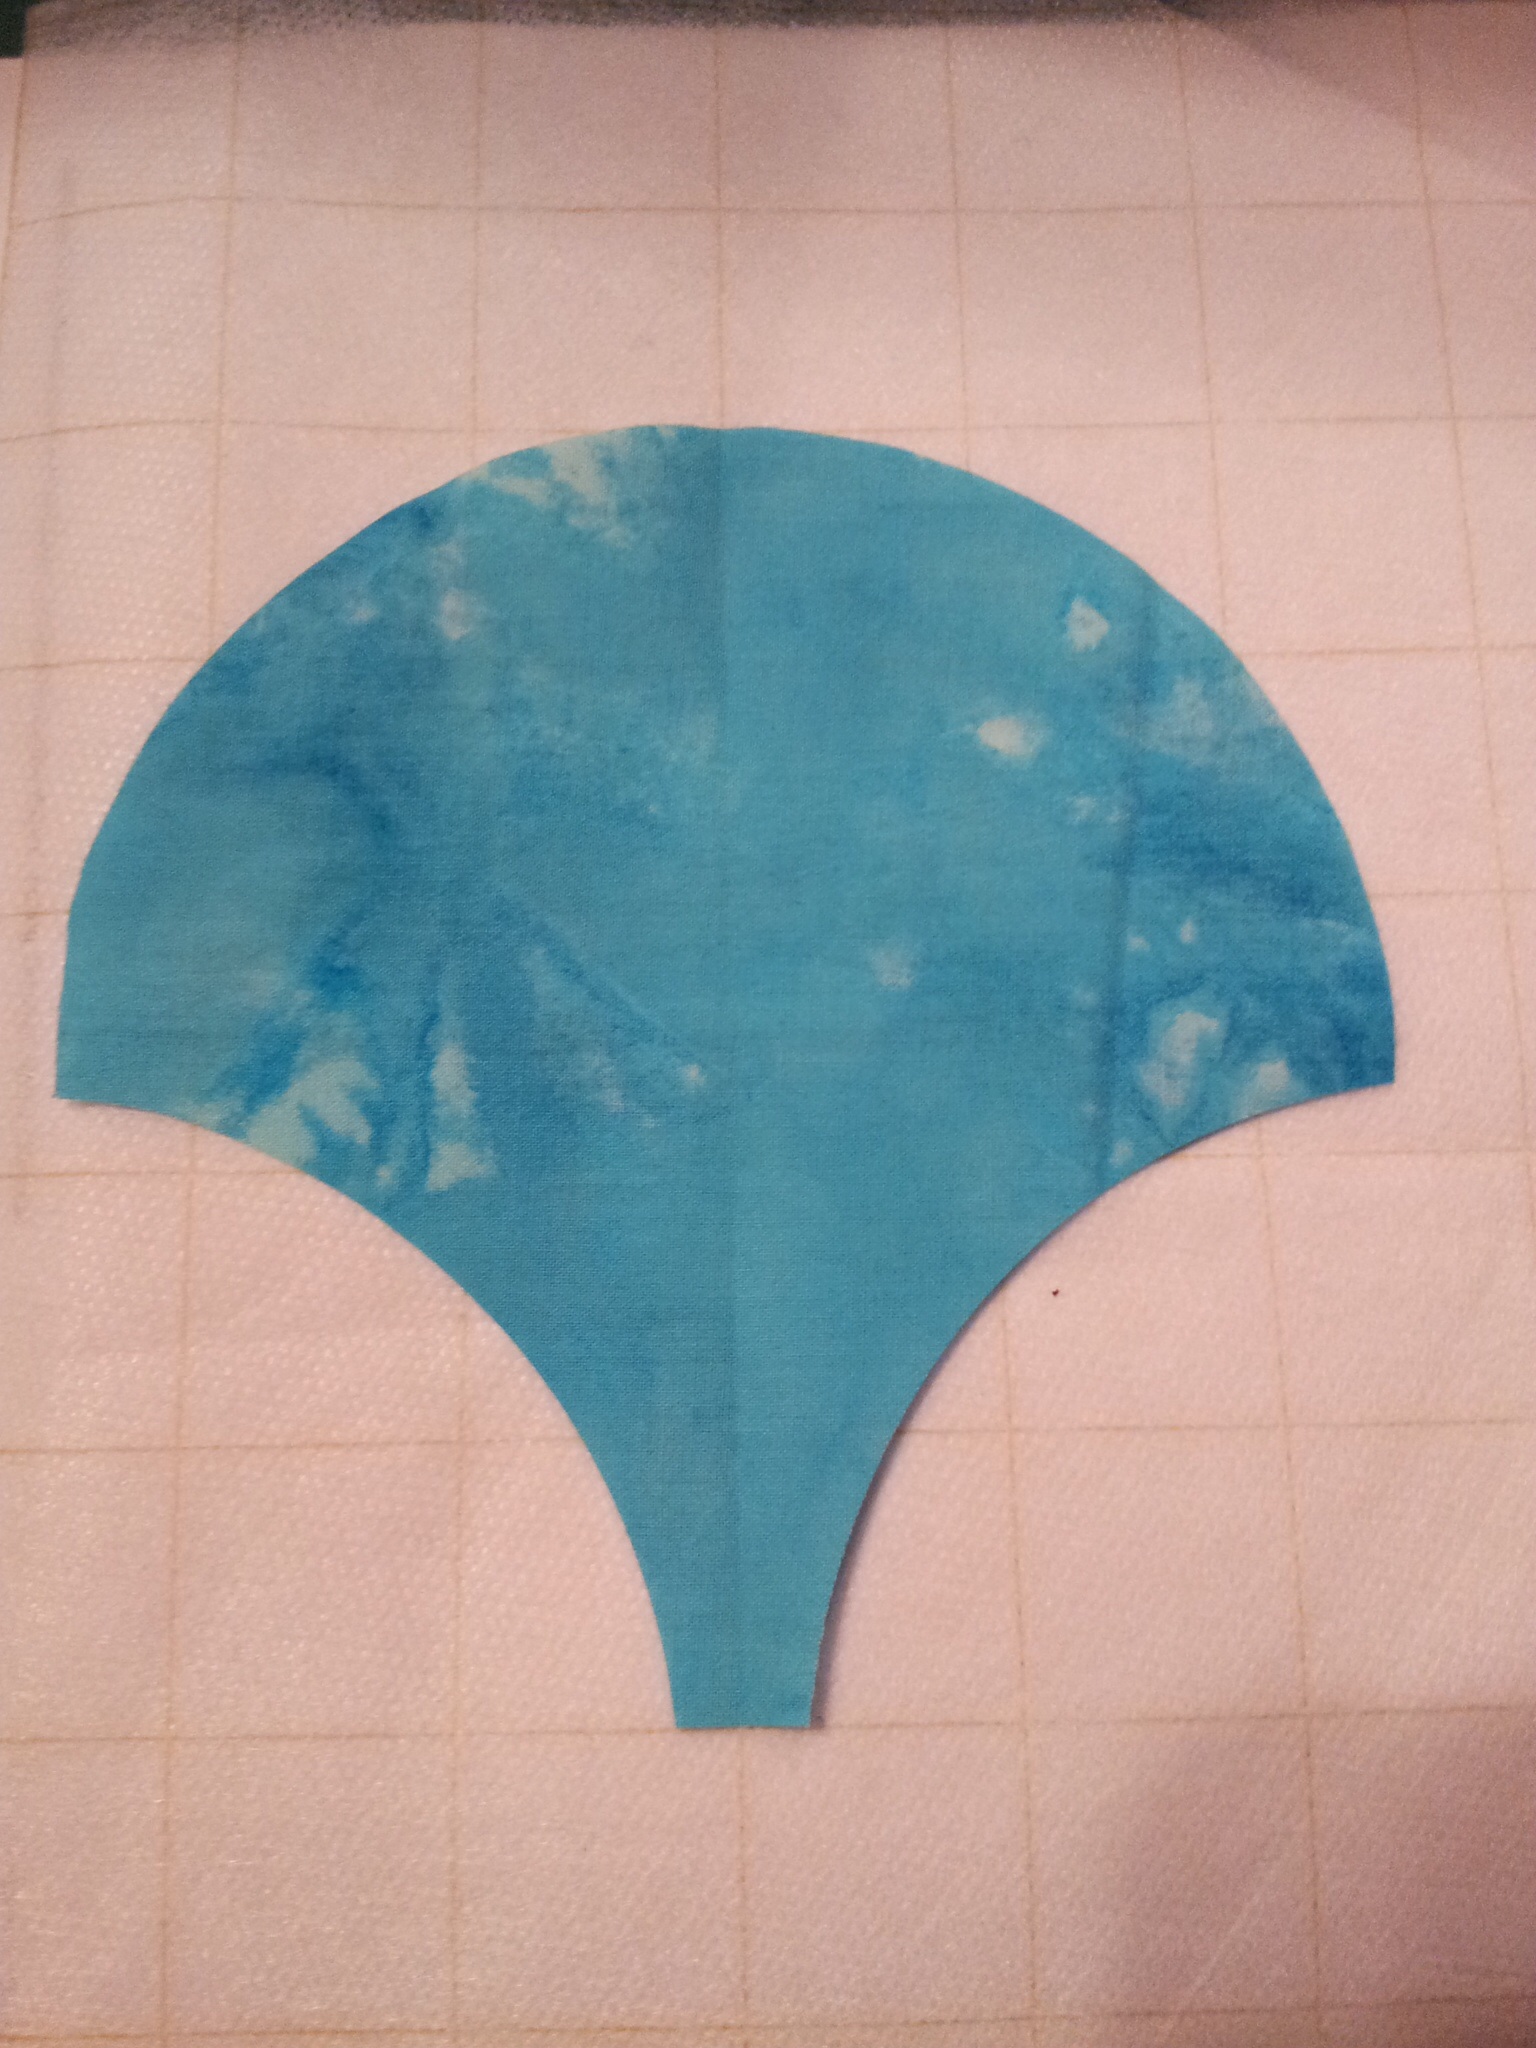
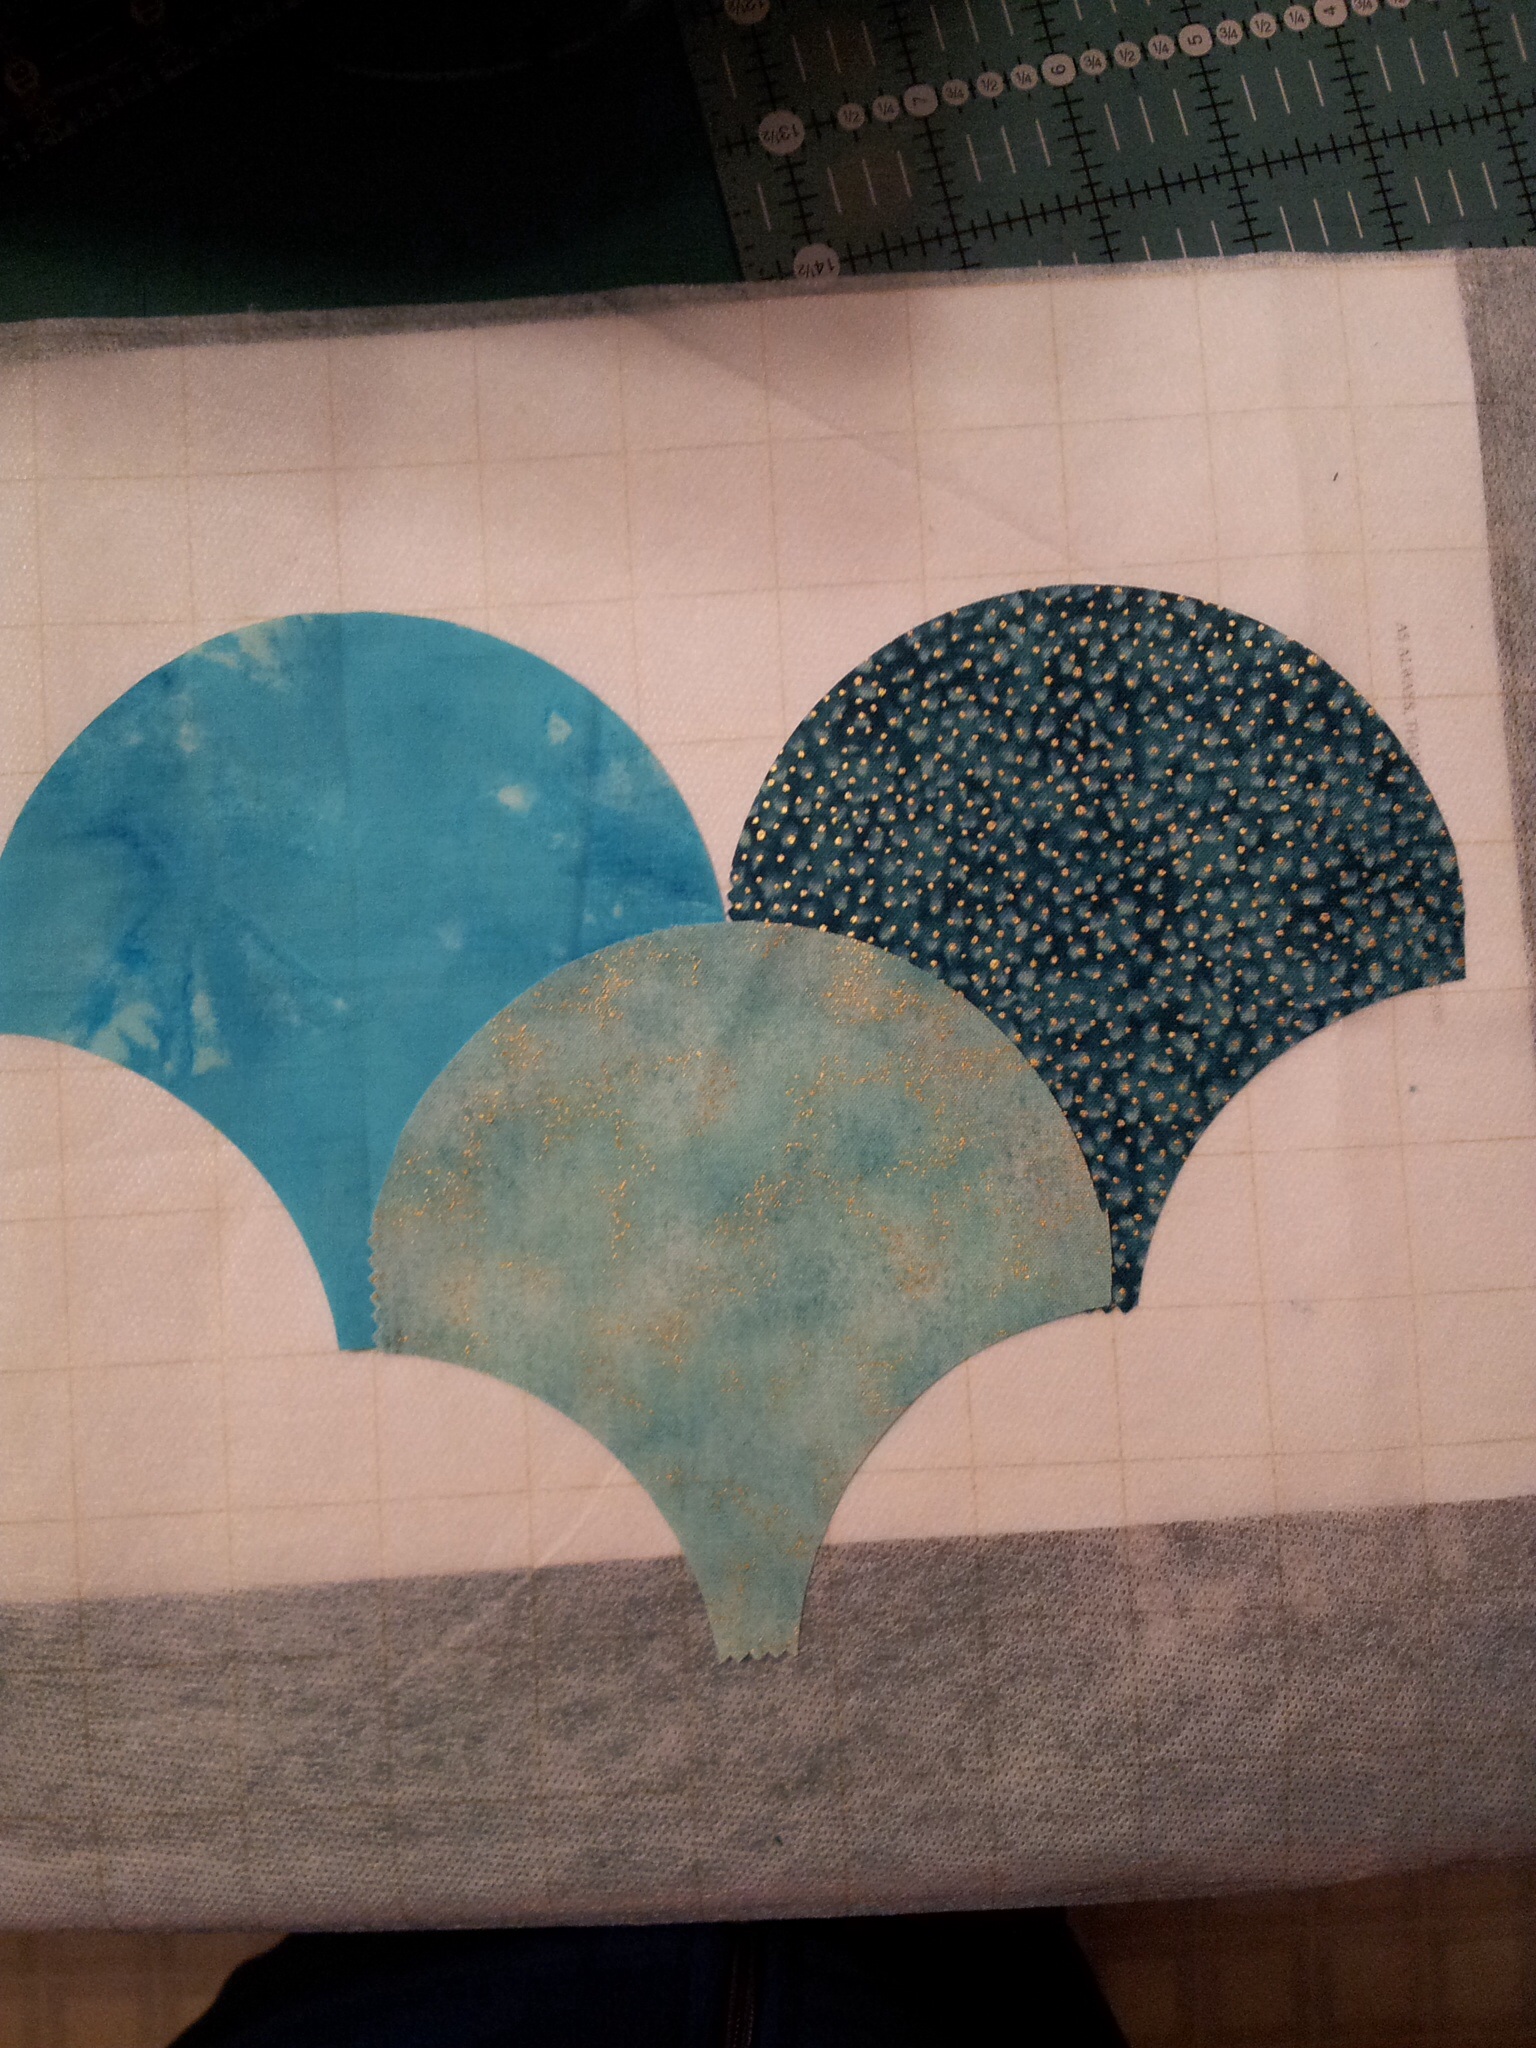
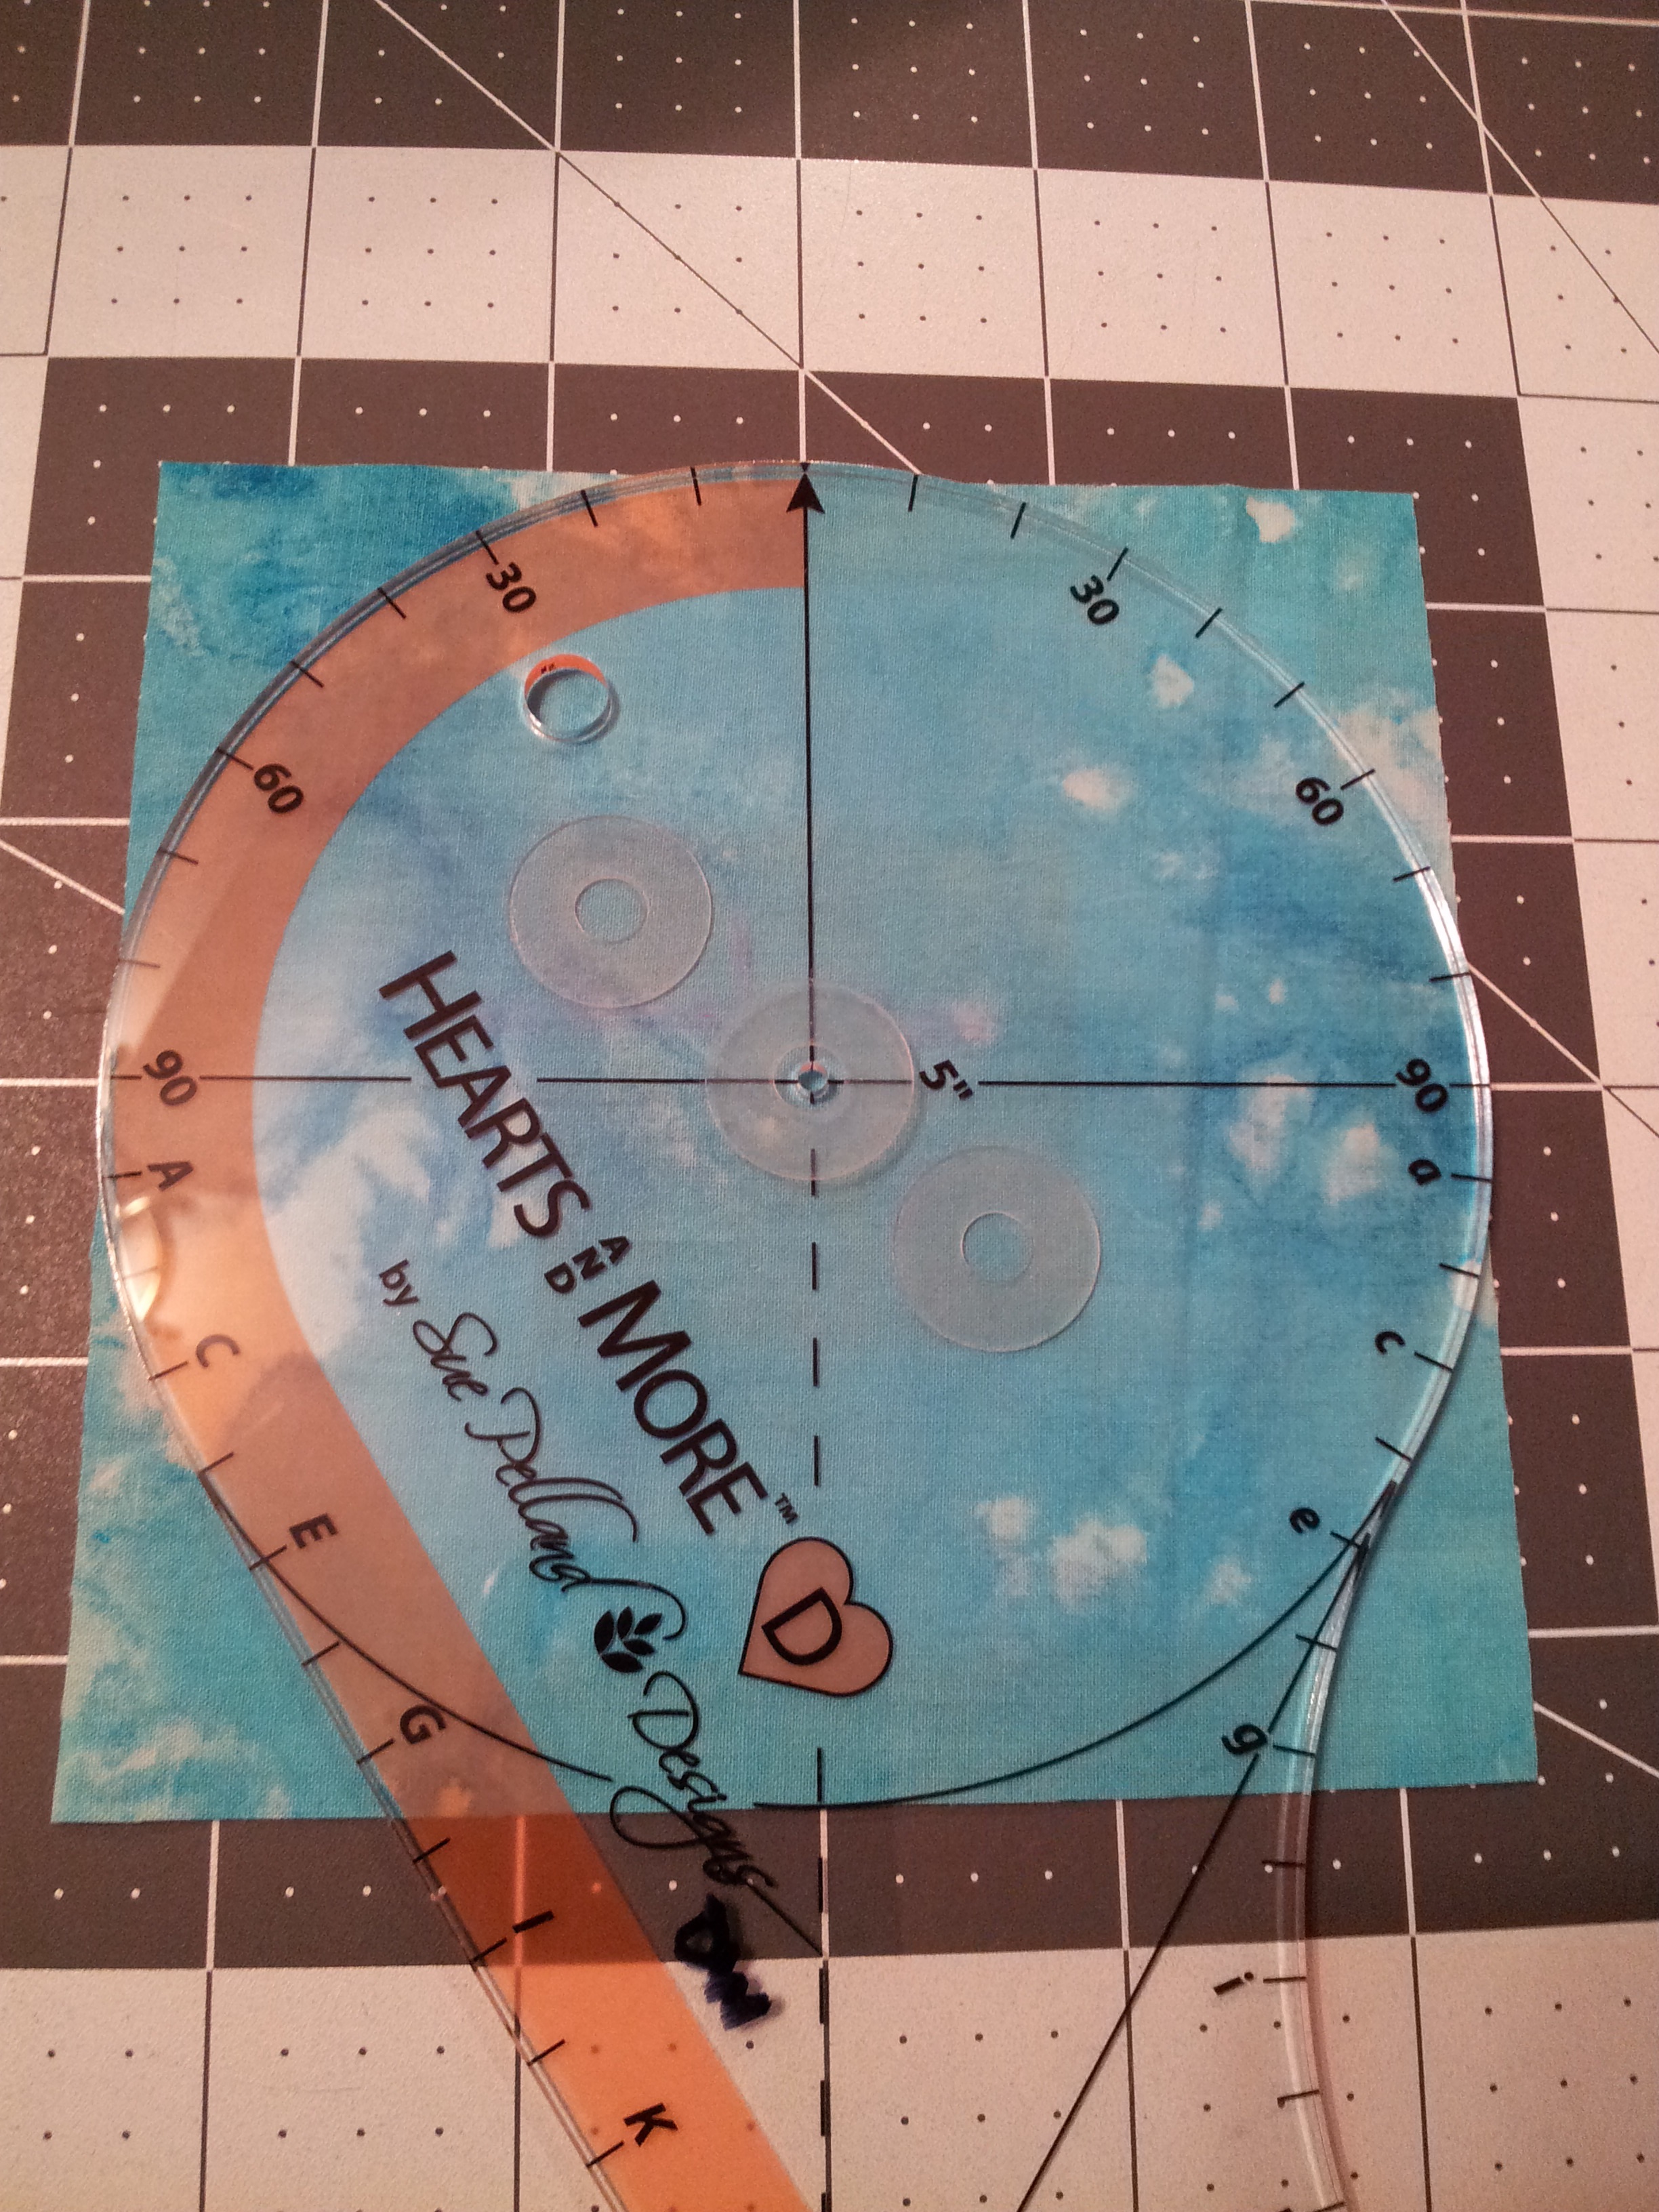
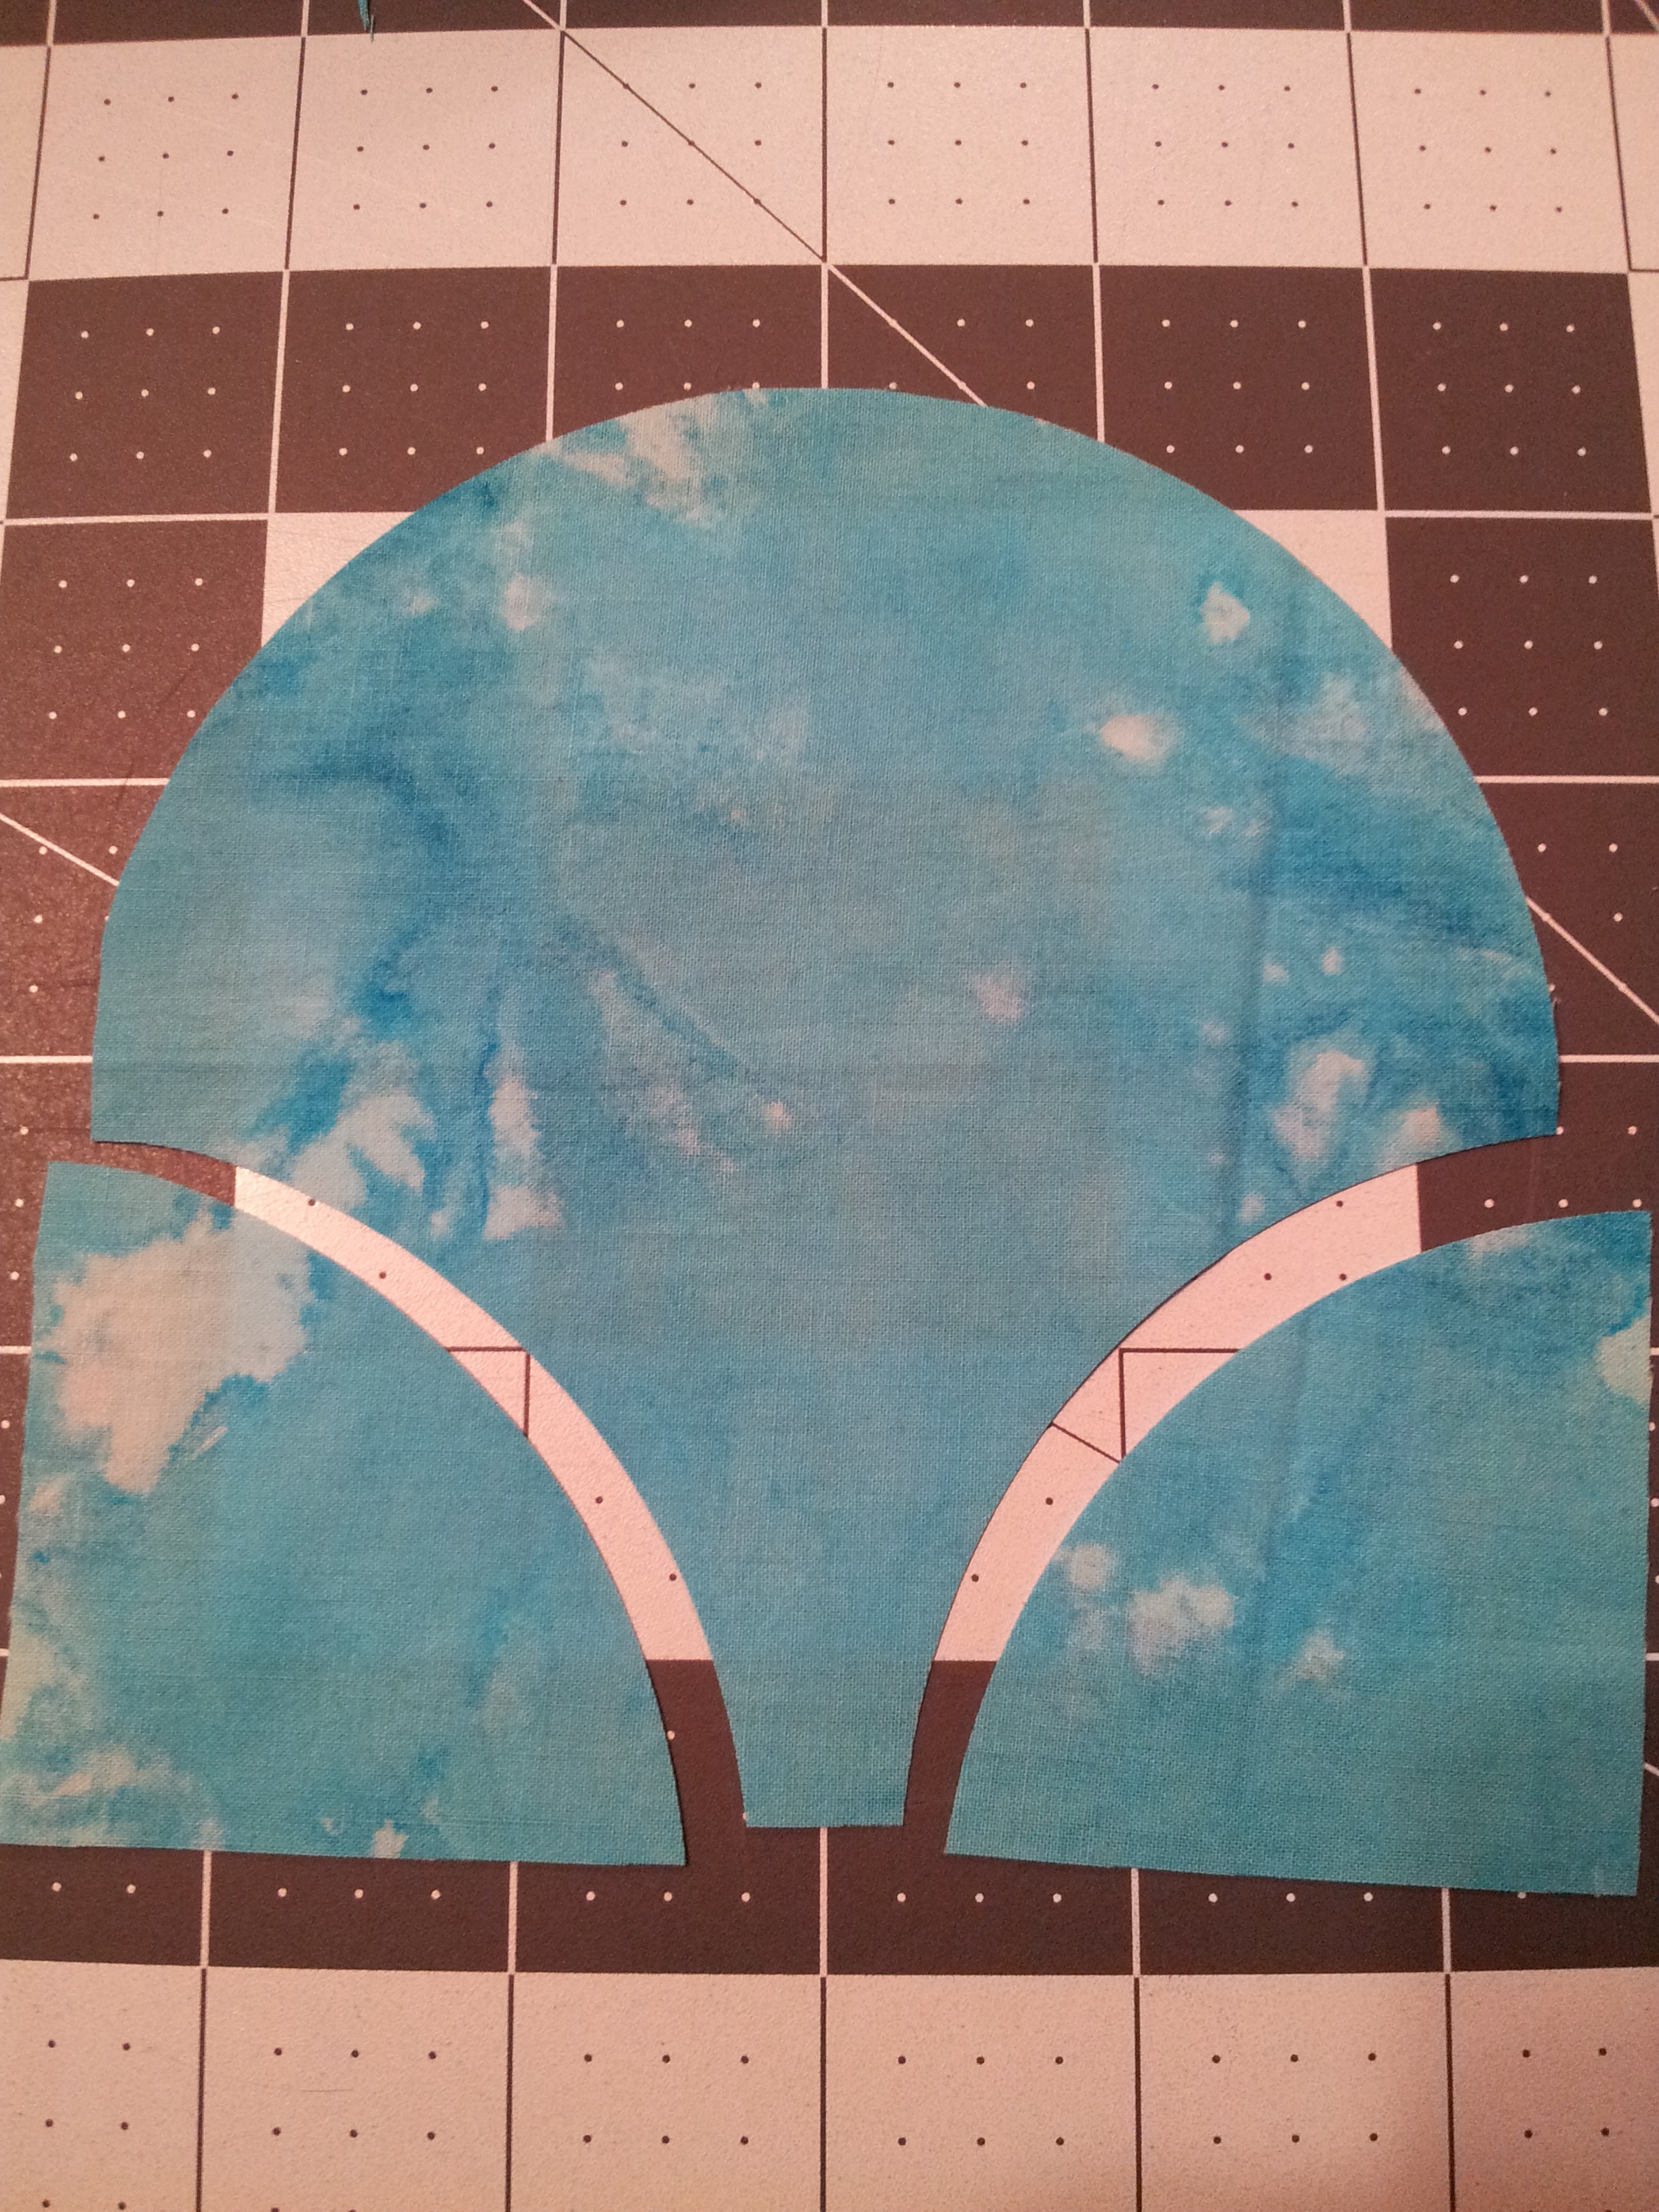
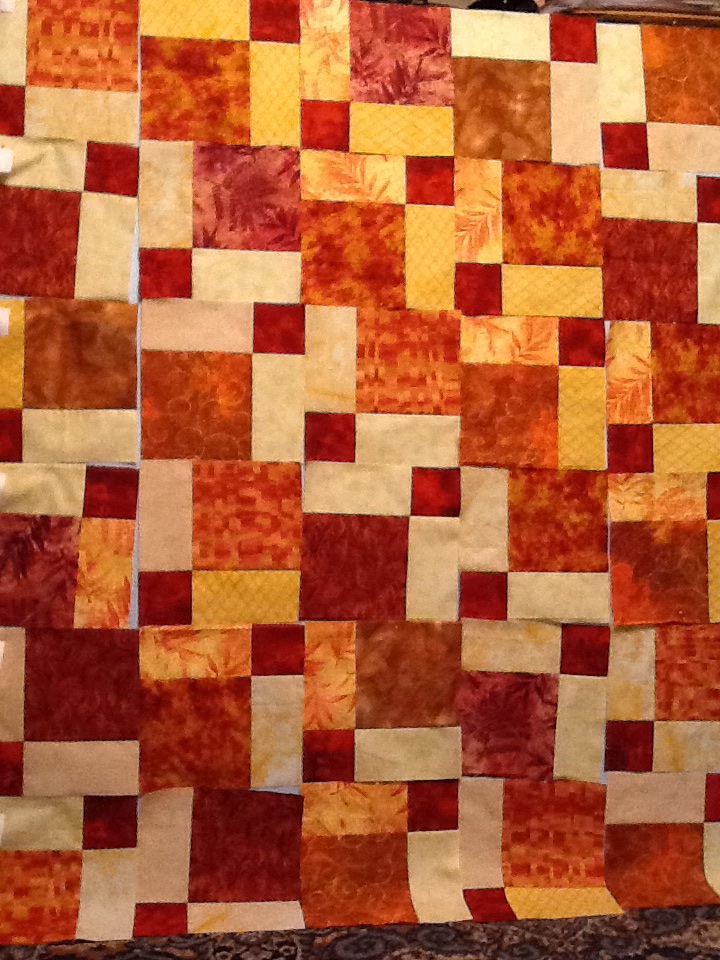
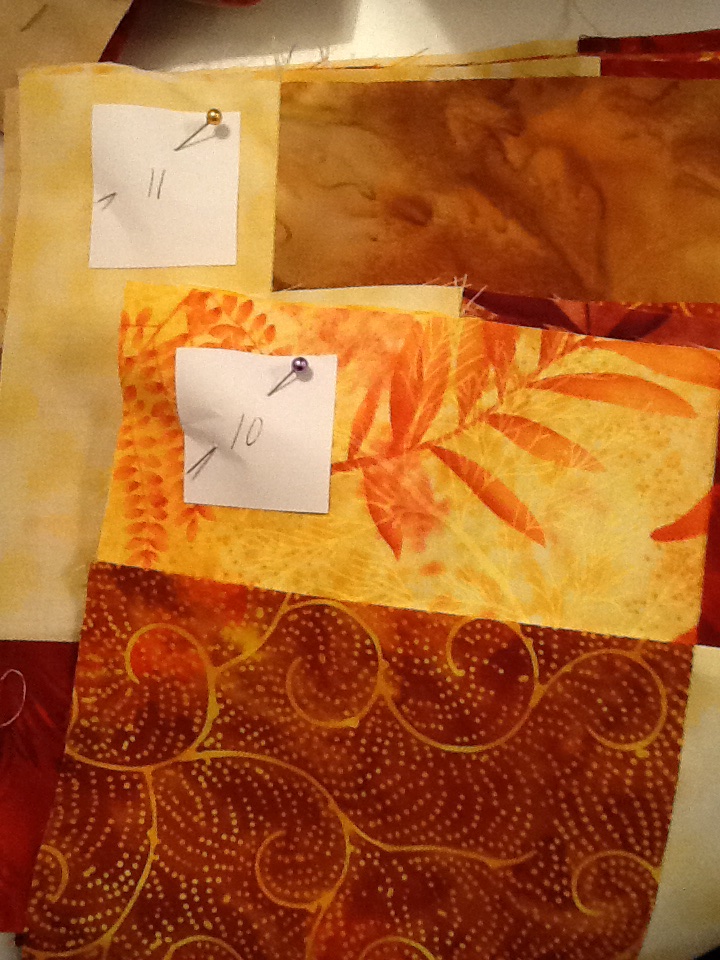
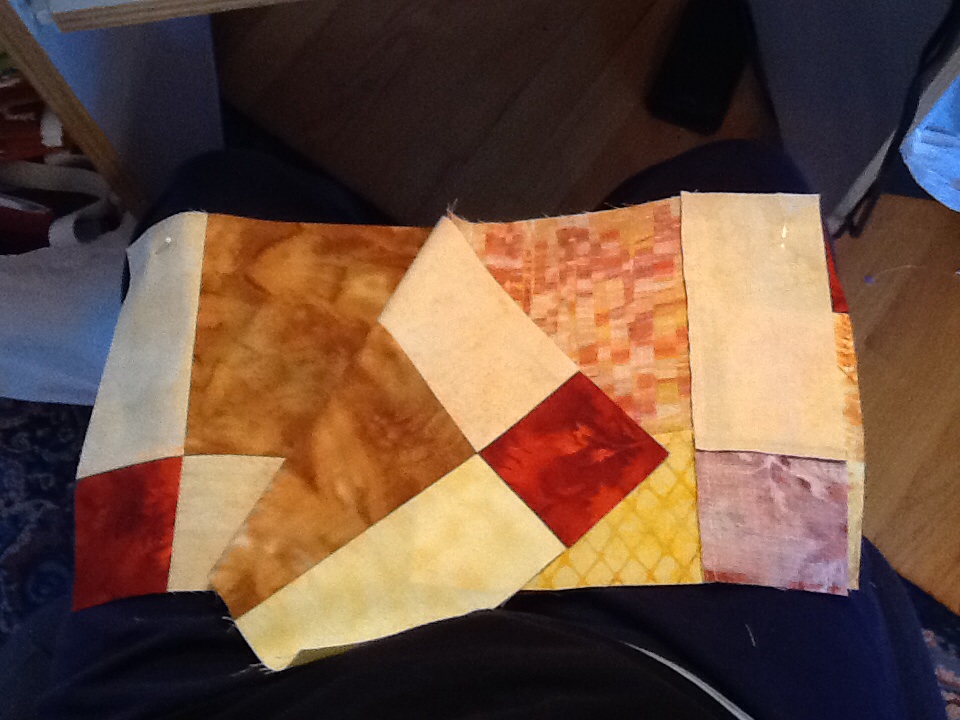
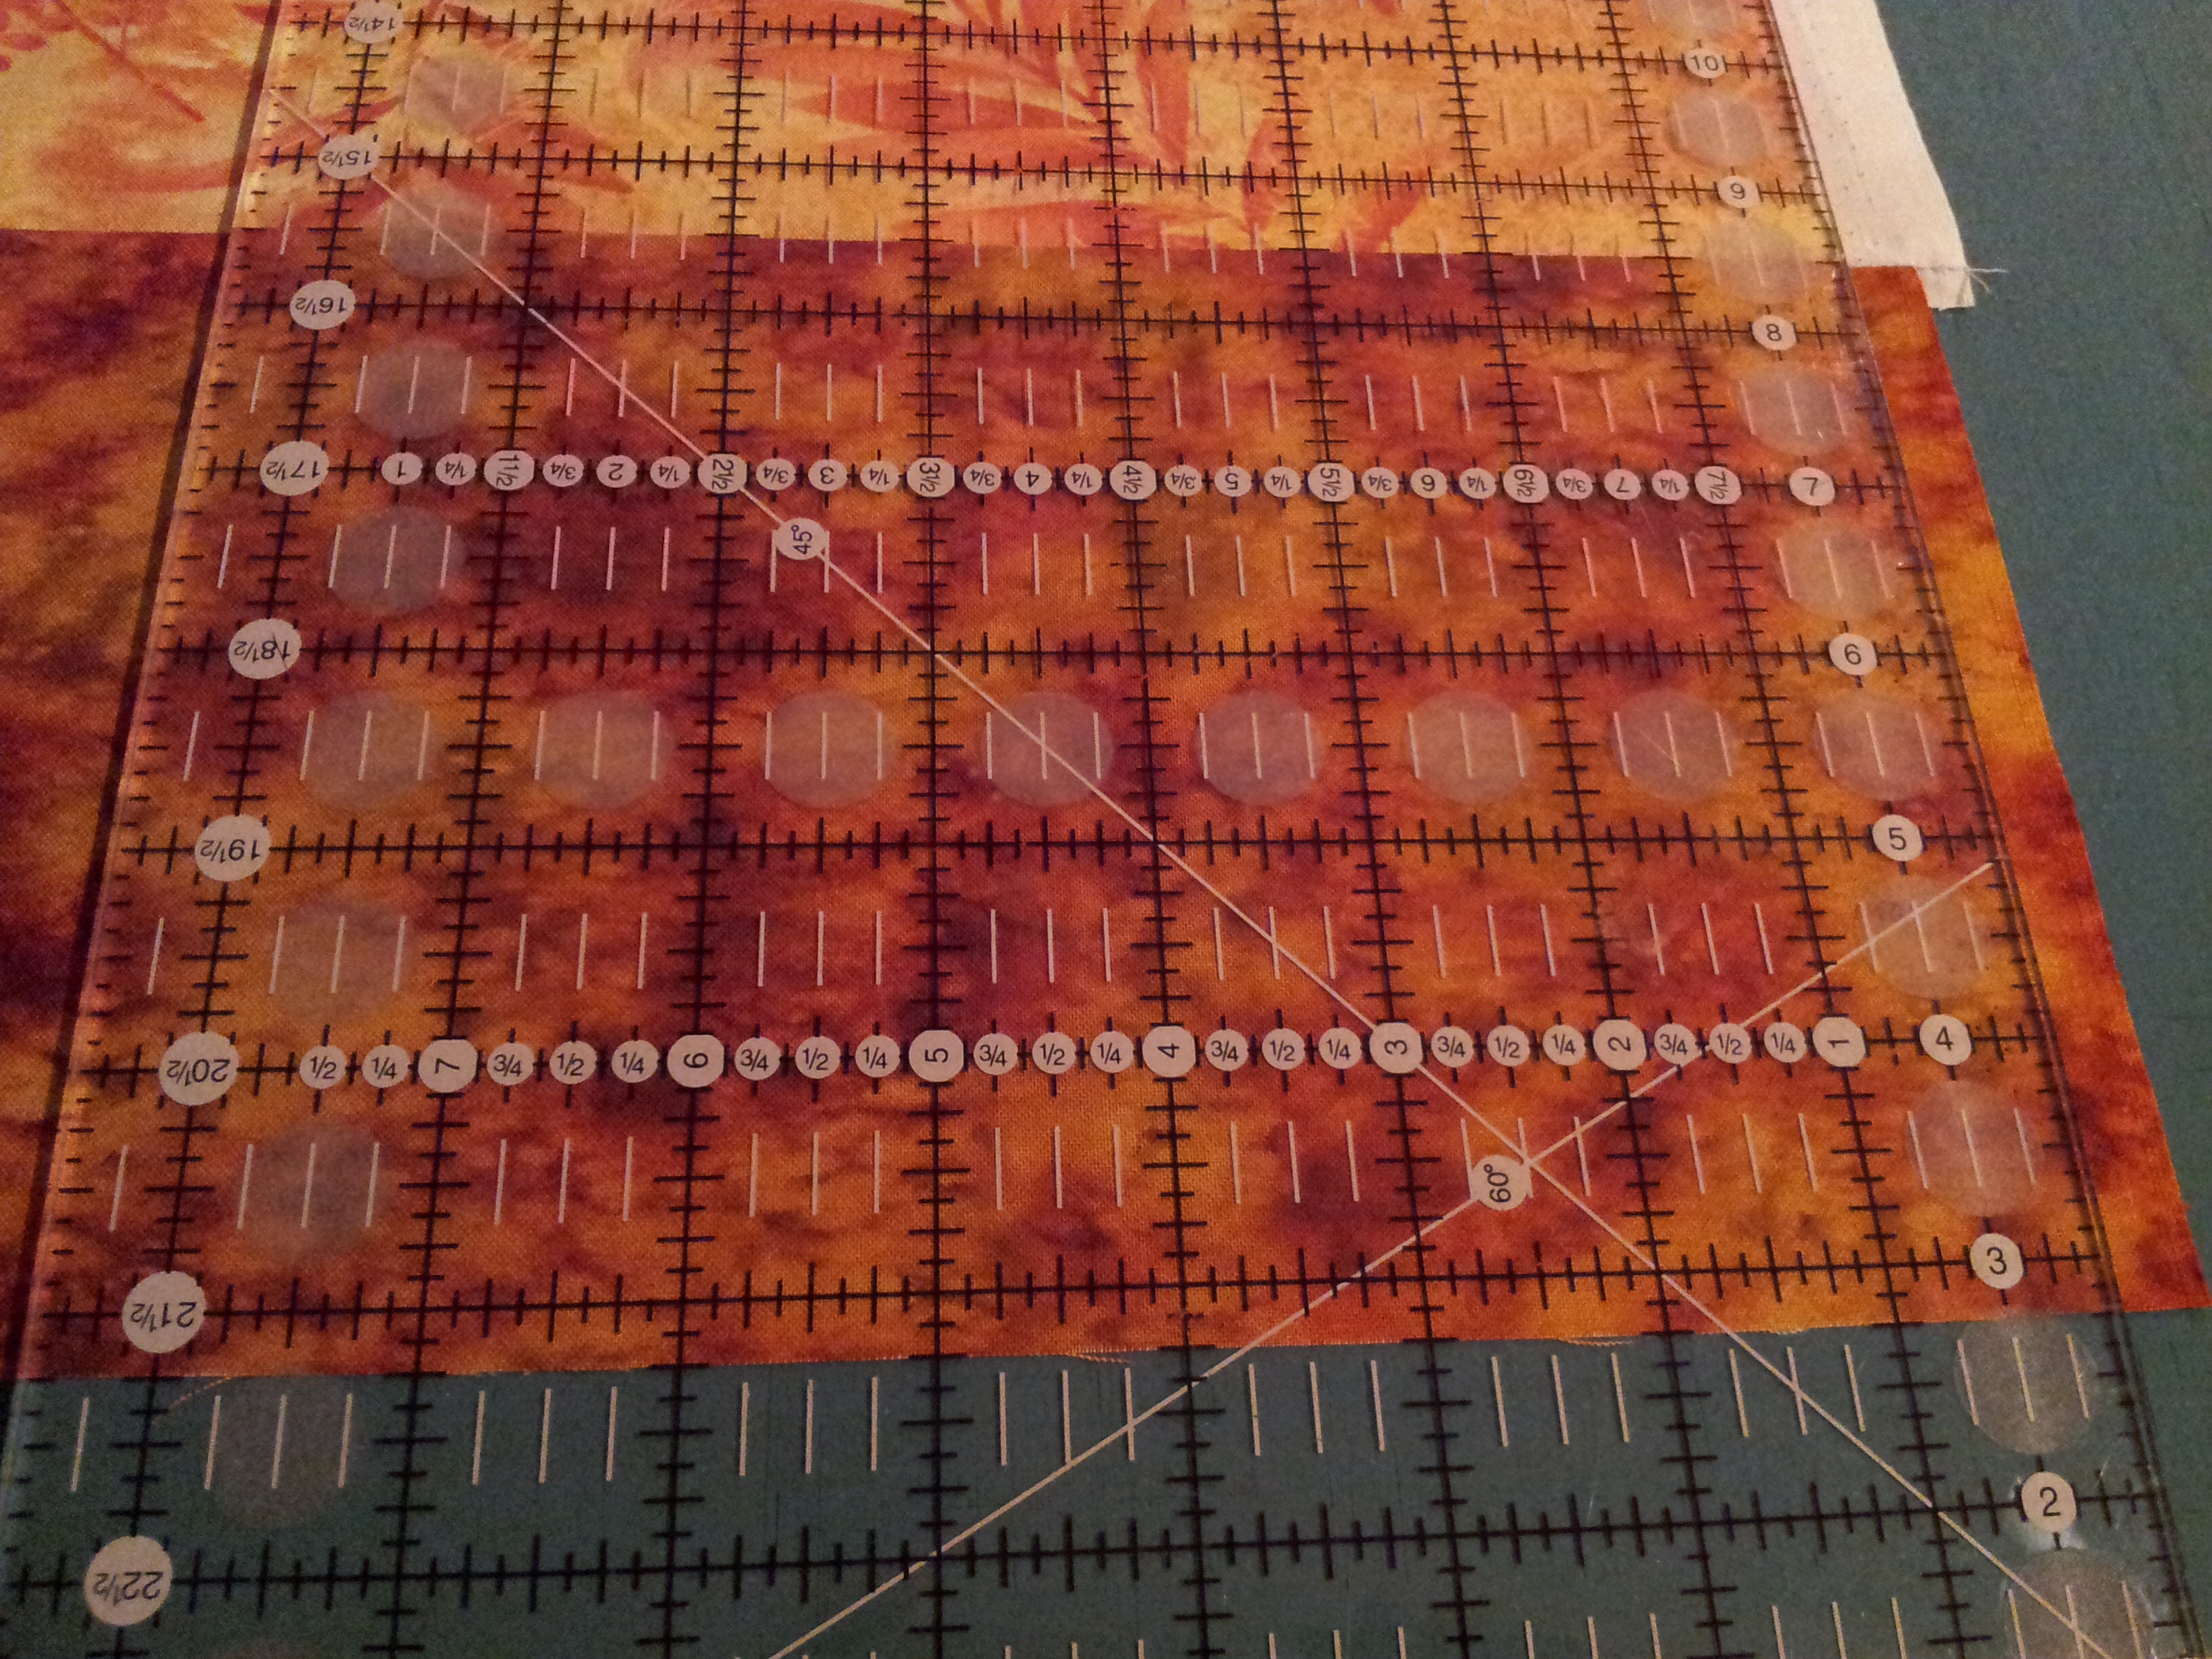
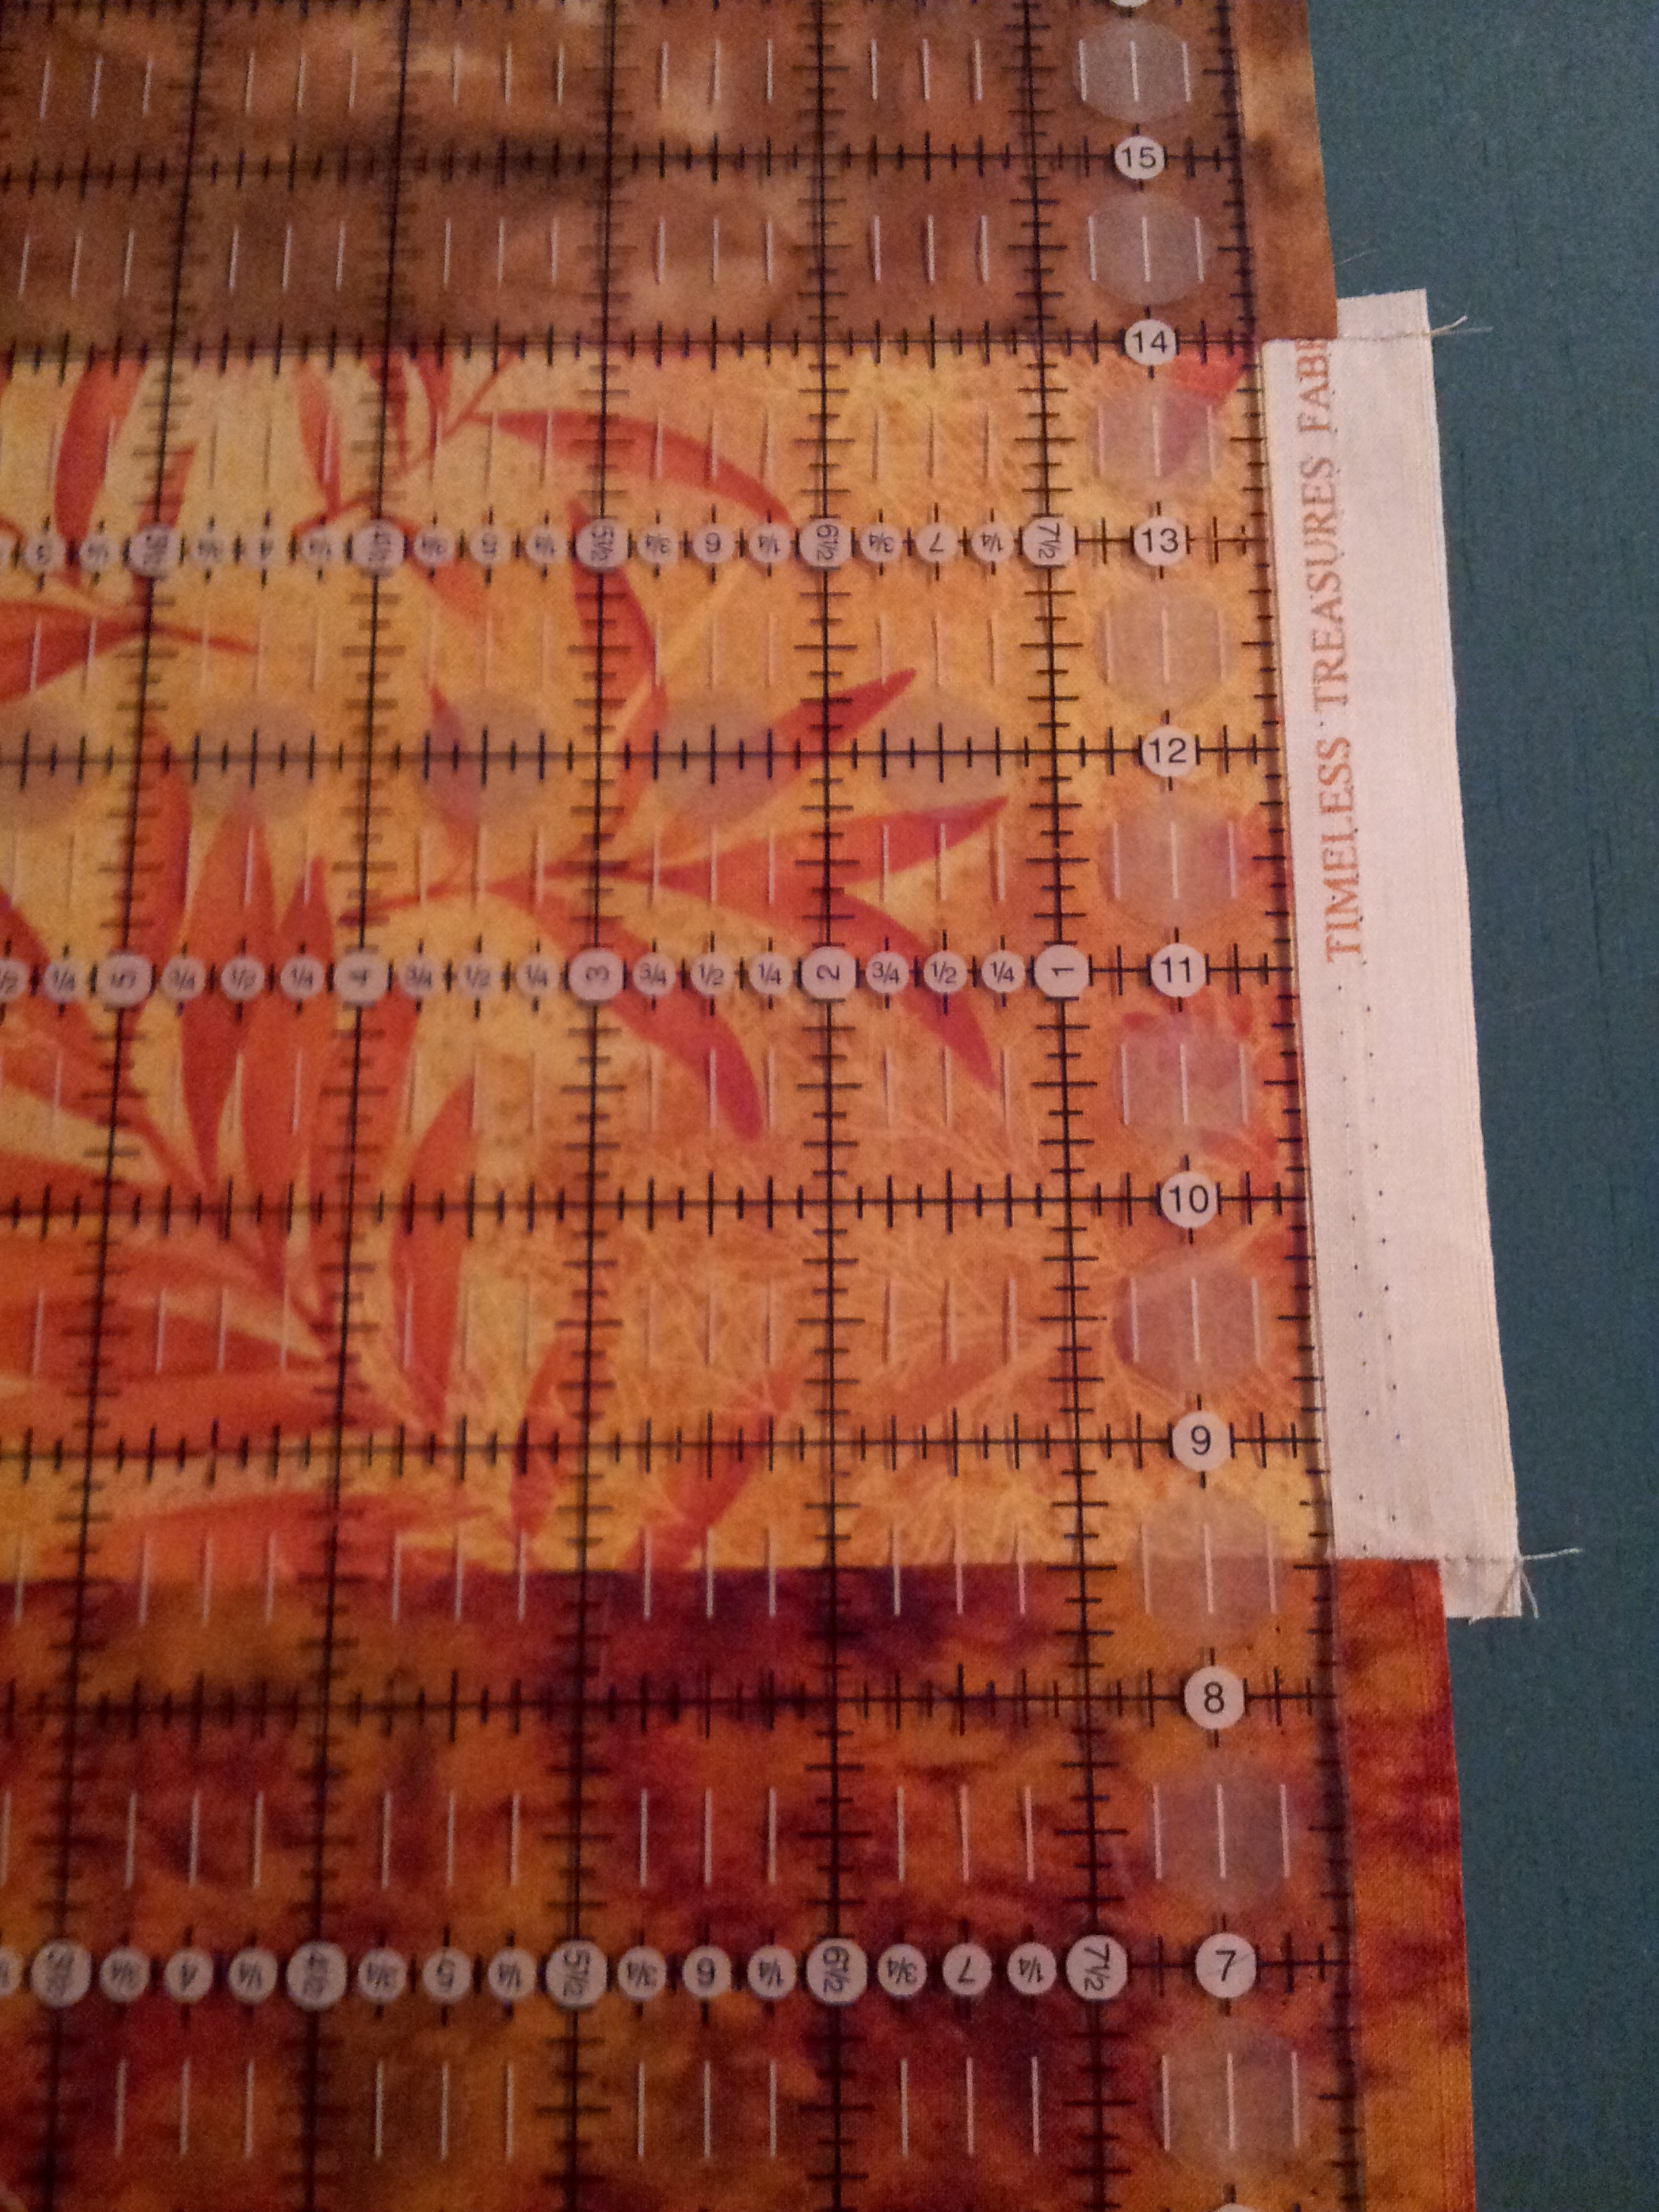
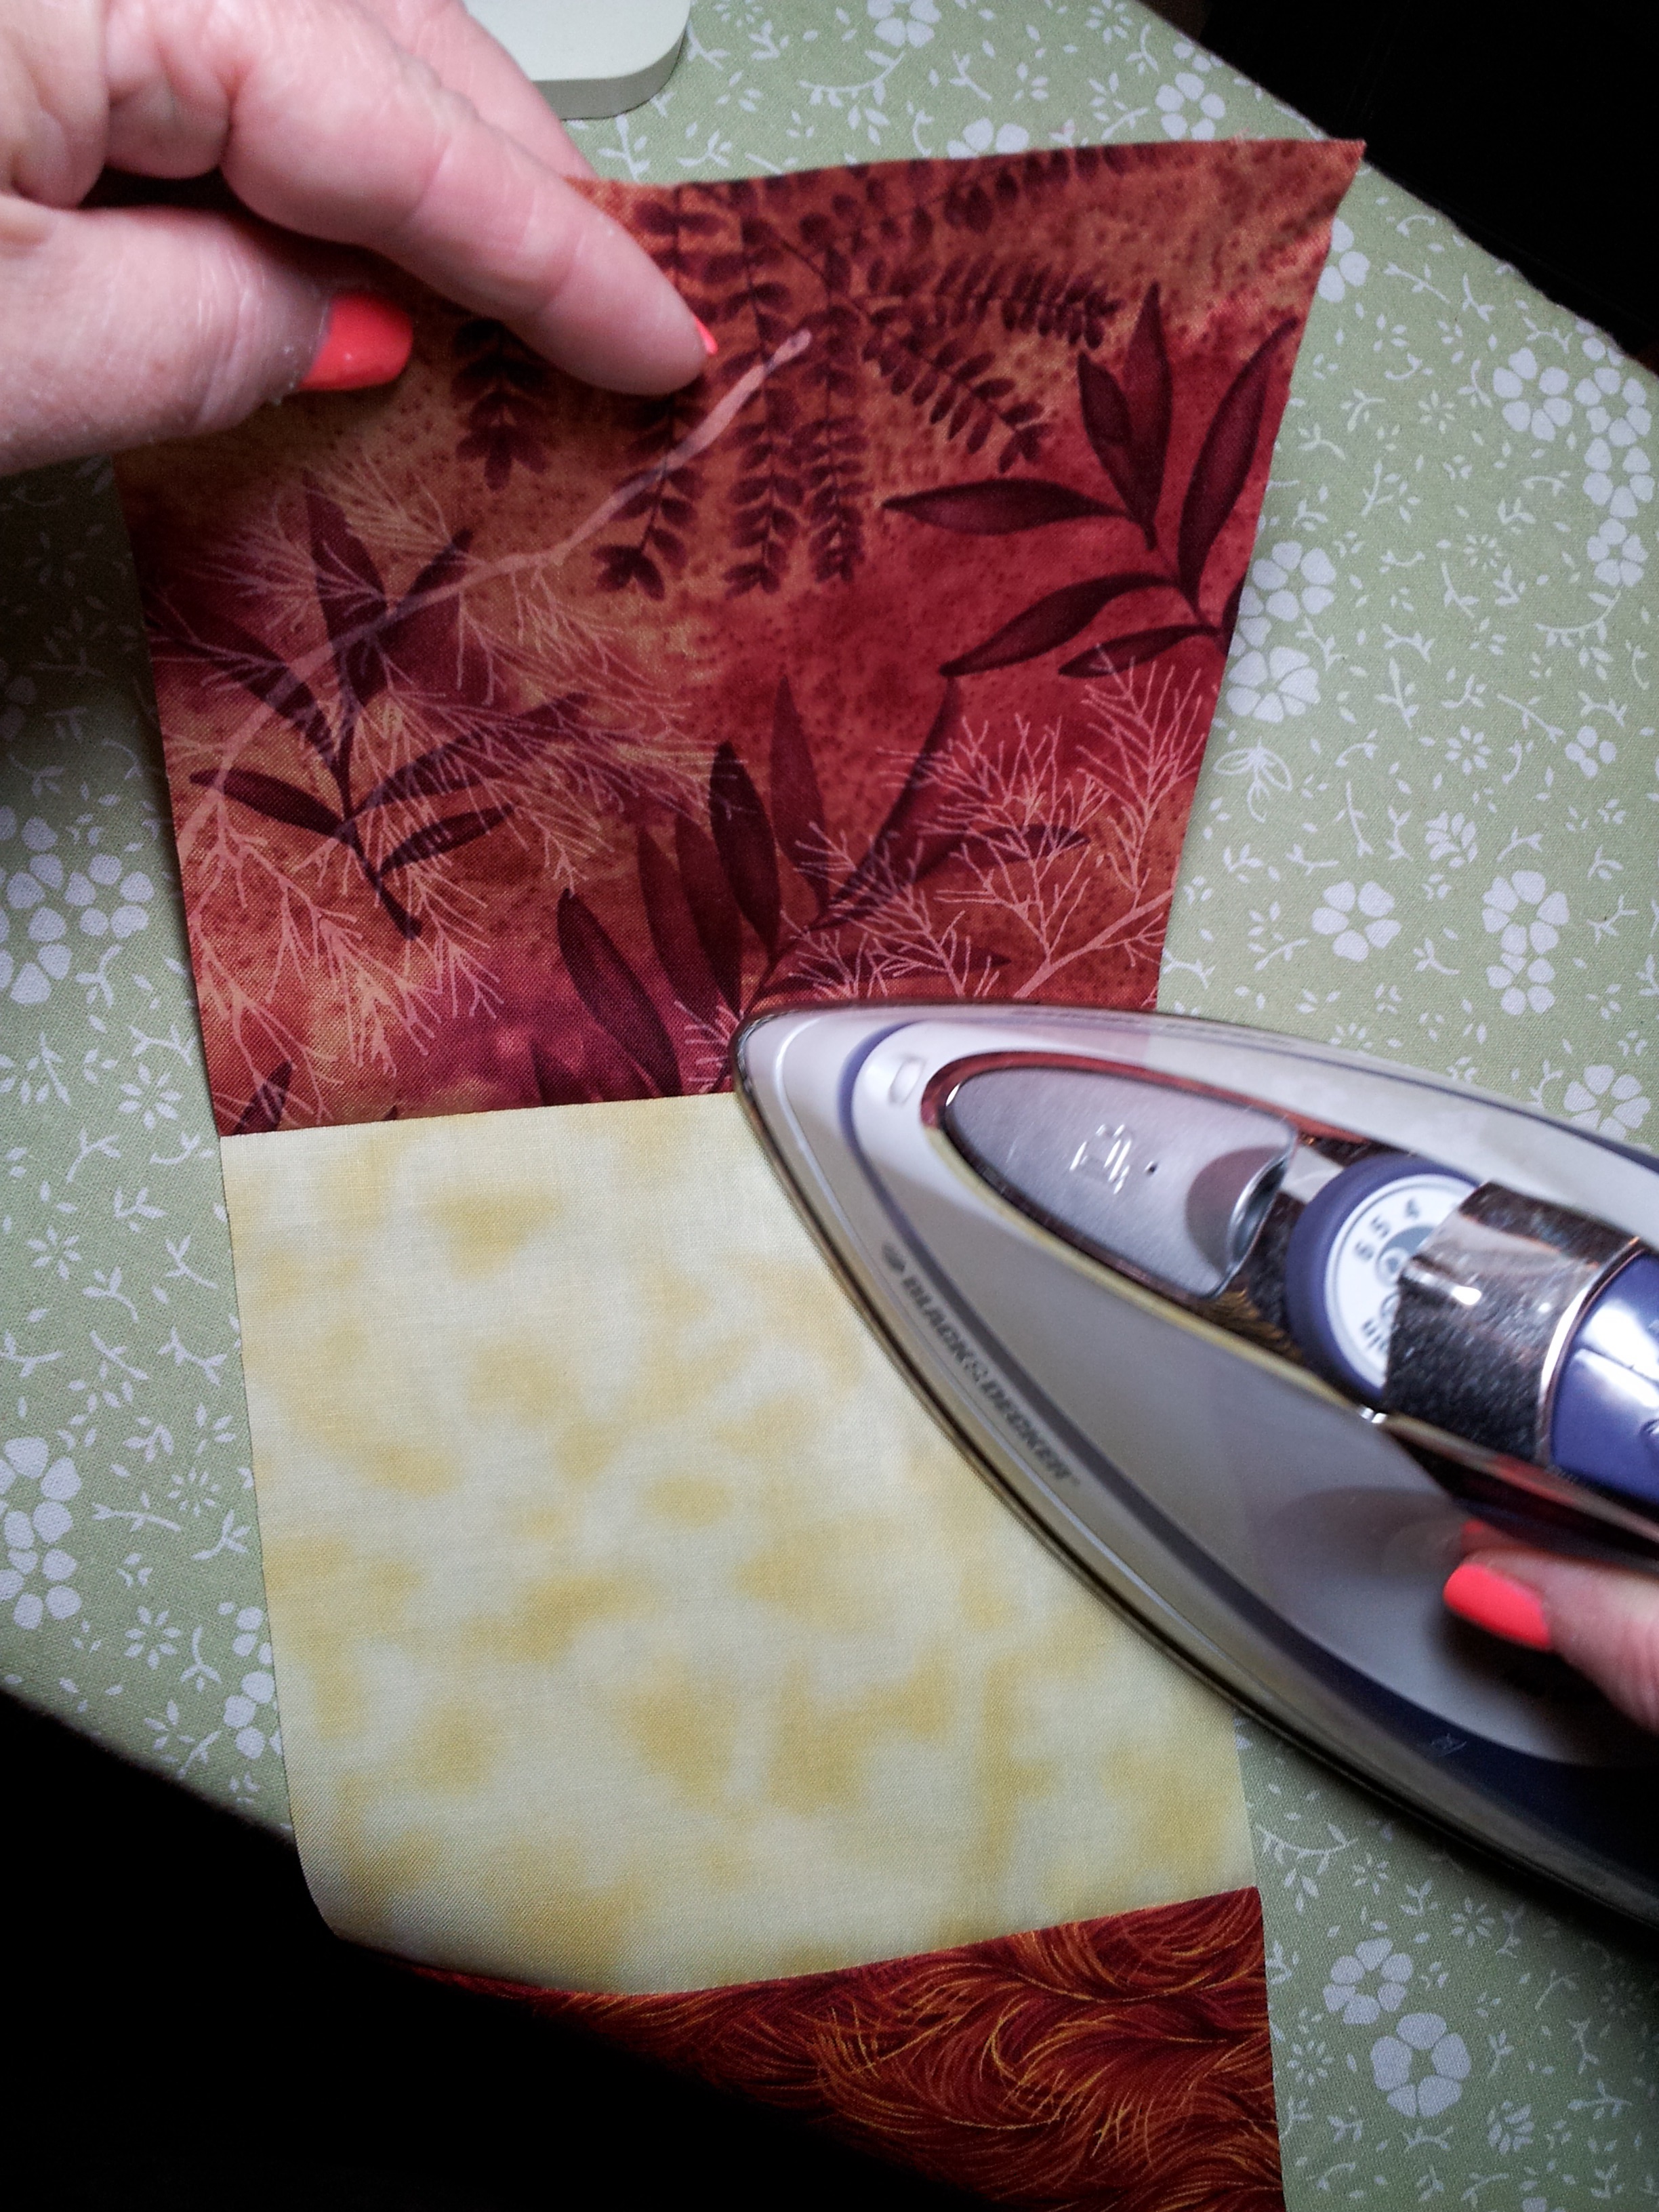
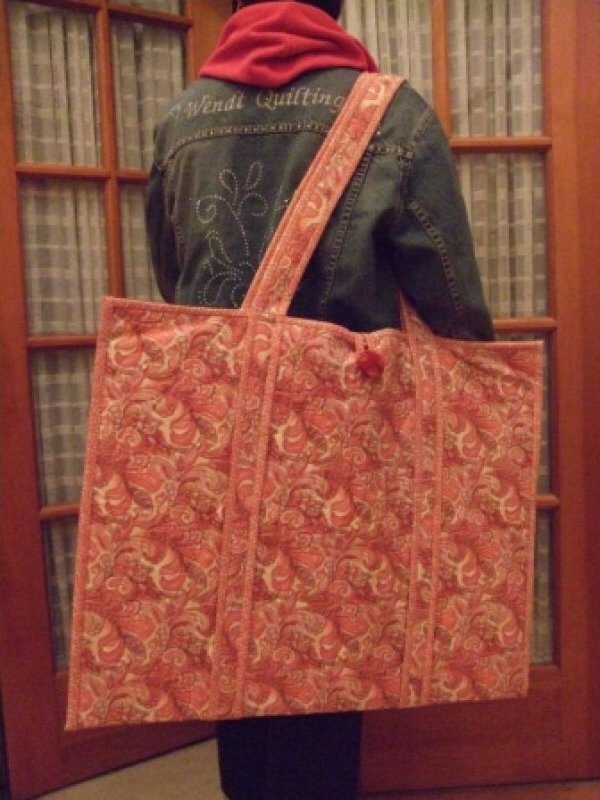
I precut all of my pieces for a purse I have been wanting to make.  I precut all the bits and they fit nicely in one bag.  The second project is for my Snuggle Tails Mermaid class.   That is Sue Pelland’s Hearts and More templates that I will be using to cut the clamshells for one of my tail samples.

image

image


Back to the little sewing machine…

#2-If you can afford a second (or third, or fourth, …or tenth) little machine for travel, get one!

They are lightweight and easy to take along.  Most have their own carry case.  And word to the wise, don’t just buy a cheap machine.  Find one that suits your needs and has the stitches you want (if you want more than a straight stitch).  Most well know brands have a little travel machine!

in quilting,

Debbie

P.S.  I made my yearly stop at Stitch Craft Creative Quilting and Sewing in Boca Raton.  GREAT shop!  If you are in the area stop by!

Posted in Tips, Uncategorized | 2 Comments

Two Tip Tuesday

Today I’m working toward finishing the nine patch I talked about last week.  It is going slow only because I am moving slow.  I hate cold and cough season!

All the large nine patches have been cut in half both directions.  Most call this a disappearing nine patch. When I went to set it together, I didn’t like the usual layout for these fabrics.  So, after pondering the mess I had created, I took to the internet for inspiration and found a different layout that worked better for the fabrics.

image

There was a point that I wanted to scrap the whole quilt but as much as I had in it already, I’ve decided to finish it.  And this layout works better.  Yep, it is a lot of yellow, orange and gold but with the right thread and quilting it will work.  This is a case where a different pattern would have been better for the fabrics, but it will make a great fall quilt!

So now, I have 120 blocks to sew together!  I’ve picked up the blocks in rows across the quilt and labeled each row.

image

To speed up the process, I will sew the entire row in one sitting at the machine.

I put the row number in the top left corner of the block and add the next block in the stack to the right side edge.

#1 – “Mark” blocks the same eac time you remove it from your stack when chain piecing.

With the third block as the next one in the stack, I put a pin in the top left corner so I don’t turn it the wrong way.  I add the next block in the stack to the right side of this block.  I continue sewing until I run out of pairs.  I leave everything chained together behind my machine.  Go to the first sewn pair and cut it from the chain.  I open it on my lap with the pin in the top left corner.

image

Cut the next pair from chain pieced line from the back of the machine.  Add it the the pair on your lap sewing down the right side.  Note the pin showing on the back side of the next pair!

image

#2 – By keeping everything in  line it makes chain piecing much faster!

In little time the row is sewn together and I didn’t have to jump up and down to the design wall each time I add a block to the next!  May your piecing be quick and easy!

in quilting,

Debbie


Posted in Tips, Uncategorized | Leave a comment

Two Tip Tuesday

How can it be Tuesday already?  I almost missed posting.  So, I will keep this one short and sweet.

I spent the day ironing fabric and planning a quilt.  This quilt is based on a nine patch.  The first photo is getting ready to trim off the selvages from a strip set.  One of the keys to to keeping everything straight is making straight cuts.  There are a couple key places I make sure are straight….One – align a line on your ruler with the seam line and two – make sure you are also straight on the edge of the strip.  If one is not aligned and straight, double check your seams!

image

image


#1 – I prefer to align a ruler with the seam lines, it will keep the piecing straighter.

I did some seam pressing, too.  The photo shows how I make sure I don’t get any tucks in the seam.  Hold the fabric you are pressing to up and push with the tip of the iron toward that fabric.  I always press from the right side of the fabric.  This also helps to avoid tucks in the seam line.

image

#2 – Press seams from the right side, it will help avoid tucks!

Now to sew a bunch more seams!  A report on the finished quilt later this month.

in quilting,

Debbie

Posted in Tips, Uncategorized | Leave a comment

Two Tip Tuesday

Recap and rejuvenate!  After spending two weeks in Houston for Quilt Market and International Quilt Festival, I spent part of the day watching the World Series Championship celebration for my hometown Kansas City Royals.  Yes, I was in KC but opted to watch it on TV in stead of fighting the traffic.  The sea of BLUE was incredible!

KC Royals fans in front of Union Station! TV screen shot.

KC Royals fans in front of Union Station! TV screen shot.


And my favorite player…Salvy!

MVP! Salvador Perez #13

MVP! Salvador Perez #13

So, what does baseball have to do with quilting…well, I’m sure I can think of something!  …How about a tip I have given before, use team colors to choose fabric combinations for a quilt.


While in Houston, I finished up a binding on a quilt that was long over due to my cousin’s grandson.  In giving the quilt I realized I forgot the label .  Oops!  One of the things I remind people to do.

#1 – Label your quilts!

Labels don’t have to be fancy, just the basics will do.  What should be on a label is your choice.  I recommend

  • who the quilt was made for
  • what occasion if appropriate
  • where was it made
  • and by whom
  • A date also helps

The labels below are from two of my quilts.  I have since renamed the quilt’s patterns.  But, at least I have the information!

Label from "Brilliant Swirl"

Label from “Brilliant Swirl” Love the pink label shape!

Label from "Brilliant Charms"

Label from “Brilliant Charms”


And the second thing I forgot to take photos!  So …. tip #2 – photo you work and quilts.

in quilting,

Debbie


Posted in Tips, Uncategorized | 1 Comment

Two Tip Tuesday

Fall Quilt Market 2015

Fall Quilt Market 2015

Hello Houston!  Market was wonderful and it was great to see so many friends in the industry!  I gave two Schoolhouse sessions, showing Snuggle Tails and my “Brilliant” tools multi purpose uses.


The new quilt patterns include Brilliant Twin Darts and Done in 4:4 Time ~ Remix (a new quilt using the original 4:4 Time block.  See the cover  quilts below.

Brilliant Twin Darts

Brilliant Twin Darts

Brights Brilliant Twin Darts

Brilliant Twin Darts Brights before quilting


Tip #1 – Give a block a turn for a different looking quilt without much trouble.

Tip #2 – Color choices and placement can change a block!

4:4 Time ~ Remix

4:4 Time ~ Remix

Tomorrow is the opening of International Quilt Festival!!  I am looking forward to seeing old quilting friends and making new quilting friends!  Come say Hi!  You will find Wendt Quilting in Booth #1232!

In quilting,

Debbie

P.S.  The new patterns be available on my website the second week in November.  I will have them in my booth at Festival!

Posted in Patterns, Uncategorized | 1 Comment

Two Tip Tuesday

On the road again…!  Heading to Houston for Fall Market and Festival!  (Booth #1232 for both!). I stopped for the night in Oklahoma and psyched I’m getting close to Texas!  Being on the road with all my quilt things means the car is loaded to the brink.  I actually have brought a sewing machine along.  I have a few last minute bindings to add to my samples.  Yes, those I showed last week.  This brings me straight to my tips.  Do you travel with a sewing machine?  By car?  By air?  How do you pack it?  My travel machine of choice is my Singer Featherweight.  They have a nifty case and are very lightweight.  If going by car, whenever possible…

Tip #1 – strap your sewing machine in the car with a seatbelt!

I really do this if I don’t have it wedged in with other luggage.  I also, put plenty of packing material, a.k.a fabric, to help is stay put in the case.  How about on a plane?  I have packed a machine in a suite case but be very careful and pack it compact so it doesn’t have any wiggle room.  If carrying it on and putting it in the overhead compartment, be advised that they will probably want to examine it after it goes through the bag x-Ray.  So be ready to repack it!

…and what about a cutting mat, and rulers.  I travel with those as well.

Tip #2 – Lay the mat as flat as you can.  Or stand it up with plenty of protection to keep it straight and flat.

The FLAT MAT bag is perfect for travel.  It was purposely designed without a box bottom so the mat fits snug and flat in the bag.  The pattern can be found on my website.  wendtquilting.com. And be sure you don’t leave it in a sunny hot car or extreme cold.  It will warp and/or crack.

Flat Mat - D.W.

Flat Mat – D.W.

No matter how you pack them, ENJOY the trip!

in quilting,

Debbie


Posted in Patterns, Tips, Uncategorized | Leave a comment

Two Tip Tuesday

How did a week pass so quickly?  Oh, I know…Fall Quilt Market is just around the corner!  That will do it every time.  I plan my time weeks in advance and it always boils down to last minute details.

How about you?  Are you already working toward deadlines?  Ya know, the holidays are fast approaching.  Will there be homemade treasures in your future?

I have several free patterns on my website that I’ve mentioned in the past.  I’m adding new ones by the end of the week, so be sure to check them out!  The place mats below were made by my great friend Shinae!  LOVE them!  She knew I needed new binding samples for Market so she did them just for me!  LOVE my friend!!  And thanks to Shinae I will be demo-ing on these beauties!  These place mats will be a new free pattern!

 #1 – Make place mats to practice quilting and binding.

Straight line quilting is enough!  And makes a very modern statement.


#2 – Blue painter’s tape is great for marking quilting lines.  (It comes in different sizes!  3/4″ is shown on the sample in the photo below.)

image


My “old” but “true”, samples are retiring.  I’m sad, but I love my new ones!  These samples debuted on Linda Ramrath’s “A Quilter’s Touch” local cable TV show.  You can watch my guest segment on the 2009-03-25 episode.  Go to hcattv.org.  Linda shows how to make pillow cases and I’m the second half showing bindings.  Including using Brilliant Bindings tool  for perfect bindings every time.  How to make perfect mitered corners and finishing the tail ends!

image


In quilting,

Debbie

Posted in Brilliant Bindings, Free patterns, Quilting, Tips, Uncategorized | 1 Comment