Two Tip Tuesday

Another quilting getaway happened this past weekend!  I LOVE them!  I can really focus on sewing…no meals to cook or house distractions.  The only negative… I was gone over Valentine’s Day.  I gave my honey chocolates and a card before I left (I got one from him too!) and took chocolates for my quilting buddies.  All is good!

Now for the fun…it was -11 or -14 or something “wicked” cold with a negative wind chill.  So what do I do?  Go out in the cold and make clouds!  I had watched a video a couple years ago and always wanted to try it.  Yes, yours truly did it.  Boiled water thrown into the air and boom, CLOUDS!  We had a number of ipad and cell phone cameras rolling so we captured the whole thing.  Not only did I do it once, but three times!  I’ll put the video on the Wendt Quilting Facebook page!

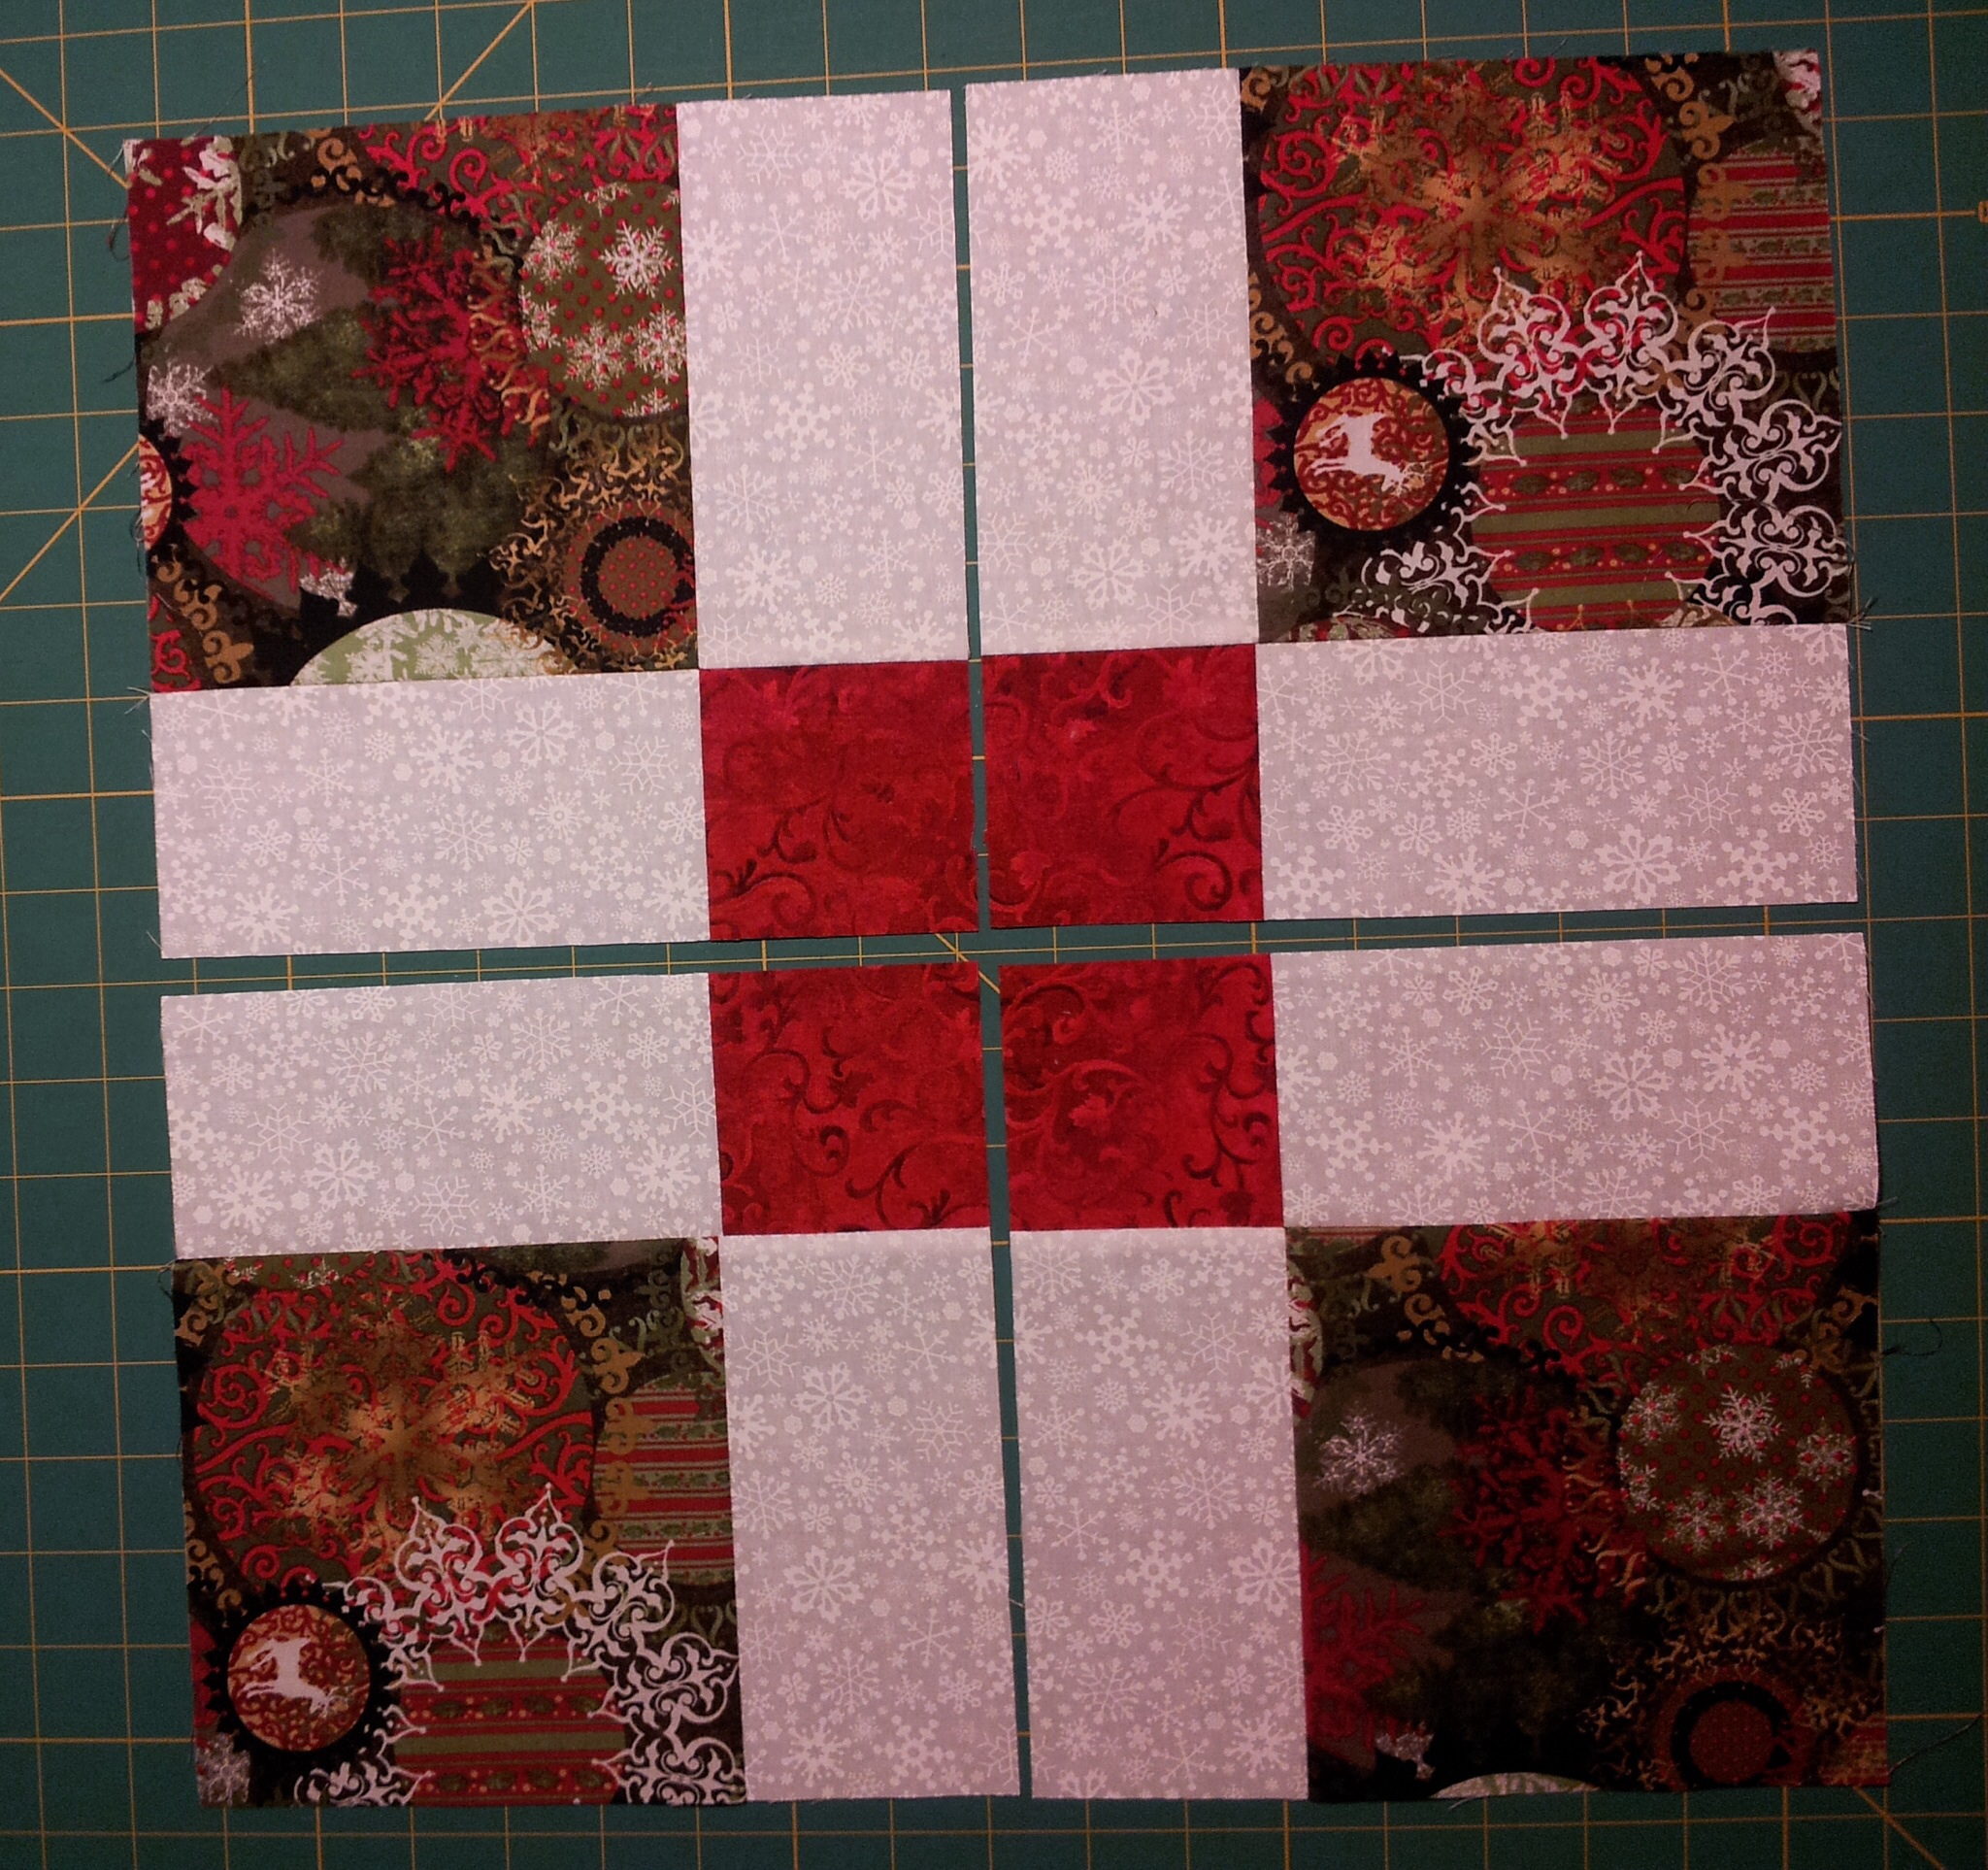
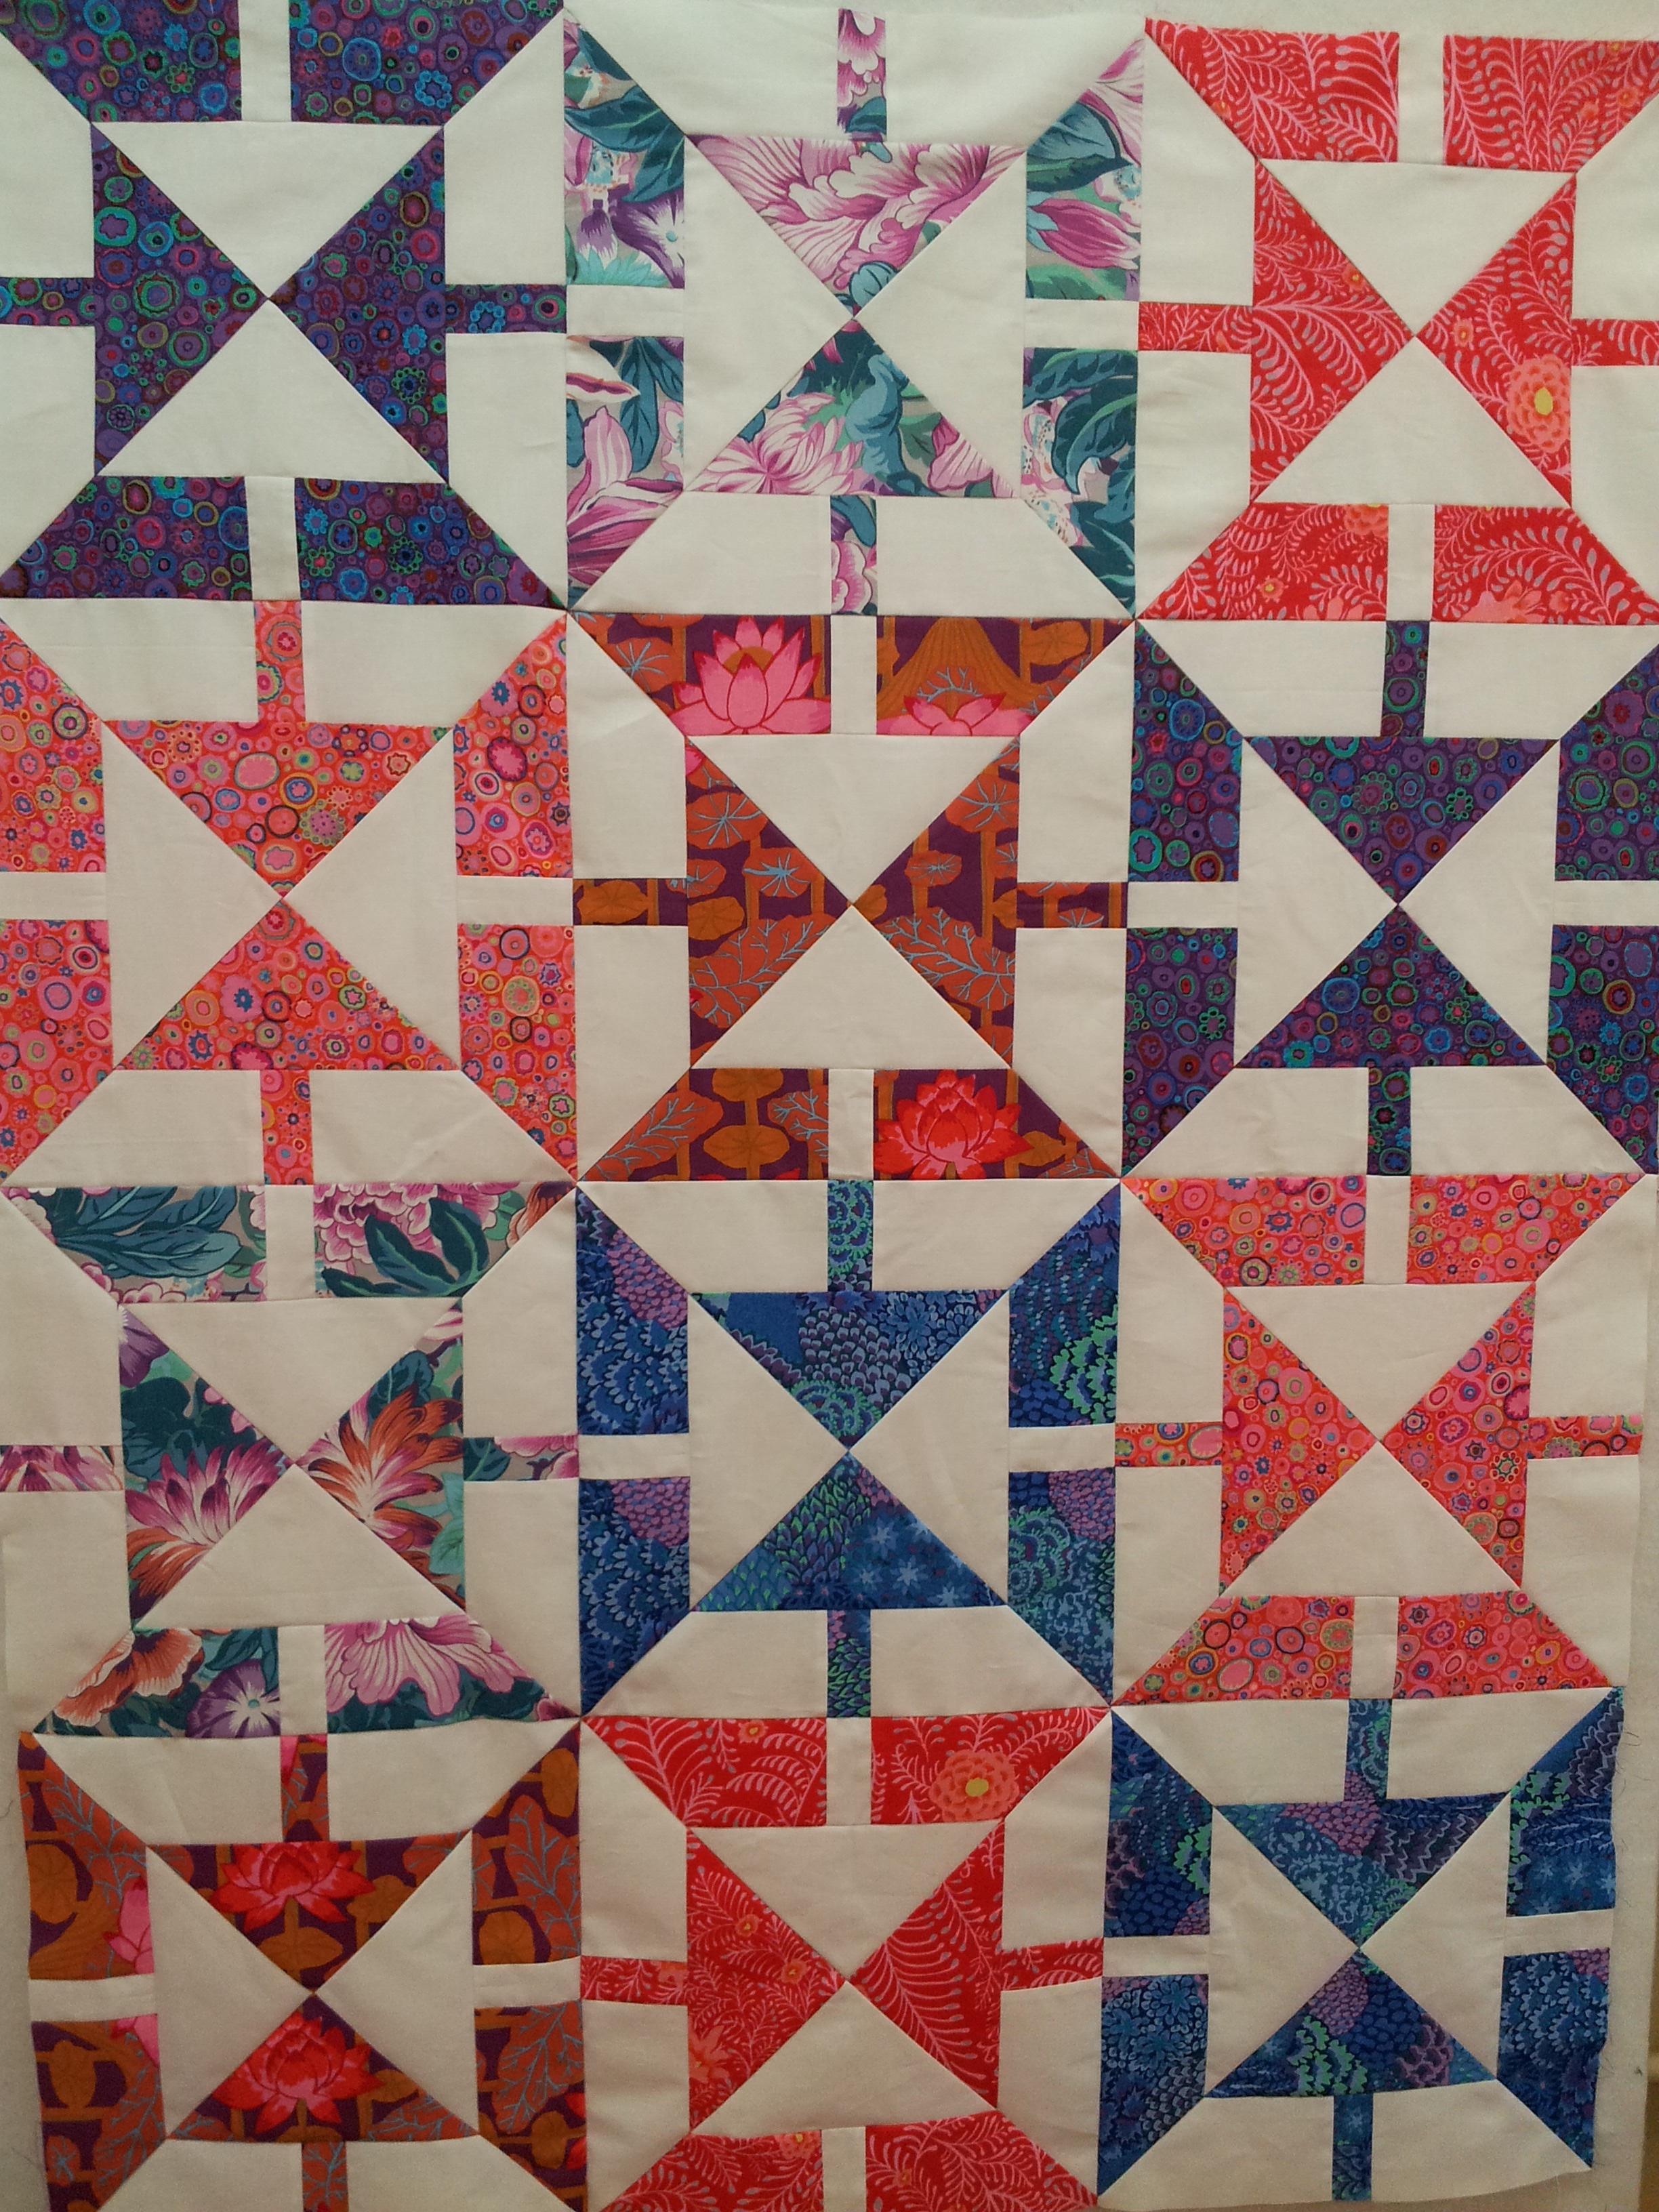
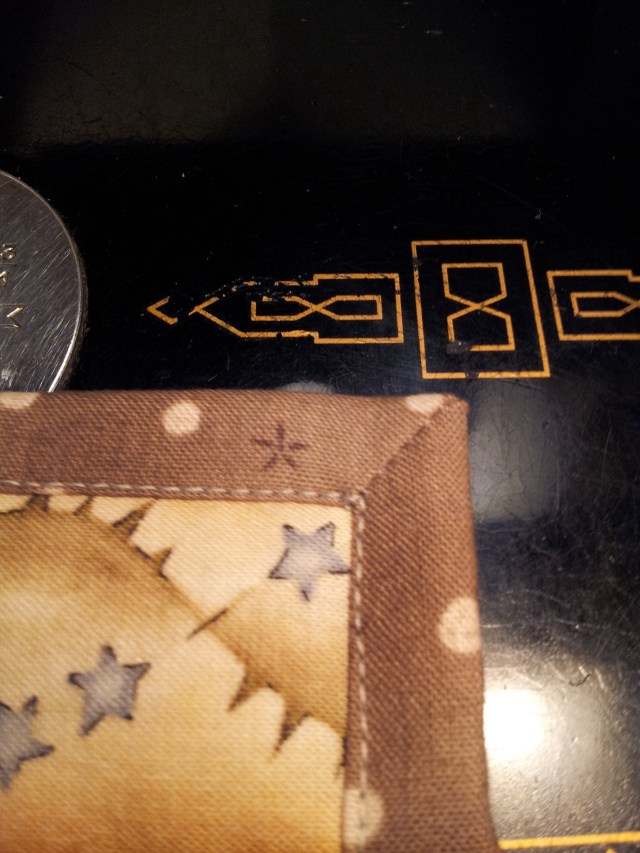
I’m back to working the Lone Star.  The photo below is all the sections done and ready to sew together.

20160130_085913 20160214_140547


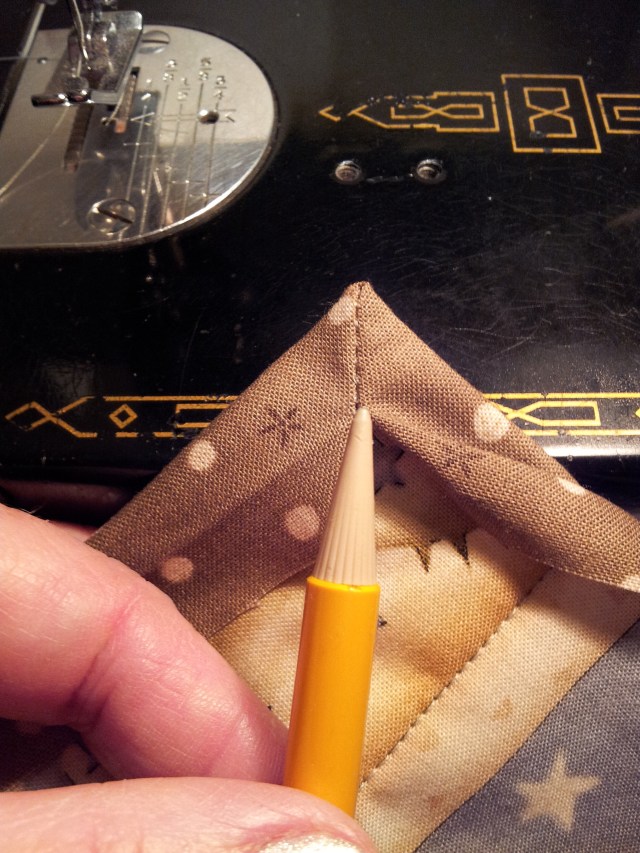
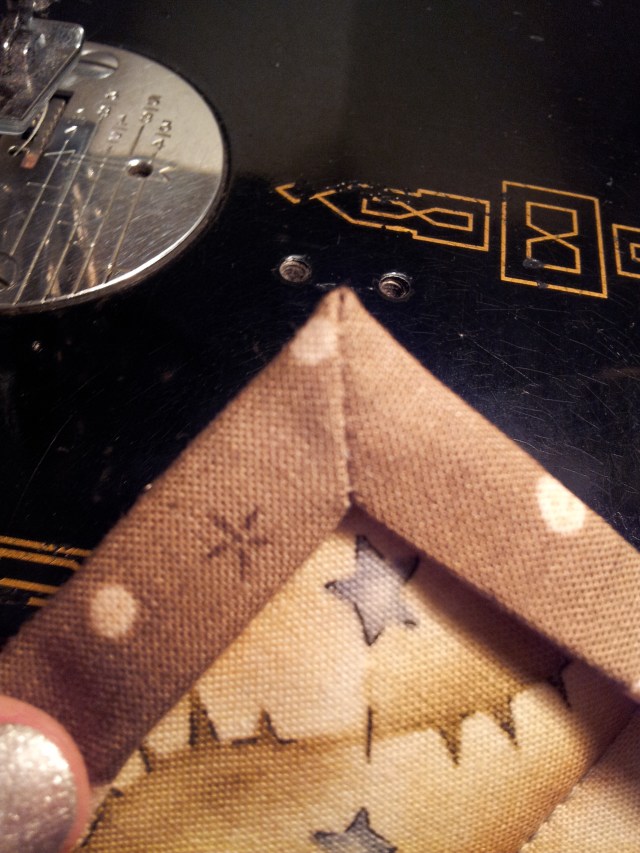
The arrow points are paper pieced.  Those LARGE corner pieces were drafted onto 1″ graph paper.

#1 – 1″ graph paper is great for drafting large blocks!

I needed to trim the seams to add the next pieces.  I usually use a piece of card stock to fold the paper back over to trim (or business card as I showed on my mini house quilt).  The sections on this were so long I needed a longer piece of paper.  So, I used this menu!  Funny, this menu just happened to be in my project suitcase.  Hiding there from Fall Market and Festival.

20160213_144106

(The menu is from a wonderful pizza place in Houston.  They let me have it!  YES, I said please and thank you.)


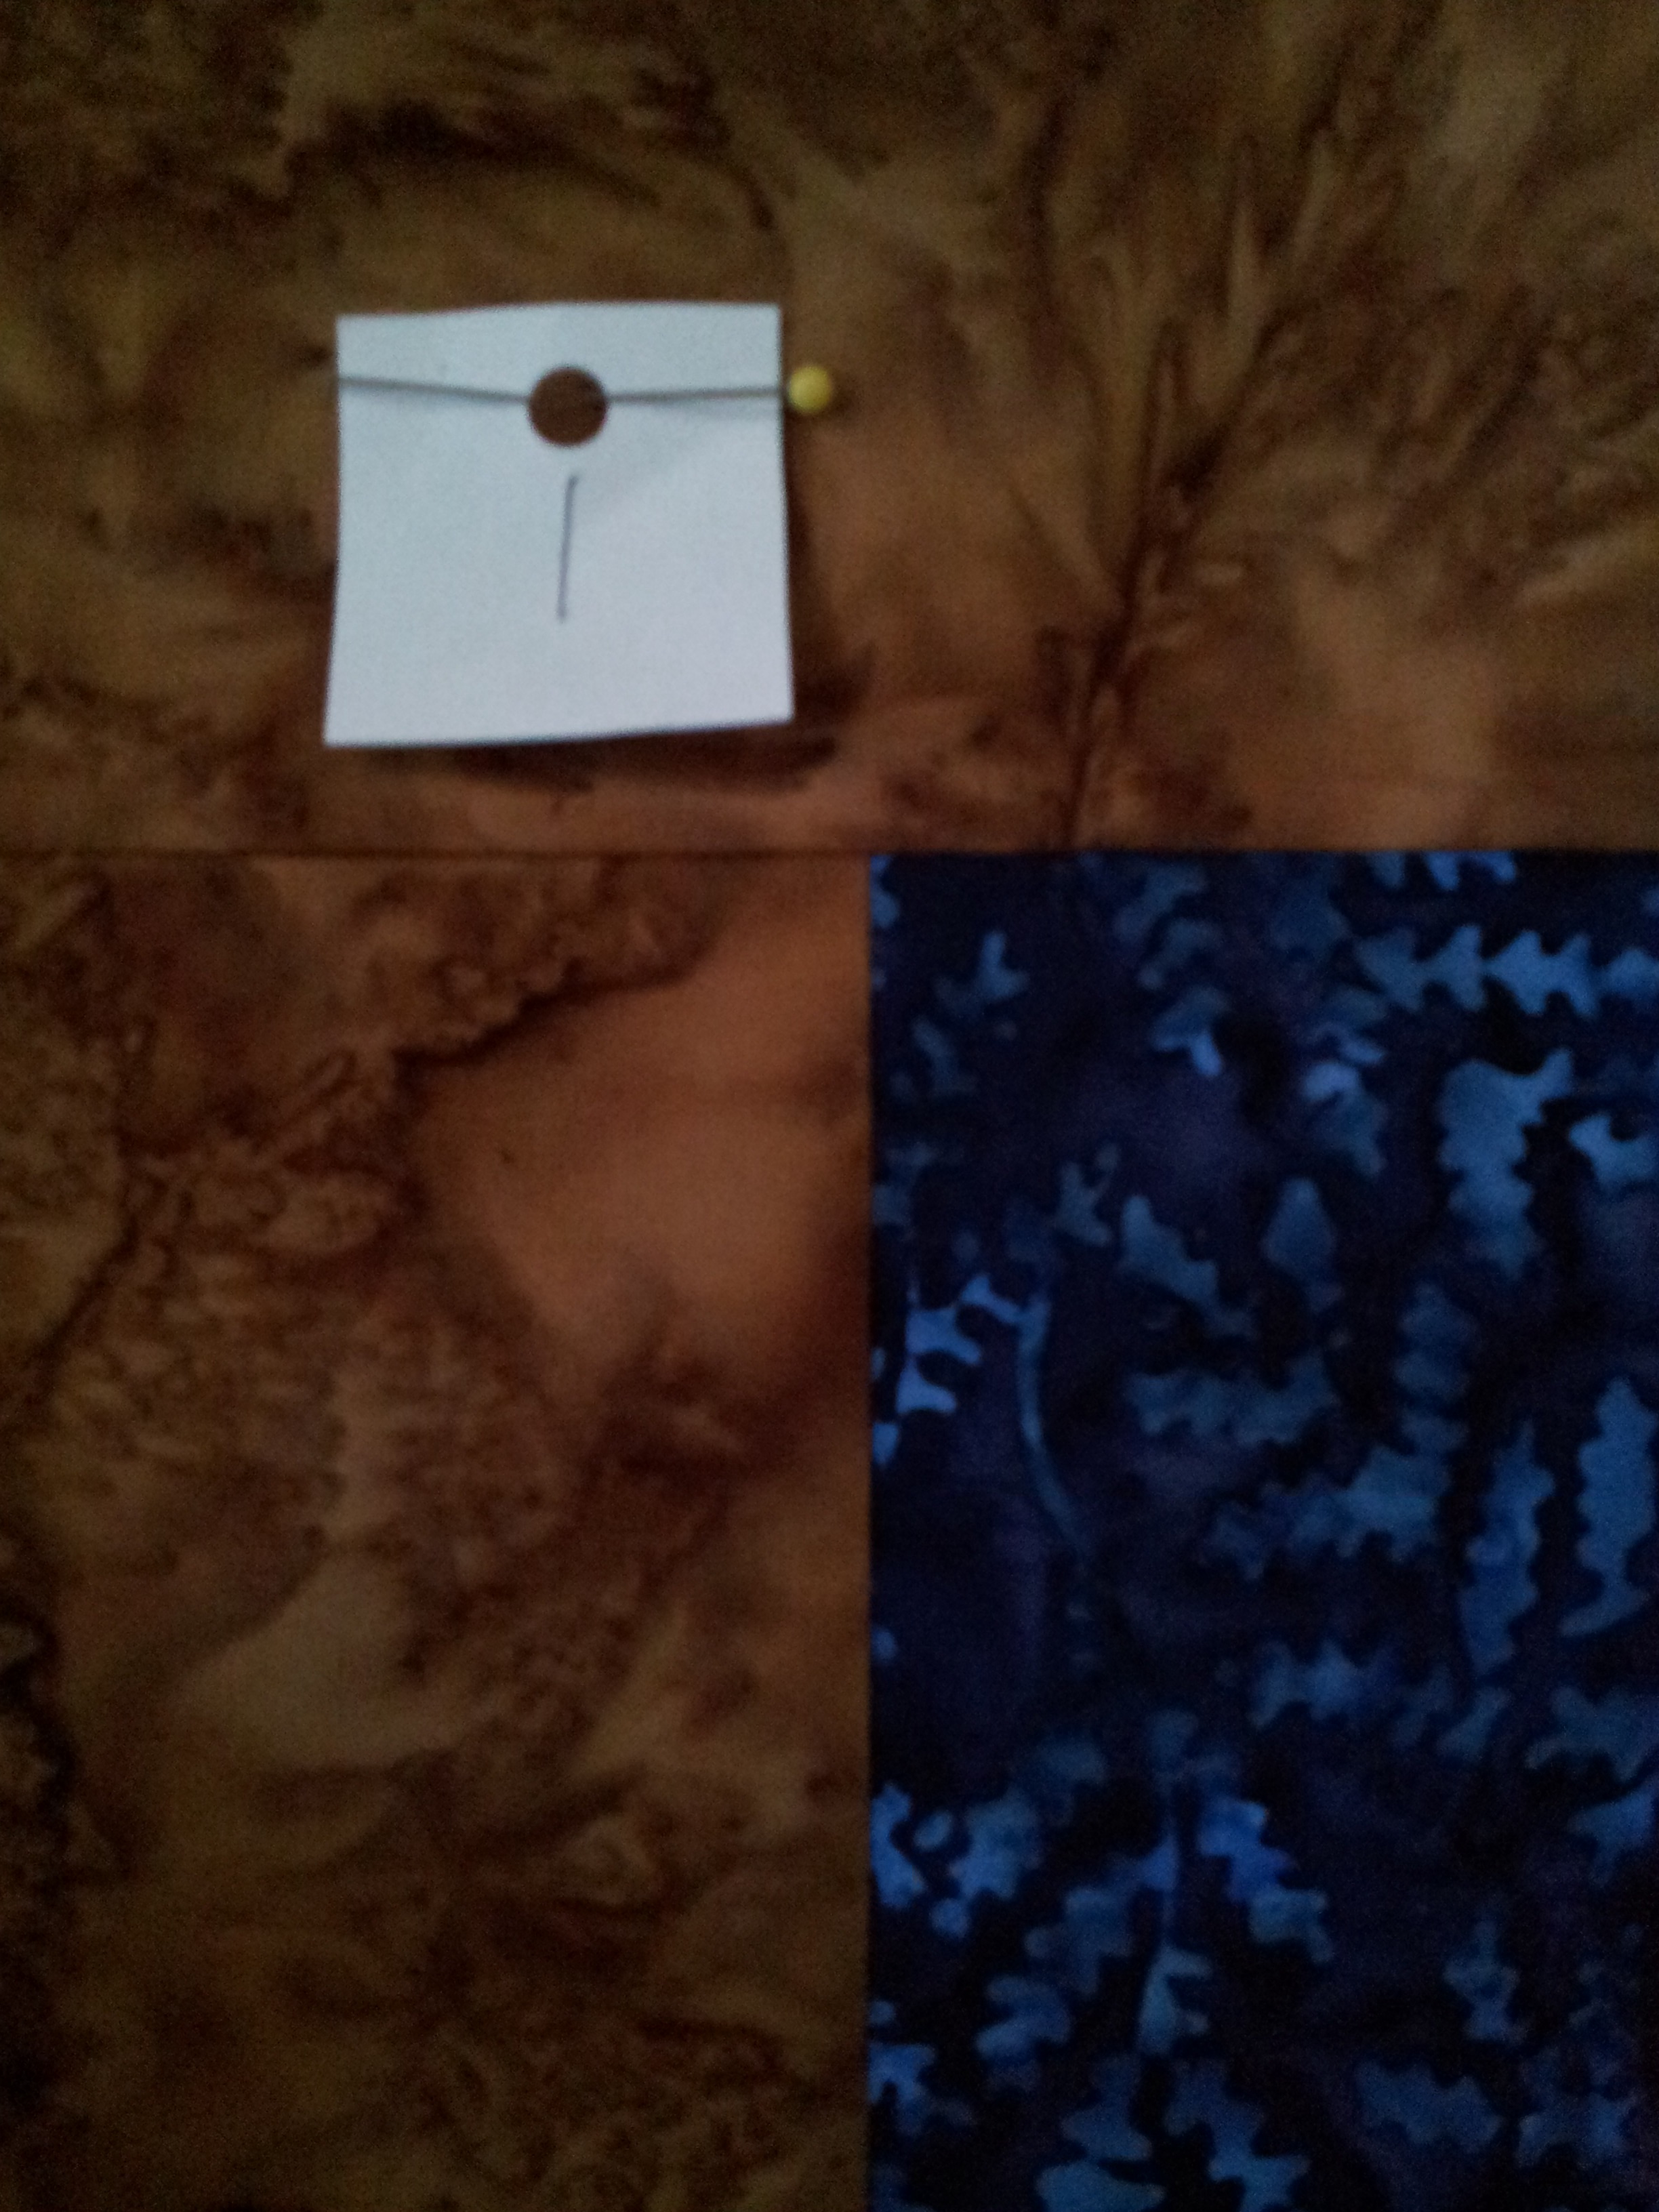
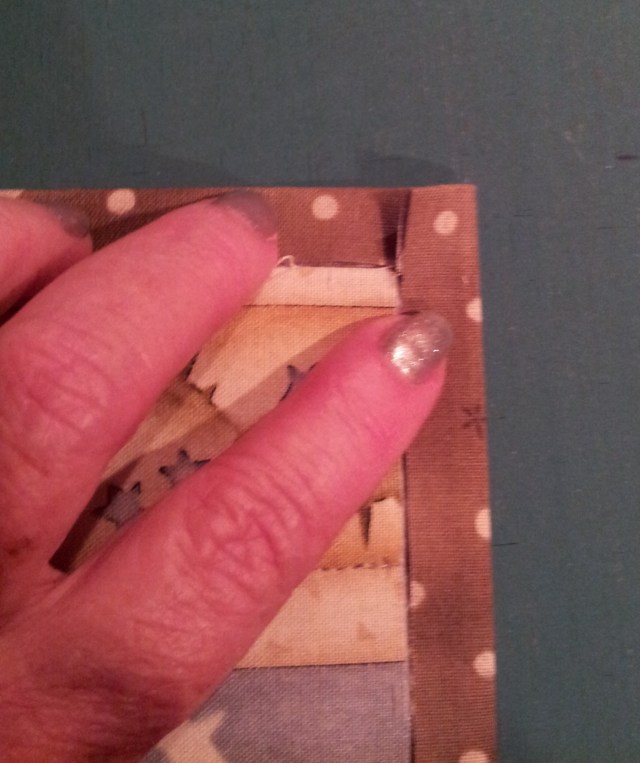
In sewing the paper pieced sections between the star points, I left the paper in for matching the pointy bits.  20160214_111742


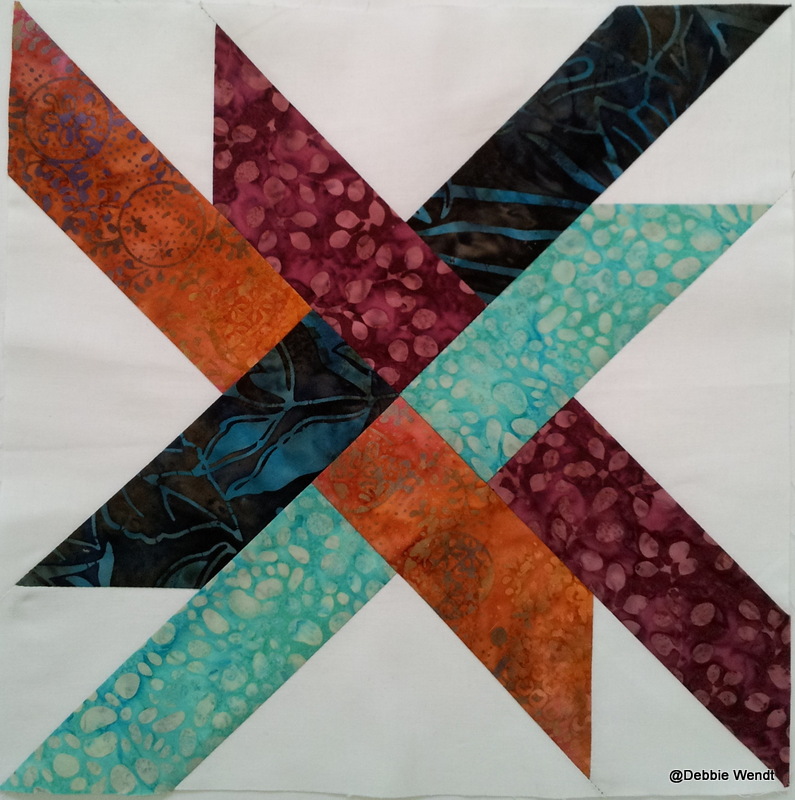
The paper did not “give”  to ease in the fullness.  What to do?  I tore the paper to the seam line and it helped tremendously.  The photo below shows the tear.

20160214_111758#
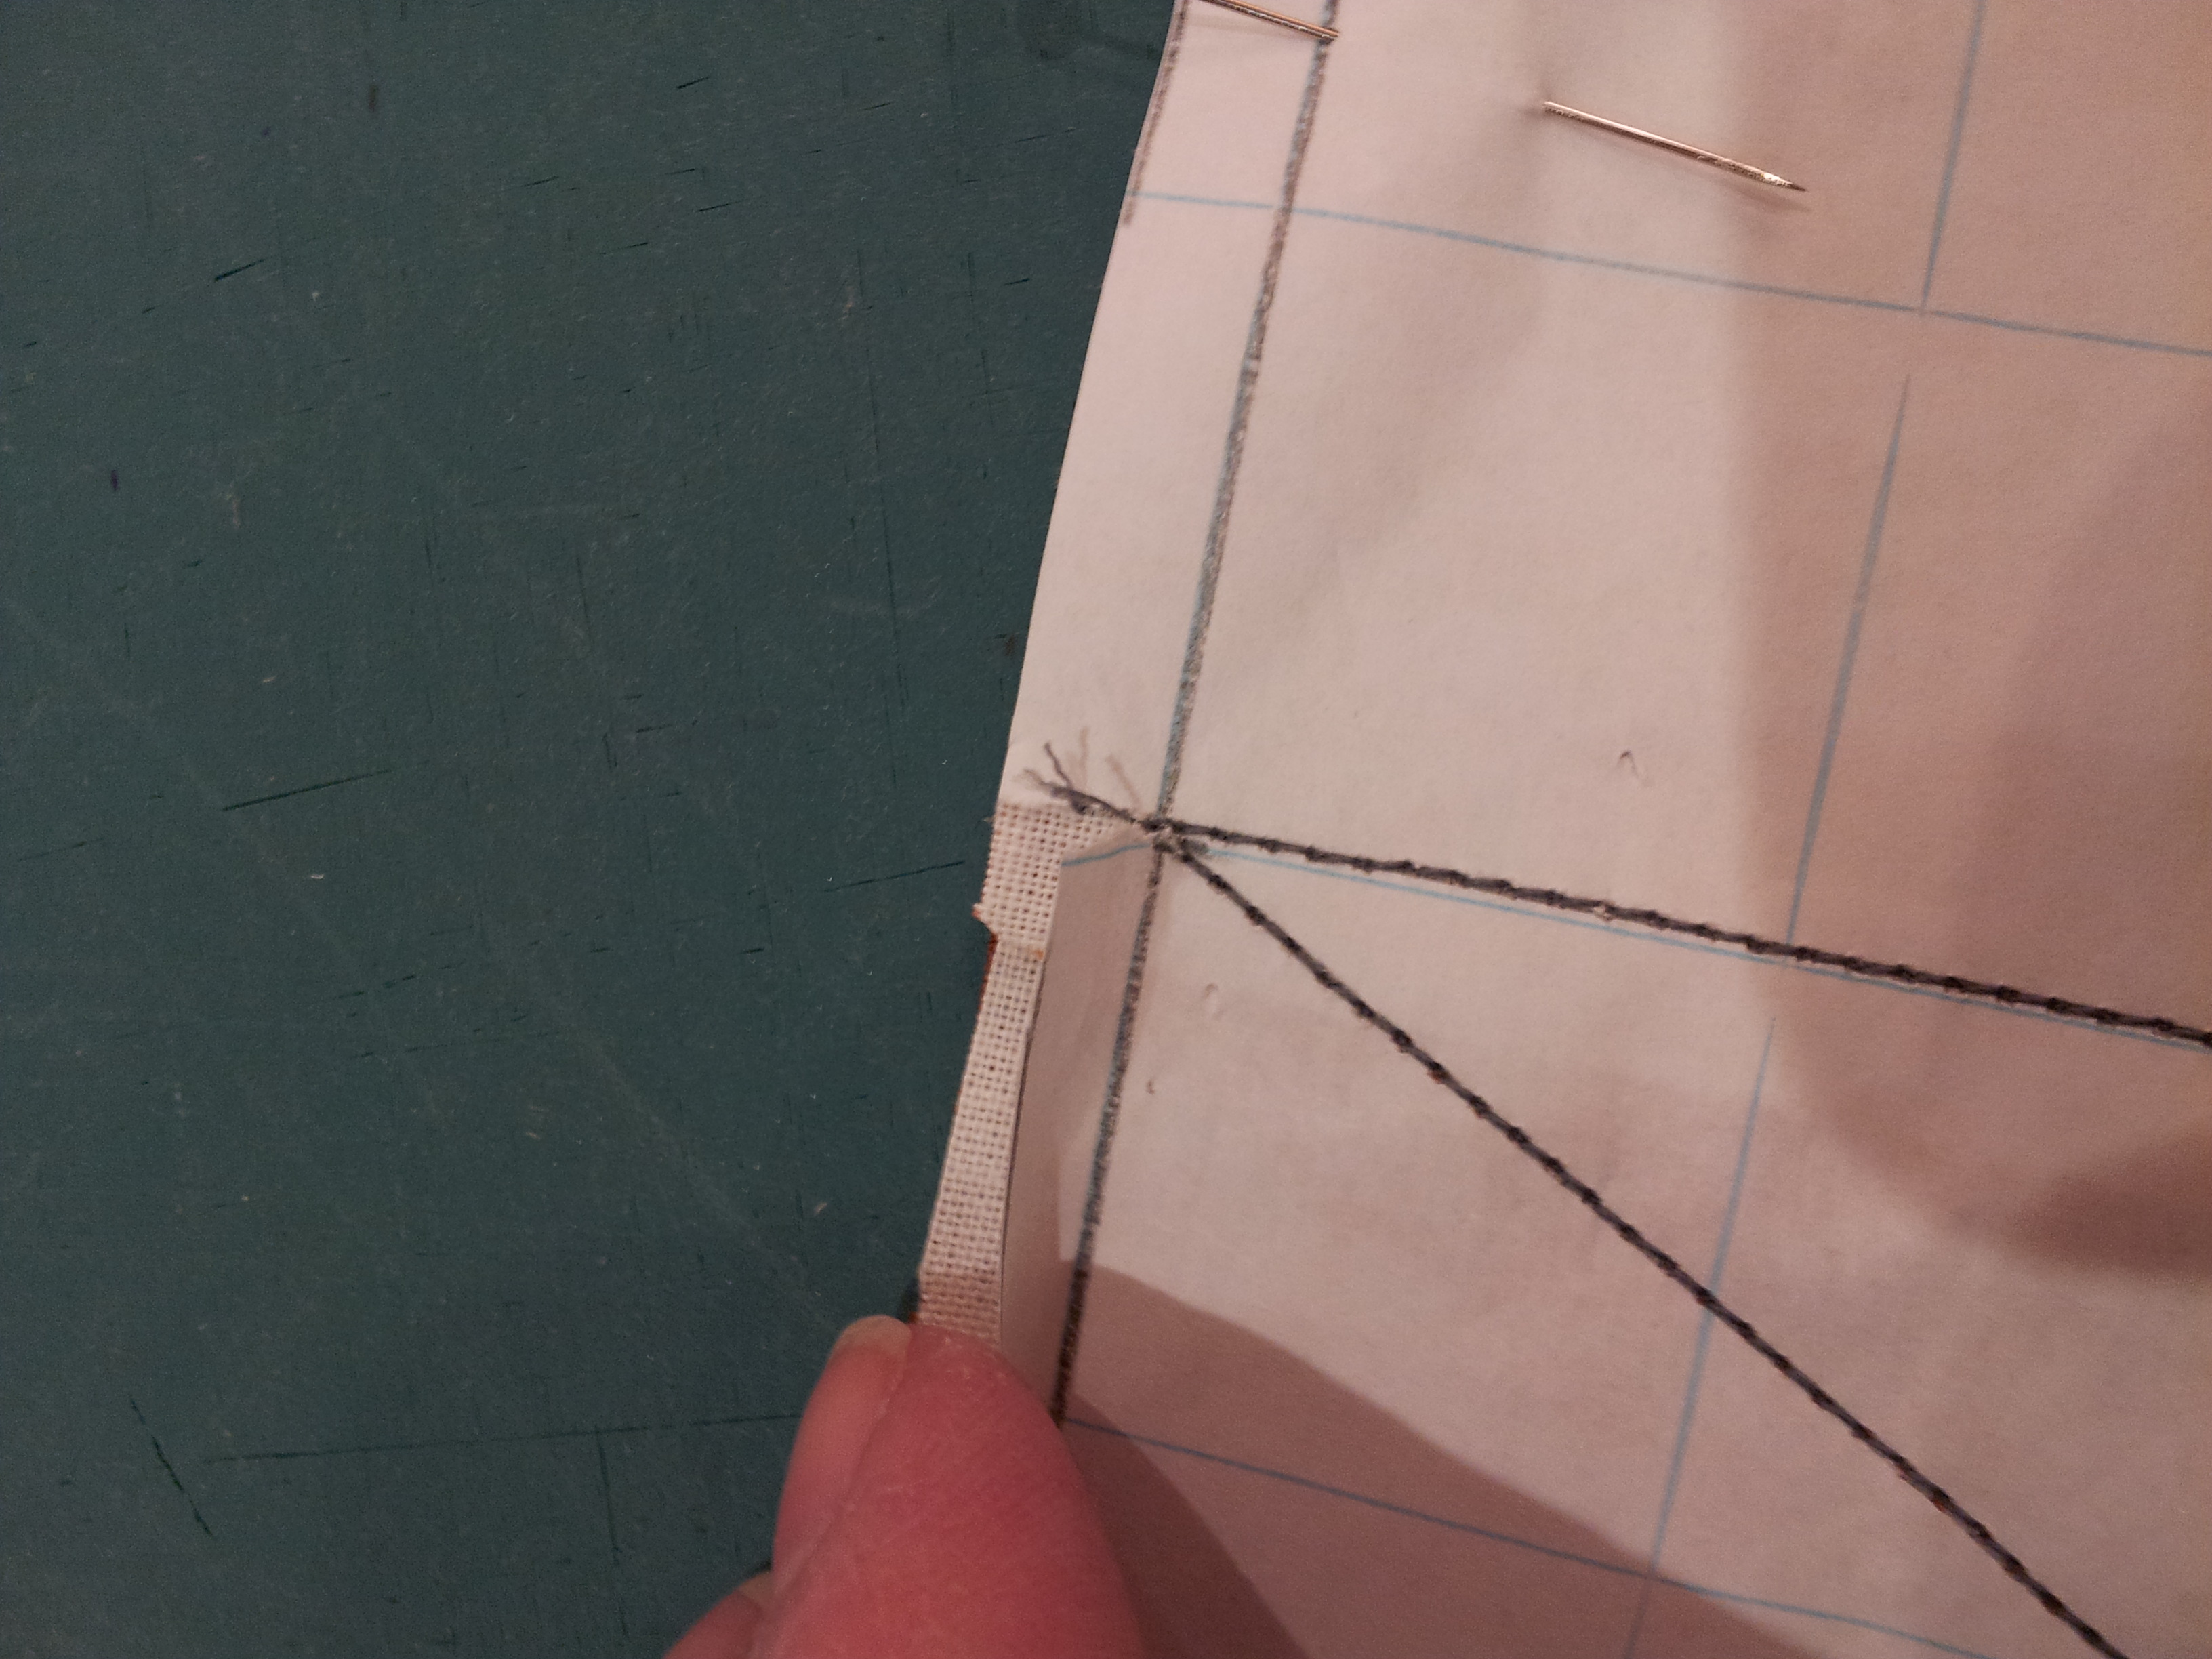
2 – Make a tear along the seam allowance edge down to the seam line to add give when sewing paper pieced seams.


Laughs at a getaway are MANY!  Also lots of bits of well intended advice…. and the discussion went something like this…

Quilter 1: “Fabric is stored EVERYWHERE in my house.  And I hate it when I go to get a bin from under the bed and there is all that dust on it.”

Quilter 2: “I know, it can be enough to make batting!!”

in quilting,

Debbie


Posted in Paper piecing, Tips, Uncategorized | Leave a comment

Two Tip Tuesday

More snow and more sewing.  If you have been following for a while, you know I love snow.  It seems silly to talk about the weather, but I had to share the amazing pics I got during the snow event on Friday.  While snow blowing the sun came out!

20160205_120940 20160205_170218


Saturday I did something for myself…I took a class!  Beth Helfter of Eva Paige Quilt Designs taught a class for one of the guilds I belong to.  We did her “Kickin’ Stash” pattern.  Talk about FUN!

Eva Paige Quilt Designs, "Kickin' Stash" Quilt

Eva Paige Quilt Designs, “Kickin’ Stash” Quilt

And boy, do I have a stash!  I realized I buy yardage.  (I already knew that, but it hit me as I went searching for the color I wanted to use.)  I haven’t saved loads of little bits, so I pulled from my big bits and started cutting on Friday.  AND Happy to check the snowfall every couple hours with my cutting ruler!

Beth is also a participant in the Block Stock Hop.   Be sure you check out her website,  Eva Paige Quilts .  She has a fun block to share with purchase!

As I am happily sewing away on my blocks in class, I remembered a tip that I don’t think I have shared before.  We needed to join our smaller 6″ sections together  to form the 12″ block.  We were aiming for a perfect match of our seams in the center of the block.  The girls at my table were discussing opposing seams and how they pinned.  I am not much for pins, but at an intersection I PIN!  I have found if you have the top seam allowance pressed up (toward the top edge as you are stitching the seam), it snuggles into the center nicely.  If you have it opposite… the top seam allowance pressed down (bottom seam allowance is up) it tends to push itself away from the center…even if you have pinned.  And just a little bit of shift will show.

Explanation of top seam UP in photos below!

top seam allowance "up"

Center seam, top seam allowance “up”

Top seam allowance toward beginning of seam line, bottom down.

Top seam allowance toward beginning of seam line, bottom down.

#1 – Top seam allowance pressed toward the end of the block you will be sewing from.

#2 – Pin the intersections to HOLD in place!  (I typically only put one pin and rework it if needed as I sew across the intersection.  Some like two pins, one on each side of the intersection.)

May all your intersections be matched!

Good Match!

Good Match!


And some of my blocks, PROGRESS!

Some of my "Kickin' Stash" blocks

Some of my “Kickin’ Stash” blocks

in quilting,

Debbie


Posted in Block Stock, Piecing, Tips | 1 Comment

Two Tip Tuesday

More on the Disappearing Nine Patch!  So, did you go search for disappearing nine patch quilts?  If you did, what do you think? (I’m always open for comments to the questions I ask!). Or did any of you try the technique?  I promised more photos of layouts this week.  You can find a number of them below!

Disappearing Nine Patch Block

Disappearing Nine Patch Block

Disappearing Nine Patch Block

Disappearing Nine Patch Block


Disappearing Nine Patch

Disappearing Nine Patch

My favorite layout!

My favorite layout!


image

More layouts!


How about a surprise gift?  You can find the directions I wrote for my guild under FREE patterns on my website!!!  As I said last week, I love this technique!  And you can really make an effective quilt FAST using it!  I hope you enjoy it as much as I have.  And please send me pictures if you make a quilt!

#1- Turn a block for a new look!

#2- Need a quilt fast?  Enlarge the block!

Last, but not least, the Block Stock event is under way.   Check out the details on their website, BlockStock.net .  What it means on my site…shop, receive my original new block pattern Brilliant Ribbons for FREE!! With every purchase.  You will also be entered into a drawing for a $75 value gift (drawing after the end of the event)!!!

In quilting,

Debbie


Posted in Block Stock, Free patterns, Nine Patch, Tips, Uncategorized | Leave a comment

Two Tip Tuesday

I am the block of the month chair for a guild I belong to (Blackstone Valley Heritage Quilters).  I may have mentioned this guild before.  Instead of giving a different block every month, I decided to focus on ONE block for the year.  I chose a simple nine patch.  There are different ways to color the block.  And they look good by themselves or combined with other blocks.  For just nine “little” squares, they are quiet effective in quilts!

Tomorrow, I will be giving directions for a disappearing nine patch.  I am in love with this technique.  You can use any size nine patch (use the same size for the entire quilt) cut it in half both horizontally and vertically, rearrange and Ta-da a new block!

Nine patch using 6" cut squares.

Nine patch using 6″ cut squares.

Nine patch cut in half both directions

Nine patch cut in half both directions


And there are all kinds of different arrangements!  The arrangement below is my favorite.  The directions I’ll be giving out has nine different layouts!  And there are more!

Disappearing Nine Patch

Disappearing Nine Patch

I won’t spoil the unveiling of the quilts I made for the meeting.  SO, check back next week for more photos and arrangements.

#1 – A simple nine patch block can be cut in half both directions to make a NEW block (disappearing nine patch).

#2 – By using the disappearing nine patch    technique, there are fewer seams to sew and fewer pieces to cut.  ( If you were to cut all the pieces individually in the disappearing block shown, you would need 8 rectangles + 4 small squares + 4 large squares.)


in quilting,

Debbie

Posted in Nine Patch, Tips, Uncategorized | 3 Comments

Two Tip Tuesday

What to do on a snowy weekend?image

Go to a Sew-cation!  I love watching the snow!  I actually love being out in it!  It is also fun to watch it from a window as I’m inside sewing with a group of dedicated quilters!  I spent the weekend in front of my machine at Sturbridge Quilting and Sewing.  I got a lot of sewing and quilting accomplished!

Another tail for a tenth birthday!

Snuggle Tails ~ Mermaid Hannah

Snuggle Tails ~ Mermaid Hannah


and some blocks and designing for the upcoming Block Stock Hop

imageimage

This is my block!  Brilliant Ribbons (not to be confused with my Brilliant Ribbon Pillow).

Brilliant Ribbons @D.W.

Brilliant Ribbons @D.W.

This is my variation of the Ribbon Star.  I have reconfigured the shapes and simplified the block.  Trapezoids RULE by combining half-squares and rectangles.  Less piecing!  and “Brilliant Bindings” tool can be used to cut the trapezoids!  Amazing layouts happen when every other block is reversed.  I will keep you posted on this fun block.  It will be available on my website free with purchase during the Block Stock Hop.  The Block Stock Hop is Feb. 1 – April 30.  Checkout their website for all the information.  Their website is still a work in progress, so be sure to look back often as more shops/retailers are added.  More information will be on my website, Wendt Quilting Facebook page and right here on the blog as we get closer to the start date.

back to the Sew-cation…..

one of the quilters was talking about her bobbin sensor not working.  Question:  Have you cleaned it recently?  Answer:  No, I just got the machine a couple months ago.  AND then the discussion progressed!  She has used her machine a LOT since it’s purchase.  So “we” opened the bobbin area and what did we find?  Yep! Lots of fuzzies!

image

So the cleaning continued….

image

And continued…

image

and then a look from the back of the machine…

image

WOW!  She knew she needed to clean, but had no idea it could be so often.  So, moral of that story…

#1 – Lots of machine use requires more cleaning.  Not just once a year 😉

#2 – If your machine starts getting cranky (not running properly), it might just mean you need to get the lint OUT.

Stay in tune with your sewing machine.  I know if my Janome starts eating my beginning threads of a seam it is time to de-lint in the bobbin area, even under the bobbin case!

in quilting,

Debbie

Posted in Block Stock, Free patterns, Tips, Uncategorized | 3 Comments

Two Tip Tuesday

I want to thank Diana and Karen for their comments on the blog last week!  You both (surprise!!) will be getting my latest pattern “Brilliant Twin Darts”!  (I’ll be sending you both an email tomorrow.). Thank you girls!!

Ever have one of those days?!?  That was today for me.  Lots of unexpected (good) phone calls.  So, the day did not go completely as planned.  Today’s tips will be short and sweet.

I’ve been talking about the Snuggle Tails I have made, but how about those of my customers?  I’ll share some below.   Can you say adorable?!  Thanks for sharing Jessie!

Snuggle Tails - Mermaid

Snuggle Tails – Mermaid


And how and how about these cuties?  I suggested making them big so they could grow into them.  Good job Mindy!  She said they love getting completely inside and snuggling!

Snuggle Tails

Snuggle Tails

#1 – Simple quilting lines get the quilting done!

#2 – Let kids choose the fabrics…even if it is not your choice…they will LOVE it!

in quilting,

Debbie

Posted in Tips, Uncategorized | 1 Comment

Two Tip Tuesday

Happy New Year!  I debated about stopping with tips, but have decided to continue.  There are always new ideas out there!  I hope you continue to follow.

The new year has brought new projects and I’m back to my design wall.  Piecing always makes me happy.  I love the hum of the machine!  In November, I gave a tip about numbering rows as I took them off the design wall.  I found the stack of numbers and almost threw them away.  But, I thought how silly.  The next quilt I make will just need more numbers …why waste the paper?!  So, I punched holes in them and hung them on the design wall.  Perfect!  They are ready to use on new quilts.  The hole makes it easier to attach to the blocks and I’m not poking holes over and over into the paper making them ratty looking.  I know there are products on the market for marking rows (numbered pins and such), but I like my bits of paper!

image image

#1 – Hole punch your row numbers so they can hang on your design wall.


How about the brown and blue blocks?  I’m in love with this combination.  It makes for a great combination but not a bright cover quilt.  So, I visited my favorite quilt shop (Sturbridge Quilting and Sewing) and picked another option.  What do you think?  Do you like the lighter/brighter combo?

image


Let me know in the comments your favorite color combo!  Those who leave a comment will be entered into a drawing of my latest pattern…”Brilliant Twin Darts”…yep, it has a blue and brown quilt on the cover!

Brilliant Twin Darts

Brilliant Twin Darts

I will announce the winner next week in Two Tips!  I’m looking forward to hearing your favorite combos!


I know winter white sales are just around the corner.  Do you save the nifty plastic zipper pouches that some sheet sets come in?  How about using them?

image

image


#2 – Store quilt projects in sheet set zipper pouches!  They are see through!

in quilting,

Debbie

Posted in Uncategorized | 2 Comments

Two Tip Tuesday

Wow!  This year flew for me!  How about you?  I spent some time this morning going back through all my photos on my phone.  I need to transfer them so I have room to start the new year.  I felt this post is a good place to reflect on the year and all the fun I had!

Do you remember the giveaway on one of the first Two Tip Tuesdays?  Well, the quilt in the kit has been finished!  A local quilter won it and gifted it to a mutual quilter friend.  Her version is below!  I am so happy to see this sweet quilt finished!!!

image

I want to publicly thank the man who helps behind the scene, my hubby!

image

Vacation to Cooperstown, NY

and my mom!   She is my booth sitter, travel mate and super supporter!

image

It has been fun

Trying to get the best cover photo…

image

and playing at shows…

but seeing my products in Nancy’s Notions and teaching for AQS in Albuquerque, Paducah and Grand Rapids were some of the biggest thrills this year!

image


Thanks for following along and I look forward to seeing you in the New Year!  Be sure to check out  Block Stock by Stitchin’ Tree.  It will be fun to make purchases and collect blocks!

image


A look at the last quilt I made this year…

Brilliant Twin Darts

Brilliant Twin Darts

One of the cover quilts from “Brilliant Twin Darts”, now available on my website.

Tip #1 – Choose fabrics you LOVE!   (Life is too short to work on projects you do not like.)

Tip #2- When in doubt, re-make a pattern you love!  (Yes!  I made more Mermaid tails as Christmas gifts!)

image


CHEERS!  For a safe New Year’s Eve and Happy New Year!

In quilting,

Debbieimage


Posted in Uncategorized | 3 Comments

Two Tip Tuesday

Need a quick gift?  How about  placemats?  The photos below will take you through making a simple place mat using the backing as the binding.  Sometimes called back to front binding.

Trim the batting so it is even with the quilted top.  The backing is trimmed to twice the desired binding width.  I used 1″, so the binding finishes to 1/2″.

Draw a line across each corner at a 45 degree angle to the top.image

Trip #1 – use your Brilliant Bindings tool to make the corner, placing the 45 degree edge along the edge of the backing!

image

Fold The backing in half, so the raw edge is along the edge of the top.  Press.  This is like folding a hem.

image

Open and mark where the fold intersects the drawn line.


image

Fold backing right side together at corner.  Match marks and diagonal line will be on top of each other.  Pin in place.


image

Sew on line from Mark to folded corner leaving the outside edge open.

image

Trim to 1/4″ seam allowance.

image

Using a point turner (purple thang Or end of a mechanical pencil with the lead turned in)  Gently push corner right side out.

image

#2 – a mechanical pencil is great for turning pointed corners.  Leave the lead in so it does not poke through the fabric.

Carefully fold raw edge in.


image

REPEAT for all four corners!

Top stitch along inside folded edge.

image

Ta Da a quick easy placemat!  Perfect for a last minute gift!

Merry Christmas!

in quilting,

Debbie

Posted in Uncategorized | Leave a comment

Follow Up

Silly me!  I didn’t give the name of my favorite seam ripper.

BOHIN folding seam ripper

image

You can find them online…

or ask at your local quilt shop!

~ Debbie

(And thanks to Linda for the suggestion!)

Posted in Uncategorized | Leave a comment