Two Tip Tuesday – Daytona Beach

Quilt Week Daytona Beach starts tomorrow! My booth is set up and ready for you. I moved to a larger booth than the last few years, so come take a look. I’ve brought more quilts and we have more room to move around. My booth #1619 is just up from the Bob Ross Cherrywood Challenge.

Daytona Beach 2020
Booth #1619


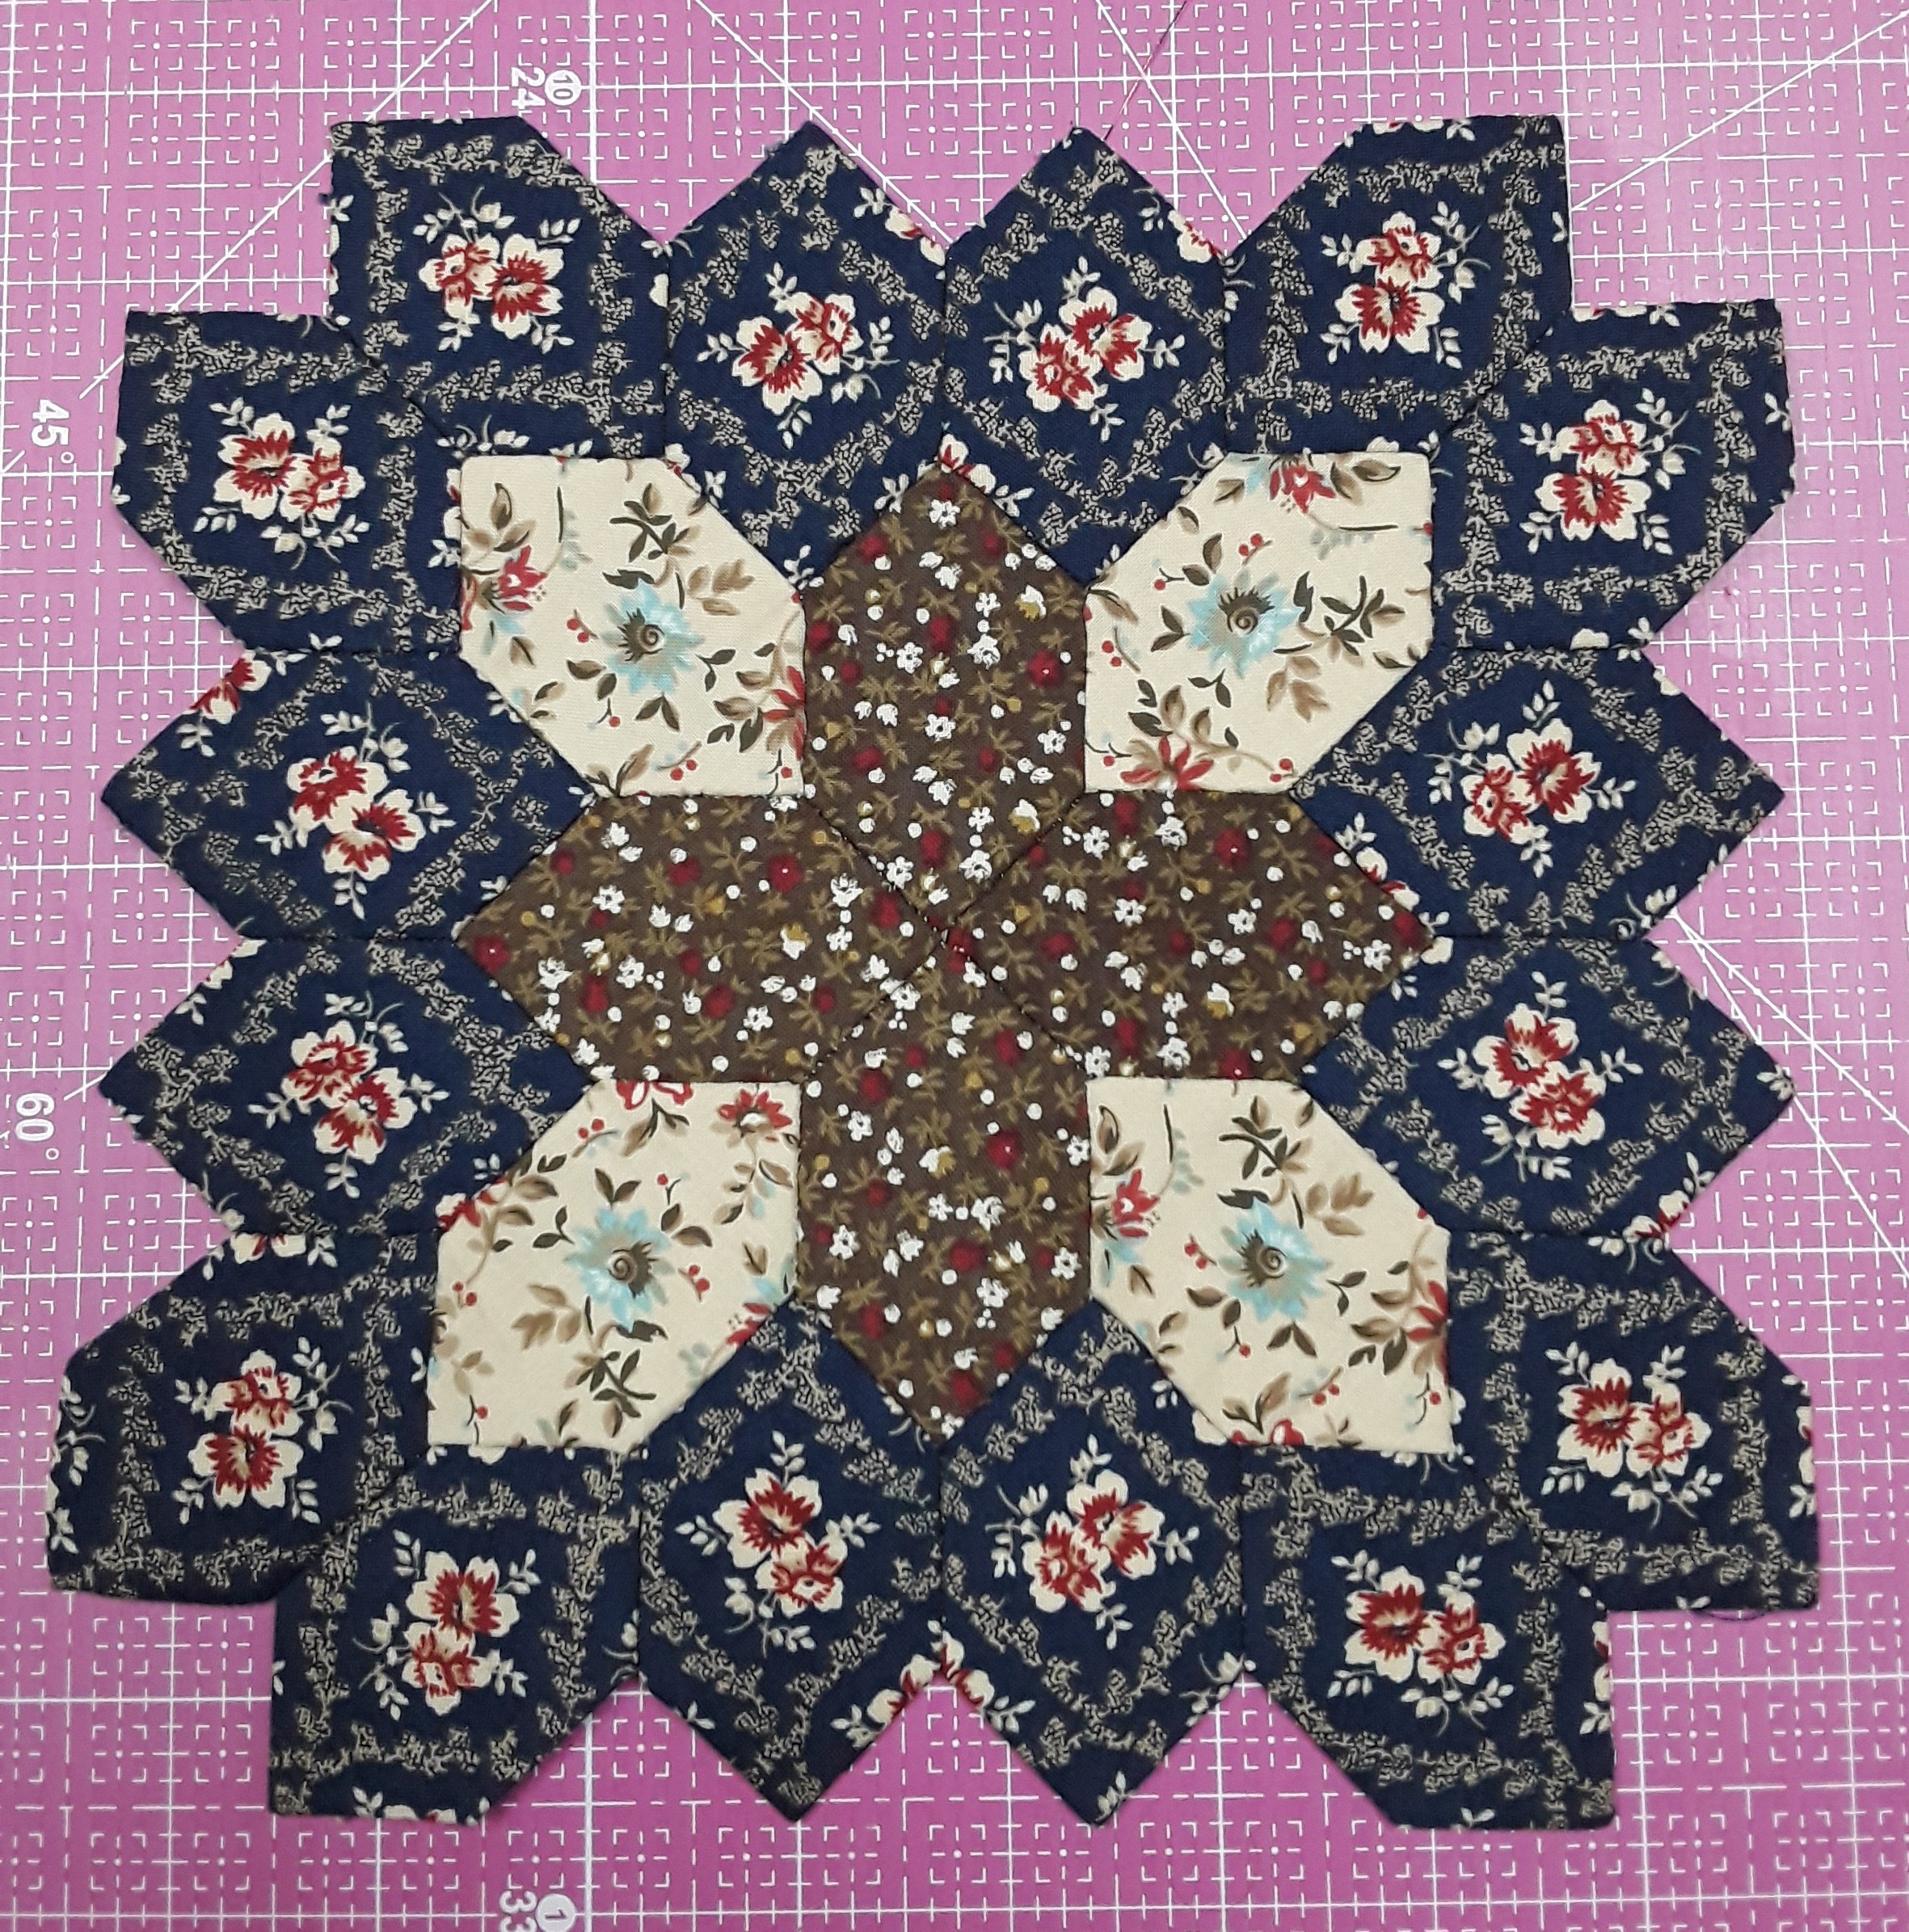
Come by for a demo of Brilliant Bindings and all the patterns made using the tool.  I’ll also be showing Hex-a-ma-jig and Hex-a-ma-jig Jr.  On Wednesday at 11am I’m in the Learning Center talking about “Hexies- Still Popular After All These Years” and Friday at 2pm, “Stash Busters – Patterns and Tools to BUST a Move on Your Stash”.

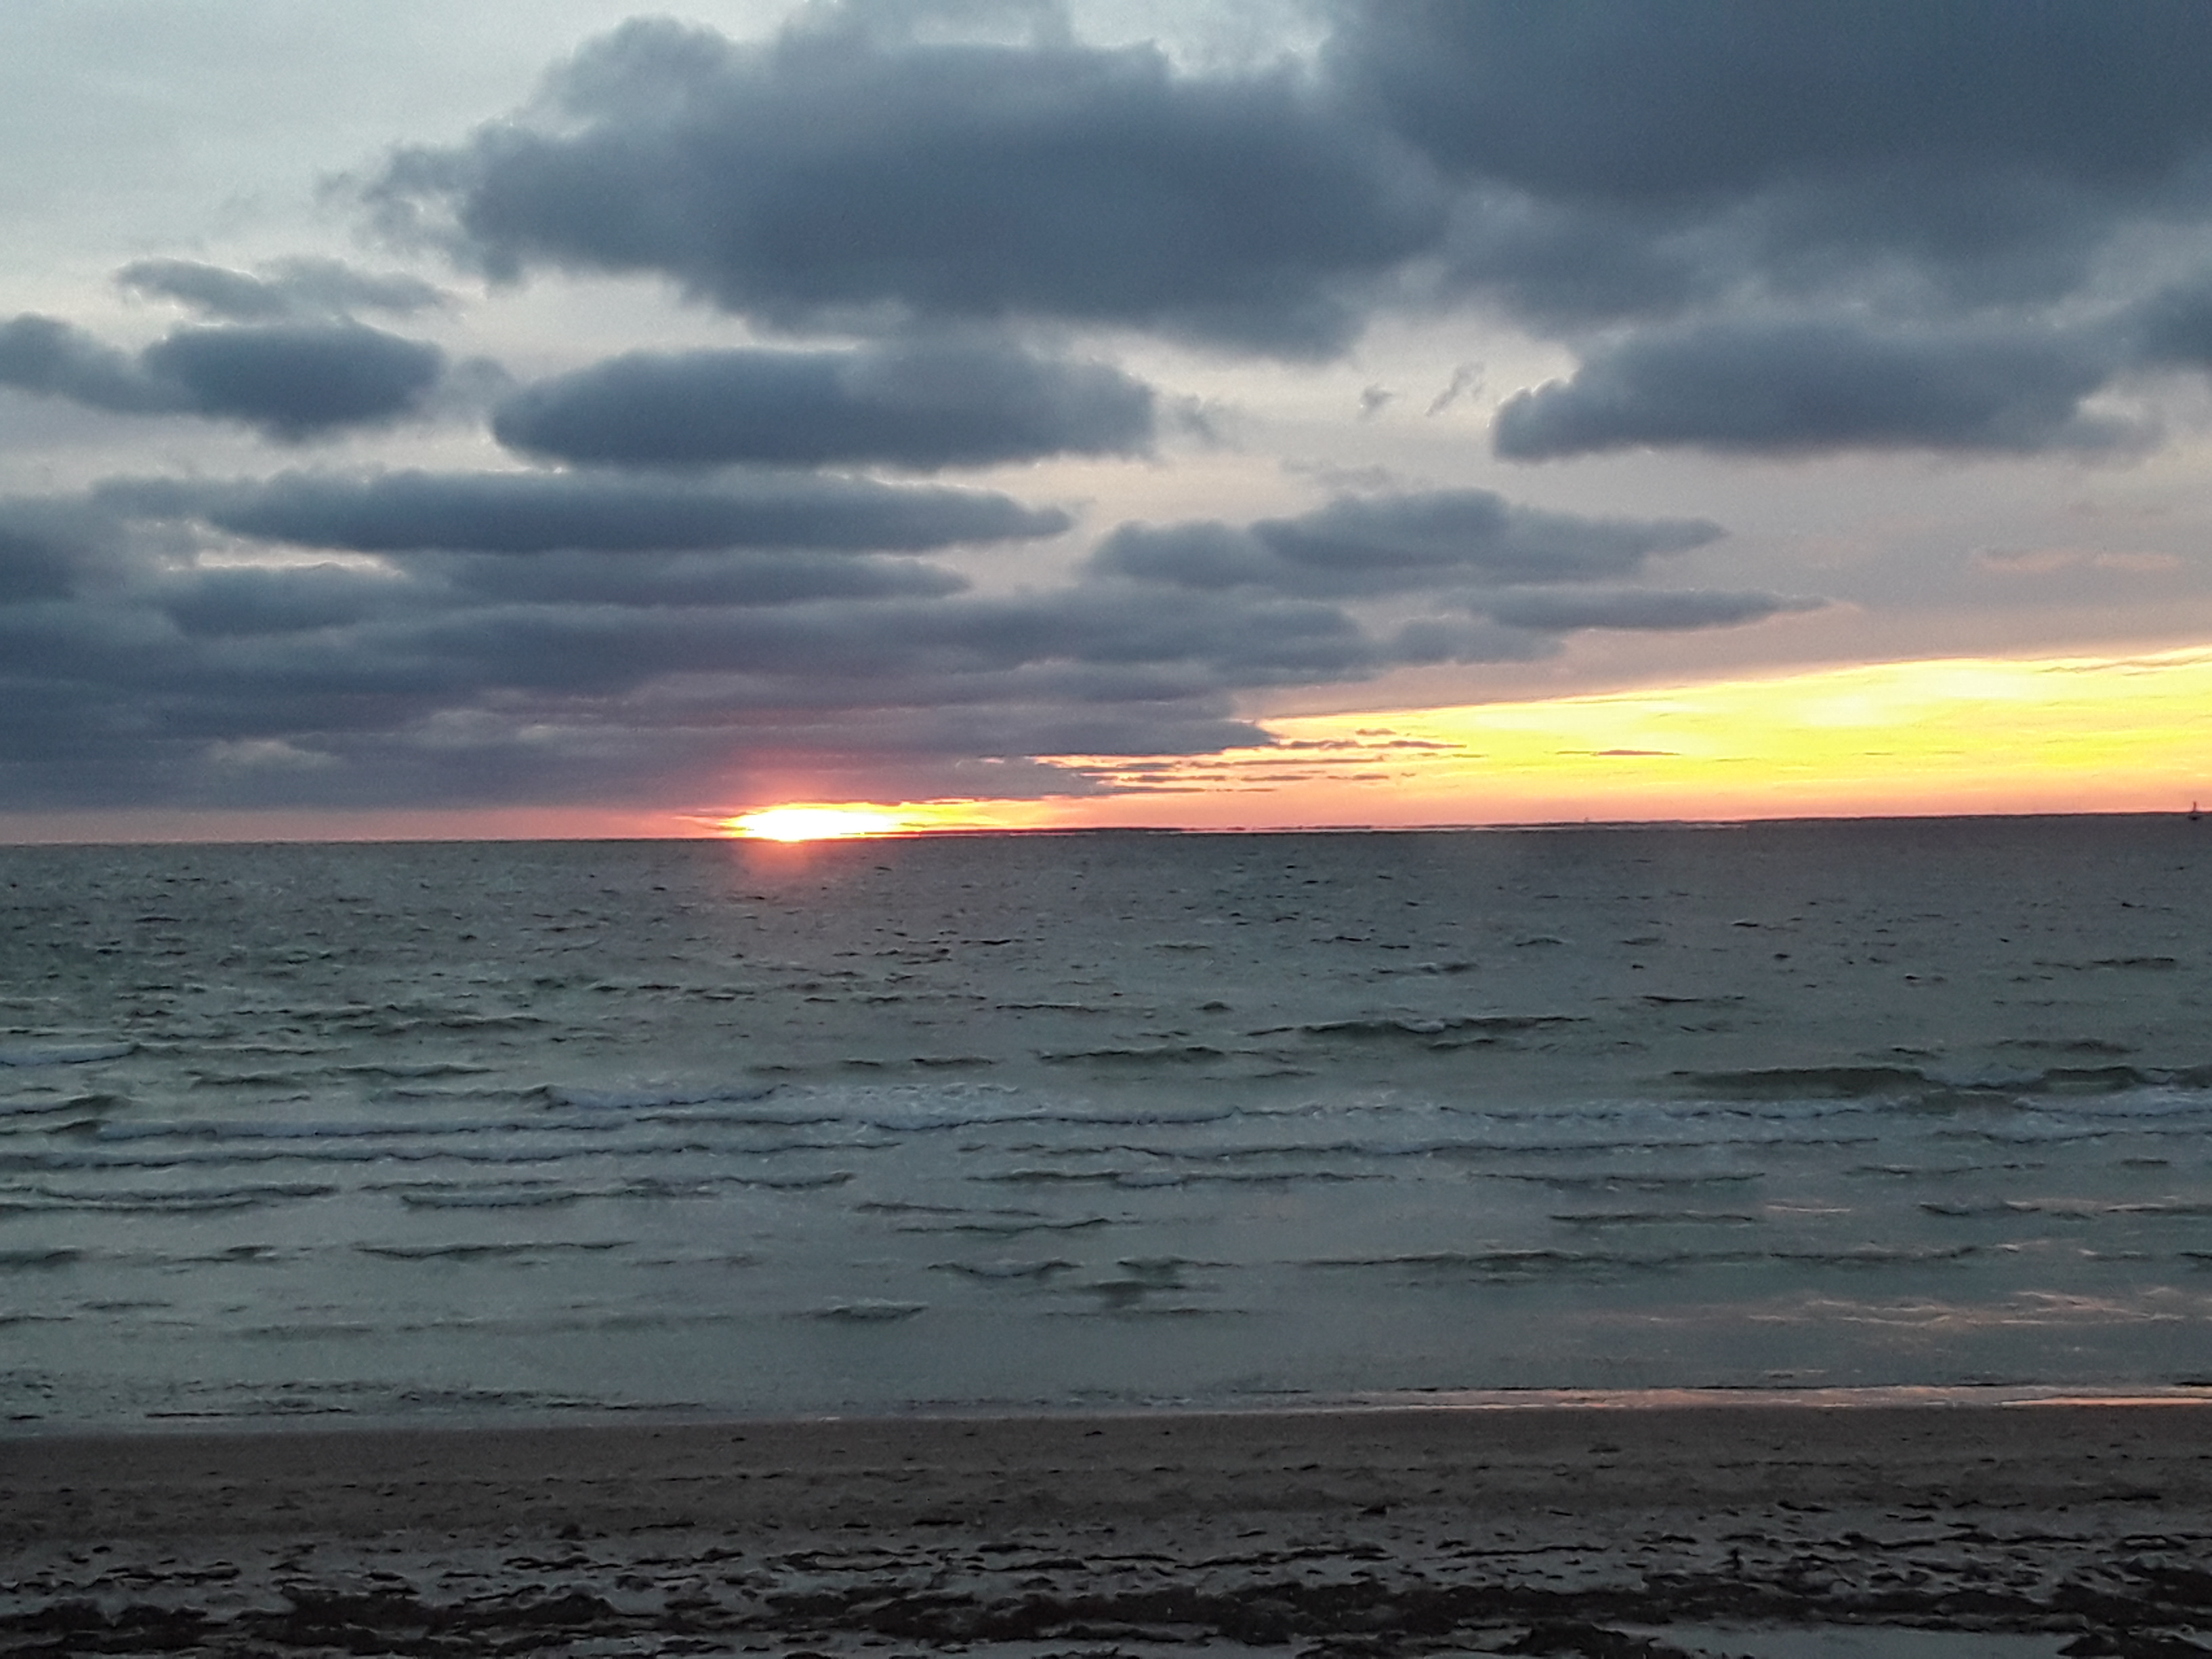
Look at my morning and afternoon view here in Daytona Beach!  LOVE it!
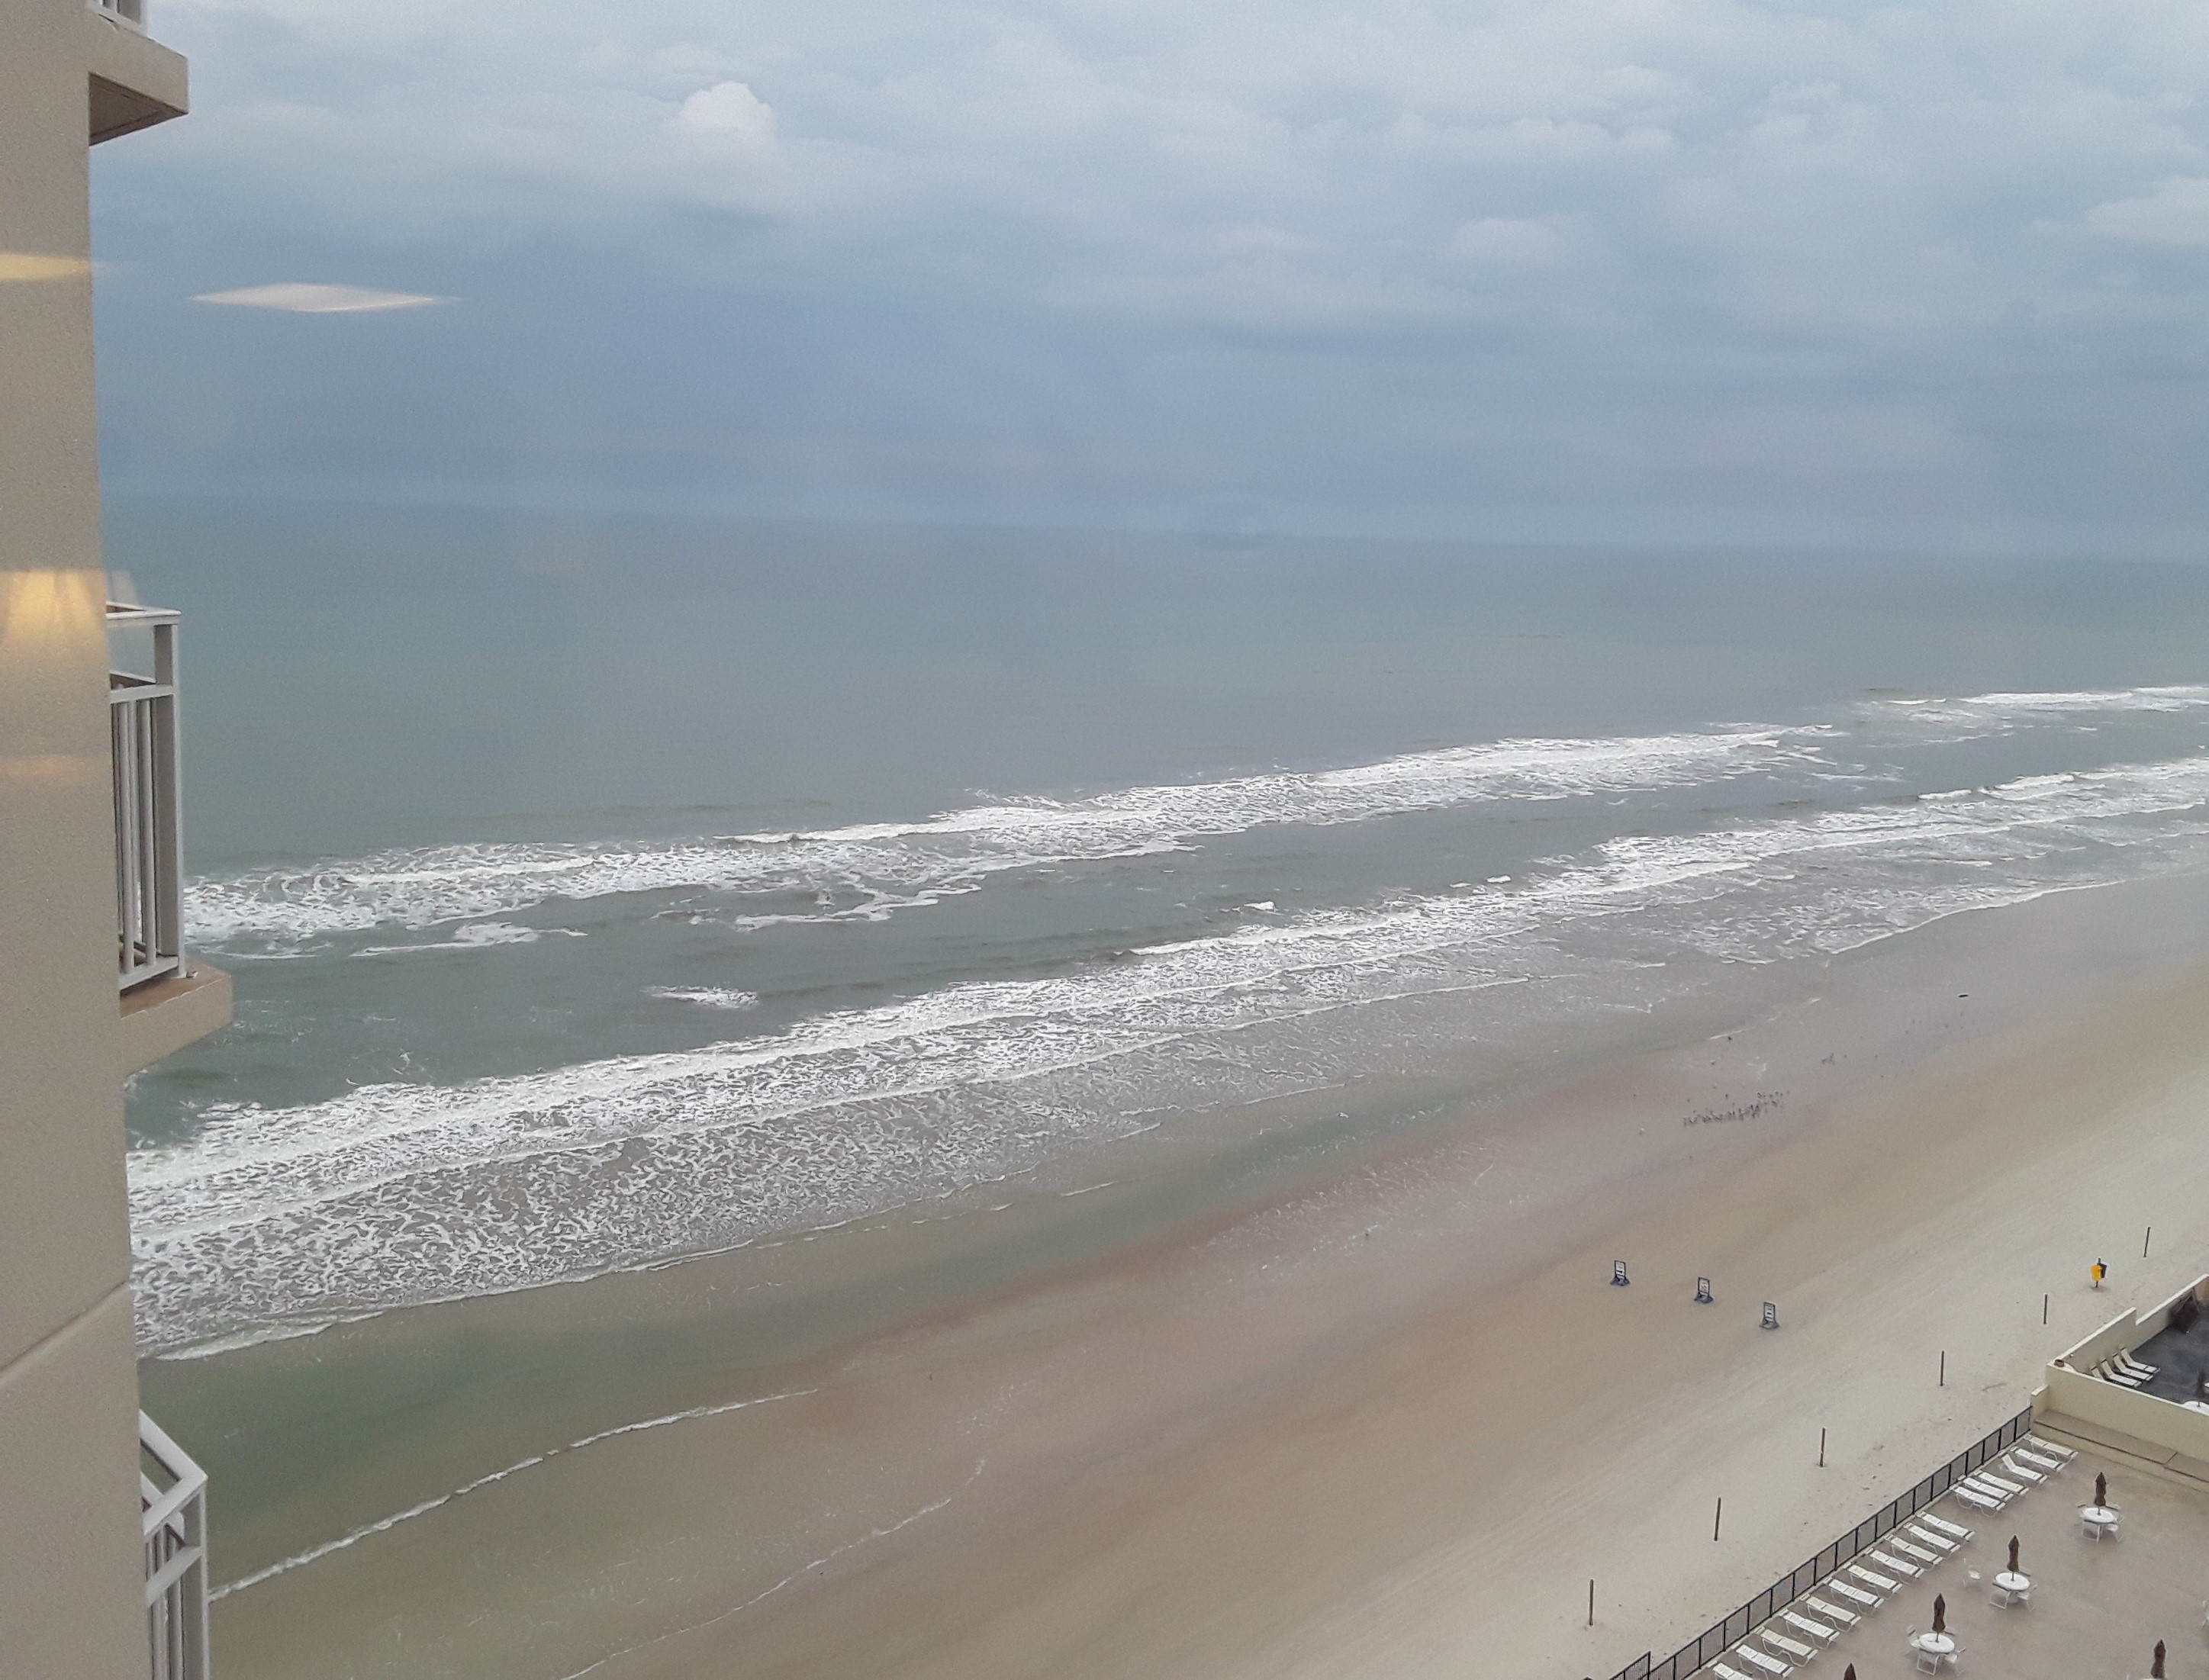
Daytona Beach

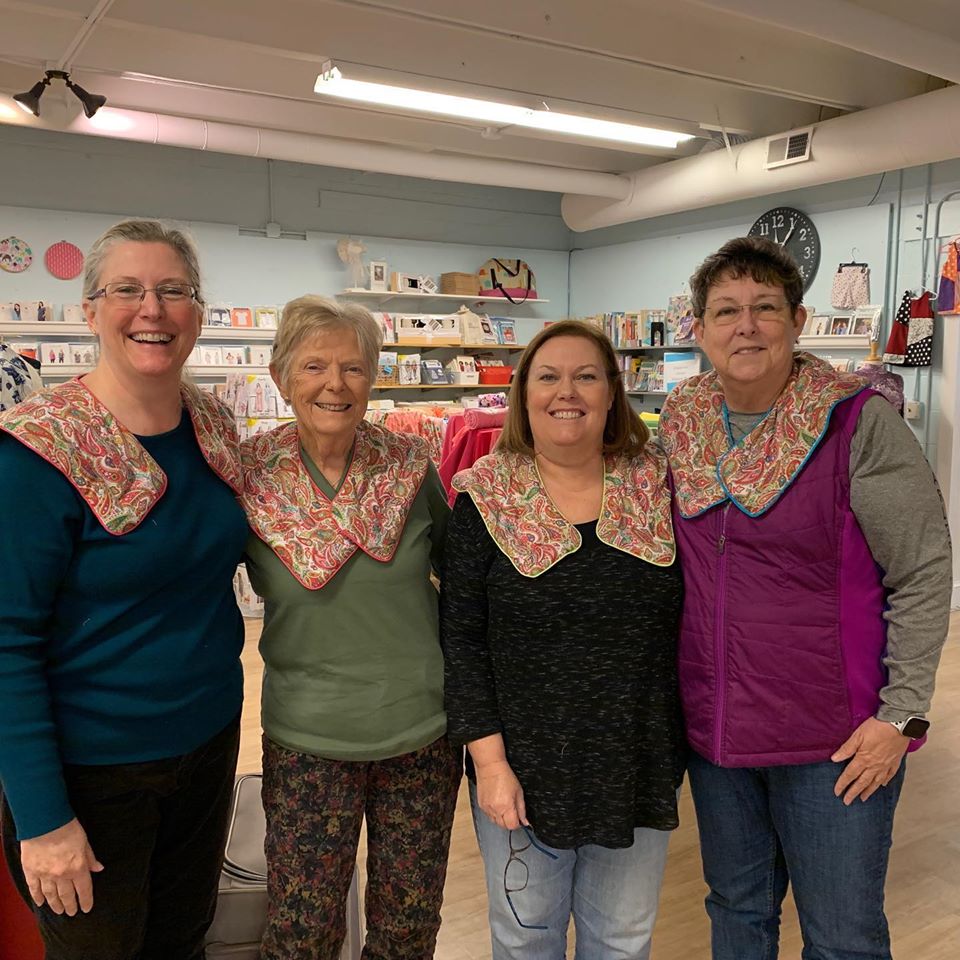
For those MA peeps, I get to spend some time with a former Thimble Pleasures member and dear quilter friend Melanie and her husband.  It is so much fun to catch up with quilters I’ve meet along my journey!  How far do you go to catch up with your quilting peeps?!?

#1 – Connect with quilters and you will have a lifelong friendships!

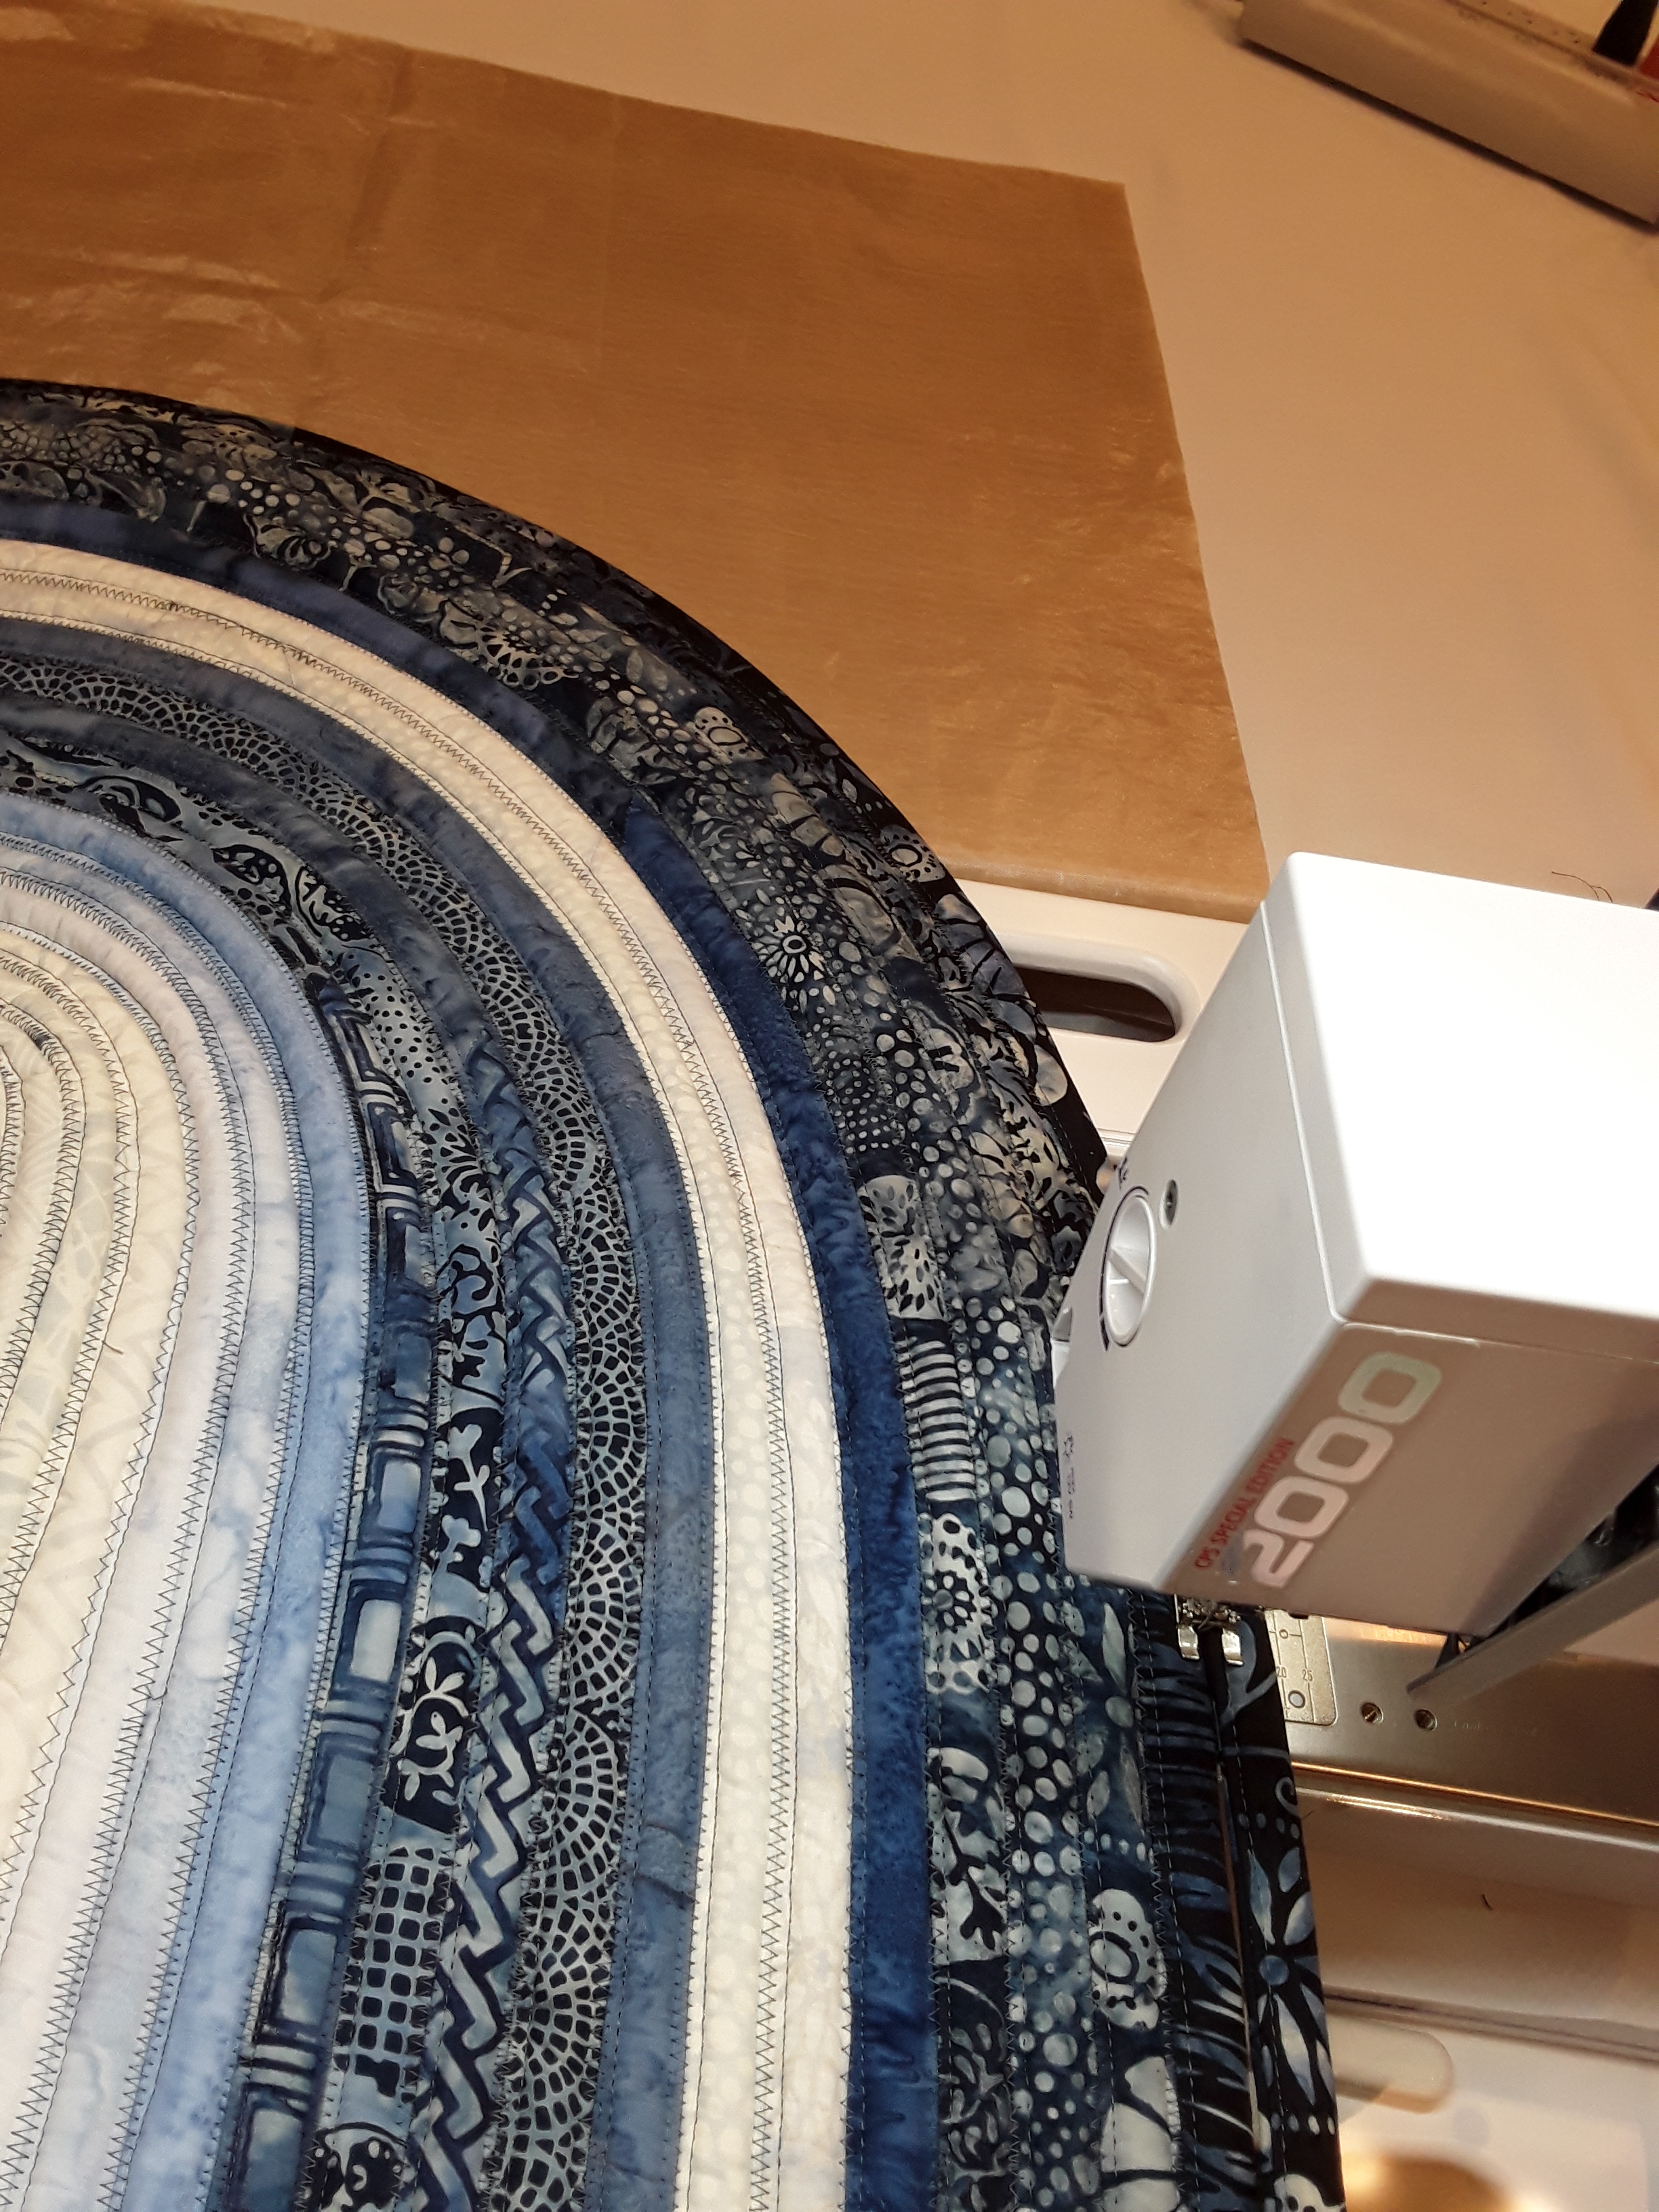
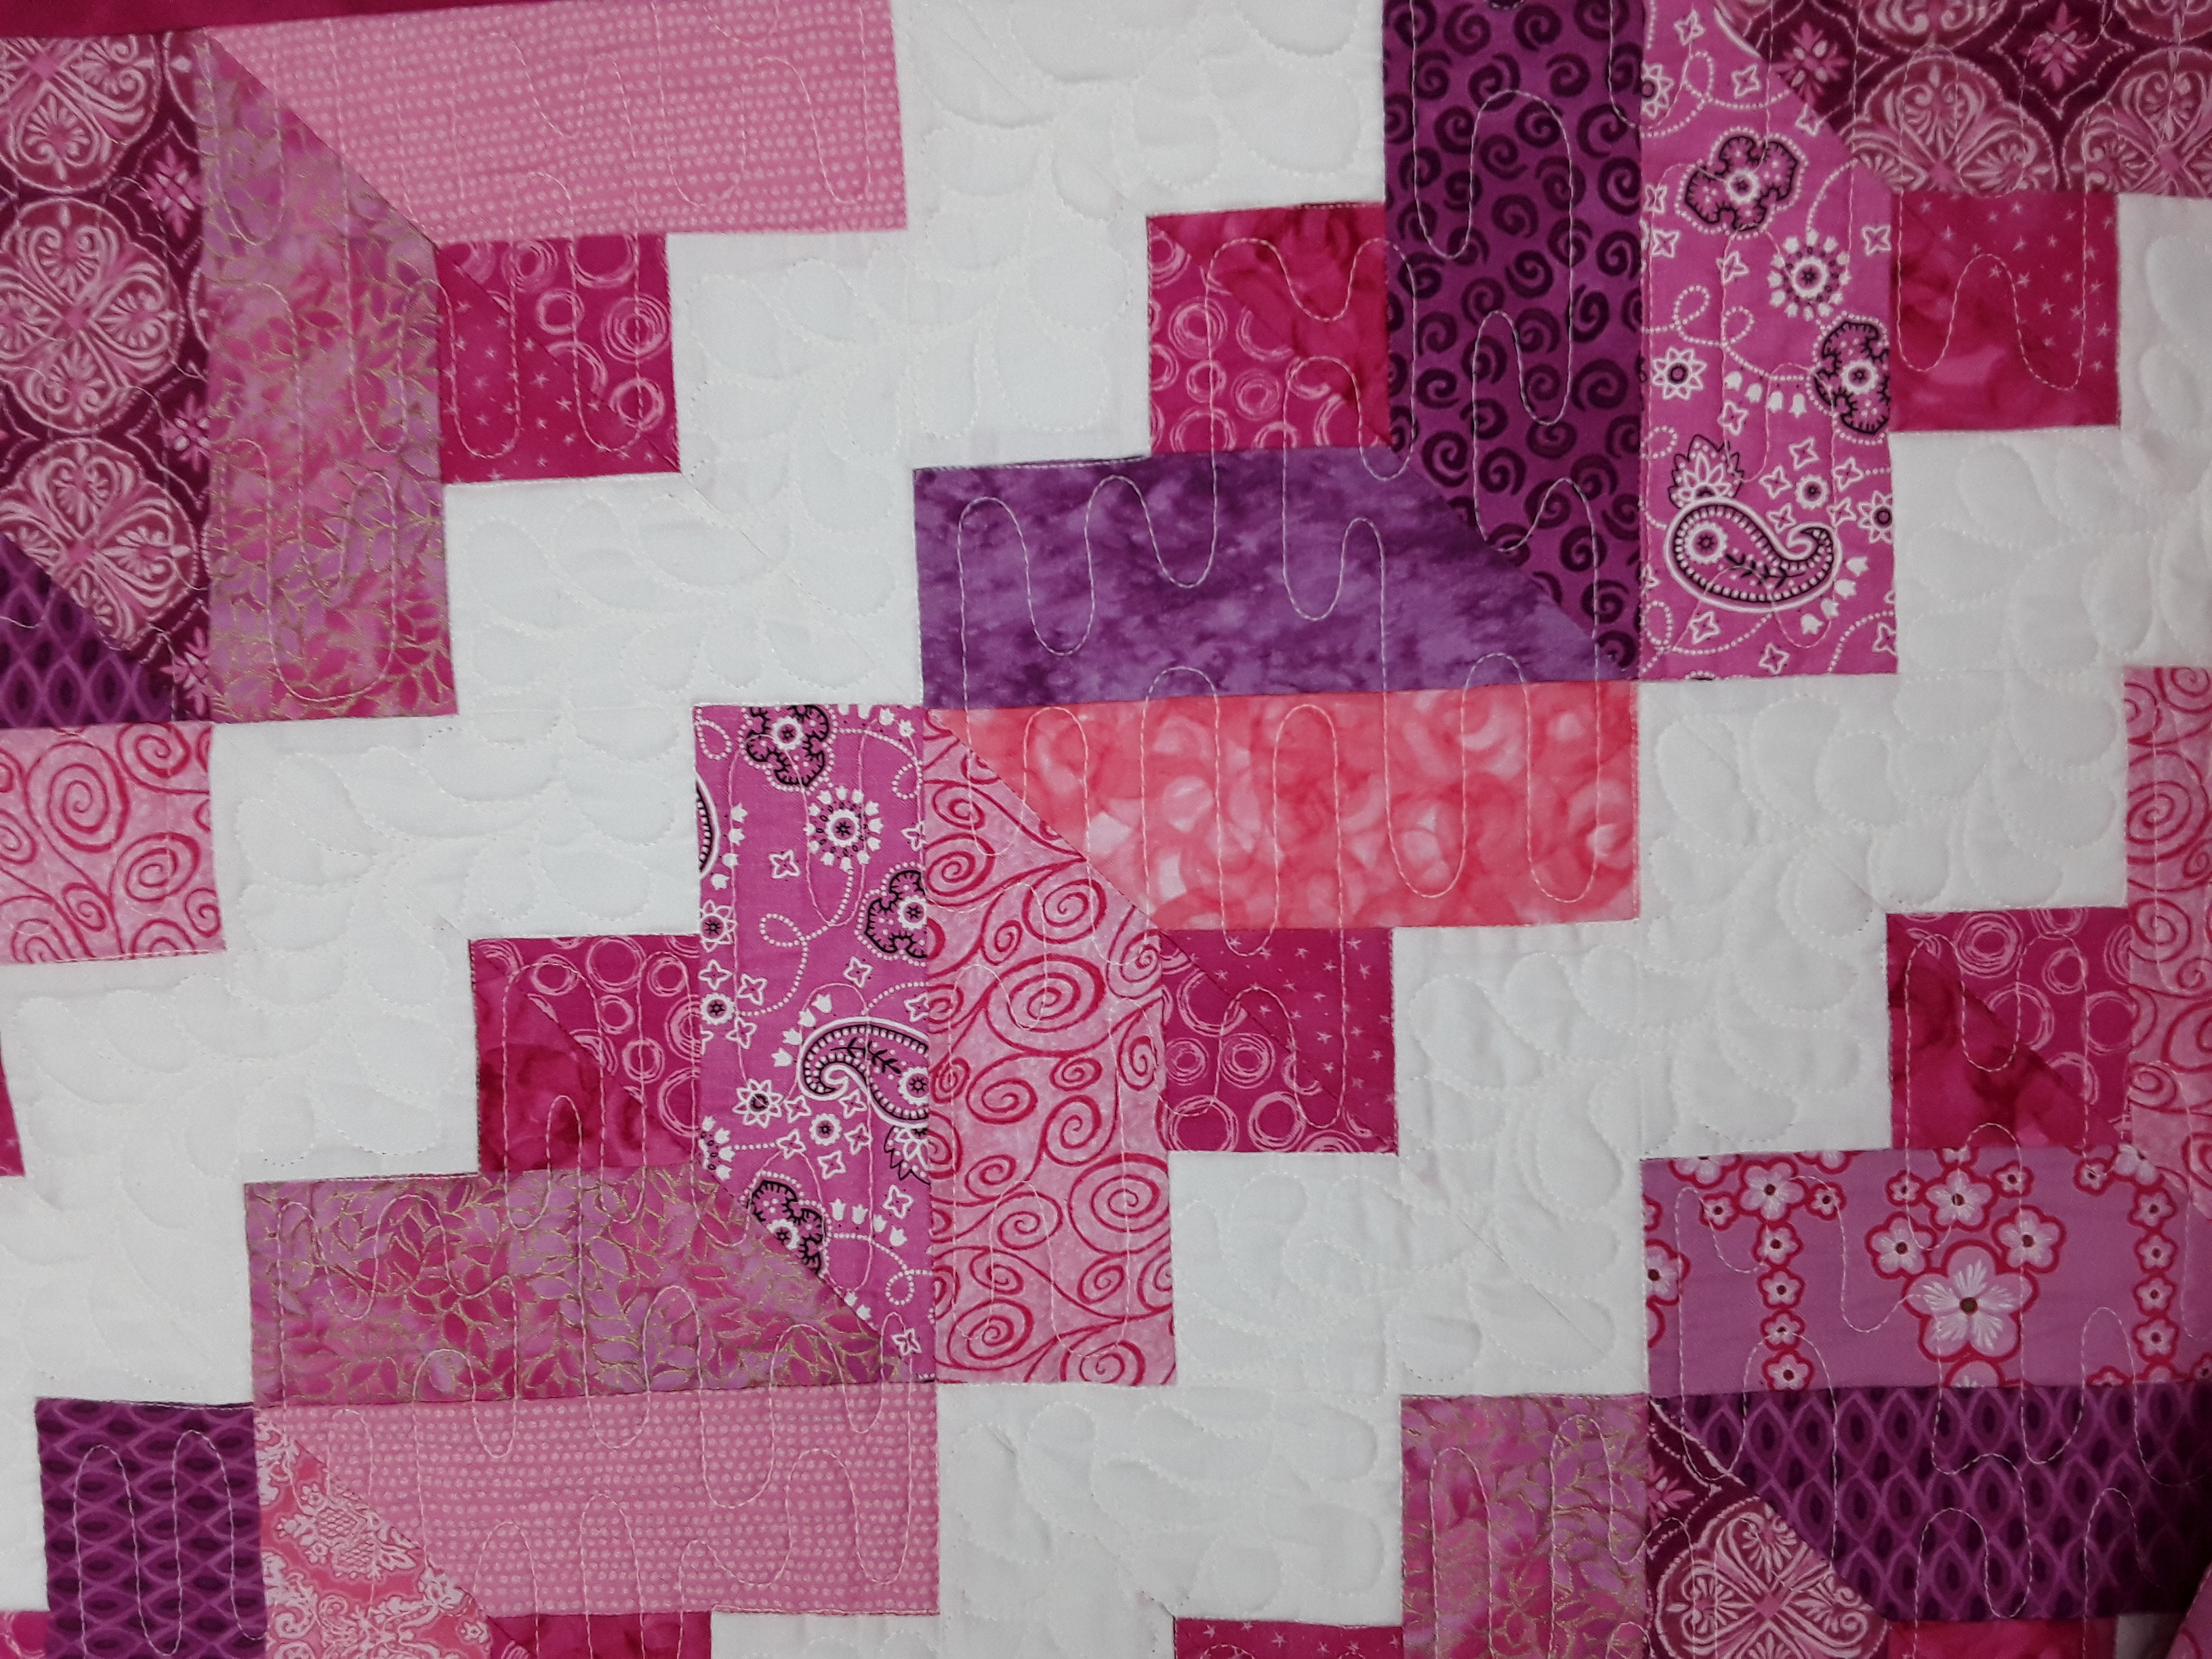
I want to give shout out to and a WooHoo to June S.!  She made my Bow Tie Blues pattern.  One of her lucky family members will be getting this beauty.  June, I LOVE it!!

June’s Bow Tie Blues!

Bow Tie Blues is a pattern designed to use up those scraps.  She will be showing it at our Thimble Pleasures Quilt Show on March 14 & 15.  We have a very talented guild and I always look forward to seeing member’s quilts.  I hope to see many of my local New England quilters at the show.  There will be a number of vendors, our raffle quilt, special exhibit and much more.  Come join us!  Raffle quilt below… (if you want to purchase ticket, let me know)

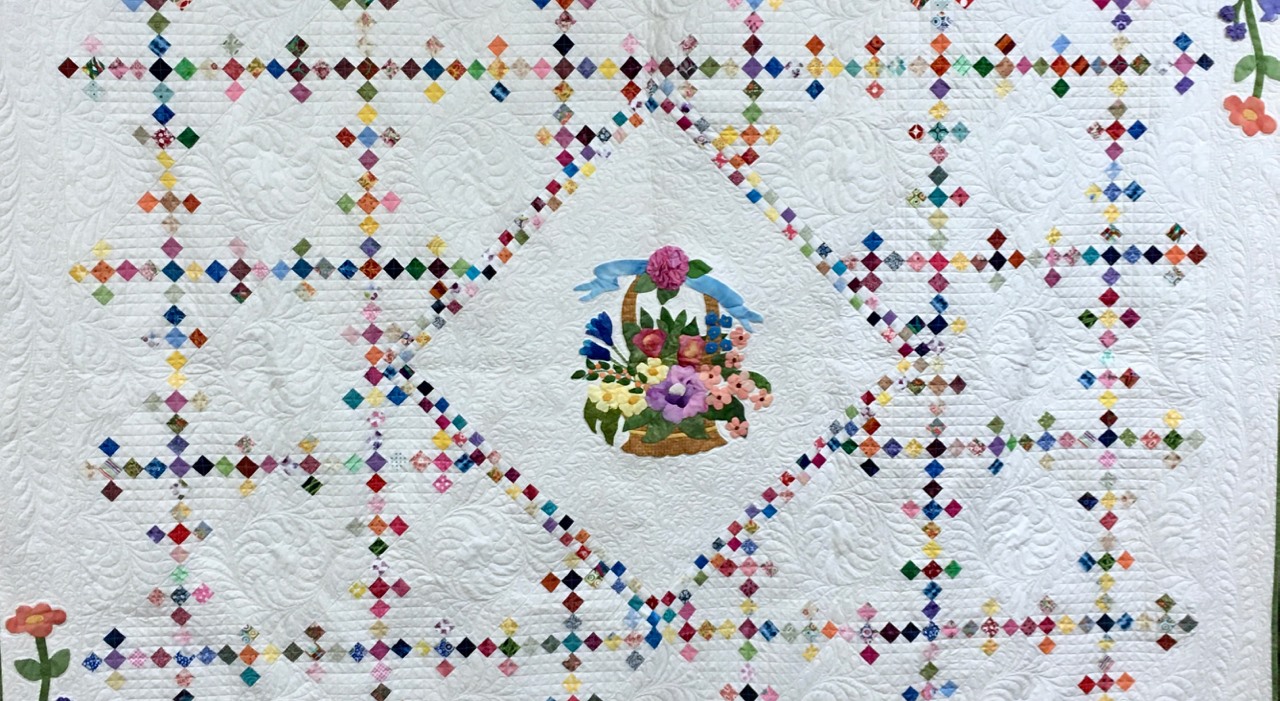
Thimble Pleasures Raffle Quilt

#2 – Attend your local quilt shows!  Whether it is a national show or supporting your local guild, spend a day with your quilter friends!!

in quilting,

Debbie


Posted in Uncategorized | Leave a comment

Two Tip Tuesday – Getaways with tips

I spent the weekend at a guild Getaway in North Falmouth on Cape Cod. A Getaway is like a Retreat.  We call them Getaways, some call them a Runaway! Runaway all weekend to sew with like minded quilters!! These events are great to sew, sew, sew, quilt, quilt, quilt, learn and share ideas and tips!  Plus, we had a great view!!

Cape Cod Sunset!

We work on our own projects.  There were two quilters who brought their jelly roll rugs to finish from our workshop a while back.  It is always fun to see their “Ta-DONE” projects!  Below are two of the rugs.  Carol V.’s is the blue/white and Kathleen L.’s is the browns/black/burgundy.  Wonderful job ladies!

Carol V’s Rug

Kathleen L’s Rug


We discussed a couple tips as they completed their rug.  First, how do you keep the rug sliding if you don’t have a smooth table?  (We work on wooden tables with table clothes.  The tables have seen a lot of use 😉 !)  Carol placed her Teflon pressing sheet on the table which helped the rug slide.  Wonderful idea!

#1 – If you do not have a smooth sewing surface, create on with a Teflon pressing sheet.

Carol’s rug with Teflon sheet.
To “smooth the way”.

When Kathleen was finished with her rug, she wanted to smooth out a couple spots.  So, instead of standing at the ironing board, she sprayed “Best Press” over the entire rug and laid it out on a table with another heavy pressing board on top over night.  Voila!  A wonderfully smooth rug with out ironing.  We took Carol’s rug and did the same the following night!  See the table on Carol’s rug below.

#2 – To flatten a “Jelly Roll Rug”, spray with spray starch (we used “Best Press”) and lay something heavy on it over night.  Flat as a pancake in the morning.  The portable ironing board is by “TNT Quilt Boards”.

Carol V’s Rug
Spray Starch + Table = flat rug


Another, ahhh, oops and tip…don’t leave your directions under the piece you are sewing.  Yep!  It got sewn to her piece.  That is 8+ pieces of paper.  No wonder the needle sounded like it was having trouble.  We laughed and the seam ripper saw some action.

Yes, your machine can sew through 8+ layers of paper, Tee Hee!

Bonus #3 – Do you know where your directions are?!?

All in all, we had a great time.  Loads of laughs and loads of sewing/quilting!

in quilting,

Debbie

Posted in Jelly Rolls, Tips, Uncategorized | Leave a comment

Two Tip Tuesday – Cutting Curves

I’m diligently working on an overdue quilt. It is a double wedding ring. I thought I’d give a couple tips on cutting the curves of this design. I’ll be showing some piecing tips next week. I’m using Marti Michell’s template set. I like how she gives grain lines on the templates and has holes at the 1/4″ corner points. I did add “True Grips” to help prevent the templates from moving as I cut.

As you can see in the first photo…

Double Wedding Ring
template and cutting

I’ve put the template on the fabric. I ALWAYS cut away from myself and NEVER back at myself. I can place my cutting mat on the corner of a table and move my body around the the other side or use a rotating cutting mat!  The mat shown in the photo is called “Brooklyn Revolver” that I got years ago!  I don’t believe these are still on the market.  However, there are others out there.

The beauty of cutting on a rotating mat, you can make a cut and turn the mat so your next cut is away from you.  That way you are never cutting back toward yourself!  The next few photos are the order I cut around the arc template.  Notice how the words on the mat are in a different position each time.  The edge I am cutting is on the right as I am right handed.  For you left hand-ers, you will cut on the left side.

First cut along longest outside curve

Second cut across end.
Notice mat was turned!

Third cut on inside curve.
Mat turned yet again!

Fourth cut across other end.
Final turn of mat.


So the tips include…

1- Always cut away from yourself.  You don’t ever want to slip and cut into your body!

2- Add true grips to the back on a template to keep it from slipping as you cut against it.

3- Use a rotating mat when you need to cut completely around a template.

4- Or you can use a smaller regular mat and rotate the mat.

5- Use a smaller cutter for deeper curves.  I was able to easily cut with a 45mm on this gentle inside curve.

If you have a favorite rotating mat, let us know in the comments section!  I’ll be checking out some options when I go to Daytona Beach for the AQS Quilt Week in a couple weeks, Feb. 26th-29th.  It will be my first show of the year!  I’ll be on the opposite side of the hall in a larger booth!  More room to show more quilts!!  Hope to see you there!  Go forth and cut curves, safely and efficiently!

in quilting,

Debbie

Posted in Curves, Cutting, Uncategorized | 2 Comments

Two Tip Tuesday – Hometown PROUD!!

They did it! My hometown Kansas City CHIEFS are Super Bowl Champs!!! I am so proud of their never quit attitude and another come from behind win!!! I’m not sure I can put enough exclamation points in this paragraph!!!!!
All those fleece blankets I made for Christmas presents were so worth the time! They were a FUN project even if they weren’t quilts. Some times I just need to sew and be energized in hometown love of my teams!! I was born in Missouri and raised in Kansas City, Missouri.  In case you missed my fleece project…

Using Longarm template for my curved edge!

I was in the process of cutting round corners so I could make one continuous serge around the entire blanket.

CONGRATULATIONS Kansas City!! CHIEFS Kingdom!!!

Since RED has been my color all last week and again this week for my CHIEFS, I thought I’d give a few tips on choosing red fabrics.  Valentine’s Day is just around the corner and maybe you will be choosing some red fabrics to make a special gift for a sweetheart or friend in your life?!?  To make a successful quilt using only one color scheme, be sure to add in many variations of that base color.  Below is several reds I pulled from my stash to show an example.

Red fabrics with variety!

Don’t stick with matchy, matchy.  Choose bright reds, purple reds, burgundy reds, orange-y reds.  They will all work together to add interest so the quilt does not look “flat” (boring).   These reds were difficult to photograph, but I hope you see the differences.

#1 – Choose MANY shades of reds from bright hot red to burgundy reds!

Here is another example of my Brilliant Swirl pink quilt.  When it is hanging in the booth, it looks like a pink quilt.  BUT, the interest lies in all the variety of pinks that I used.

Brilliant Swirl quilt below Brilliant Charms

From purple pink, to hot pink, to light pink…they all work beautifully together to blend into a PINK quilt!


#2 – Refrain from picking matchy, matchy colors when making a one color/monochromatic quilt.

Do you have any red or pink quilts in your future?

in quilting,

Debbie

KC proud!  Chieeeeeefs!

Posted in Uncategorized | Leave a comment

Two Tip Tuesday on Wednesday this week – POTC

A day late this week. I will be teaching Lucy Boston’s Patchwork of the Crosses (POTC) tonight at one of my guilds, Blackstone Valley Heritage Quilters!  If you are coming to the meeting don’t forget to bring some FQ, needle, thread, scissors.  We will be sewing during the meeting.  This will be a fun way to hear about using Honeycombs and get hands-on immediate gratification!    We will be using Paper Pieces’ Honeycomb papers.  These papers are a great way to “keep the shape” of the Honeycomb.  Here are a couple more blocks that my mom made that shows how different the block can look just in color placement.  These two blocks have a similar look but compared to the ones I posted two weeks ago, very different variations!

POTC

POTC

Did you know I did a short video clip on English Paper Piecing?  You can find the video on AQS quilttv on YouTube.  Check it out for today’s tips at the link below.

in quilting,

Debbie

Posted in EPP, Uncategorized | Leave a comment

Two Tip Tuesday – Spa Therapy

A received a wonderful surprise post on my Facebook page from a quilt shop that is showcasing one of my patterns. Five Eighth Seams in Charleston, SC is using my “Spa Therapy Bags” pattern for their Sewing Club this month! They posted a photo of four ladies who made the shoulder bag. They made kits with several contrasting covered piping for the edge of the bags. I LOVE how they turned out. I don’t know these ladies personally, but KUDOS for a job well done!

Five Eighth Seams Sewing Club
Spa Therapy Bags

You can find the pattern for the “Spa Therapy Bags” pattern on my website. Here!

I suggest using field corn (also called deer corn by some) to fill the shoulder bag. You can also use rice, poly pellets or other seed type products. I prefer the corn as it can go in the microwave for a few minutes for a warm hug on those achy shoulders. I like the smell of the corn better than the rice. The poly pellets are great if you are only using them for a weighted bag, but you cannot heat them. I’d love to hear how you fill your spa shoulder bags.

The eye/sinus bag pattern is also included. I use flax seed for the eye bag as it is softer on the eye area. The flax does heat up hot and fast, so be careful! I do not add essential oils but you sure could. I keep my personal eye bag in the freezer to calm my sinuses and head tension.

Here is the pattern cover!

“Spa Therapy Bags” pattern cover

You can make both bags with one yard of fabric (AND that includes making the covered cording in the same fabric) They make wonderful presents for ALL ages!

#1 – Only 1 yard of fabric can make a great present of a “Spa Therapy Bag”!

Did you know Support Your Local Quilt Shop day is January 25th?!!  Where will you be shopping?  I try to visit a couple of my local shops to show my support.  I love shopping at my local shops, I can touch and see the fabrics up close and personal!

#2 – Support your local quilt shops!

in quilting,

Debbie

Posted in Quilt shops, Uncategorized | 1 Comment

Two Tip Tuesday – Handwork

With all the fun I’ve been having doing the blanket stitch on fleece blankets, I’m actually doing another. This one will be a surprise, so I can’t show you the whole thing. But I can show you the edges. I decided to “beef up” the edge so I turned a hem and did the blanket stitch over the hem. Much like the white one I did a few weeks ago. The difference…
I used the perforated blade to cut holes 1″ in from the cut edge. I am happy with how it is turning out!  (The needle is showing the holes.)

Perforated holes 1″ from edge

Folded hem and stitched


This is how the backside is shaping up.

Fleece blanket backside


I’m also prepping for lecturing at my guild (Blackstone Valley Heritage Quilters) the end of the month.  I will be introducing Honeycombs and Lucy Boston’s Patchwork of the Crosses (POTC) blocks.  The blocks are made using the Honeycomb shape.  “Paper Pieces” make the Honeycomb papers in different sizes.  They are fun to play with because just a change of color placement can make the block look completely different.  The blocks below are a couple my mom stitched for me a few years ago.  (Thanks MOM!!)  I love how the design of the fabrics and its placement can really add to the complexity of the block.  It gives them a totally different look!!

Patchwork of the Crosses

Patchwork of the Crosses


#2 – POTC blocks use all the same Honeycomb shape and can have wonderfully different block looks.

It will be fun to see how many different looks we get with this hands-on meeting!

in quilting

Debbie

Posted in Blanket stitch, EPP, Uncategorized | Leave a comment

Two Tip Tuesday – 2020

Welcome 2020!! I can think of all kinds of puns for seeing clearly for this new year! It will be a fun year! I ended 2019 with tips on making a blanket stitch on a blanket I made for my daughter-in-law. I’m happy to report, she loves it!! The material I used on hers was actually high plush like a minky fabric.  It was easy to get the needle though the fibers.  I enjoyed the blanket stitch so much I’ve decided to work on a fleece one.  This next one is more of your typical polar fleece and is difficult to push a blunt tapestry needle through.  So, I purchased a perforating blade to make holes in the fleece.  Now, I’m able to get the needle through without making a mess of the fleece.  See the blade below.  I have no affiliation with this company but one of the few who I’ve found who make this type of rotary blade.

Perforating Blade

Perforating blade in my rotary cutter
instead of a regular blade


I measured 3/8″ in from the edge and cut with the perforating blade.  This will make the holes about the same distance from the edge as they are apart.  I will not turnover the edge as I did on the last one.  (I could, but find it not necessary as the fleece will not fray.)  I put the needle through a few holes so you can see how the blade cut through the fleece.  I made sure I stopped cutting right at the 3/8″ corner, so the corner stitching would be EVEN!

Holes cut in fleece


To turn the corner…

Take a blanket stitch in the last hole at the corner.

Blanket stitch
Last stitch on this side


Now, take another blanket stitch back in the same hole.  When pulling the yarn through the loop, be sure it lands right at the corner point.

Blanket stitch – corner stitch

Blanket stitch – first stitch of new side

Continue with another blanket stitch back into that same corner hole to make the first stitch on the other side of the corner.  The corner hole will actually have three stitches made in it.  This makes for a pretty even corner!!


Blanket stitch
continue down new side


Below is another fleece blanket with a different edge.  My dear friend Becky made it for me.  She used the perforating blade but did a crochet stitch to finish the edge.  I LOVE it!!  I’m better with needle and chenille yarn, so I will admire her beautiful work and show you here as inspiration for any of you that crochet.

Crochet edge on fleece


#1 – Try a perforating rotary blade to make hole in fleece to stitch a blanket stitch edge.

#2 – To make a beautiful even corner with a blanket stitch, work the last stitch of a side, the corner stitch and the first stitch of the next side in the same hole.

in quilting,

Debbie


Posted in Blanket stitch, Handwork, Uncategorized | Leave a comment

Two Tip Tuesday – New Year’s Eve

This will be the last tips of the year!! wink, wink!! Wishing all of you a HAPPY and SAFE New Year’s Eve!  I’m looking forward to new quilts for the new year.  I have several personal quilts to make and new patterns/quilts ready to quilt, write and publish.

Today, I mailed a fun quick/easy fleece blanket to my daughter-in-law.  Yes, it is actually a blanket, not a quilt.  She will probably see this post before it arrives. (Oh well!  She knows it is coming!)  With all the sales this winter, I took advantage of buying 2 yards of fleece.  I trimmed it up and finishing the edges with a blanket stitch.  Easy peasy!  I used a chenille yarn to keep the edges soft.

For the steps…

I put a knot in the tail and came up in the 1/4″- 3/8″ fold.  I measured the fold with the wonder clips. The depth of the stitch was the depth of the fold.

Blanket Stitch Knot
Hide in fold!


That width of the wonder clip then become how wide I made the blanket stitch.  I only used two wonder clips, moving them along as I made each stitch.  (I did take a few stitches between step photos.)

Blanket Stitch measure fold
and stitch with Wonder Clips

Blanket Stitch move Wonder Clip
over to make next stitch


Pulling the “threaded” needle (size 13 Tapestry) through the loop to make the stitch.  And the finish!

Blanket Stitch needle through
loop to make stitch

Blanket Stitch
Finishing the stitch


I spent a couple days/nights in front of the TV watching football games and I got it DONE!

Blanket Stitch Blanket
DONE!

I had so much fun hand stitching this blanket, I just might make another!!

Happy end to 2019 and looking forward to more tips and quilty things to come in 2020!

in quilting,

Debbie

Posted in Handwork, Uncategorized | Leave a comment

Two Tip Tuesday – Merry Christmas Eve

Merry Christmas, Happy Hanukkah, Happy Holidays! Today I had fun spending time with my family! I hope you and yours make wonderful memories this holiday season. I hope all those gifts have been made and wrapped. Mine were given today! Below is a gift I was given by a dear friend. Thanks Jana!

Diamond tree!

Merry Christmas!
in quilting,
Debbie

P.S. Tips will resume next week.

Posted in Uncategorized | Leave a comment